
Mario & Luigi: Dream Team Guide Walkthrough Driftwood Shore
Driftwood Shore
 Broque Madame
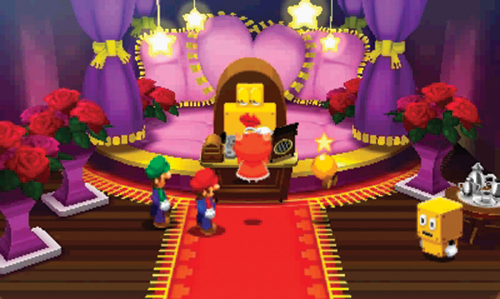
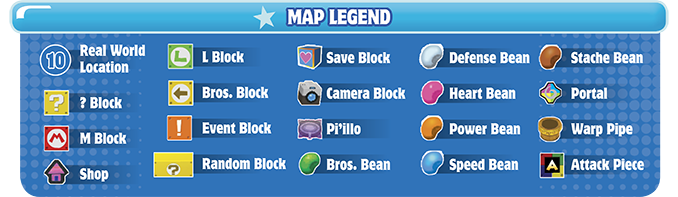
Head directly for Rose Broquet upon your arrival in Driftwood Shore and enter the back room to have a word with Broque Madame—perhaps she has a lead on the Driftwood Jellyfish Sheets. But she’s more interested in sharing a lithograph she found with Pi’illo characters written on it—Dreambert translates it. Apparently pirates once roamed the seas in this region. The lithograph appears to contain information regarding a pirate treasure located in a hidden cave somewhere nearby, in Driftwood Shore. But the cave isn’t easily accessible—a code is required to gain entry. It’s time to find that cave!
 Mole Hunt Beach
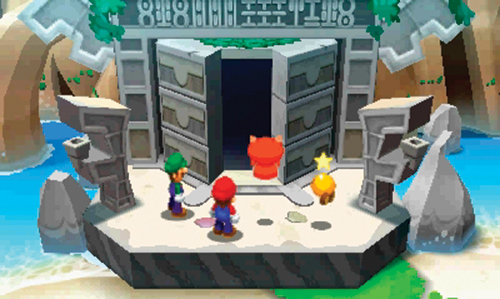
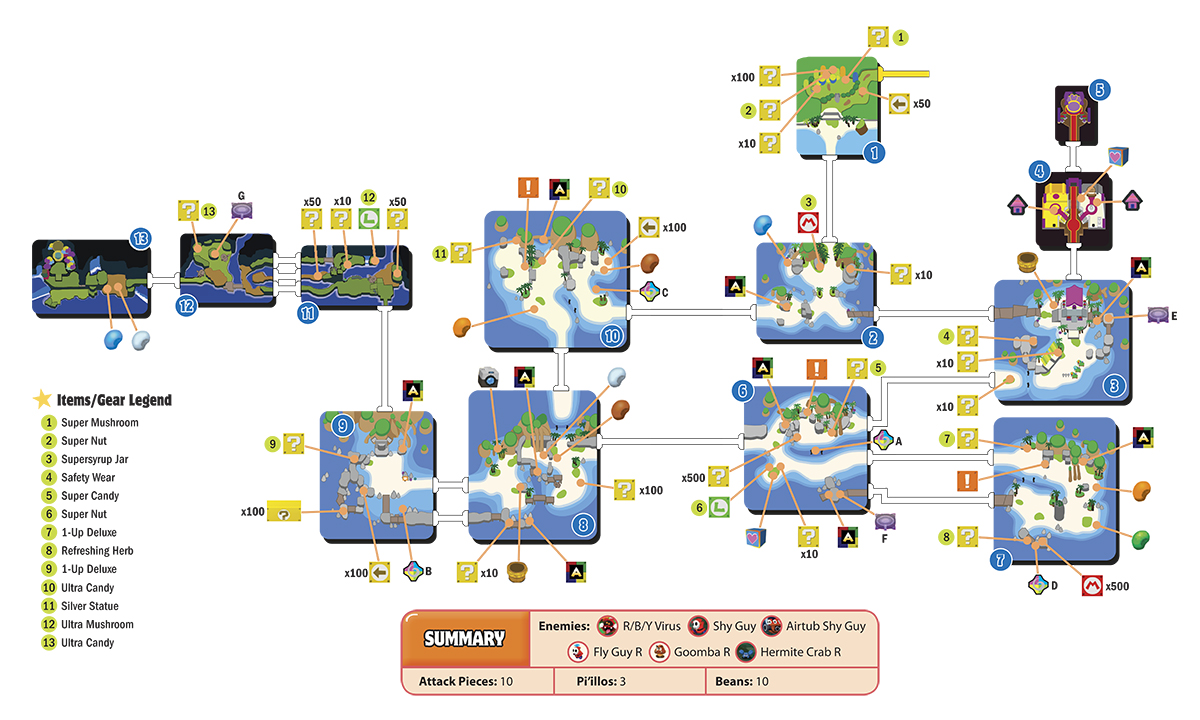
The entrance to the cave is located on the north side of area 9. But the cave’s entrance is blocked by a massive stone door. Dreambert translates the Pi’illo text above the door. It says a code must be uttered to enter. Dreambert isn’t sure what the code could be, so he tries saying a phrase from the lithograph. After a slight pause, the stone door rumbles to life, eventually opening.
 Treasure Cave (East)
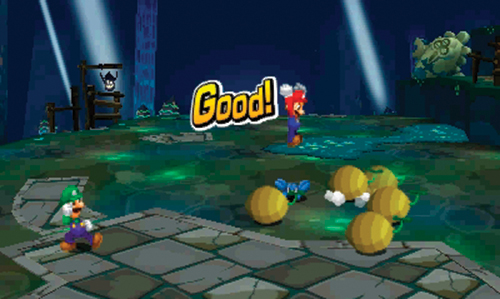
Watch out for the coconut-carrying Hermite Crab R near the entrance to the cave. These blue enemies perform just like their red Hermite Crab counterparts, only with greater stats, making them slightly tougher to defeat. Only attack the coconuts where you know a Hermite Crab R is hiding—the first strike knocks away the coconut and the second hit deals damage. Likewise, be ready to counter their coconut-based attacks with your hammer.
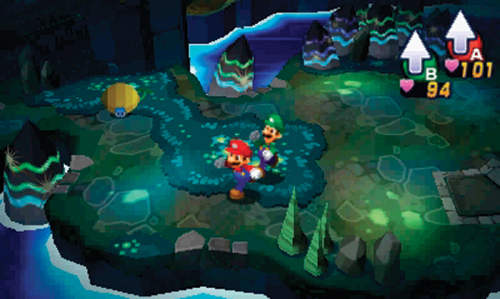
Advance to the west, engaging a R/B/Y Virus and another Hermite Crab R along the way. Exit along the southernmost path—the other two paths are inaccessible from this direction.
 Treasure Cave (Central)
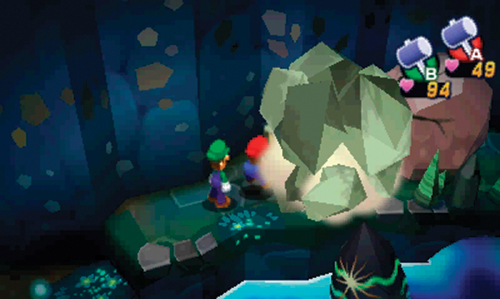
Upon entering this area, take note of the red switch to the north—it must be accessed from area 11 to lower the nearby bridge. Head north and smash the two rocks on the northeast path to return back to area 11.
Treasure Cave (East)
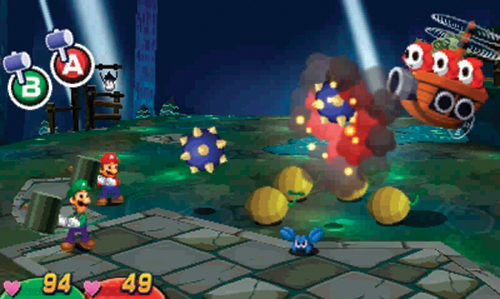
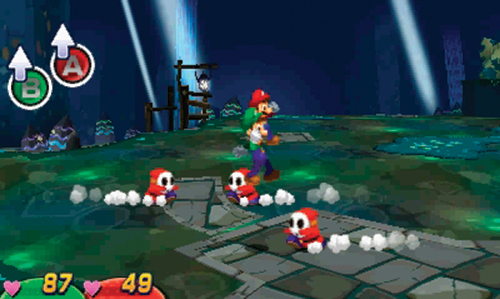
Cross the bridge to the east and engage another Hermite Crab R on the other side. If you haven’t already, there’s a chance you may encounter a Shy Guy Airtub in one of these battles—use a Taunt Ball to lure the Shy Guy Airtub from the background to the foreground. Use your hammers to knock back the Airtub’s spiked cannonballs—knock back at least two cannonballs to cause the Shy Guy Airtub to crash and explode, annihilating any remaining enemies on the ground. With their Airtub destroyed, the three Shy Guys must fight on their own. Time your jumps carefully to counter their charging attacks–try to land on them to inflict damage. When it’s your turn to attack, finish them off with standard Jump or Hammer attacks. Once you get the hang of it, defeating Shy Guy Airtubs is quite easy. But you must stock up on Taunt Balls to bring this enemy to the foreground. Otherwise be ready to counter their cannonball attacks as they hover in the background.
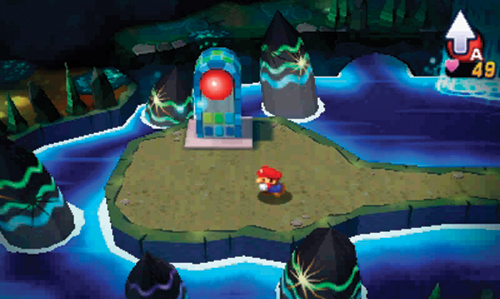
Enter the small gate to the south as Mini Mario and advance along the center path, heading west. Strike a ? Block along the way to collect coins, then exit. Back in area 12, strike the red switch with your hammer to lower the bridge to the west. Send Mini Mario back to area 11, then return to area 12 with both Mario and Luigi.
Treasure Cave (Central)
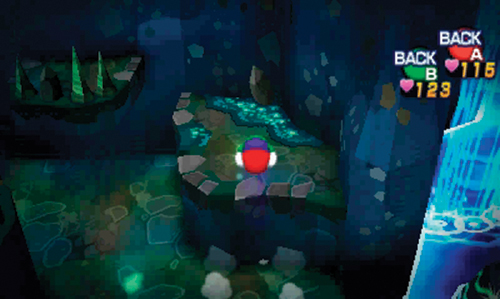
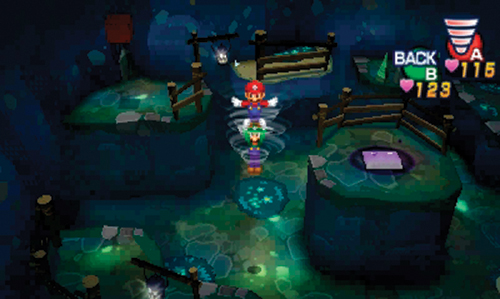
Cross the newly lowered bridge to the west and battle more Hermite Crab Rs here. Once these enemies are defeated, Ball Hop onto the ledge to the north, then advance along the ledges on the cave’s northern wall. When you reach the highest ledge on the west side, beneath the ? Block containing Ultra Candy, Spin Jump to the east, landing on a platform holding a pillow. Take a moment to rescue this Pi’illo (G) before resuming your search for the Ultibed part. Once the Pi’illo is set free, exit this area by moving through the western path.
 Treasure Cave (West)
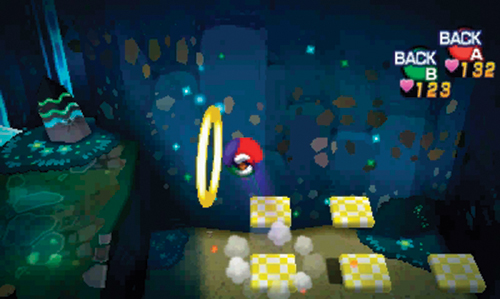
In this cavern you must use the Ball Hop ability to bounce through a series of gold Ball Rings. Upon passing through one Ball Ring, a platform appears below, preventing Mario and Luigi from falling. Take the following path through the Ball Rings: west, west, north, west, south, west. If you happen to fall, you can start again. But while you’re down there, search for a Speed Bean beneath the sand.
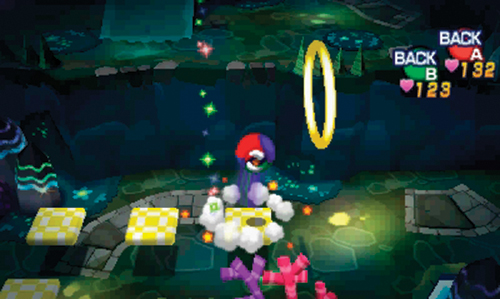
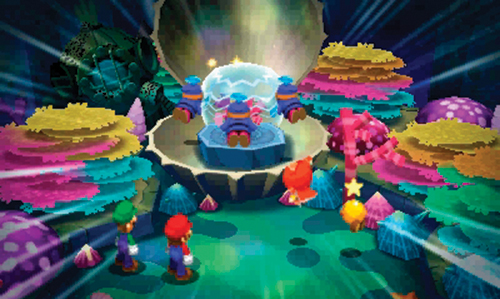
Drop down the south side of the next ledge and approach another Ball Ring challenge to the west. Once again, use the Ball Hop to navigate through a series of Ball Rings. This time travel in the following directions: east, north, east, east, east, north, east, north. Just ahead are the Driftwood Jellyfish Sheets. But before Mario and Luigi can acquire them, a trio of Fly Guy Rs steal them and exit the cave. You can’t let them get away! Side Drill through the crevice to the east, smashing through the adjacent rock. Exit to the east to chase after the Fly Guy Rs. Continue through the cave until you reach area 9.
Mole Hunt Beach
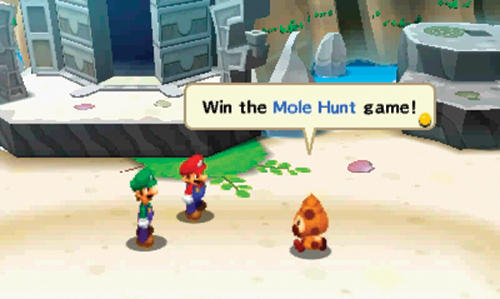
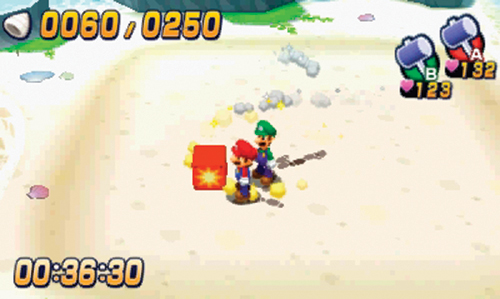
By the time Mario and Luigi reach the cave’s entrance, the Fly Guy Rs are long gone, taking the Driftwood Jellyfish Sheets with them. During their hasty departure, the Fly Guy Rs knocked over the old Shelltop, rendering him unconscious. When he comes to, the Shelltop claims to know which direction the thieving Fly Guy Rs went. However, he won’t tell you until you’ve played another Mole Hunt game. Speak with the Shelltop and agree to play the game. This time around you must earn 250 points to clear the game. Prioritize silver and gold crabs over the brown ones to earn the most points. And remember to strike those orange explosive blocks with your hammer when multiple crabs are nearby to score instant points.
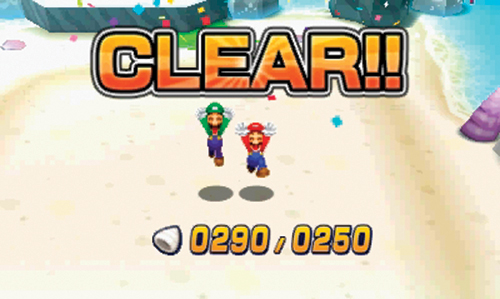
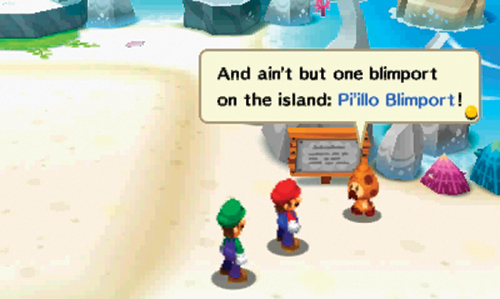
With the new 250 point requirement, it may take a few attempts to clear the Mole Hunt game this time around. But keep playing until you win. The Shelltop congratulates Mario and Luigi on their success, but has no idea where the Fly Guy Rs went. But before knocking him down they said something about catching a flight. Perhaps they’re headed to Pi’illo Blimport? It’s not definite, but it’s the only lead you have. Use the Warp Pipe in area 8 (to the east) to reach Pi’illo Blimport—choose the Mushrise Park Entrance as your destination.