
Mario & Luigi: Dream Team Guide Walkthrough Wakeport
Wakeport
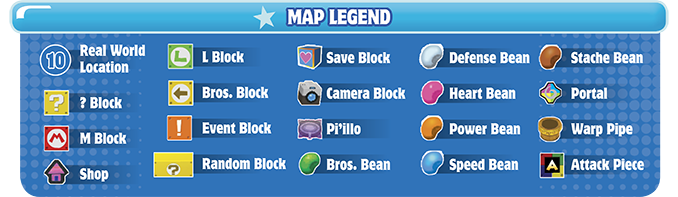
 Wakeport Path
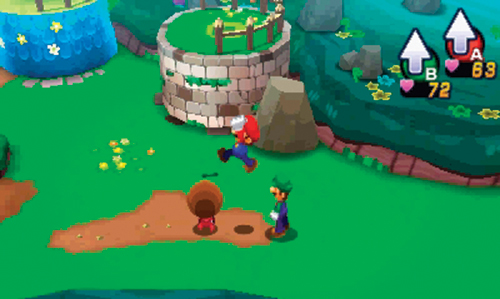
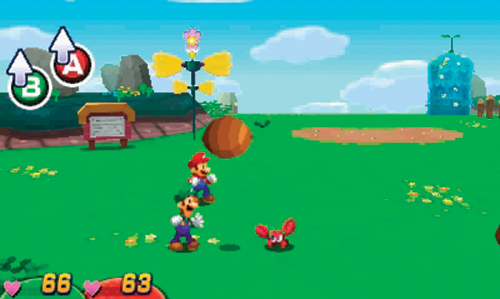
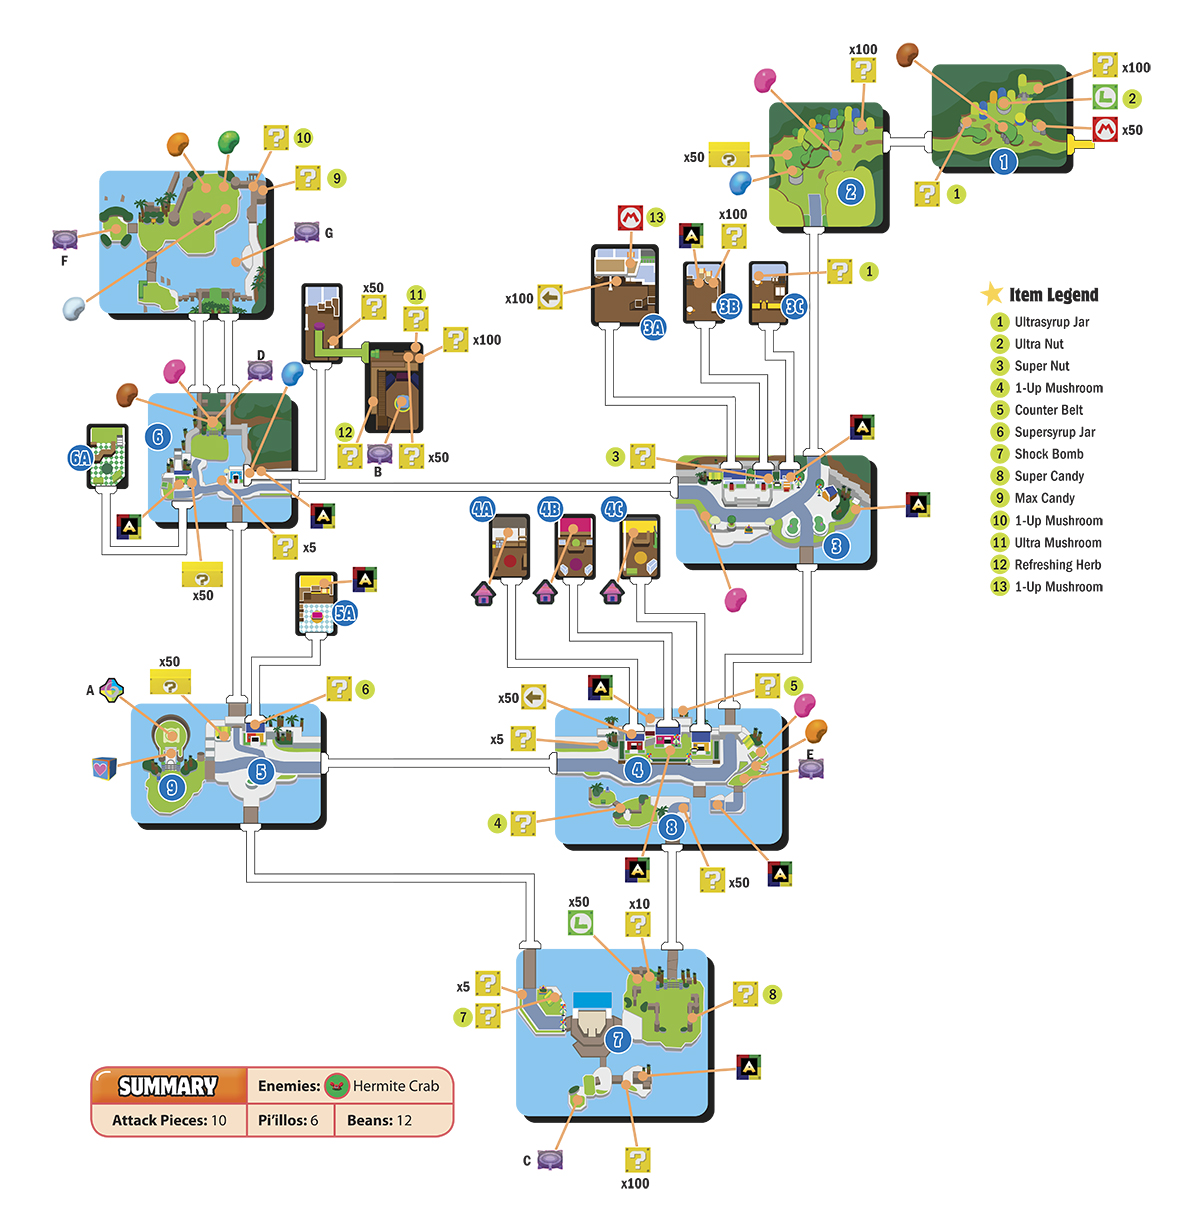
From Dozing Sands, advance north through Mushrise Park and consider searching for some beans along the way, now that you have the ability to go underground and retrieve them. When you reach the area with Mushrise Park’s shop, head to the west. Here you encounter a new enemy—the Hermite Crab. Either jump or use your hammer to initiate a preemptive attack. These guys hide under coconuts—there are always more coconuts than crabs. Watch closely and remember which coconuts conceal these sneaky enemies. Jump attacks work best against these enemies—one jump knocks away their coconut while the second jump deals damage. The Hermite Crab’s attacks are relatively easy to read and counter. Be ready to jump when they toss a coconut at Mario or Luigi—jump right after the coconut passes over their head to avoid getting tripped by the rushing crab. Don’t worry about reaching the block on the tall, cylindrical plateaus here—these can be accessed later. However, Mini-Mario can reach the ? Block in the northeast corner.
 Wakeport Entrance
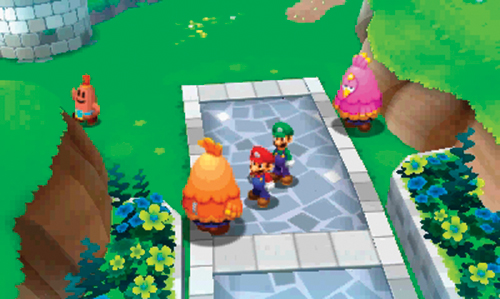
More Hermite Crabs are waiting here as well as a Random Block to the west. Like the previous area, some of the high plateaus cannot be accessed at this point, so don’t bother trying. Instead, proceed to the south and approach the stone path leading into Wakeport—it’s watched by two individuals in colorful Zeekeeper costumes. Go ahead and talk to them. In fact, get used to talking to everyone in Wakeport. Some of the tourists here may require your help in exchange for rewards.
 Hotel District
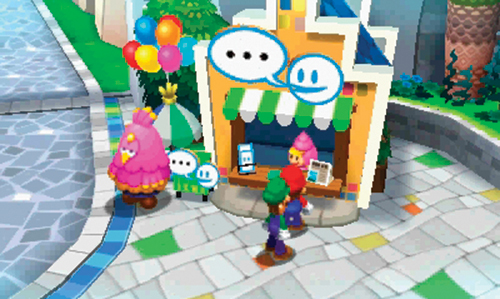
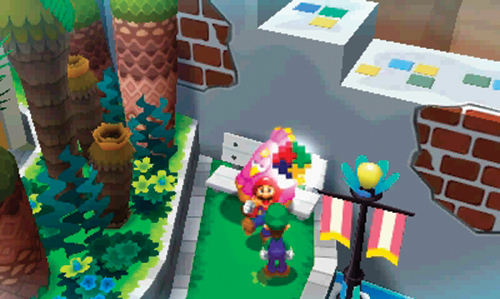
Mario and Luigi are greeted to Wakeport by another pair of Zeekeeper mascots. Take a moment to speak with the Shelltop in Wakeport’s Info Center nearby. Here you can learn more about the Tour Center and the upcoming Mount Pajamaja tour. Before you can go on the tour, you must register at the Tour Center, located to the west. The Info Center also offers details on the Mad Skillathon at the south Event Stage and Badgeport, Wakeport’s own badge shop. After visiting the Info Center, move to the east to locate a Zeekeeper mascot sitting on a bench. Speak with the mascot to receive the first Attack Piece. In addition to other tourists and workers, Wakeport offers plenty to see, including three different hotels in this area. Take a moment to visit each one.
3A: West Hotel
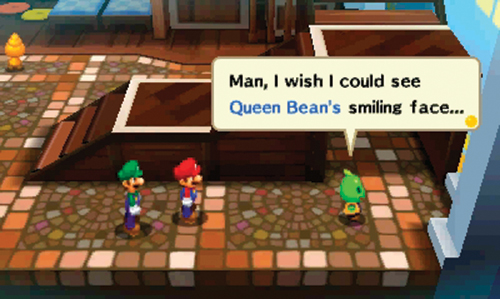
Speak to the Beanish People here and don’t overlook the Bros. Block to the north. There’s also an M Block upstairs. In the southeast corner, look for the Beanish Person hiding under the stairs—this lonely guy is homesick. All he wants is to see his Queen Bean’s smiling face.
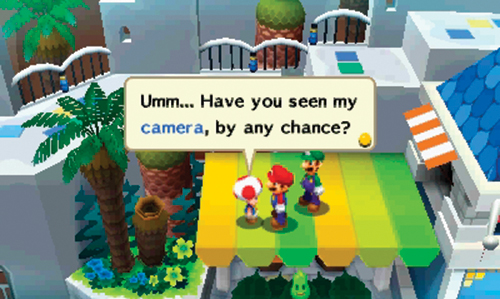
While upstairs, exit to the east. Here you encounter a Toad who’s missing his camera. Maybe you can help him find it?
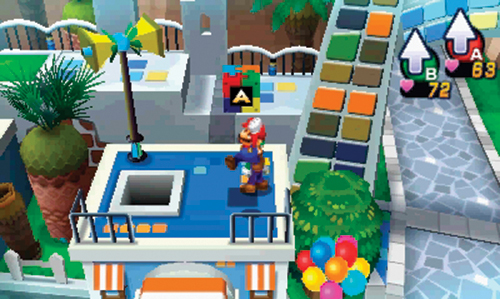
After speaking with the camera-less Toad, hop onto the wall to the north and follow the narrow path to the east. Here you find another Attack Piece on the rooftop above 3A.
3B: Central Hotel
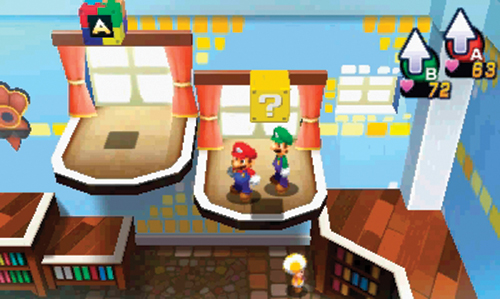
It appears several Toads from the Mushroom Kingdom have taken up temporary residence in this quaint hotel—speak to everyone. Next, head upstairs by hopping on the bed to the east. From here you can reach a pair of balconies, striking a ? Block and grabbing an Attack Piece along the way.
3C: East Hotel
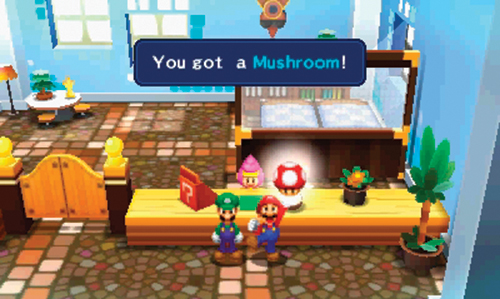
Need a rest? Visit this hotel and stay the night for only 10 coins, restoring both Mario and Luigi’s HP and BP. Receive a free Mushroom as a parting gift. When you’re finished exploring this area, head south.
 Shop District
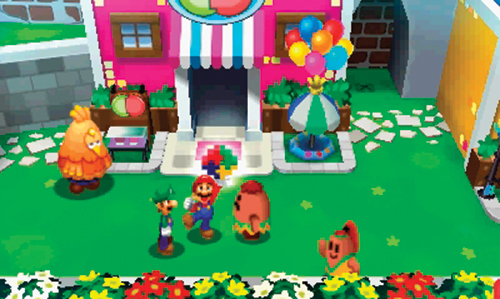
Looking to part with some coins? You can find plenty of options to shop and spend your coins here. But before entering any of the shops, take a moment to explore and speak with some of the tourists. There’s a Haniiwa person, named Hoolo, standing outside Badgeport (the badge shop) looking for some help—he needs the perfect gift to propose to his girlfriend, Hoola. Agree to help him to receive another Attack Piece as well as a Plush Zeekeeper. He has many more rewards to offer if you can help him out.
4A: Item Shop
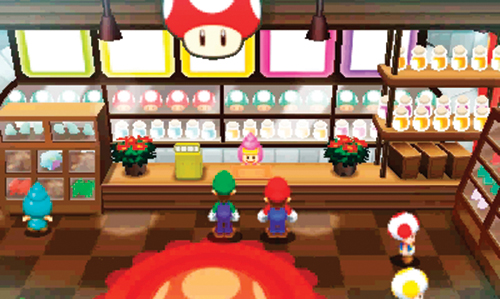
Running low on items? No problem—this item shop has you covered. Take a moment to stock up on items you may need in the near future. Likewise, take stock of your inventory and consider selling off unused and surplus items.
Wakeport Item Shop Inventory
| Items | Coins |
|---|---|
| Super Mushroom | 30 |
| Super Nut | 75 |
| Supersyrup Jar | 60 |
| Refreshing Herb | 30 |
| Shock Bomb | 50 |
| Boo Biscuit | 5 |
| Mushroom | 10 |
| Nut | 25 |
| Syrup Jar | 20 |
| 1-Up Mushroom | 50 |
4B: Badgeport
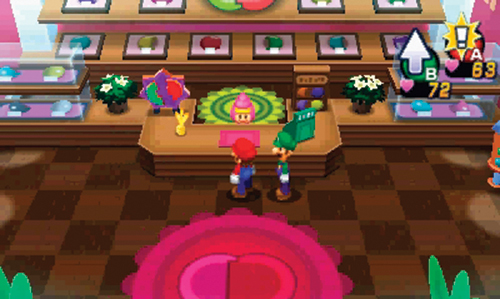
Welcome to Badgeport, Wakeport’s premiere (and only) badge shop. As the first two customers of the day, Mario and Luigi are treated to a brief tutorial on badges, offered by the shopkeeper. Follow the shopkeeper’s instructions to learn how to switch badges around to create different combos. Following the tutorial, see what the shopkeeper has for sale—you can add five more badges to your inventory! Buy all the badges you can afford, then experiment with different combos until you find one that will best suit your needs during battles.
Badgeport Badge Inventory
| Badge | Coins |
|---|---|
| Virus Badge | 400 |
| Risk Badge | 600 |
| Master Badge | 600 |
| Silver Badge | 1,500 |
| Strike Badge | 200 |
| Expert Badge* | 2,000 |
| Gold Badge* | 5,000 |
| Miracle Badge* | 2,000 |
* = available after visiting Somnom Woods
4C: Gear Shop
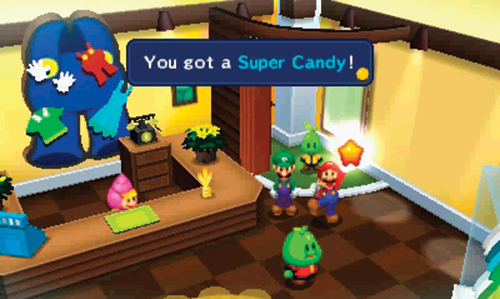
This is the gear shop, offering a wide selection of protective wear. Take a moment to browse the goods—consider purchasing some Super Boots, a Fighter Hammer, or Super Wear. After outfitting Mario and Luigi with new gear, speak to the Beanish Person behind the curtain in the corner—she wants to know how she looks in his new outfit. The first time she asks, say she’s “very cute.” When she asks if the outfit is beautiful, say it’s “very beautiful.” When she asks if it’s attractive, say “of course.” But when she asks if he looks better than Peach, say she’s “equal.” If you answer all the questions correctly, you earn a Super Candy.
Wakeport Gear Shop Inventory
| Merchandise | Coins |
|---|---|
| Steady Boots | 480 |
| Super Boots | 560 |
| Steady Hammer | 480 |
| Fighter Hammer | 580 |
| Singular Wear | 360 |
| Super Wear | 420 |
| HP Gloves | 240 |
| BP Gloves | 290 |
| Speed Gloves | 120 |
| Stache Gloves | 240 |
| HP Bangle | 900 |
| HP Knockout Bangle | 900 |
 Clock-Tower Plaza
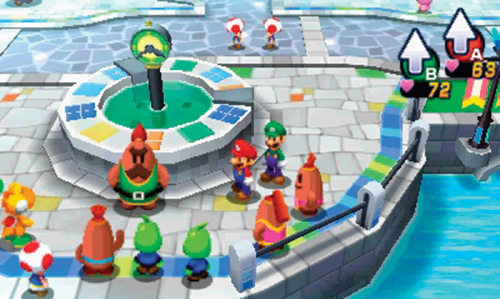
The tour group heading for Mount Pajamaja is meeting here, gathered along the south side of the clock tower. However, you can’t join the tour group until you’ve registered at the Tour Center, to the north. Before heading for the Tour Center, take a look around this area and speak with some of the other tourists.
5A: Guidebook Office
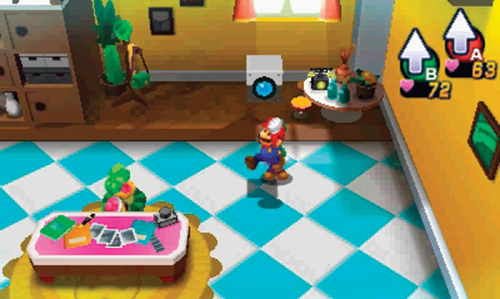
Kylie Koopa is the proprietor of this building. This is where she creates guidebooks for Pi’illo Island—and she could use some help. Agree to help her out. Kylie has installed Camera Blocks throughout the island. When prompted, strike the Camera Block in her office to collect the Wakeport shot. Now that you’ve collected a shot, you need to decrypt it. All of the shots taken by Camera Blocks are scrambled. Therefore, they must be reassembled, just like a puzzle.
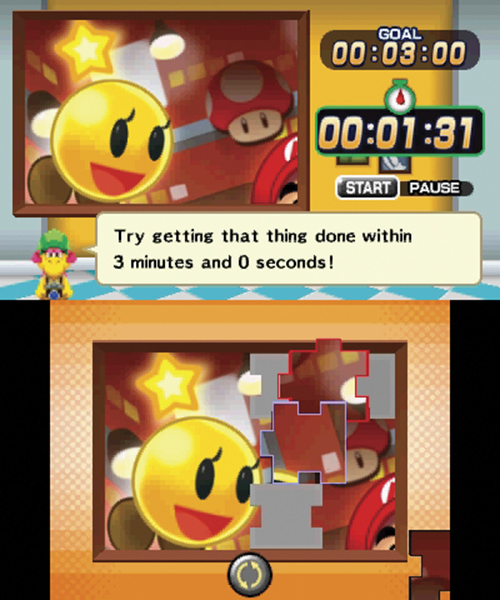
Follow Kylie’s instructions to begin work on the shot for Wakeport Lv. 1. Touch one of the scraps scattered around the Touch Screen and drag it over to the central panel. Once you find the spot where the scrap locks in, that’s its home. Some scraps must be rotated. Select a scrap and then touch the icon at the bottom of the Touch Screen to rotate it. Each puzzle is timed—you must complete this one in under three minutes. Use the picture at the top to figure out where each scrap must be placed. If you complete the puzzle in under three minutes, Kylie awards you 100 coins. Now that you’ve completed the first puzzle, you can progress to Wakeport Lv. 2. Afterward, Wakeport Lv. 3 is unlocked. To get more puzzles, look for more Camera Blocks—there is one Camera Block in each region of Pi’illo Island.
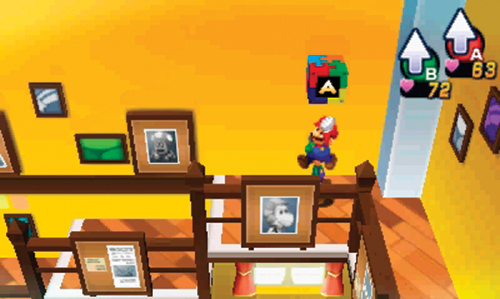
When you’re finished decrypting shots, head upstairs in Kylie’s office to grab another Attack Piece.
 Tour Center
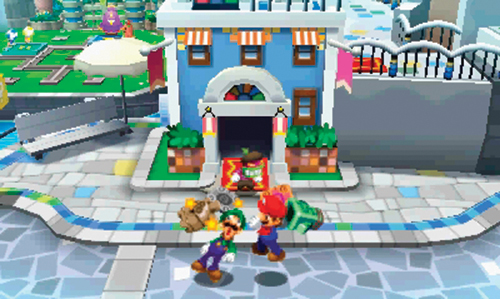
While standing outside this house, Mario and Luigi hear a voice inside—something about a treasure? Suddenly a robber comes charging out the house’s front door, colliding with Luigi and dropping all of his loot. This is Popple, sometimes known as the Shadow Thief. He’s come to this island to steal as much treasure as possible. After gathering his loot, Popple disappears, eager to stage his next heist—this isn’t the last you’ll see of Popple. If you’d like, step inside the house Popple just exited (at 6B) and strike a ? Block to score some coins. You’ll be coming back here later, so don’t feel rushed to explore this house now.
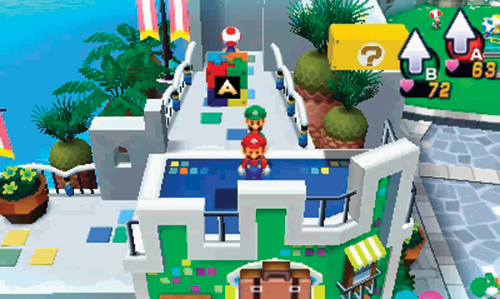
Before making a beeline for the Tour Center, take a look around this area to grab a couple of Attack Pieces. The western Attack Piece is located on top of the Tour Center’s roof. Jump onto the ledge to the far west to reach this area—hit the Random Block while you’re up here.
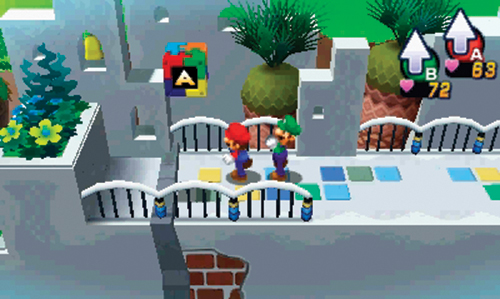
The Attack Piece to the east cannot be accessed directly from this area. Instead, return to area 3 and enter the western hotel at 3A. Ascend to the rooftop of the hotel and then hop onto the perimeter wall, taking it to the west. While moving along the top of the wall you can reach this Attack Piece.
6A: Tour Center Office
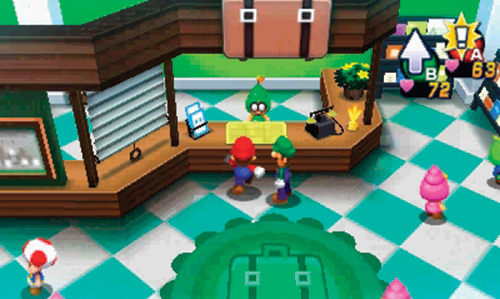
Ready to start the Mount Pajamaja tour? You can register for the tour in this office—speak to the Shelltop behind the desk. After proving their mastery with jumping and hammers, the Shelltop at the desk agrees to let Mario and Luigi join the treacherous tour. The tour is currently meeting in front of the clock tower to the south.
Tour Orientation
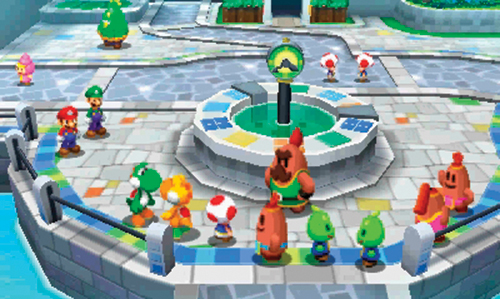
Now that you’re registered for the tour, return to Clock-Tower Plaza and join the rest of the tourists. Here Li’l Massif is busy telling everyone how challenging the Mount Pajamaja climb is. One by one, the rest of the tourists bow out, feeling the climb will be too difficult. But Mario and Luigi stick around, somewhat perplexing Li’l Massif. However, the tour can’t begin until Li’l Massif’s brother, Big Massif, arrives. Starlow is frustrated by this latest delay, but eventually agrees to participate in the search for Big Massif. Now that the crowd has dispersed, the path to the south is open. Begin your search for Big Massif near the Event Stage.
 Event Stage
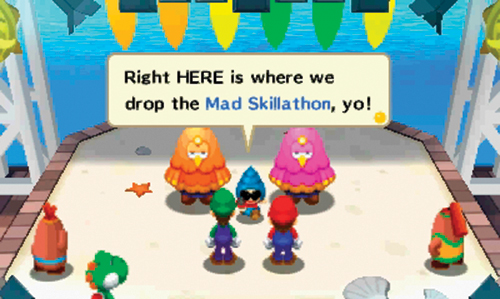

The Mad Skillathon, held at the Event Stage, gives tourists a chance to show off their talents in exchange for rewards. Surely Mario and Luigi have something they could impress the crowd with. Choose one of the available Bros. Attacks in your repertoire and get ready to put on a show. In these modified Bros. Attack sequences you must defeat as many target drones as possible to earn points. The more points you earn, the higher the rank. There are three ranks to achieve: B, A, and S. The higher the rank, the better the reward. At the moment you can only choose from the 3D Green Shell attack and the Fire Flower attack. You can come back to the Event Stage at any time and perform new Bros. Attacks as you learn them.
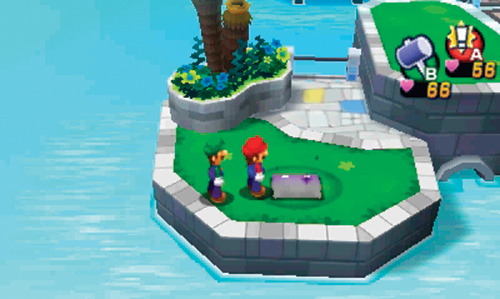
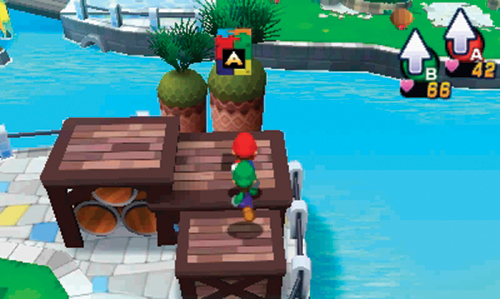
After participating in the Mad Skillathon, visit the peninsula to the south. Smash the rock to the southwest to rescue another Pi’illo (C). There’s also an Attack Piece on the eastern edge of the peninsula.
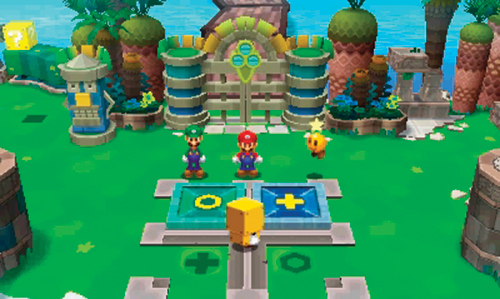
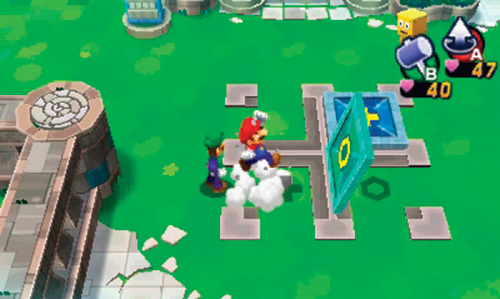
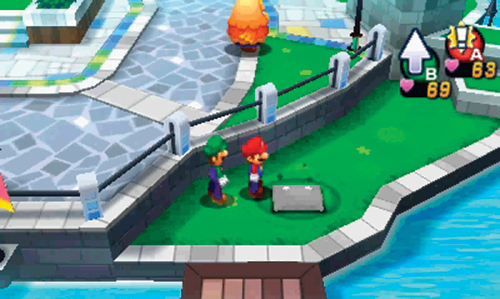
Defeat the Hermite Crabs in the grassy northeast area to find a Brock cowering in a corner. Now that you’ve eliminated the monsters, this researcher can get back to his work, studying the nearby gate. He says it dates back to the Pi’illo Kingdom. It can only be opened by matching the symbols of the nearby Flip Plates to the symbols on the grass. Go underground as Mole Mario and flip the plates from beneath, arranging the two plates over the matching symbols in the grass. This causes the gate to open, providing access to this island in the Shop District.
 Shop District Island
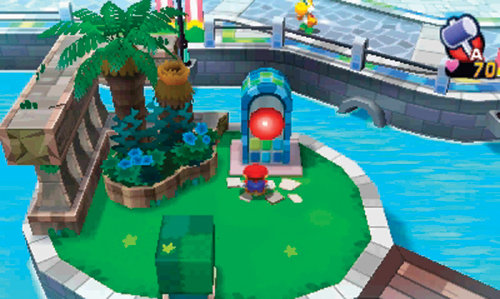
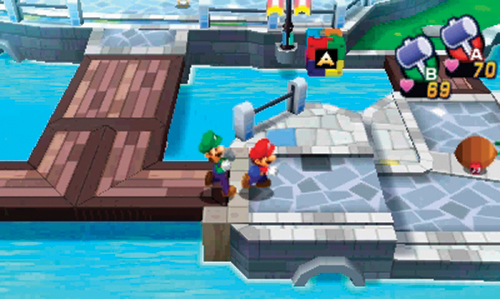
Take this opportunity to explore the island to the north, in the Shop District. Head to the west side of the island first, eliminating a few Hermite Crabs along the way. Pass through the small gate here as Mini-Mario, then use a hammer to strike a red switch. This lowers the wooden bridges connected to the east side of the island, as well as the Shop District. Cross the bridge to the east to gather another Attack Piece.
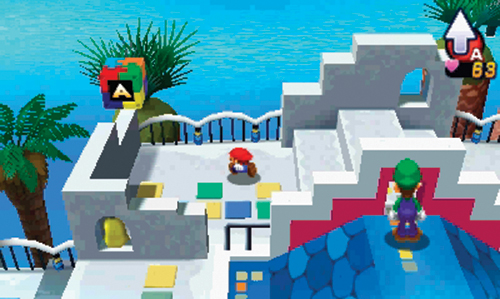
Follow the path on the east side of this area to reach a series of grassy steps leading up to an awning. From the awning you can reach the rooftop areas above the shops. But watch out for the Hermite Crabs while traversing this narrow path. On the rooftop above Badgeport you can find a ? Block (containing a Counter Belt) as well as Wakeport’s tenth and final Attack Piece—only Mini-Mario can reach this area.
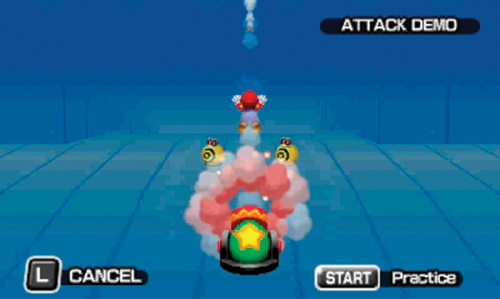
Gathering all ten of Wakeport’s Attack Pieces unlocks Mario’s Bye-Bye Cannon Bros. Attack. During this unique attack, you must memorize the order in which Mario and Luigi are launched from a cannon. As they land on an enemy, press
 for Mario and
 for Luigi. If you get it perfect, they’ll descend in the opposite order. Definitely practice this attack many times before using it in a battle—it’s a bit tricky and requires a high level of focus.
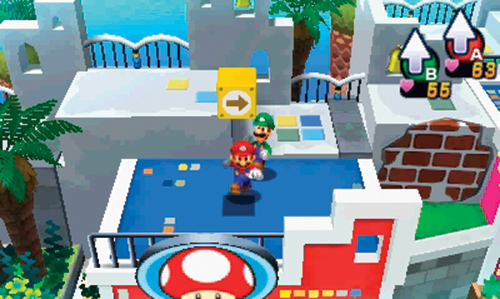
After gathering the final Attack Piece, continue your rooftop journey to the west. Strike the Bros. Block above the gear shop, then exit to the west, eliminating a few more Hermite Crabs along the way.
 Western Ruins
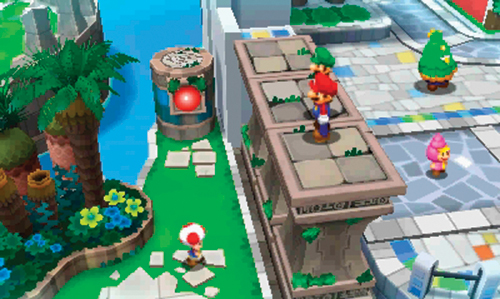
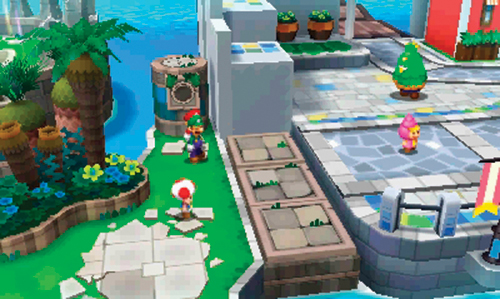
Continue along the wall on the north side of Clock-Tower Plaza, striking a ? Block and Random Block along the way. From the top of the wall, jump onto the ancient wall sections to the far west—there’s a Toad stuck on the other side. But as Mario and Luigi jump down to the west side, the Toad fears that all three of them are now trapped. But no worries—simply smack the nearby red switch with your hammer to lower the ancient wall.
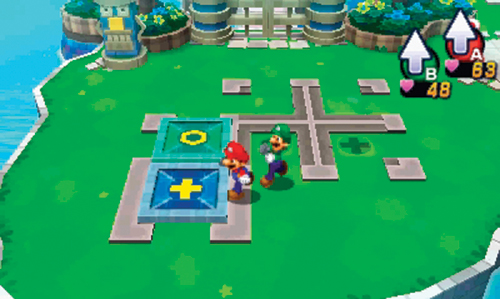
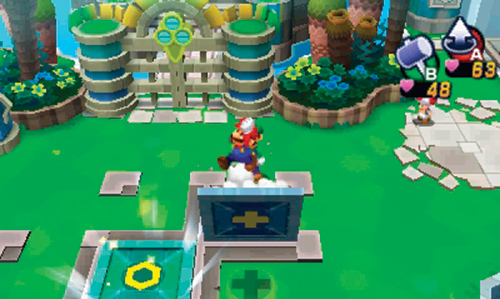
A pair of Flip Plates are located to the west of the ancient wall. As Mole Mario, go underground and flip the plates into position, matching the symbols on the two plates to the symbols in the grass. This puzzle is a bit trickier than the one you completed earlier. Get the plate with the circle icon into position first—this requires moving the other plate around to make room. Once the plate with the circle icon is set, positioning the plate with the + icon should be simple. Matching the plates to the symbol in the ground opens the gate to the north. Pass through the open gate and consider saving your game at the Save Block.
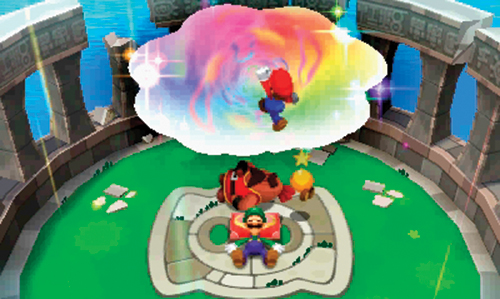
You found him—Big Massif! But there’s just one little problem…he’s fast asleep. Despite their efforts, Mario, Luigi, and Starlow can’t wake this slumbering tour guide. Dreambert arrives and realizes Big Massif is sleeping on a Dream Point. Dream Points have a very powerful dream aura, sometimes holding people in a perpetual dream state. Big Massif must be located in the dream world and convinced to wake up. Luigi can share the same dream by sleeping next to Big Massif on the Dream Point. As Luigi settles in for a snooze, a portal opens, allowing Mario to enter Big Massif’s dream.
Dreamy Wakeport (A)
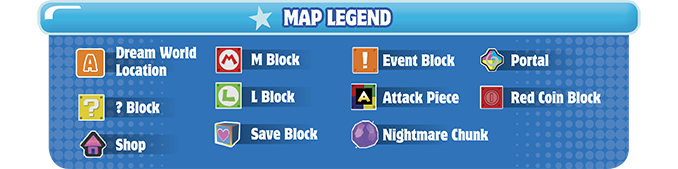
A
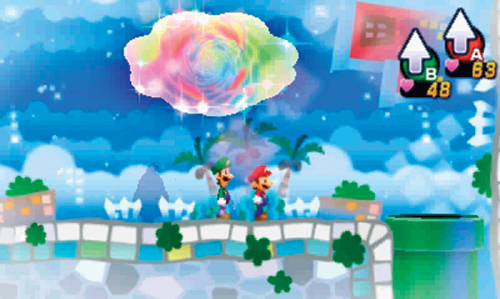
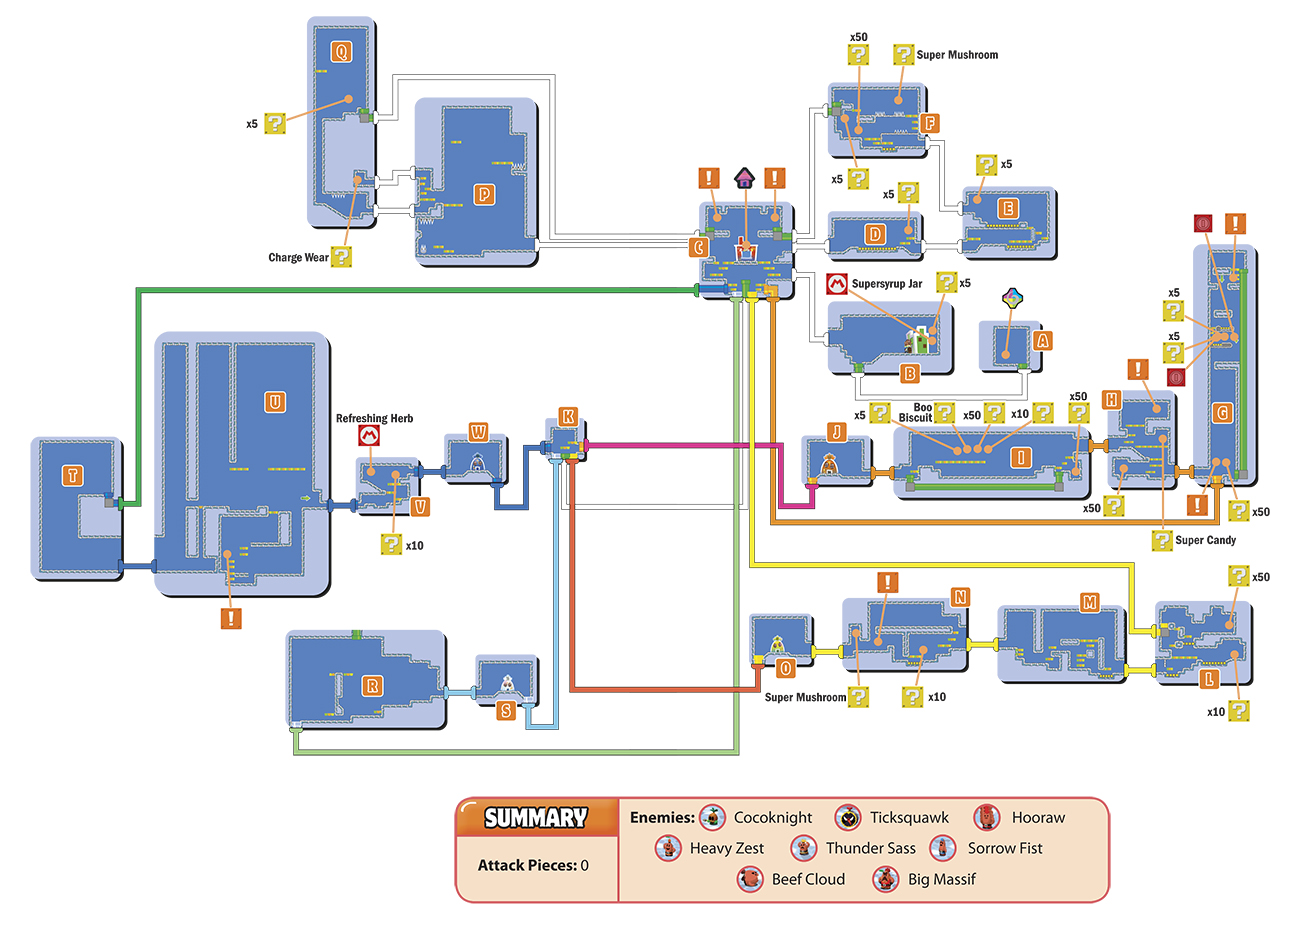
Welcome to Dreamy Wakeport. Big Massif is located somewhere within this sprawling dream world. With the exception of the portal, there isn’t much to do in this room. So simply descend through the green pipe on the right to reach the next area.
B
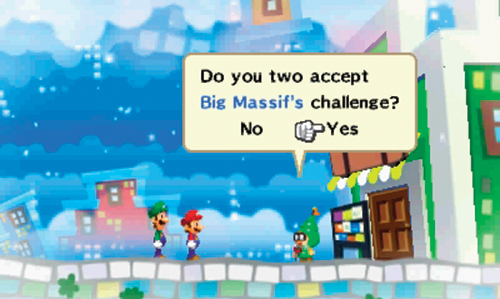
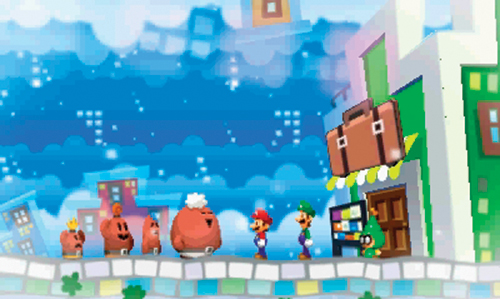
This area is home to the dream world’s Tour Center. After a lengthy sales pitch, a Shelltop here finally contacts Big Massif by phone—apparently Big Massif wants to spar with Mario and Dreamy Luigi in an event called the Beef-off. If Mario and Dreamy Luigi win the Beef-off, Big Massif agrees to meet with them. Agree to Big Massif’s terms by speaking with the Shelltop a second time. As part of the Beef-off, Mario and Dreamy Luigi must defeat the Hooraws, four of Big Massif’s disciples—Heavy Zest, Sorrow Fist, Thunder Sass, and Beef Cloud. Each disciple has a Hooraw Medal. All four medals must be collected before sparring with Big Massif. But instead of fighting now, the Hooraws hide throughout the dream world, requiring Mario and Dreamy Luigi to find them. Pursue the Hooraws by exiting this area on the left side.
C
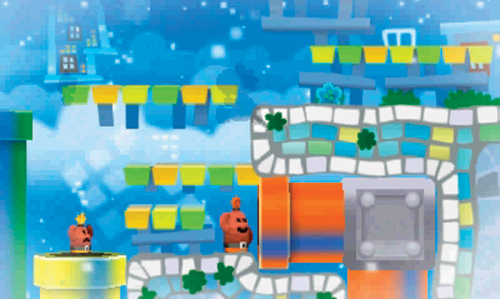
As Mario and Dreamy Luigi enter this area, the Hooraws disperse, each entering a different pipe. Just below, Heavy Zest exits through the orange pipe while Thunder Sass ducks into the yellow pipe. In the bottom left corner, Sorrow Fist enters the blue pipe and Beef Cloud exits through the white pipe. You need to track down each of the Hooraws one by one and defeat them in a battle to earn their Hooraw Medal. This room serves as a type of hub, with the different color pipes branching out into different areas of the dream world. Unfortunately, access to all four pipes is blocked. You’ll need to find a way to open the stone gates covering each set of pipes.
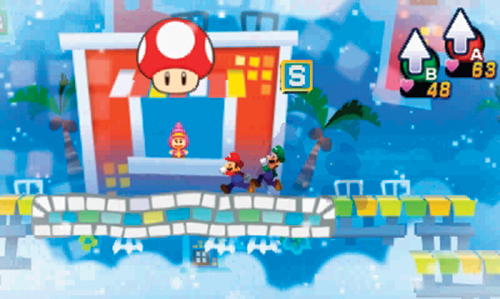
Before chasing after any of the Hooraws, visit the shop in this area, next to the Save Block. If you need to restore some HP and BP, buy some Pi’l-latte. Then consider upgrading some of your gear. Also, don’t forget to stock up on items. When you’re finished shopping, exit this area using the path on the upper right.
Dreamy Wakeport Shop Inventory
Items
| Merchandise | Coins |
|---|---|
| Super Mushroom | 30 |
| Super Nut | 75 |
| Supersyrup Jar | 60 |
| Refreshing Herb | 30 |
| Shock Bomb | 50 |
| Boo Biscuit | 5 |
| Mushroom | 10 |
| Nut | 25 |
| Syrup Jar | 20 |
| 1-Up Mushroom | 50 |
Gear
| Merchandise | Coins |
|---|---|
| Steady Boots | 480 |
| Super Boots | 560 |
| Steady Hammer | 480 |
| Fighter Hammer | 580 |
| Singular Wear | 360 |
| Super Wear | 420 |
| HP Gloves | 240 |
| BP Gloves | 290 |
| Speed Gloves | 120 |
| Stache Gloves | 240 |
| HP Bangle | 900 |
| HP Knockout Bangle | 900 |
D
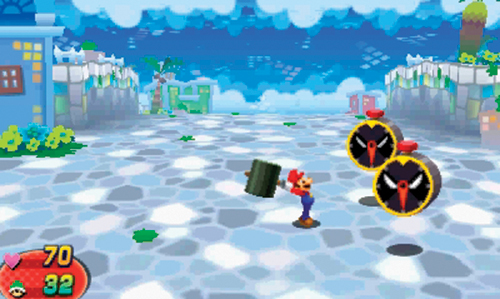
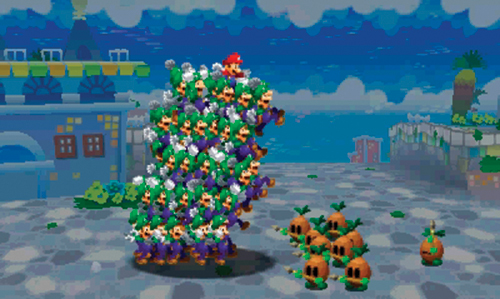
Initiate battles with the Ticksquawks in this area by either jumping on them or striking them with your hammer. These clock-like enemies aren’t particularly difficult to defeat, especially if you damage them with a preemptive attack at the start of a battle. The Cocoknights on the upper level are a bit more challenging. Use your hammer to knock back their spear attacks. When they encircle Mario and begin spinning, move with the crowd to avoid getting trampled—just be ready to jump out of the circle at the end of the spinning sequence. While Jump attacks are adequate for dealing with the Ticksquawks, don’t hesitate to use a Luiginary Attack, like the Luiginary Ball or Luiginary Stack, to take out large groups of Cocoknights. When you’ve cleared this area of enemies, exit on the right side, moving past the Conveyor on the lower level.
E
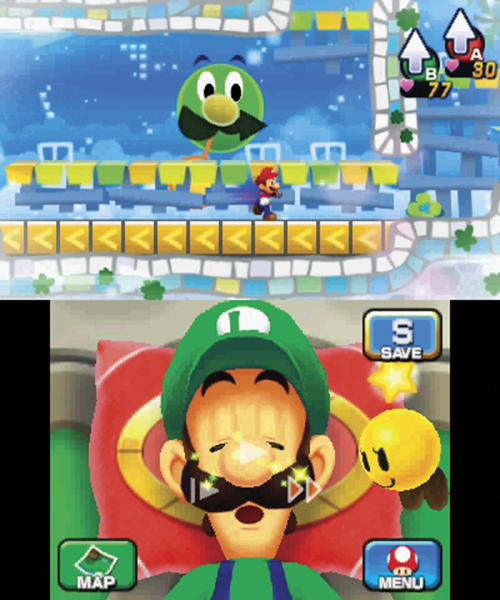
Here you must use a new Luiginary Work to advance, as demonstrated by Dreambert. The Luiginary Speedometer allows Mario to move faster or slower. Touch the slow icon on the left side of the Touch Screen make Mario move in slow motion. The fast-forward icon on the right side of the Touch Screen makes Mario move faster. The play icon in the center, on Luigi’s nose, returns speed to normal. Try it out. Make Mario move faster, then run along the oncoming Conveyors on the lower level and upper level of this room. By increasing Mario’s speed, he’s able to cross each Conveyor with ease.
F
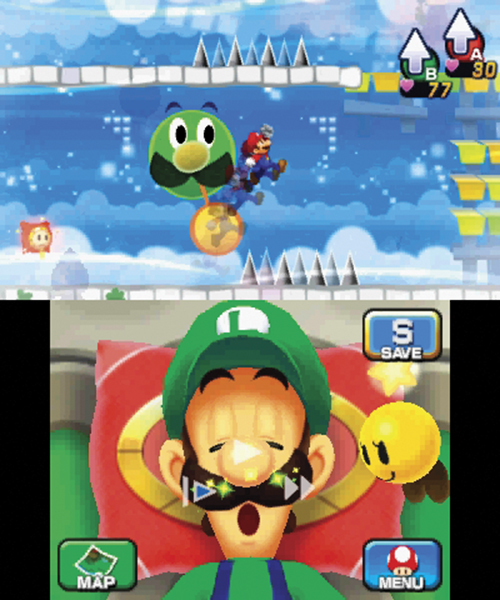
Keep using the Luiginary Speedometer in this room, zipping past the Conveyor on the lower level by increasing Mario’s speed. But when it comes to hitting a certain ? Block and jumping over the spiked floor, decrease Mario’s speed. When moving in slow motion, Mario moves slower, but he can jump higher and farther, easily clearing the dangerous spikes. Continue advancing through the room, exiting through the pipe in the upper left side.
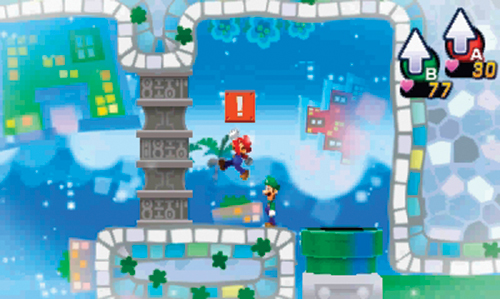
The pipe leads back to area C, putting Mario and Dreamy Luigi in the upper right side of the room, next to an Event Block. Strike the Event Block to open the nearby stone gate as well as the one covering the orange and yellow pipes below. The orange pipe leads to Heavy Zest while the yellow pipe leads to Thunder Sass. Enter the orange pipe to go after Heavy Zest.
G
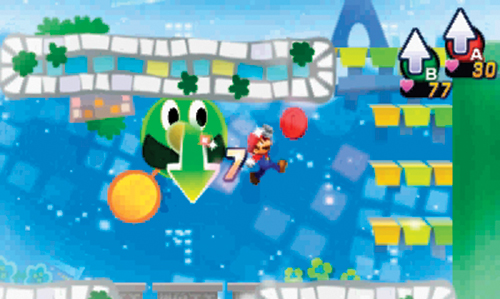
The stone gate blocks the exit in the lower left corner of this vaulted room—you need to find a way to open the gate. Initiate the Luiginary Speedometer, then enter the green pipe on the right. The pipe takes Mario to the very top of the room, where there’s a Red Coin Block. When struck, eight Red Coins appear on the course below, requiring Mario to gather them all before time runs out. Once all eight coins are collected, an Event Block appears—strike it to open the nearby gate.
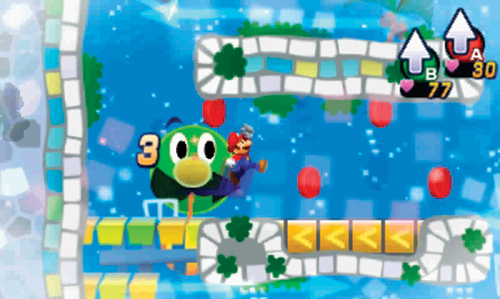
For the second phase, find another Red Coin Block below. Before striking it, use the Luiginary Speedometer to make Mario move faster—he’ll need to speed to race across the Conveyors. Upon striking the Red Coin Block, speed from one Red Coin to the next. Gather all eight Red Coins to conjure another Event Block. Strike the Event Block to drop into the next section of the room.
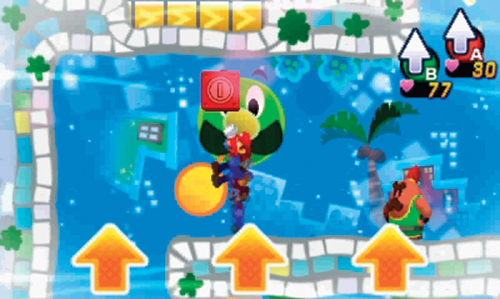
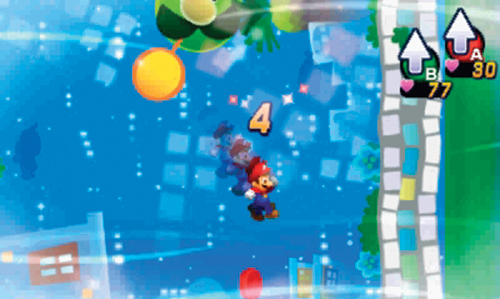
Li’l Massif appears on the ledge just below, offering some clues on how to float. Before striking the next Red Coin Block, use the Luiginary Speedometer to slow down Mario’s speed. When you’re ready, strike the Red Coin Block and leap off the ledge to the left. During the descent Mario can move slowly, floating from one Red Coin to the next. Gather all eight Red Coins to conjure a new Event Block below. Strike the Event Block to open the stone gate blocking the room’s exit.
H
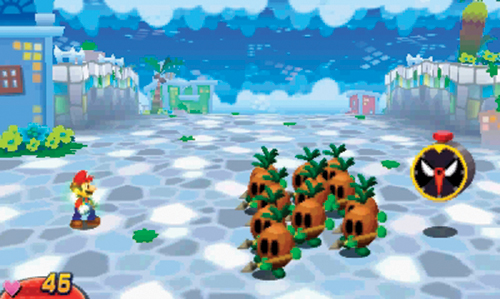
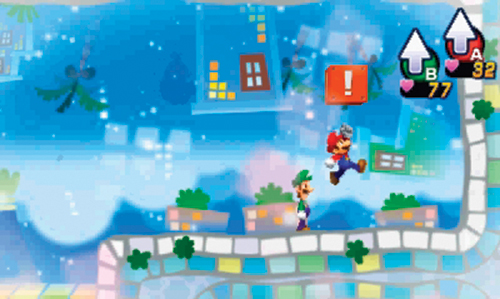
Watch out for more Ticksquawks and Cocoknights in this area. But don’t avoid them—engage them in battle. You need to earn as much EXP as possible (and level up) before your encounters with the Hooraws and Big Massif. These enemies serve as the perfect opportunity to grind out some EXP. Clear the lower level first, then ascend to the upper level. Strike the Event Block at the very top level to open a stone gate. Once the stone gate is open, you can access a ? Block containing Super Candy.
I
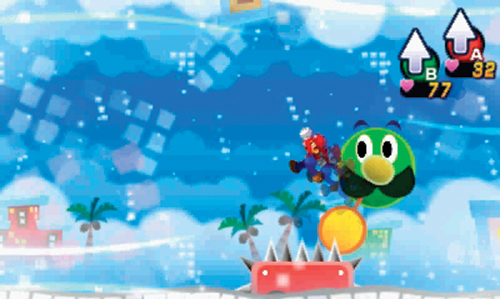
Use the Luiginary Speedometer here to slow down Mario so he can easily jump over the moving platforms of spikes. Slow motion jumps are also necessary to strike some of the ? Blocks in this area. When you’ve struck every ? Block, exit on the left side of the room.
J

Now begins battle one of the Beef-off, pitting Mario and Dreamy Luigi against Heavy Zest. But this isn’t a standard battle—Big Massif has set a strict set of victory conditions requiring Mario and Dreamy Luigi to win the battle in only three turns. In addition to defeating Heavy Zest, all additional foes must also be defeated within three turns. When you’re ready, start the battle. But make sure you’ve fully replenished your BP—consume Syrup Jars if necessary.
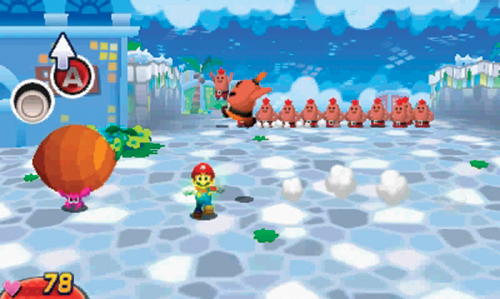
Heavy Zest surrounds himself with several smaller Hooraws—you must defeat them all in three turns to win this battle. During one of Heavy Zest’s most common attacks, he comes charging at Mario while the Hooraws stand in the background. Take note of the Hermite Crab just behind Mario during this sequence. Move in sync with the Hermite Crab, then watch closely as Heavy Zest approaches—he may either jump or stay on the ground, running directly into Mario. If he jumps, stay on the ground. But if he doesn’t jump, be ready to jump to avoid getting hit. Either way, Heavy Zest crashes into the Hermite Crab as long as Mario is properly aligned. As the Hermite Crab’s coconut flies through the air, it bounces across most of the Hooraws in the background, inflicting heavy damage.
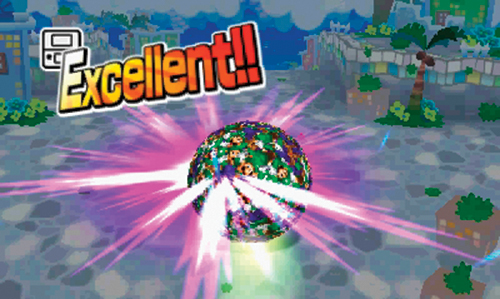
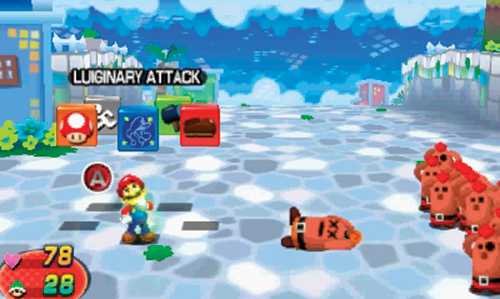
When it’s Mario’s turn to attack, don’t fool around—use only Luiginary Attacks. Although they cost BP, these attack are your best bet at defeating Heavy Zest in three turns. Both the Luiginary Ball and Luiginary Stack are effective as long as you score Excellents with each attack. It’s entirely possible to defeat Heavy Zest before all the Hooraws. But remember, the battle isn’t over until all foes are defeated. Keep hammering the Hooraws with Luiginary Attacks until the battle is won. Defeating Heavy Zest earns Mario and Dreamy Luigi the first of four Hooraw Medals. Exit through the orange pipe on the left to reach the next area.
K
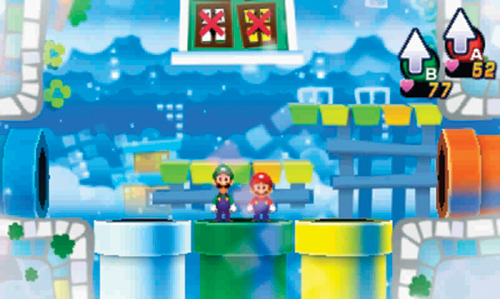
The window-like apparatus above this room serves as a type of scoreboard, illustrating which of the Hooraws have been defeated. Since you just defeated Heavy Zest, the window in the upper right closes over the orange panel—one down, three more to go. Return to area C by descending into the green pipe. Once back in Area C, descend down the yellow pipe—it’s time to go after Thunder Sass.
L
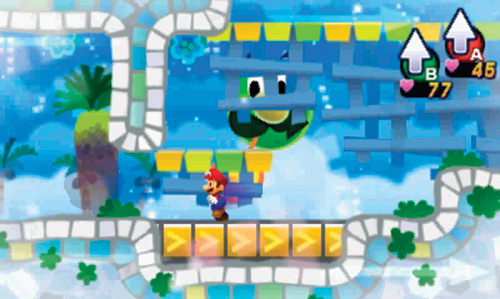
The Luiginary Speedometer is available here, allowing Mario to speed past the oncoming Conveyors. But while speeding through this room, don’t forget to engage all the Ticksquawks and Cocoknights along the way—you can really use the EXP. When you’re finished exploring and battling here, exit on the lower left.
M
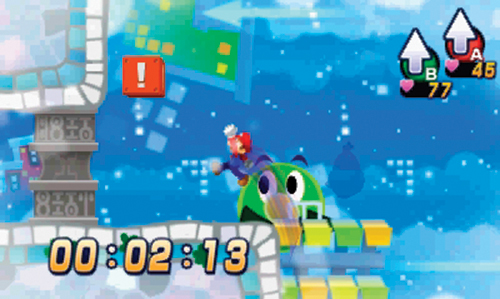
Continue using the Luiginary Speedometer here to speed up Mario’s movement. Near the center of this room strike an Event Block. This gives you nine seconds to reach a second Event Block near the exit. The only way to move fast enough through this course is with the help of the Luiginary Speedometer. When you reach the exit, strike the second Event Block to open the stone gate blocking the exit. If you’re not fast enough, return to the Event Block in the middle of the room and try again.
N
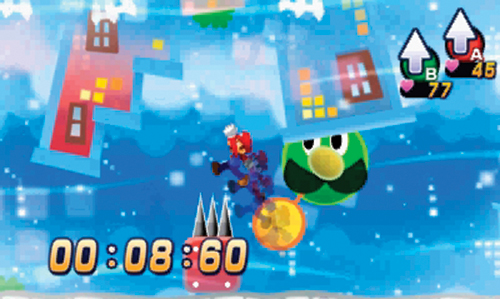
Like the previous room, you must once again use the Luiginary Speedometer to raise the stone gate blocking this room’s exit. Strike the Event Block near the center to start the timer. This time you have a whopping 25 seconds to complete the course. But this time you must use both the fast and slow speeds to reach the end in time. Speed Mario’s movements until you reach the spikes at the top of the room. Here you must slow Mario’s movements to jump over the spikes. Once over the spikes, speed up again to reach the second Event Block—strike it to stop the timer and open the stone gate. Just beyond the gate, slow Mario’s movement to strike the high ? Block containing a Super Mushroom.
O
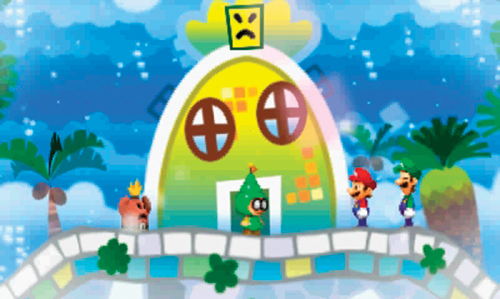
It’s time for the second battle in the Beef-off. This time Mario and Dreamy Luigi face off against Thunder Sass. Like the previous battle, there are some unique victory conditions—you can only win while using counters. Therefore, there is no attack phase for Mario during this battle. Instead, you must use Thunder Sass’ own attacks to damage him. Furthermore, only healing items can be used during this battle, and badge effects are banned. So take a moment to heal Mario completely, then start the battle.
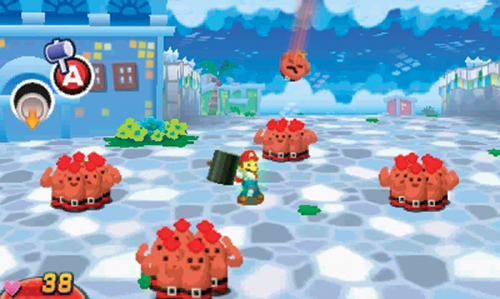
Like Heavy Zest, Thunder Sass surrounds himself with Hooraws—but you only need to defeat Thunder Sass this time. In one common attack, Thunder Sass bounces across groups of Hooraws before launching himself toward Mario at high speed. But he only bounces off the groups of Hooraws that have their arms raised—this makes it easier to predict when and from which direction Thunder Sass will come flying. Counter by hitting Thunder Sass with the hammer as he flies toward Mario. It’s not easy, but this is one of the best ways to inflict damage on Thunder Sass.
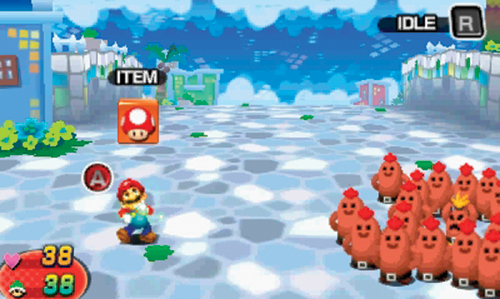
Since there is no attack phase for Mario, you can only use items during his turn—consuming Mushrooms and Super Mushrooms is a good idea if your health is low. If you don’t need the health, simply press
 to continue the battle.
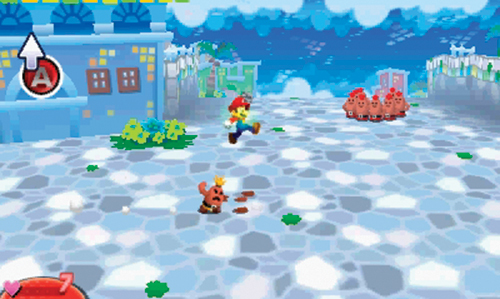
During another Thunder Sass attack, he comes charging directly at Mario. Time your jump carefully so you land on top of him to inflict damage. It’s much easier to score a counter during these attacks than it is with the hammer counter, so make the most of these opportunities. It only takes a few successful counters to defeat Thunder Sass, so stay focused to come out on top in this battle, earning another Hooraw Medal in the process. Exit the area by entering the yellow pipe on the left to return to area K. From area K, enter the green pipe to return to area C.
P
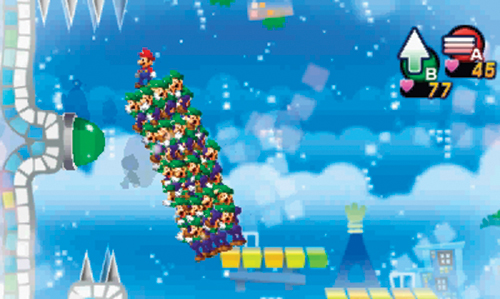
Back in area C, the blue and white pipes are still inaccessible, blocked by a stone gate. So exit area C on the upper left side to reach this area. Transform into the Luiginary Stack here and move to the far left. Jump onto the platform near the green switch on the wall, then lean the Stack out to the left so it can activate the switch. This opens a stone gate on the upper level—it also makes numerous coins appear throughout the room! Use the Stack’s Spring Jump to gather all these coins, then exit the room on the upper left. The upper left exit leads to a small room in area Q with a ? Block containing Charge Wear. After grabbing the Charge Wear, return to area P and exit through the lower left passage.
Q
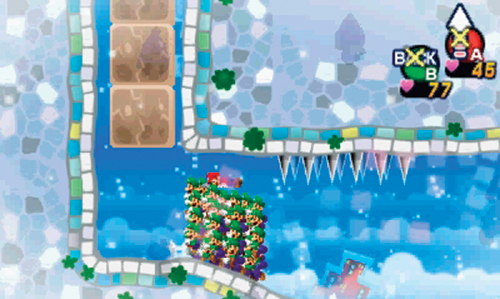
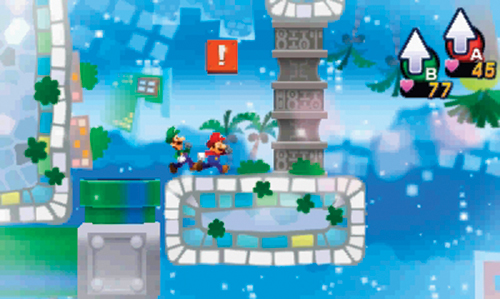
Employ the Luiginary Stack once again to get through this room. Compress the Stack to get past the spikes in the ceiling, then use a Spring Jump to bust through the rocks on the left side. After reaching the upper level, disassemble the Stack and exit through the green pipe on the upper right. This pipe leads back to a small alcove in area C with an Event Block. Strike the Event Block to open the stone gate blocking access to the white and blue pipes below. Descend to the lower level of area C and then enter the white pipe—it’s time to find Beef Cloud.
R
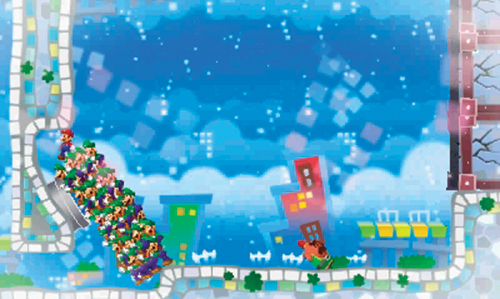
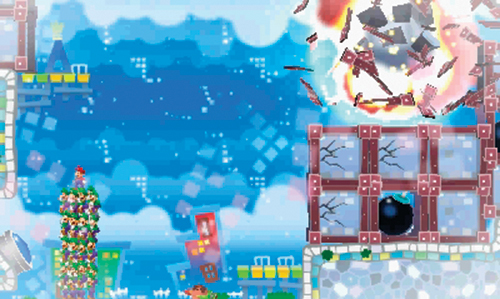
Mario and Dreamy Luigi encounter Li’l Massif here, working on his abs. He offers some advice on getting through this area—you must use bombs dropped from the ceiling to blast your way through the large barricade. Start by initiating a Luiginary Stack. Next, lean out to the left to activate the blue switch—this causes bombs to drop from a green pipe in the ceiling. As long as the switch is depressed, bombs continue falling, bouncing off the Stack before exploding nearby. As a bomb falls, snap the Stack to the right, batting the bomb toward the massive barricade on the right. Keep hitting bombs toward the barricade by snapping the Stack into an upright position—timing and positioning determines the trajectory of the flying bombs. Try to strike the bombs embedded in the barricade to create even larger explosions. Continue in this fashion until the entire barricade is destroyed, then exit on the right.
S
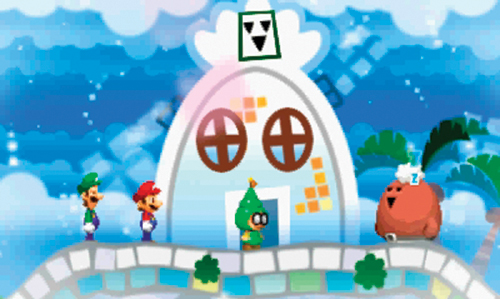
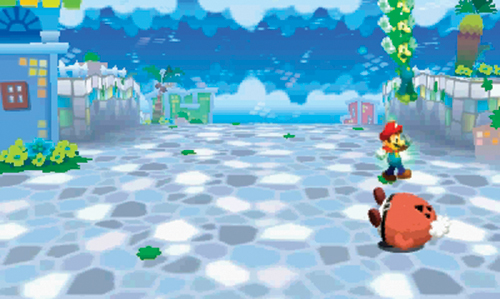
You have reached the location of the third Beef-off battle, facing off against Beef Cloud. Unlike the previous battles, there are no special conditions. When you’re ready, start the battle with Beef Cloud. He may be big, but Beef Cloud is always sleepy—and the longer he sleeps, the more HP he recovers. Keep hitting Beef Cloud with simple Jump attacks. Instead of taking a turn to attack, Beef Cloud continues to sleep, recovering HP with each passing moment. So as soon as it’s your turn to attack again, do so as quickly as possible. Continue hammering Beef Cloud with continuous Jump attacks until he’s down for the count, earning yet another Hooraw Medal. Following the battle, exit through the white pipe on the right to return to area K. From area K, take the green pipe back to area C, then enter the blue pipe—time to wrap up the Beef-off by finding Sorrow Fist.
T
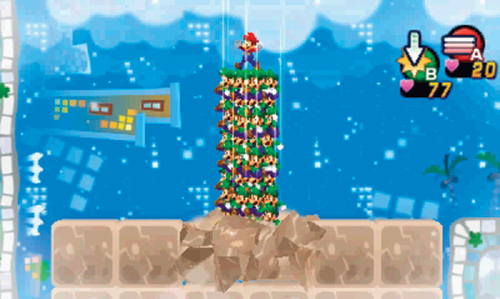
Eliminate the Cocoknights near the entrance of this room, then form a Luiginary Stack to Ground Pound your way through the rocks. At the bottom of the room there are several Ticksquawks—take them out as the Luiginary Stack, then exit on the right.
U
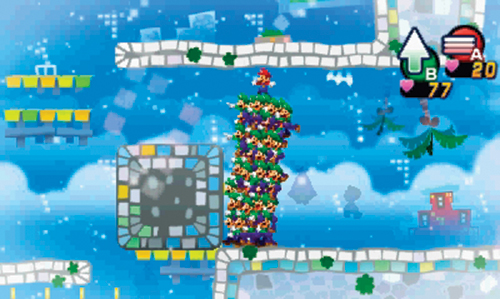
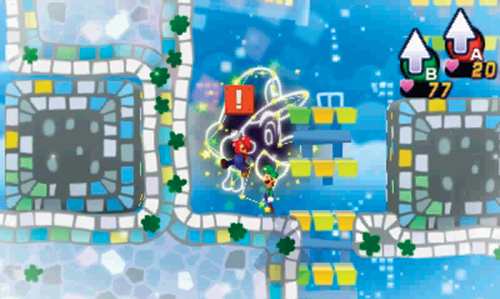
Compress the Luiginary Stack to duck under the wall near the entrance of this room, then Spring Jump to the middle level. Continue performing Spring Jumps to reach the coins in the upper level of this area. Unfortunately, the exit is blocked by a stone gate. Ground Pound through the rocks near the exit, then move left, gathering coins and moving a large stone block along the way. When you can push the block no further, disengage the Stack and drop down to the lower level, moving toward the Event Block on the left. Strike the Event Block to open the stone gate blocking the exit. Reassemble the Luiginary Stack and use a Spring Jump to return to the room’s upper level, then exit on the right.
V
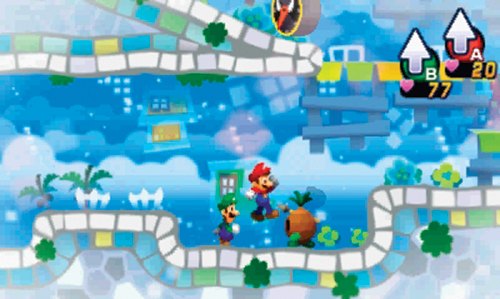
More Cocoknights and Ticksquawks patrol this room. Battle all the enemies here to gain more EXP, then exit on the right.
W
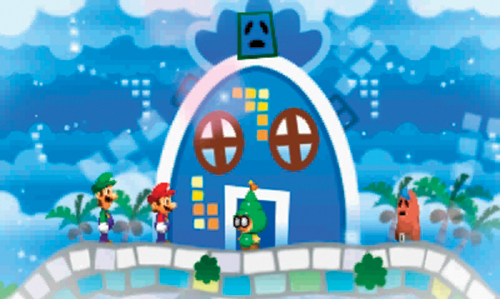
It’s time for the final round of the Beef-off as Mario and Dreamy Luigi face Sorrow Fist. For this battle you must win by only using Excellent hits. Damage dealt by any other hits won’t count—in fact, they’ll heal your foe. Before starting the battle take a moment to replenish your HP and BP. When you’re ready, begin the battle with Sorrow Fist—Dreamy Luigi must encourage this sad Hooraw before the battle begins.
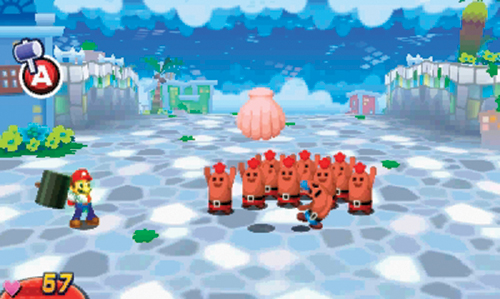
Sorrow Fist doesn’t exactly exude confidence. But don’t let his somewhat helpless demeanor fool you. Sorrow Fist surrounds himself with other Hooraws. Be ready to defend yourself against his attacks. In one attack he strikes a shell falling from the sky, sending it flying at Mario—knock it back with your hammer. In another attack, Sorrow Fist comes charging at Mario, flailing his arms—jump on his head to counter.

When it’s Mario’s turn to attack, focus on attacks you’re confident you can score Excellent hits with—remember, any other hits will heal Sorrow Fist instead of damaging him. Jump attacks are relatively easy to score Excellent hits with and deal a reasonable amount of damage. So simply perform one Jump attack after another until Sorrow Fist is down for good. Defeating Sorrow Fist earns Mario and Dreamy Luigi the fourth and final Hooraw Medal—you can now face Big Massif! Exit this room by taking the blue pipe back to area K. From there, take the green pipe back to area C. Now return to the dream world’s Tour Center in area B to face Big Massif.
Big Massif Battle
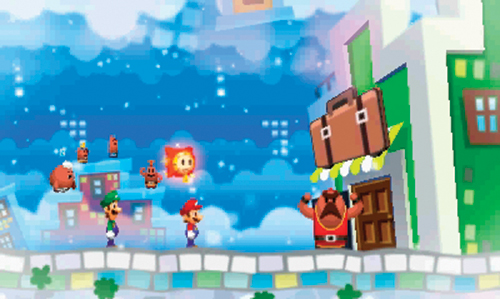
Upon returning to the Tour Center, Mario and Dreamy Luigi present the Shelltop with all four Hooraw Medals. But Dreambert gets suspicious when Big Massif is nowhere to be found. That’s when the Shelltop transforms into Big Massif! Dreambert isn’t impressed with all the theatrics and pleads with Big Massif to wake up so they can go to Mount Pajamaja. But Big Massif isn’t ready to fold so easily. Following a somewhat flawed demonstration of his workout routine, Big Massif challenges Mario and Dreamy Luigi to a battle—maybe he’ll agree to wake up if you defeat him?
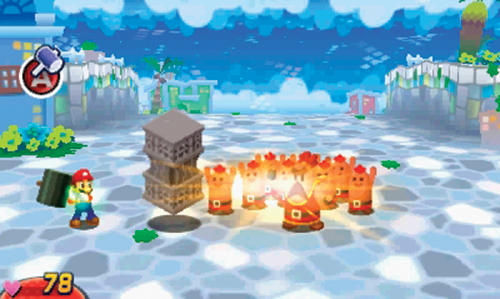
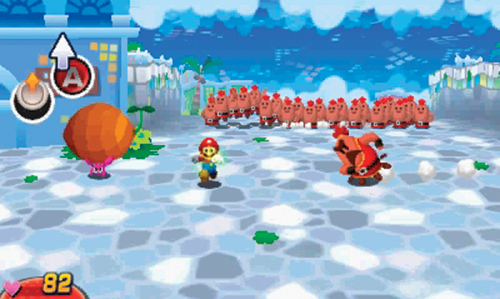
Battling Big Massif is similar to the battles with the other Hooraws—only Big Massif has much more HP and deals more damage with his attacks. Be ready to use your hammer and knock back a large stone pillar he punches in your direction. Like Heavy Zest, he also performs a charging attack—align yourself with the Hermite Crab and avoid getting trampled in the process. If Big Massif hits the Hermite Crab, the coconut goes flying, dealing damage to the Hooraws in the background.
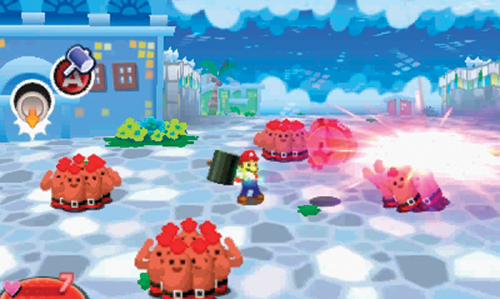
Like Thunder Sass, Big Massif also bounces across groups of Hooraws before launching himself toward Mario. Pay close attention to the groups of Hooraws during this sequence—Big Massif only bounces on the groups of Hooraws with their arms raised. As Big Massif flies at Mario, strike back with your hammer to perform a counter.
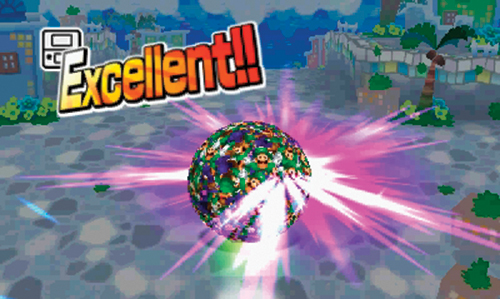
When it comes to attacking Big Massif, don’t hold back. Use Luiginary Attacks like the Luiginary Ball and Luiginary Stack to deal massive amounts of damage to Big Massif and his small army of Hooraws. These attacks do far more damage than any Jump or Hammer attack, significantly shortening the length of the battle. If you’re running low on BP, consume a Syrup Jar and keep the Luiginary Attacks going.
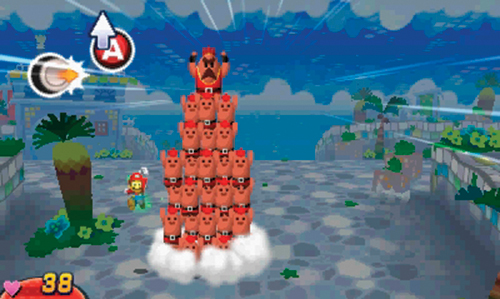
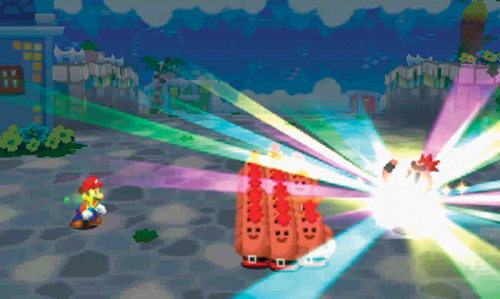
But Big Massif can organize a Stack of his own, riding atop a massive Stack of Hooraws. During this sequence Mario runs away from the approaching Stack. Move left and right to avoid getting trampled. Also be ready to jump when the Stack jumps toward you. Upon landing, the Stack emits a powerful radial shockwave. It’s important to avoid getting smashed by the Stack or knocked over by the resulting shockwave. Continue hammering Big Massif with counters and attacks of your own until he’s defeated, earning you plenty of coins and EXP, as well as Knockout Boots.
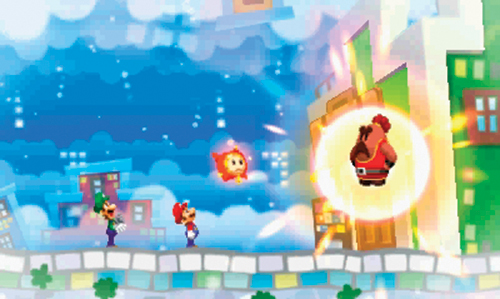
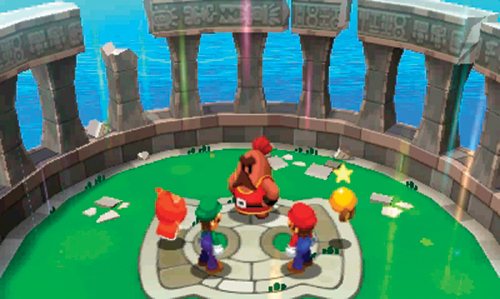
Following the battle, Big Massif agrees to return to the real world. Return to area A and leap back through the portal there to return to the real world. Back in the real world, Big Massif finally wakes up and is surprised to see Mario and Luigi standing before him—after all, he just saw them in a dream! When Starlow tells Big Massif that they’re here for the tour, he finally realizes that he overslept.
Destination: Mount Pajamaja
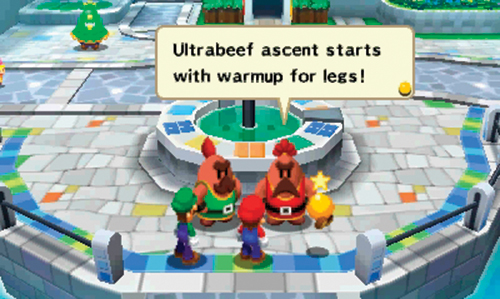
Mario, Luigi, and Starlow automatically rendezvous with Big Massif and Li’l Massif at Clock-Tower Plaza. Big Massif is still disappointed in himself for oversleeping, but is committed to make up for it by attempting an Ultrabeef ascent of Mount Pajamaja. He mentions that Mount Pajamaja is located behind Pi’illo Castle. By following the path around the castle you can reach the mountain. Without wasting any time, Big Massif and Li’l Massif sprint toward Mount Pajamaja. There’s no need to chase after them right now—you can catch up with them later.
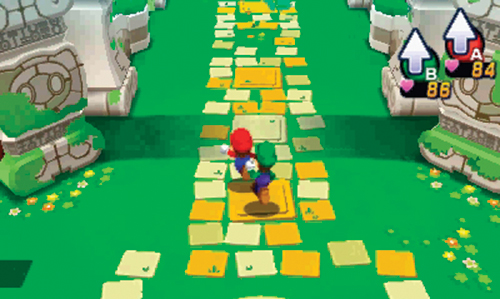
Now it’s finally time to go to Mount Pajamaja. Start by traveling toward Pi’illo Castle. From Pi’illo Castle it’s a short hike north to reach the base of Mount Pajamaja. Scour the paths around Pi’illo Castle (on the Pi’illo Blimport map) for beans and ? Blocks, as this is the first time you’ve probably explored this area. There are also a few Grombas in the area you can easily defeat. When you’re finished exploring around Pi’illo Castle, head north to reach Mount Pajamaja.