
Mario & Luigi: Dream Team Guide Walkthrough Mount Pajamaja
Mount Pajamaja
 Mount Pajamaja Entrance
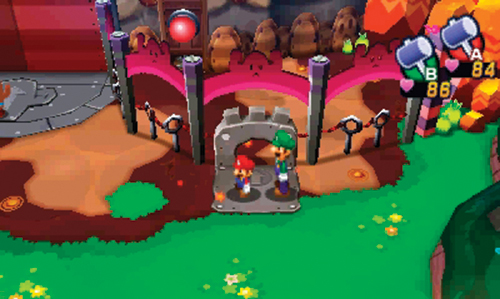
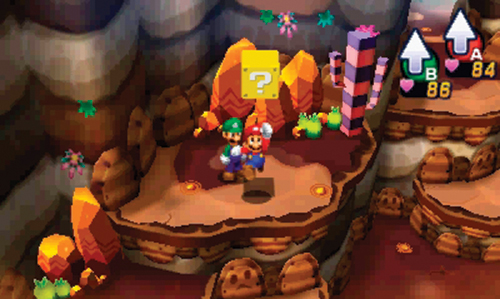
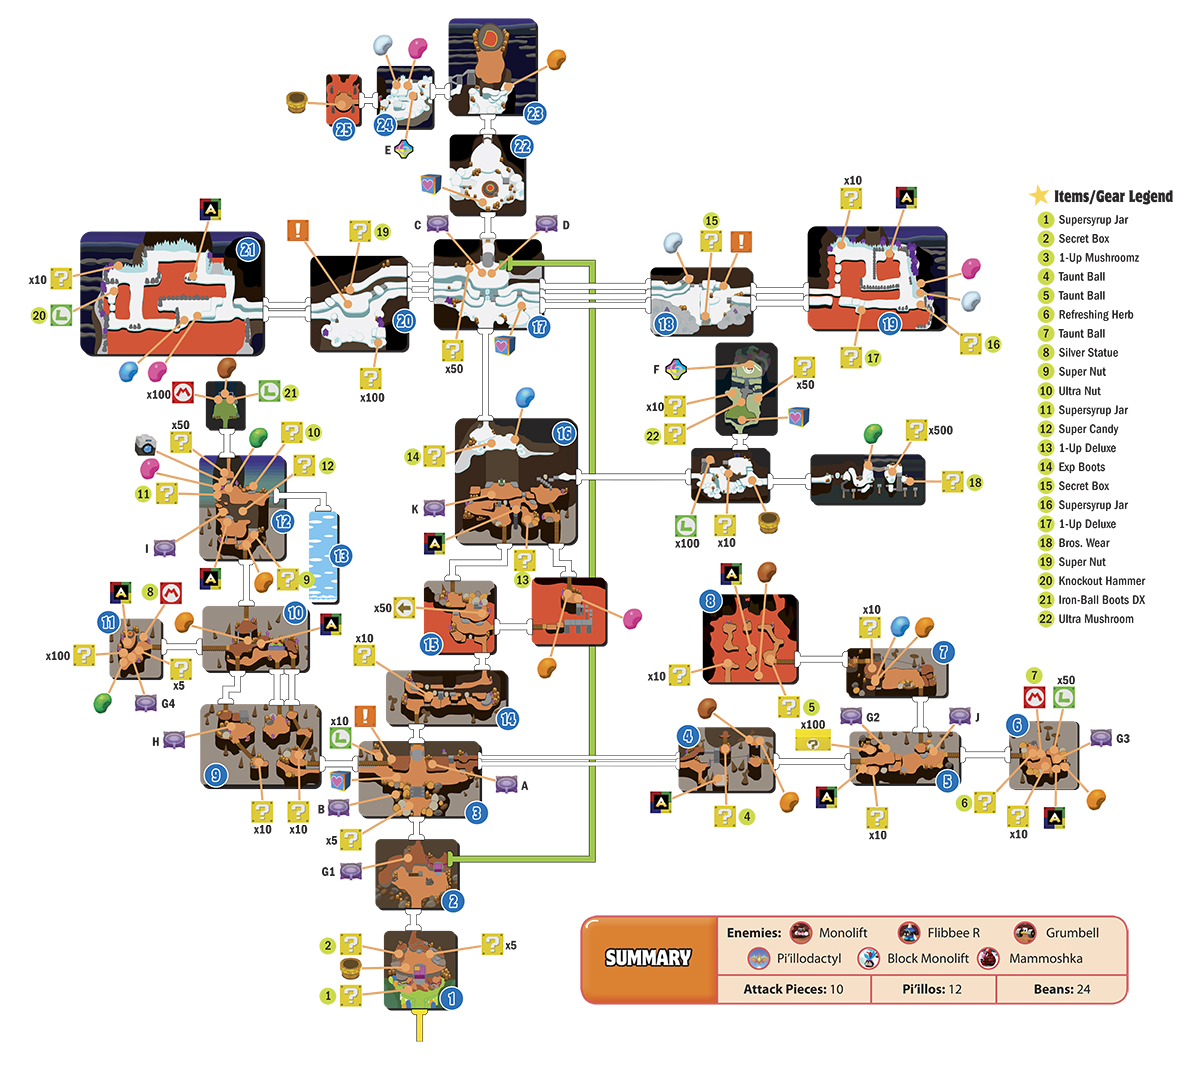
Welcome to Mount Pajamaja, the last known location of the Dream Stone. But as the tallest point on Pi’illo Island, it won’t be easy reaching the top. Fortunately, Mario and Luigi have the assistance of Li’l Massif and Big Massif to help them during the treacherous climb. Just ahead there are two small gates, accessible only by Mini-Mario. The gate on the west side leads to a ? Block containing a Supersyrup Jar. The gate on the east side leads to a red switch—strike it with your hammer to lower the nearby blocks, creating a set of steps to the mountain’s base. Climb up the steps and take a moment to explore the upper area. Here you can find a ? Block containing a Secret Box, and another ? Block containing coins. Once you’re finished exploring, advance through the narrow passage to the north.
 Tour Start
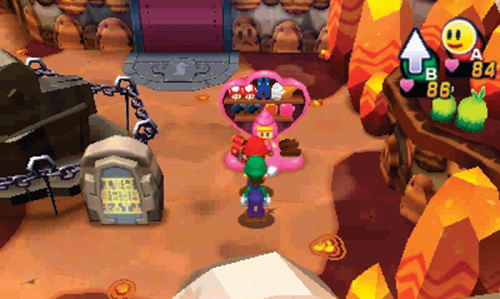
Li’l Massif and Big Massif are waiting here to begin the tour of the mountain. But before speaking with them, visit the shop on the east side. Now’s a good time to stock up on gear and items in preparation for the journey—the Heart Boots, Super Hammer, and Fighter Wear are good deals if you can afford them. Also, don’t forget to purchase some Pi’l-latte to fully restore Mario and Luigi’s HP and BP.
Mount Pajamaja Shop Inventory
Items
| Merchandise | Coins |
|---|---|
| Super Mushroom | 30 |
| Super Nut | 75 |
| Supersyrup Jar | 60 |
| Refreshing Herb | 30 |
| Shock Bomb | 50 |
| Boo Biscuit | 5 |
| Mushroom | 10 |
| Nut | 25 |
| Syrup Jar | 20 |
| 1-Up Mushroom | 50 |
Gear
| Merchandise | Coins |
|---|---|
| Super Boots | 560 |
| Heart Boots | 670 |
| Fighter Hammer | 580 |
| Super Hammer | 560 |
| Super Wear | 420 |
| Fighter Wear | 420 |
| EXP Bro Gloves | 240 |
| HP Scarf | 1,050 |
| BP Scarf | 1,260 |
| Speed Scarf | 530 |
| Stache Scarf | 1,050 |
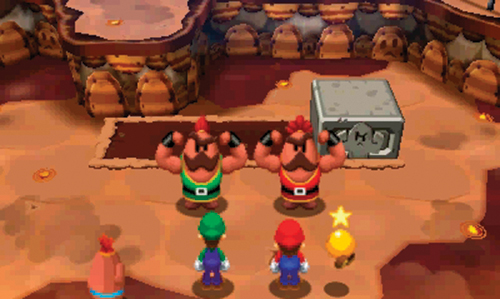
When you’re ready to begin the tour, speak with Big Massif. After a short motivational speech, Big Massif moves the large stone block toward the nearby ledge, creating a step necessary for reaching the upper-level. Follow Big Massif and Li’l Massif to the upper-level and exit to the north.
 Mighty Gate
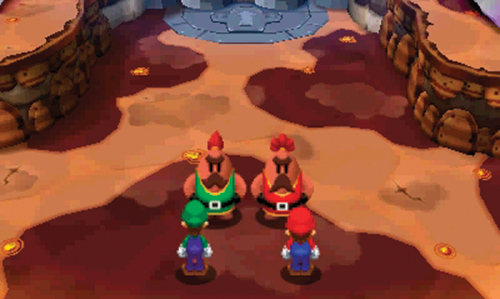
Ascend the stone steps here to catch up with your tour guides. Just ahead, is the tour’s first point of interest: the Mighty Gate. Even the Massifs have not been able to open this gate. But there is another way around. Before following the Massifs to the east, use the nearby Save Block to save your game. You can also strike an L Block to the northwest to obtain a 1-Up Mushroom.
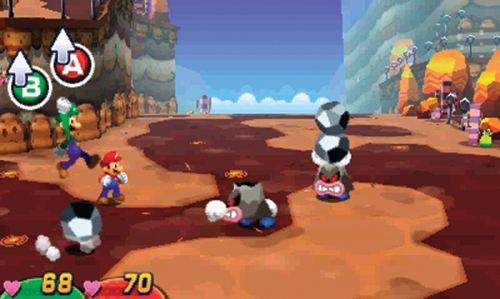
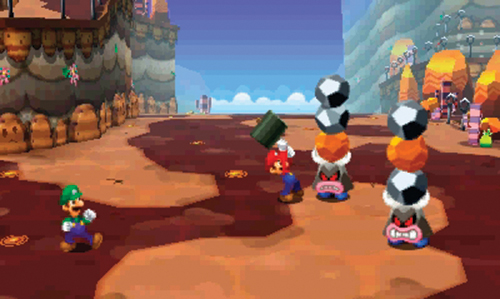
On the east side of this area you encounter the first enemy—Monolift. Prior to a battle, these guys try to initiate combat by throwing a large brown stone at you. Avoid contact with these incoming rocks and initiate a battle with a Jump or Hammer attack. Rocks are also important to their attacks during battle. When they approach with a stack of rocks, watch carefully as they punch them toward Mario and Luigi, one at a time. Jump over the gray rocks, and pay extra attention to the brown rocks—they split in two, traveling toward both Mario and Luigi. In another attack, the stack of rocks is balanced above the Monolift’s head, leaning left and then right. When the stack of rocks leans away to the right, counter with your hammer—this causes the stack of rocks to fall on the Monolift, inflicting damage. When it comes to attacking, use Hammer attacks as Jump attacks do no damage due to the layer of rocks above each Monolift. Bros. Attacks like the 3D Green Shell and 3D Red Shell also work well against these foes. When you’ve defeated the Monolifts, exit this area by taking the lower-east path.
 Lower Bike Gondola
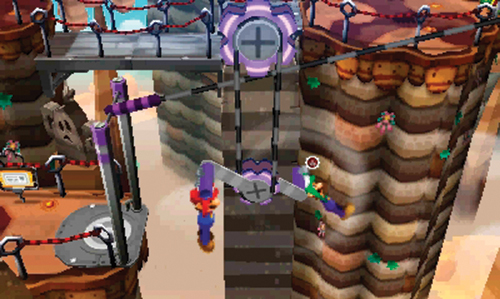
Here you must use the bike gondola to reach the plateau on the far east side. Mario and Luigi must work together to operate this device. Alternately press
 and
and
 in a steady rhythm to make the bike gondola move along the suspended cable. If you lose your rhythm, the bike gondola begins moving backward. It’s difficult to recover once the bike gondola is moving in the opposite direction, so simply ride it back to the start and begin again. Once you’ve reached the eastern plateau, exit by crossing the bridge to the east.
 Southeast Junction
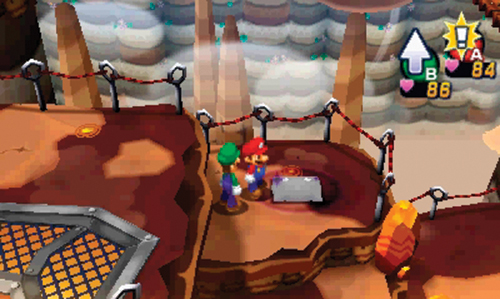
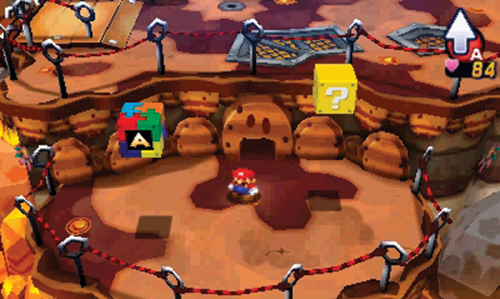
Upon entering this area, the Massifs are seen heading across the distant bridge to the north. But there’s no need to rush—they’ll wait for you. Instead, take a moment to explore this area and battle some Monolifts in the process. Smash the rock directly to the east to uncover a pillow. Unfortunately, you can’t rescue this Pi’illo (G) yet—come back later. South of the pillow, enter a small gate as Mini-Mario to reach the first Mount Pajamaja Attack Piece.
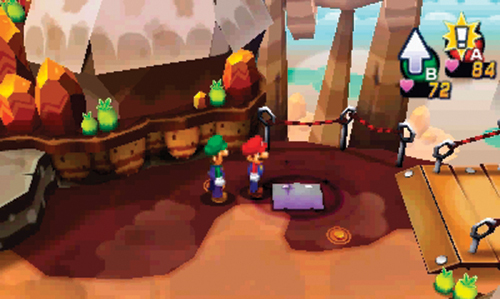
There’s another pillow hidden beneath one of the rocks to the east—this is one Pi’illo (J) you can rescue. In the dream world, strike the switch on the left side to access the nightmare chunk. Smash the nightmare chunk to free another Pi’illo Folk. Once the Pi’illo is free and you’ve returned to the real world, cross the bridge to the east for a quick detour.
 Southeast Plateau
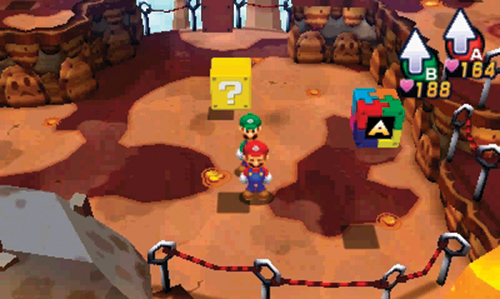
Although the Massifs didn’t come this way, take a moment to scout out this remote area to gather a few more goodies. Here you can get a Refreshing Herb from a ? Block, a Taunt Ball from an M Block, some coins, and another Attack Piece. There’s also a pillow, an L Block, and a Power Bean to the east—but you can’t reach them yet. Come back later to strike the L Block and rescue the Pi’illo (G). When you’ve gathered as much as you can, return to area 5 and head north to catch up with your tour guides.
 Upper Bike Gondola
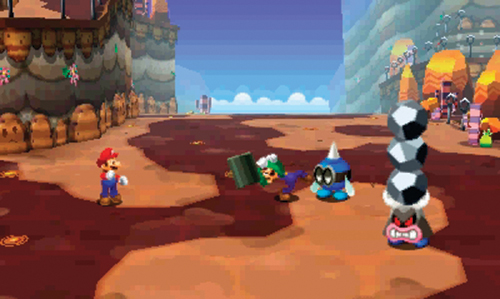
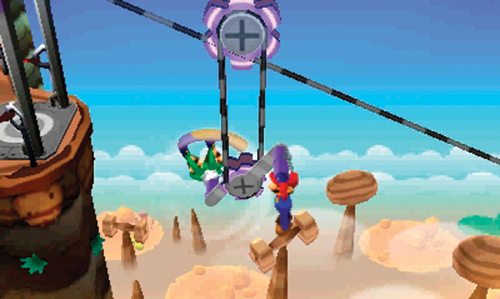
While exploring this area, you come across a new, but somewhat familiar, enemy—Flibbee R. This blue enemy performs much like the yellow Flibbee you encountered in Mushrise Park. When the Flibbee R is on the ground, use Hammer attacks—don’t jump on him unless the spike on his head is facing downward. After the battle, climb the series of ledges to the east to reach another bike gondola. You know what to do. Ride the bike gondola to the plateau on the west side and exit.
 Southeast Lava Field
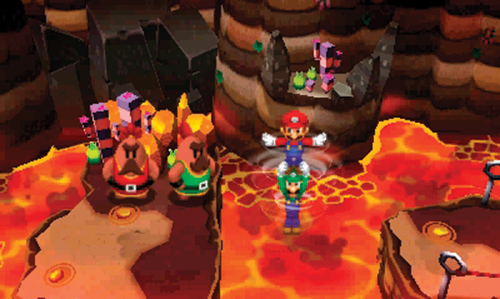
Big Massif and Li’l Massif are waiting here, in this expansive lava field—you’ll need their help to get across. The Massifs demonstrate their method for leaping great distances by using the Spin Jump. To perform a Spin Jump of your own, press
 twice, until the new Spin Jump ability is selected, shown in the upper right corner. Next, initiate a Spin Jump by pressing
, so Mario hops on Luigi’s shoulders. Finally, press
again to initiate the Spin Jump. During the Spin Jump, Mario and Luigi hover just above the ground, like a helicopter. While airborne, use the Circle Pad to move, flying toward the path to the west. Once you’ve landed, you can press
twice, until the new Spin Jump ability is selected, shown in the upper right corner. Next, initiate a Spin Jump by pressing
, so Mario hops on Luigi’s shoulders. Finally, press
again to initiate the Spin Jump. During the Spin Jump, Mario and Luigi hover just above the ground, like a helicopter. While airborne, use the Circle Pad to move, flying toward the path to the west. Once you’ve landed, you can press
 to reset the action icon back to Jump.
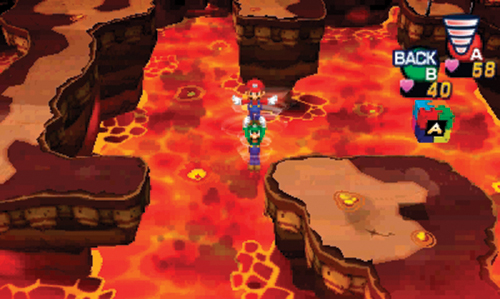
Now that you’ve unlocked the Spin Jump, navigating this lava field is easy. Follow Big Massif and Li’l Massif’s lead, Spin Jumping from one plateau to the next. When you make it to the large western plateau, move out toward the eastern-most ledge and Spin Jump toward the plateau in the center of the lava field. Here you can find another Attack Piece. From the center plateau, head south, then Spin Jump to the next plateau in the southwest corner. From here, you can exit the lava field by taking the southern path.
Mighty Gate
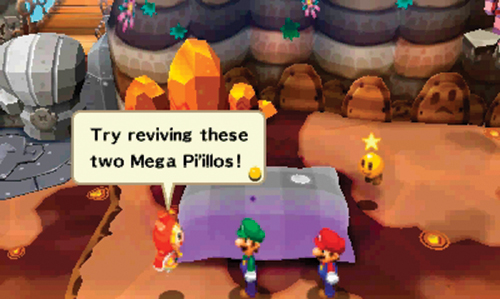
Cut through the upper-level of area 4 and return to area 3—Mario and Luigi enter on the upper east path. The Massifs are nowhere to be found, but Dreambert notices a massive pillow—this is a Mega Pi’illo. There’s a second Mega Pi’illo located on the ledge to the west as well. Dreambert suggests reviving the Mega Pi’illos—perhaps they can assist in opening the Mighty Gate? Luigi gladly falls asleep on the Mega Pi’illo, prompting Mario to enter the dream world.
Dream World (A)
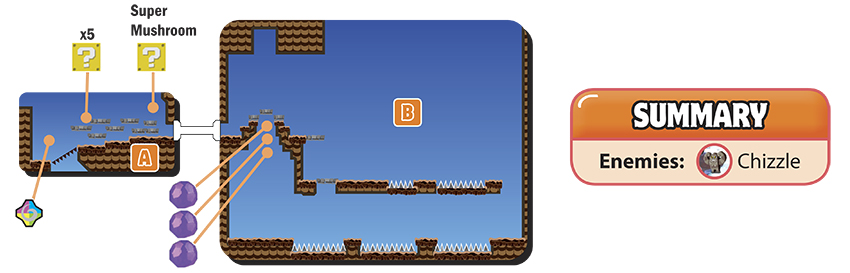
A
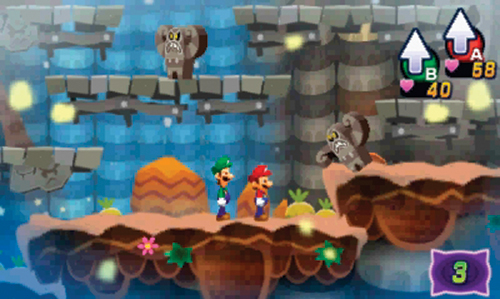
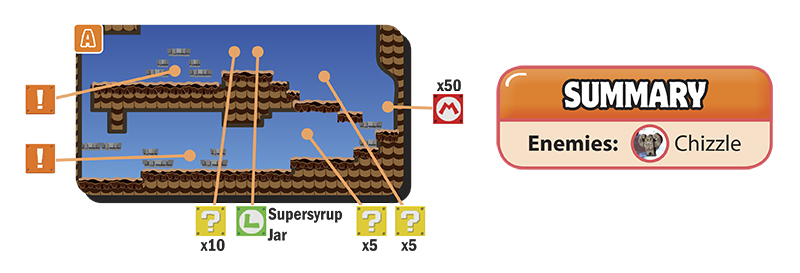
There are three nightmare chunks in this dream world that must be smashed to free the Mega Pi’illo. But there are no nightmare chunks in this particular area. Still take your time to explore—there’s an M Block on the upper-level containing a Super Mushroom. This area is also occupied by several Chizzles—initiate battles with a pre-emptive Jump attack. When the area is clear of enemies and goodies, exit on the right.
B
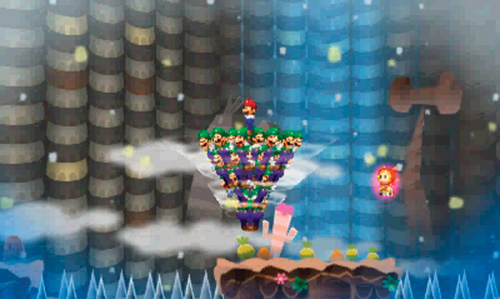
The three nightmare chunks imprisoning the Mega Pi’illo are located in this chamber. Work your way to the bottom-middle platform and initiate a Luiginary Stack. When prompted, press
to transform the Stack into a Luiginary Cone. While in Cone form, you can move with the Circle Pad and perform a Hover Spin by pressing
. Give the Hover Spin a shot to fly over the spiked floor section. Press
multiple times, while airborne, to extend the duration of the Hover Spin, allowing you to travel great distances.
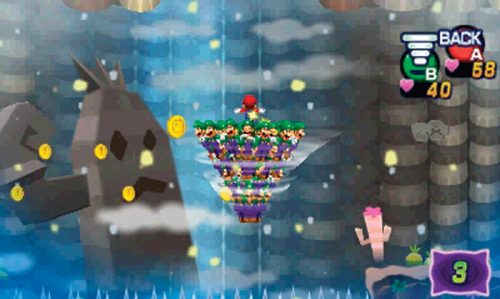
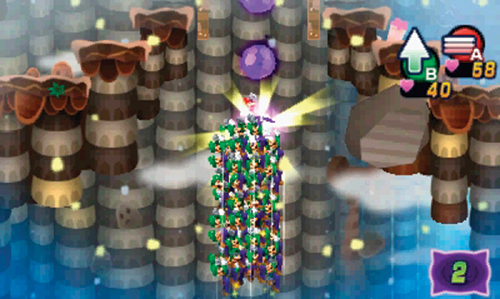
Using the Luiginary Cone and Hover Spins, descend to the lower-level and fly over the spiked floor while heading to the left. When you reach the area on the far left, transform the Cone into a Stack by pressing
. Move the Stack just beneath a coin, then initiate a Spring Jump—this not only adds a few coins to your collection, but it also smashes the three nightmare chunks, freeing the Mega Pi’illo!
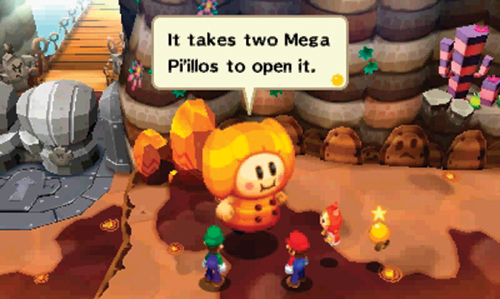
Back in the real world, the Mega Pi’illo is grateful for Mario and Luigi’s assistance and is honored to meet Prince Dreambert. The Mega Pi’illo reports that opening the Mighty Gate is his job. However, he can’t do it alone—two Mega Pi’illos are required to open the gate. It looks like you need to find a way to reach that other Mega Pi’illo to the west. Meanwhile, the Massifs are eager to resume the tour, exiting to the west. Drop down to the lower-level and then follow Big Massif and Li’l Massif’s lead, exiting on the lower-west path.
 Southwest Plateaus
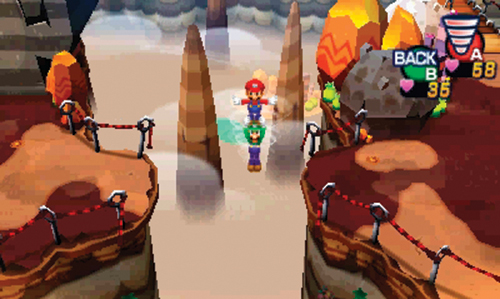
Use the Spin Jump to cross the first gap you encounter here. Afterward, cross the wooden bridge and engage the Monolifts on the other side. Next, cross the gap to the east using the Spin Jump. Engage the Flibbee R on the other side, then exit by taking the bridge to the north—the rest of this area is inaccessible at this point.
 Rising Air Cliffs
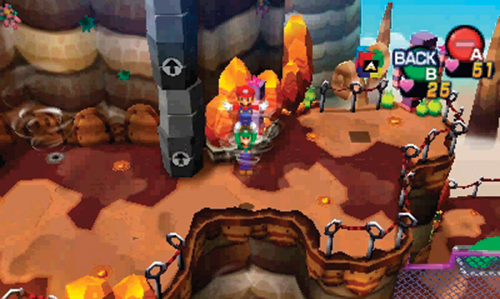
Here Big Massif and Li’l Massif demonstrate how to ascend this cliffside by using columns of rising air, called air currents. Follow their example, initiating a Spin Jump to ride the rising, whirlwind-like air current to reach the ledge above. Before following the Massifs any further, grab the Attack Block on this ledge. Next, exit on the west side to explore the adjoining area before resuming your tour.
 Southwest Bluff
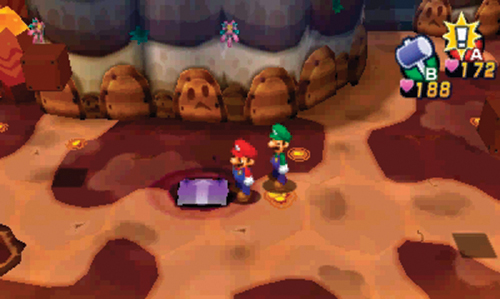
This small dead-end area offers a couple of ? Blocks containing coins, a Bros. Bean, and yet another pillow. You’ll need to enter the dream world and rescue this Pi’illo (G) if you wish to attain the Attack Piece on the high bluff to the north. Entering this dream world is also instrumental in freeing the three other Pi’illos trapped here, making it a worthwhile detour.
Dream World (G)
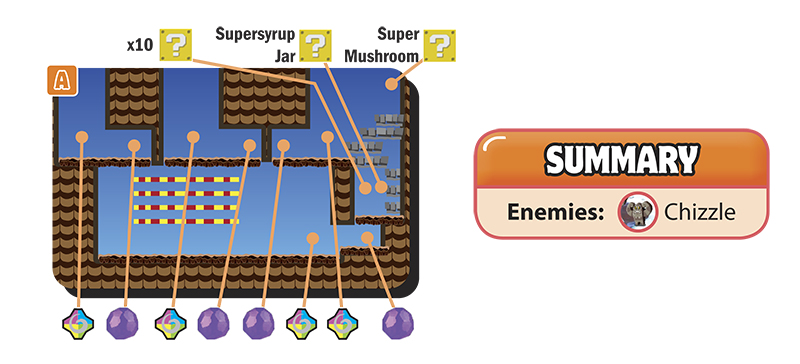
A
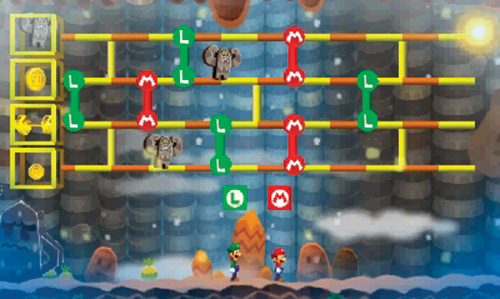
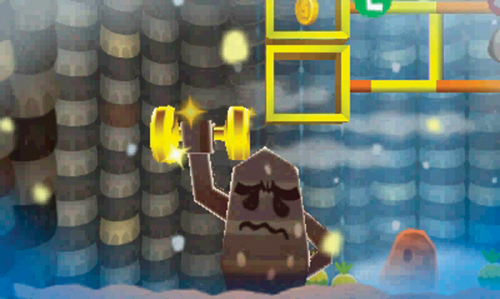
Entering this dream world presents Mario and Dreamy Luigi with a unique challenge—strike the Event Block on the far left side to begin the challenge. Just above this room are a series of track-like bars, which a yellow pulse of energy travels along, moving from right to left. The pulse automatically switches tracks at each junction it encounters. The goal is to get the pulse into one of the four boxes on the left side. The boxes contain the following items: a small coin, 50 coins, a Chizzle, and a golden dumbbell. The pulse must reach the golden dumbbell to open the gates leading to this dream world’s four nightmare chunks.
You can alter the path of the pulse by striking the M and L Blocks below. Each block is connected to a series of corresponding red and green junctions connecting the pieces of track—these junctions can be turned on or off. By striking these blocks, you can effectively guide the pulse through the course. By default, all junctions are active. Toggle them off and on by striking the M and L Blocks. The positions of the items in the boxes on the left are randomly moved, so each round is different. If the pulse hits the Chizzle in one of the boxes, the challenge is over—and you must do battle with the Chizzle. Hitting one of the Chizzles on the track simply ends the challenge.
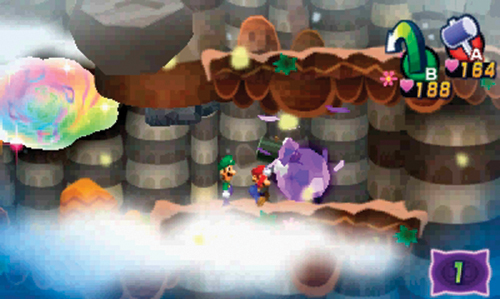
Once the pulse reaches the golden dumbbell, the four fist-like gates in the room open, providing access to all four nightmare chunks. Move to the right side and smash the nearby nightmare chunk to free the Pi’illo and return to the real world.
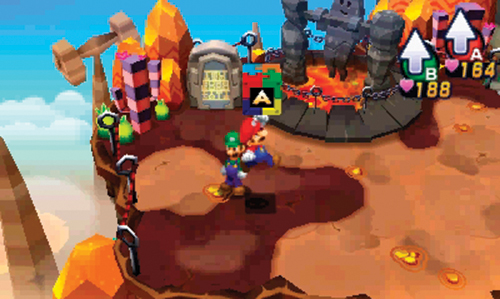
Back in the real world, you can now ask the rescued Pi’illo for a lift—simply ask for help and jump up to the high bluff to the north. Once there, you can finally collect the Attack Piece. Return to the lower-level, then exit to the east. Once back in area 10, use the air current and a Spin Jump to reach the northern path leading to area 12.
 Western Face
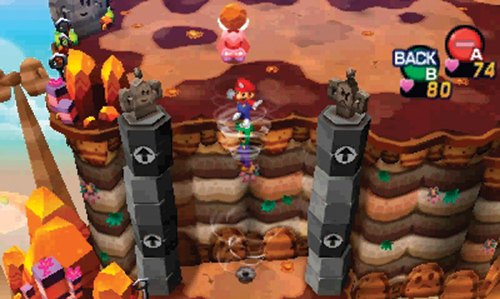
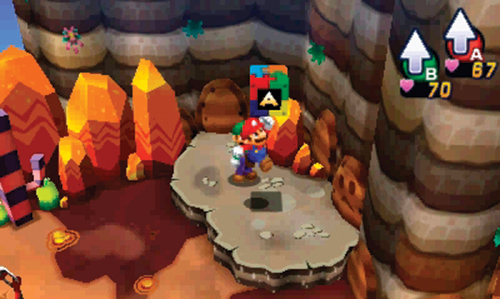
By the time Mario and Luigi reach this area, the Massifs have climbed all the way to the top of this steep face of the mountain. There’s no need to rush, so take your time in making this tricky ascent. Before heading up, defeat the Flibbee R and Monolifts near the entrance to rack up some EXP. There’s also a ? Block on the lower-level, containing a Super Nut. Next, head to the west side and look for the air current. Use a Spin Jump to ride the air current upward—be ready to face more angry Monolifts on the next ledge. Once the ledge is clear, search the west side for another Attack Piece.
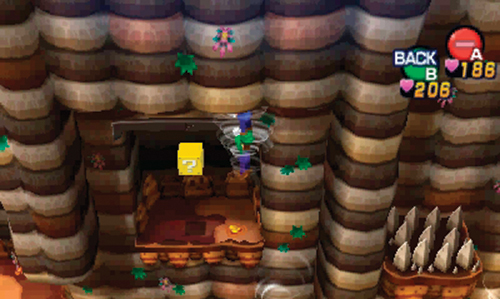
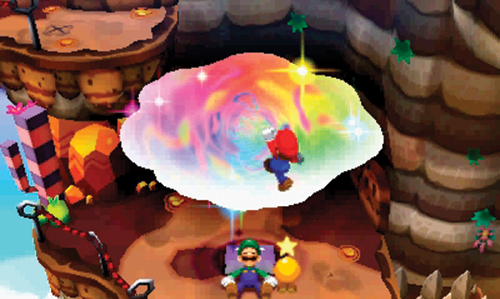
For the next stage of the ascent, you must travel along multiple air currents, some moving vertically and others moving horizontally. Instead of moving to the east side immediately, explore the western face of the cliff. There’s an alcove here with a ? Block containing a Super Candy. There’s also a pillow on a ledge to the far west—take a time out to rescue this Pi’illo (I). Continue upward along the far west side to gather a Supersyrup Jar (in a ? Block), as well as a Bros. Bean, and a Heart Bean.
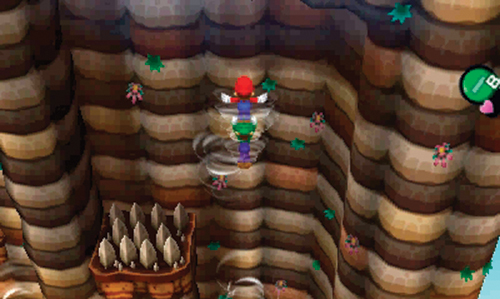
When you’re finished exploring the western side, return to the mid-level ledge and use Spin Jumps and the air currents to traverse the east side. Once again, travel along a series of vertical and horizontal air currents to work your way to the top—press
to transition from one column of air to the next.
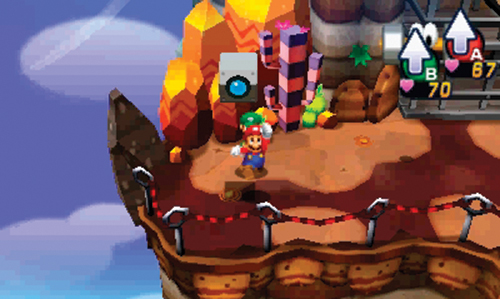
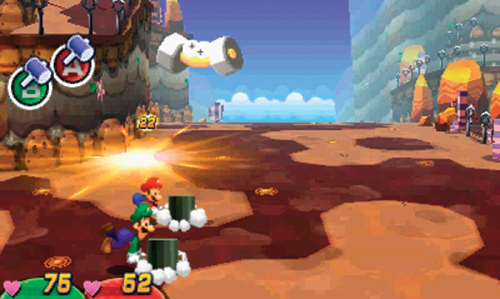
At the top, take a moment to look around before rendezvousing with the Massifs—Mount Pajamaja’s Camera Block is located on the west side. Here you also encounter a new enemy—Grumbell. These large dumbbell-like foes aren’t terribly tough, but be ready to counter with your hammers before they can smash Mario or Luigi. During your turn, Jump and Hammer attacks are adequate for defeating these enemies.
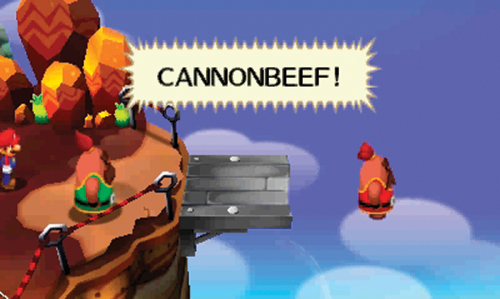
Catch up with Big Massif and Li’l Massif on the eastern ledge. For the next part of the tour, the Massifs require a demonstration of courage—by leaping off the side of the cliff! Luigi isn’t thrilled at this idea, but Mario is able to convince him to tag along. When you’re ready, follow the Massifs off the east side of the cliff.
 Freefall!
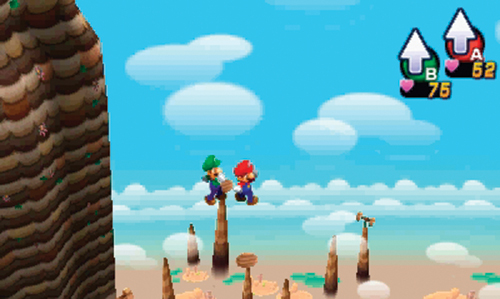
After jumping off the side of the cliff in area 12, Mario and Luigi simply fall all the way down through this area. You can use the Circle Pad to move left and right during the descent, but there’s nothing here to collect.
Rising Air Cliffs
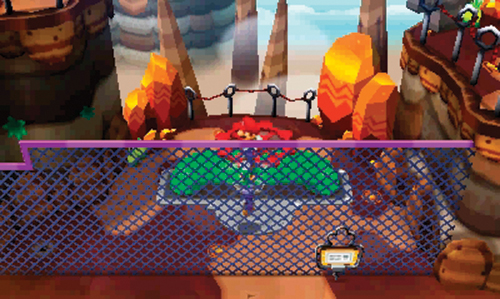
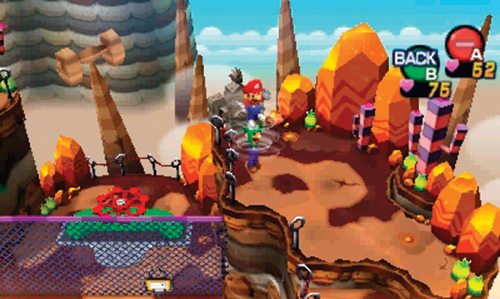
After the fall, Mario and Luigi find themselves embedded in the coil next to the large pipe and valve—jump up repeatedly to emerge from the ground. Meanwhile, Big Massif and Li’l Massif are on the cliff to the east. They offer a hint to get out of this fenced area—look for the valve. After imparting their subtle hint, the Massifs exit to the south. Stand just beneath the red valve and initiate a Spin Jump. This causes the valve to spin, activating two nearby air currents. Use the air current to the west to Spin Jump your way out of this fenced area. Next, use the new air current to the east to reach the upper-level cliff, where the Massifs stood. Cross the wooden bridge to the south to resume the tour.
Mighty Gate
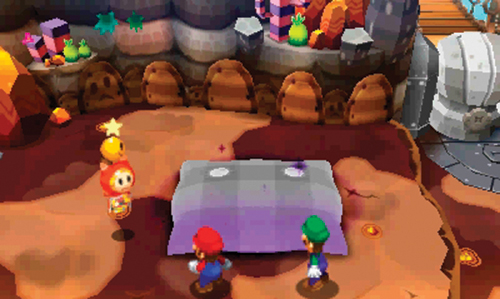
Cross a series of wooden bridges through area 9 and return to the Mighty Gate. Upon entering this area, cross another bridge and strike an Event Block on the east side—this activates a lift on the lower-level, making it easy to return to this area without back-tracking all the way to area 10. Finally, approach the second Mega Pi’illo and prepare to enter the dream world.
Dream World (B)
A
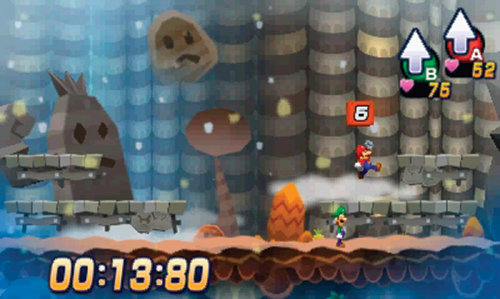
There is only one nightmare chunk in this dream world, but you’ll need to work to reach it. Start by moving to the right. When Mario and Dreamy Luigi’s path is blocked by a fist-like gate, look for the Event Block to the left. Upon striking the Event Block, a numbered Teleport Block appears as well as a 15 second timer. Each time you strike the Teleport Block, it disappears and reappears in a different location. In this sequence you must strike the Teleport Block five times within the time allotted to open the gate.
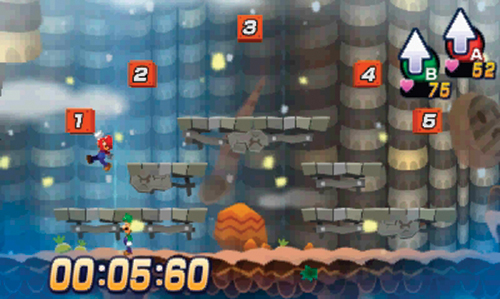
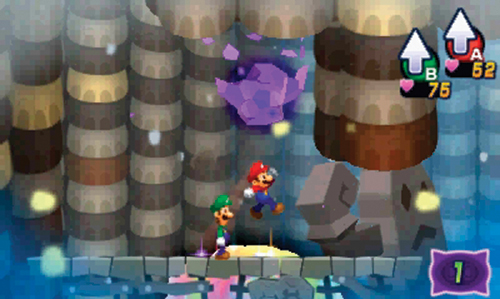
Continue to the right, past the open gate, and on to the upper-level. Hit the ? Blocks and M Block on the way up to score some coins—the L Block on the upper-level contains a Supersyrup Jar. As you move to the left, another fist-like gate blocks your path. Once again, look for the Event Block to start another Teleport Block sequence. This time you have 18 seconds to strike the Teleport Block five times. But there’s one catch—multiple Teleport Blocks appear. Strike only the ones that count down from five—hit the blocks in this order: 5, 4, 3, 2, 1. Striking an incorrect block ends the challenge, requiring you to restart by hitting the Event Block. But once the challenge is completed, the gate to the left rises, finally providing access to the nightmare chunk. Jump up repeatedly to break the nightmare chunk and free the second Mega Pi’illo.
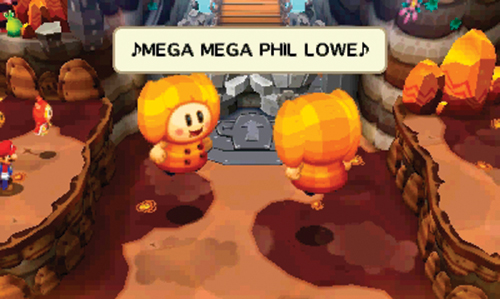
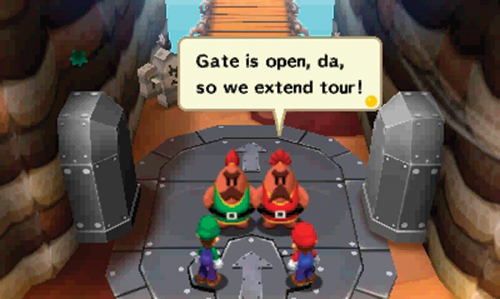
Back in the real world, the Mega Pi’illo is happy to finally be awake and greets his colleague on the other side. Together they perform a childish dance before leaping high into the air. On the way down they both land on the Mighty Gate, smashing it to bits. Big Massif and Li’l Massif respond to the sound of the gate getting smashed and are immediately enamored by the Mega Pi’illos’ muscle-bound abilities. Now, that the path to the north is finally open, the Massifs agree to extend their tour of Mount Pajamaja. However, the areas ahead are unknown, even to these beefy tour guides. Before following the Massifs to the north, consider saving your game at the Save Block to the south.
 Side Drill Cliffs
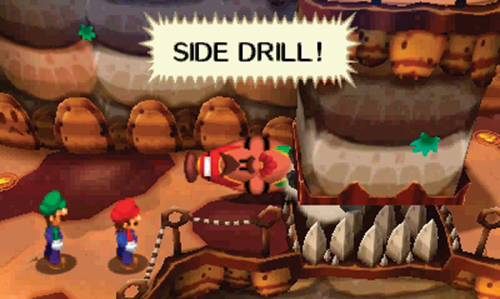
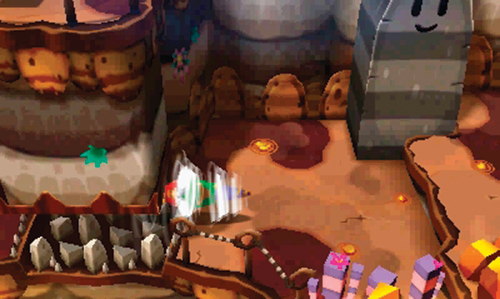
Your path appears to be blocked as you enter this area. But just as Mario and Luigi are about to turn back, Big Massif and Li’l Massif scale down the cliff to assist. By using the Side Drill, you can pass through the narrow crevice to the east. This works similar to the Spin Jump—press
twice to change the icon to the Side Drill, then move in front of the crevice to the east. Press
to initiate the Side Drill through the crevice. This maneuver comes in handy for fitting through small holes and gaps.
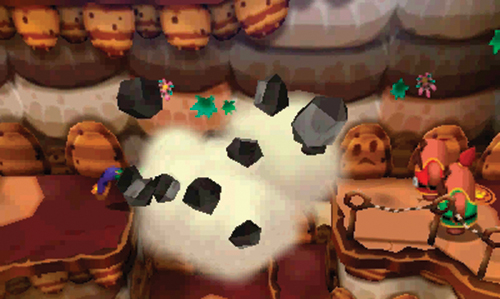
Side Drill through the next crevice along the path, then catch up with the Massifs on the next ledge. Here they demonstrate how to use the Side Drill to break through rocks—give it a shot. Continue using the Side Drill move to traverse this ledge. On the upper-level, Side Drill through another rock, then Side Drill through a crevice to reach the path exiting to the north.
 Central Lava Field (West)
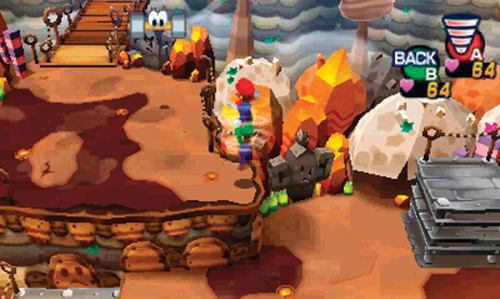
Side Drill through the rock in your path here, then jump up to the nearby ledge to engage some Grumbells. Be sure to strike the Bros. Block to the northeast, then climb on the metal platform nearby. From the metal platform, Spin Jump to the ledge on the west side. From here you can access the wooden bridge exiting to the north.
 Cannon Pipe Bluff
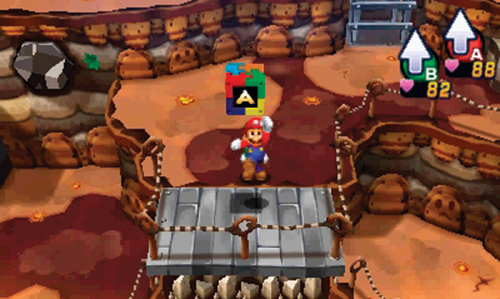
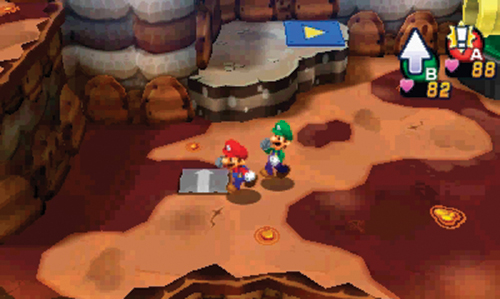
Watch out for the Grumbells and Monolifts here while exploring. Upon entering, Side Drill through the crevice to the east to reach a small area with a ? Block containing a 1-Up Deluxe, back-track through the crevice, and ascend the ramp to reach the first ledge. Defeat the Monolifts here, then Side Drill through the rock to the east—just above the metal platform to the south is another Attack Piece. Ascend to the next ledge and head west—ignore the Cannon Pipe for now and approach the pillow on the ground. Take a moment to rescue this Pi’illo (K) before continuing the climb.
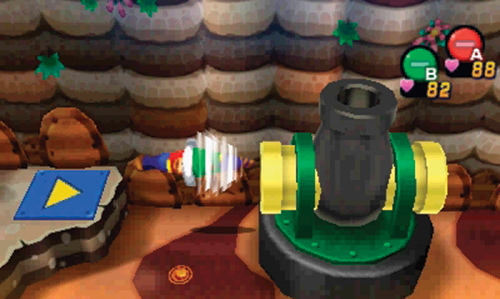
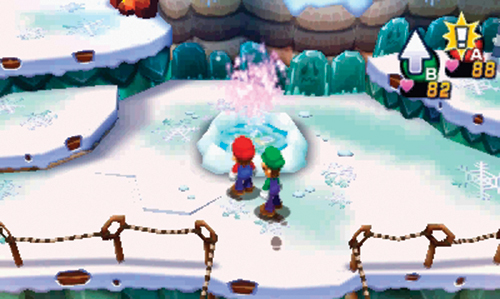
After rescuing the Pi’illo, approach the Cannon Pipe. Stand on either of the blue panels on the west or east sides of the Cannon Pipe and perform a Side Drill into the pipe. Mario and Luigi are automatically launched skyward, landing on a snow-covered ledge a short distance from Big Massif and Li’l Massif. They advise Mario and Luigi to drink from the nearby fountain before exiting to the north. Interact with the fountain and see what happens—Mario and Luigi’s HP and BP are fully restored following the experience. Before exiting this area, scour nearby for a Speed Bean.
 Summit Gate
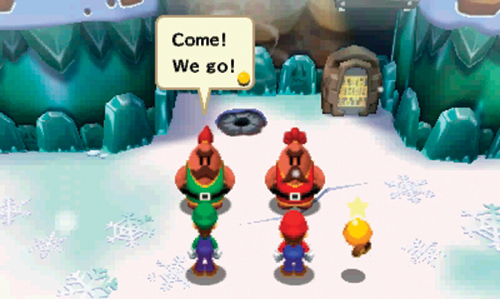
Another gate and two Mega Pi’illos await atop this steep cliff. But the path to the top is treacherous, requiring Mario and Luigi to traverse a series of switchback trails zig-zagging east and west along the face of the mountain. Following a brief motivational speech by the Massifs, save your game at the nearby Save Block. You can’t use the air current to Spin Jump upward due to the large rock above. You’ll need to find another way around, so follow Big Massif and Li’l Massif to the east.
 Northeast Ledges
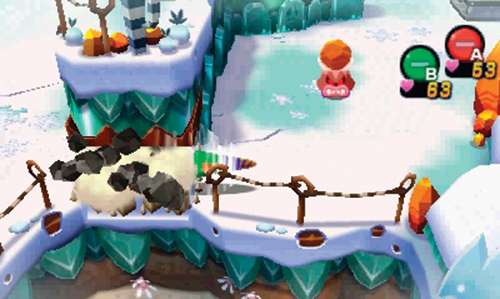
There are a series of ledges here, all connecting back to area 17. Battle the Grumbells on the lower-level of this area, and then Side Drill through the crevice to the east, defeating the Monolifts on the other side. There’s nothing more you can do here for now, so exit to the east.
 Northeast Lava Field
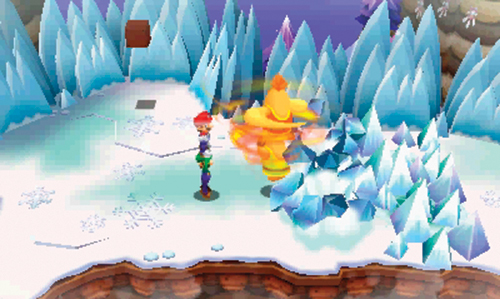
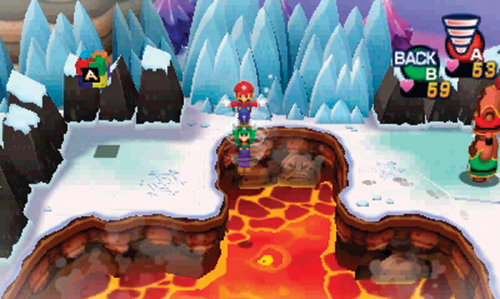
Catch up with the Massifs here—they need Mario and Luigi’s assistance to clear a path through the ice. When Big Massif hops atop Li’l Massif, initiate a Spin Jump and make contact with the Massifs, sending them crashing through the ice to the east—you must strike the Massifs from the left to send them flying in the proper direction. Continue using Spin Jumps to assist the Massifs in clearing a path through this area. When you reach the far east side, clear a path to the north so you can grab the Attack Piece—you’ll need to perform a Spin Jump to reach it. Once the Attack Piece is obtained, send the Massifs flying south and then west to clear out all the ice. On the west side, use your hammer to strike a red switch, lowering the nearby bridge. Cross the bridge when you’re ready to exit.
Northeast Ledges
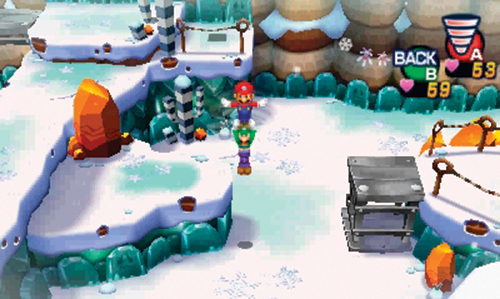
Upon the return to this area, you can now access the mid-level path—step onto the metal platform and Spin Jump to the west. On the other side, strike the Event Block to the north to make a yellow lift appear—you can use this lift to reach the mid-level path, should you fall or approach from the west. There’s also a ? Block to the south, containing a Secret Box. When you’re finished exploring, exit along the mid-level path to the west.
Summit Gate
Mario and Luigi return to this area on the bottom ledge. You can now destroy that icy rock just above the air current to the west—Side Drill your way through the rock, then exit on the west side.
 Northwest Ledges
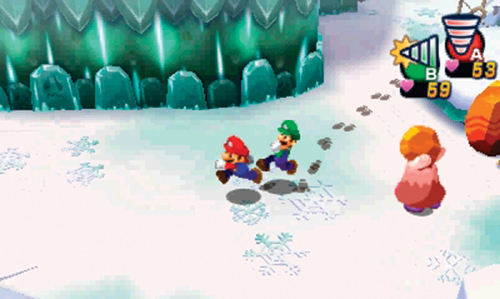
Like the ledges to the east, there are three paths connecting back to area 17 here. Eventually, you need to find a way to reach the top. But for now, battle the Monolifts and Grumbells and then exit to the west.
 Northwest Lava Field
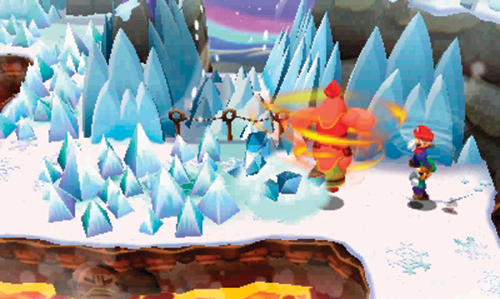
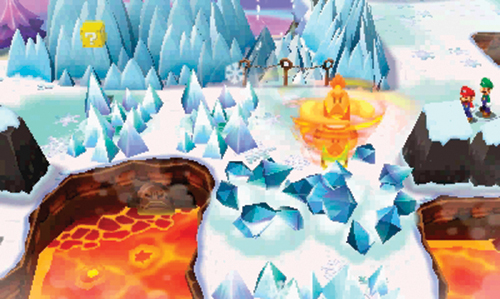
Like the lava field to the east, assist Big Massif and Li’l Massif in clearing the ice from the paths here—use Spin Jumps to send the Massifs flying through the icy chunks. But this time, a north wind presents a bit of a challenge. The wind can blow the Massifs (as well as Mario and Luigi) off course while performing a Spin Jump. At the first encounter with the wind, wait for the wind to stop blowing before sending the Massifs flying through the ice chunks ahead. But the wind isn’t always a bad thing. On the west side you must wait for the wind to pick up to send the Massifs flying south.
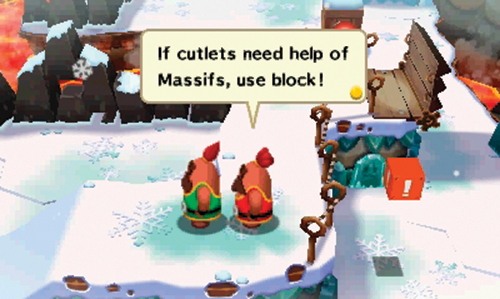
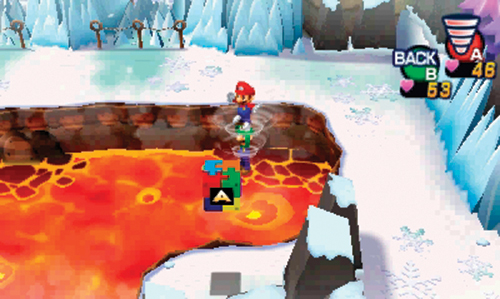
Once you’ve cleared a path to the bridge on the east, the Massifs prepare to exit. But they leave behind an Event Block—strike the Event Block if you need the Massifs to return. Also, remember to hit the red switch next to the bridge with your hammer. But before exiting, consider striking that Event Block, as there are probably portions of this area you’ve left unexplored. At the very least, be sure to grab the final Attack Piece to the north, sitting on an isolated island. The Attack Piece can be obtained with a simple Spin Jump from the north—you don’t need to use the wind.
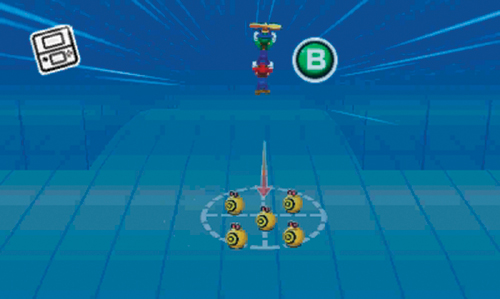
Collecting all the Attack Pieces on Mount Pajamaja unlocks Luigi’s Dropchopper Bros. Attack. This simple aerial attack requires you to tilt the Nintendo 3DS to collect both brothers before unleashing a powerful overhead attack on your enemies. Take a moment to practice this attack before using it in battle. For best results, line up the crosshair with your intended target to ensure optimal damage. In addition to dealing damage to the target, a radial effect spreads outward, damaging all nearby enemies.
Northwest Ledges
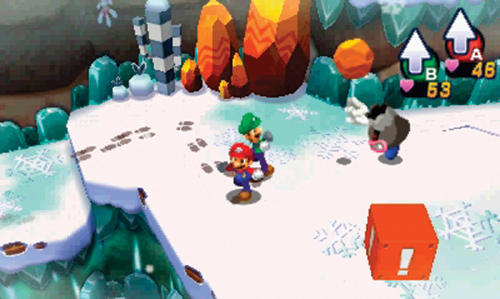
After crossing the bridge in area 21, you return to this area on the middle ledge. Watch your step—if you fall, you must back-track through area 21. Fortunately, there’s an Event Block here that places a yellow lift on the lower-level, allowing for transitions between the lower and middle ledges. After striking the Event Block, battle the Monolifts here, then exit to the east.
Summit Gate
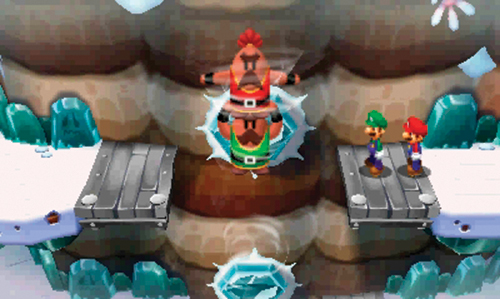
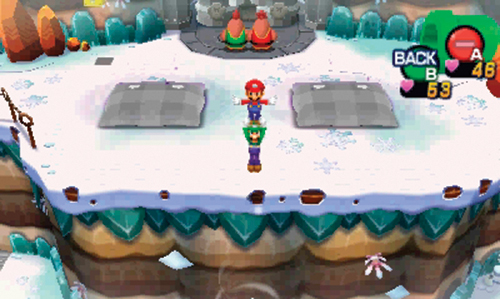
Use the Side Drill to smash through the icy rock along this middle path, clearing a path for the Massifs below. Using the air current, the Massifs perform a Spin Jump to reach the top of this cliff. Before using the air current yourself, continue moving east, harvesting a Defense Bean from the upper path in area 18. Next, head back to area 17 and use a Spin Jump of your own to regroup with Big Massif and Li’l Massif, landing next to the Mega Pi’illos. Dreambert advises entering the Mega Pi’illo dream world on the east side first. Luigi quickly falls asleep on the Mega Pi’illo, giving Mario the opportunity to enter the dream world.
Dream World (D)
A
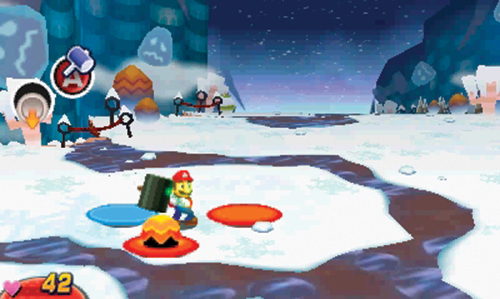
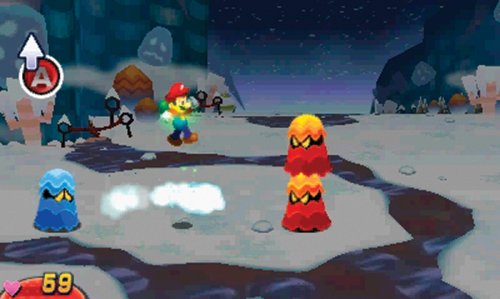
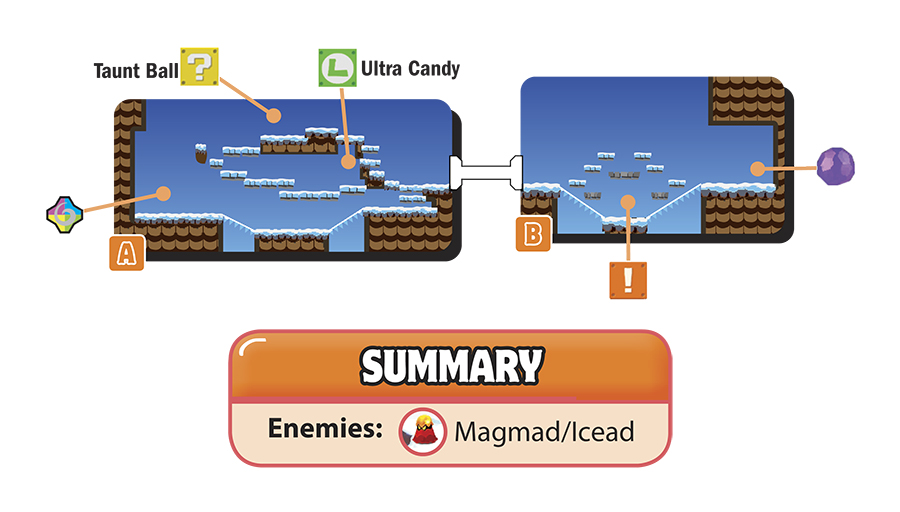
This dream world features icy terrain, causing Mario and Dreamy Luigi to slide along the slippery surface. This can make initiating a pre-emptive attack against the Magmad/Iceads difficult. For best results, wait for these enemies to approach, then strike them with your hammer to begin a battle. The orange Magmads and blue Iceads always appear together in battles. These enemies have two basic attacks. When they surround Mario as orange and blue pools, be ready to strike back with your hammer as their heads emerge. Look for the bubbles that appear within the pools to identify each incoming enemy right before they attack. When Mario is flanked by these enemies, be ready to jump over their fiery and icy blasts—as the blast misses Mario, it strikes the enemy on the other side, inflicting damage. But if a Magmad hits another Magmad, they gain HP; same if an Icead strikes an Icead. When you’re not countering, score some damage of your own. Hammer attacks are most effective against these enemies—don’t use Jump attacks against the Magmads.
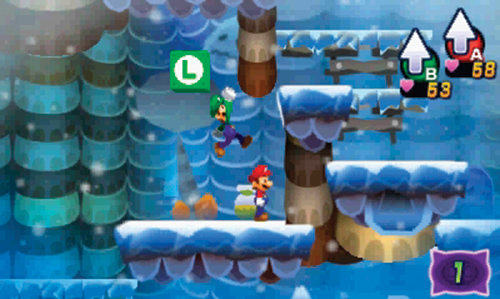
Although this room doesn’t house the nightmare chunk, take the time to fully explore this area, defeating all Magmad/Iceads along the way to gain EXP. A ? Block on the upper-level contains a Taunt Ball, and an L Block on the right contains Ultra Candy. When you’re finished exploring, exit on the right side of the room.
B
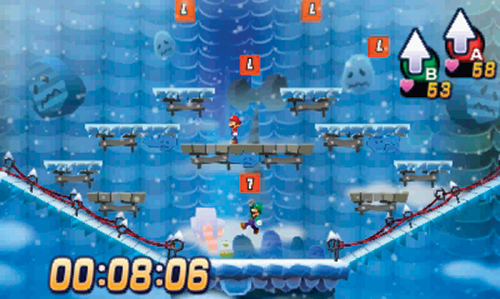

The path to the nightmare chunk is blocked by a large fist-shaped stone gate. To open it, start by striking the Event Block in the center of the room. This triggers the appearance of a series of Teleport Blocks, giving you 30 seconds to complete the challenge. Strike the 5 Teleport Block first, followed by the 4, and so on. But note, some of the numbered blocks are upside down. Only strike the numbered Teleport Block, which is right side up. Once you’ve completed the challenge, the gate opens, allowing you to smash the nightmare chunk with your hammer and free the Mega Pi’illo. Now that one Mega Pi’illo is free, approach the next Mega Pi’illo and enter the dream world once again.
Dream World (C)
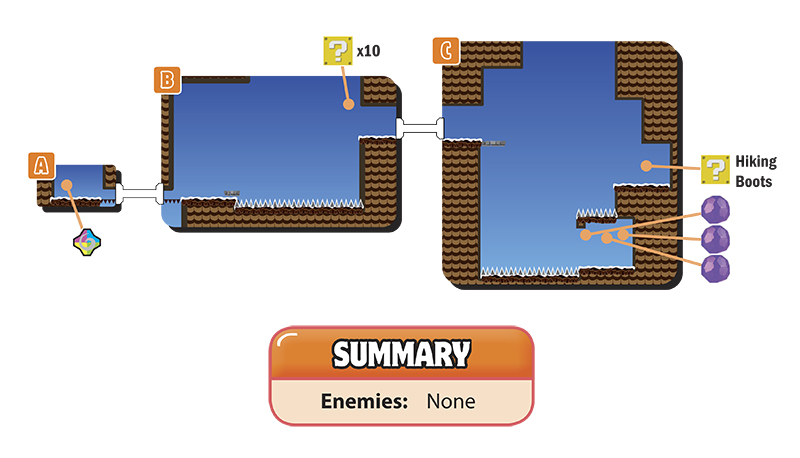
A
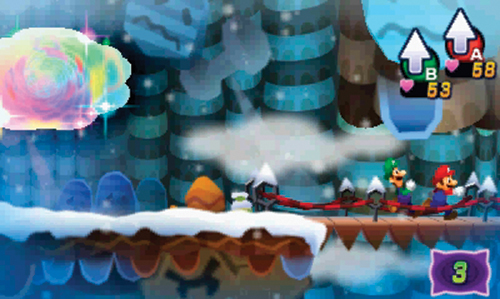
There are three nightmare chunks to track down and destroy in this dream world. However there is nothing in this room but the portal. So make haste and exit this room on the right side.
B
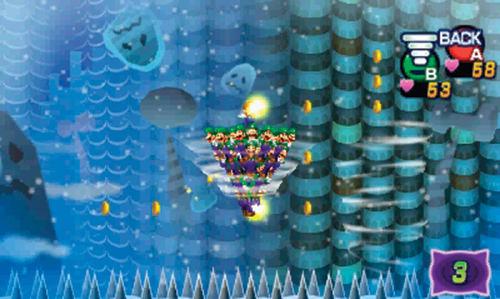
Here you must use the Luiginary Cone to cross the spike-covered floor. The air currents allow the Cone to stay aloft for longer periods, as well as attaining greater altitude. Gather coins along the way, then ascend to the ledge on the right side to exit, still in Cone form.
C
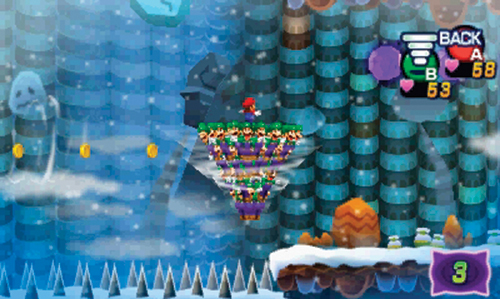
A series of horizontal air currents in this room allow the Luiginary Cone to make a zig-zag descent—simply follow the coins on your way down. Be sure to visit the ledge on the upper right to obtain Hiking Boots from the ? Block. Finally, make your way to the alcove in the bottom right and smash all three nightmare chunks to free the Mega Pi’illo.
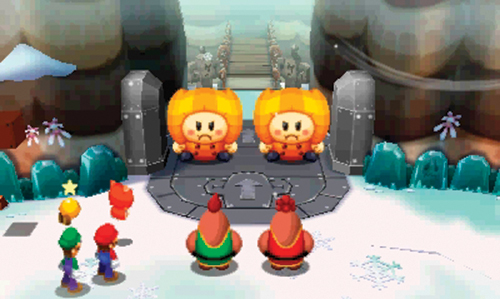
Back in the real world, the two Mega Pi’illos unite to smash the gate, clearing a path to Mount Pajamaja’s summit. Big Massif and Li’l Massif can barely contain their excitement about being so close to the summit. Follow them to the north to begin the final ascent.
 Mammoshka
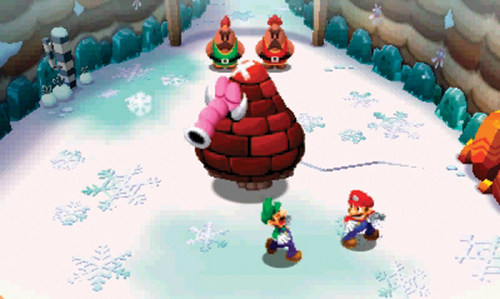
Take advantage of the Save Block here to save your game, then meet Big Massif and Li’l Massif to the north—they’re preoccupied sneaking past a sleeping elephant-like creature, known as Mammoshka. Mammoshka is the legendary guardian of the mountain. Once the Massifs make it past Mammoshka, they urge Mario and Luigi to sneak past too. But as they move out, Luigi sneezes, causing Mammoshka to wake from his slumber. The Massifs unceremoniously race to the north, leaving Mario and Luigi to face Mammoshka on their own.
Mammoshka Battle
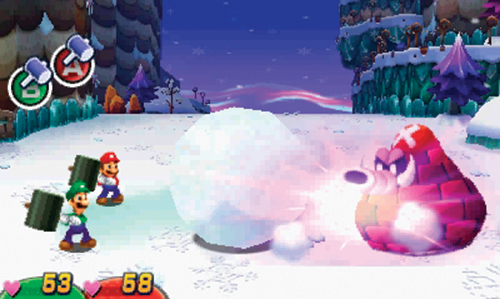
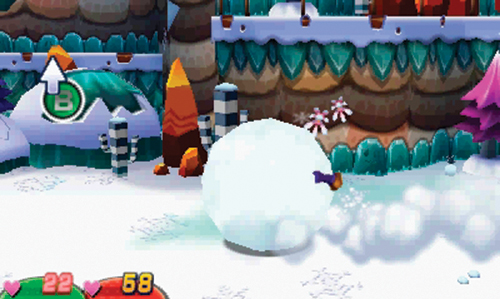
Mammoshka usually starts the battle by shoving a massive snowball toward Mario and Luigi—counter by striking it with your hammer. However, one counter is not enough. The snowball rebounds, bouncing toward the other brother—be ready to strike it again. If you’re not fast enough, the snowball will encase one of the bothers, requiring you to press
or
to escape. A successful counter of the snowball causes it to shrink in size, lessening its damage upon impact. It takes two hits to destroy the snowball entirely.
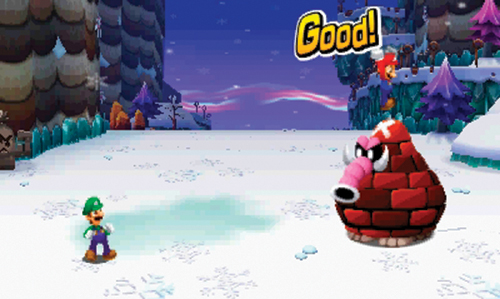
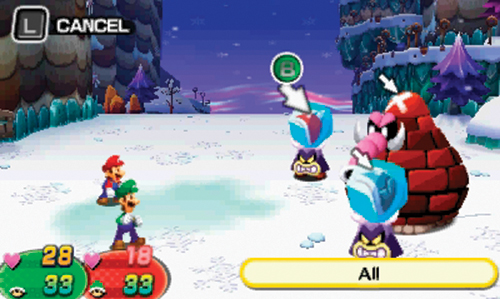
Make note of the white X on Mammoshka’s head—this is his weak spot. You can score critical hits by striking this part of his head with Jump attacks—the Bye-Bye Cannon and Dropchopper Bros. Attacks are also very effective against this foe’s weak spot. Mammoshka is soon joined by Block Monolifts. These enemies perform much like their Monolift counterparts, but carry around large ice chunks, containing helmets for Mammoshka. It’s important to eliminate these enemies as quickly as possible, otherwise they’ll supply Mammoshka with a helmet, covering the white X on his head. Use Luigi’s Dropchopper Bros. Attack to target Mammoshka when the Block Monolifts arrive. The area of effect damage caused by this attack is enough to wipe out all the Block Monolifts while dealing significant damage to Mammoshka. The Block Monolifts only have 1 HP, so it doesn’t take much to eliminate them.
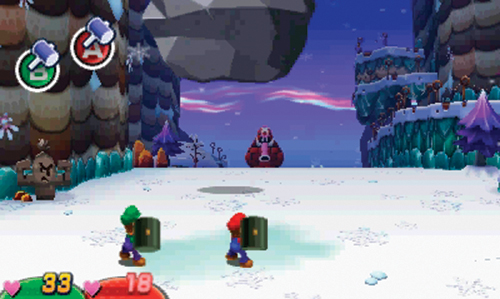
In one of Mammoshka’s attacks, he moves to the background and dislodges a massive boulder from the mountain, hurling it toward Mario and Luigi. To counter, you must strike the boulder with your hammers, simultaneously pressing
and
at the right time. But like the snowball, it takes more than one hit to send it flying back at Mammoshka. So be ready to juggle the boulder overhead with simultaneous hammer strikes to successfully perform this counter, eventually causing the boulder to come crashing down on Mammoshka’s tender head—this is the best way to destroy his helmet, if he’s wearing one.
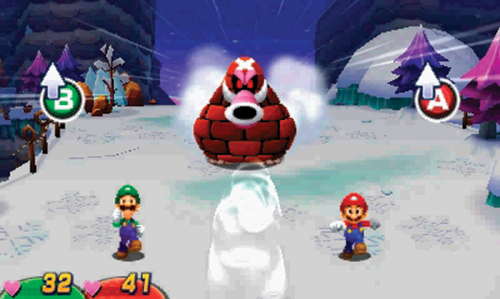
In another attack, Mammoshka comes charging at Mario and Luigi, prompting them to run away. During this sequence, press
and
to prevent Mario and Luigi from getting sucked up by Mammoshka’s inhaling trunk. Leap over the incoming suction as Mammoshka pans to the left and right. If either brother gets sucked into Mammoshka’s trunk, be ready to jump again—Mammoshka fires his victim like a bullet, requiring Mario or Luigi to jump to avoid getting struck. If you evade Mammoshka’s suction attempts long enough, he’ll give up.
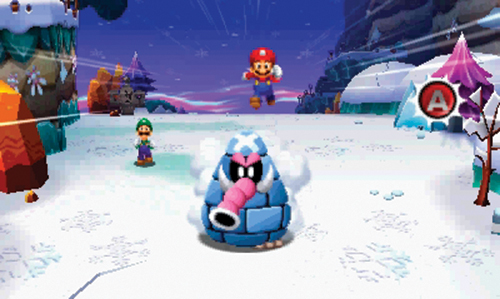
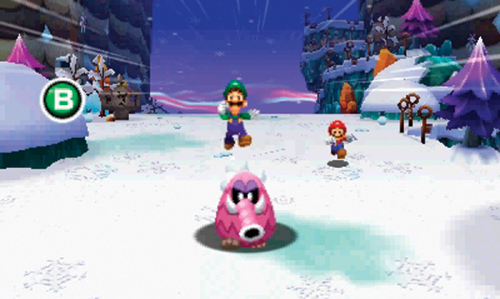
After inflicting enough damage, Mammoshka hops out of his outer red shell and begins running away from Mario and Luigi. The tables have turned during this chase. When prompted, press
and
to jump on Mammoshka’s exposed weak spot. With each successful hit, Mammoshka sheds a new shell, becoming smaller and smaller. When the pink Mammoshka underneath is finally exposed, land one more successful jump to finish the battle. Defeating Mammoshka earns Mario and Luigi plenty of coins, EXP, and a pair of 1-Up Gloves. The path to the summit is now clear—head north to rendezvous with Big Massif and Li’l Massif.
 Summit
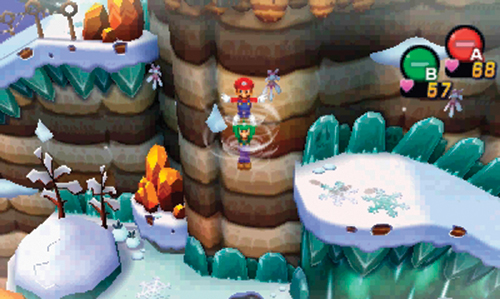
Upon arriving here, the Massifs report spotting some “very bad guys” above. Use the nearby air current and a Spin Jump to reach the top and have a look for yourself—you must initiate the Spin Jump from the nearby ledge above to catch the air current.
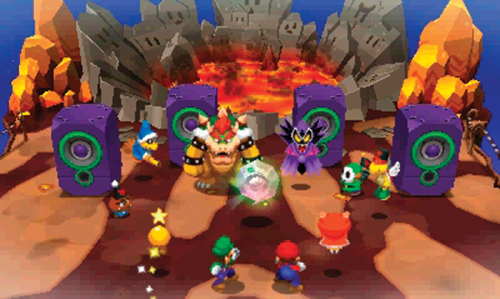
Just as the Massifs reported, Bowser and his minions, along with Antasma, have made it to the summit with the Dream Stone. Mario, Luigi, Starlow, and Dreambert arrive just as Bowser and Antasma are discussing their plans to rule the world. In an effort to halt these intruders, Private Goomp activates a set of speakers, broadcasting the Dreambeats. These beats make anyone who hears them fall asleep. Immediately overcome by fatigue, Mario and Luigi escape to the west.
 Dreampoint
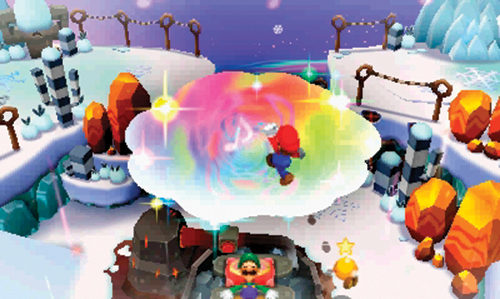
While trying to outrun the Dreambeats, Luigi loses consciousness and rolls down a series of ramps before landing here, fast asleep. Dreambert points out a nearby Dreampoint. He suggests leaving Luigi here, on the Dreampoint, while escaping into the dream world. The Dreambeats cannot enter the dream world. Starlow quickly nudges Luigi onto the Dreampoint allowing Mario to hop into the portal leading to the dream world.
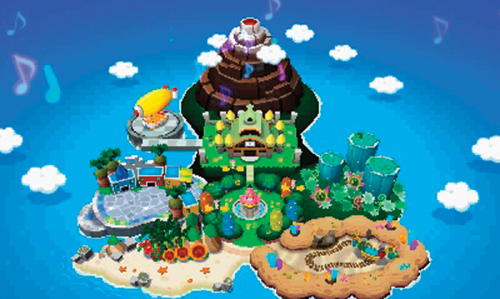
Meanwhile, the Dreambeats travel throughout Pi’illo Island, causing all inhabitants and tourists to fall asleep. As the island slumbers, Dream Orbs flow into the Dream Stone, serving as its source of energy. The more power the Dream Stone collects, the sooner it will be ready for use by Antasma and Bowser.
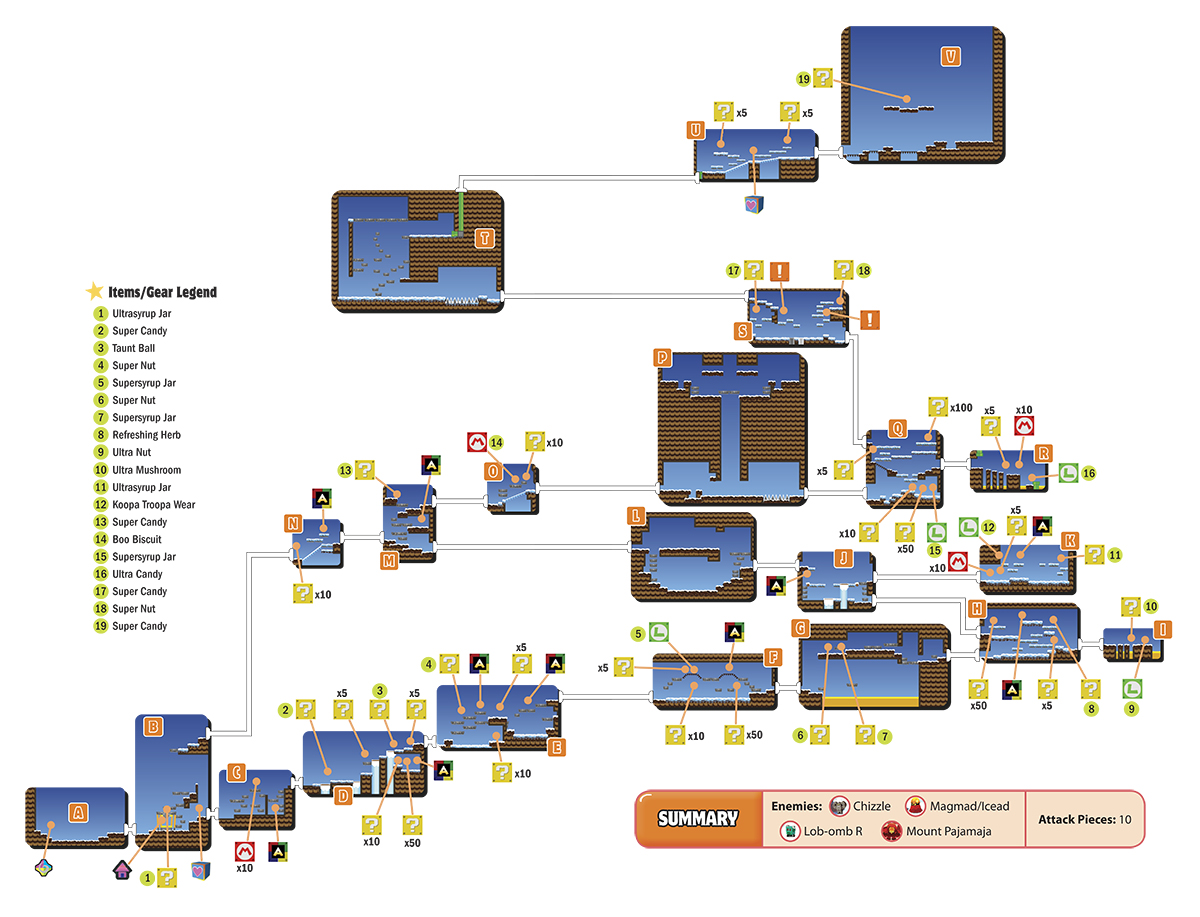
Dreamy Mount Pajamaja (E)
A
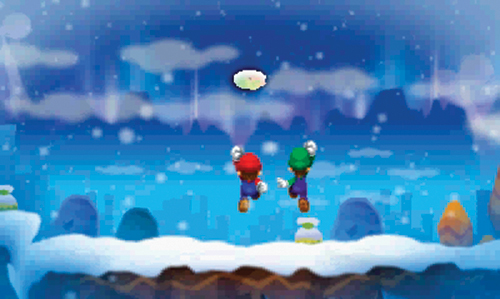
Mario arrives in the dream world, successfully avoiding the Dreambeats. Dreambert senses they are safe in the dream world, but they must remain here until the Dreambeats have stopped. With Dreamy Luigi in tow, advance to the right side of the room. Suddenly, the ground begins to shake, causing the portal to disappear. Apparently the Dreambeats were too strong, causing Luigi to fall into a deep sleep. With no other way to return to the real world, Dreambert advises finding a way to restore the portal. With nothing left to do here, exit on the right side.
B
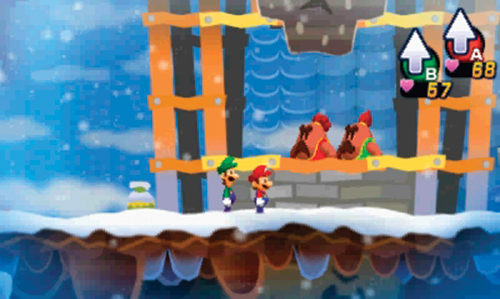
What an unexpected surprise to find Big Massif and Li’l Massif operating a shop here. Take a moment to restore your HP and BP with some refreshing Pi’l-latte, then browse the shop’s item and gear inventory. For the most part, the items and gear here are the same as those offered by the Mount Pajamaja shop in the real world, back in area 2. But by now, you may have enough coins to afford items you couldn’t earlier—if you have an extra equipment slot, the HP Scarf and BP Scarf are good values. Following your visit to the shop, strike the ? Block on the roof to obtain a Ultrasyrup Jar, then exit to the right, saving your game at the Save Block along the way.
Dreamy Mount Pajamaja Shop Inventory
Items
| Merchandise | Coins |
|---|---|
| Super Mushroom | 30 |
| Super Nut | 75 |
| Supersyrup Jar | 60 |
| Refreshing Herb | 30 |
| Shock Bomb | 50 |
| Boo Biscuit | 5 |
| Mushroom | 10 |
| Nut | 25 |
| Syrup Jar | 20 |
| 1-Up Mushroom | 50 |
Gear
| Merchandise | Coins |
|---|---|
| Super Boots | 560 |
| Heart Boots | 670 |
| Fighter Hammer | 580 |
| Super Hammer | 560 |
| Super Wear | 420 |
| Fighter Wear | 420 |
| EXP Bro Gloves | 240 |
| HP Scarf | 1,050 |
| BP Scarf | 1,260 |
C
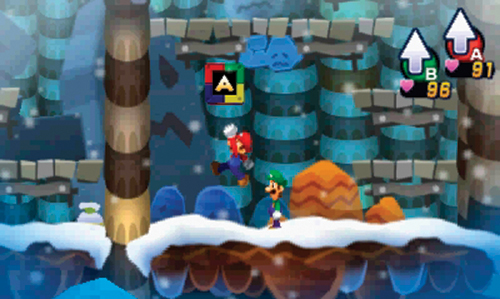
Battle the Magmad/Iceads and Chizzles here to gain some EXP, while working your way up the platforms and onto the right side of the room. Before exiting on the right, drop down to the bottom level and retrieve the first Attack Piece.
D
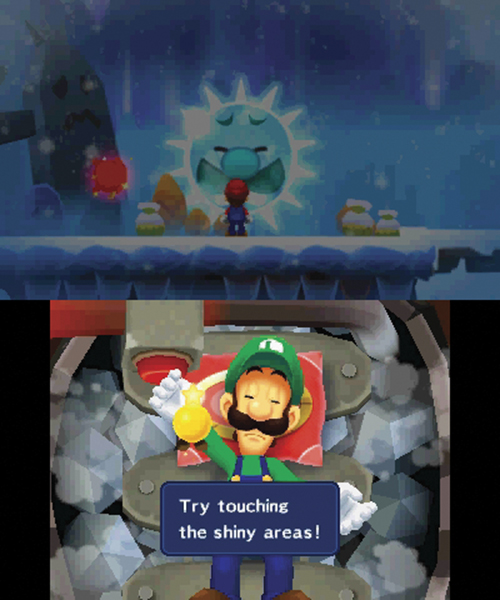
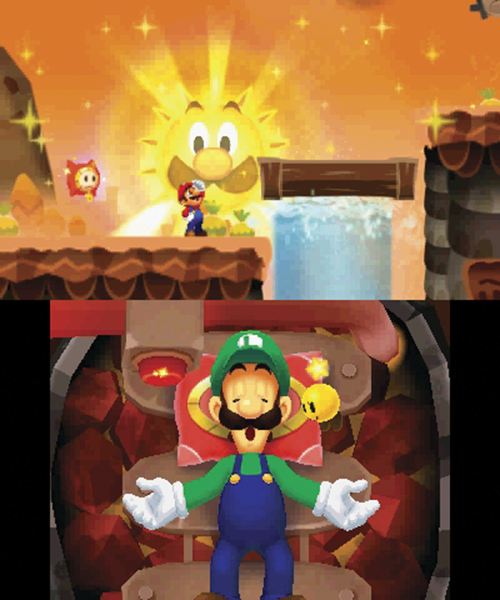
Behold, a new Luiginary Work, called Luiginary Ice! When this work is triggered, Luigi can be seen shivering in his sleep on the Touch Screen. Touch the red button on the upper-left side of the Touch Screen to alter the climate in the dream world, turning it from icy to warm. This causes the nearby frozen pillar in the dream world to melt, creating a Geyser Platform. But this isn’t an elevator-like object—jumping on it causes the platform to fall. Touching the red button again freezes the dream world, causing the Geyser Platform to turn back into a frozen pillar—with careful timing, you can freeze Geyser Platforms to forge frozen step-like terrain.
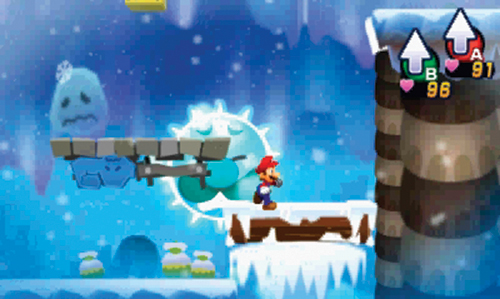
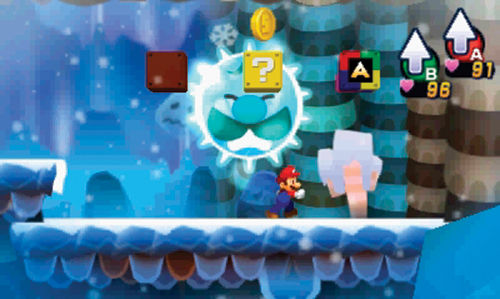
Use Luiginary Ice again to thaw and then freeze the next Geyser Platforms at different heights, allowing Mario to resume his advance to the right. Remember, each time you press the red button on the Touch Screen, the climate changes. Time these button presses to coincide with the proper heights of the Geyser Platforms to freeze them. Before exiting, strike the two ? Blocks (containing coins) in the bottom-right corner and grab another Attack Piece. You must alter the height of the final Geyser Platform to reach the exit.
E
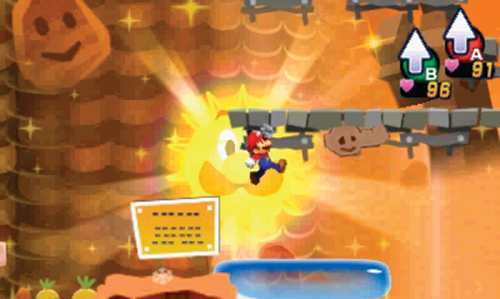
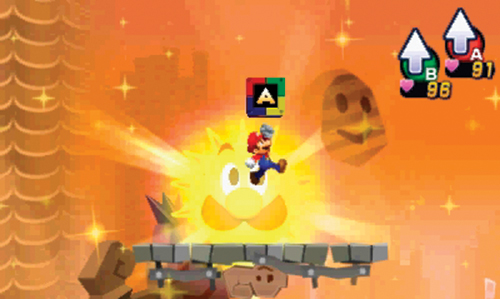
There are two Attack Pieces in this area. To reach the first block, find the block of ice to the right and slide it all the way to the left side. Once the ice block is in place, use Luiginary Ice to transform the ice block into an Elastic Block. The jelly-like surface of the Elastic Block functions like a trampoline, allowing Mario to reach the platform above. Travel along the upper platforms to strike a ? Block (containing a Super Nut) and obtain the first of two Attack Pieces.

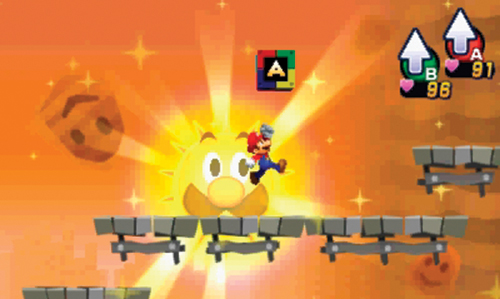
To reach the next Attack Piece, use Luiginary Ice to revert the dream world back into an icy state, transforming a second Elastic Block into ice—push the block to the right. Once the ice block is in place on the right side, use Luiginary Ice again to turn the ice back into an Elastic Block. Now you can jump up to reach the platform on the far right, striking the blue switch with your hammer. Activating the switch lowers a platform to the left. Return to the lower-level, convert the Elastic Block into ice, then push it back to the left. Convert the ice back into an Elastic Block and jump up to the upper-level platforms, gathering the other Attack Piece on your way to the exit on the right.
F
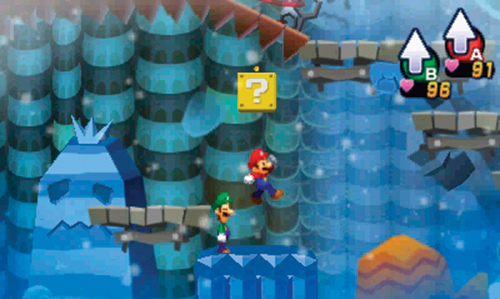
Explore the lower area here first, careful to avoid the incoming fist-shaped platforms—time your movements carefully to avoid getting punched. When these fists are extended into the foreground, you can use them as platforms—but move quickly before they retract back into the wall. By jumping on these fists you can reach the lower platforms, necessary to strike a couple of ? Blocks. When you’re not avoiding the fists, battle the Magmad/Iceads on this lower-level.
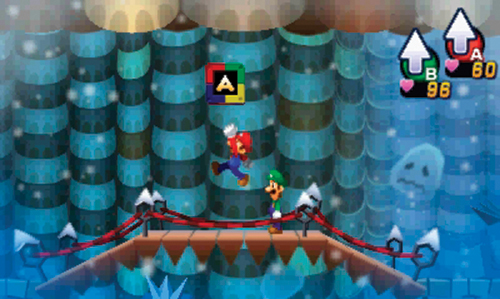
Proceed to the upper-level platform and battle a few Chizzles along the way. Grab the Attack Piece here, then seek out the L Block and ? Block on the left side—the L Block contains a Supersyrup Jar. Once you’ve looted this upper platform and defeated all the Chizzles, exit the room on the right side.
G
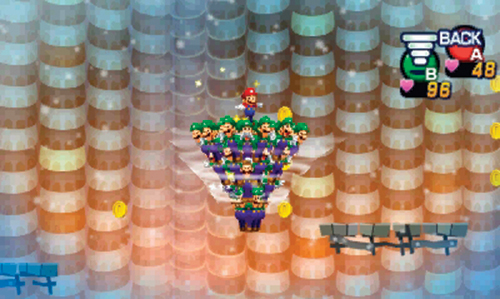
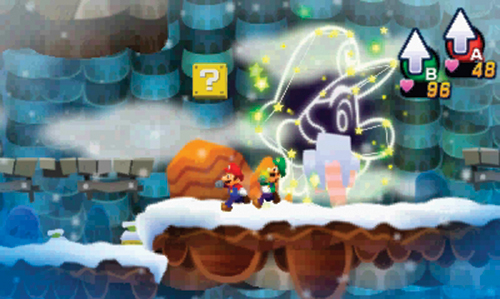
Upon entering this area, Dreambert takes notice of the lava, indicating that Mount Pajamaja is an active volcano. Perhaps triggering an eruption will cause the dream portal to open back up? It’s worth a shot. For the time being, focus on crossing this lava field. Use the Luiginary Cone to hover, flying from one platform to the next and gathering coins along the way. The air current on the right side pushes the Cone upward, to the room’s upper-level. Here you can engage more Chizzles and Magmad/Iceads as well as obtain a Supersyrup Jar and Super Nut from ? Blocks. Exit the room on the right side when you’re finished exploring.
H
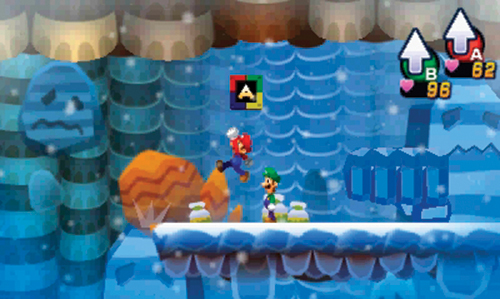
Watch out for more protruding fists in this area. Take your time moving through here, battling more Chizzles and Magmad/Iceads along the way. Ascend to the top platform to retrieve the next Attack Piece. After gathering the Attack Piece, exit on the right side. The upper path to the left leads to area J—but you should explore area I first.
I
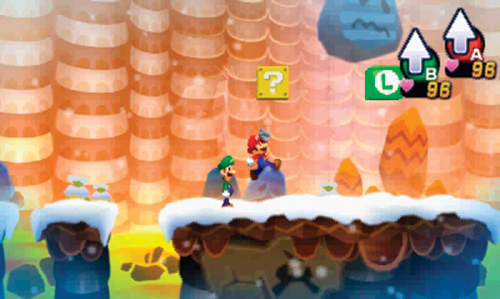
Don’t forget to explore this dead-end area. Here you can find a ? Block containing an Ultra Mushroom and an L Block containing an Ultra Nut. Once you’ve collected these goodies, back-track to the left and advance through area H, exiting on the upper-left side.
J
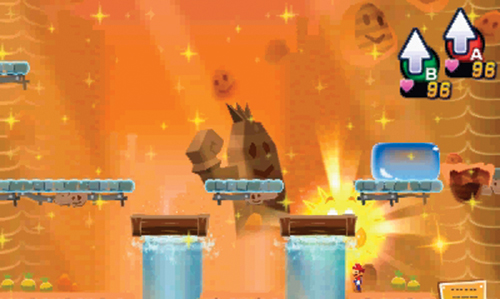
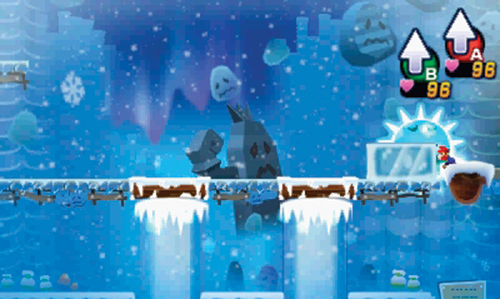
This puzzle-like room requires you to use Luiginary Ice to freeze two Geyser Platforms, creating a solid platform across the top. Warm up the room so both Geyser Platforms are actively moving up and down. Next, stand on one of the Geyser Platforms, making it even with the lower-level. Keep an eye on the second Geyser Platform and wait for it to synchronize with the one you’re standing on. When both Geyser Platforms are synced, step off and be ready to freeze them when they’re both even with the upper platform, creating one continuous platform. Now move to the upper platform and push the ice block to the left, allowing it to cross over the two frozen Geyser Platforms, bridging the gaps.
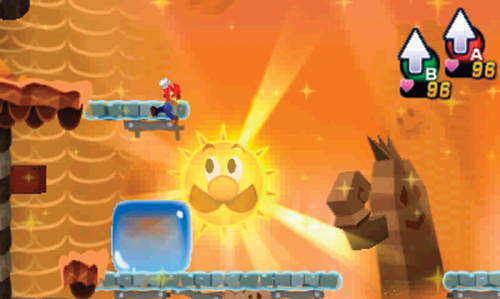
Now move to the left side of the room and alter the temperature once again, turning the ice block into an Elastic Block—this allows you to reach the exit on the upper-left. But before making a move for the exit, grab the nearby Attack Piece. Instead of exiting on the left side of this room, exit on the upper-right side to enter another dead-end chamber.
K
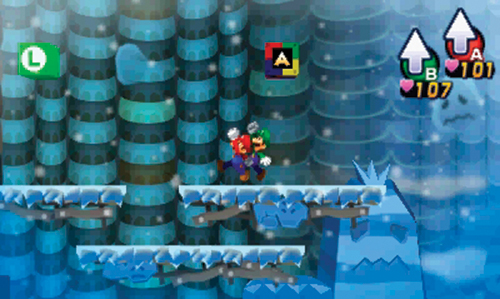
Here you find an M Block, a ? Block, an L Block (containing Koopa Troopa Wear), and another Attack Piece. Avoid getting smashed by the incoming fist platform during your ascent to the Attack Piece. Once you’ve gathered the loot here, exit back to area J and then exit on the upper-left side to enter area L.
L
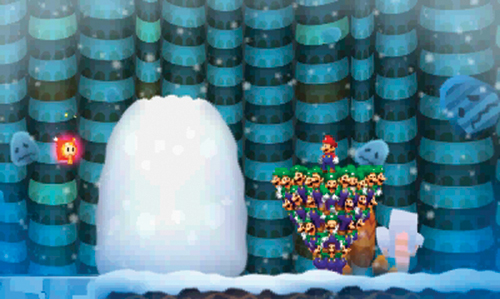
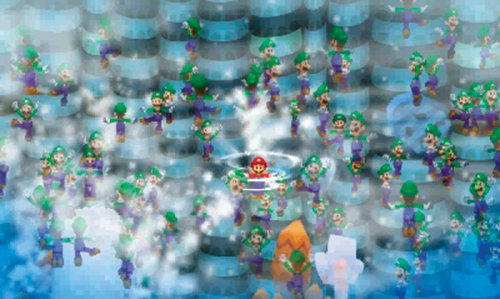
Use the Luiginary Cone to reach the upper platform in this room until you encounter a large Snowdrift. But a sudden gust of wind clears away the Snowdrift, giving Dreambert a new idea. Approach the next Snowdrift and press
to initiate a Luiginary Tornado. During this action, Mario spins rapidly as the Luiginoids from the Cone disperse, clearing away the Snowdrift. Use the Circle Pad to move Mario around, directing the Tornado of Luiginoids in different directions. Press
again to stop the Tornado.
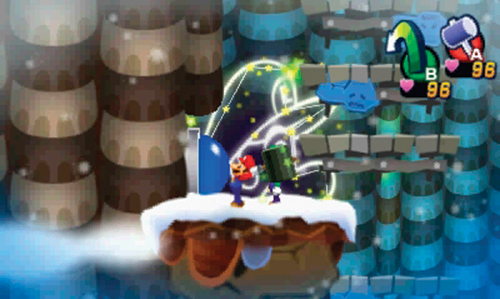
Now that you’ve learned how to use the Luiginary Tornado, put it to work by clearing out the Snowdrifts on the lower-level. Be sure to grab the coins hidden behind each Snowdrift. After clearing away the Snowdrifts, approach the blue switch on the left side—strike it with your hammer to open the gate above and exit the room.
M
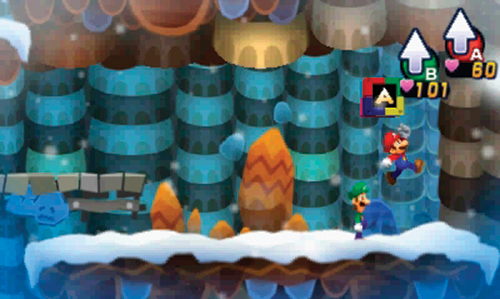
Drink from the fountain at the entrance to this area to fully restore Mario and Dreamy Luigi’s HP and BP. Afterward, ascend the nearby platforms, making your way to the Attack Piece on the right—be ready to confront some Chizzles along the way. You can also obtain Super Candy from the ? Block on the far left. When you’ve gathered the loot and battled all Chizzles and Magmad/Iceads here, exit on the lower-left side to enter area N—you’ll need to back-track through here later to reach area O through the upper-right passage.
N
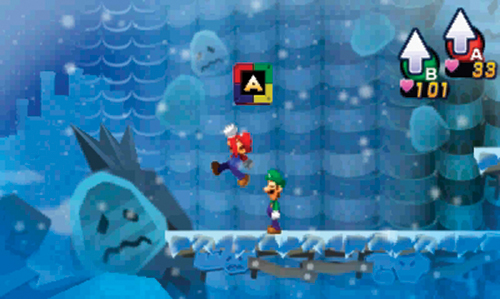
This room primarily serves as a shortcut back to area B. But the tenth and final Attack Piece is also here, floating above the upper platform. Battle the Magmad/Iceads, gather the coins, and then grab the last Attack Piece to unlock a new Luiginary Attack called the Luiginary Hammer—practice the attack a few times before using it in a real battle.
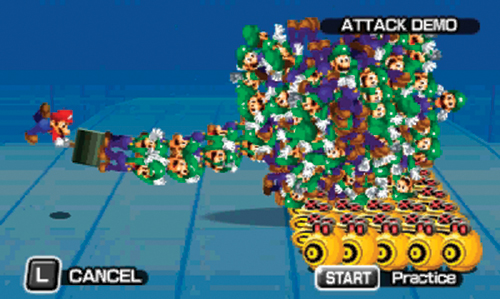
The Luiginary Hammer functions similarly to the Luiginary Stack attack, only this time the Luiginoids form a massive hammer, requiring Mario to carefully balance the increasing weight before unleashing a powerful attack. Rapidly press
to create the Hammer from a large group of Luiginoids. But as more and more Luiginoids pile on, the Hammer becomes more and more difficult to balance—move the Circle Pad to keep the Hammer from toppling over. Once the Hammer is complete, approach the group of enemies, using the crosshair icon to aim. When you’re satisfied with the alignment, press
to swing the hammer downward, inflicting massive damage on the target and surrounding enemies. After practicing this attack a few times, return to area M—take the upper-right passage there to enter area O.
O
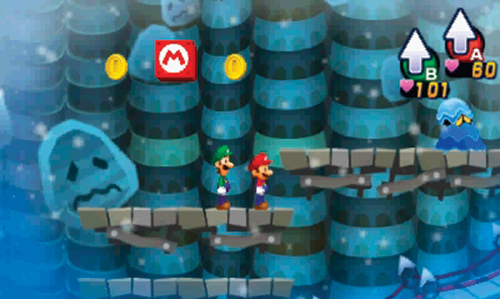
Beware the Chizzles and Magmad/Iceads in this area while making your ascent. Slow down and engage these enemies with pre-emptive attacks. Once in battle, consider trying out your new Luiginary Hammer attack. The M Block here contains a Boo Biscuit. Exit on the right side when you’re ready to continue the journey.
P
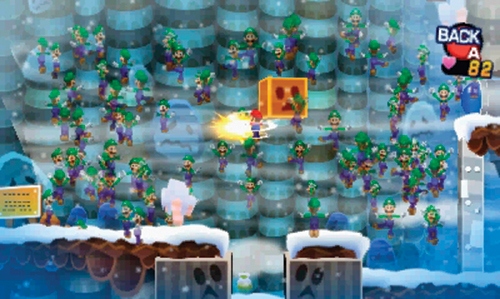
Initiate a Luiginary Cone here and unleash a Tornado while standing atop the brown box. While the Tornado is active, use the Circle Pad to guide Mario—strike the airborne box on the left side to send it flying at the blue switch on the right. Striking the blue switch with the box causes the nearby gate to open.
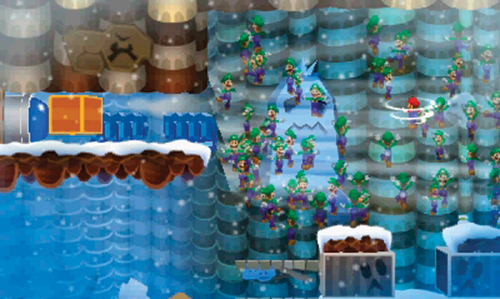
Upon entering the center area on the bottom level, initiate a Luiginary Stack and perform a Spring Jump to reach the upper area. Here there are two more switches that must be struck with brown boxes. While standing on each box, enter Cone form and initiate a Tornado to send the boxes flying at each switch. But timing is important—don’t strike the boxes until the fist-like platforms retract into the wall.
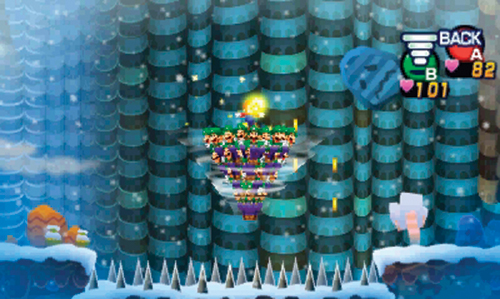
Each switch activated opens a gate below, providing access into the lower-right chamber. To avoid touching the spiked floor here, initiate a Luiginary Cone and hover above the floor while moving to the exit on the right, collecting coins along the way.
Q
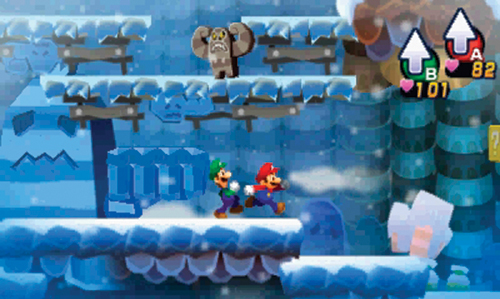
Avoid getting punched by the protruding fist platforms here while moving along the bottom level—be sure to strike the L Block in the lower right to obtain a Supersyrup Jar. Defeat the Chizzles and Magmad/Iceads here, but don’t exit on the left side just yet. Instead, exit through the passage on the right to reach area R. You can back-track through here afterward to proceed to area S.
R
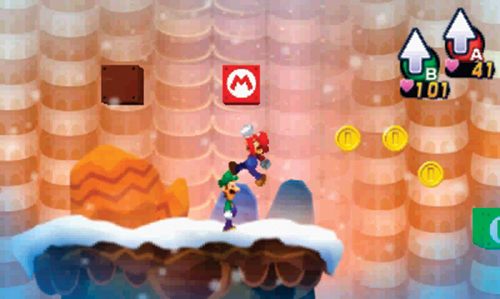
Here’s another dead-end lava field room containing some goodies—the M Block only offers coins, but the L Block contains Ultra Candy. Enter the green pipe on the right side of the room to return to the entrance. Next, back-track through area Q to reach area S.
S
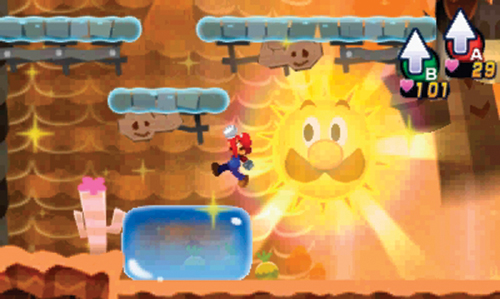
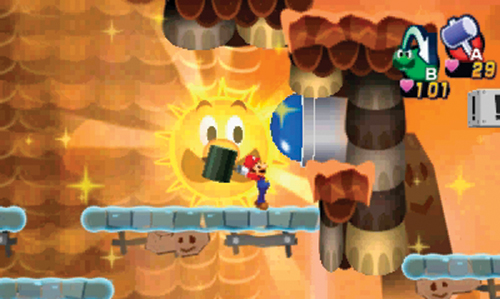
Here’s another puzzle room requiring liberal use of Luiginary Ice. Start by pushing the ice block on the bottom level all the way to the left. Next, warm up the room to turn the ice block into a Elastic Block. Jump onto the Elastic Block to reach the platforms above. Locate the blue switch on the right and strike it with your hammer—this lowers three platforms in the center of the room.
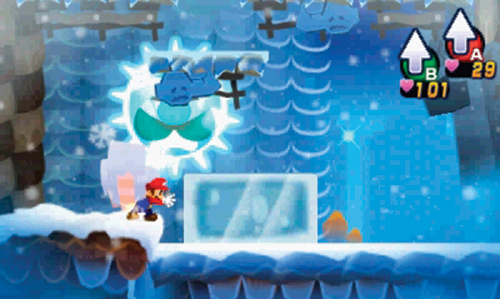
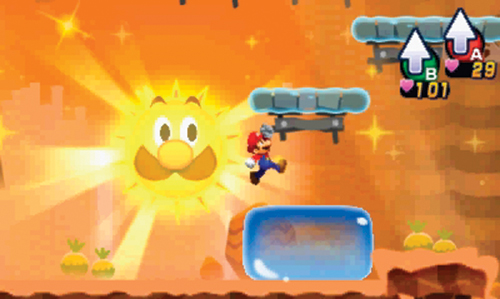
Now freeze the room to turn the Elastic Block back into ice, then slide it to the right. Follow the ice block all the way to the right and turn it back into an Elastic Block, allowing you to reach the platforms above. Here you encounter a gray Event Block—strike it to raise a low wall on the bottom level. Before dropping to the ground, grab the Super Nut in the ? Block above.
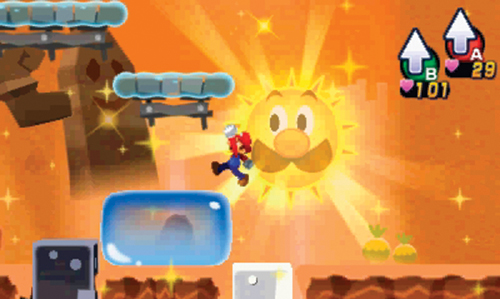
Turn the Elastic Block back into ice and push it to the left—it stops when it reaches the newly raised low wall. Warm up the room, turning the ice back into an Elastic Block and use it to reach the platforms above. There’s another gray Event Block here, responsible for raising and lowering another low wall on the lower-level. But you don’t need to strike it unless you want to move the Elastic Block around more. Proceed to the room’s exit on the upper-left.
T
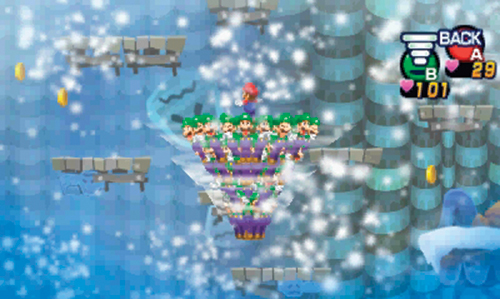
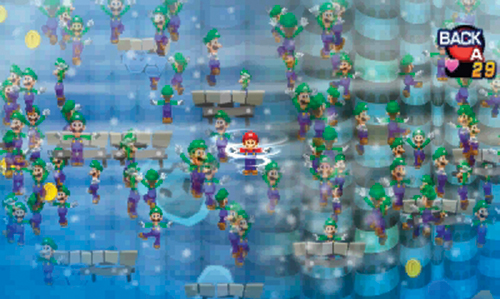
Form a Luiginary Cone upon entering this area and fly over the spiked floor, traveling to the left. But as you enter the chamber on the far left, visibility is obscured by a snow storm. Perform a Tornado to temporarily restore visibility while ascending the small platforms. During the Tornado, move Mario around, placing him above new platforms before disengaging the Tornado—Mario can also gather coins during a Tornado. Continue the upward ascent until you reach the ledge on the right. Enter the green pipe on the right to reach area U.
U
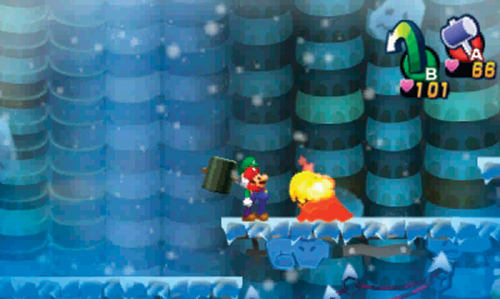
Rack up some more EXP by battling the Magmad/Iceads and Chizzles here. When you’ve cleared the area of loot and enemies, proceed to the right, striking the Save Block to save your game before exiting.
V
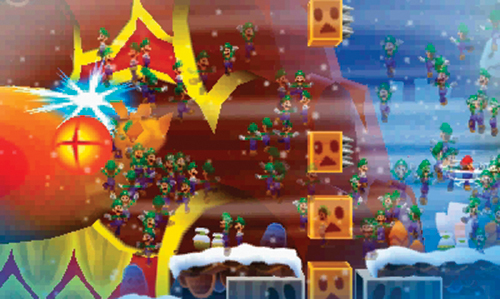
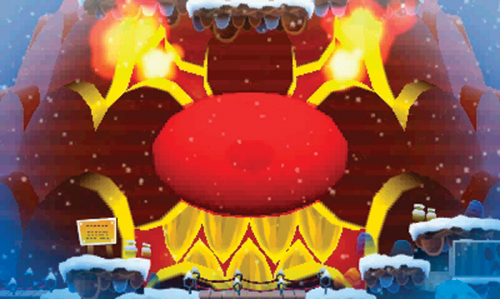
Mario and Dreamy Luigi have disturbed Mount Pajamaja by entering this chamber—but you’ll need to do more to get a rise out of this colossal mountain. Move to the right side of the chamber and initiate a Luiginary Cone. Stand on the brown box here, then initiate a Tornado. This causes a stream of brown boxes to ascend. But avoid making contact—spikes rhythmically protrude out of the right and left sides of the boxes. When the spikes retract and appear on the left side of a box, strike it from the right side, launching it toward Mount Pajamaja’s nose—you must hit his nose with four boxes to finally get his attention.
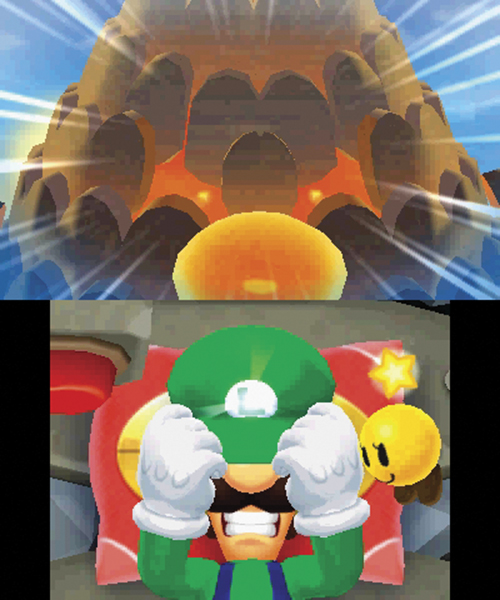
As Mount Pajamaja comes to life, Dreambert advises a retreat. Mario and Dreamy Luigi automatically flee, rolling through the previous areas as fireballs rain down from Mount Pajamaja. They eventually land outside the shop in area B. But Mount Pajamaja isn’t far behind, prompting Mario and Dreamy Luigi to flee back to area A, where the dream portal disappeared. Cornered, Mario and Dreamy Luigi have nowhere left to turn as Mount Pajamaja closes on their location. On the Touch Screen, touch the flashing L on Luigi’s cap to initiate a giant battle—only Giant Luigi can defeat Mount Pajamaja.
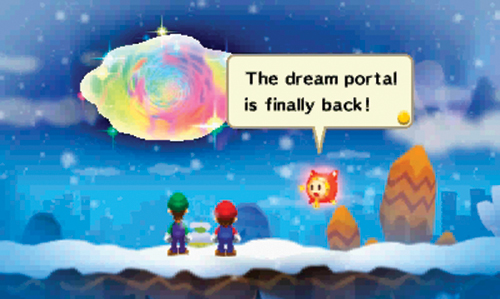
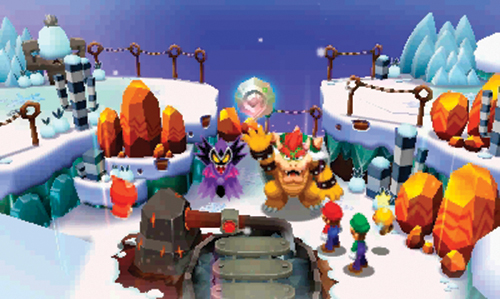
The dream portal is now open, allowing Mario to return to the real world. The eruption of Mount Pajamaja is making Luigi sleep less soundly—Dreambert advises returning to the real world. Hop through the portal when you’re ready to exit the dream world. Back in the real world, Bowser and Antasma stop in to inform Mario and gang that the Dream Stone has been restored. With the Dream Stone in their possession, Bowser and Antasma plan to rule the world.
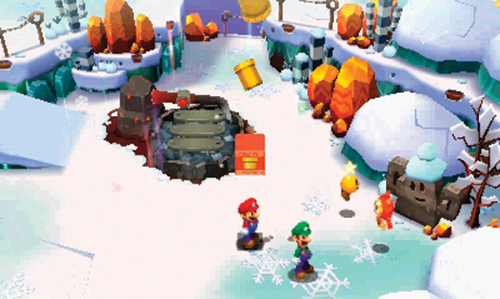
As Bowser and Antasma exit, Starlow fears Princess Peach is in danger—he suggests making haste toward Pi’illo Castle. Dreambert supplies a Warp Pipe Block. When struck by Mario, it dispenses Warp Pipes across the island, allowing for quick travel. Using a Warp Pipe, Mario and Luigi can reach Pi’illo Castle and other locations on the island instantly. But Warp Pipes are only activated once used—Dreambert advises using a Warp Pipe once it’s found. After the conversation, search the area north of the Dreampoint to obtain a Heart Bean and Defense Bean. Afterward, enter the cave to the west—use a Spin Jump to reach it.
 Mount Pajamaja Warp Pipe
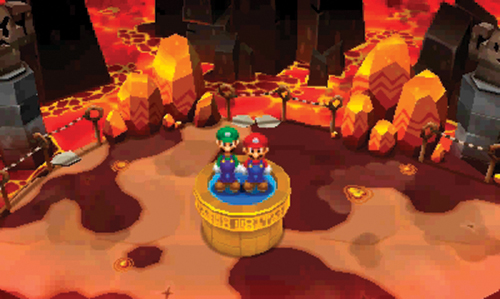
This is the Warp Pipe that connects to all other Warp Pipes on Pi’illo Island. Jump up onto the Warp Pipe and then select Pi’illo Castle’s Lobby as your destination—you must find Princess Peach before Bowser and Antasma do.
Destination: Driftwood Shore
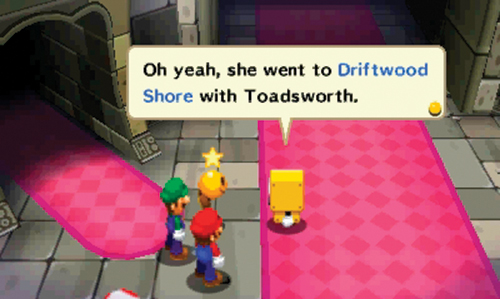
Upon arriving at Pi’illo Castle, a Brock in the lobby informs Mario and Luigi that Princess Peach left, headed for Driftwood Shore with Toadsworth. Apparently she thought it would be safer there. The Brock advises cutting through Mushrise Park to reach Driftwood Shore, located on the southwest side of the island.
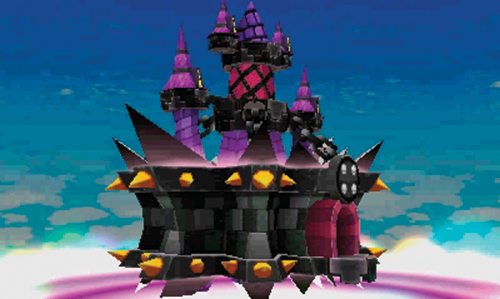
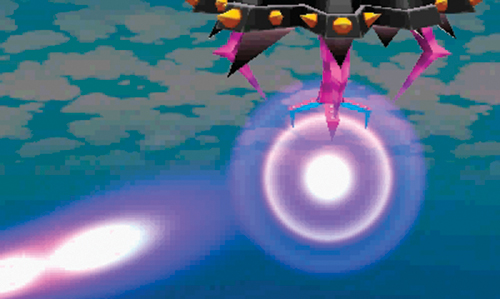
Meanwhile, Bowser and Antasma are busy back at Mount Pajamaja. Before they can rule the world, Bowser feels they need a castle. Using the power of the Dream Stone, Antasma creates a large floating castle. This will serve as their base of operations—Bowser names the castle, Neo Bowser Castle. Emitting powerful purple beams of energy, the Neo Bowser Castle destroys several small islands on Pi’illo Island’s perimeter, causing panic below as locals and tourists run for safety. Mario and Luigi must reach Driftwood Shore to protect Princess Peach from this latest menace!