
Mario & Luigi: Dream Team Guide Walkthrough Somnom Woods
Somnom Woods
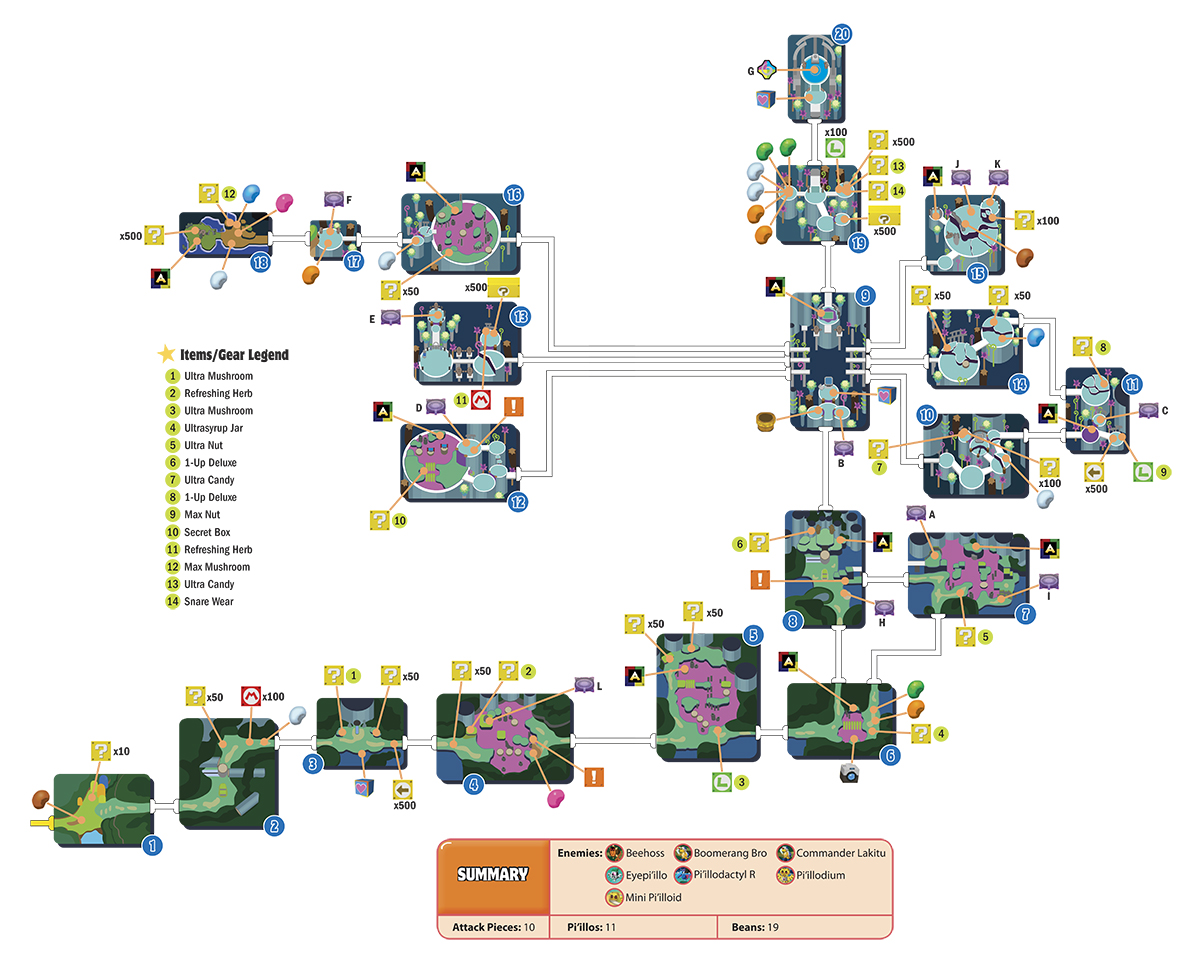
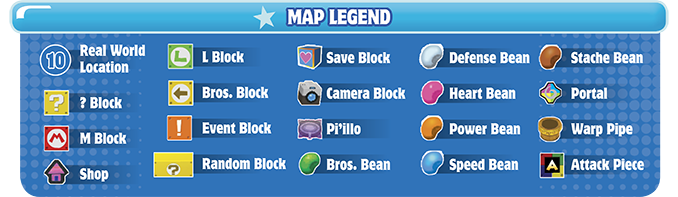
 Somnom Woods
Entrance
Somnom Woods
Entrance
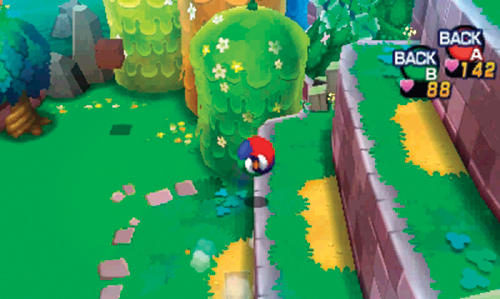
After arriving in Mushrise Park, head to the east to reach the entrance to Somnom Woods—Bedsmith is waiting for Mario and Luigi there. Ball Hop up the steep step-like terrain on the east side, and then follow the path beyond to step beneath the canopy of this lush forest.
 Somnom Gate
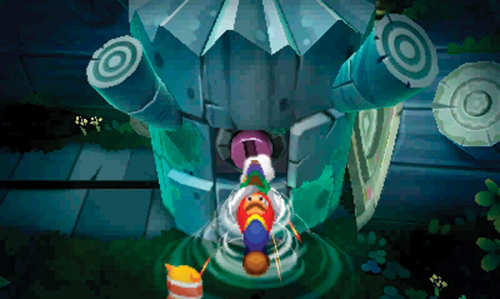
Bedsmith is waiting here along this windy path. But the path is blocked by a large stone-like tree stump—apparently this is some sort of gate. While Bedsmith seems familiar with this gate, he’s incapable of reaching the activation switch above. Step onto the nearby platform to the south and Side Drill into the switch to activate it. This causes the gate to open.
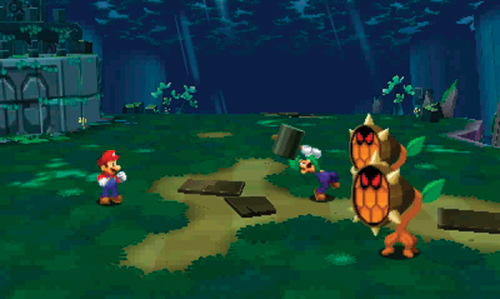
Once the gate is open, Bedsmith urges Mario and Luigi to follow him. However, take a moment to battle the Beehoss first. This peculiar flower-like enemy is covered in spikes. Therefore, use Hammer attacks instead of Jump attacks—Bros. Attacks are also effective. During their attack phase, the Beehoss sends swarms of bees at Mario and Luigi. Simply jump over these swarms. Jumping on the swarms only agitates the bees, causing them to sting Mario or Luigi. After inflicting damage, the bees immediately return to the Beehoss. But if you completely avoid contact with the bees, the Beehoss will have no bees to attack with for a few turns, leaving them defenseless until the bees eventually return. After battling these enemies, strike the ? Block and M Block (both containing coins) on your way to the next area.
 Bedsmith’s Shop
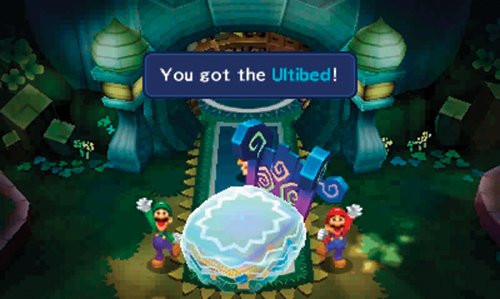
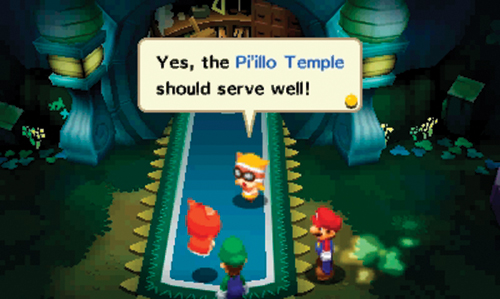
Bedsmith’s shop is located on the north edge of this area. Mario automatically presents Bedsmith with the five Ultibed parts. Bedsmith carries the parts into his shop and begins construction while Mario and Luigi wait outside. A few moments later, the Ultibed is complete. But as Mario, Luigi, and Dreambert prepare to use it to find the Zeekeeper, Bedsmith interrupts—the Ultibed can’t be used here. Instead, it must be taken to a place in the woods where the dream power swells. Dreambert ponders this for a moment and concludes that they must head for the Pi’illo Temple. Dreambert urges Mario and Luigi to explore the woods and find the Pi’illo Temple. Once there, they can use the Ultibed to enter the dream world and find the Zeekeeper. Before beginning your search, explore the rest of this area. There’s an Ultra Mushroom in the ? Block to the west, a Bros. Block to the east, and a Save Block to the south.
 Southwest Pond
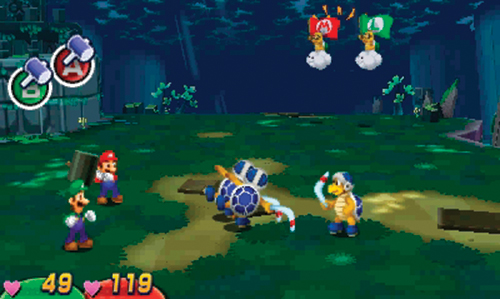
Avoid the incoming boomerang tossed by the Boomerang Bro patrolling near the entrance to this area—initiate a battle by jumping on or hammering this foe. When these enemies attack, watch the Commander Lakitus hovering in the background—they raise M or L flags, indicating whether Mario or Luigi is about to be attacked. Use your hammers to knock back the boomerangs. In other instances, the Commander Lakitus will indicate what type of boomerang attack is coming. If the Commander Lakitus move in a circular motion, be ready to jump over the incoming boomerang, so it returns and strikes the Boomerang Bro who threw it. These enemies are best defeated with standard Jump attacks. Or if you want to end the battle quickly, use a Bros. Attack, such as Bomb Derby.
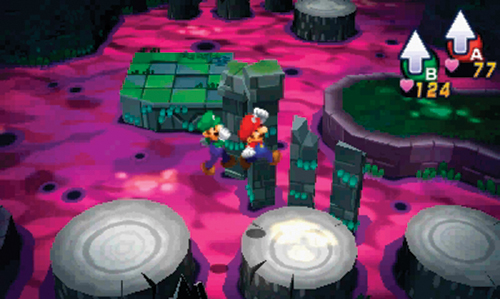
Collect the Refreshing Herb from the ? Block to the north, then focus on crossing the pond in the center of this area—don’t fall in the unusual purple water. The stumps to the south serve as stepping stones. But instead of crossing to the east, head north, using Spin Jumps to navigate from one island to the next.
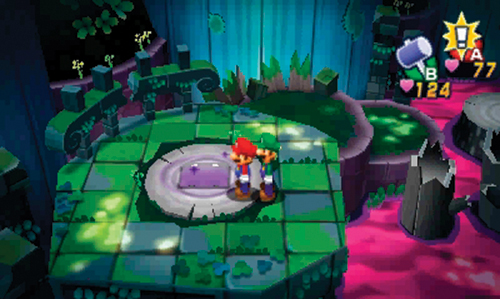
In the northwest corner there’s a large cracked stone—whack it with your hammer to reveal a pillow. In Somnom Woods, many pillows are hidden beneath similar stones, so keep your eyes peeled. Enter the dream world and rescue this Pi’illo (L). Battle the Pelicrumps and Spritzblooms inside this dream world while navigating the various pipes and entrances to smash the three nightmare chunks.
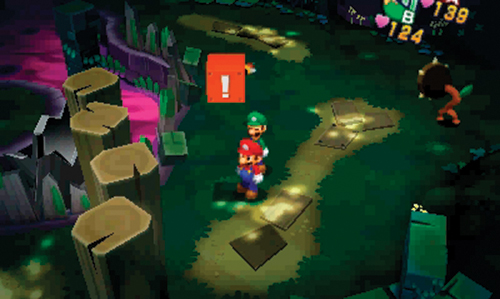
After rescuing the Pi’illo, Spin Jump toward the east side to locate an Event Block—watch out for the Beehoss lurking nearby. Strike the Event Block to lower the nearby wooden gate, making it easier to cross through this area—there’s a Heart Bean on the west side of the gate. After striking the Event Block and dispatching the Beehoss, exit to the east.
 South Pond
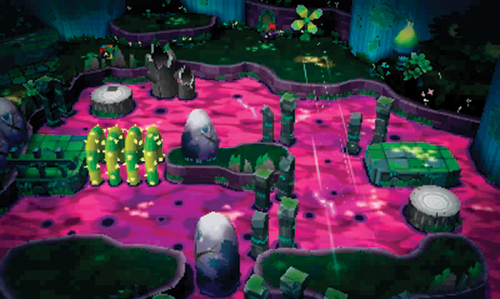
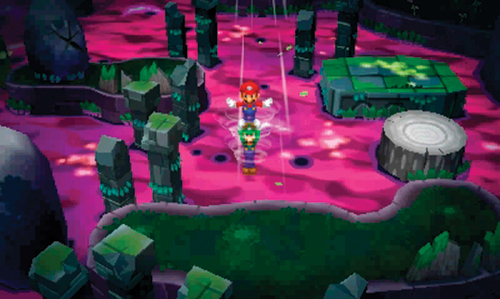
Upon entering here, Mario and Luigi make note of a mole-like creature, called a Nommon, burrowing beneath the ground and exiting to the east. Perhaps you should follow it? But first, take a moment to thoroughly explore this area. Battle the Boomerang Bro nearby, then head north to battle another Beehoss. Circle around the pond to the northeast side to locate a flower-like fan. You can use the wind generated by this fan to cross the pond. When the fan oscillates to the south, Spin Jump in front of it to ride the wind to a distant island near the center of the pond.
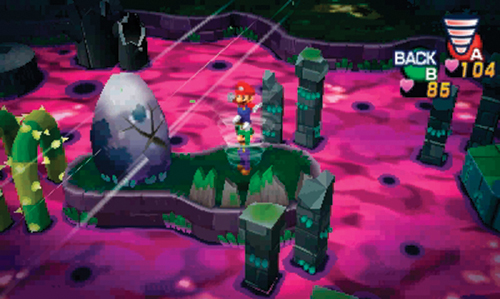
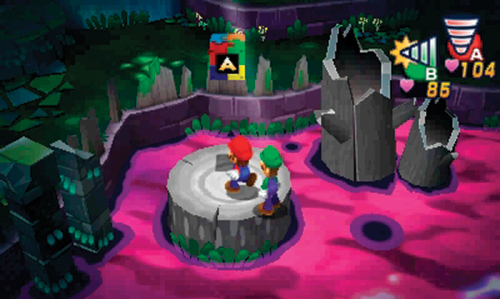
Jump across the platforms to the north, then Spin Jump to the island to the west—this island features a large stone on the west side. Smash the stone, then Side Drill through the thorny vines on the other side. Once on the west side of the vines, Spin Jump toward the stump in the northwest corner to obtain the first Attack Piece. Spin Jump back to the south, then smash the two large stones to the west of the thorny vines—this creates a more direct path for passing through here later.
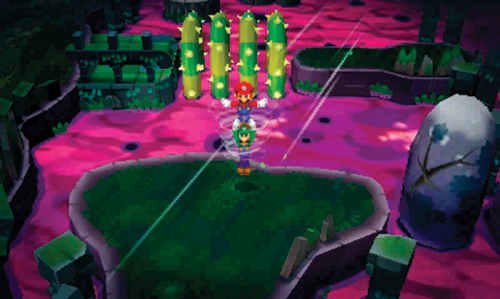
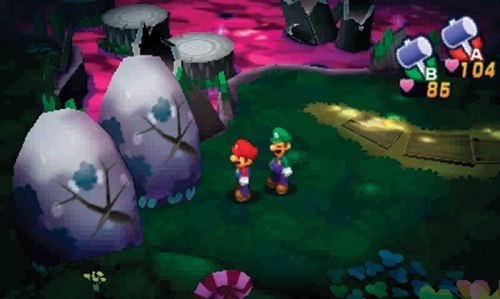
Return to the fan in the northeast corner and wait for it to oscillate, facing the southwest—take this opportunity to Spin Jump toward the large island on the west side of the pond. Smash the rock on the east side using your hammer, then turn south, crossing the tree stumps to the south. Once back on land, turn to the west and smash the two rocks here, blocking the southern path. Once again, smashing these rocks isn’t necessary, but doing so facilitates ease of navigation if you ever have to pass through this area. While moving toward the eastern exit, strike the L Block to obtain an Ultra Mushroom.
 Southeast Pond
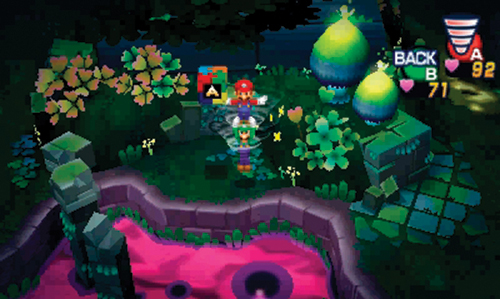
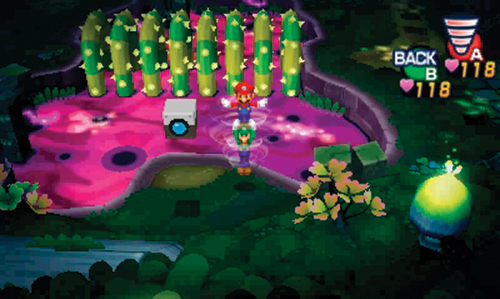
Battle the Boomerang Bro and Beehoss here, then Side Drill through the thorny vines in the pond—there’s a ? Block containing an Ultrasyrup Jar on the other side. From the eastern bank of the pond, Spin Jump to the north to retrieve another Attack Piece. Return to the east side and Spin Jump to the south side of the pond to strike the Somnom Woods Camera Block. Spin Jump back to the east side of the pond and exit along the eastern path.
 East Pond
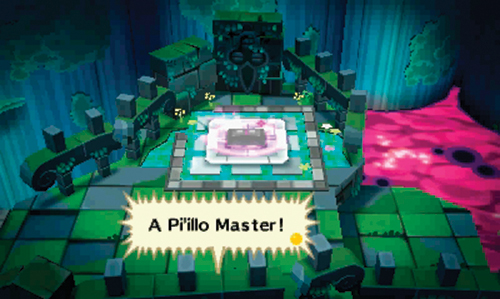
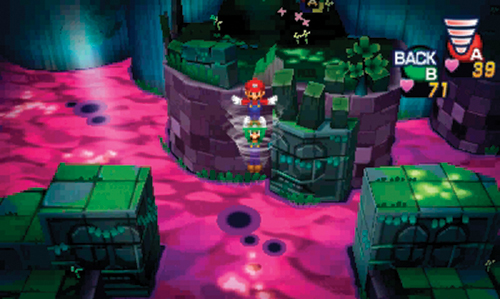
Watch out for another Beehoss here—take it out before continuing north. As you approach the large stone structure to the north, Dreambert recognizes a special pillow above—a Pi’illo Master is trapped within! To enter the temple, this Pi’illo must be saved—you need to find a way up there. Start by crossing the pond to the east using a Spin Jump—but pay attention to the incoming wind carefully. When the wind isn’t blowing, begin your Spin Jump to the east.
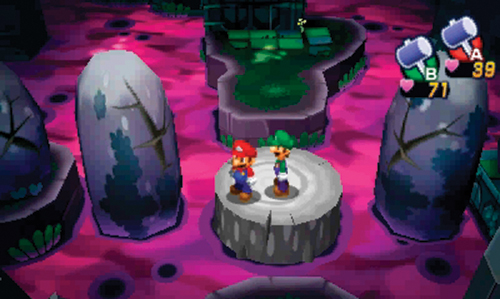
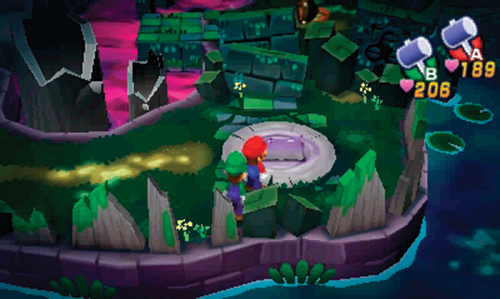
Head south until you reach a stump flanked by two rocks—Side Drill through the rocks on both the east and west sides, opening a path along the south side of the pond. Cross to the west side first to collect an Ultra Nut from a ? Block. Smash the two rocks west of the ? Block to extend the path on the south side of the pond. From the stump, hop to the south and locate another pillow in the southeast corner. Enter the dream world to set this Pi’illo (I) free.
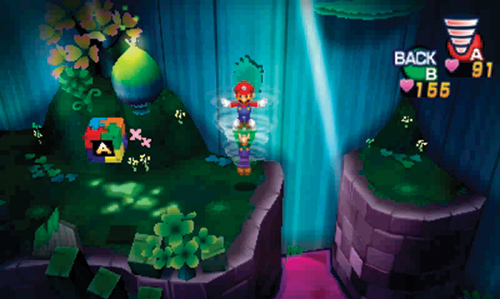
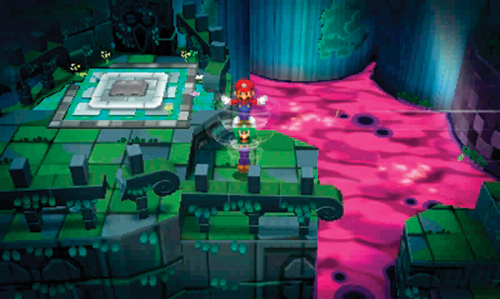
Return to the stump, cross to the east side of the pond, and engage another Beehoss. Ignore the fan for now, and Spin Jump along the elevated islands on the north side of the pond. This is the only way to reach the Attack Piece here. Once you’ve grabbed the Attack Piece, backtrack to the east and approach the fan. Stand in front of the fan and wait for it to start blowing. Initiate a Spin Jump while standing in front of the fan to send Mario and Luigi flying across the pond to the altar-like structure to the west. You can now rescue the Pi’illo Master. Enter the dream world and begin your search. Dreambert reports that this is just one of the Pi’illo Masters—you must rescue them all to gain access to the Pi’illo Temple.
Dream World (A)
A
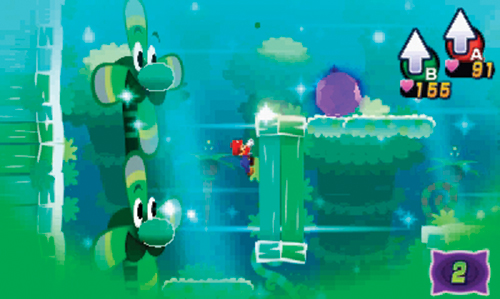
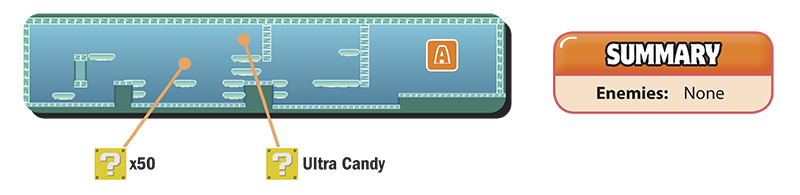
There are only two nightmare chunks in this small dream world, but you must use a new Luiginary Work to reach them, as well as one of the ? Blocks here. Travel to the far left side to initiate the new Luiginary Propeller. On the Touch Screen, draw circles on Luigi’s nose to trigger a powerful wind generated from the Propeller—press on Luigi’s nose to stop the Propeller. While the Propeller is active, you can scale walls. Press against the wall on the right, then scale it to reach the first nightmare chunk. Smash the nightmare chunk with your hammer.
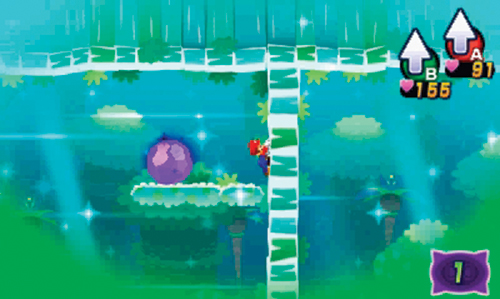
During your journey back to the right side, keep the Propeller active to aid your jumps—in addition to scaling walls, the wind generated by the Propeller makes it possible to jump greater distances. Strike a couple of ? Blocks along the way to gather coins and Ultra Candy—you must scale a wall to strike the ? Block containing the Ultra Candy. Finally, scale another wall to the right to reach the last nightmare chunk—smash it with your hammer to set the Pi’illo Master free.
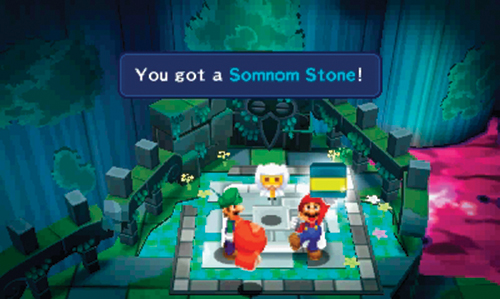
Back in the real world, the Pi’illo Master is grateful for Mario and Luigi’s intervention. To aid them in their journey to the temple, the Pi’illo Master hands over a Somnom Stone. But the Pi’illo Master warns that there are others like him still trapped in the dream world. After speaking to the Pi’illo Master, exit on the west side.
 Temple Gate
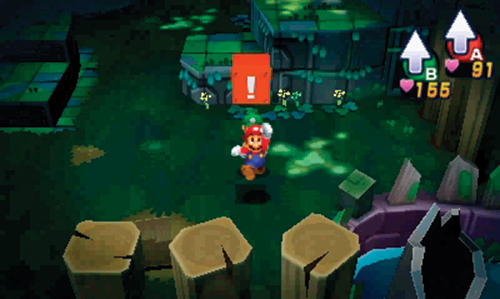
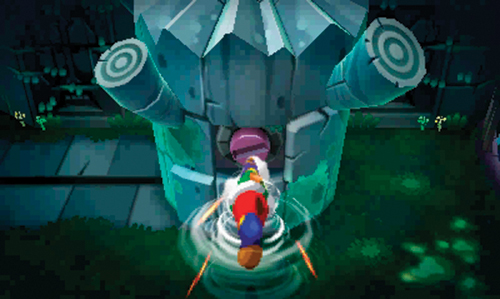
Strike the Event Block to the south to lower the two wooden gates—this opens access back to areas 6 and 7. If you didn’t earlier, smash the rock beyond the southern gate to find a pillow, rescuing Pi’illo (H). Battle the Beehoss and Boomerang Bro here, then approach the switch in the wall to the north—it looks just like the one Bedsmith had you open in area 2. Stand on the platform south of the switch, then Side Drill toward the switch.
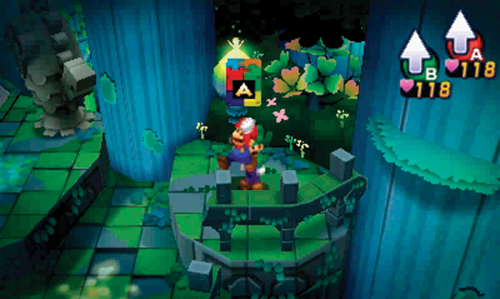
Once the switch is activated, the large stone structure slides out of the way, revealing a small stone lift. Ride the lift to the upper level and grab the Attack Piece in the northeast corner—you can grab a 1-Up Deluxe from the ? Block in the northwest corner.
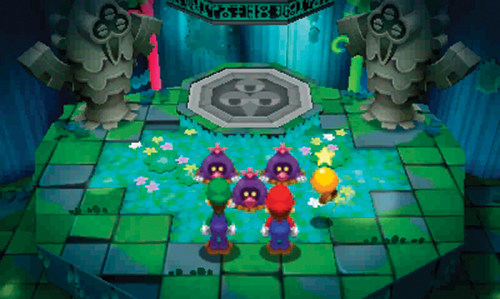
As you approach the central platform to the north, three Nommons emerge from the soil—they want to know why Mario and Luigi are here. But despite Starlow’s explanation, these purple critters are suspicious, fearing for the safety of something they call the Nom Pi’illo. After a brief and somewhat hostile conversation, the Nommons disappear into the soil—it looks like you’ll need to find a better way to earn their trust. Dreambert reports that Nommons have inhabited these woods for a long time, but he has no idea what the Nom Pi’illo is. He suggests advancing and dealing with this mystery later. Board the stone lift to the north to enter the next area.
 Central Plateau
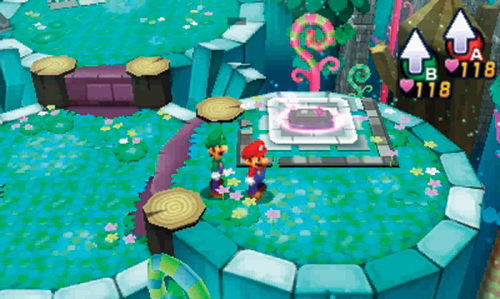
The platform here is flanked by a Warp Pipe and a pillow. Before moving any further, approach the pillow and enter the dream world. The Pi’illo trapped inside is another Pi’illo Master—enter the dream world and rescue him!
Dream World (B)
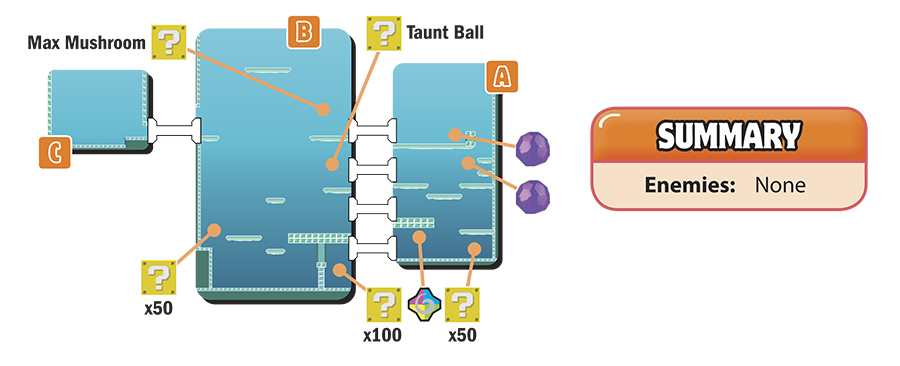
A
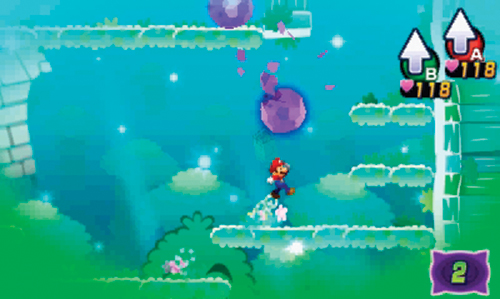
There are two nightmare chunks in this area, but you can only reach one of them now. Use the Luiginary Stache Tree to ascend the platforms here and smash the first nightmare chunk. The next nightmare chunk is on the top platform above, but it can’t be reached from this area, so exit on the left side to enter area B.
B
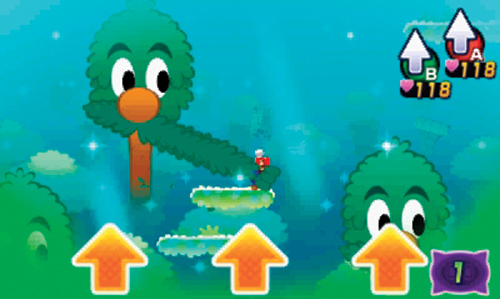
An entire forest of Luiginary Stache Trees await here. Use them to navigate between the various platforms. ? Blocks here contain a Taunt Ball, a Max Mushroom, and coins. Work your way to the top level and stand atop the moving platform, moving horizontally. Grab Mario with the nearby Stache Tree and launch him to the ledge on the upper-left side to enter area C.
C
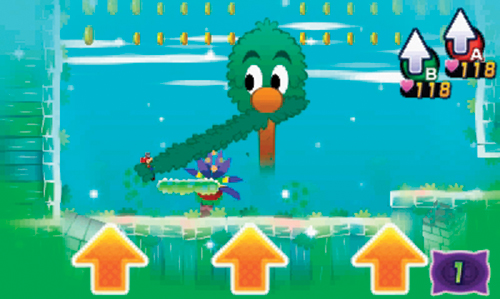
Entering this chamber is purely optional, but it’s well worth the visit. Use the Luiginary Stache Tree here to launch Mario throughout the upper reaches of the room to collect an array of coins. When you’ve collected all the coins in area C, return to area B and use the top Stache Tree there to launch Mario onto the ledge in the upper-right corner to return to area A. From the upper level of area A, smash the last nightmare chunk to free the Pi’illo Master.
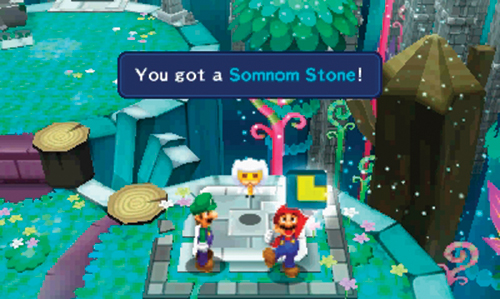
Upon returning to the real world, the Pi’illo Master thanks Mario and Luigi before handing over another Somnom Stone. But this Pi’illo Master offers a bit more information on what these stones actually do. The Pi’illo Masters have guarded the Somnom Stones for a long time. The stones function as keys to the temple. Once all Somnom Stones are collected, the path to the temple will open. More petrified Pi’illo Masters lie along the path ahead—rescue them to retrieve the remaining Somnom Stones.
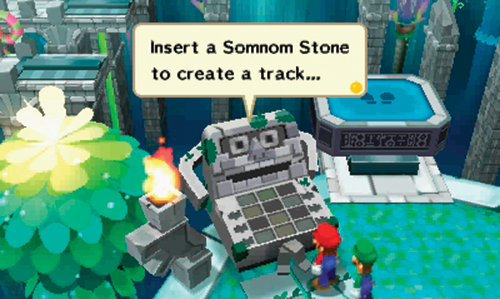
Next, approach a peculiar talking statue to the north. The statue reveals that Somnom Stones can be inserted to create tracks across the chasm leading to the Pi’illo Temple. The nearby stone platform can then function like a train, traveling along the tracks.
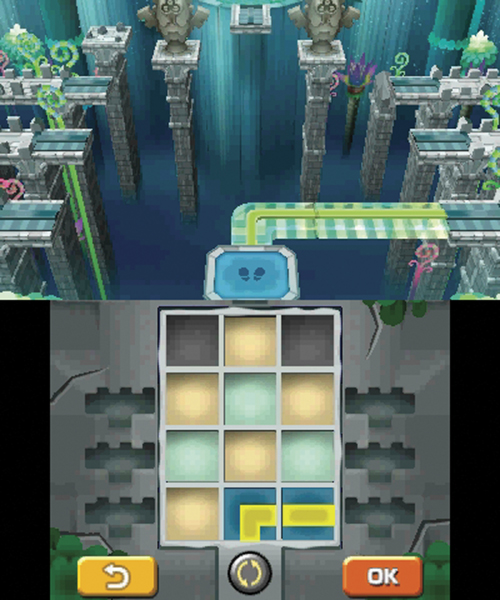
Once inserted in the statue, each Somnom Stone can be used to form one section of tracks. This brings up a new interface, prompting you to place tracks across a grid on the Touch Screen. The tracks appear on the perimeter of the Touch Screen—currently only two track pieces are available, because you’ve only obtained two Somnom Stones. There are six different track pieces in all, meaning there are six Somnom Stones total. While the Pi’illo Temple is located straight ahead, to the north, there are six different paths on the perimeter left to explore. Drag the track pieces from the perimeter of the Touch Screen to form the first set of tracks. Track pieces can be rotated too by selecting them and pressing the rotation button at the bottom of the Touch Screen—just like decrypting shots at Kylie Koopa’s. For the first set of tracks, creating a section leading to the southeast corner. Once the track is laid, step onto the nearby platform and take a ride along the tracks.
 Southwest Junction
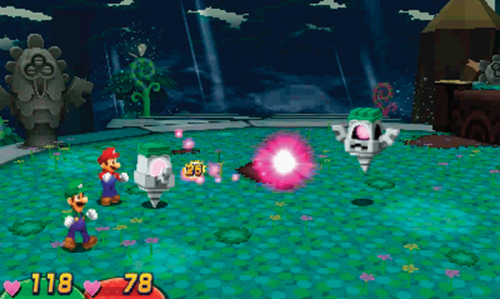
Battle the Boomerang Bro near the entrance, then confront a new enemy: Eyepi’illo. Wait until these floating stone enemies descend to the ground, then whack them with a hammer or jump on them to initiate a battle. During one of their attacks Eyepi’illos spin around in front of Mario and Luigi, emitting pink sparks in one direction—this indicates the direction they’re about to fire. Interrupt this sequence by striking the spinning Eyepi’illo with your hammer while the sparks are facing away from you. If you time it just right, the Eyepi’illo will stop and shoot one of its comrades on the right. Jump attacks and Hammer attacks are both effective against these enemies.
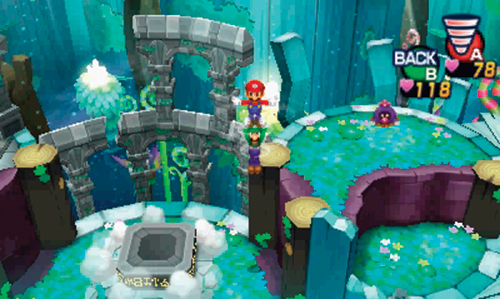
Battle more Eyepi’illos just ahead while crossing from one cylindrical platform to the next. Just ahead, Mario and Luigi encounter a Nommon—this guy is still suspicious. Continue to the stone lift on the north side. When the lift ascends and stops, Spin Jump to the west to obtain coins and Ultra Candy from two ? Blocks. Board the stone lift once again, and Spin Jump to the east—speak with another Nommon, then exit to the east.
 Ding-a-ring (South)
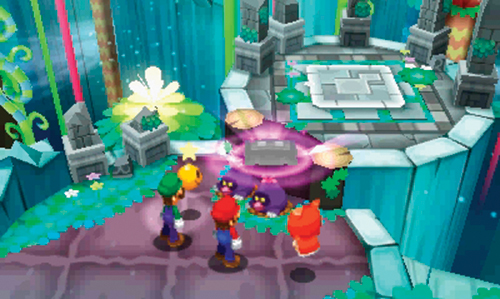
Upon entering, proceed directly to the platform in the southeast corner to strike a Random Block and L Block, containing a Max Nut. Backtrack to the west and approach the two Nommons to the north. Although suspicious at first, these Nommons become a bit more informative once Dreambert shows up. That’s when the Nommons reveal the Nom Pi’illo they’ve been guarding—Starlow and Dreambert instantly recognize it as containing a Pi’illo Master. After a brief discussion, the Nommons agree to hand over the Nom Pi’illo. But first, they want to play a game. Agree to play the game.
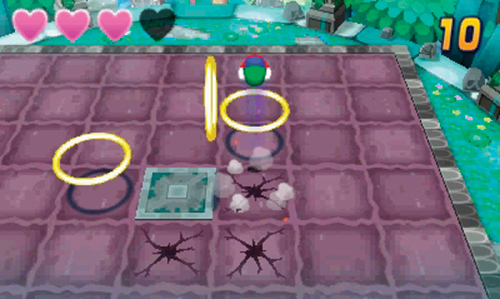
The name of the game is Ding-a-ring and requires Mario and Luigi to Ball Hop through a series of Ball Rings. However, there is no room for error, so plan your path before taking off. During the course of passing through the rings, you can only bounce on the purple tiles once—they crack on first contact, and will cause Mario and Luigi to fall through if struck again. However, you can bounce on the gray tiles as many times as you’d like. To make the game a bit more challenging, you also can’t hit any Nommons on the play field. Are you ready? The game begins counting down as soon as you pass through the first Ball Ring. You must complete three challenges to satisfy the Nommons. The hearts in the upper-right corner indicate how many chances you have left—you can mess up a total of four times before the game is over, requiring you to start again.
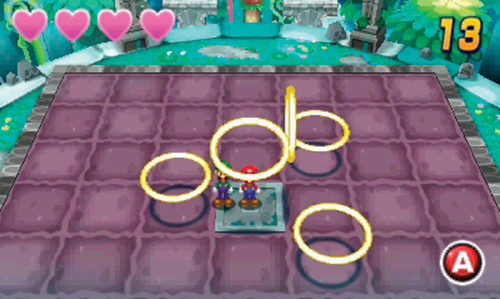
Each Ball Ring configuration is different, and there are sometimes multiple solutions to each challenge. To complete this basic course, bounce in the following directions: south, east, north, north, west, south, west, east, west. The challenge ends as soon as you pass through the final ring. So if you’re headed in the direction of a cracked tile, as long as you pass through the final Ball Ring, you can end the challenge before landing on the cracked tile. Keep this in mind while planning your moves.
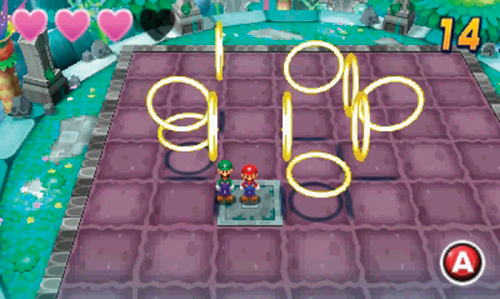
This course is a bit more challenging. Sometimes it can be difficult to see the exact positions of the Ball Rings. So instead of looking at the rings, look at their shadows cast on the play field. This makes it a little easier to plan your path. To complete this challenge, travel in the following directions: east, east, north, west, north, west, west, south, south, east.
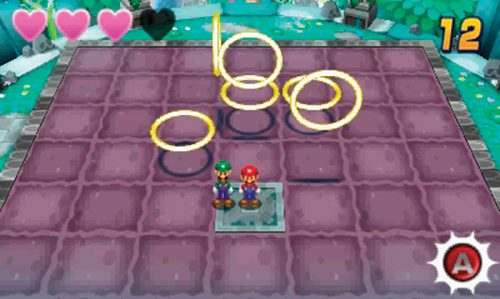
For this challenge, use the following path: east, north, north, west, west, south, east, north.
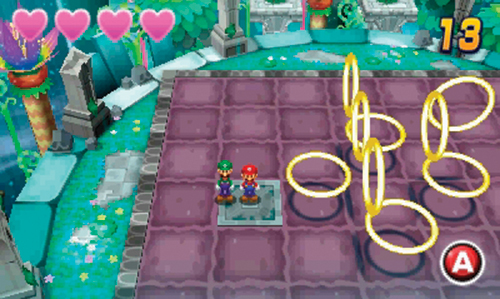
Once again, pay close attention to the shadows cast by the Ball Rings to chart a course through this play field: east, east, east, south, west, west, west, north, north, east, east, east, south.
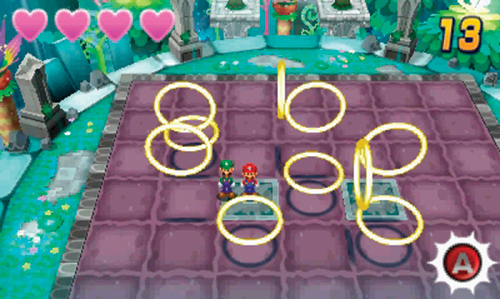
This play field features two gray tiles. Remember, you can bounce on these sturdy tiles as much as you’d like without fear of them breaking. Take the following path: south, west, north, north, east, east, south, south, east, north.
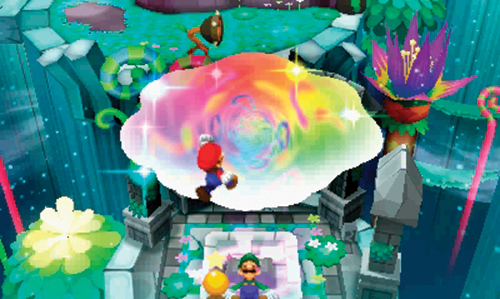
Chances are you’ll encounter many different play field configurations during your attempts at Ding-a-ring. The trick is to plan your movements before you start. Draw out a path, focusing mostly on the shadows of the Ball Rings. After successfully clearing three challenges, the Nommons are pleased and hand over their Nom Pi’illo—interact with it to enter the dream world.
Dream World (C)
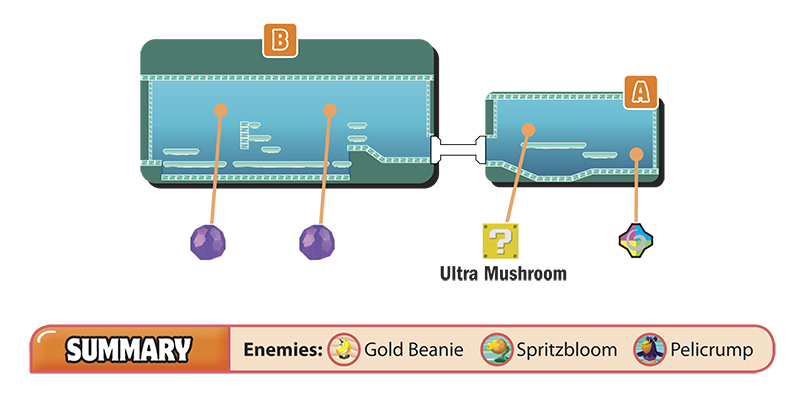
A
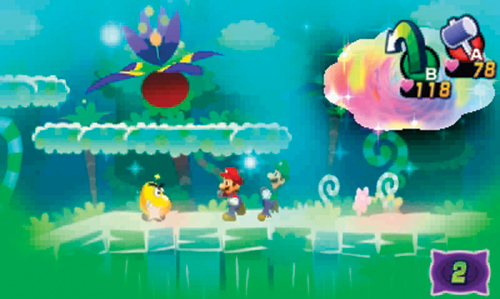
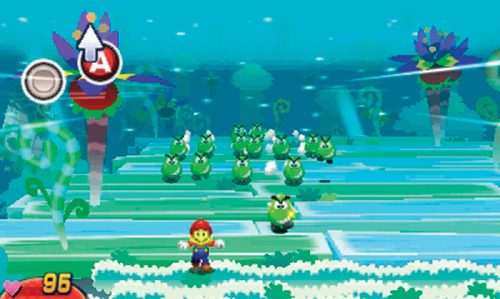
You stand a chance of encountering a Gold Beanie here. Initiate a battle and break out the Luiginary Attacks to inflict heavy damage on this elusive guy before he can escape. The Luiginary Wall is a powerful tool in your arsenal, ideal for defeating the Gold Beanie. But remember, you must successfully counter this guy, knocking him on his back to prevent him from running off. When he chases after Mario with a group of Green Beanies, pay attention to where the Gold Beanie is in the group. When he hides behind one of the Green Beanies and charges forward, jump on him to counter. If you fail to counter his attacks, he will eventually run away.
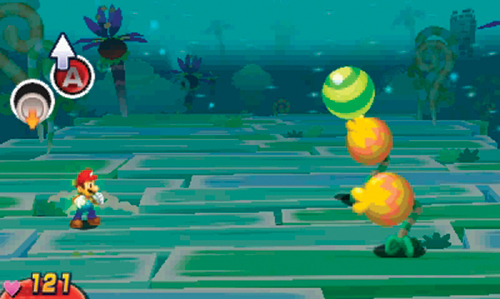
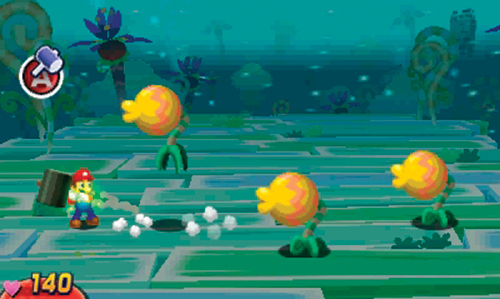
While advancing to the left you encounter a Spritzbloom on the upper platform. These flower-like enemies launch balls filled with noxious purple spores into the air—knock the balls back, by jumping, before they explode. Watch the shadows of these balls as they fly toward Mario to get underneath them. Then jump up while beneath the ball to knock it back in the direction of the Spritzbloom. When a Spritzbloom approaches Mario, jumping toward him and away from him, strike the Spritzbloom with your hammer, causing it to spew toxic spores back at its friends on the right. But if you miss, Mario will get a face full of toxic spores, inflicting moderate damage.
B
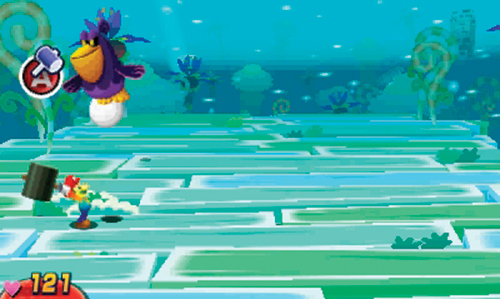
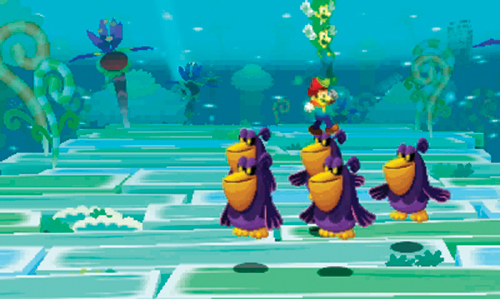
Be ready to do battle with some Pelicrumps here. These purple birds are best dispatched with Jump attacks. But be ready to counter their attacks too. When the flock takes off, pay attention to which Pelicrump is carrying a white egg in the background. Then as the Pelicrumps swoop down at Mario, only strike the one carrying the egg, using your hammer. In another common Pelicrump attack, they approach Mario carrying bombs. But usually only one Pelicrump moves within attack range of Mario—strike the nearby Pelicrump using your hammer and ignore the rest. Pelicrumps also have a habit of coughing up bombs before they’re defeated. These bombs eventually detonate, damaging other Pelicrumps nearby. You can spot which Pelicrumps are carrying bombs when they open their mouths at different points during the battle; consider targeting these bomb-carrying Pelicrumps first.
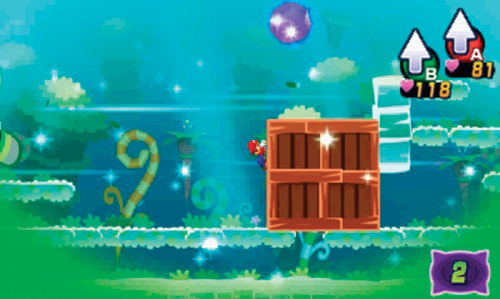
Advance to the far left side of this room and use the Luiginary Propeller to kick up a strong wind. Next, push the nearby wooden crate to the right as far as it will go. Scale the left side of the crate to reach the top, then jump up to smash the first nightmare chunk.
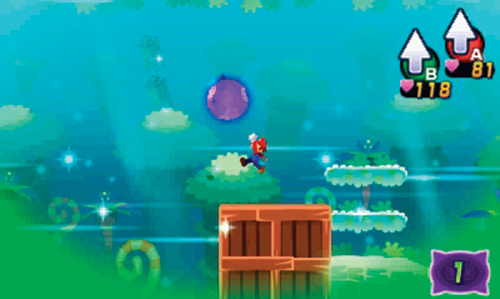
Now move to the right to locate the other wooden crate—this one is blocked by a cracked stone. Smash the stone using your hammer, then move to the left side of the crate, pushing it to the right as far as it will go. Scale the left side of the crate, then jump up to smash the last nightmare chunk, releasing another Pi’illo Master.
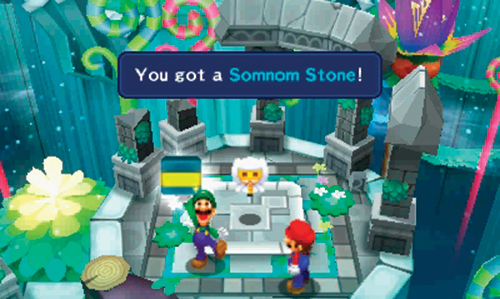
Back in the real world, the Pi’illo Master thanks Mario and Luigi before handing over another Somnom Stone. The Pi’illo Master also offers some extra information on the Zeekeeper. Apparently the Zeekeeper lived in these woods once. After saving Pi’illo Island from numerous calamities, he would always recover at the Pi’illo Temple. The Pi’illo Master is confident that the Zeekeeper will come to the island’s rescue once more. After speaking with the Zeekeeper, backtrack to the east, returning to the tracks in area 9.
Central Plateau
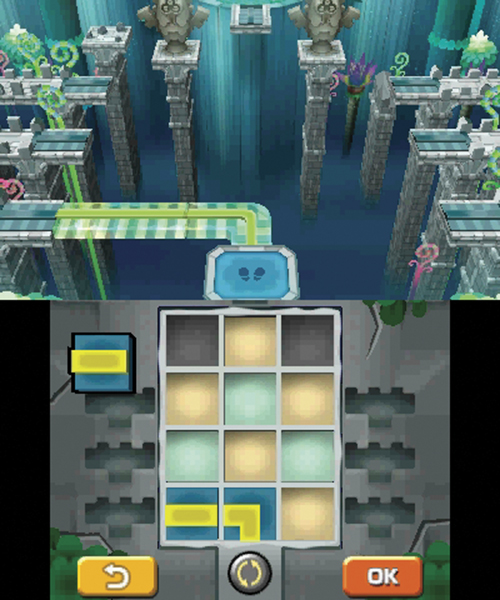
With three Somnom Stones in your possession, you now have access to three different pieces of track. However, you only need two to reach the next area to the southwest. Arrange the tracks in this configuration to reach area 12.
 Southwest Junction
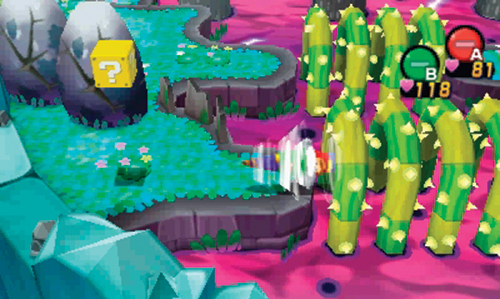
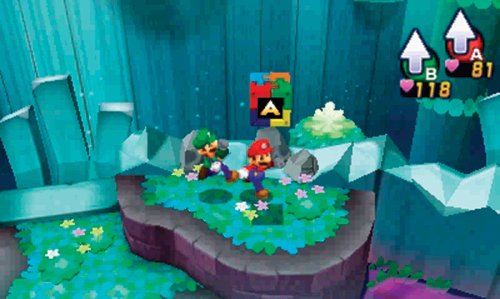
Battle the Eyepi’illos, Boomerang Bro, and Beehosses here to gain some EXP. Once the enemies have been defeated, Side Drill through the southern set of thorny vines to the west—a ? Block containing a Secret Box is on the other side. Next, smash the rock to the north and approach the east side of the pond. From here, Spin Jump to the island on the north side of the pond to obtain another Attack Piece.
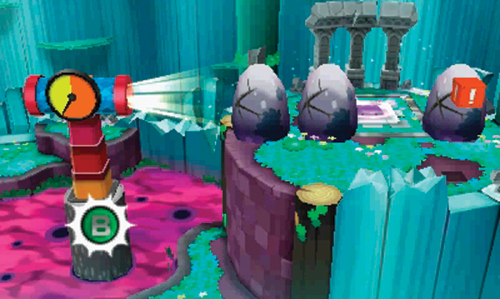
Return to the east side of the pond and Side Drill to the east to enter a Stretch Pipe. Exit the Stretch Pipe at its middle elevation, launching Mario and Luigi into the modified Stretch Pipe to the east. Once in the modified Stretch Pipe, press
 to manually adjust the elevation until the pipe is level with the rocks to the east. Hold the pipe at this elevation until it launches Mario and Luigi, causing them to crash through the rocks.
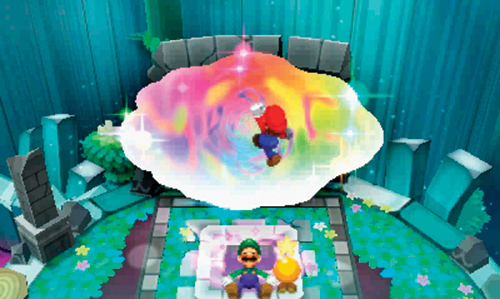
After reaching this high plateau on the north side, strike the nearby Event Block to open a gate to the east—the Nommon on the northeast plateau has been guarding the nearby Nom Pi’illo. Approach the Nom Pi’illo and enter the dream world—it’s time to save another Pi’illo Master.
Dream World (D)
A
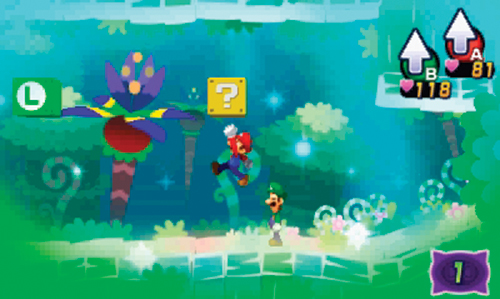
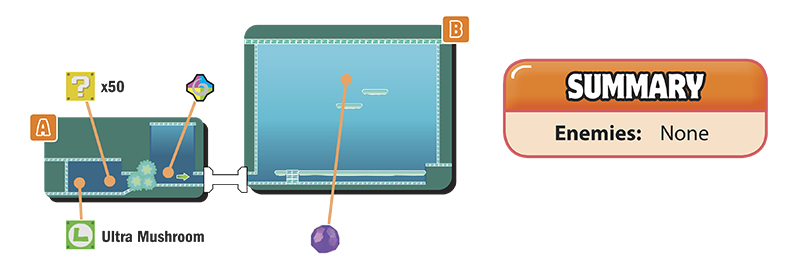
Before exiting to the right, explore the left side of this room—you can pass behind the foliage here to access a hidden area. Strike the ? Block to get coins and hit the L Block to obtain an Ultra Mushroom. Now you can exit to the right.
B
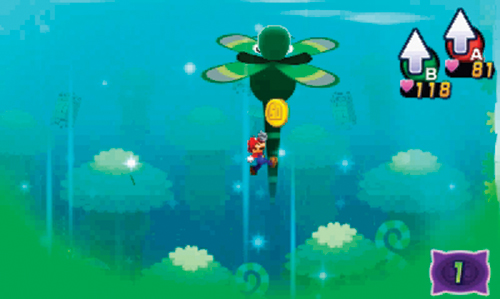
Here you must use the Luiginary Propeller to create an upward draft, launching Mario into the air. Move through the air, transitioning from one updraft to the next to gather the coins. Once you’ve collected all the coins, ascend to the high platform in the middle of the room to smash the nightmare chunk, releasing another Pi’illo Master.
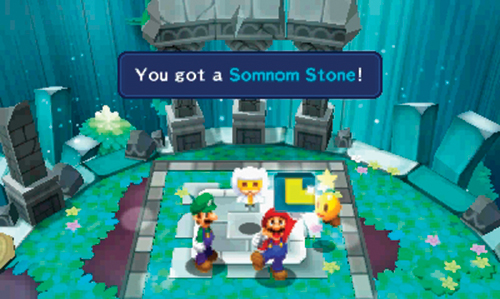
Upon returning to the real world, the Pi’illo Master thanks Mario and Luigi. Realizing the importance of their quest, the Pi’illo Master also hands over another Somnom Stone. The Pi’illo Master says the dream power in these woods dwarfs any other part of the world. This is why they built the Pi’illo Temple here—to magnify the dream current. The Pi’illo Master feels Mario and company will be able to find the Zeekeeper if they take the Ultibed to the Pi’illo Temple. After speaking to the Pi’illo Master, return to area 9 and prepare to lay some more tracks.
Central Plateau
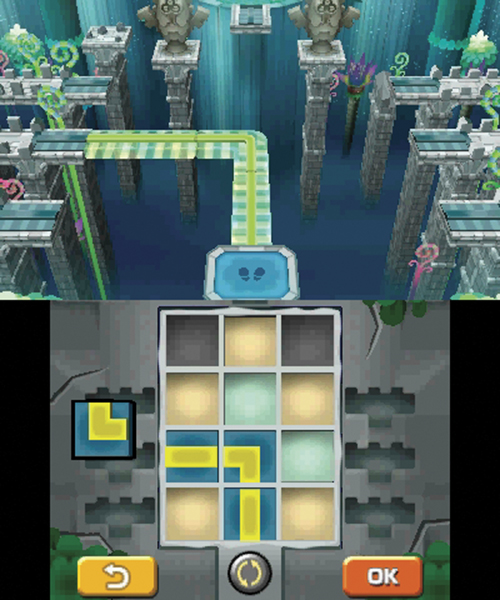
Four Somnom Stones translates into four track pieces, allowing you to reach the eastern and western spans. Head for the western span first, using this track configuration to reach area 13.
 West Junction
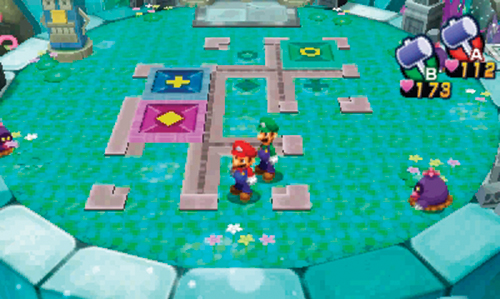
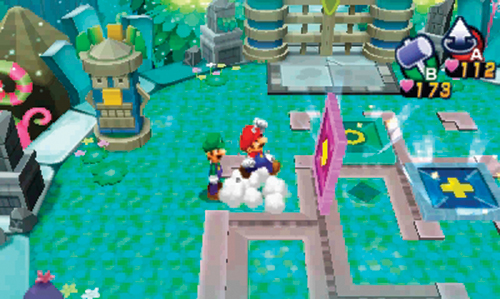
Beware of the Eyepi’illos here upon entering. Defeat the Eyepi’illos in battle, then head north to strike a Random Block and an M Block containing a Refreshing Herb. Next, head across the bridge to the west and engage a Nommon in conversation. The Nommon says a Nom Pi’illo is nearby, located behind the gate to the north. To open the gate you must solve a panel puzzle. This puzzle is rather complex, requiring you to flip and match the three colored panels to the corresponding symbols in the grass. Before going underground as Mole Mario, take a moment to plan the movement of these panels. Focus on the blue and green panels first, locking them into their correct positions. Finally, move the purple panel into place to open the gate to the north.
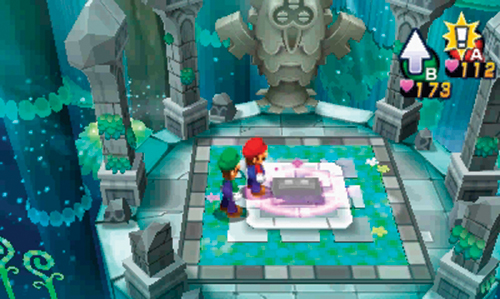
Cross the bridge to the north and approach the Nom Pi’illo. Enter the dream world again to rescue another Pi’illo Master.
Dream World (E)
A
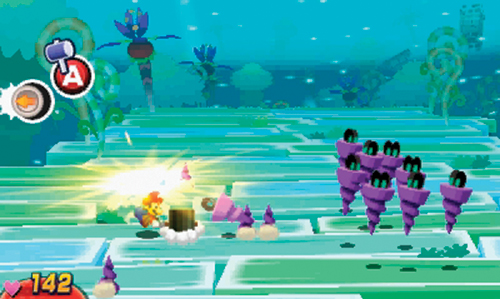
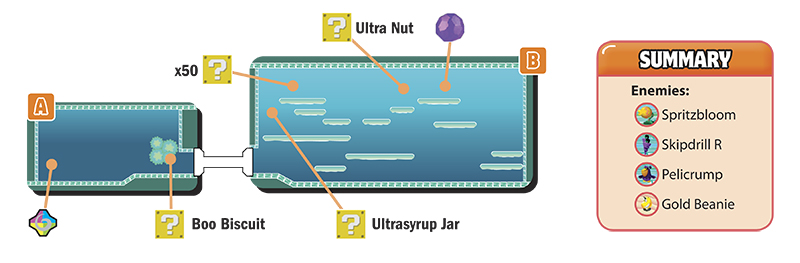
Only a few paces from the portal you encounter a Spritzbloom—defeat it in battle and then proceed to the right. There’s a ? Block containing a Boo Biscuit hidden in the trees. But pay close attention to movement in the trees as well—there’s a Skipdrill R waiting to ambush you here. The Skipdrill R performs just like a standard Skipdrill—these purple variants are just a bit tougher to defeat. Use the same hammer- and jump-based counters during their attacks phase, then finish them off with Jump or Luiginary Attacks. A Luiginary Wall might be overkill, but it will end the battle very quickly. Once you’ve won the battle, exit to the right.
B
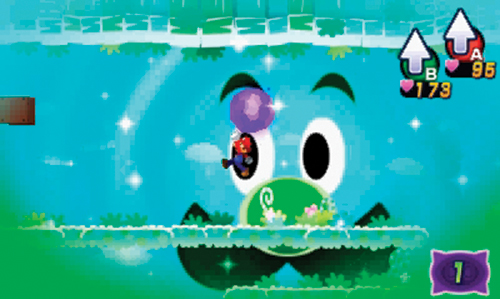
More dense foliage awaits in this large room, obscuring the Spritzblooms and Pelicrumps. Move slowly and try to initiate battles with these enemies before they strike. As soon as possible, use the Sneeze Wind to clear away all the leaves, revealing a series of platforms. This makes it easier to spot enemies, find ? Blocks, and navigate the platforms—you may even encounter a Gold Beanie here. After exploring this room thoroughly, approach the nightmare chunk and smash it to release another Pi’illo Master.
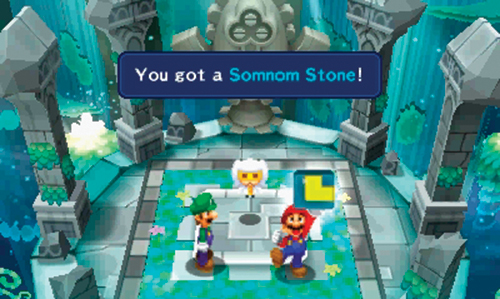
Upon the return to the real world, the Pi’illo Master thanks Mario and Luigi by handing over another Somnom Stone. This Pi’illo Master is surprised to hear of Antasma’s strength. Apparently Antasma was nothing more than a tiny bat living on the island. But one day he consumed a Pi’illo’s nightmare and developed a taste for dark dreams. Over time, the nightmares he consumed transformed him into the horror he is now. The Pi’illo Master pleads for Mario and Luigi to stop Antasma before he can carry out his vile ambitions. After speaking with the Pi’illo Master, return to area 9.
Central Plateau
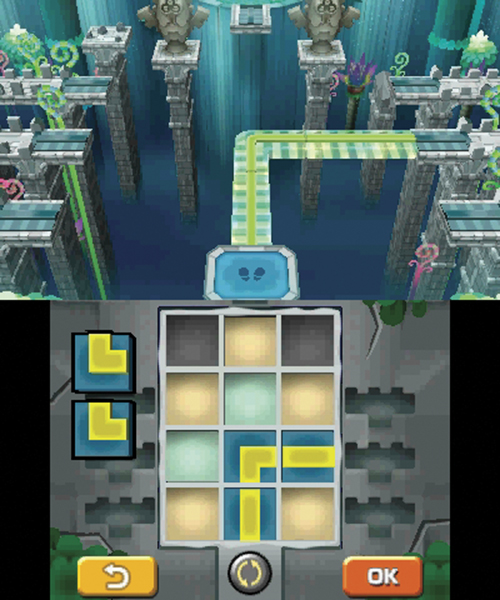
You now have five out of the six Somnom Stones, giving you a total of five track pieces to work with. Next, configure the tracks like this to reach the tracks on the east side.
 East Junction
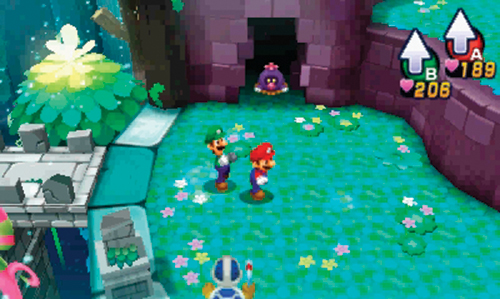
Defeat the Boomerang Bro, Eyepi’illo, and Beehoss enemies in this area to boost your EXP. Once you’ve cleared out the enemies here, take note of the different color blocks in the walls here—these can be smashed with your hammer to reveal three Nommons. However, these Nommons don’t have much to offer when it comes to conversation. When you’re finished exploring here, exit to the east, returning to area 11.
Ding-a-ring (North)
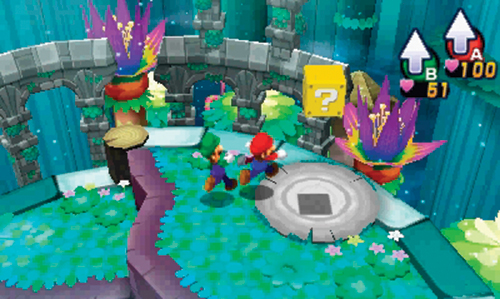
You’re now on the northern half of area 11. Here you can obtain a 1-Up Deluxe from a ? Block as well as battle another Beehoss for EXP. There’s nothing else here to do, so backtrack all the way to area 9.
Central Plateau
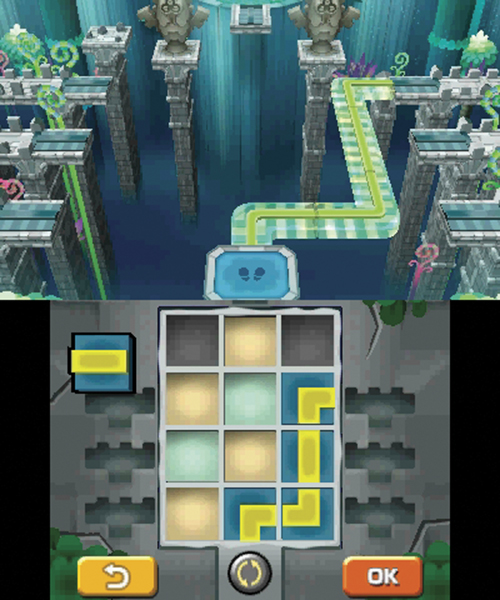
Now it’s time to explore the area to the northeast. Assemble the track pieces in this configuration, then board the stone platform to reach area 15.
 Northeast Junction
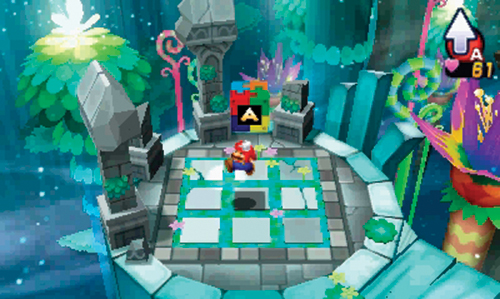
Take some time to clear out the enemies in this area, then approach the small gate to the north—pass under the gate as Mini-Mario and retrieve the Attack Piece located in the northwest corner.
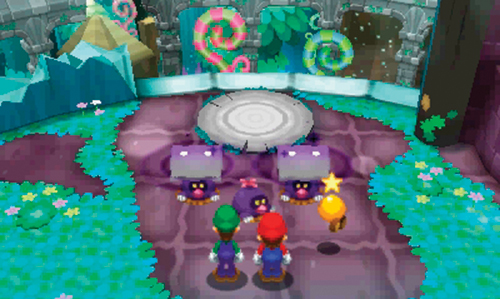
Climb to the large platform on the north side and speak with three Nommons. These Nommons don’t have any Nom Pi’illos…but they have two regular pillows. At first, they’re unwilling to part with these pillows. But if you win another game of Ding-a-ring, you can have them. If you want to rescue these Pi’illos (J and K), you must win a challenging round of Ding-a-ring. Agree to play.
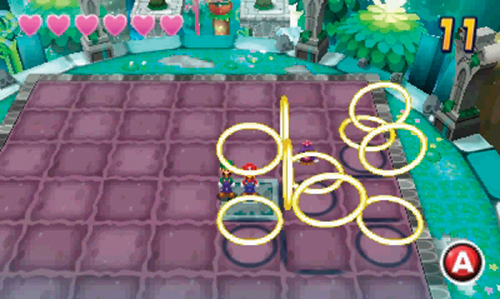
These rounds of Ding-a-ring are a bit more challenging than the previous once you played in area 11, but the same rules apply—you must clear three rounds to win. But this time you have six chances to fail, indicated by the six heart icons in the top left. To clear this play field, avoid contact with the tile occupied by a Nommon—hitting one of these creatures brings the challenge to an end. Follow this path to pass through all the Ball Rings: east, west, south, east, south, east, north, north, north.
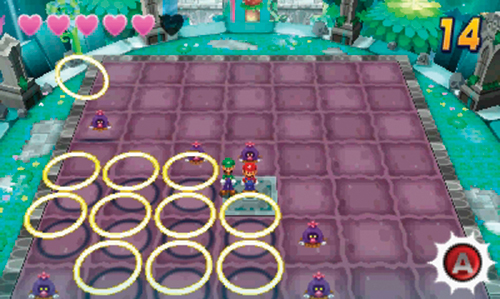
This configuration of Ball Rings is really tricky. But if you follow this path, you’ll clear it with ease, and with a couple of seconds to spare: west, south, east, south, west, west, north, west, north, east, north, west, north.
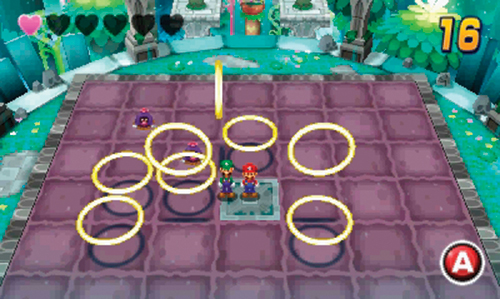
This setup may look simple, but the placement of the two Nommons on the play field makes it a bit tricky. Follow this path to make it through: east, south, south, west, west, west, north, north, east, south, east, north, north, west.
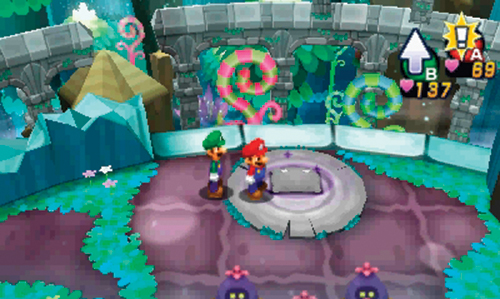
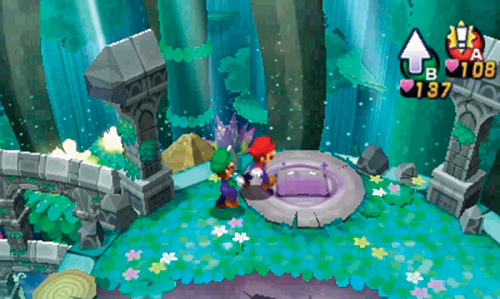
After successfully completing three rounds of Ding-a-ring, the Nommons agree to turn over the pillows in their possession, tossing one to the north and another to the high platform to the northwest. Approach the pillow to the north first to rescue another Pi’illo (J). Afterward, ascend the platform to the northwest (using Ball Hops) to rescue the other Pi’illo (K). After rescuing both Pi’illos, head back to area 9.
Central Plateau
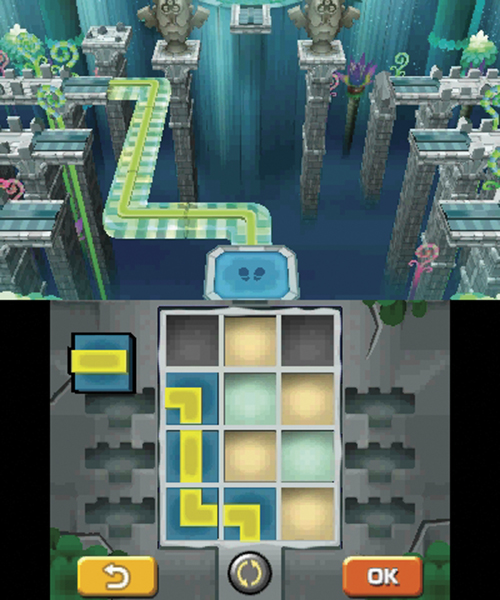
You still only have five of the six Somnom Stones, meaning one more Pi’illo Master is out there waiting to be rescued. Assemble the tracks in this configuration, charting a course for the northwest area.
 Northwest Junction
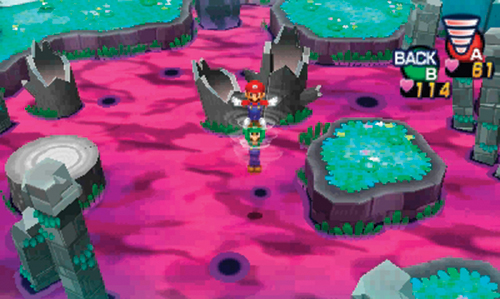
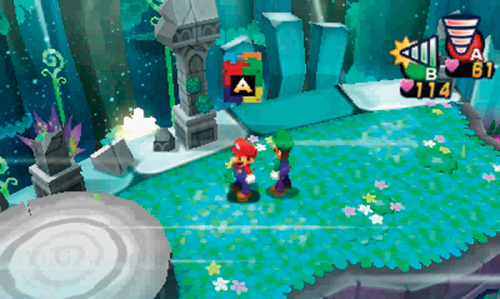
Advance along the south side of the pond and clear out enemies along the way—Mario and Luigi spot another Nom Pi’illo to the west. But this Nom Pi’illo is soon carried to the west by a Nommon. Cross the pond, heading north, then east, standing on a stump near the center. Wait for the wind to die down, then Spin Jump to the east. From the eastern island, Spin Jump to the north, waiting until the wind dies down. From the northeast corner, Side Drill through the rock to the west to reach the northwest island where you can obtain another Attack Piece.
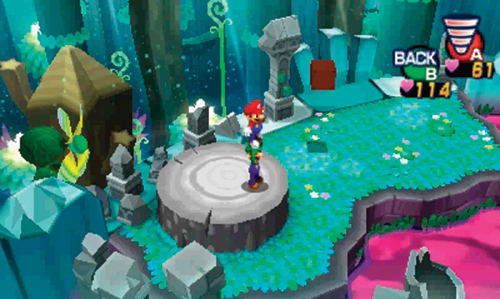
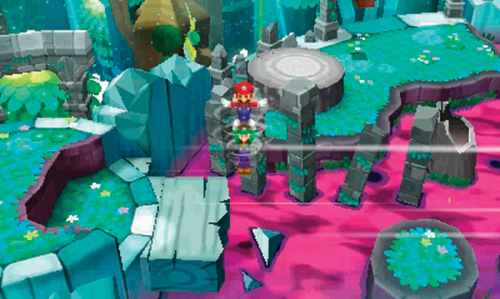
Next, jump onto the large stump, just west of where you grabbed the Attack Piece. Get ready to perform a Spin Jump, but wait until the wind starts blowing. When the wind starts, initiate the Spin Jump and let the air current carry Mario and Luigi to the east. A second air current takes them to the south before a third air current blows them to the west, landing them on the distant platform. You can now chase after that Nommon carrying the last Nom Pi’illo—exit to the west.
 Cave Entrance
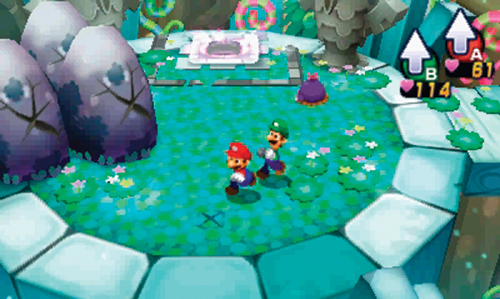
Here you encounter the Nommon who was carrying the Nom Pi’illo back in area 16. There are also three massive rocks concealing a cave entrance to the west, but focus on the Nom Pi’illo first—enter the dream world to rescue the last of the Pi’illo Masters!
Dream World (F)
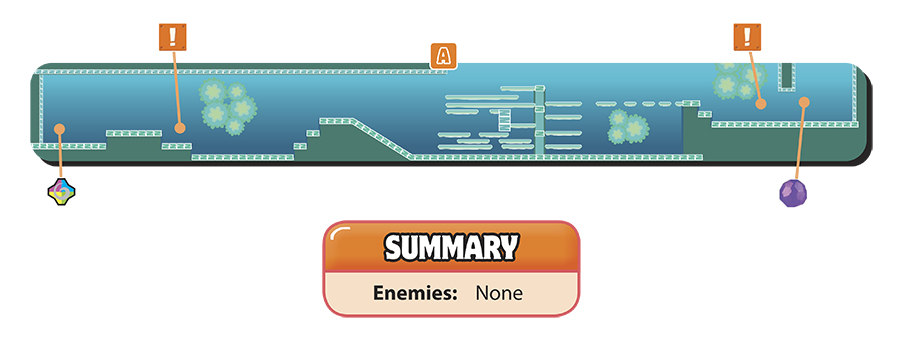
A
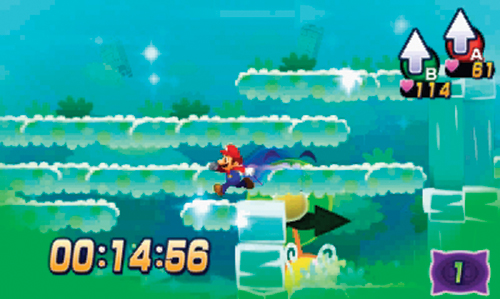
Here you must use the Luiginary Speedometer to make it through this obstacle course within 21 seconds. Start the timer by striking the nearby Event Block. Increase Mario’s speed to make it through the platforms in the first half of the course. But as you approach the small platforms on the right side, slow down Mario’s speed to normal to maintain greater control and precision out of these jumps.
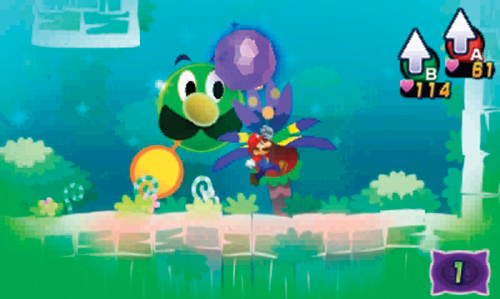
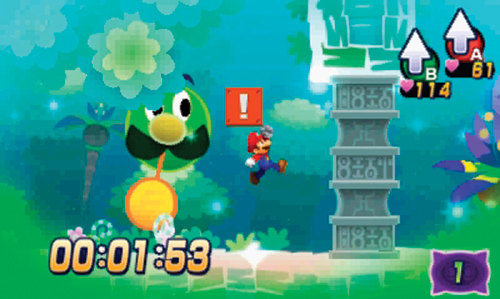
Once you make it across the last of the platforms, race toward the Event Block on the right side to stop the timer. This opens a nearby gate, giving you access to the nightmare chunk—break it to set the sixth and final Pi’illo Master free.
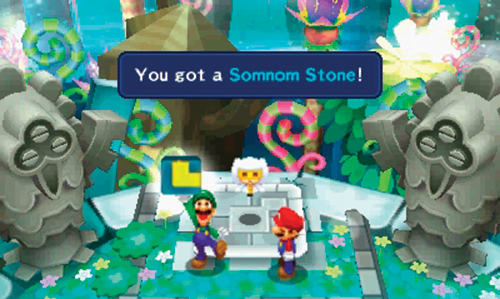
The Pi’illo Master joins Mario and Luigi in the real world, relieved to be free from the confines of the nightmare chunk—he senses the other Pi’illo Masters are free as well. To thank them for their help, the Pi’illo Master hands over the final Somnom Stone. With all of the keys, the path to the Pi’illo Temple is now open. But before heading back to area 9, break the stones to the west and enter the cave beyond.
 Somnom Cave
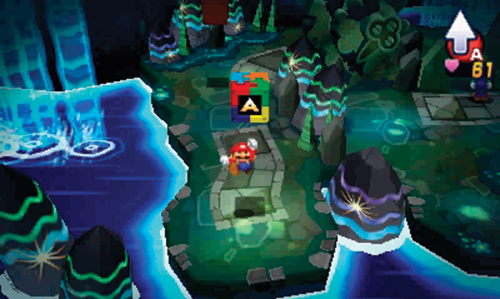
Move to the far west side of this cave and pass through the small gate there as Mini-Mario—collect the Attack Piece waiting on the other side, along with several coins in a ? Block. Return to the cave’s entrance, gathering a Max Mushroom (from the ? Block) and Defense Bean along the way. Backtrack all the way to area 9.
Central Plateau
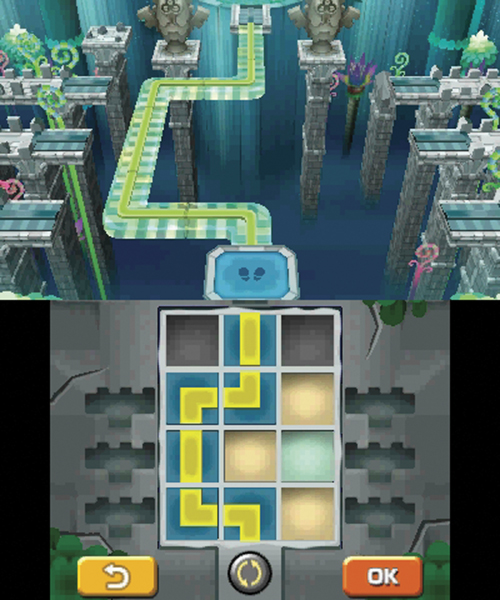
You now have all the Somnom Stones, unlocking all six track pieces necessary to reach the Pi’illo Temple. Configure the tracks like this, then board the stone platform, riding it to the north side.
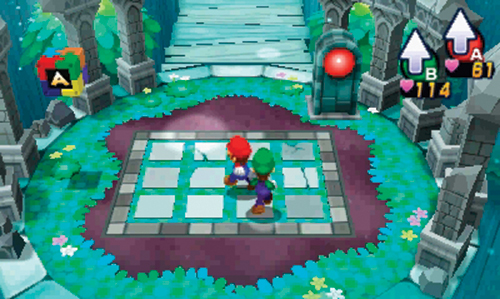
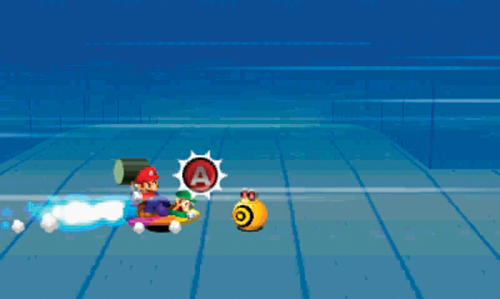
After crossing to the north side, collect the tenth and final Attack Piece to learn a new Bros. Attack—Mario’s Jet-Board Bash. Take a moment to practice this new attack before deploying it in battle. During this attack, Mario and Luigi ride on a skateboard-like device called a Jet Board—hold down
to pick up speed. When the Jet Board reaches top speed, press
 at the right time to trigger Mario’s hammer attack—press
just before reaching the targeted enemy to inflict optimal damage. The Jet-Board Bash is a great way to inflict damage on a single enemy. But it takes a bit of practice to master, so take your time in the practice sessions until you can score several back-to-back Excellent hits.
at the right time to trigger Mario’s hammer attack—press
just before reaching the targeted enemy to inflict optimal damage. The Jet-Board Bash is a great way to inflict damage on a single enemy. But it takes a bit of practice to master, so take your time in the practice sessions until you can score several back-to-back Excellent hits.
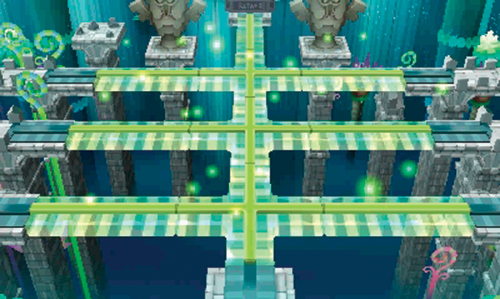
After acquiring the last Attack Piece, strike the red switch nearby with your hammer. This triggers the appearance of all missing track pieces to the south, making it easier to travel to the flanking areas on the east and west. Next time you board the stone platform, use the Circle Pad to choose which track to take. But for now, head to the north.
 North Temple Path
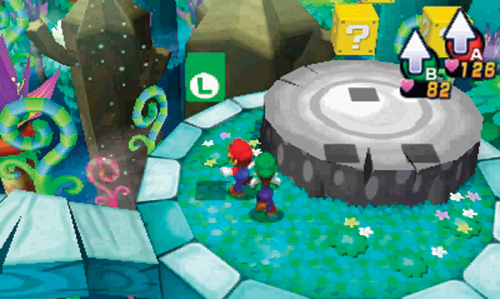
Fight your way past the Beehoss and Eyepi’illo here before striking the Random Block to the east. Continue north to defeat a Boomerang Bro, then search the northeast corner for some coins, Snare Wear, and Ultra Candy, Next, head to the northwest corner to find six beans—two Bros. Beans, two Defense Beans, and two Power Beans. Once you’ve finished looting this area, board the lift to the north to access the Pi’illo Temple.
 Pi’illo Temple
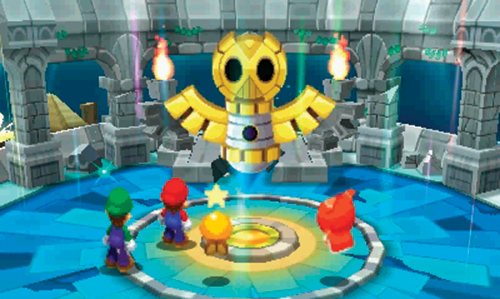
Consider saving your game at the Save Block soon after exiting the lift—now’s a great time to replenish your HP and BP too. After saving your game, head north to enter the Pi’illo Temple. Dreambert appears and points out the powerful aura emanating from the center. This will serve as a gate to the Zeekeeper. But there’s a gold object in the center preventing them from putting down the Ultibed—whack it with your hammer. The hammer causes the gold object to descend into the floor, but then the whole temple begins to rumble. Suddenly, a gold-colored guardian appears in the background—Dreambert addresses him as Pi’illodium. Pi’illodium is a defense weapon created during the Pi’illo Kingdom era—and apparently there’s no way to deactivate it. Prepare for battle!
Pi’illodium Battle
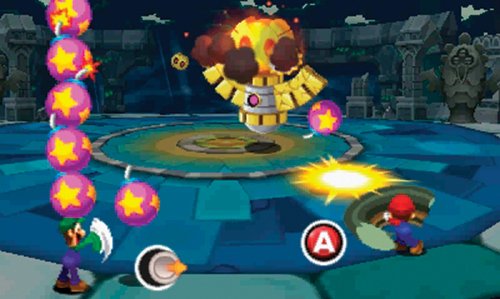
Pi’illodium is the toughest boss you’ve encountered up to this point, so don’t fool around. Waste no time dishing out as much damage as possible using Bros. Attacks. However, since Pi’illodium floats in the air, ground-based attacks (and Hammer attacks) aren’t effective. Mario’s Bomb Derby and Luigi’s Slingsniper are your best bets.
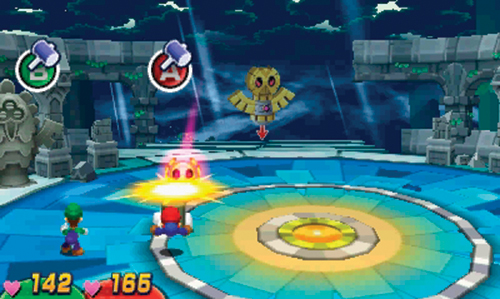
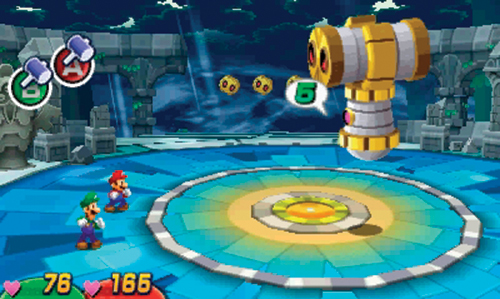
When it’s Pi’illodium’s turn to attack, be ready to knock back the Mini Pi’illoids he knocks toward Mario and Luigi from the background—hit back the Mini Pi’illoids with your hammer. Hammer counters are also important when Pi’illodium turns into a giant hammer. Pay attention to the numerical countdown, accompanied by beeping sounds. As Pi’illodium exits the screen, continue counting down and prepare to counter with your hammer before you’re smashed—if struck by Pi’illodium’s hammer attack, there’s a good chance Mario or Luigi will become dizzy, losing one of their turns.
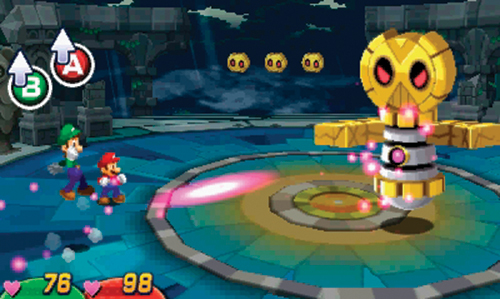
Pi’illodium also performs a laser attack, shooting beams from the red jewel in his torso. But before firing, he telegraphs his shots with his eyes—look for the circles of pink light appearing near Mario and Luigi’s feet. These circles indicate where each shot will hit, and in what order. Memorize the order and location of the attack, then get ready to jump to avoid the incoming lasers.
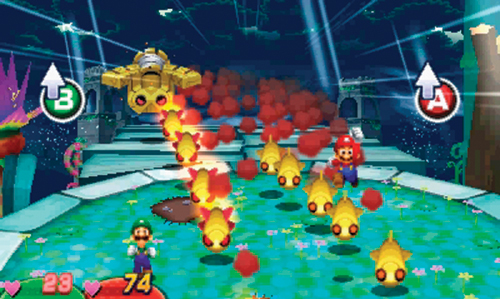
When Pi’illodium takes flight and chases after Mario and Luigi, get ready to jump out of the way as he launches a salvo of explosive Mini Pi’illoids in their direction. If you evade the salvo, be ready to jump again as Pi’illodium comes flying at Mario or Luigi—jump on top of Pi’illodium as he approaches to inflict moderate damage.
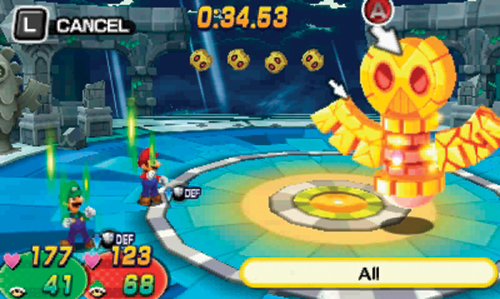
When Pi’illodium’s HP reaches a critical state, he enters self-destruct mode, giving you 40 seconds to finish him off. Continue hammering him with Bros. Attacks until he’s defeated. This earns you 600 coins, Anti-air Boots DX, and plenty of EXP.
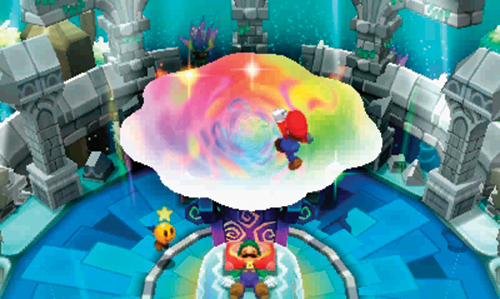
With Pi’illodium out of the way, the Ultibed can be placed at the center of the Pi’illo Temple where the dream aura is strongest. It’s time to enter the dream world and find the Zeekeeper. As Luigi settles in and falls asleep on the Ultibed, a dream portal opens, prompting Mario to leap into the dream world.
Dreamy Somnom Woods (G)
B
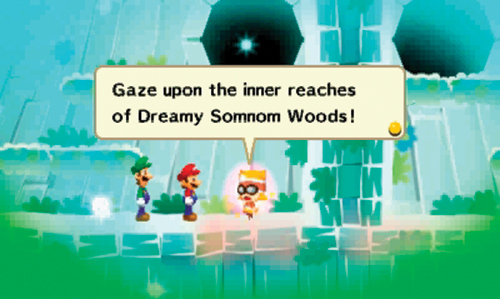
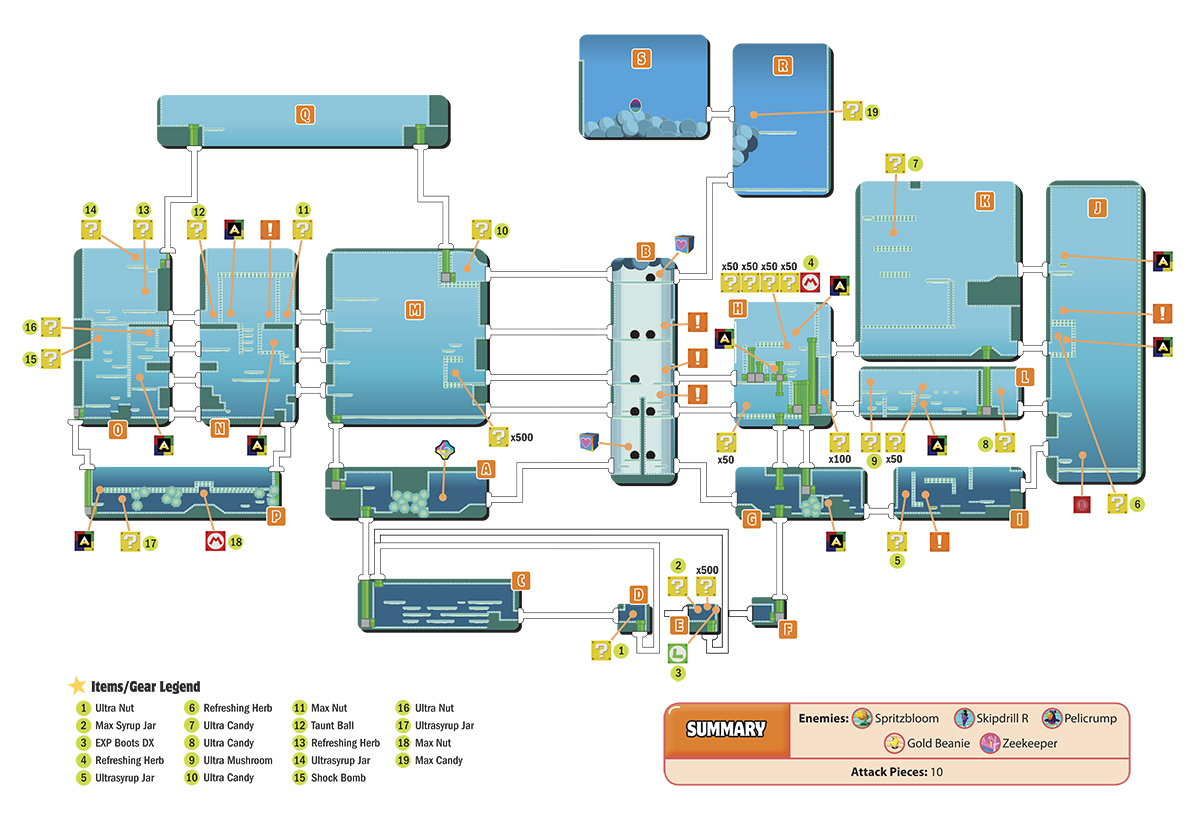
Upon arriving in the dream world in area A, Mario and Dreamy Luigi spot Bedsmith and automatically follow him into area B. Here Bedsmith introduces Mario and Dreamy Luigi to Dreamy Somnom Woods. According to Bedsmith, the Zeekeeper is located atop this massive tree. But climbing the tree won’t be easy—it’s very tall. Bedsmith warns that in Somnom Woods, dead ends may not be dead ends, and hidden paths abound. The doorways in the tree won’t do you much good now, so backtrack to area A and look for another path.
A
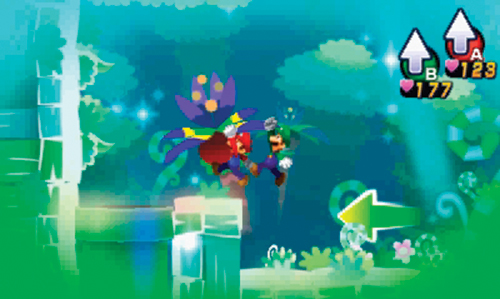
Pass through the thick foliage to the left of the dream portal to enter a hidden chamber. Enter the green pipe on the far left to reach area C.
C
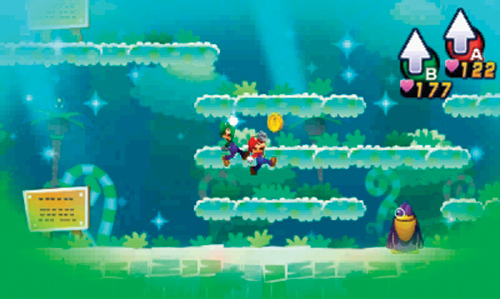
This area is very tricky, so pay close attention to your movements—a couple of signs here offer some hints on how to solve this puzzle. During your advancement through this area you must constantly face to the right. You can stop, but don’t turn back to the left for any reason. The trick to getting through this area, and reaching area F, is to follow the path of the coins. Grab all four coins during your advance through this area while avoiding contact with the three Pelicrumps—this will take you to area F. If you fail to heed the rules in area C, you’ll end up in areas D or E—which isn’t necessarily a bad thing.
D
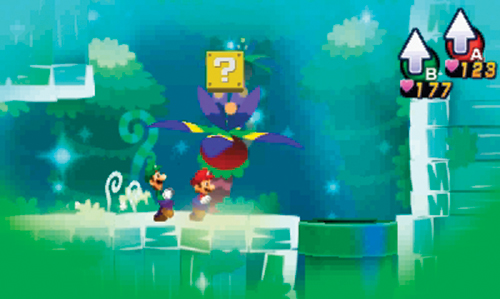
If you failed to heed any of the advice in area C, you end up in this room. The ? Block contains an Ultra Nut, and the green pipe takes you right back to the left side of area C, forcing you to try again. This time avoid the coins and defeat all the Pelicrumps to reach area E.
E
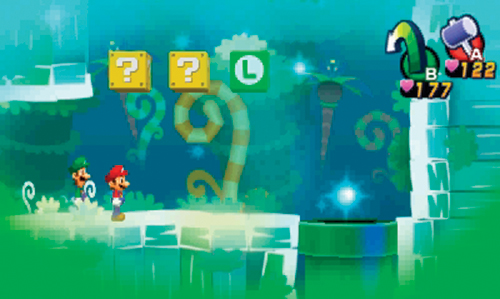
If you defeated all the Pelicrumps in area C and avoided touching any of the coins, you come to this room. Retrieve a Max Syrup Jar, coins, and EXP Boots DX from the ? Blocks and L Block. But the pipe here also leads back to the start of area C—get ready to try again. This time, collect the coins and avoid the Pelicrumps to reach area F.
F
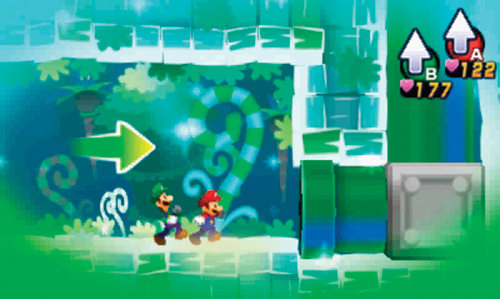
Successfully collecting all four coins in area C without engaging the Pelicrumps leads you to this small room. Enter the green pipe on the right to access area G.
G
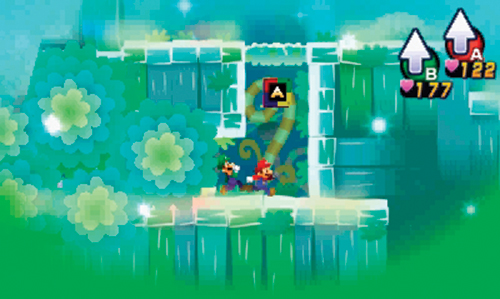
Upon emerging from the pipe here, move through the dense foliage to the right to collect the first Attack Piece. But you can’t advance any further to the right, so head left, battling a Spritzbloom along the way. Exit on the left side to return to area B.
B
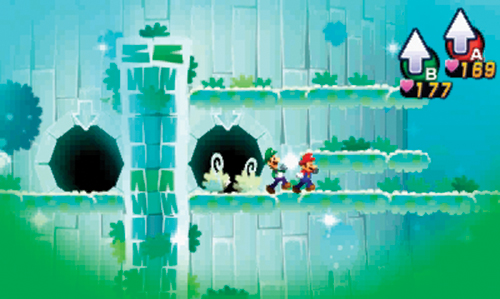
Enter the doorway on the right side of the tree to reach the platform above, then exit on the right side to enter area H.
H
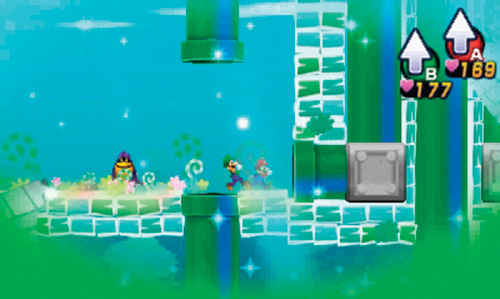
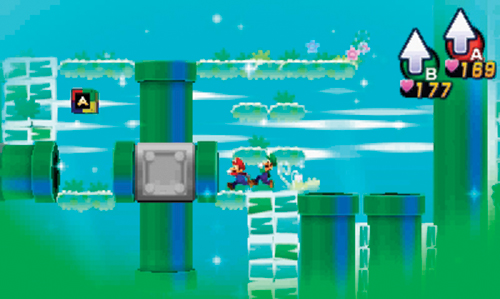
There are a lot of pipes in this area connecting to various adjacent areas. Enter the green pipe straight ahead first. After emerging from the first pipe, enter the pipe on the immediate left to collect another Attack Piece. After obtaining the Attack Piece, enter the pipe on the left to access the platform above—here you can strike several ? Blocks and an M Block to obtain coins and a Refreshing Herb.
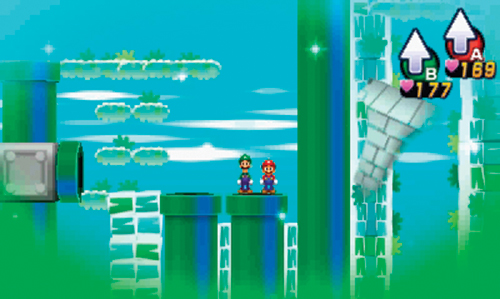
After striking these blocks, step off the right side of the platform and enter the green pipe on the far right to return to area G.
G
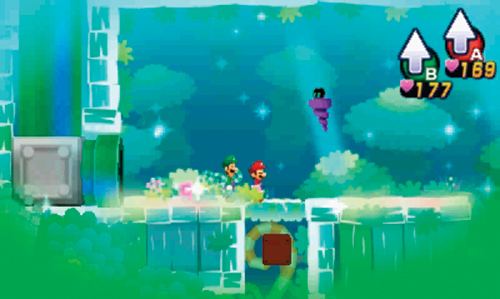
You can now access the right side of area G, arriving just above the spot where you collected the first Attack Piece. Beware of the Skipdrill R here—defeat it in battle, then exit on the right side.
I
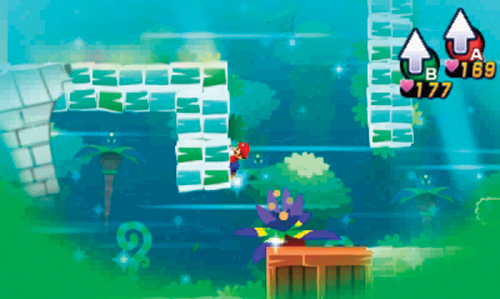
Use the Luiginary Propeller here to kick up a stiff breeze, allowing Mario to scale walls. After initiating the Luiginary Propeller, push the nearby wooden crate off the ledge to the left. Next, use the crate as a step to reach the wall on the left so you can scale it.
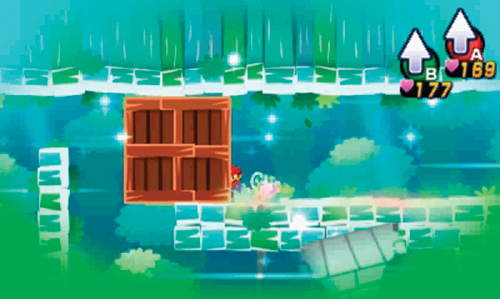
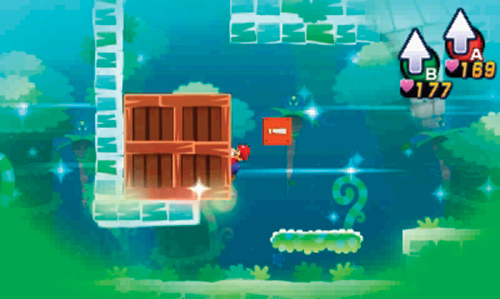
After scaling the wall, push another crate off the next ledge, shoving it all the way to the left. Once the crate is in place on the left side of an Event Block, jump up and scale the right side of the crate—strike the Event Block to create a set of steps on the far right, near the Propellers, allowing you to exit.
J
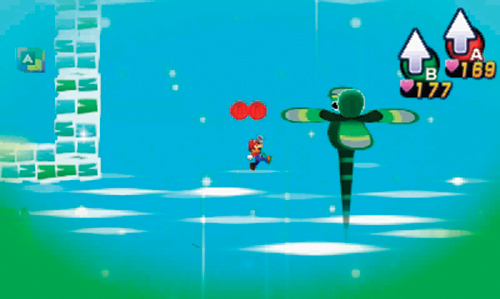
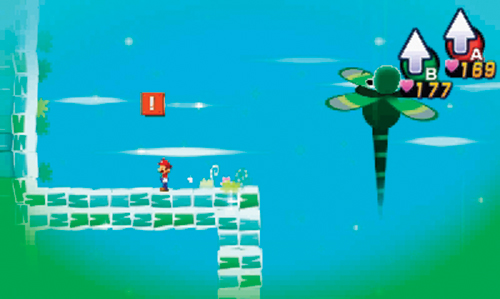
Strike the Red Coin Block here, then use the vertical air currents created by the Luiginary Propellers to collect all eight of the Red Coins. Go straight up to collect the first two Red Coins, then veer to the left to gather Red Coins three and four. Return to the center and continue the climb upward to obtain Red Coins five and six, then veer to the right to collect Red Coins seven and eight. Collecting all eight Red Coins causes an Event Block to appear on a ledge to the left. While still airborne, work your way to the left side of the room and strike the Event Block. This raises a platform directly beneath the Attack Piece above, allowing you to reach it.
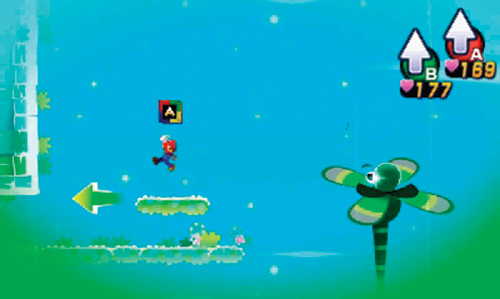
Jump back into the center of the room and use the air currents to reach the top ledge on the left. Here you can collect the next Attack Piece. Next, enter the passage on the left.
K
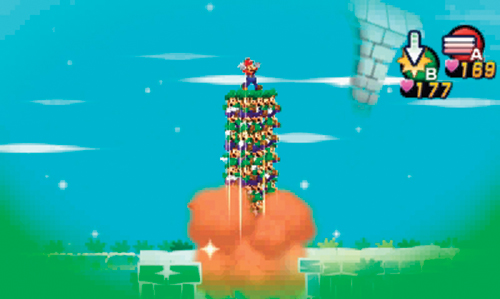
Form a Luiginary Stack here and Ground Pound through the first wooden crate you encounter to reach the lower level of this room. At the bottom, use the Stack to run over a Skipdrill R, then move to the right side for a short detour back into area J.
J
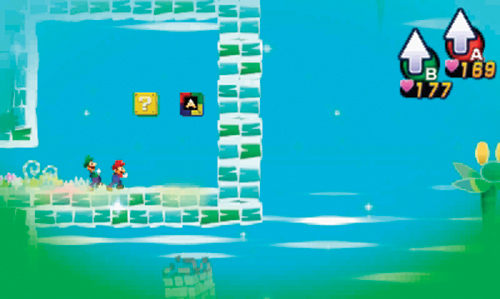
By exiting through the bottom-right corner in area K, you can enter this enclosed alcove in area J to obtain another Attack Piece. The nearby ? Block contains a Refreshing Herb. Once you’ve collected these items, return to area K.
K
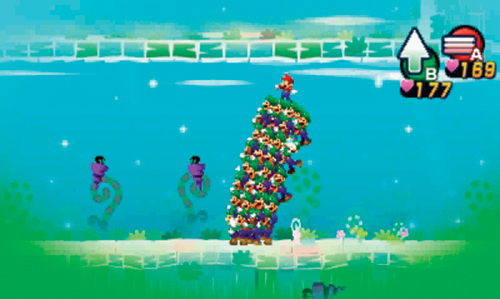
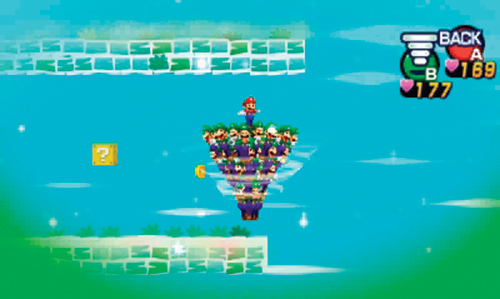
Use the Luiginary Stack to continue exploring this area, running over Skipdrill Rs along the way. There are several coins in the upper-right section of this room—use a Spring Jump to access this area. But you’ll need greater finesse to access some of the ledges here, so form a Luiginary Cone and Hover Spin into these tighter spaces—there’s a ? Block here containing Ultra Candy.
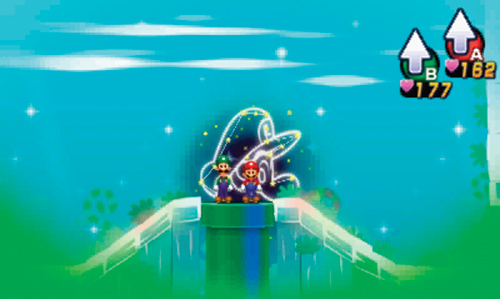
When you’re finished exploring and looting, return to the bottom level and exit through the green pipe in the floor.
L
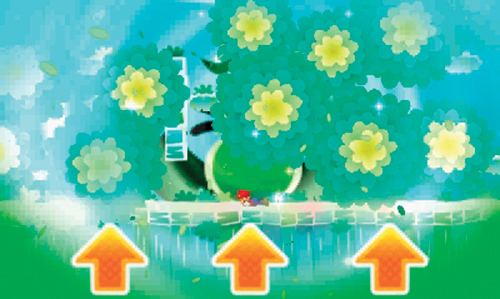
This area is covered in dense foliage—watch out for the enemies hiding here. Work your way to the center of the room and use a Sneeze Wind to clear away the foliage. This makes it much easier to spot the enemies and terrain here. Once you can see it, jump up to obtain the Attack Piece here.

Ascend to the upper-right corner to strike an Event Block—this extends some branches on the left side, allowing you to reach the exit leading back to area G. On the way to the left, engage more enemies and strike a couple of ? Blocks—one contains an Ultra Mushroom.
H
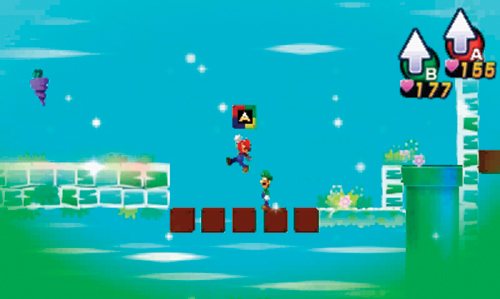
You’re back in area H, this time on the far right side. Enter the green pipe here to access the top part of the room. Here you can finally collect the Attack Piece just above the ? and M Blocks you struck during your first visit. Defeat a Skipdrill R on your way to the exit on the left, returning to the large tree in area B.
B
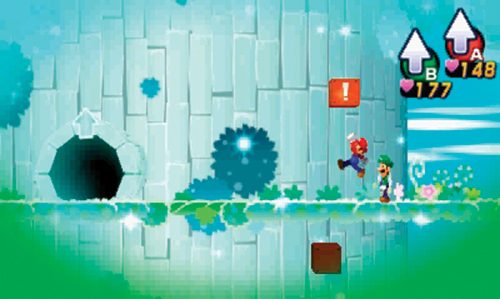
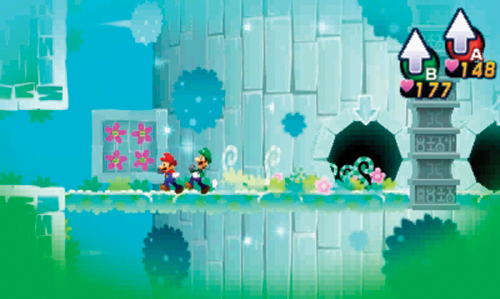
Strike the Event Block to lower a branch to the lower level, creating a shortcut and making it easier to transition. If you haven’t already, descend to the level below and strike another Event Block to extend a branch over the left doorway, creating another shortcut. Bedsmith is pleased with your progress—he senses you’re getting closer to the Zeekeeper. After speaking to Bedsmith, enter the doorway to his left to ascend higher on the tree. Exit on the left side to reach area M.
M
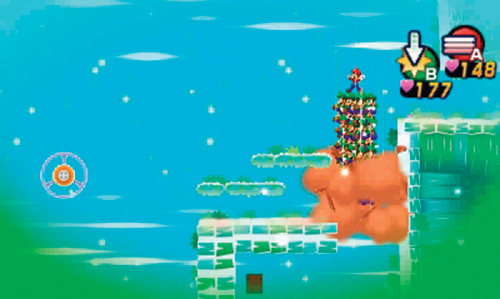
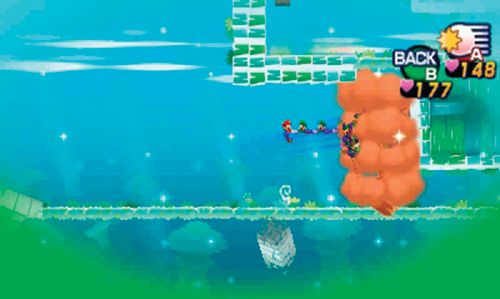
Upon entering here, form a Luiginary Stack and bust through the nearby wooden crate to access the area below—the ? Block here contains tons of coins! Next, descend to the lower level and form a Luiginary Ball—use a Ball Hammer to smash the wooden crates blocking the path on the bottom right.
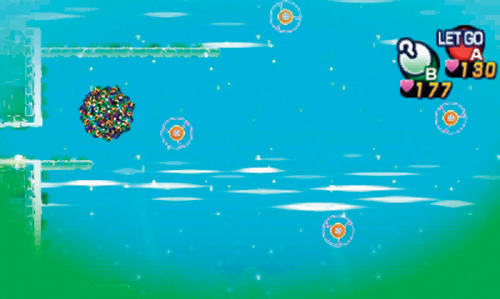
While still in a Luiginary Ball formation, use the Spin Hooks to navigate through this large room—press
to perform Hook Shots, moving from one Spin Hook to the next. There are three exits on the left wall, all leading to area N. Let go of a Spin Hook so the Ball lands on the middle-left ledge—enter area N from this ledge.
N
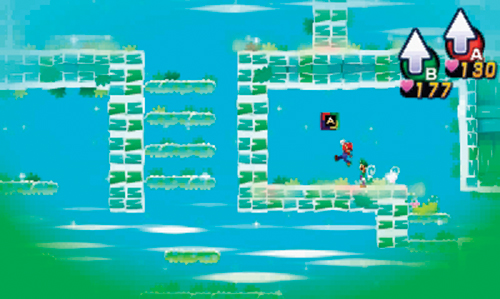
Grab the Attack Piece in this enclosed section of area N, then return back to area M.
M
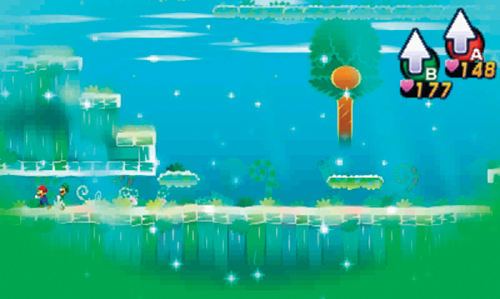
Drop down to the lower level here, and exit through the lower-left passage, returning back to area N.
N
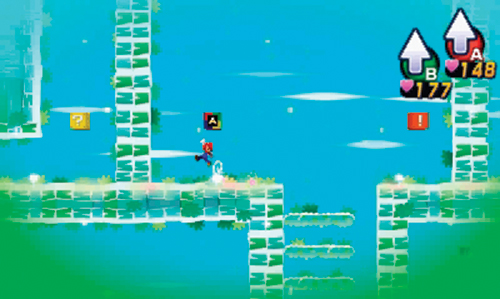
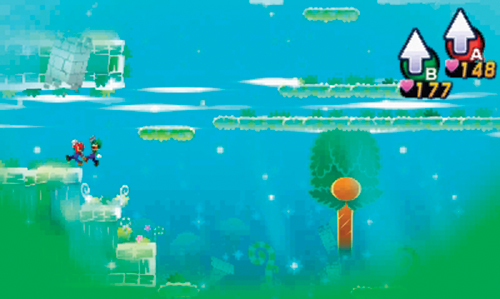
Use the Luiginary Stache Tree to launch Mario upward to the platforms above. At the top there’s an Attack Piece on the left and an Event Block on the right. Grab the Attack Piece, then strike the Event Block—this opens a gate covering the pipe in the lower-right corner. But don’t enter this pipe yet—there’s still another Attack Piece you can get in the area on the left. Return to the floor and exit on the left side, using the second passage from the bottom.
O
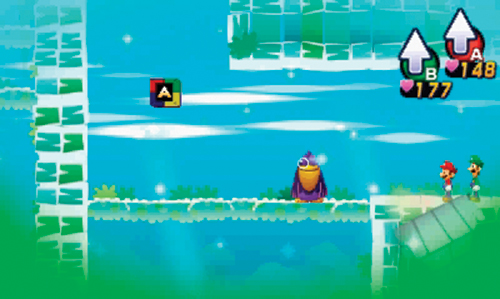
Step into this small alcove in area O to find another Attack Piece, guarded by a Pelicrump. Defeat the Pelicrump then retrieve the Attack Piece. With nowhere to go, return back to area N.
N
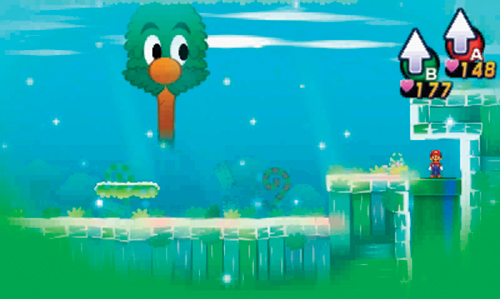
With nowhere left to go in area O, enter the pipe you gained access to earlier by striking the Event Block above. This pipe leads down to area P.
P
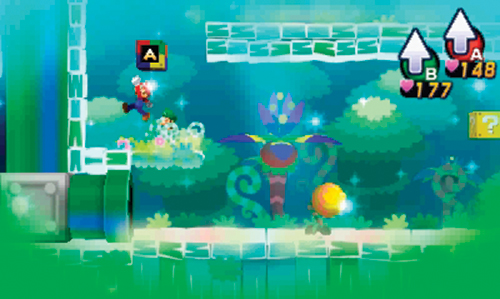
Engage the Skipdrill R, Pelicrump, and Spritzbloom here while advancing to the left. Be sure to strike the M Block along the way to obtain a Max Nut. The ? Block on the left side contains an Ultrasyrup Jar. Before entering the pipe on the left side, grab the final Attack Piece on the ledge above to unlock a new Luiginary Attack.

The Luiginary Typhoon is another powerful attack, ideal in dream world battles. Start by winding up a rope of Luiginoids with
. Then press
to yank them into a powerful Typhoon—timing is critical here, otherwise Mario will get launched at the enemies and the attack will end. Once a Typhoon is formed, use the Circle Pad to control it, flying it over a large group of enemies. The Typhoon actually picks up enemies and tosses them around. While the Typhoon is active, rapidly press
to deal more damage to the enemies. The Luiginary Typhoon costs a whopping 16 BP with each use, but it’s well worth it when confronting large groups of tough enemies. Take a moment to practice this attack a few times before using it in a real battle.
O
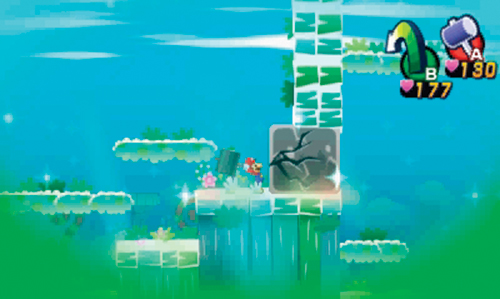
The pipe in area P leads to the left side of area O. Defeat the Pelicrump near the entrance, then smash the rock to the right—this opens a shortcut, allowing easier access to the right side.
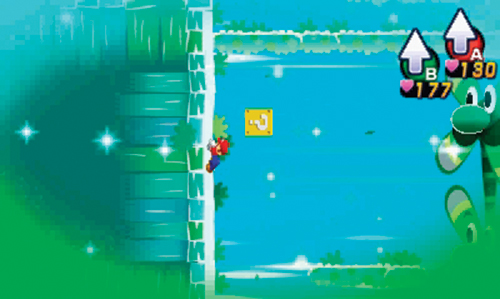
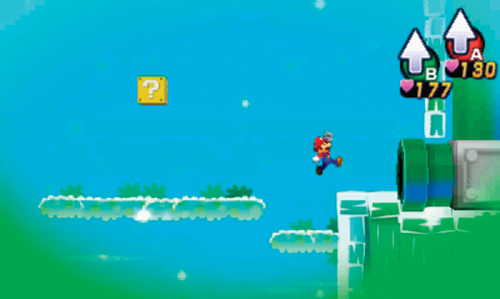
Next, initiate the Luiginary Propeller to scale the wall on the right. As you encounter a new set of Propellers blowing to the left, scale the wall on the left side—strike the ? Block here to get a Shock Bomb. Continue scaling upward, shifting back to the right wall when a new set of Propellers blow to the right—the ? Block on this wall contains a Refreshing Herb. At the top of the room, strike another ? Block to obtain a Ultrasyrup Jar, then exit through the green pipe on the upper-right side.
Q
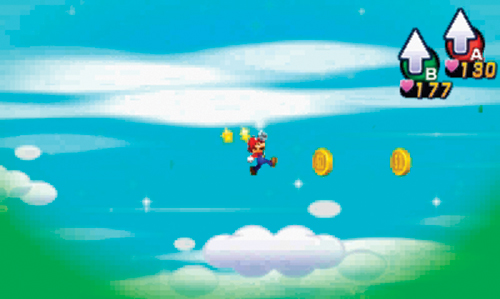
Activate the Luiginary Propeller here to blow a cloud platform to the right side. Board the cloud and ride it to the right, collecting coins along the way. However, move to the center of the cloud before jumping, as the air currents may cause you to fall off the cloud, sending you to the top portion of area N. Disembark from the cloud on the right side and drop through the green pipe.
M
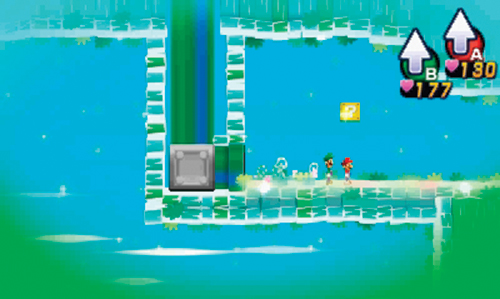
You’ve made it back to area M, entering a small alcove in the upper-right corner. Strike the ? Block here to obtain Ultra Candy, then exit to the right to return to the large tree in area B.
B
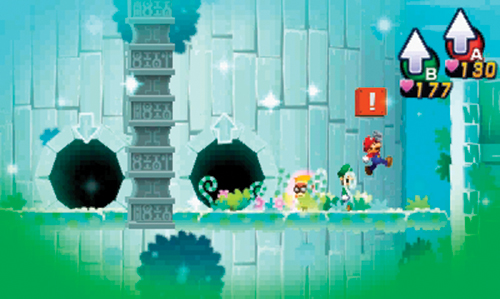
Upon reaching this area, Bedsmith can be seen below, requesting assistance. Enter the doorway to the right to meet up with him. Strike the Event Block behind Bedsmith to lower a large stone gate, providing access to the left side of the tree on this platform—this is another shortcut, making it easy to backtrack when necessary.
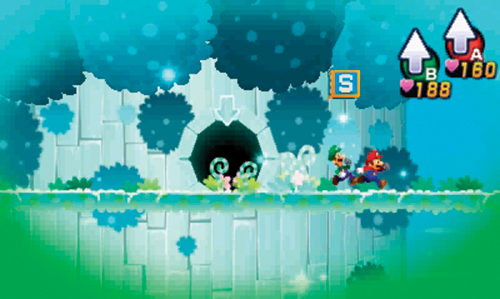
Pass through the doorway you just entered to return to the top level of the tree. Save your game at the Save Block here, then exit to the right.
R
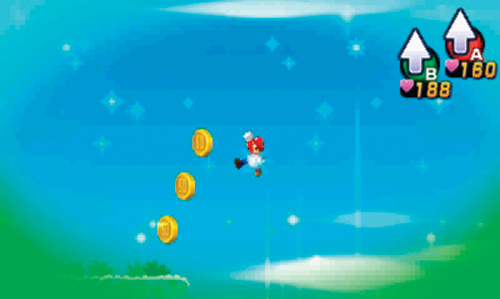
Use the Luiginary Propeller to create upward air currents, then jump up, floating toward the platform on the upper right. Grab the coins near the ledge, then exit on the left side—hit the ? Block along the way to grab some Max Candy.
S
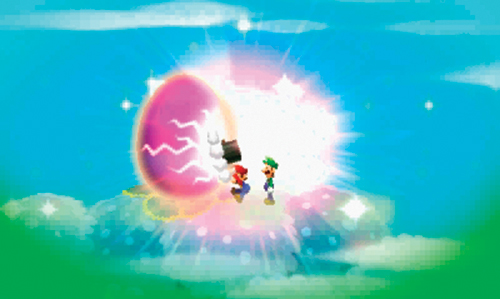
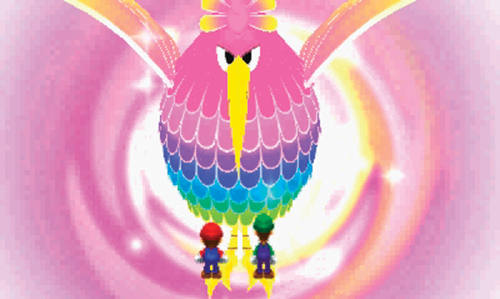
You’ve made it! Approach the multi-colored egg-like object sitting atop the tree—whack it with your hammer four times. Well, you certainly got the Zeekeeper’s attention. He’s not too happy about being disturbed. But before Dreambert can interject, the Zeekeeper goes into attack mode. This is the start of another giant battle. Press the L on Luigi’s cap on the Touch Screen to cause Dreamy Luigi to grow into Giant Luigi. Tilt the Nintendo 3DS and get ready to fight.
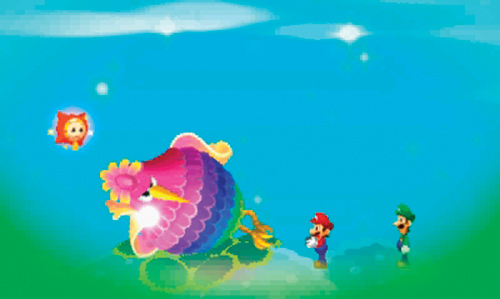
Following the battle, the Zeekeeper congratulates Mario and Dreamy Luigi on their success. Finally, Dreambert has a chance to fill in the Zeekeeper on what’s been going on—apparently these guys go way back. The Zeekeeper’s stoic demeanor completely shifts when Dreambert appears, and the two converse like old friends. Although friendly, the Zeekeeper is a bit reluctant to get involved. But when Dreambert promises to hand over all of Mario’s coins once the island is safe, the Zeekeeper reconsiders. At Dreambert’s urging, Mario eventually agrees to the Zeekeeper’s terms. Once their agreement has been settled, Mario hops on the Zeekeeper’s back, prompting them to return to the real world.
Destination: Neo Bowser Castle
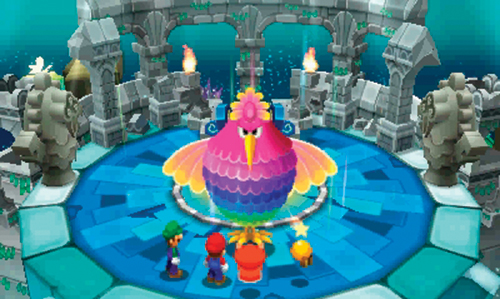
Back in the real world, the Zeekeeper makes an appearance in the Pi’illo Temple and immediately senses Antasma’s presence. As he prepares to conduct reconnaissance of Neo Bowser Castle, he tells Mario and friends to meet him near the entrance to Somnom Woods. Once the Zeekeeper leaves, backtrack to area 9 and use the Warp Pipe—choose Mushrise Park Entrance as your destination. Alternatively, you can backtrack all the way to area 1 and head west.
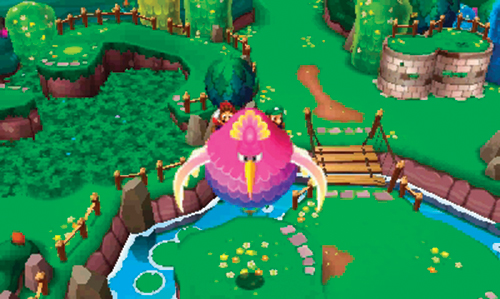
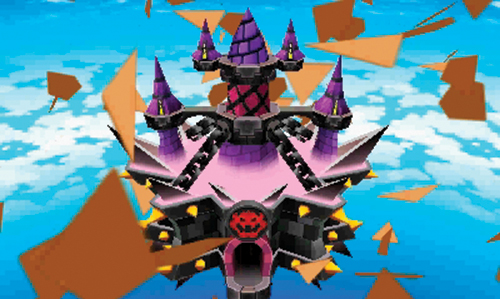
Meet the Zeekeeper in Mushrise Park, directly west of area 1 in Somnom Woods, or directly east of the Mushrise Park Entrance Warp Pipe. Speak with the Zeekeeper when you’re ready for him to begin his attack on Neo Bowser Castle’s barrier. Mario and Luigi hop aboard the Zeekeeper as he takes flight. The Zeekeeper emits a powerful Wakebeam, targeting the castle’s protective barrier. Shortly after absorbing a direct hit, the castle’s barrier shatters. This causes Neo Bowser Castle to lose altitude, falling from the sky and landing north of Mushrise Park.
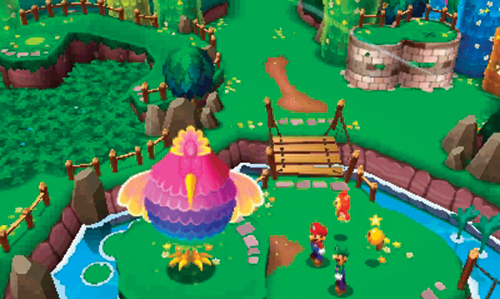
Upon their return to Mushrise Park, the Zeekeeper informs Mario and gang that Neo Bowser Castle is located directly north of their current location. With the protective barrier gone, Mario and Luigi should have no problem entering the castle. But confronting Antasma and Bowser will be no easy feat.