
Mario & Luigi: Dream Team Guide Walkthrough Dozing Sands
Dozing Sands
 Driftwood Shores/Dozing Sands Fork
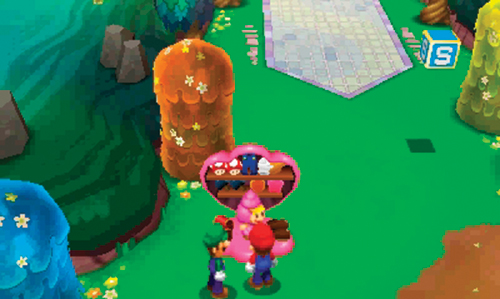
At this fork in the road there’s a Save Block and shop. Save your game by striking the Save Block, then visit the nearby shop. If both Mario and Luigi are low on HP and BP, buy some Pi’l-latte at the bargain price of 10 coins to fully replenish both characters. The shop offers a wide range of worthwhile gear, including Steady Boots, Steady Hammer, Singular Wear, and a variety of gloves. Outfit Mario and Luigi with the best gear you can afford—don’t feel bad about spending every coin you have. Once you’ve geared up, take the path to the east to enter Dozing Sands. Be sure to strike the Bros. Block on your way out to retrieve more coins.
Dozing Sands Shop Inventory
Items
| Merchandise | Coins |
|---|---|
| Super Mushroom | 30 |
| Super Nut | 75 |
| Supersyrup Jar | 60 |
| Refreshing Herb | 30 |
| Shock Bomb | 50 |
| Boo Biscuit | 5 |
| Mushroom | 10 |
| Nut | 25 |
| Syrup Jar | 20 |
| 1-Up Mushroom | 50 |
Gear
| Merchandise | Coins |
|---|---|
| Picnic Boots | 190 |
| Steady Boots | 480 |
| Picnic Hammer | 190 |
| Steady Hammer | 480 |
| So-so Wear | 140 |
| Singular Wear | 360 |
| Shell Gloves | 100 |
| Gift Gloves | 120 |
| Charge Gloves | 120 |
| Coin Bros. Gloves | 100 |
| Guard Shell | 360 |
| Celebrity Boots* | 2,000 |
| Celebrity Hammer* | 2,000 |
| Metal Wear* | 1,500 |
| HP Scarf DX* | 3,750 |
| BP Scarf DX* | 4,500 |
| BP Bangle DX* | 4,500 |
* = available after visiting Somnom Woods
 Lurking Beneath…
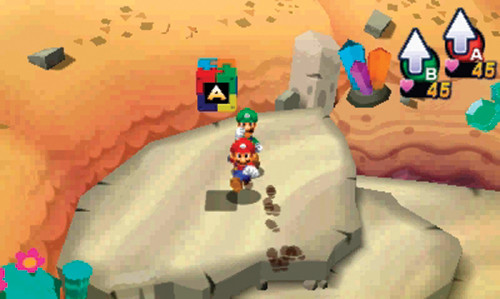
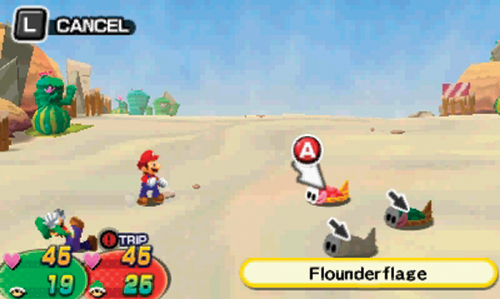
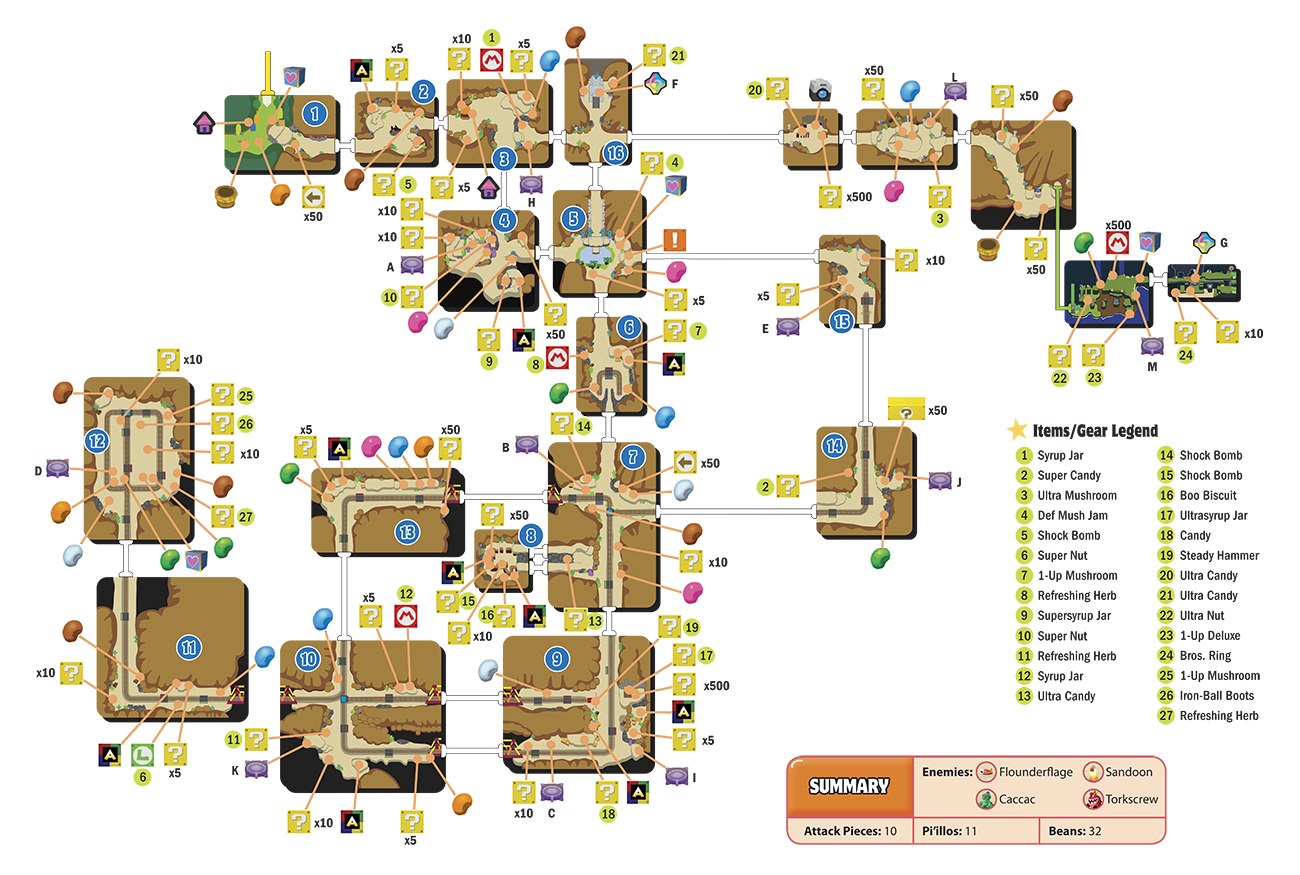
Dozing Sand’s first Attack Piece is located on the ledge to the northwest in this area. But watch out for the Flounderflage lurking beneath the sand—look for their eyes peeking out of the surface. Jump on top of these enemies before they emerge from the sand and attack. If they hit you first, there’s a chance they will trip Mario or Luigi. The Flounderflages don’t put up a particularly fierce attack. Simply jump on top of them to counterattack.
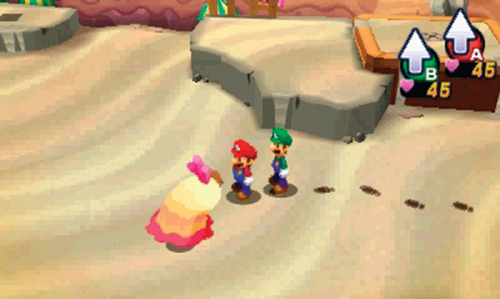
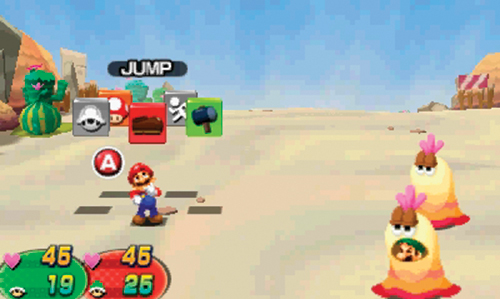
Like the Flounderflages, Sandoons also lurk beneath the sand. Wait for them to emerge, then either jump or use your hammer to initiate a battle. During their attack phase, don’t let Sandoons sneak up on you—counter by striking them with a hammer before they can swallow Mario or Luigi. If either character is swallowed by a Sandoon, damage dealt to the Sandoon is also felt by the swallowed character, so it’s best to keep your distance from these enemies. Fortunately, they’re relatively easy to defeat—use Jump attacks to whittle away their HP.
 Badge Haggling
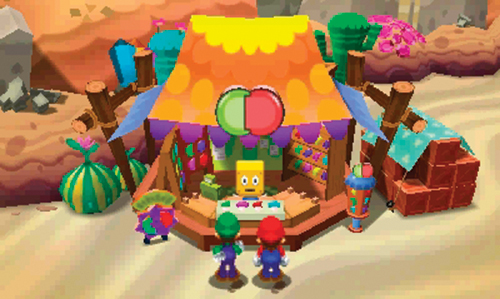

Mario and Luigi are called over by a Brock running a badge shop soon after entering this area. This shopkeeper is clearly desperate to make a sale, severely discounting the price of his wares until he finally gives in and hands over a couple of badges for free—Mario gets the Bronze Badge and Luigi gets the Guard Badge. After giving Mario and Luigi the badges, the shopkeeper provides a short demonstration of how to equip and combine the four badges in your inventory to create different effects. Take a moment to try out different badge combinations until you find one that best fits your style of play. But remember, choosing a new combo completely resets the badge meter on the Touch Screen. As Mario and Luigi step away from the shop, the shopkeeper advises them to check back later—he may have some new badges for sale.
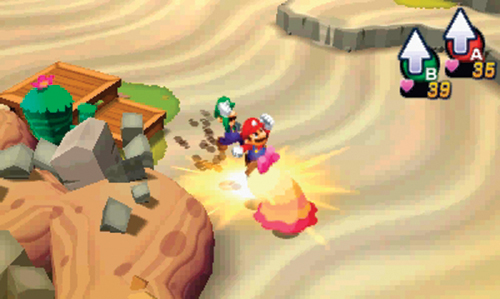
After acquiring the new badges, continue exploring this area and battling enemies to gain EXP. There are no Attack Pieces here, but there are a few ? Blocks. The area to the east is currently inaccessible, so exit this area by following the path to the south.
 Mole Mario and Mini-Mario
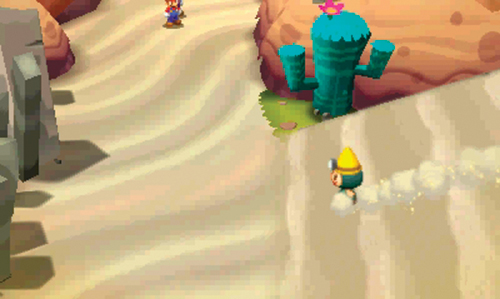
A Shelltop worker comes sliding down the nearby sand flow as Mario and Luigi enter this area. The Shelltop needs to get back up to the top of the sand flow to the east, but there’s no way to climb a sand flow—perhaps you can find a way to help this Shelltop later.
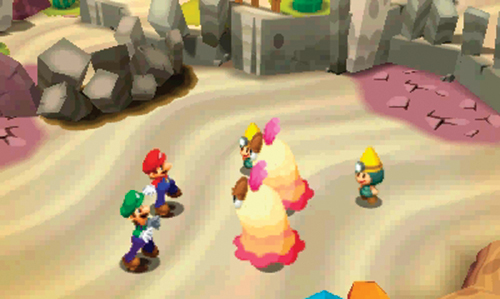
To the west, a pair of Shelltops are busy trying to hammer some Sandoons. But as Mario and Luigi approach, the Sandoons emerge from the sand and attack. Show the Shelltops you can handle yourself by defeating the two Sandoons in a battle.
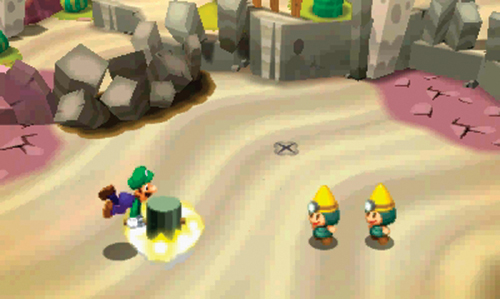
The Shelltops are grateful for your assistance. In return, they show you a new technique called Mole Mario—Luigi can use his hammer to send Mario underground. Once underground, Mario can move around, his position indicated by a white gloved hand icon. This allows Mario to go under fences and other objects. Press
 to change the action icon to the hammer, then press
 to make Luigi whack Mario with his hammer. Now, use the Circle Pad to make Mario move around underground. When Mario’s ready to return to the surface, press
 .
.
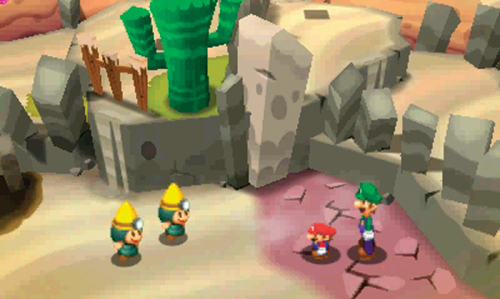
But that’s not all—the Shelltops have another hammer technique to teach Mario and Luigi. If Mario is standing on a hard surface, such as the nearby rock, he won’t go underground when struck by Luigi’s hammer. Instead, he gets squished, allowing him to go through small holes. Luigi must strike Mario with his hammer again to return him to normal size. This is the Mini-Mario Bros. Move—give it a shot!
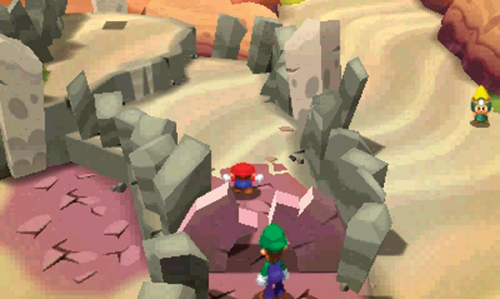
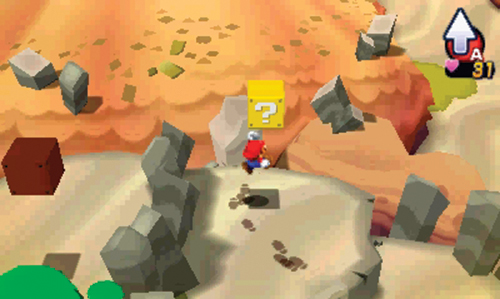
Locate the small archways and use Mini-Mario to pass beneath—Luigi stays behind during these sequences. These paths lead to ? Blocks containing coins and items. Despite his smaller stature, Mario can still jump the same height to strike the ? Blocks and collect their contents. Study the minimap on the Touch Screen and visit all the locations marked with star icons to complete this task.
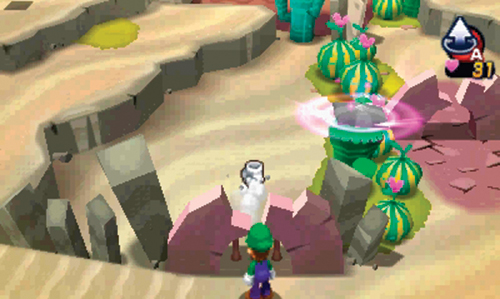
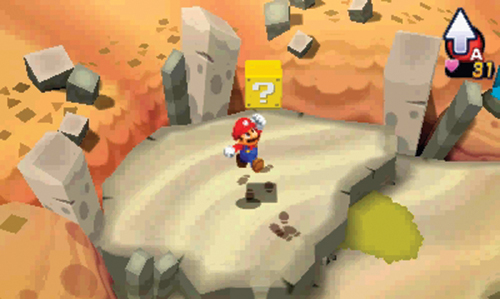
To reach the area on the west side, you must pass under this small gate using Mole Mario. Remember, Luigi must strike Mario with a hammer while standing on a soft surface to send him underground—the sand is soft enough to create Mole Mario. Once on the other side, jump up and advance along the surface to reach the ? Block in the northwest corner. Once you have struck all the ? Blocks, the Shelltops instruct Mario and Luigi to return to their location. Slide down the sand flow to the south to reunite with Luigi.
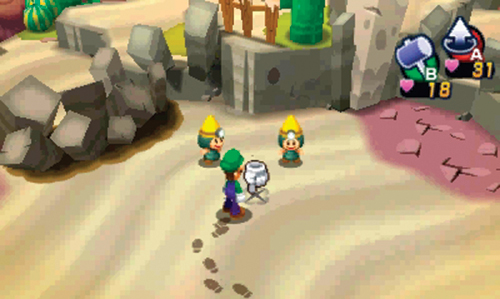
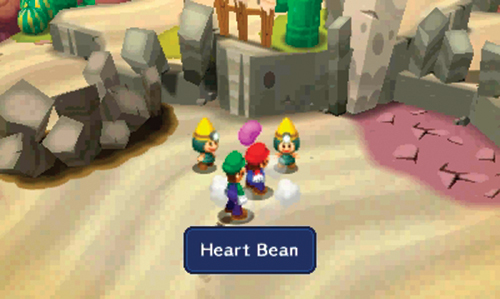
Upon returning to the Shelltop workers, they offer another piece of advice. Notice the X-like mark on the ground? This is a Beanhole. As Mole Mario, go underground, then return to the surface when you’re right underneath this Beanhole. As Mario emerges from the ground, he dislodges a Heart Bean. Beans offer a permanent increase to your stats. Each bean consumed increases the corresponding stat by one point. It may not seem like much, but they really add up over time. There are Beanholes all over the island, including in locations you’ve already explored, such as Mushrise Park. The Collection menu shows you how many beans you’ve found in each location.
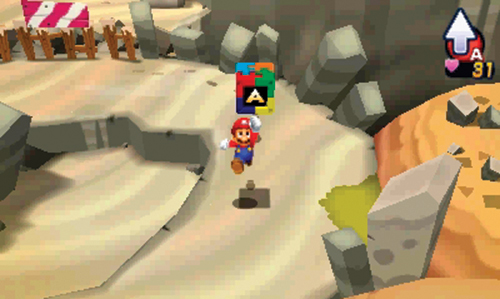
Now head to the small gate in the southeast corner and use Mole Mario to pass beneath it. Here you can find a ? Block as well as another Attack Piece. Make a habit of looking for gates and archways like this to find other areas that are otherwise inaccessible—Mole Mario and Mini-Mario can sneak into all sorts of hidden places.
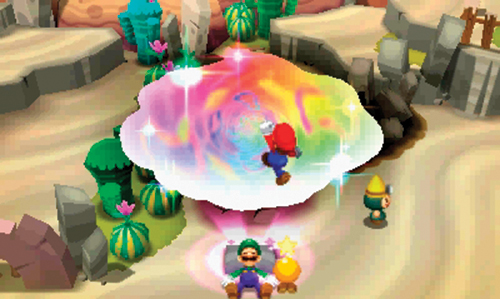
If you haven’t already, dislodge the pillow from the cactus on the west side, just beyond the small gate. Once the pillow lands on the ground, approach it and enter the dream world.
Dream World (A)
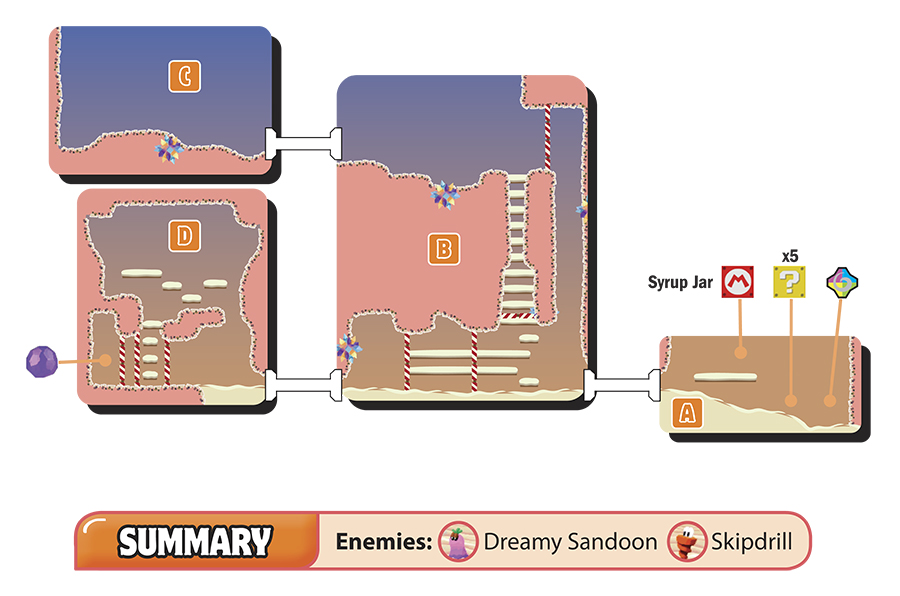
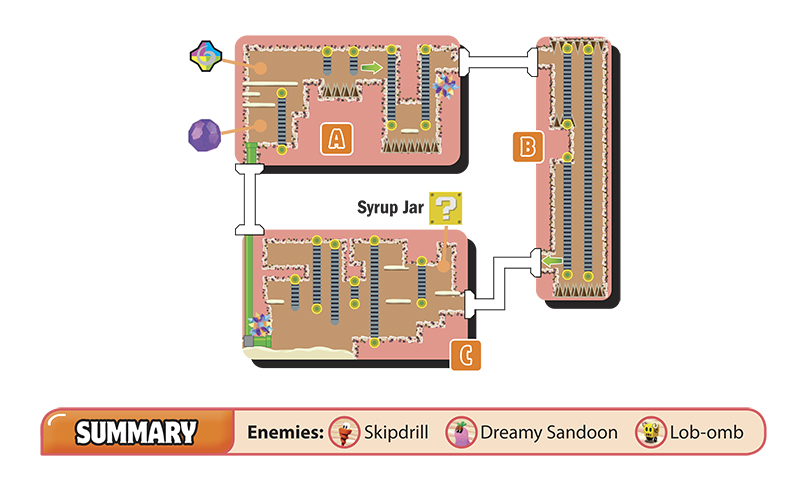
A
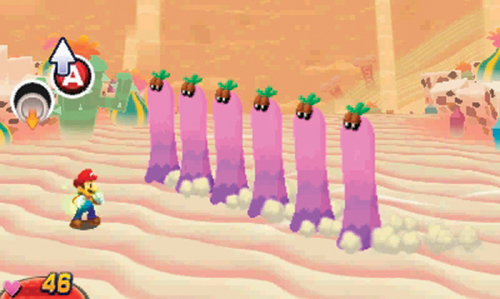
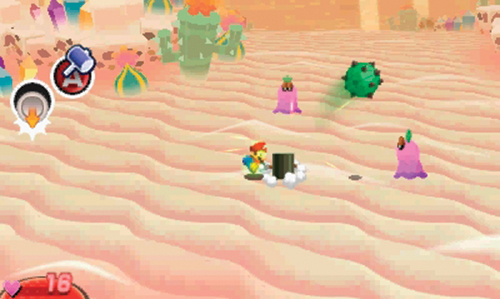
Not long after arriving in the dream world, Mario and Dreamy Luigi encounter a Dreamy Sandoon. These enemies look and perform similar to their real-world counterparts. As they attack in unison in a line formation, jump on them to inflict damage. Jump attacks are equally effective during your attack phase. During one of the Dreamy Sandoon attacks you must use your hammer to knock back a spiked ball tossed toward you—just keep an eye on the ball and swing your hammer before it makes contact with you. When you’ve eliminated the Dreamy Sandoons in this area, proceed to the left.
B
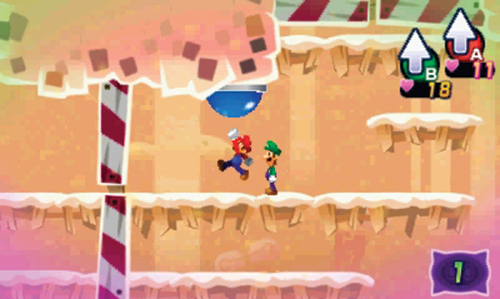
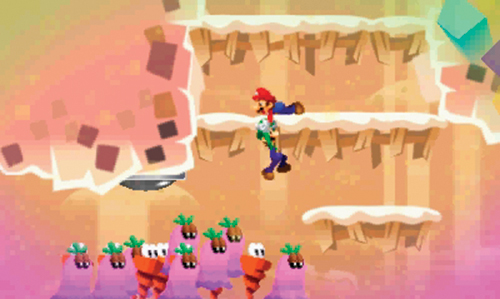
Strike the blue switch on the ceiling in this area to open up a series of red and white striped gates. But just on the other side of the gates is a small army of Dreamy Sandoons and Skipdrills. Mario and Dreamy Luigi barely escape before the enemies come charging forward. With the lower portion of this area blocked by enemies, jump upward through a narrow vertical shaft and escape this area by moving to the left. Don’t worry about the coins high above—you can’t reach them…yet.
C
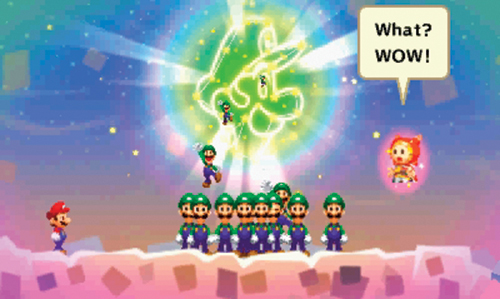
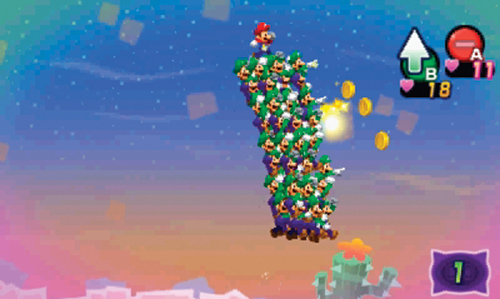
Here Mario and Dreamy Luigi encounter a new Luiginary Work. When activated, several Luiginoids appear out of the distant constellation. Dreamy Luigi arranges his new friends into a massive column-like stack, allowing Mario to ride atop and guide them. This is called a Stack and is a great way to reach new areas or wipe out large groups of enemies. Guide the Stack to the right, grabbing the high-floating coins along the way—jump by pressing
. Exit to the right to return to area B.
B
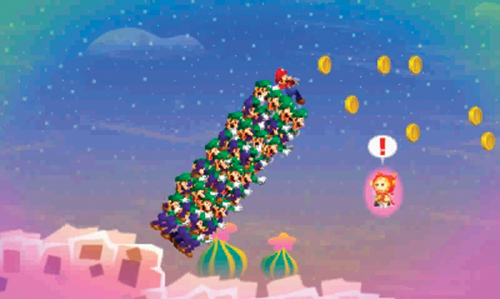
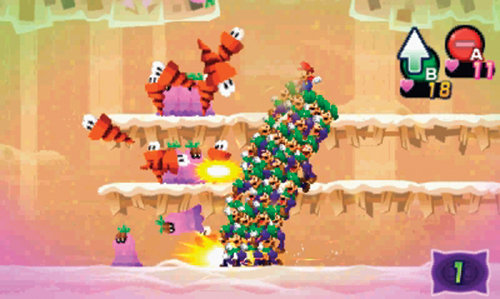
Back in area B, guide the Stack across the top to grab more coins. As you near a ledge, the Stack begins to tip, causing the Luiginoids to fall over and scatter. But as Dreambert advises, the Luiginary Work can be initiated again. If the Stack loses its balance again, use the Circle Pad to find your center, preventing the Stack from falling apart. When you reach the red and white gate ahead, jump up to hit the red switch on the ceiling. This opens the gate, allowing the Stack to descend a long shaft leading to the ground floor. The Dreamy Sandoons and Skipdrills you encountered earlier don’t stand a chance against the Stack! Simply run them over to clear a path. You are too tall to exit through the passage on the lower left, so follow Dreambert’s instructions to end the Stack.
D
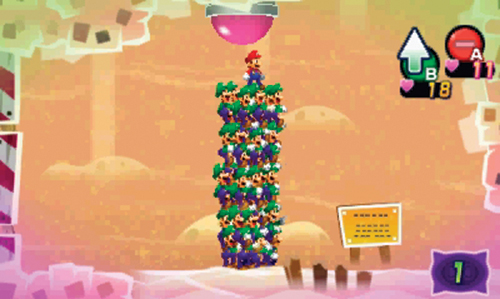
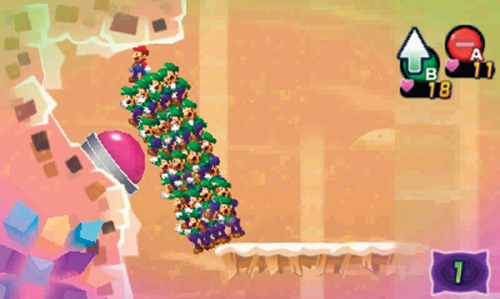
Reassemble the Stack here and jump up to hit the red switch on the ceiling to open the nearby gate. But a second row of gates blocks your path to the nightmare chunk. These gates are controlled by two red switches above. As the Stack, jump upward to reach the top area, then stand on the ledge adjacent to each switch. Inch out toward the ledge until the entire Stack tilts, pressing the switch. Once you’ve hit both switches, return to the ground floor and break the nightmare chunk.
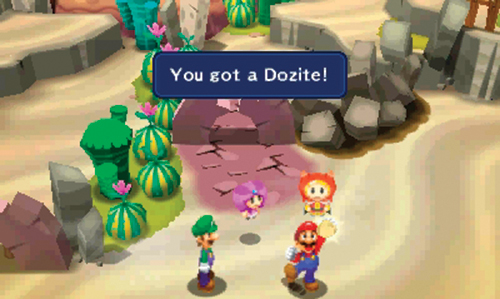
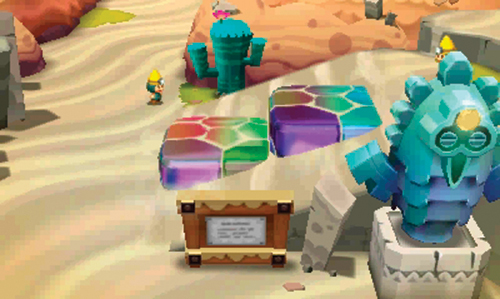
The Pi’illo you set free in the dream world is grateful for Mario and Luigi’s assistance. But this Pi’illo looks a little different than the others. This is a Deco Pi’illo. Dreambert butts in to ask the newly freed Deco Pi’illo about the Dream Stone. The Deco Pi’illo says the Dream Stone is located beyond the sand flow to the east. The Deco Pi’illo then hands over a small object called a Dozite. The Dozite floats from Mario’s hand and is drawn to the Zeekeeper statue next to the sand flow. As the Dozite makes contact with the statue, a set of multi-colored stairs emerge from the sand flow, opening a passage to the east. The Deco Pi’illo advises that you’ll need more than one Dozite to reach the Dream Stone. Travel across the steps in the sand flow to enter the next area to the east.
 Meet Britta
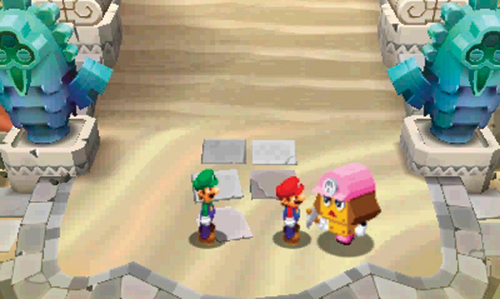
Meet Britta. She’s in charge of the excavation crew in Dozing Sands. She claims to have never seen or even heard of the Dream Stone. But, she’s never been past the sand flow to the north—perhaps the Dream Stone is there? The sand flow is flanked by four Zeekeeper statues—perhaps finding four Dozites, one for each statue, will cause steps to emerge from the northern sand flow? After talking to Britta, take a look around and consider saving your game at the Save Block to the east. Be sure to strike the ? Block before exiting to the south.
 Drilldigger Training
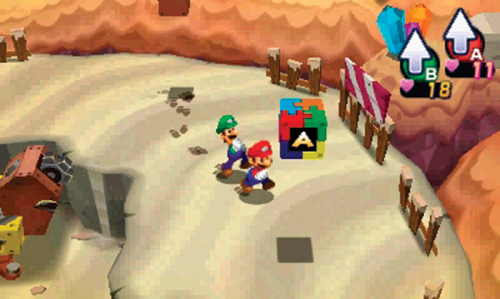
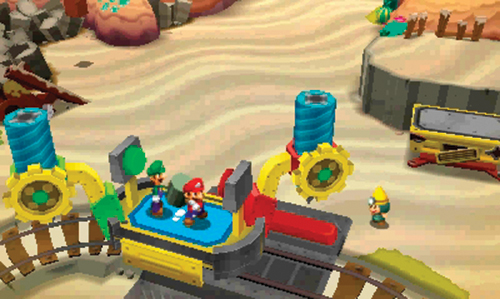
Upon entering this area, make a move for the ledge on the east side. Here you can find a ? Block as well as another Attack Piece. Next, hop on the large piece of machinery known as a Drilldigger. Soon after stepping on board, the Drilldigger begins to move along the tracks. Listen to the instructions offered by the nearby Shelltop worker—use your hammers to strike the corresponding colored buttons. Mario’s red button activates the red drill while Luigi’s green button activates the green drill. Once the drill retracts, the Drilldigger keeps moving. The drills can be used to bust up large rocks. Activating a drill at a station causes the Drilldigger to stop, allowing Mario and Luigi to disembark.
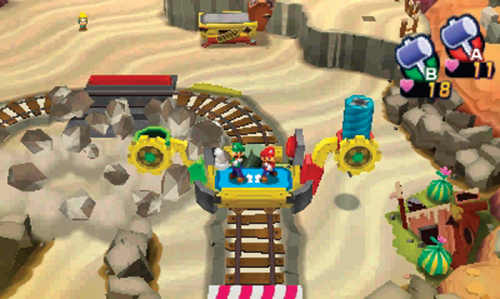
After the brief tutorial, hop back on the Drilldigger and use it to break up the large rocks along the inside portion of the tracks. With the rocks out of the way, a new path is opened, leading to the south. Stop the Drilldigger at the station, then hop off and proceed to the next area by moving south.
 Site Tour
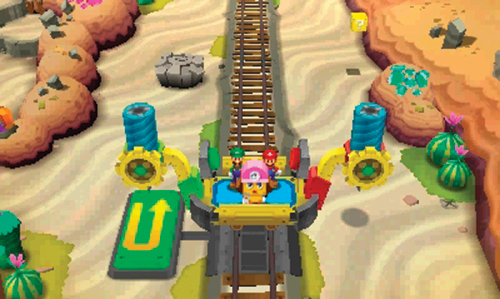
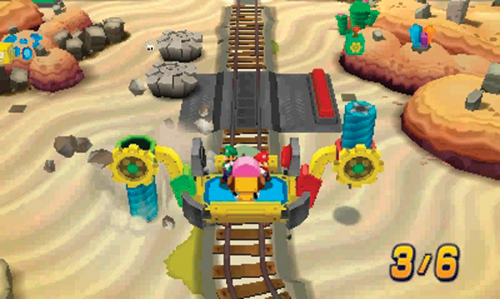
Britta catches up with Mario and Luigi as they enter this area—she wants to put the brothers to work. Mario and Luigi automatically follow Britta and hop on board another Drilldigger headed down a set of tracks leading to the south. Follow Britta’s instruction throughout the tour and learn how to use Turnaround Switches. Britta needs Mario and Luigi to break as many rocks as they can using the Drilldigger—simply hit them with the drill as the machine travels along the tracks. You need to drill six rocks to impress Britta.
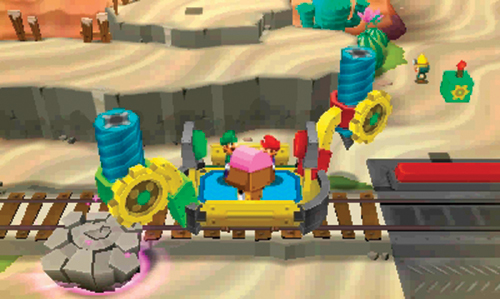
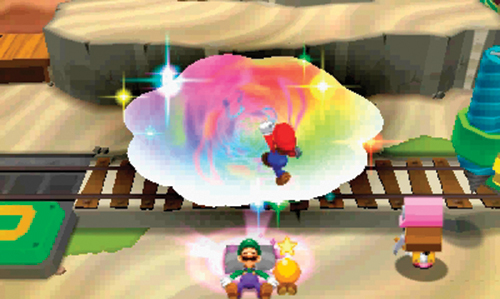
Next, learn how to use Drilldigger Panels—these indicate which direction the track runs at intersections. These panels can be flipped by Mole Mario. Simply surface while beneath a panel to change the track directions. As the tour comes to an end, Britta instructs Luigi to break a purple glowing rock using the drill. Beneath the rock is a pillow! Mario and Luigi immediately hop off the Drilldigger and approach the pillow to interact with the dream world.
Dream World (B)
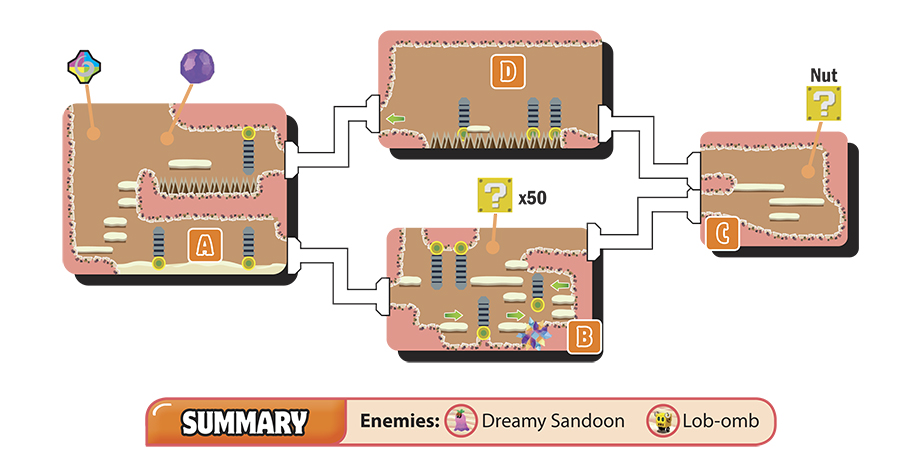
A
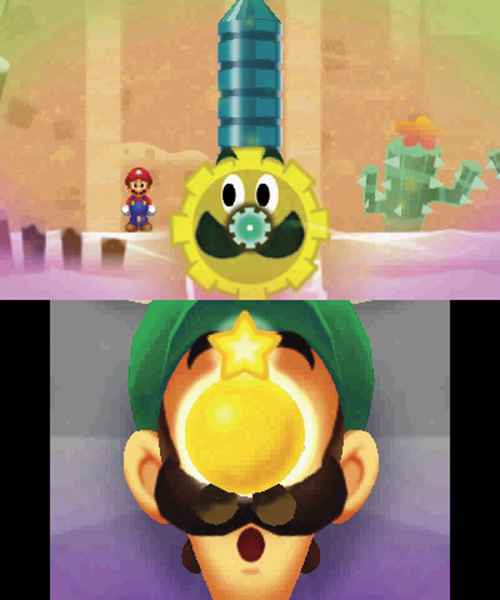
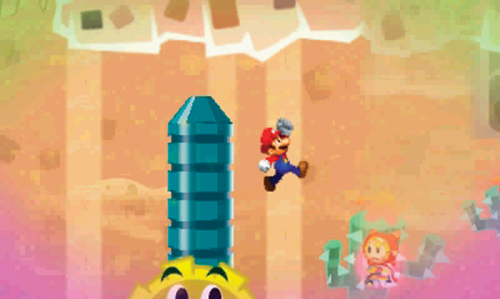
Although the nightmare chunk is directly in front of them, Mario and Dreamy Luigi can’t reach it, so move left and drop down to the lower level. Here you encounter another Luiginary Work—the Luiginary Cylinder. Once Dreamy Luigi has become one with the Cylinder, spin Luigi’s nose on the Touch Screen. This rotates the Cylinder in the dream world. As Mario jumps onto the Cylinder, spin Luigi’s nose on the Touch Screen. Have Mario jump off the right side of the cylinder to get past this obstacle. Perform the same routine at the next Cylinder and then exit to the right.
B
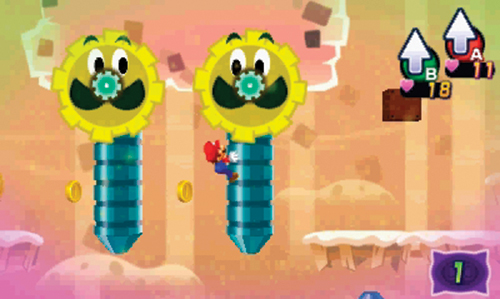
Here you must use a series of Luiginary Cylinders to retrieve several coins. The Cylinders are also necessary to work your way upward through this area. Once you reach the top, exit on the upper right.
C
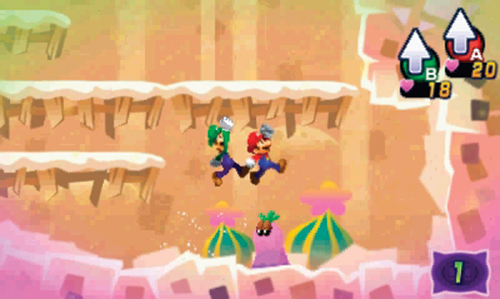
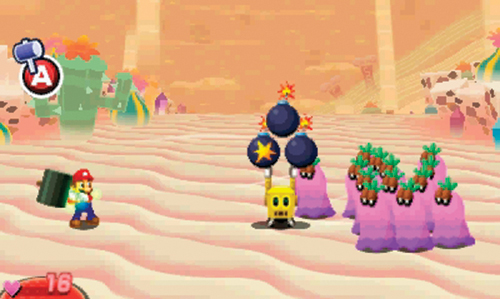
A number of Dreamy Sandoons occupy this area. Instead of trying to avoid them, initiate battles with all of them to gain more EXP. Some of the Dreamy Sandoons are joined by Lob-ombs. These robotic enemies juggle and toss bombs toward Mario—memorize the position of the bomb with the star on it and watch as Lob-omb juggles. The unmarked bombs are dummies and do no damage. But the bomb with a star on it explodes—knock it back at Lob-omb using your hammer before it explodes. Contact with an exploding bomb can make Mario dizzy, causing him to lose a turn or get struck by other attacks. In another attack, Lob-omb tosses only one bomb toward Mario. Pay attention to the way the bomb is held for a sign of where it will land. If Lob-omb holds the bomb with its right hand, the bomb will land behind Mario. If the bomb is held in Lob-omb’s left hand, it will land in front of Mario. Or if the bomb is held in both of Lob-omb’s hands it will land at Mario’s feet. Use these cues to determine where the bomb will land, then act quickly to knock it away with your hammer before it explodes. Needless to say, Lob-ombs are dangerous—target and eliminate them first before focusing on the Dreamy Sandoons. Once you’ve cleared the area of enemies, exit through the top right.
D
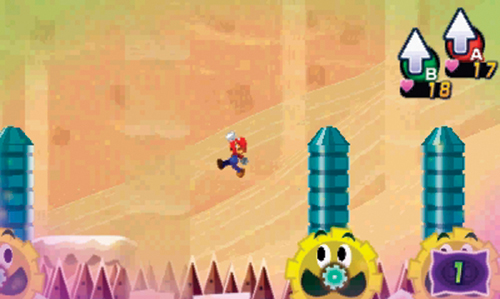
More Luiginary Cylinders are here. You must use them to cross the spike-covered floor. Remember, the faster you spin Luigi’s nose on the Touch Screen, the faster the Cylinder rotates, carrying Mario much further when he jumps. But you must time the jumps carefully to ensure Mario flies in the direction you intend. Practice spinning the Cylinders and then jumping. Work your way across this area in this fashion, exiting on the left.
E
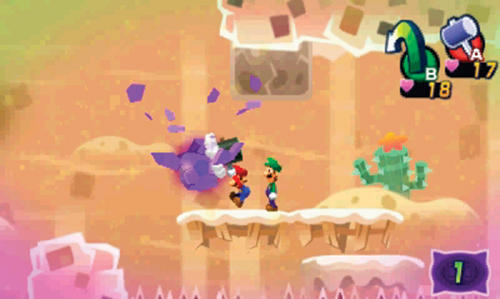
You’re back where you started. Use another Luiginary Cylinder to launch yourself over another spiked floor and toward the nightmare chunk. You can’t get beneath this nightmare chunk to break it with jumps. Instead, use your hammer to break it and set free another Pi’illo.
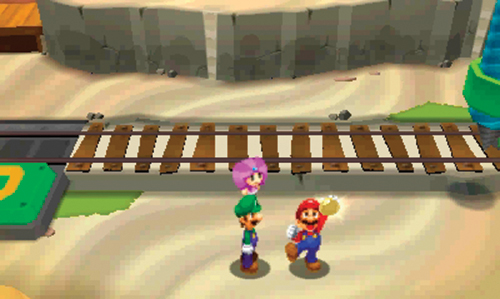
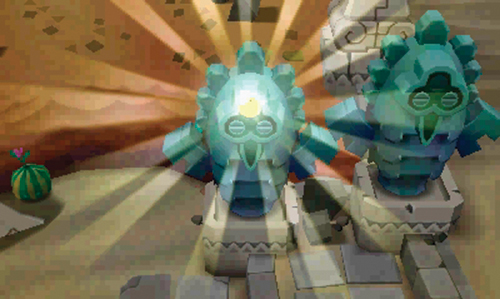
Back in the real world, the freed Pi’illo hands over another Dozite upon hearing the Dream Stone is in danger. The Dozite lifts from Mario’s hand and immediately flies toward one of the four Zeekeeper statues flanking the northern sand flow—one down, three more to go! There are three more Deco Pi’illos and they each hold a Dozite. All four Dozites must be collected before you can reach the Dream Stone. The number of Deco Pi’illos appears at the top of the Touch Screen, serving as a constant reminder of your progress.
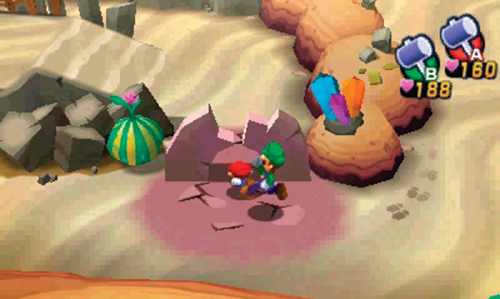
After speaking to the Deco Pi’illo, move to the small archway to the south—Mini-Mario can get through this small opening to access the next area to the west. There are two paths to choose from: an upper path and a lower path. Take the upper path and exit on the west side.
 Attack Piece Maze
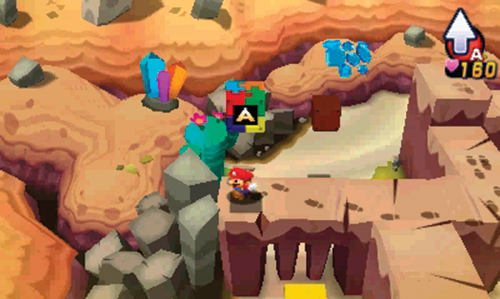
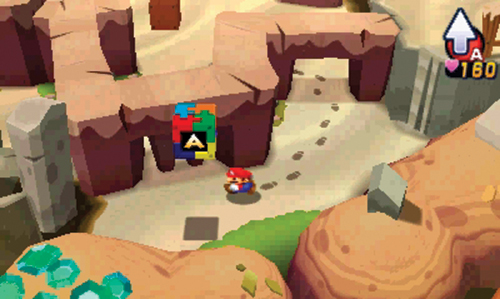
As Mini-Mario, carefully cross the narrow rocks in this section—use your hammer to bust the cracked gray rock blocking your path. There is an Attack Piece atop the rock path to the far west—jump up to grab it. Now, descend to the ground and head toward the south side to locate another Attack Piece. After grabbing the two Attack Pieces, explore this area to find a few ? Blocks containing coins and items. When you’re finished scouring this area, return to area 7, via the southern upper path. This allows you to strike another ? Block containing Ultra Candy. Now, return to the Station and take the Drilldigger to the south.
 Second Dozite
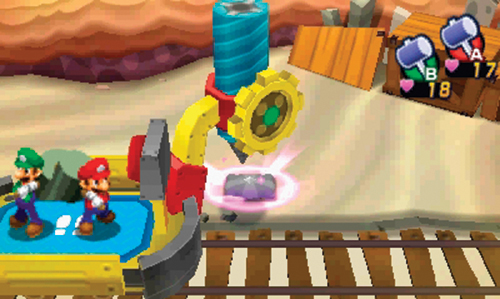
While breaking rocks with the Drilldigger in this area, watch for a purple glowing rock on the north side of the tracks. Breaking this rock reveals another pillow, with another Deco Pi’illo trapped inside. After breaking the rock, drill the Turnaround Switch to reverse directions, then stop the Drilldigger at the Station to the east before hopping off.
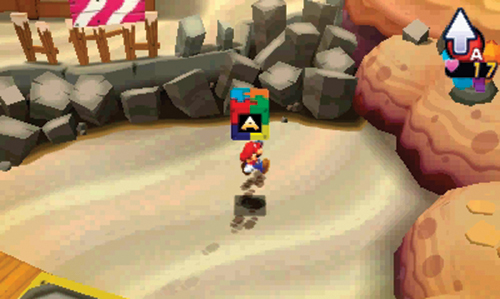
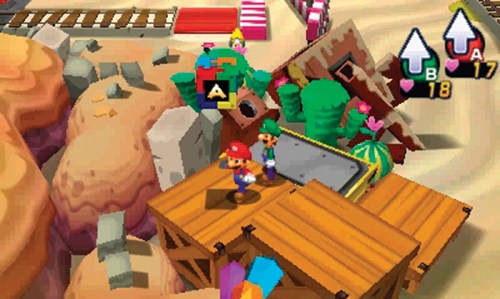
From the Station, head to the southeast corner and use Mini-Mario to pass through a small archway. Just beyond the arch is a ? Block containing coins and another Attack Piece. Next, climb the crates to the west of the Station to gather yet another Attack Piece—five more to go! Now, return to the pillow you revealed with the Drilldigger and enter the dream world to rescue another Deco Pi’illo.
Dream World (C)
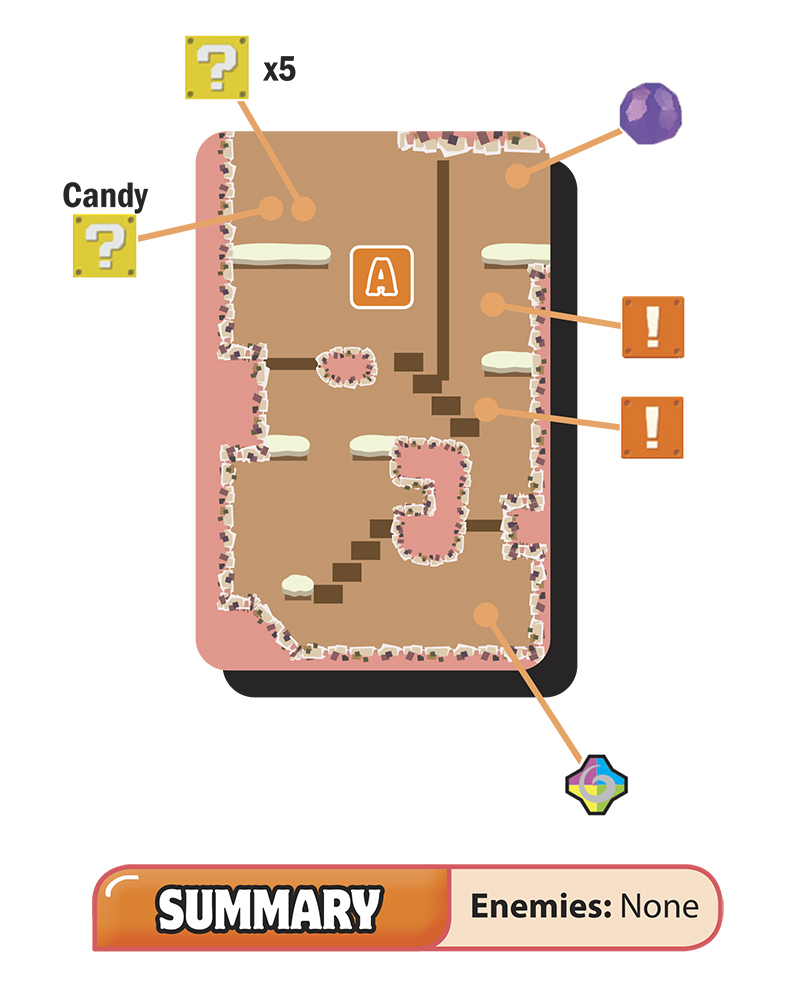
A
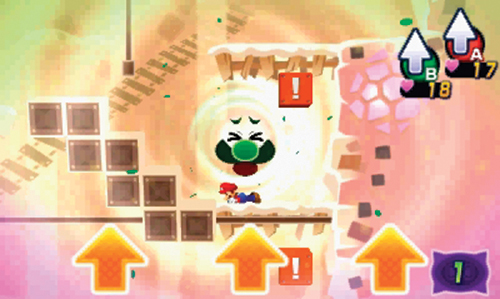
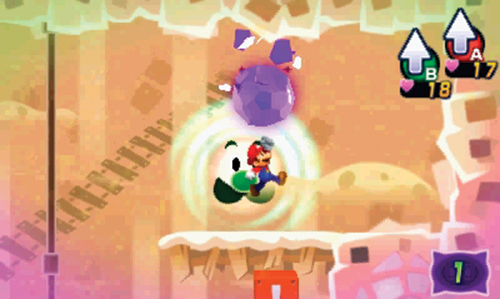
This is a very small dream world, requiring you to reach the nightmare chunk on the upper right. Use the Sneeze Wind Luiginary Work to rotate the pieces of Rotating Terrain. The Event Blocks on the right alter the axis on which each piece of Rotating Terrains turns. Experiment with different configurations of the Rotating Terrain to fully explore the area, striking a few ? Blocks along the way. When you’re finished exploring, make a beeline for the nightmare chunk and smash it to free the Deco Pi’illo.
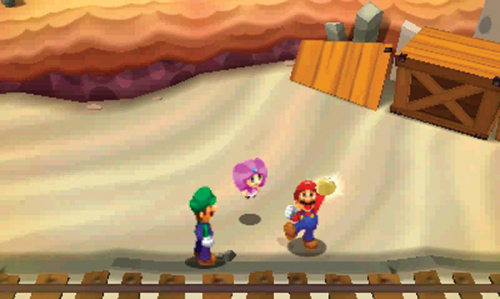
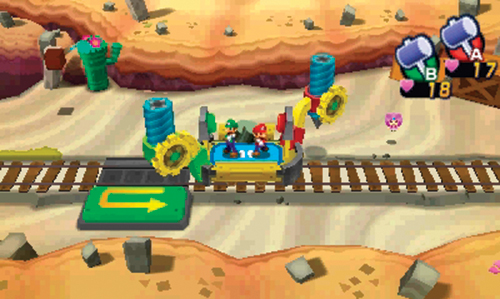
Back in the real world, the Deco Pi’illo thanks Mario and Luigi before handing over another Dozite. Like the previous Dozite, this one lifts from Mario’s hand and installs itself in one of the Zeekeeper statues near the northern sand flow. Before leaving, the Deco Pi’illo warns of a brutal monster that wanders the sands. Following the conversation with the Deco Pi’illo, return to the Drilldigger at the Station and proceed to the west. You may need to use the Turnaround Switch to the north to get the vehicle moving in the proper direction.
 Junction
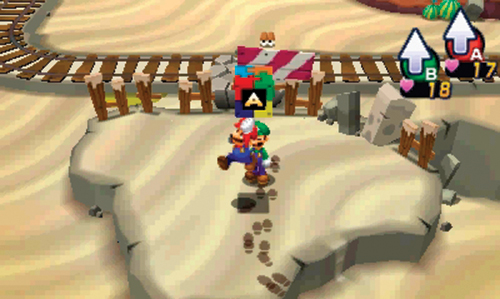
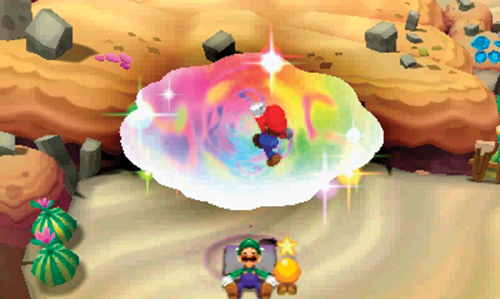
Park the Drilldigger at the Station here and disembark to explore this area on foot—an Attack Piece is located to the south. After grabbing the Attack Piece, climb a series of sandy ledges to the southwest to find a pillow. Immediately enter the dream world. The Pi’illo (K) contained within is not a Deco Pi’illo and does not have a Dozite, but this is a relatively easy and small dream world to conquer. This time you must break three nightmare chunks scattered about. As in the previous dream world, use the Sneeze Wind to spin pieces of Rotating Terrain to reach each nightmare chunk.
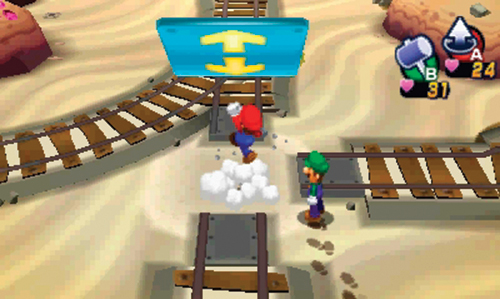
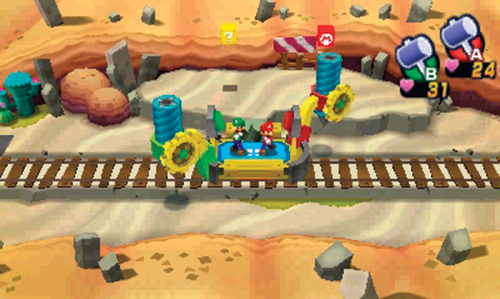
Return to the Station and follow the tracks to the north. Go underground as Mole Mario and surface beneath the blue Drilldigger Panel at the intersection. This allows the Drilldigger to head east. Board the Drilldigger and take it to the east. Stop at the Station just beyond the intersection. There’s a ? Block and M Block on the ledge to the north. Strike these blocks and then return to the Drilldigger to continue your journey east. This track heads back to area 8.
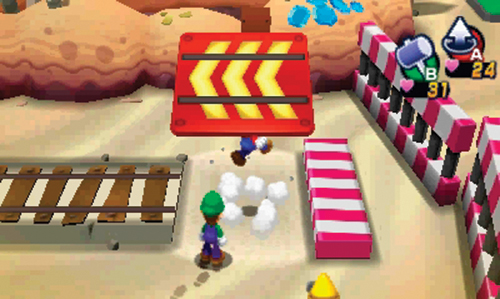
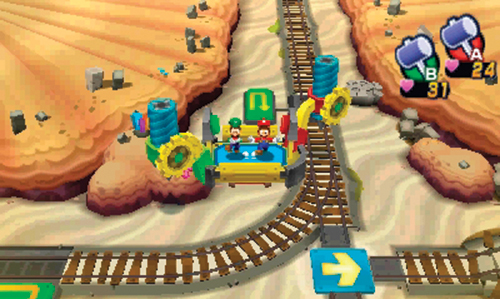
A Shelltop in this area advises flipping over the nearby red panel to give the Drilldigger a boost in speed. As Mole Mario, go underground and surface beneath the red panel to flip it over. Return to the Drilldigger and ride it toward the newly flipped red panel. Upon reaching the end of the track at the red panel, the Drilldigger reverses direction and begins hurtling down the track at high speed. As the Drilldigger returns to area 10, it hits a bump in the tracks sending it flying to the west, landing on a new set of tracks.
 Southwest Bend
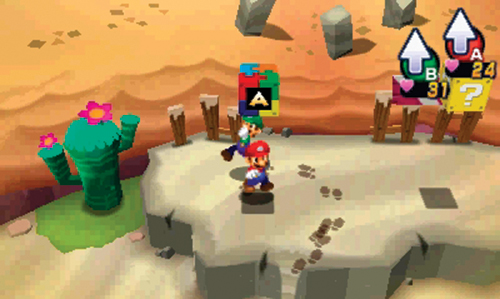
Stop the Drilldigger at the Station here and disembark to explore the area on foot. There’s an Attack Piece and a ? Block northeast of the Station, and an L Block to the east. There are also a couple of Beanholes here, not to mention a few Flounderflages beneath the surface. Explore this area, then hop aboard the Drilldigger and continue your journey to the north.
 Third Dozite
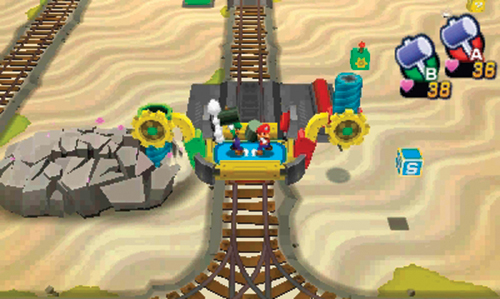
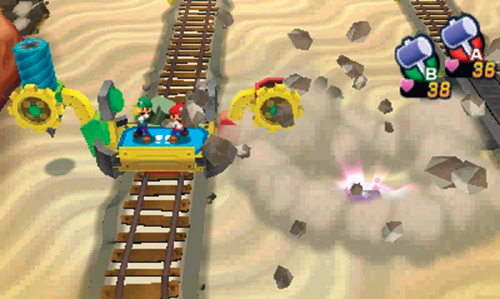
Here you must break several rocks using the Drilldigger, including one massive rock hiding another pillow. Both the east and west sides of this rock must be drilled. Hitting the east side is easy enough. But to drill the rock on the western span of track, drill the green Turnaround Switch to the northeast to send the Drilldigger cruising along the tracks to the west—there’s no need to flip the blue Drilldigger Panel. Stop the Drilldigger at the Station and take a moment to explore the area before entering the dream world. There’s a few ? Blocks in the area as well as several Beanholes.
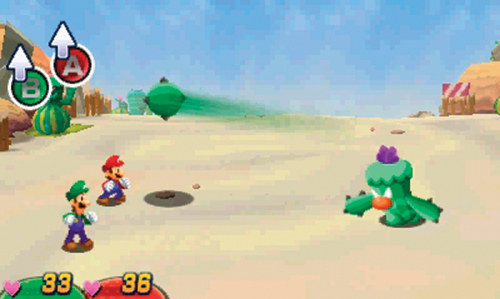
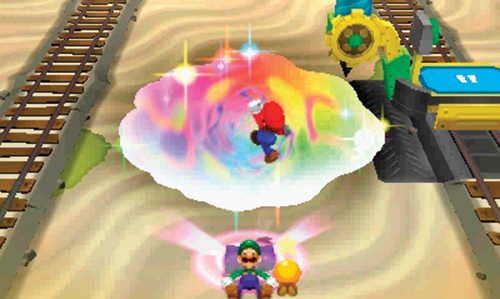
Also, take your time defeating all the enemies here to gain some EXP. In addition to Sandoons, you encounter a few Caccacs here. Be ready to knock these guys back during their multi-stage charge attack by using your hammers. Even after knocking them back one time, be ready to keep hitting them as they continue their attack. Caccacs also throw cactus chunks at Mario and Luigi. Be ready to jump if the toss goes low. Otherwise, don’t jump at all—the chunk will fly over Mario and Luigi’s heads and circle back, hitting the Caccac. Before returning to the pillow, save your game at the Save Block south of the Station. When you’re ready, interact with the pillow to enter the dream world.
Dream World (D)
A
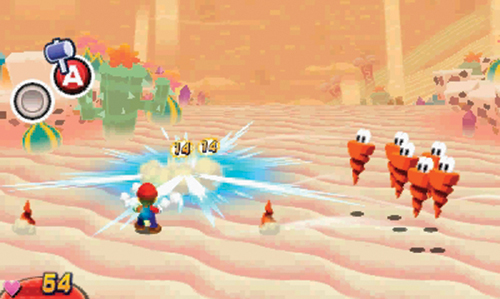
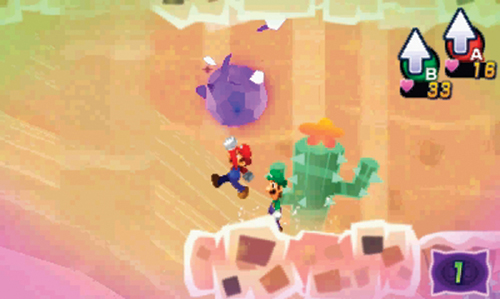
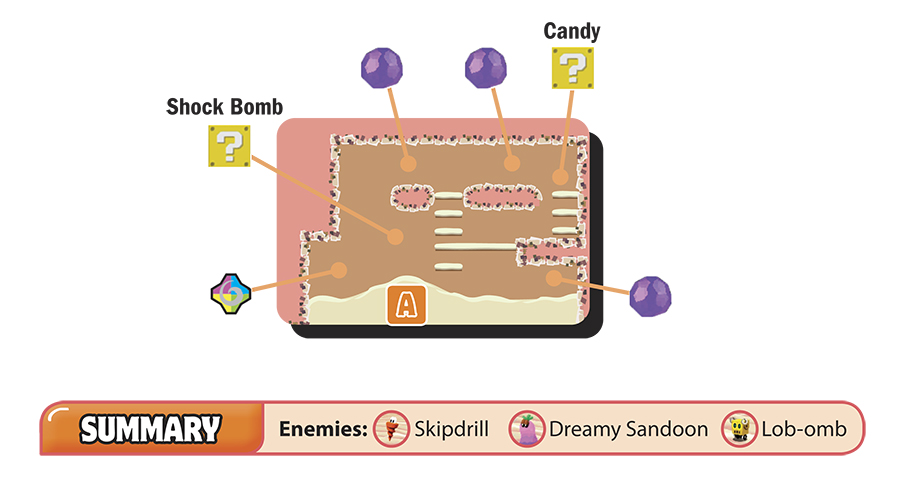
This is another relatively small dream world with three nightmare chunks that must be smashed. But this area is also filled with enemies. So take your time working your way through this dream world, engaging all enemies you encounter along the way. Among the enemies are some Skipdrills. Any attack works well against these enemies, but be ready to dish out some damage during counterattacks too. During one of their attacks, use your hammer to knock falling Skipdrills into their colleagues surrounding you. In a different Skipdrill attack, you must either leap over (or on) the Skipdrills flying toward Mario. Once you get the hang of it, you should be able to counter all of the Skipdrill attacks, significantly decreasing the length of each battle. In addition to Skipdrills, there are also Dreamy Sandoon and Lob-ombs in this dream world—eliminate them all to increase your EXP. When you’re not defeating enemies, make a move for the three nightmare chunks scattered about.
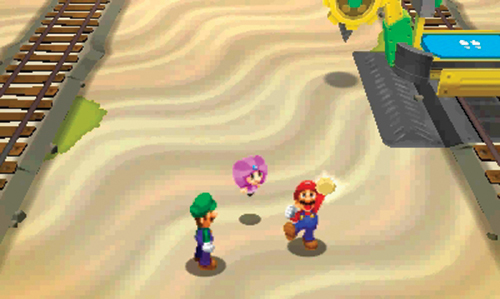
The Deco Pi’illo thanks Mario and Luigi upon their return to the real world. As expected, Mario receives another Dozite that finds its way into a Zeekeeper statue near the northern sand flow—only one more to go! While speaking to the Deco Pi’illo, a Shelltop worker interrupts to report that a large horned creature has been seen in the area. Suddenly, a horn emerges from the sand and begins circling the Shelltop, eventually chasing him to the south. When you’re finished here, return to the station and board the Drilldigger, taking it back to area 10. At area 10, the tracks automatically send the Drilldigger into the next area to the north.
 Northwest Bend
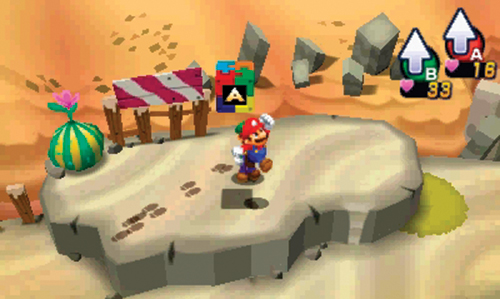
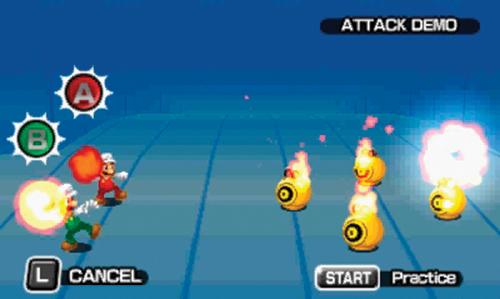
Stop the Drilldigger at the Station here and begin exploring on foot. Head to the north side first and retrieve the tenth and final Attack Piece for Dozing Sands, unlocking a new Bros. Attack—Luigi’s Fire Flower!
Before moving on, practice this new attack. Alternate between pressing
and
to make Mario and Luigi toss fireballs toward their targets. Watch as the fireballs grow in Mario and Luigi’s hands—press the buttons to throw the fireballs before they explode. But if you press the buttons too early, the brothers will release tiny fireballs that inflict little damage. Maximizing damage to the targets is tricky with this attack and requires some practice and careful timing, so feel free to take a few moments mastering this attack before proceeding.
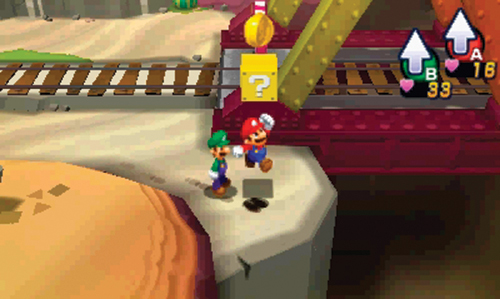
In addition to the final Attack Piece, there are also several Beanholes and ? Blocks in this area. Loot coins and items from this area, then return to the Station to board the Drilldigger, taking it back to area 7 to the east.
Torkscrew Chase Part 1
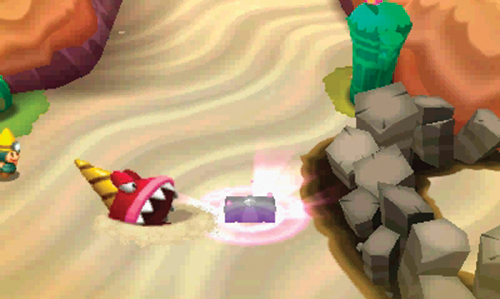
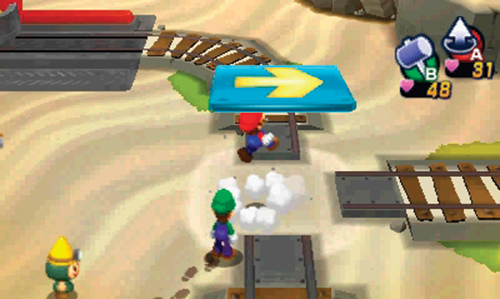
Upon returning to area 7 where Britta began her tour, Mario and Luigi notice the fourth and final pillow containing the last Deco Pi’illo. Suddenly the rumored horned monster emerges from the sand and swallows the pillow. Starlow urges Mario and Luigi to chase after the beast before it can get away. The Torkscrew’s horn can be seen traveling to the east. Use the Drilldigger to chase after the Torkscrew. To follow, you must stop the Drilldigger at a Station and then use Mini-Mario to flip the blue Drilldigger panel to the east. This allows the Drilldigger to follow the tracks heading east. You can’t engage the Torkscrew at this point—just flip the panel and return to the Drilldigger to resume the chase.
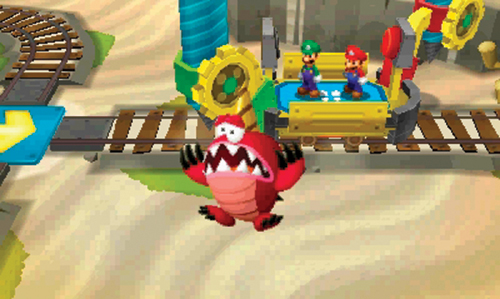
As the Drilldigger approaches the Torkscrew’s horn, activate the drills to strike him. This causes the creature to scramble about beneath the surface of the sand, eventually crashing through the barrier to the east, allowing the Drilldigger to continue along the tracks.
Torkscrew Chase Part 2
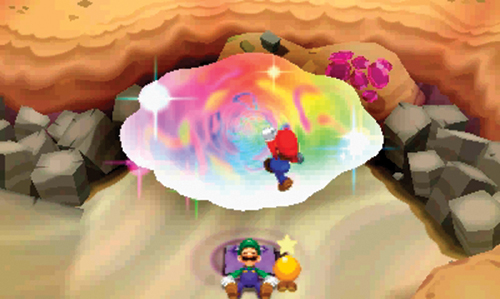
As the Drilldigger continues into this area, the Torkscrew’s horn can be seen traveling north. There’s no need to rush now. Stop at the Station and disembark to explore this area on foot. Here you can find a Random Block to the east as well as another pillow—take a moment to rescue another Pi’illo Folk (J). Also, the upper ledge to the northwest allows you to return to area 7 and retrieve a Defense Bean and strike a Bros. Block. When you’re finished exploring here, return to the Station and take the Drilldigger to the north.
 Fourth Dozite
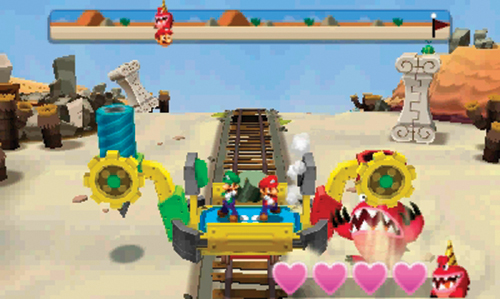
During this sequence you must use the Drilldigger to strike the Torkscrew beneath the sand. The heart icons at the bottom of the screen represent the Torkscrew’s health. Each hit with a drill depletes the Torkscrew’s health by one heart. You must hit the Torkscrew five times to completely deplete its health. Watch the Torkscrew’s horn carefully and only activate a drill when the Torkscrew is directly beneath it.
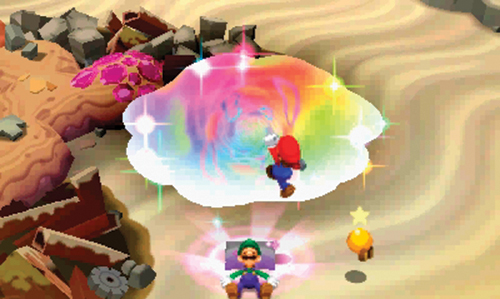
The Torkscrew finally coughs up the pillow here, allowing Mario to enter the dream world and rescue the fourth and final Deco Pi’illo. But before entering the dream world, explore this area briefly to strike a ? Block and hunt down a few enemies.
Dream World (E)
A
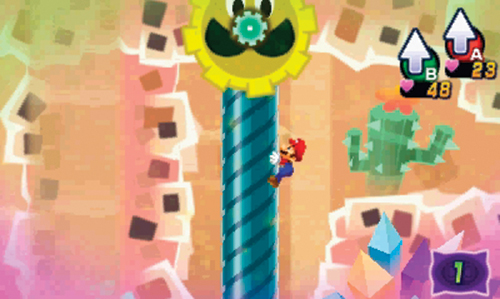
There is only one nightmare chunk in this dream world, and it’s just below the starting point. Unfortunately, there’s no easy way to get to it from here, so you’ll need to find another way to reach it. Use the Luiginary Cylinders to cross over the spiked floor to the right. This time some of the Cylinders function like drills, causing Mario to rise and descend while clinging to the side—the direction of movement depends on which direction you spin Luigi’s nose on the Touch Screen. Grab hold of the third Cylinder and ride it down to the lower level. Grab another Cylinder and ride it up, exiting on the right.
B
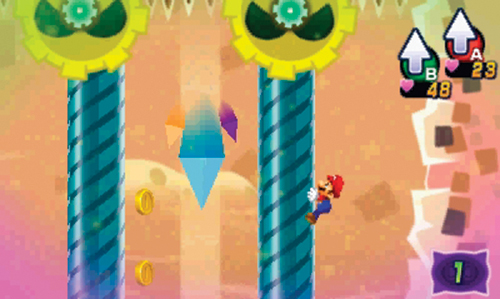
Here you must descend this shaft using two Cylinders while avoiding falling debris. Periodically debris falls between the two Cylinders—make sure you’re not in the way when this happens. Rotate the Cylinders slowly ensuring Mario is not exposed to the middle area when debris falls. You can remain on one Cylinder the whole way down. But if you want to get all the coins along the way, you’ll need to hop between the Cylinders, adding a degree of risk to this descent. When you make it to the bottom, exit to the left.
C
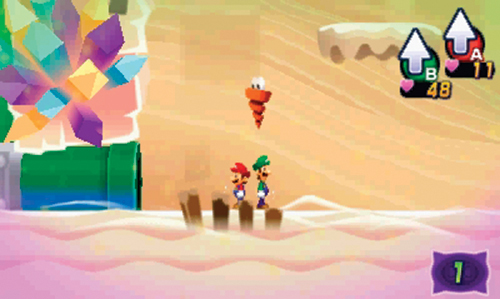
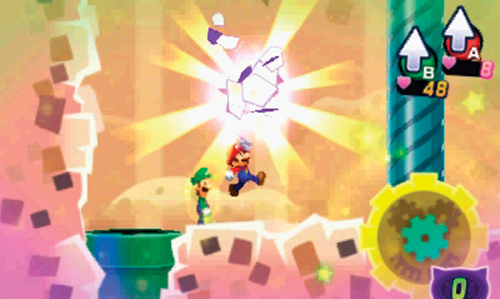
Battle a mix of Dreamy Sandoons, Skipdrills, and Lob-ombs here while advancing to the left. Once you’re finished battling enemies and collecting coins, enter the green pipe on the bottom left. The pipe leads back to area A, putting you within close proximity of the nightmare chunk. Smash the chunk and return to the real world for your reward.
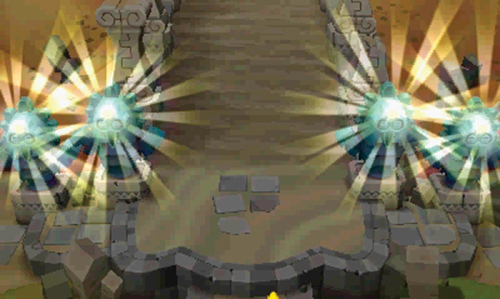
In the real world, the rescued Deco Pi’illo hands over the fourth and final Dozite. As this Dozite is magically installed in the last Zeekeeper statue, all four of the statues begin to shine. The Deco Pi’illo reports that the path to the Dream Stone is now open. Head back to area 5 to get a closer look at those statues.
Dream Stone Path
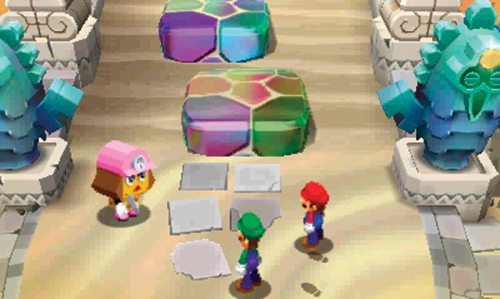
As Mario and Luigi approach the sand flow between the Zeekeeper statues, several multi-colored steps emerge. Britta responds to the commotion and is eager to see what lies beyond these steps. Save your game at the nearby Save Block, then follow Britta across the steps and enter the area to the north.
 Torkscrew Battle
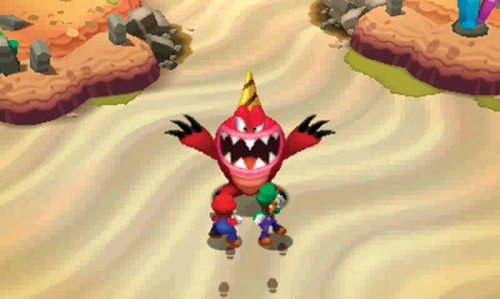
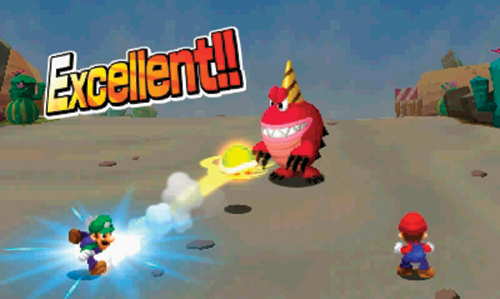
Torkscrew has made a return, this time dragging Britta across the sand before swallowing her. Mario and Luigi waste no time rushing to the rescue. Like any enemy with a spike on its head, don’t use Jump attacks against Torkscrew. Instead, use hammer or Bros. Attacks. The 3D Red Shell and 3D Green Shell attacks are very effective, as is Luigi’s new Fire Flower attack.
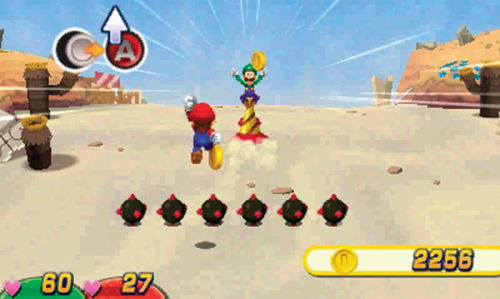
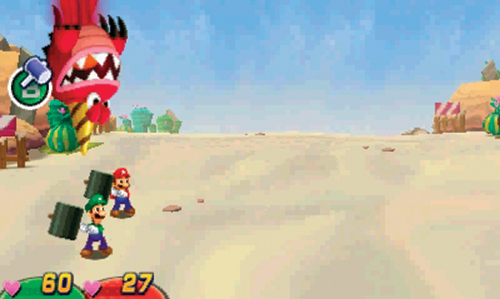
Torkscrew’s attacks are rather brutal, but can be avoided or countered if you pay close attention. When Torkscrew drops beneath the surface of the sand, prevent him from surfacing directly beneath Mario or Luigi—jump to avoid getting impaled by his horn and carried away. Likewise, when Torkscrew takes to the air, use your hammer to knock him back.
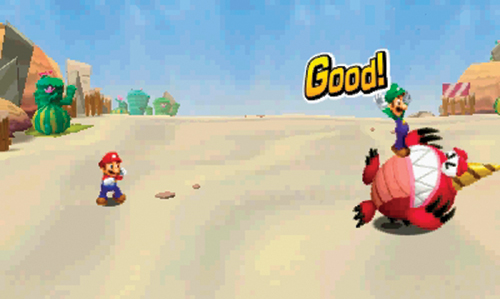
If you manage to knock Torkscrew on his back by counterattacking with a hammer, you can commence with Jump attacks. But even in this vulnerable state, Bros. Attacks offer the most damage output, assuming you still have enough BP to pull them off. If not, consider consuming Syrup Jars to replenish your BP.
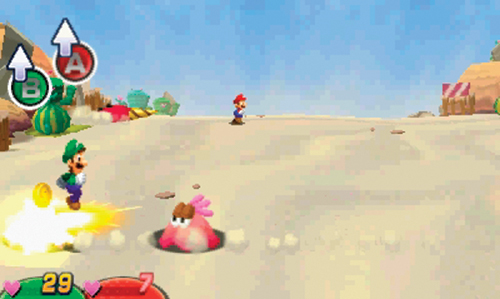
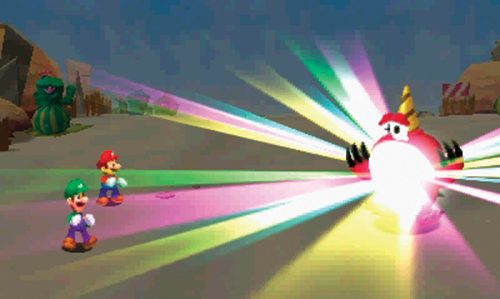
In another Torkscrew attack, the brothers are separated with threats in the foreground and background. As Mario evades Torkscrew in the background by jumping, Luigi must also watch out for incoming enemies moving along the surface of the sand. Don’t let these split attacks divide your attention. Keep an eye on both the foreground and background and jump with the appropriate character when necessary to avoid taking damage. Keep up the attacks and counterattacks until Torkscrew is down for the count. Defeating Torkscrew awards you plenty of coins, EXP, and a pair of Coin Boots.
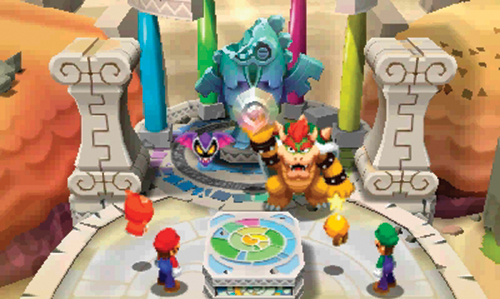
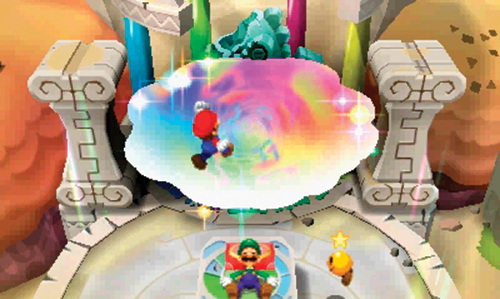
Britta is a little worse for wear due to her run in with Torkscrew, but thanks to Mario and Luigi, she’ll recover. A trio of Shelltops arrive and carry her back to the job site, leaving Mario and Luigi here to explore. Ascend the steps to the north to find the Dream Stone. Unfortunately, Antasma and Bowser have beat you to the punch, securing the Dream Stone for their own dastardly plans. After a brief appearance, Antasma and Bowser leave, taking the Dream Stone with them. Dreambert urges Mario and Luigi to follow them, but Starlow points out that there’s no telling where Antasma and Bowser are going. That’s when Dreambert suggests using the Dreampoint—the multi-colored altar-like platform here. Apparently there are multiple Dreampoints scattered across Pi’illo Island. Sleeping on this Dreampoint may yield clues as to the whereabouts of the Dream Stone. As Luigi falls asleep on the Dreampoint, a familiar portal opens, allowing Mario to enter the dream world.
Dreamy Dozing Sands (F)
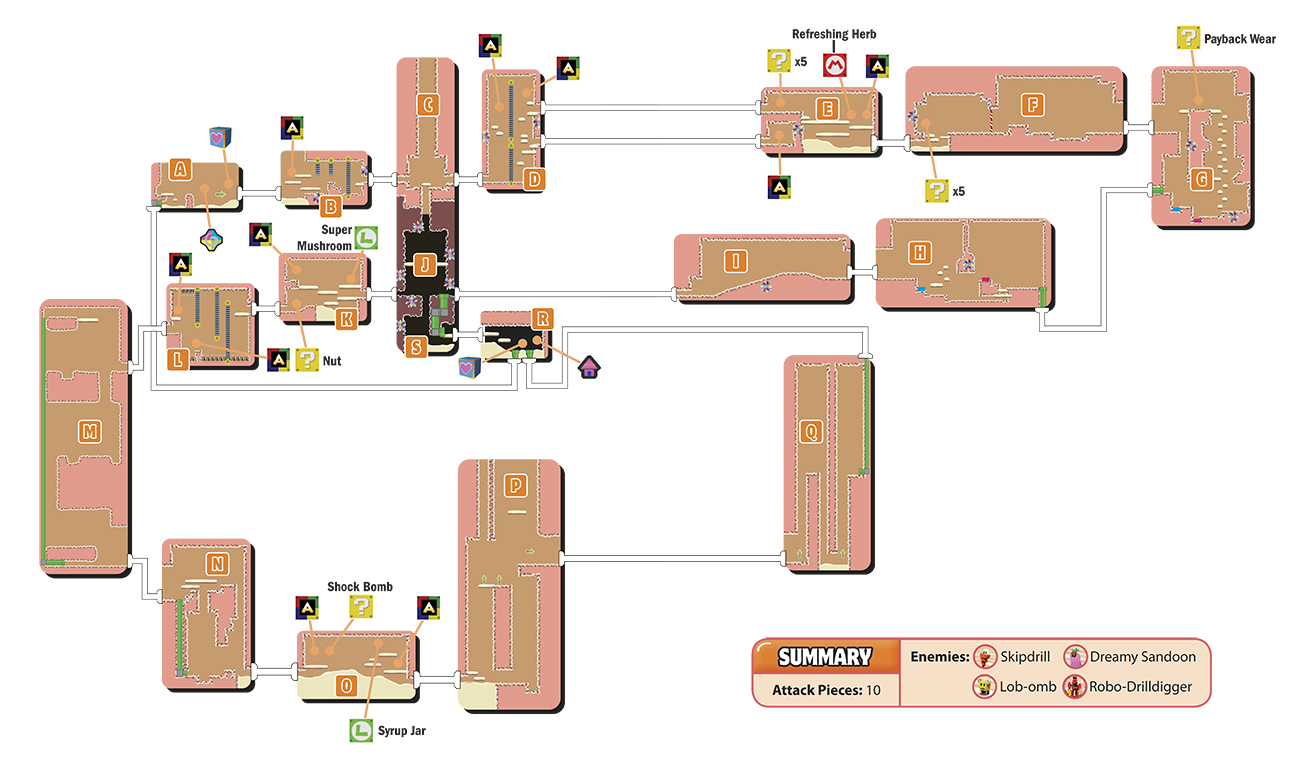
A
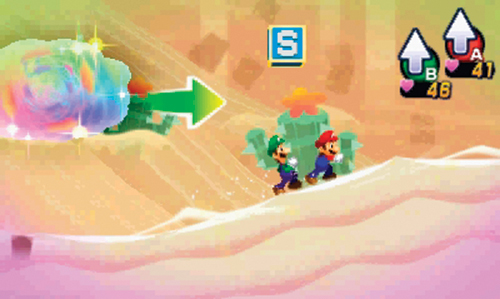
Before starting your adventure in Dreamy Dozing Sands, consider saving your game at the Save Block here. Once your game has been saved, exit to the right.
B
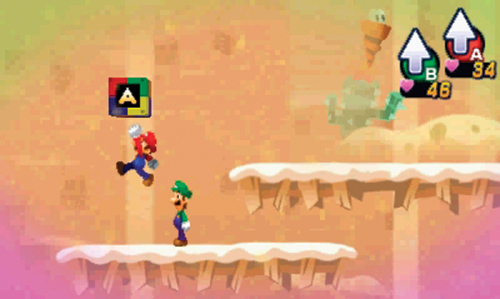
Watch out for the Skipdrills here—don’t let them strike you from above. The first Attack Piece can be found on a platform to the left. As you advance to the right, use the Luiginary Cylinders to reach the exit.
C
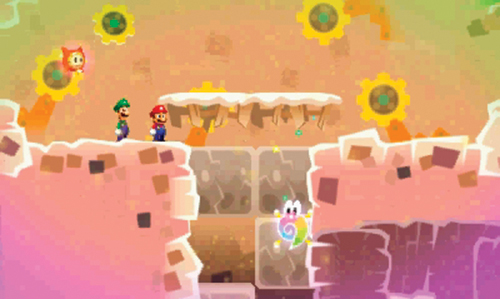
The multicolored entity ahead is the Spirit of the Dream Stone. This is the spot in the dream world where the Dream Stone used to be. But when asked where the Dream Stone is in the real world, the Spirit of the Dream Stone is stubborn. Since Bowser and Antasma moved the Dream Stone in the real world, the Dream Stone’s Spirit is really drowsy and cranky. The Spirit just wants to be left alone and sleep. After a brief and somewhat hostile conversation, the Dream Stone’s Spirit descends through the solid rock and falls asleep at the bottom of a dark shaft below. You can’t follow the Spirit, so exit this area on the right.
D
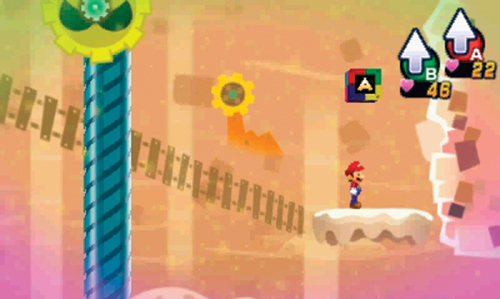
Use the Luiginary Cylinders and moving platforms to work your way up this shaft-like room and gather the two Attack Pieces. There are two exits—one on the lower right and one on the upper right. Take the lower exit first to enter a small chamber in area E, containing another Attack Piece. Return to area D, then exit using the passage on the upper right.
E
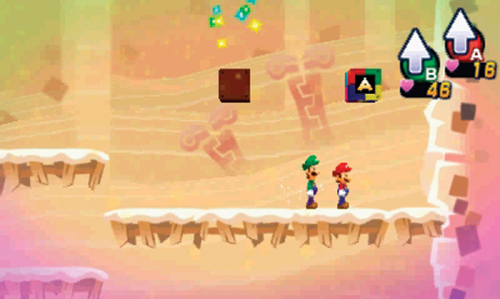
The Attack Piece on the left here must be accessed through the lower right passage in area D. Use the upper right passage to access the rest of this area, including an M Block and Attack Piece to the far right—five down, five more to go! Once you’ve gathered the goodies, eliminate the Dreamy Sandoons (and their Lob-omb associates) and then exit on the right.
F
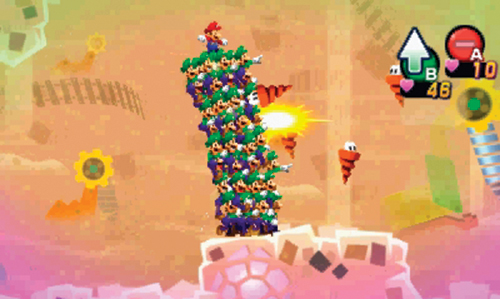
As advised by Dreambert, use the Luiginary Stack to begin the advance through this area, plowing through several Skipdrills and Dreamy Sandoons along the way. Jump, by pressing
, to gather coins and negotiate ledges. Exit this area on the right, still using the Luiginary Stack.
G
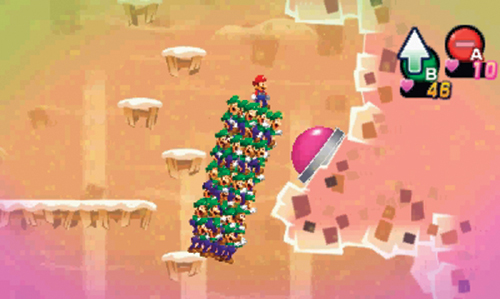
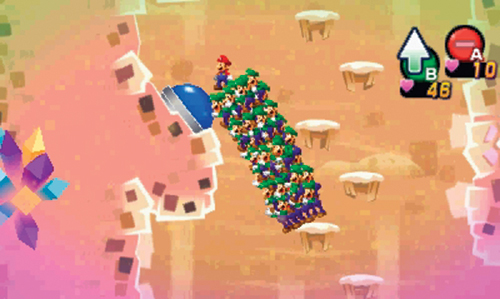
As the Luiginary Stack, drop down the first shaft here, then move to the right. Here there are several ledges—jump up to reach them. Look for two colored switches (red and blue) embedded along the walls. Inch the Stack out toward the side of a nearby ledge, causing the Stack to lean over and strike the switch. Each switch raises a block, allowing you to reach the exit. Activate both switches, then exit through the green pipe on the left side—you must disassemble the Luiginary Stack and proceed through the pipe as Mario and Dreamy Luigi.
H
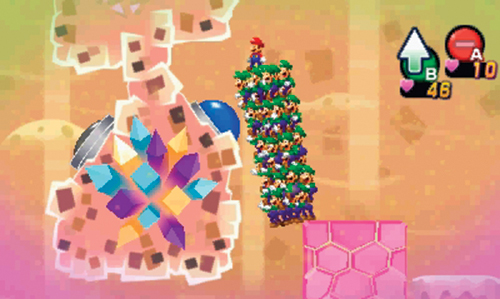
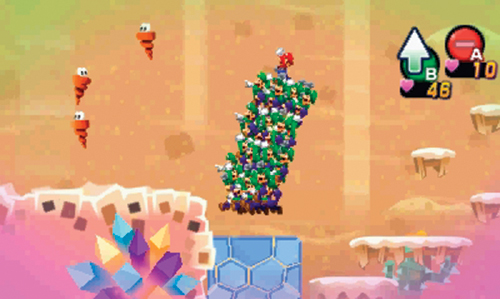
Upon emerging from the green pipe, initiate another Luiginary Stack and eliminate the nearby Skipdrills. Once again, search out the red and blue switches here to raise a couple of blocks. Hit the red switch first to raise the red block—this allows you to reach the blue switch. To get back to the red block you must disengage the Luiginary Stack and pass through a narrow tunnel as Mario and Dreamy Luigi. Reassemble the Luiginary Stack on the other side to hit the blue switch by leaning the Stack. Once the blue block is raised, advance to the left side and exit, eliminating more Skipdrills along the way.
I
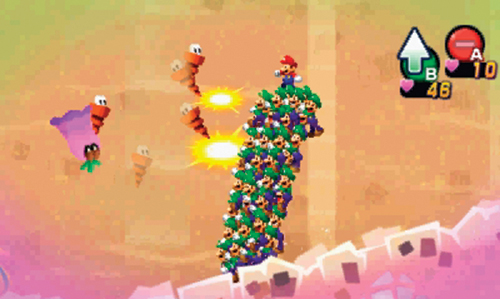
Maintain the Luiginary Stack in this area and gather coins during the advance to the left. There are also a number of Skipdrills and Dreamy Sandoons in this area you can plow through as the Stack, but you must disengage the Luiginary Stack to fit through the exit on the left.
J
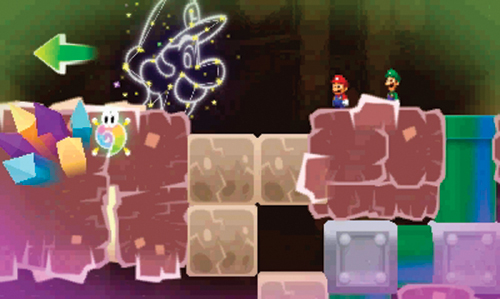
Finally, you’ve caught up with the Dream Stone’s Spirit, still dozing in the bottom of this dark shaft. But as Mario and Dreamy Luigi approach, the Spirit is awakened…and is as stubborn as ever. Once again, the Spirit refuses to disclose the location of the Dream Stone in the real world. With nothing more to say, the Spirit escapes, passing through more solid rock and descending deeper into the shaft. You’ll need to find another way down there, so exit this area to the left.
K
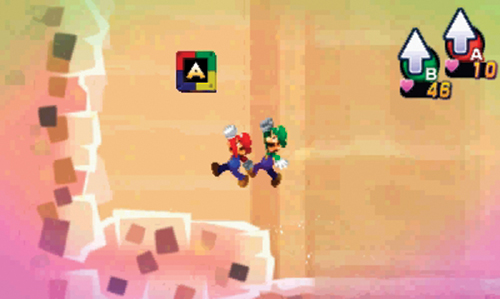
Seek out the L Block on the right here as well as the Attack Block on the far left. But be mindful of the Skipdrills floating overhead—dodge their diving attacks, then jump on top of them to initiate a battle. When you’ve wiped out all the Skipdrills, exit on the left side.
L
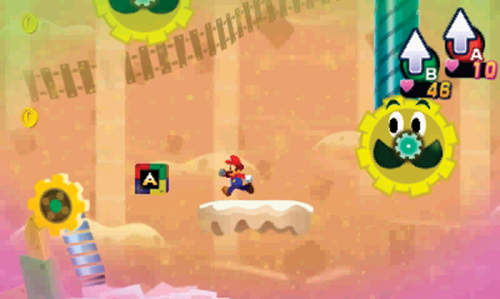
Negotiate a series of Luiginary Cylinders and moving platforms here to avoid falling on the spiked floor below. From the second Cylinder, jump over to a moving platform and ride it down to reach an Attack Piece. A second Attack Piece is located just above the area’s exit—don’t forget it!
M
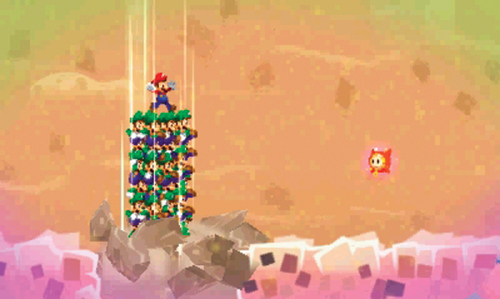
Dreambert appears in this area, suggesting that the stones in the floor can be broken. Initiate a Luiginary Stack and jump up while standing over the rocks. While in midair, press
again to break the rocks. This is a Luiginary ability called the Ground Pound. You can break certain objects, like rocks, with this move.
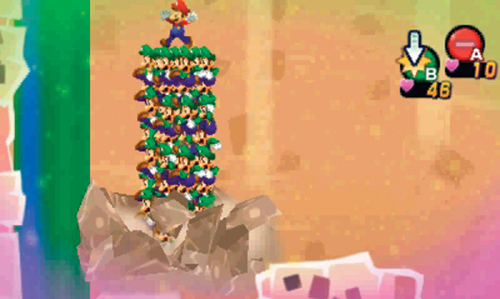
Now that you’ve learned the Ground Pound, put it to use by breaking the rocks in the floor near the entrance. This allows you to reach the mid-level area of the room—plow through the Skipdrills and use more Ground Pounds to destroy the wooden crates. Perform another Ground Pound on the rocks near the green pipe to reach the room’s lower level.
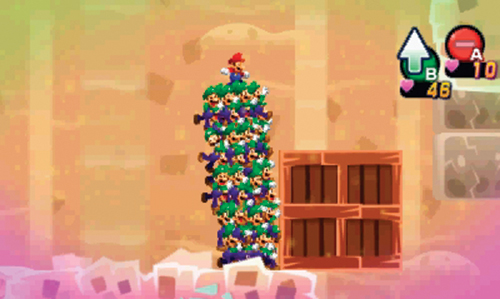
On the lower level, push the wooden crate to the right, pushing it off a short ledge. Jump off the ledge and then perform a Ground Pound to bust the crate. Before leaving this area, consider disengaging the Luiginary Stack and entering the green pipe to the left. This takes you to the top of the room, allowing you to retrieve some items.
N
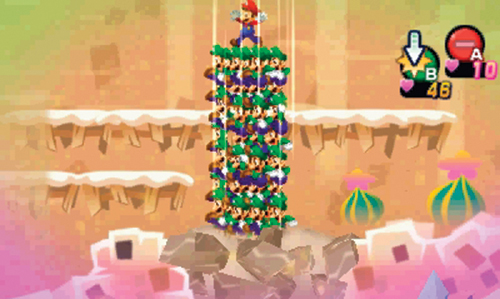
Using the Ground Pound, smash through one of two sets of rocks at the top of this room, collecting coins on the way down. If you want to bust through both sets of rocks, return to the top via the green pipe on the left, then Ground Pound your way through the second set of rocks before exiting on the right. You must disengage the Luiginary Stack to fit through the exit.
O
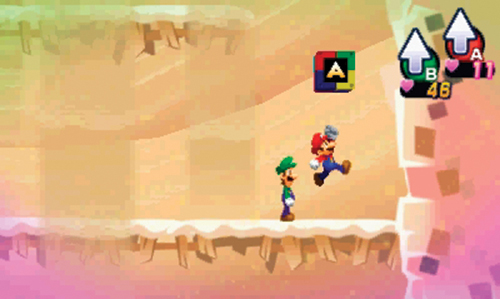
The final two Attack Pieces are in this area, located on the far left and right. Grab the Attack Pieces while making your way through battles with Skipdrills and Dreamy Sandoons. Once you’ve obtained the tenth Attack Piece, try out your new Luiginary Attack—the Luiginary Stack!
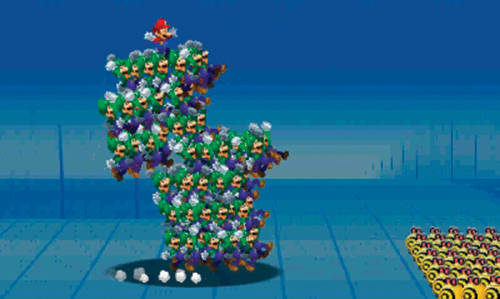
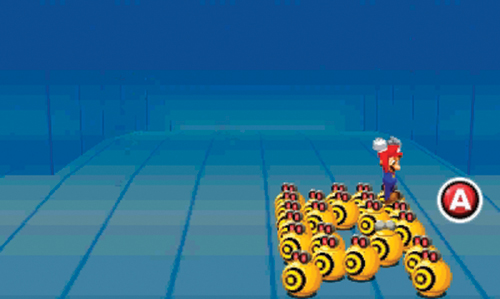
During this attack you must gather a tall Stack of Luiginoids and carefully balance the Stack prior to launching a devastating attack. Practice this new attack before using it in an actual battle, because it takes a while to master. The trick is balancing each new set of Luiginoids added to the bottom of the Stack. If the Stack gets out of alignment, use the Circle Pad to maintain balance, or else all the Luiginoids will come crashing down, aborting the attack. For best results, get the Stack organized as straight as possible to maintain stability. Then when it’s time to attack, pay close attention. After the Luiginoids come crashing down on your enemies, be ready to press
to inflict extra damage as Mario. This attack takes a while to master, so feel free to practice it over and over until you can score a few Excellents. After practicing, exit this area on the right side.
P
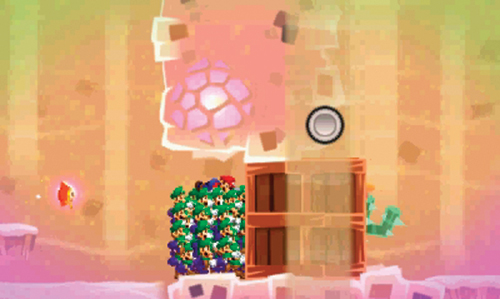
Initiate a Luiginary Stack and follow Dreambert’s instructions to compress the Luiginoids into a shorter formation—press
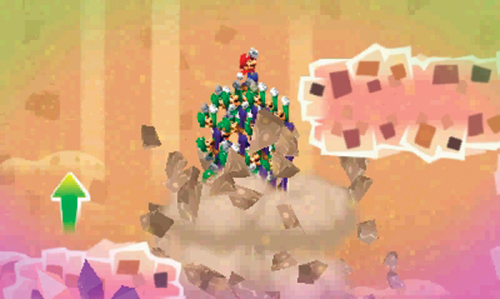
to compress the Stack. This allows the Stack to push the wooden crate to the right, opening access to the other side of the area. Upon pressing
to return the Stack to its normal size, the Stack springs upward, smashing through rocks high above—this is called a Spring Jump.
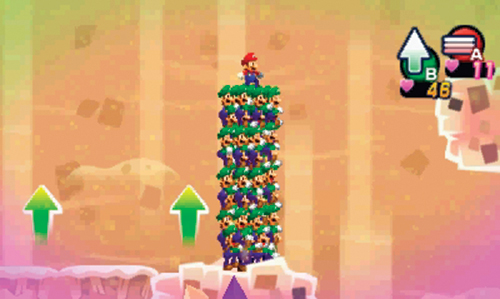
Spring Jump again to reach the upper level of this area. Initiate Spring Jumps in front of the green upward-pointing arrow on the left to launch the Stack up through rock and coin-filled shafts. Then initiate a Spring Jump in front of the green arrow on the right. During this jump, move the Circle Pad to the right as the Stack flies through the air, allowing it to land on the ledge to the right, near the exit.
Q
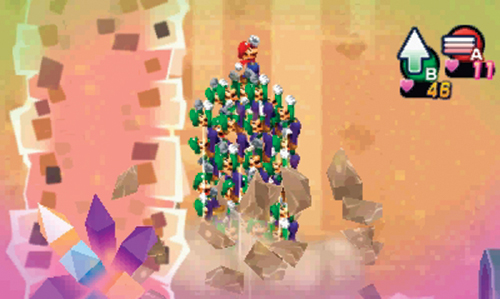
Here’s another opportunity to practice Spring Jumps and Ground Pounds. Spring Jump up the nearby shaft, Ground Pound down the middle shaft, and then Spring Jump up the shaft on the right side—be sure to grab the coins above the third shaft. Disengage the Luiginary Stack and exit through the green pipe on the right.
R
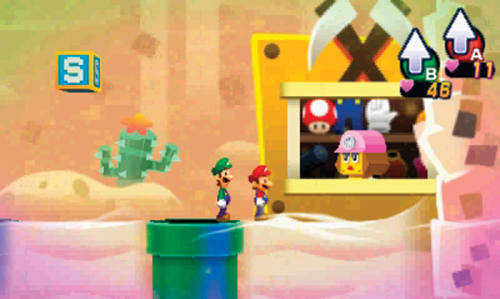
Is that Britta operating a shop in the dream world? Take a moment to browse through Britta’s wares, stocking up on items and gear. If you haven’t already, sell off any gear you’re not using to add more coins to your collection before making any purchases. Also, if Mario is low on HP and BP, buy some Pi’l-latte for a cool 10 coins. When you’ve made all the purchases you wish, use the nearby Save Block to save your game. Exit by moving to the left, using the upper ledge.
Dreamy Dozing Sands Shop Inventory
Items
| Merchandise | Coins |
|---|---|
| Super Mushroom | 30 |
| Super Nut | 75 |
| Supersyrup Jar | 60 |
| Refreshing Herb | 30 |
| Shock Bomb | 50 |
| Boo Biscuit | 5 |
| Mushroom | 10 |
| Nut | 25 |
| Syrup Jar | 20 |
| 1-Up Mushroom | 50 |
Gear
| Merchandise | Coins |
|---|---|
| Picnic Boots | 190 |
| Steady Boots | 480 |
| Picnic Hammer | 190 |
| Steady Hammer | 480 |
| So-so Wear | 140 |
| Singular Wear | 360 |
| Shell Gloves | 100 |
| Gift Gloves | 120 |
| Charge Gloves | 120 |
| Coin Bros. Gloves | 100 |
| Guard Shell | 360 |
S
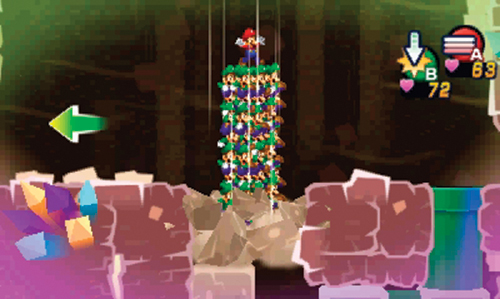
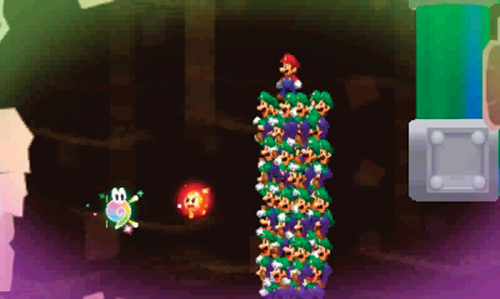
If you used the upper ledge in area R, you enter here in front of a green pipe. Mario and Dreamy Luigi emerge in the mid-level area of the shaft. Here you can initiate a Luiginary Stack and Ground Pound your way through the rocks to reach the slumbering Dream Stone’s Spirit. But the Spirit is still as stubborn as usual, refusing to reveal the location of the Dream Stone. Despite Dreambert’s furious protest, the Spirit retreats again, and falls asleep at the very top of this shaft.
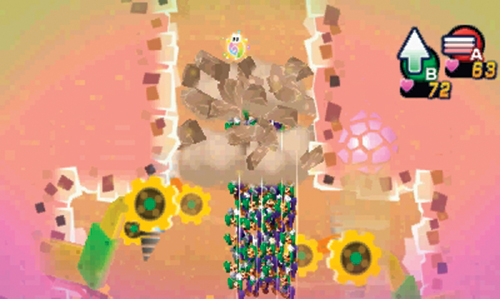
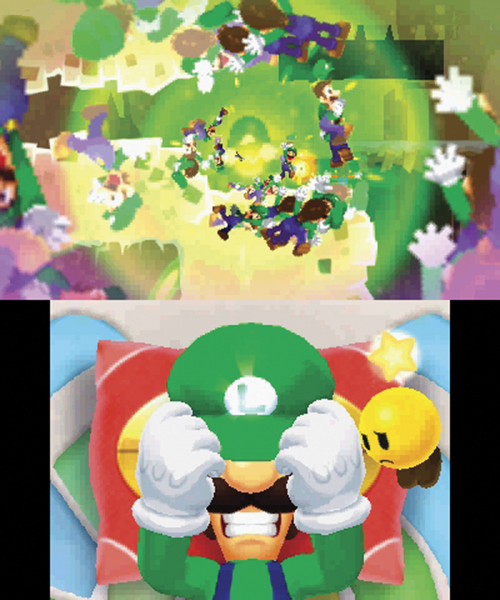
At Dreambert’s urging, ascend to the top of the shaft using a couple of Spring Jumps. The Luiginary Stack smashes through the rocks at the top of the shaft, awakening the Spirit once again. This time the Spirit has had enough and assumes a new identity—Robo-Drilldigger! The Robo-Drilldigger is too big to face in a regular battle. On the Touch Screen, press and hold the “L” on Luigi’s cap to trigger Luigi’s giant form!
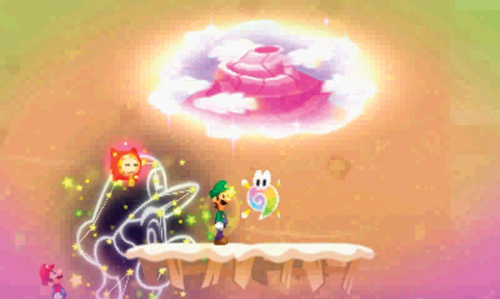
Having defeated Robo-Drilldigger, the Dream Stone’s Spirit is finally ready to talk—but he’ll only tell Dreamy Luigi. The Dream Stone has been moved to Mount Pajamaja, the large mountain on the north side of the island! Dreambert advises heading back to the real world in preparation for their journey to Mount Pajamaja. Exit to the left and proceed through areas B and then A to return to the real world.
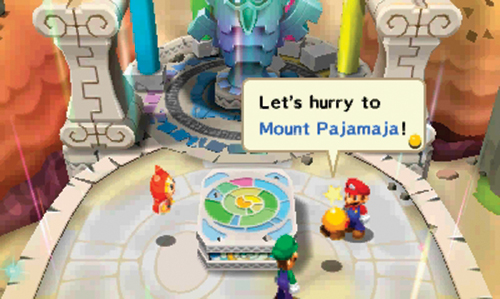
Back in the real world, Dreambert, Starlow, Mario, and Luigi all agree to head for Mount Pajamaja next, located behind Pi’illo Castle. Exit to the west to enter area 3. Here you find another pillow—take a moment to rescue another Pi’illo Folk (H).
Destination: Wakeport
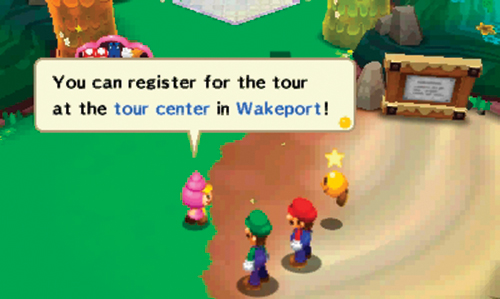
As you return to area 1, a Shelltop announces tour guides to Mount Pajamaja. The tours are open to climbers of all skill levels, but you must register at the tour center in Wakeport first. It looks like you need to visit Wakeport before taking on Mount Pajamaja. Cut through Mushrise Park to the north, then head west.