
Mario & Luigi: Dream Team Guide Walkthrough Driftwood Shore
Driftwood Shore
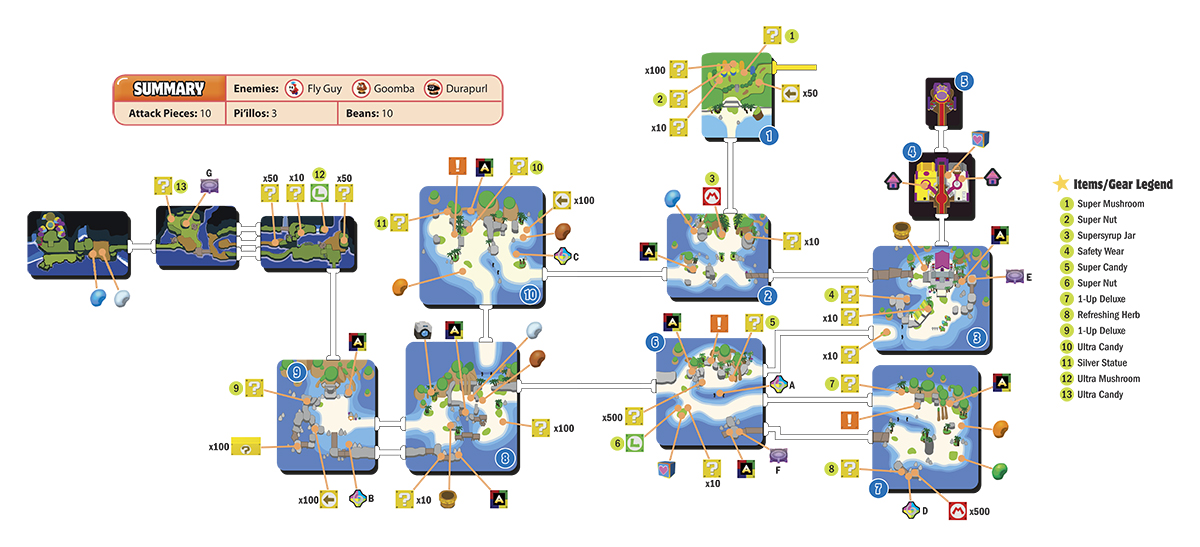
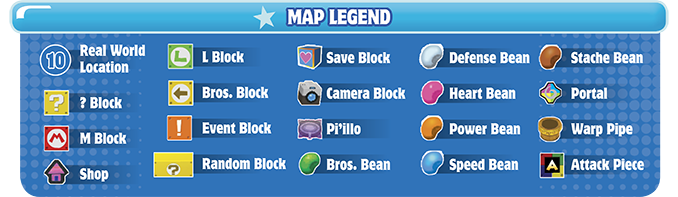
 Driftwood Shore Entrance
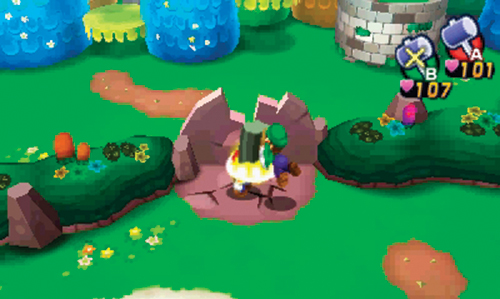
Now that Neo Bowser Castle is active, Mario and Luigi must race to Driftwood Shore to find Princess Peach. To reach Driftwood Shore, travel south of Pi’illo Castle, cutting through Mushrise Park. The fork on the south side of Mushrise Park splits east and west—head east to enter Driftwood Shore. Strike the Bros. Block on your way in to gather some coins, then explore the area to the north as Mini-Mario—there are four ? Blocks in this area containing coins, a Super Mushroom, and a Super Nut. Next, head south, cutting across the sandy beach.
 North Beach
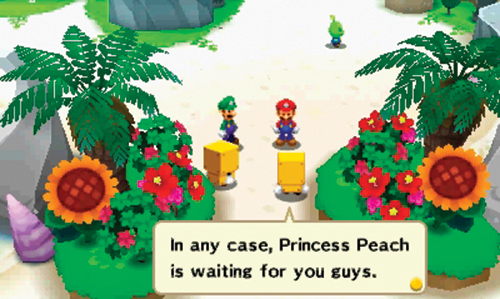
Explore the north part of the beach to find a ? Block, an M Block, and a Speed Bean. Afterward, speak with the two Brocks guarding the path to the south. But one of the Brocks recognizes Mario and informs him that they locked down Driftwood Shore when Princess Peach arrived. The Brocks offer to guide Mario and Luigi to Peach’s location—follow them to the east.
 Northeast Beach
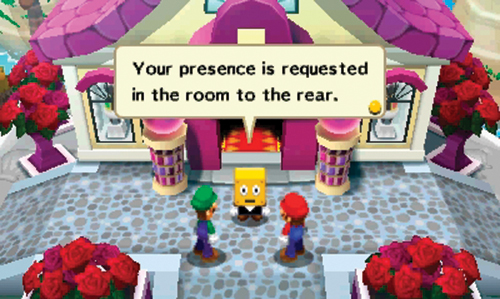
Approach the building to the north here and speak with the Brock standing at the doorway—apparently they’ve been expecting Mario and Luigi’s arrival. Mario and Luigi automatically follow the Brock inside.
 Rose Broquet
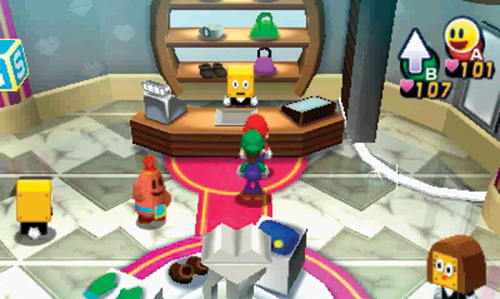
Welcome to Rose Broquet, Pi’illo Island’s upscale gear shop. While the Brocks here insist you head to the back room to find Princess Peach, take a moment to browse the goods. There are two separate shops here—the Silver Shop on the east side and the Gold Shop on the west side. The Gold Shop is only open to those who have achieved the Rainbow Rank, level 40 or higher. But there’s plenty of worthwhile merchandise available for purchase in the Silver Shop. Speak with the Brock at the counter in the northeast corner to view the shop’s inventory. If you can afford it, purchase Singular Boots and a Singular Hammer for both Mario and Luigi. Celebrity Wear and Fancy Wear are also available.
Rose Broquet: Silver Shop Inventory
| Merchandise | Coins |
|---|---|
| Elite Boots | 680 |
| Bros. Boots | 820 |
| Singular Boots | 1,280 |
| Elite Hammer | 680 |
| Spin Hammer | 820 |
| Singular Hammer | 1,280 |
| Celebrity Wear | 510 |
| Fancy Wear | 960 |
| HP Gloves DX | 640 |
| BP Gloves DX | 770 |
| Lucky Gloves | 340 |
| HP Scarf | 1,050 |
| BP Scarf | 1,260 |
| Speed Scarf | 530 |
| Stache Scarf | 1,050 |
| BP Bangle | 1,530 |
| Healthy Ring | 1,280 |
Rose Broquet: Gold Shop Inventory
| Merchandise | Coins |
|---|---|
| Master Boots | 12,800 |
| Master Hammer | 12,800 |
| King Wear | 5,760 |
| Bottomless Gloves | 16,000 |
| Angel Bangle | 16,000 |
 Broque Madame
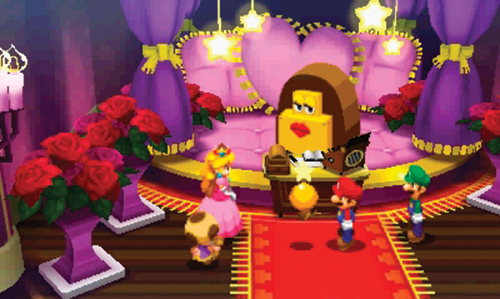
When you’re finished shopping, enter this back room to meet Broque Madame, the proprietor of this shop. Princess Peach and Toadsworth have been hiding out here since Neo Bowser Castle took to the skies above Pi’illo Island. But Broque Madame warns that this place isn’t entirely safe—Bowser could attack at any time. Toadsworth wants to move Princess Peach to a safer location. Broque Madame suggests hiding her in the dream world—there’s a Dreampoint not far from here. Toadsworth advises Mario to find the Dreampoint—he’ll wait here with Princess Peach until the Dreampoint is located. After the brief meeting, exit this back room and the shop, returning to area 3.
Northeast Beach
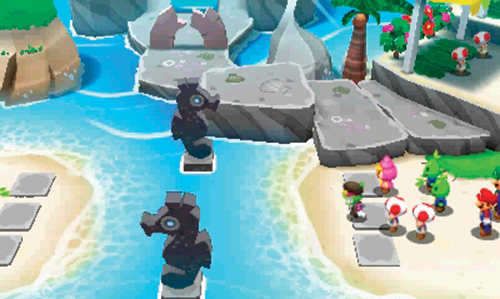
After exiting Rose Broquet, search the area to the east to find an Attack Piece. Many tourists can be found relaxing on the beach to the south, seemingly unaware of the threat posed by Neo Bowser Castle. Approach the group of tourists in the southwest corner. Popple, the thief you encountered back in Wakeport, is among this group, but he doesn’t stick around long. The Shelltop tour guide here makes note of the two mysterious Seadring statues to the west. The origin and function of these statues is unknown. Perhaps you can find a use for them?
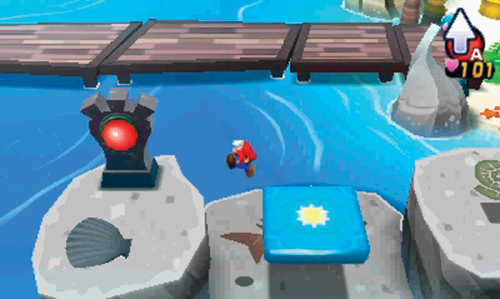
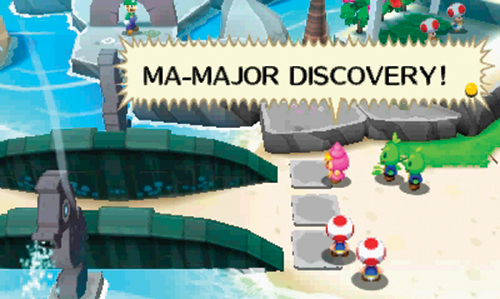
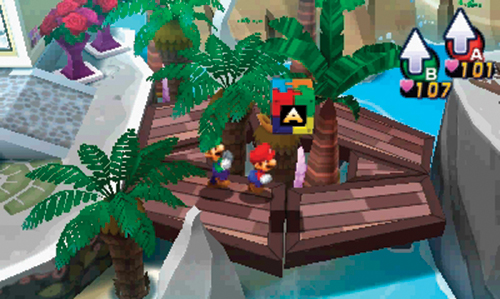
Enter the small gateway to the north as Mini-Mario and strike the red switch with your hammer. This causes a bridge to rise out of the ocean, between the two Seadring statues. More bridges like this one can be activated throughout Driftwood Shore—just look for the seahorse statues. The Shelltop tour guide is ecstatic at your discovery and rushes off to tell others. Grab the Safety Wear from the ? Block to the east, then return to the beach, crossing the newly discovered bridge to the west.
 South Beach
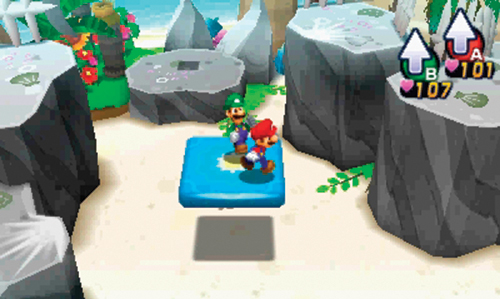
Strike the Event Block on the north side of this beach to activate a blue elevator-like platform. This allows you to reach the top of the high rocks to the east and west. Jump toward the rock on the east side to strike another switch with your hammer—this causes a bridge to appear to the south, opening access to the rest of the beach.
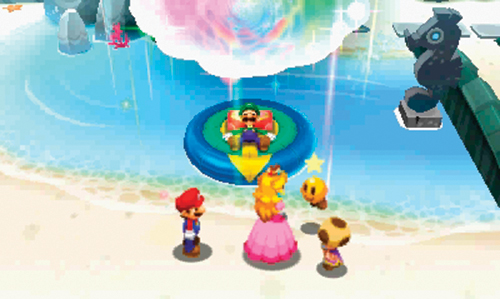
After crossing the bridge, Dreambert notices an inflatable object floating in the water to the west—this is a Float Bed. The Float Bed is placed directly over the Dreampoint Broque Madame spoke of. Luigi immediately falls asleep on the Float Bed, prompting a dream portal to open. Princess Peach and Toadsworth arrive soon after—Toadsworth asks Mario to take Princess Peach deep into the dream world where she’ll be safe from Bowser. Mario agrees and promptly carries Princess Peach into the dream world.
Dreamy Driftwood Shore (A)
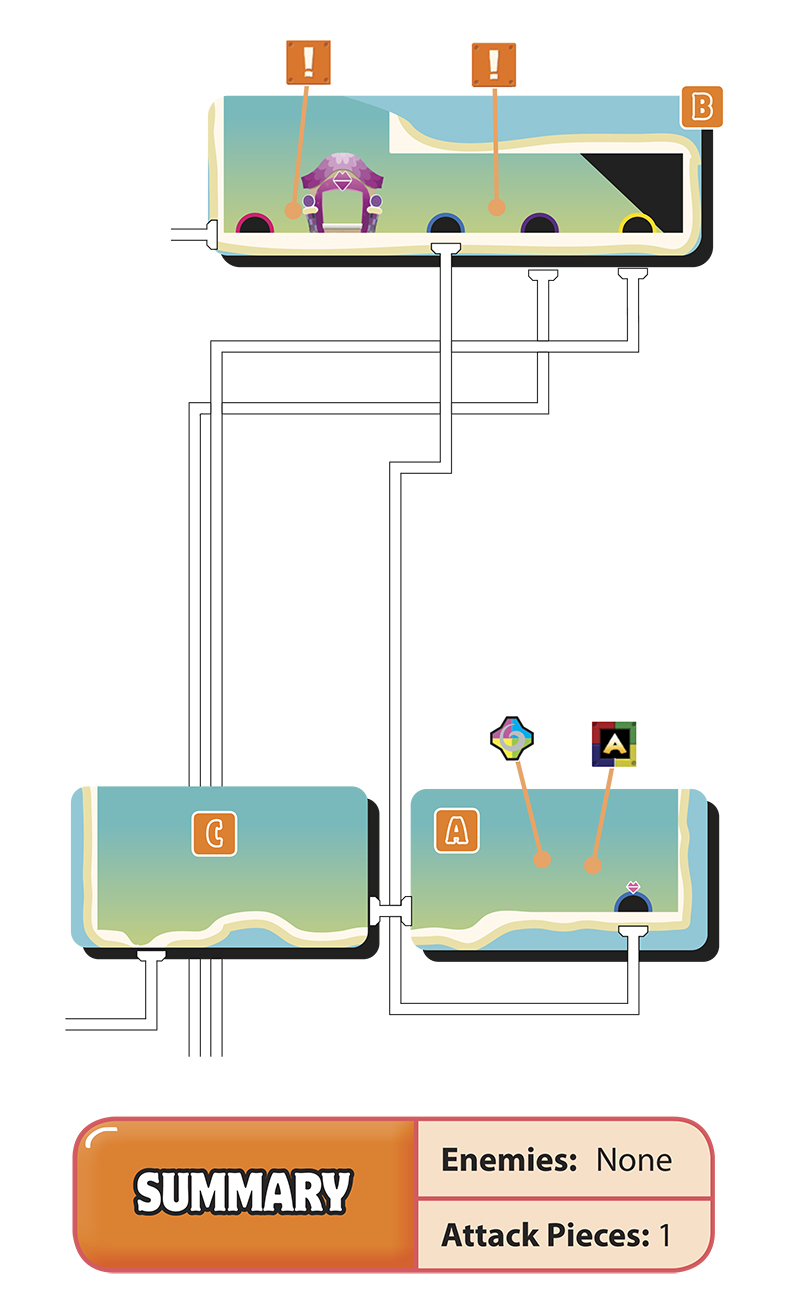
A
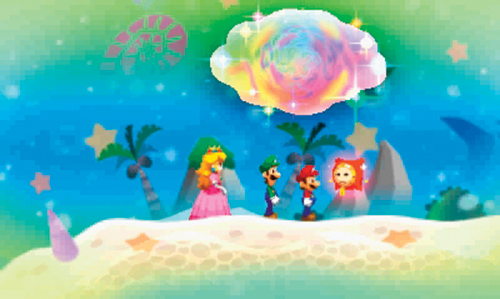
Mario and Princess Peach arrive in the dream world and are soon joined by Dreamy Luigi. Princess Peach agrees to wait here while Mario and Dreamy Luigi scout ahead. Start by moving to the right, collecting the first of ten Attack Pieces. You can also enter the doorway on the right to access a shop, run by the dream world version of Broque Madame.
B
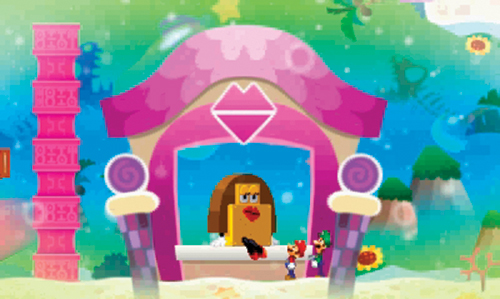
If you’re in need of supplies, consider paying this shop a visit. Beyond the doorway where you entered, there are three other doorways, each leading to different areas of the dream world. However, these other doorways are currently blocked by large walls. So when you’re finished shopping, return to area A, then exit to the left to enter area C.
Dreamy Driftwood Shore Shop Inventory
Items
| Merchandise | Coins |
|---|---|
| Ultra Mushroom | 90 |
| Ultra Nut | 75 |
| Ultrasyrup Jar | 180 |
| 1-Up Deluxe | 300 |
| Taunt Ball | 10 |
| Super Mushroom | 30 |
| Super Nut | 75 |
| Supersyrup Jar | 60 |
| Refreshing Herb | 30 |
| Shock Bomb | 50 |
| Boo Biscuit | 5 |
| Mushroom | 10 |
| Nut | 25 |
| Syrup Jar | 20 |
| 1-Up Mushroom | 50 |
Gear
| Merchandise | Coins |
|---|---|
| Glass Boots | 640 |
| Glass Hammer | 640 |
| Hero Wear | 480 |
| HP Bangle DX | 2,400 |
| Guard Shell DX | 2,400 |
C
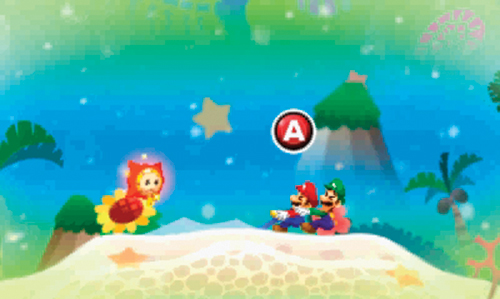
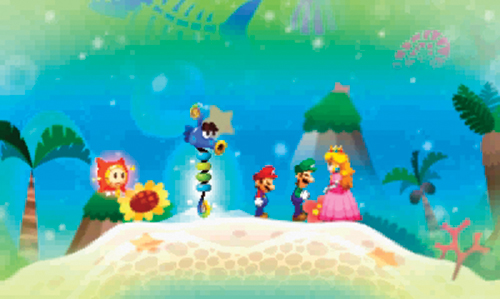
This area is a dead end, but pay close attention while passing through here. Interact with the tube-like object emitting bubbles. When prompted by Dreambert, press
 repeatedly to yank this object from the ground. Mario and Dreamy Luigi work together to free a trapped Seadring from the soil. This Seadring’s name is Seadric, and he’s grateful for your intervention. Even better, he seems to recognize Mario. Seadric agrees to help hide Princess Peach in the dream world. But in order to expand the dream world, Seadric needs a Dream Egg. He suggests checking with his brothers (Seabury and Seatoon) and sister (Seabelle), located at other Dreampoints throughout Driftwood Shore. Seadric calls ahead, informing Seabury of Mario’s upcoming visit for a Dream Egg—he asks Seabury to spread the word to Seatoon and Seabelle. Once you’ve obtained a Dream Egg from each of Seadric’s siblings, he advises coming back here so they can expand the dream world. Princess Peach agrees to stay put in the dream world until Mario returns. Head back to area A and exit the dream world.
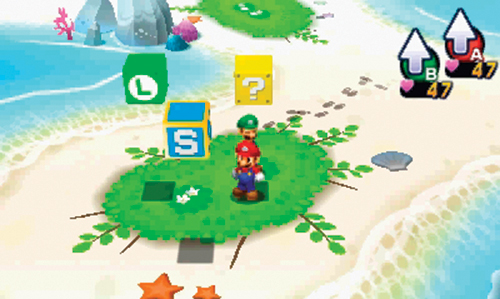
Upon your return to the real world, resume your exploration of area 6. You can find an L Block (containing a Super Nut) and a Save Block to the southwest. Unfortunately, the two Attack Pieces here are inaccessible from this area. To reach the Attack Piece to the northwest, you must approach along the rocks from area 8. To reach the Attack Piece in the southeast, you must cross over the dock from area 7.
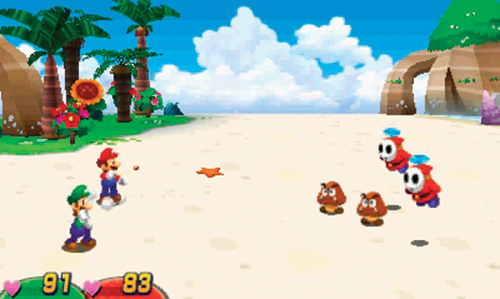
Watch out for the Fly Guys hovering nearby. Wait for them to land, then jump on them to initiate a battle, or strike them with your hammer as they swoop down. Fly Guys are joined by Goombas in battle, sometimes dropping them on Mario or Luigi—counter by striking the incoming Goomba with your hammer. Goombas are easily countered by simply jumping on them during their charging attacks. When it’s Mario and Luigi’s turn to attack, rely primarily on Jump attacks to defeat these enemies.
 Southeast Beach
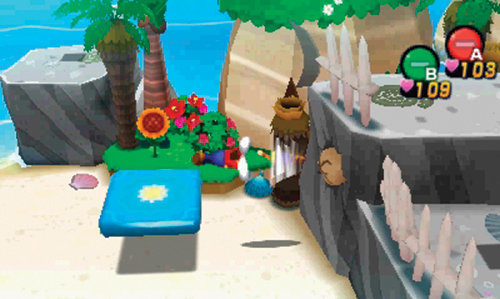
Battle more Fly Guys and their Goomba minions in this area. Dreambert spots another Float Bed over a Dreampoint, located to the southeast. But you need to find a way to reach it. Board the nearby elevator platform while facing the rocks to the east. When the elevator platform makes its first stop, Side Drill through the rocks.
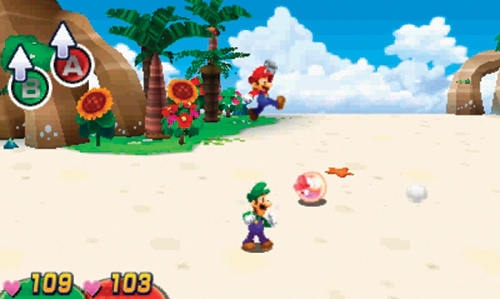
On the other side, smash the boulder to the west to open access to this north area. Here you encounter a Durapurl—initiate the battle with a Jump or Hammer attack. Due to their shell exterior, these guys can absorb some heavy hits. To inflict more damage, hit them while they’re out of their shell. During their attacks, they exit their shell and roll at you—counter by jumping on top of them. Damage dealt during these counters far exceeds what can be dished out during your own attacks, so time your jumps carefully to end these battles quickly.
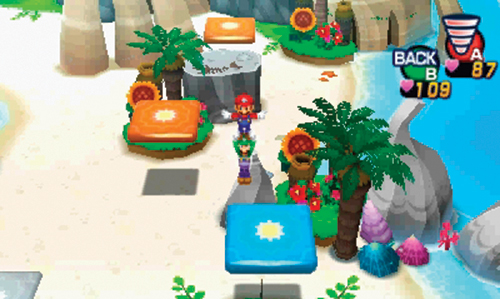
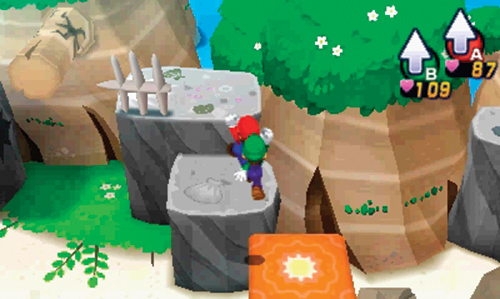
Proceed to the southwest corner where there’s another blue elevator platform. Hop aboard and get ready to Spin Jump. When the elevator reaches its apex, perform a Spin Jump and travel north, landing on the adjacent orange platform. This platform moves to the rock to the north—get off here. From the rock, jump to the next orange platform to the north. This platform carries you past the rocks to the north—jump off onto the tall rocks.
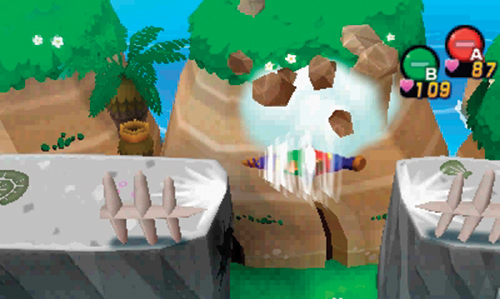
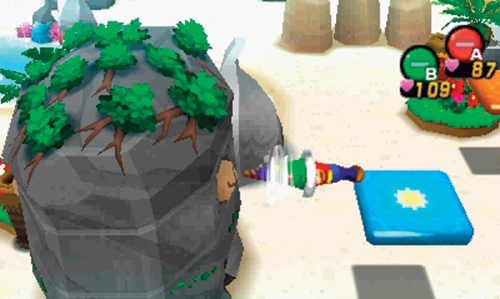
Now that you’re atop the rocks on the north side, Side Drill through the cracked branch to the west. On the other side, strike the Event Block—this causes a new blue platform to rise from the sand to the south. Hop aboard the new blue platform and Side Drill through the rock to the west.
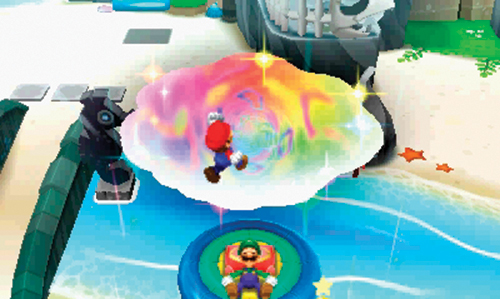
You can now access the Dreampoint. Before entering the dream world, strike the nearby red switch with your hammer to raise the nearby bridge, offering access to the north. Now approach the Float Bed and enter the dream world—it’s time to find Seabelle, Seadric’s sister.
Dream World (D)
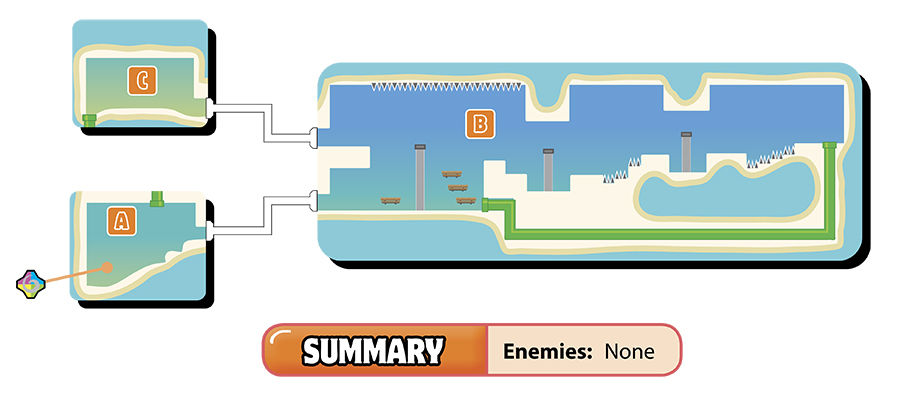
A
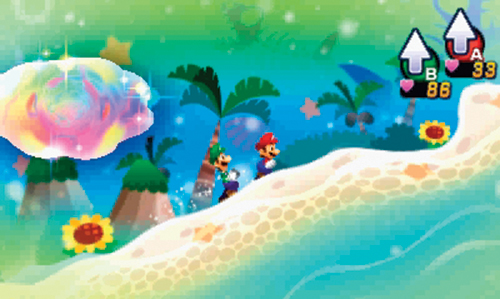
Other than the dream portal, there’s nothing in this area. Climb the slope to the right and exit.
B
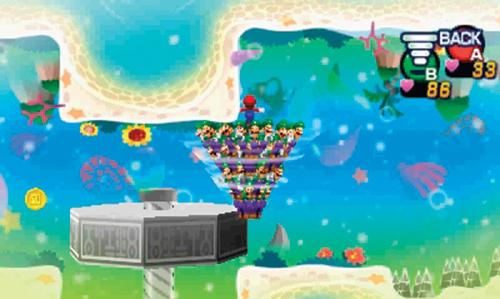
It’s hard to miss the massive Nut & Bolt near the entrance here—there are more scattered throughout this chamber. Enter the nearby pipe to reach the far right side of the room. From there, form a Luiginary Cone and Hover Spin above the spiked floor while traveling to the left. While the Cone is still airborne, make contact with the first Nut & Bolt you encounter. Making contact with this object while you are airborne makes the Bolt spin to the bottom, clearing the path ahead. Continue advancing to the left in Cone form, jumping over the spiked floor while spinning the Bolts out of your way.
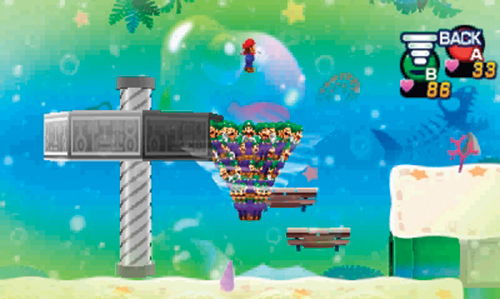
As you return to the room’s entrance on the far left, Hover Spin against this Nut & Bolt. This time the Nut travels upward along the Bolt, creating the perfectly elevated platform to reach the room’s exit on the upper left. Hop atop the raised Bolt and Hover Spin to the left to reach the exit. But don’t fly too high—there are spikes on the ceiling above.
C
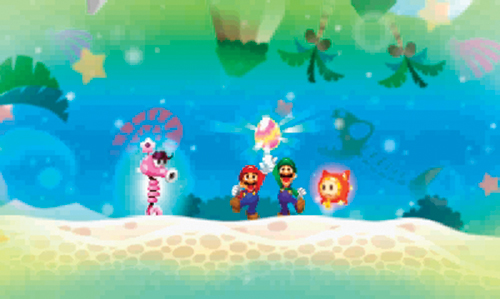
Seabelle, Seadric’s sister, appears here. Seabelle clearly doesn’t get enough visitors. She’s far more concerned about her eyelashes than delivering a Dream Egg. But after a very long conversation, and some flattery, Seabelle finally agrees to deliver, producing the first Dream Egg! Exit through the pipe on the left side to return to area A. From there, take the dream portal back to the real world.
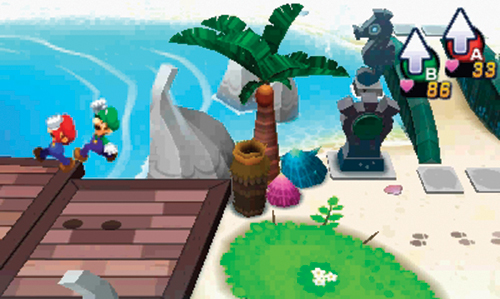
Back in the real world, head back to area 6. Only this time, use the wooden dock in the southwest corner—this allows you to access an Attack Piece and Pi’illo (F). Once back in area 6, head west to reach area 8.
 Southwest Beach
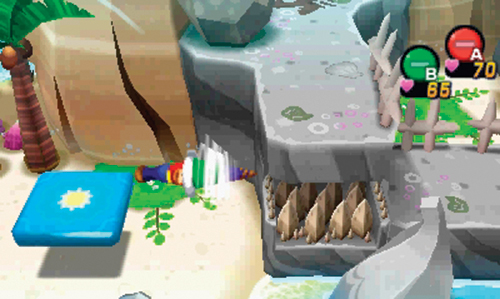
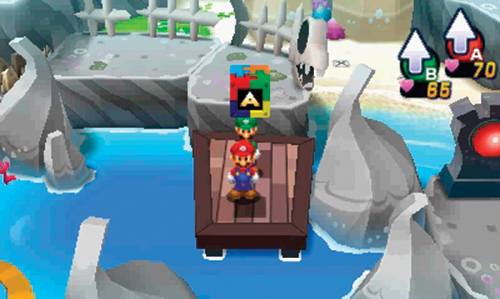
Watch for more Durapurls and Fly Guys here—eliminate them all to gain more EXP. When you’re finished battling, move to the west side and board the blue platform—at its first stop, Side Drill through the crevice to the east. The path on the other side leads to another Attack Piece.
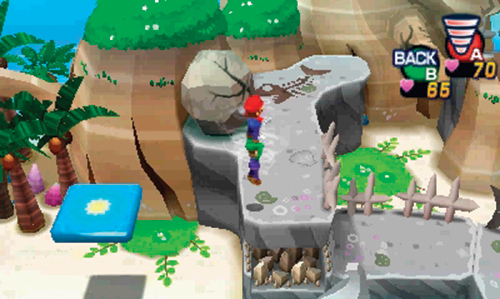
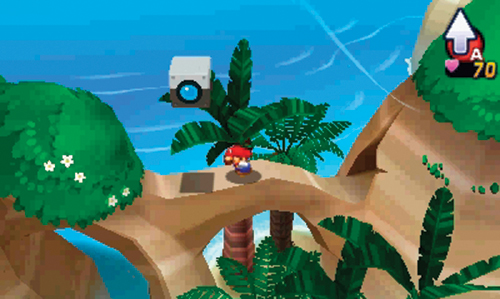
Return to the blue platform to the west and ride it once again. This time wait for the platform to reach its apex, then Spin Jump to the top of the rocks to the east. Smash the boulder to the north to reveal a small hole. Enter the hole as Mini-Mario and move along the narrow ledge to the west to retrieve Driftwood Shore’s Camera Block—you can now decrypt the shots back at Kylie Koopa’s in Wakeport.
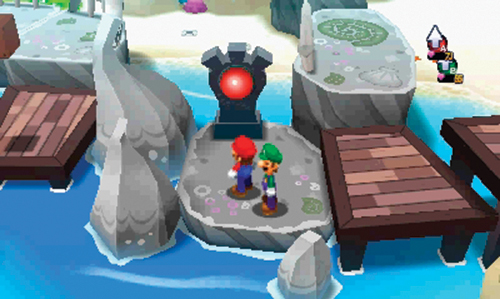
While still atop the western rock, move to the east and Side Drill through the nearby cracked branch. Upon landing on the eastern rock, head south to reach another red switch—be careful not to fall, or else you’ll have to backtrack to the west side and try again. Strike the red switch with your hammer to reveal another bridge, leading to the north. But don’t head north just yet—instead, move to area 9 to the west.
 Mole Hunt Beach
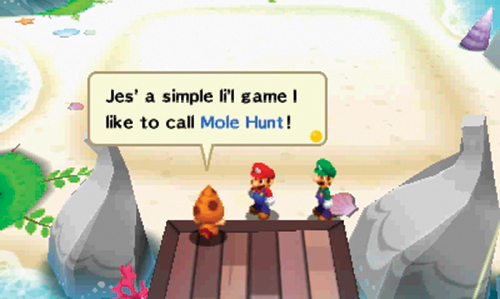
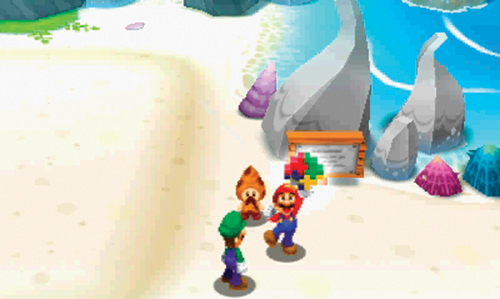
Dreambert notices another Float Bed over a Dreampoint upon entering this area. But you’ll need to play a game of Mole Hunt to reach it—speak with the Shelltop to the south to begin. This lonely guy simply wants some company. But he won’t let you cross the bridge here until you play his game—oh, and it costs 10 coins to play. This requires Mole Mario to go underground and retrieve crabs to earn points. There are three different types of crabs, each worth a different point value: brown crabs are worth 10 points, silver crabs net you 20 points, and gold crabs increase your score by a whopping 40 points. Each crab can be obtained by surfacing directly beneath its trail of dust. Alternatively, you can score crabs by whacking the orange explosive block, which appears at least once in the game—this causes all crabs within a wide radius to surface. If you complete the game with 230 points or more, the Shelltop promises to let you cross the bridge—he’ll even throw in an Attack Piece.
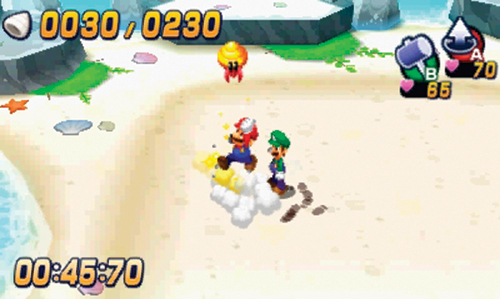
Once you’re ready, start the game of Mole Hunt. You’re given one minute to score a minimum of 230 points. The crabs move beneath the surface of the sand, creating a visible trail of dust along the surface. Don’t try to chase them underground—Mole Mario moves too slow. Instead, study their circular patrol pattens and wait for them to come to you, and only surface when the dusty trail above is aligned with Mole Mario. The brown crabs are easiest to catch, but they’re not worth much. So if silver or gold crabs are moving about, ignore the brown crabs. Silver and gold crabs move much faster than their brown counterparts. Be patient and try to ambush them as they perform their circular patrols.
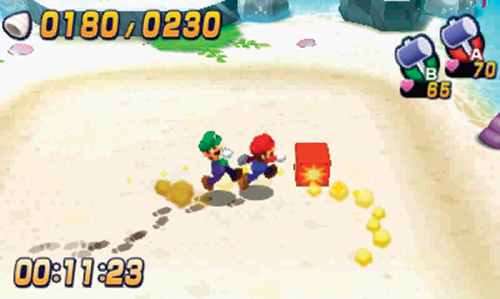
Taking advantage of the orange explosive blocks is critical in scoring the requisite 230 points. For best results, only strike this block when a gold or silver crab is nearby. When the block explodes, it emits a powerful blast, causing all crabs in its blast radius to surface. But don’t wait too long to strike these blocks—they will disappear if you ignore them. Mole Hunt puts your Mole Mario skills to the test, so don’t be surprised if you have to play the game a few times before scoring the 230 points required to clear. But once you’ve succeeded, the Shelltop honors his agreement, handing over another Attack Piece and allowing you to access the bridge to the south.
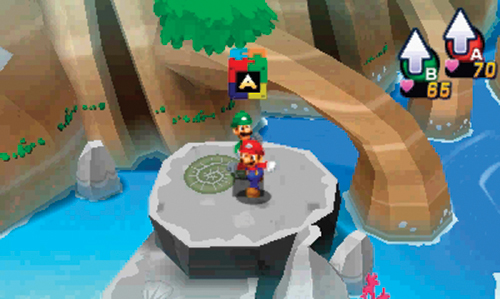
Before accessing the bridge, take a moment to explore the rest of this area. There’s another Attack Piece on the rock in the northeast corner. Also, be sure to visit the rocks on the west side. Here you can find a Random Block and Bros. Block, as well as a ? Block containing a 1-Up Deluxe.
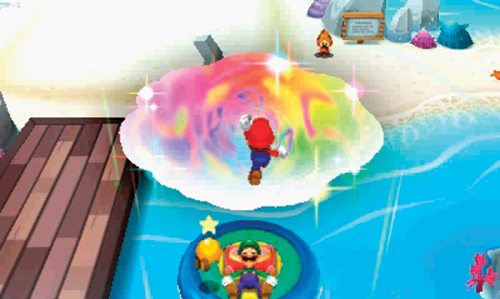
Now advance to the bridge in the south and approach the Float Bed—it’s time to find Seadric’s brother, Seatoon, and obtain the second Dream Egg. As Luigi settles in and falls asleep, a dream portal opens, allowing Mario to enter the dream world.
Dream World (B)
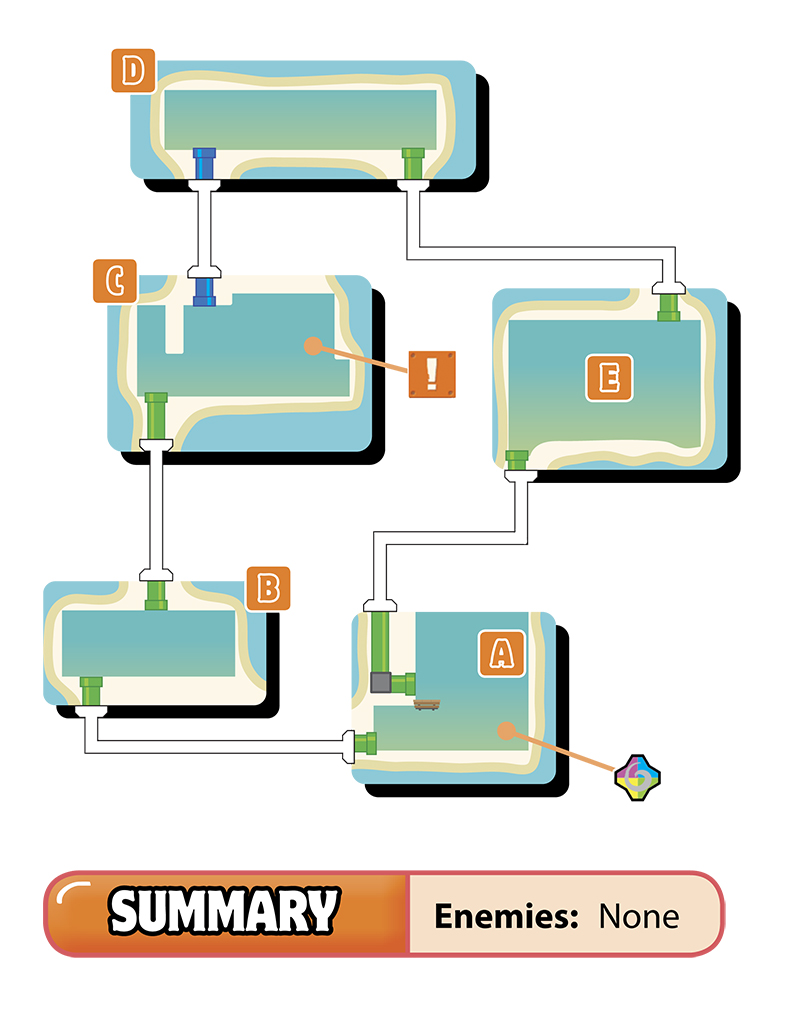
A
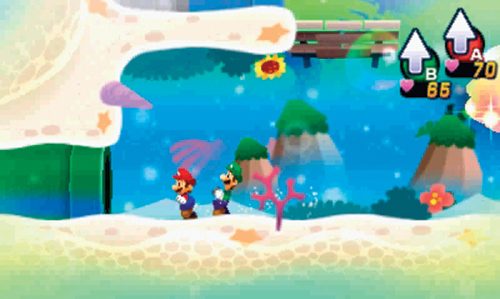
Upon entering the dream world, there’s no way to reach the upper level platforms, so simply exit through the green pipe to the left.
B
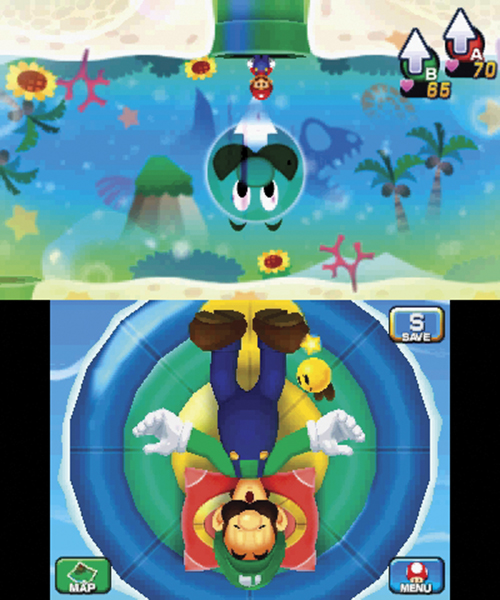
It’s time to learn a new Luiginary Work. Luiginary Gravity works by rotating the Float Bed on the Touch Screen—this alters gravity in the dream world, determining which surfaces Mario can move across. You can rotate the Float Bed in four different configurations, allowing Mario to move along the floor, ceiling, and walls. Rotate the Float Bed 180 degrees so Mario can move along the ceiling. While moving across the ceiling, enter the green pipe above.
C
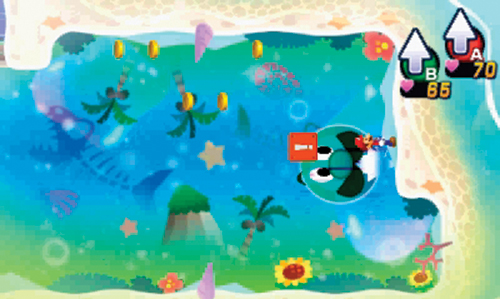
Experiment with Luiginary Gravity in this room by rotating the Float Bed so Mario can reach all the coins—he must move along the walls and the ceiling to collect them. Finally, move along the wall on the right side and strike an Event Block—this opens a hatch covering a purple pipe in the ceiling. Alter gravity once again so Mario can enter this pipe.
D
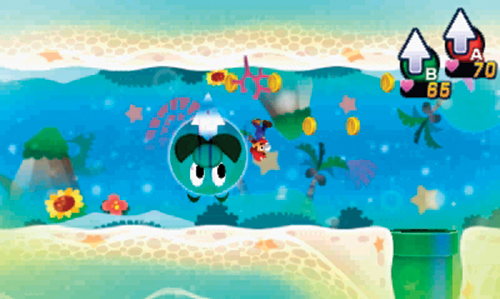
Collect the coins along the ceiling here, then alter gravity once again to enter the green pipe on the floor.
E
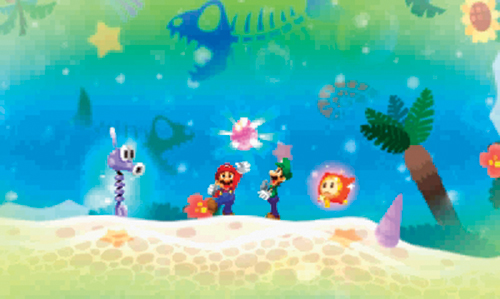
Here Mario, Dreamy Luigi, and Dreambert meet Seatoon. But Seatoon mistakes Mario and Dreamy Luigi for Super Seadrings, characters from his favorite superhero show. Dreambert advises Mario and Dreamy Luigi to play along, but Seatoon eventually realizes his mistake. Despite his disappointment, Seatoon agrees to turn over a Dream Egg. When you’re finished talking to Seatoon, enter the nearby green pipe to return to area A. From there, enter the dream portal and return to the real world.
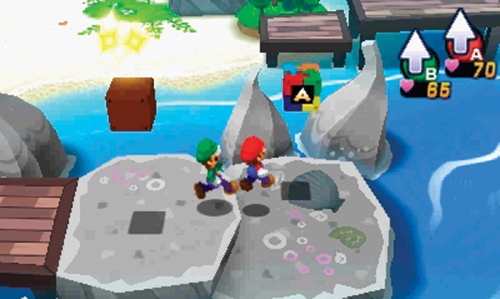
Now it’s time to explore the Northwest Beach, in area 10. From the Float Bed, head along the bridge to the east to return to area 9. You enter area 9 on the bridge to the south, allowing you to collect one more Attack Piece. Now cross the bridge to the north to reach area 10.
 Northwest Beach
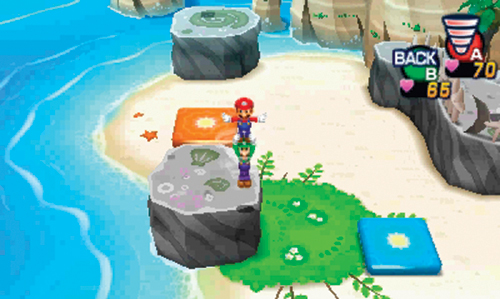
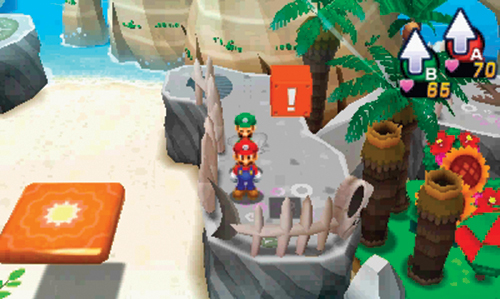
Dreambert senses another Dreampoint upon arrival on this beach—it’s located beneath another Float Bed to the east. But before heading for the Dreampoint, take a moment to explore this beach, while battling all the Durapurls and Fly Guys. Head to the west side of the beach and board the blue platform. Ride the blue platform upward, then Spin Jump to the rock on the west side. From the rock, board the orange platform and ride it to the north—the ? Block here contains a Silver Statue. Hop back on the orange platform and ride it toward the rocks to the northeast. Strike the Event Block here to raise another blue platform to the east—this will help you reach the Dreampoint.
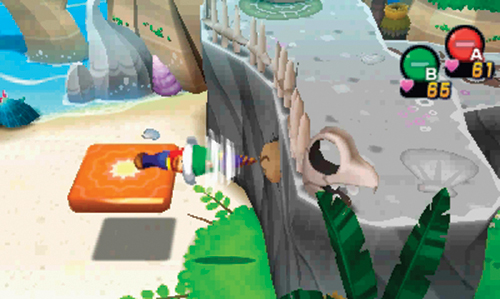
Hop on the newly raised blue platform and ride it upward, jumping on the orange platform to the east. Ride the orange platform on a complete circuit—grab the Ultra Candy in the ? Block to the north. As the orange platform approaches the large rock on the east, Side Drill through the hole in the rock’s west-facing wall. You must time the Side Drill just right to hit the mark. But this is the only way to reach the east side of the beach, so keep trying until you make it through.
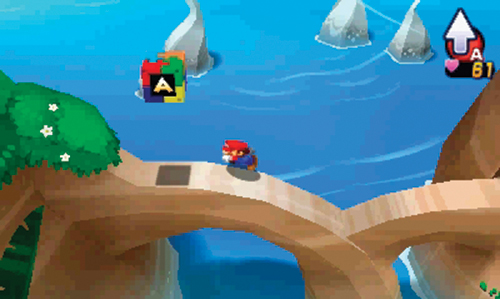
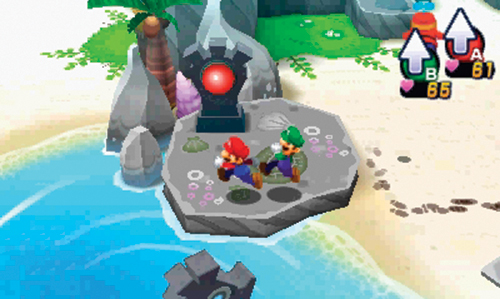
As you emerge on the east side of the large rock, head north along the rock steps. Smash the boulder here to reveal a small hole in the adjoining bluff. Enter the hole as Mini-Mario and cross the narrow strip of land to the west to collect another Attack Piece. Next, drop down to the ground and strike the red switch with your hammer—this activates the bridge to the south, connecting the east and west sides of the beach.
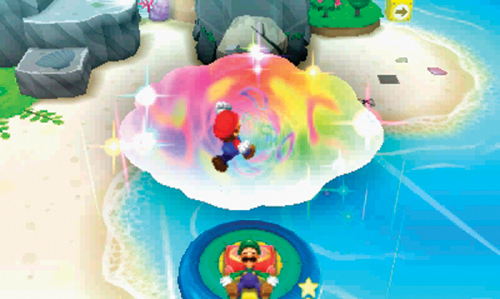
Time to find Seadric’s other brother, Seabury, and secure the third Dream Egg. Approach the Float Bed beneath the Dreampoint and enter the dream world.
Dream World (C)
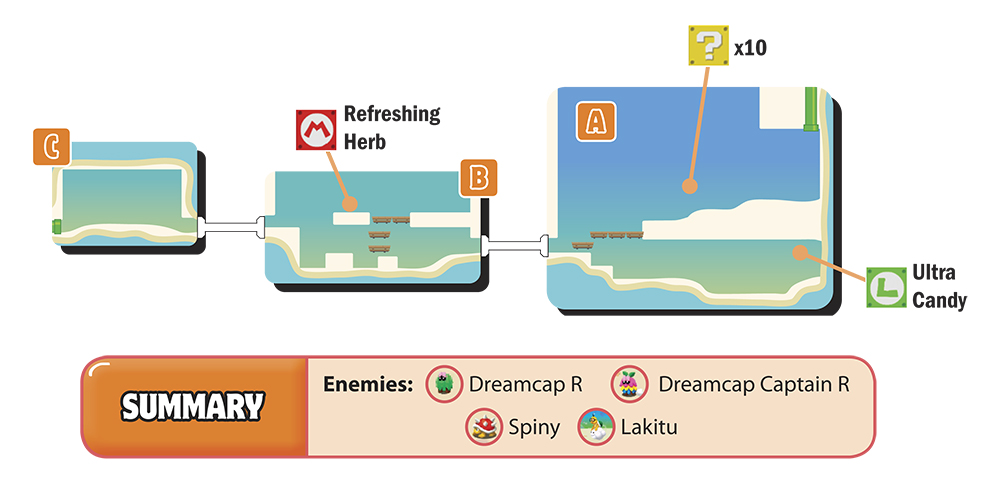
A
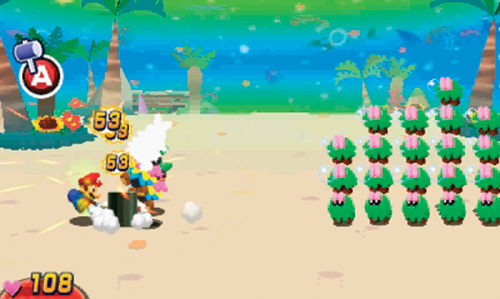
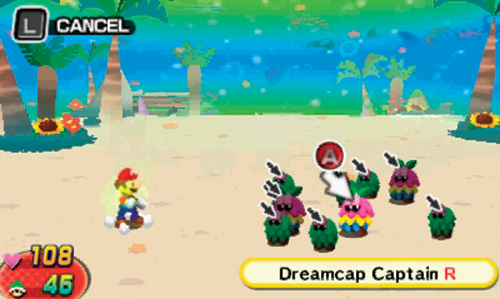
Unlike the previous dream worlds, there are enemies here—so watch your step. This is the first time you encounter the Dreamcap Captain R and their Dreamcap R subordinates. Be ready to counter their charging attacks by whacking these enemies with your hammer or by jumping on them. The trick to defeating these enemies is eliminating the Dreamcap Captain Rs first. When there are no more Dreamcap Captain Rs left, the remaining Dreamcap Rs don’t know what to do, forfeiting their turn to attack. Simple Jump attacks are sufficient for eliminating all of these enemies.
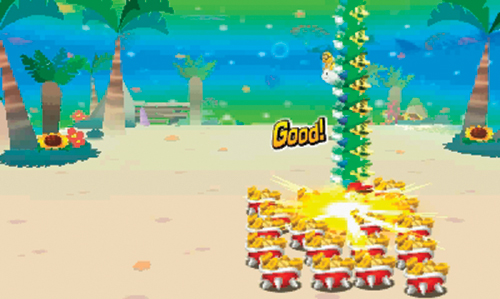
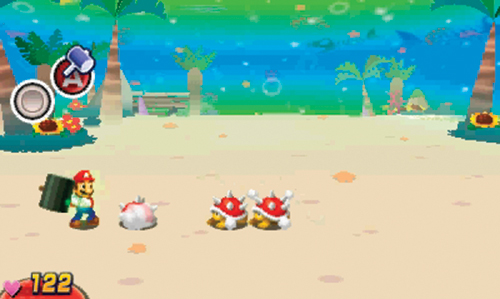
Also be on the watch for Lakitus floating above—wait for them to dive, then initiate a battle with a Hammer attack. But once the battle begins, the Lakitus let their Spiny friends do most of the fighting. These spike-covered enemies are vulnerable when knocked on their backs—this is why a Hammer attack is the best preemptive method. Every time these enemies are struck with a Hammer attack, they flip belly-up, exposing their soft underbelly. Only perform Jump attacks when these guys are on their backs. When it’s their turn to attack, the Spinies often come marching at Mario in a staggered line. Hit the first Spiny with your hammer to knock it on its back. Then wait for the remaining Spinies to form a straight line—hit the flipped Spiny again with your hammer to send it flying at the rest of Spinies. If you miss the full line of Spinies, be ready to defend yourself with your hammer as the remaining Spinies perform spin attacks, approaching from the top and bottom. In another attack, the Spinies attack in column formations—pay attention when they make their formations. If a Spiny jumps during the formation phase, it means they’ll jump when they approach Mario. Line yourself up with the Spinies who don’t jump, then simply jump over them when they approach. If you encounter a jumping Spiny in midair, you’ll take damage.
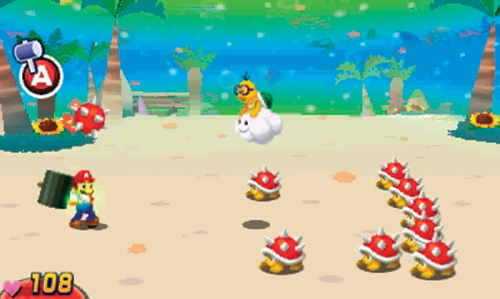
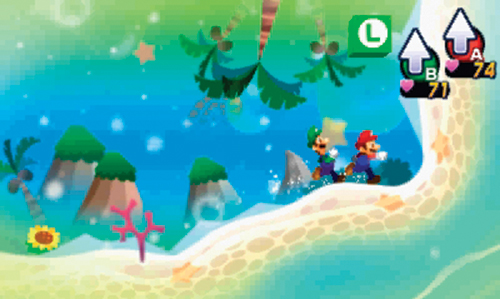
Before exiting to the left, explore the lower level of this area to battle more enemies. There’s an L Block on the far right containing Ultra Candy. Finally, exit on the left side.
B
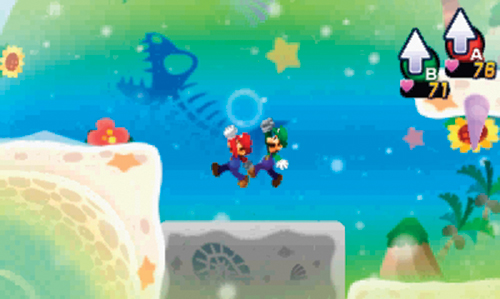
More Dreamcap Captain Rs and Lakitus can be found here—battle them all. Climb to the upper level and strike the Event Block on the right. This raises a large stone on the far left side, allowing you to reach the exit. Move to the left and strike the M Block along the way to obtain a Refreshing Herb. Drop down onto the large stone below, then jump up to reach the exit on the left.
C
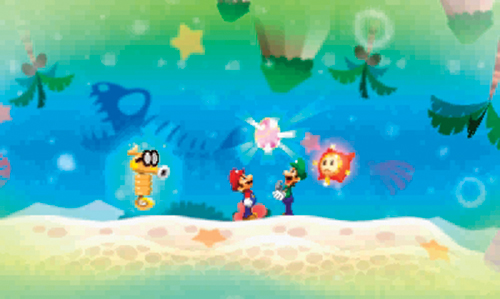
Seabury is waiting for Mario and Dreamy Luigi here. But like his talkative siblings, Seabury doesn’t give up the Dream Egg immediately. Instead, he’s more interested in telling jokes…bad jokes. But Seabury finally produces the Dream Egg. With all three Dream Eggs, you can now head back to the first Dreampoint and rendezvous with Seadric. Exit through the pipe on the left to return to area A, then leap through the portal to return to the real world.
North Beach
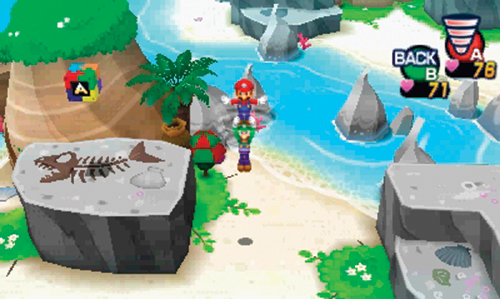
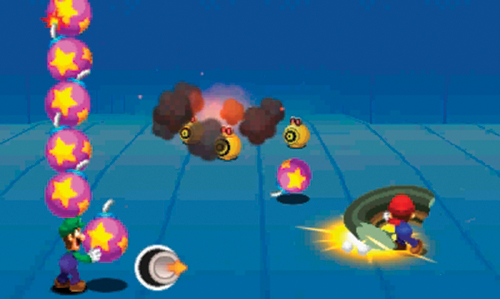
Head east to return to area 2—battle the Durapurl here. Earlier, this side of the beach was inaccessible. But by approaching from the east side, you can now retrieve the final Attack Piece. Jump on the large rock to the east, then Spin Jump to the west to reach the Attack Piece. Assuming you’ve collected all other nine Attack Pieces, grabbing this one unlocks Mario’s Bomb Derby Bros. Attack. During this attack, Luigi lobs a series of bombs toward Mario, prompting him to strike each incoming bomb with his hammer, launching them toward a distant group of enemies. This is a very powerful attack ideal for dealing damage to multiple enemies. However, it can be difficult to master—use the Circle Pad to toss bombs while pressing
to swing Mario’s hammer. Once you establish a steady rhythm, it becomes easier. But you must work quickly to knock all the bombs toward the enemies before they all explode in Luigi’s hands. The attack ends prematurely if the bombs explode, but fortunately, Luigi takes no damage from the blast—it just singes him temporarily. Practice the Bomb Derby Bros. Attack until you score several Excellents in a row.
South Beach
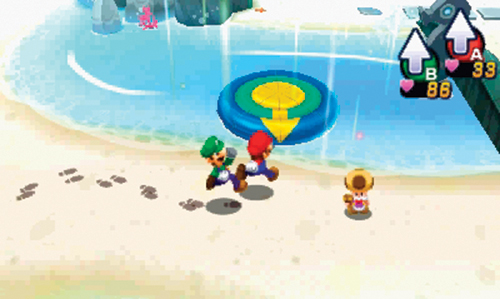
Now that you have all three Dream Eggs, return to the Float Bed here to meet up with Seadric in the dream world. Toadsworth is standing next to the Float Bed, while Princess Peach is still inside the dream world. Hopefully these Dream Eggs will do the trick, expanding the dream world and creating a safe haven for Princess Peach.
Dreamy Driftwood Shore (A)
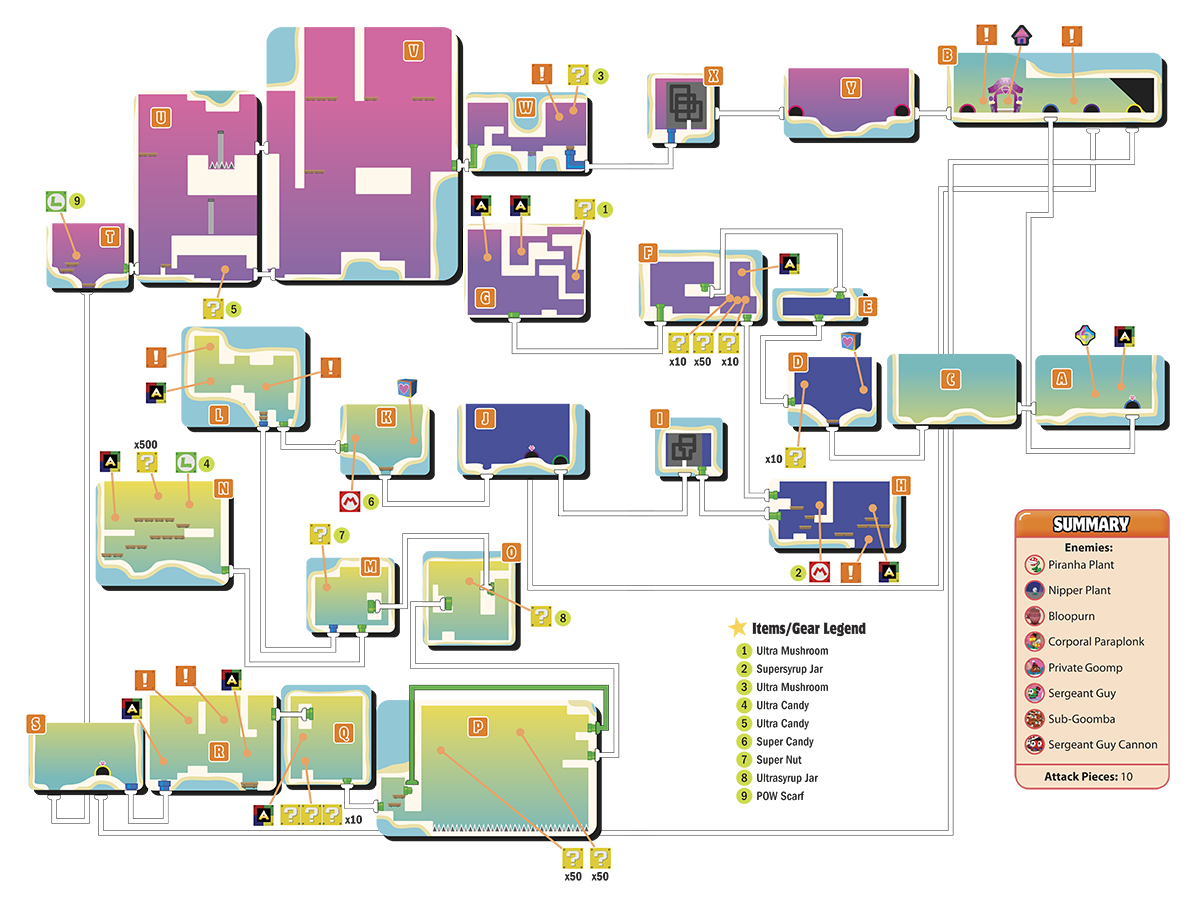
C
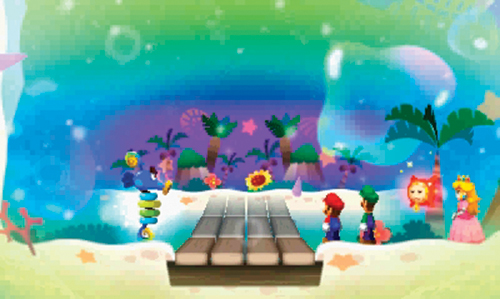
Upon your return to Dreamy Driftwood Shore, head straight for area C to rendezvous with Princess Peach—she’s still waiting where you left her. Seadric appears as Mario and Dreamy Luigi approach. Mario hands over the first Dream Egg, which Seadric inhales. When prompted, jump on Seadric’s head—this prompts him to spew a variety of objects from his mouth, effectively creating new dream world areas. Lastly, a bridge appears, leading to the new area. Dreambert suggests Mario and Dreamy Luigi scout ahead before Princess Peach enters this new unexplored area of the dream world. Step onto the new bridge and press up on the Circle Pad to enter the next area.
D
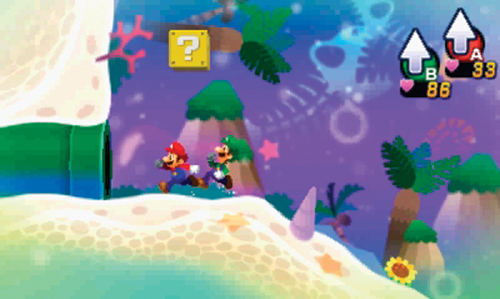
There’s a Save Block on the right side of this area. Consider saving your game here before exiting. After saving your game, move to the left side, strike the ? Block to earn some coins, and then enter the green pipe on the left.
E
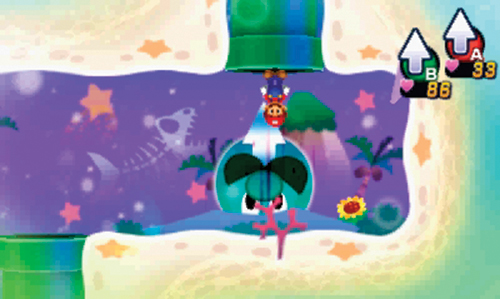
Use Luiginary Gravity and rotate the Float Bed so Mario can move along the ceiling. Once you’ve collected all the coins, exit through the green pipe in the ceiling.
F
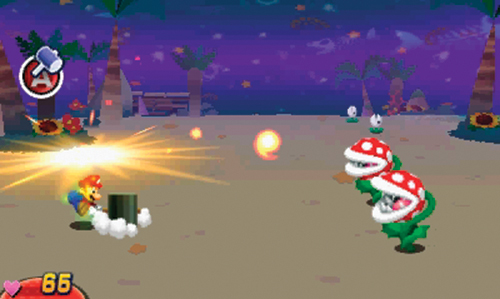
Luiginary Gravity is still active in this area, putting Mario on the ceiling upon his arrival. Watch out for the Piranha Plants here—don’t get hit by their incoming fireballs. Instead, approach and whack them with your hammer to initiate a battle. Jump over their fireball attacks during the battle. But also watch out for the Nipper Plants they conjure in the background—use your hammer to knock back the fireballs these distant enemies hurl at Mario, sending them flying at the Piranha Plants. When you’re not dodging or countering the enemy attacks, perform Jump attacks to eliminate the Piranha Plants—once they’re defeated, you don’t need to worry about the Nipper Plants in the background.
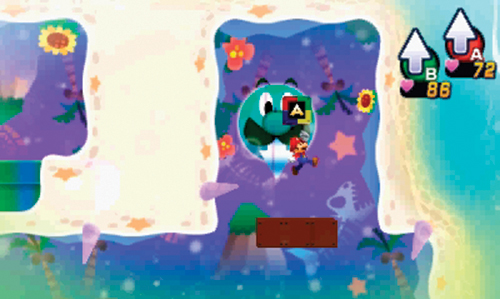
Alter gravity to maneuver through this area, and don’t forget to collect the Attack Piece on the right side. You’ll need to stand atop the three ? Blocks to reach it. Afterward, enter the green pipe on the lower left.
G
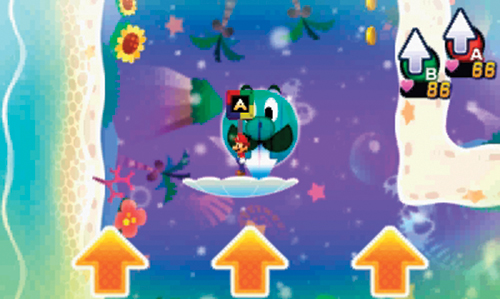
There are two Attack Pieces in this dead-end area, and you must use Luiginary Gravity to acquire both of them. First, make your way onto the Hanging Platform above the Attack Piece on the left. Once on the Hanging Platform, rotate the Float Bed 180 degrees so Mario can strike the Attack Piece from the bottom.
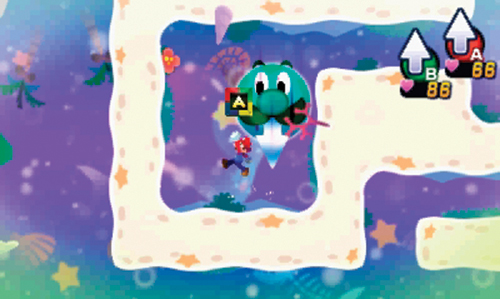
The second Attack Piece is located in a maze-like enclosure in the upper-right corner. Here you must use Luiginary Gravity to navigate through this simple maze. But don’t neglect the ? Block here—it contains a Super Mushroom. Work your way toward the Attack Piece and grab it by striking it from beneath. With both Attack Pieces in your possession, return to the pipe where you entered. Advance to the right side of area F and exit through the green pipe on the bottom right.
H
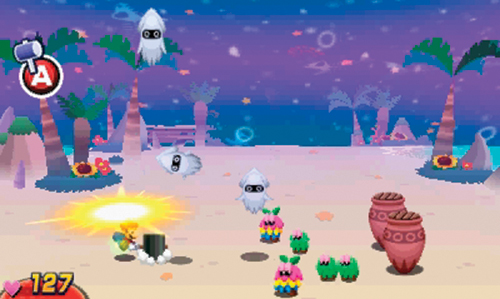
Grab a Supersyrup Jar from the M Block here, then descend to the lower level. Watch out for Spinies here—strike them with your hammer to initiate a battle. Also, watch out for the vase-like objects—these are Bloopurns. Don’t get hit by the squid-like Bloopers ejected from these enemies—during battle, strike the Bloopers with your hammer, knocking them back at the Bloopurns. In addition to producing Bloopers as their projectile attack, the Bloopurns can also unload Dreamcap Captain Rs and Dreamcap Rs. Remember, target the Dreamcap Captain Rs first, then deal with the Dreamcap Rs last, after the Bloopurns have been defeated. Standard Jump attacks work best against the Bloopurns. Or if you want to end the battle quickly, consider using a Luiginary Attack.
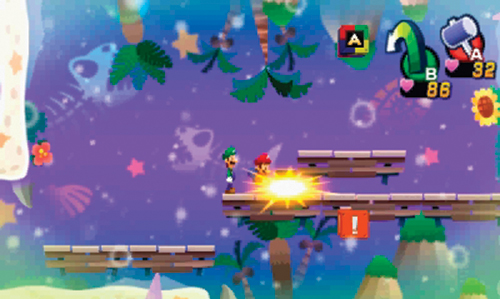
Grab the Attack Piece on the upper-right platform, then strike the Event Block below to raise a large stone to the left, allowing you to reach the exit. When you’ve finished battling all the enemies here, enter the lower green pipe on the right side.
I
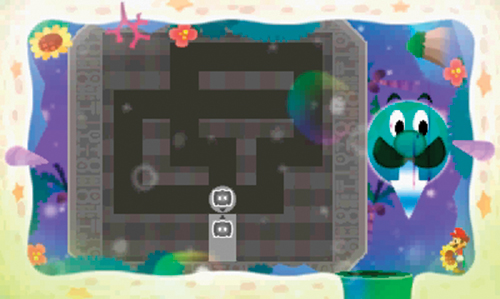
This room contains a large puzzle requiring you to use Luiginary Gravity to move a round Pi’illo symbol along a maze-like path. Use the following Float Bed rotations to move the round symbol toward the stationary symbol at the bottom: right, up, right, up, left, down, right, down. Once the two symbols are adjacent, the maze descends into the sand, revealing a pipe—enter it.
J
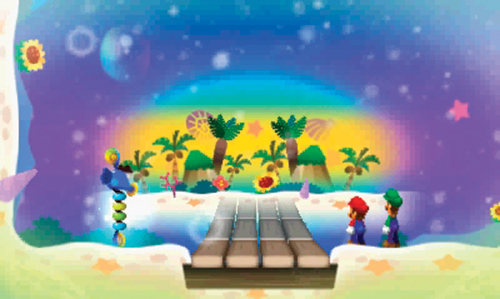
The purple pipe here leads back to area B, allowing you to access the shop from a different direction. But there are more pressing matters to attend to. On the left side, Seadric requests the presence of Mario and Dreamy Luigi—speak with him. Seadric is surprised to hear there’s monsters here—something’s not right. He fears some sort of evil must have lured the monsters here. For this reason, they need to move Princess Peach deeper into the dream world were she’ll be safe. Seadric inhales the next Dream Egg—jump on his head when prompted to trigger the creation of a new dream world area. Princess Peach catches up with the gang here and agrees to stay put while Mario and Dreamy Luigi scout out the new area. Step onto the new bridge and press up on the Circle Pad to enter the new area.
K
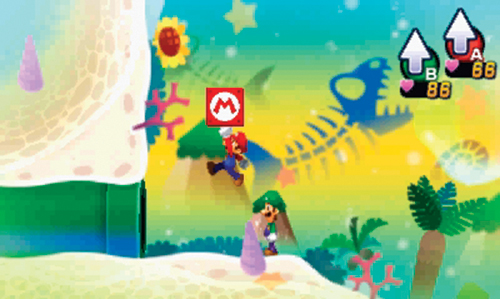
There’s a Save Block on the right side of this area—consider saving your game. Afterward, move to the left and strike the M Block to retrieve Super Candy, then exit through the green pipe on the left.
L
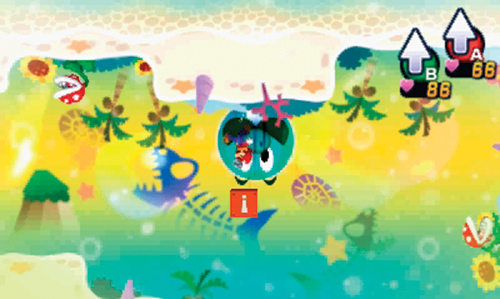
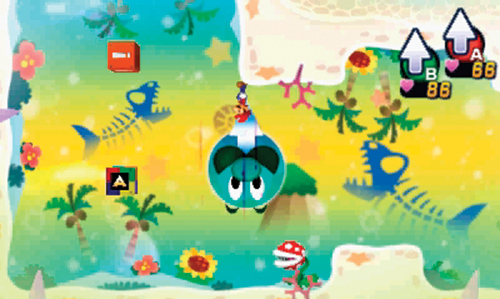
Use Luiginary Gravity to navigate this area. But be careful to avoid contact with the Piranha Plants until you’re ready to do battle. Move along the ceiling and strike the Event Block to smash one of the gates blocking access to the blue pipe on the floor. Another Event Block is located on the left side, along with an Attack Piece. Hit the Event Block while moving along the wall on the right—this smashes the second gate covering the blue pipe. Next, strike the Attack Piece from the floor before exiting through the blue pipe.
M
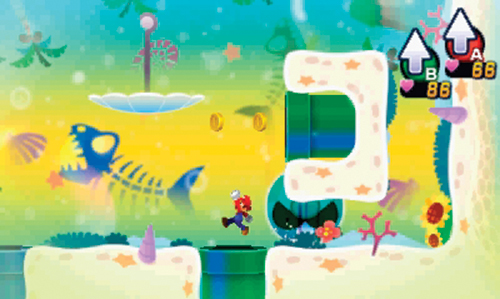
Keep using Luiginary Gravity to gather the coins and strike the ? Block (containing a Super Nut) in this area. There are two pipes to choose from here. Exit through the green pipe on the floor first.
N
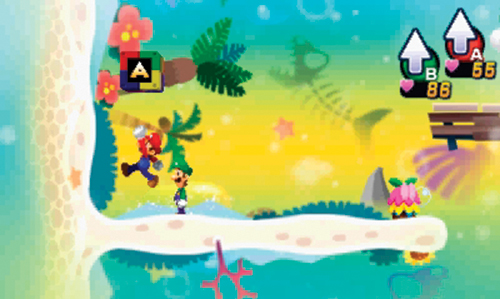
This is another dead-end area, but it’s worth exploring—there’s an Attack Piece on the upper-left side. Battle the Bloopurns, Spinies, Dreamcap Captain Rs, and Lakitus while advancing toward the Attack Piece. Strike an L Block (containing Super Candy) along the way, grab the Attack Piece, and then return to the pipe where you entered. Back in area M, enter the other green pipe, leading to area O—you must use Luiginary Gravity to access it.
O
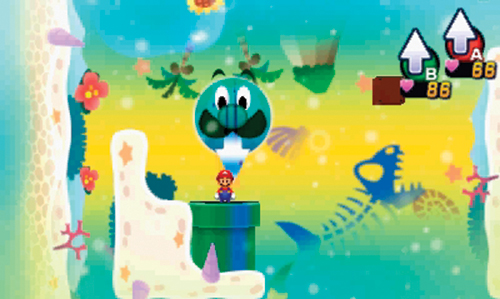
Once again, use Luiginary Gravity to navigate this room. There are coins along the ceiling in the upper-right corner and a ? Block containing an Ultrasyrup Jar. When you’re finished looting this area, enter the green pipe on the right—approach it from the ceiling, then alter gravity to drop on top of it.
P
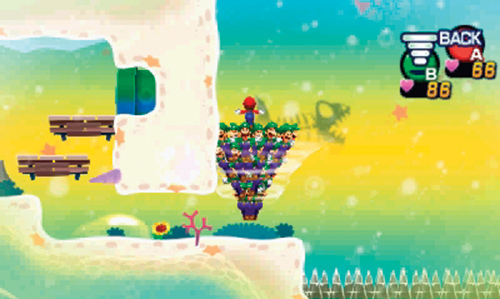
Watch your step here—the spikes lining the floor are bad news. Form a Luiginary Cone and Hover Spin to the left, collecting coins along the way. You can even strike a couple of coin-filled ? Blocks along the way. There are two pipes on the left side—the upper pipe on the right leads back to the room’s entrance, while the lower pipe on the left leads to area Q.
Q
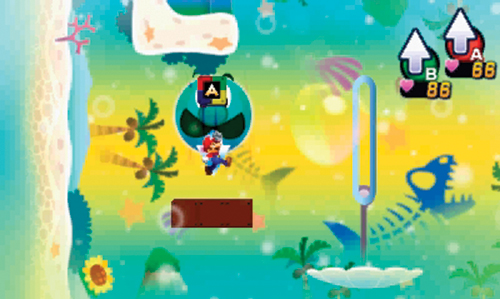
Luiginary Gravity is essential here for reaching another Attack Piece as well as the exit pipe, located in the upper-left corner. Get atop the three ? Blocks on the left side to reach the Attack Piece. Next, use the nearby Hanging Platform to reach the green pipe leading to area R.
R
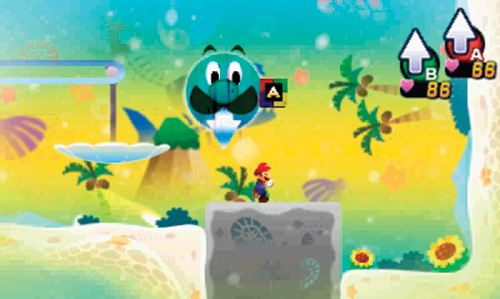
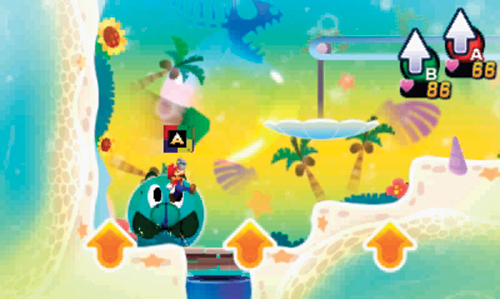
Two more Attack Pieces await in this area. Using Luiginary Gravity, work your way toward the two Event Blocks here first. The Event Block on the left side raises a large rock, allowing you to reach the Attack Piece on the right. The Event Block on the right causes the blue pipe in the left corner to smash through the barrier above it, allowing you to enter. Before entering the blue pipe, grab the nearby Attack Piece.
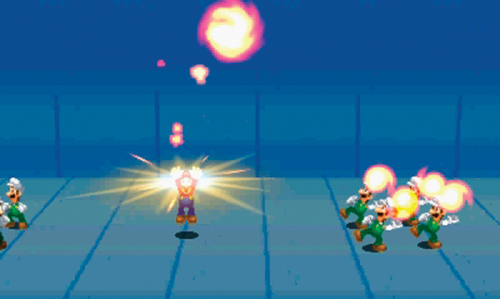
Acquiring all ten Attack Pieces in Dreamy Driftwood Shore unlocks the Luiginary Flame attack. During this Luiginary Attack, Mario produces a flame by pressing
. The flame then bounces at a steady pace across several sets of Luiginoids—press
 each time the flame makes contact with the Luiginoids. The flame grows larger and larger with each successful juggle. But as the flame crosses from one set of the Luiginoids to the next, Mario must occasionally fill in gaps among the Luiginoids to keep the flame growing—press
to make Mario juggle the flame. When the flame reaches critical mass, Mario must use his hammer to direct it at a group of enemies. Once mastered, this is a very powerful attack. Take a moment to practice it before using it in an actual battle.
each time the flame makes contact with the Luiginoids. The flame grows larger and larger with each successful juggle. But as the flame crosses from one set of the Luiginoids to the next, Mario must occasionally fill in gaps among the Luiginoids to keep the flame growing—press
to make Mario juggle the flame. When the flame reaches critical mass, Mario must use his hammer to direct it at a group of enemies. Once mastered, this is a very powerful attack. Take a moment to practice it before using it in an actual battle.
S
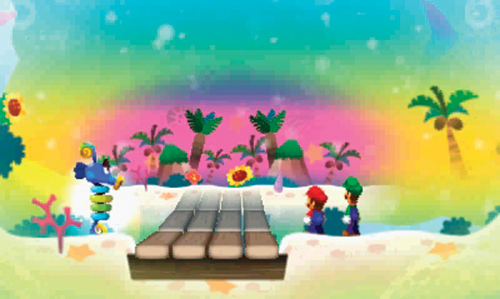
The orange pipe here leads back to the shop in area B—consider taking a slight detour in to stock up on items and gear. But Seadric is also here, eager to expand the dream world with another Dream Egg—speak with him to begin the transformation process. Once Seadric inhales the Dream Egg, jump on his head to assist in the creation of a new area. Seadric reports that this is the deepest end of the dream world. He feels Princess Peach will be plenty safe here. But he’s still perplexed about the presence of monsters here—who could be luring them? To be safe, Princess Peach agrees to stay here while Mario and Dreamy Luigi scout ahead. Cross the newly formed bridge to enter the next dream world area.
T
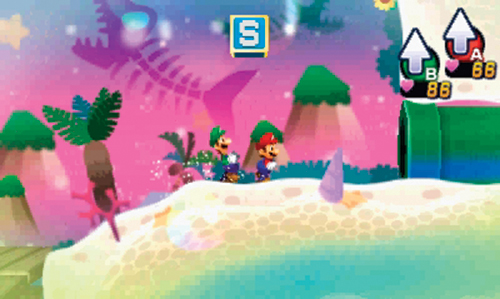
Explore the left side of this area first to obtain a POW Scarf from the L Block. Then head to the right, saving your game at the Save Block before exiting through the green pipe.
U
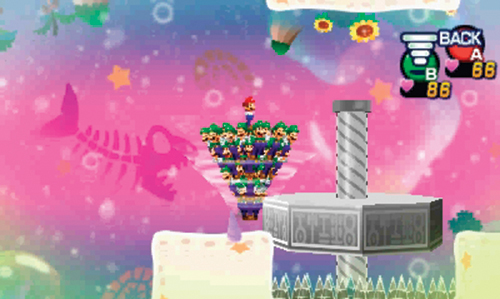
Form a Luiginary Stack and Spring Jump upward to reach the first ledge to the right. Here form a Luiginary Cone and Hover Spin to rotate the Nut & Bolt—there are coins at the far end of this alcove. As the Luiginary Stack, Spring Jump upward again to reach the ledge above. Here you need to Hover Spin as the Luiginary Cone to lower the Nut & Bolt, creating a platform necessary to cross over the spiked floor. Exit on the upper-right side.
V
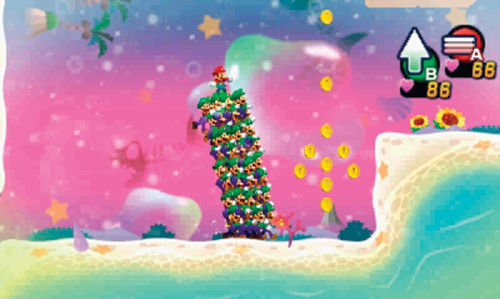
Form a Luiginary Stack upon entering here and Ground Pound through the nearby rocks to reach the bottom of this chamber. There are several arrows formed from coins here—use these as your guides of where to perform Spring Jumps. Then Ground Pound your way back to the floor, smashing through more rocks. Work your way to the pipe on the right side to enter area W.
W
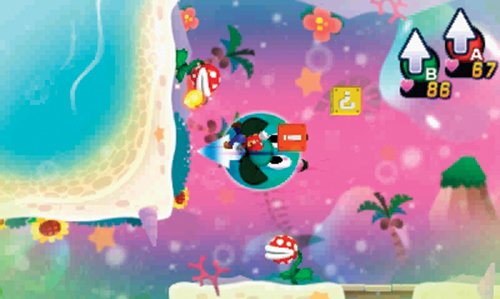
This maze-like room is filled with coins and Piranha Plants. Use Luiginary Gravity to carefully navigate through here, careful to avoid contact with the Piranha Plants and their fireballs until you’re ready to battle. On the right side, move along the left wall to strike an Event Block, causing the blue pipe to crash through the barrier below. Clear out all the Piranha Plants here and grab the Ultra Mushroom from the ? Block before entering the blue pipe.
X
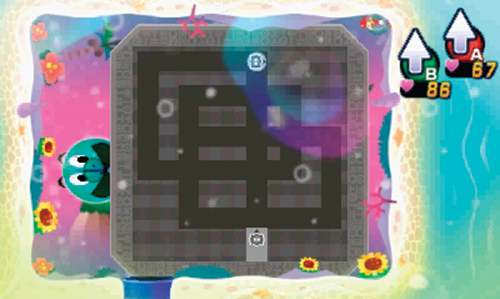
The maze-like puzzle here functions just like the one you encountered in area I. But this one’s a bit more elaborate, requiring you to use Luiginary Gravity to match the two Pi’illo icons. Rotate the Float Bed in the following directions to solve this puzzle: right, up, left, up, right, down, left, up, right, and down. As the puzzle descends into the sandy floor, a new pipe is visible. But before Mario and Dreamy Luigi can enter the pipe Princess Peach emerges from the blue pipe. Eager to reach safety, Peach enters the new green pipe on her own, advising you to save your game. Follow Princess Peach into the green pipe to enter the final area.
Y
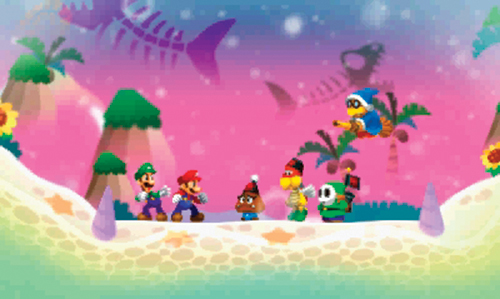
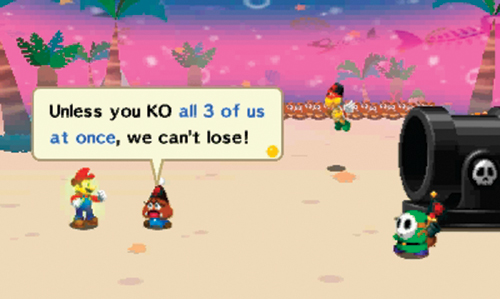
As Mario and Dreamy Luigi enter this area, barricades are raised over both exits, preventing them from escaping. What’s going on here? However, Princess Peach doesn’t seem too worried. That’s because this isn’t Princess Peach at all—it’s Kamek dressed as Princess Peach! Kamek has used this clever disguise to lure Mario here—Kamek is the one who’s been luring all the monsters here. Now that Mario and Dreamy Luigi are trapped in this remote dream world, Kamek orders Private Goomp, Sergeant Guy, and Corporal Paraplonk to finish them off. The Elite Trio, Bowser’s honor guards, have a lot riding on this battle. So they step off to the right and discuss strategy (and possible promotions) before initiating the battle.
Elite Trio Battle
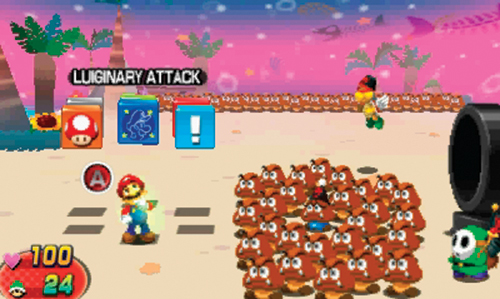
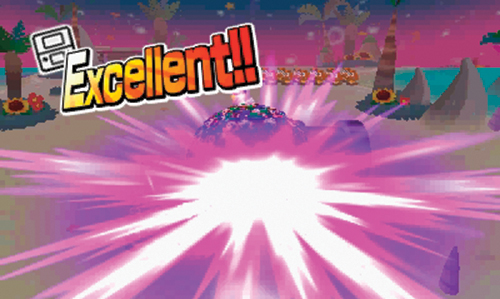
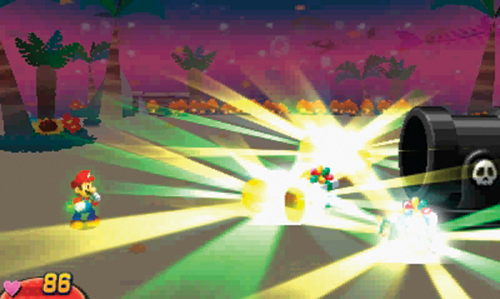
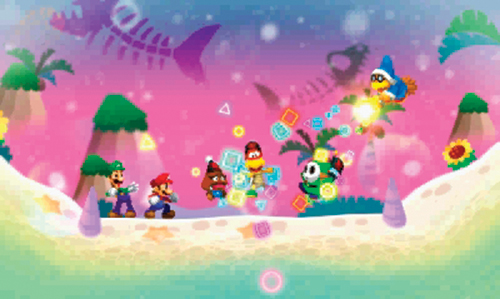
As the battle gets underway, Private Goomp surrounds himself with multiple Sub-Goombas, with an army of more Sub-Goombas in the background. Corporal Paraplonk floats above the crowd while Sergeant Guy stands next to a massive cannon on the right. Don’t hold back on these guys—start off by initiating a Luiginary Attack, such as the Luiginary Ball or even the new Luiginary Flame. The goal here is to knock out Private Goomp, Sergeant Guy, and Corporal Paraplonk simultaneously, otherwise they can revive and heal each other. Luiginary Attacks are your best option at dishing out a ton of damage against all three enemies.
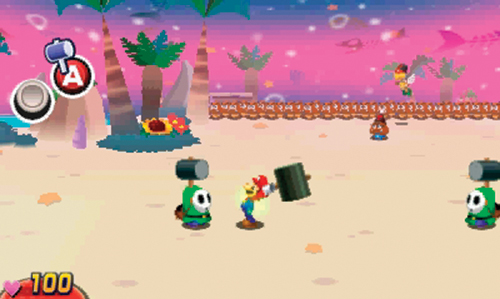
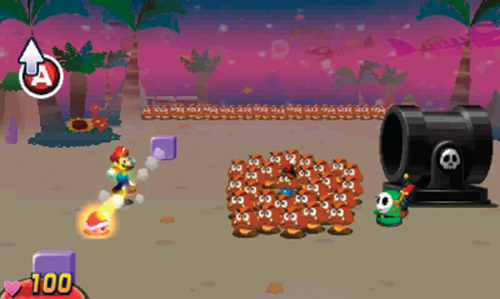
After your attack phase, get ready to dodge and counter the enemy attacks. Use your hammer to whack the various Sergeant Guy imposters rushing toward you from different angles—these are actually Sub-Goombas in disguise. And be ready to leap over (or on) Corporal Paraplonk as he launches himself at Mario, while bouncing between two blocks. If you land on his shell, it will fly toward the Sub-Goombas, including all the Sub-Goombas in the background.
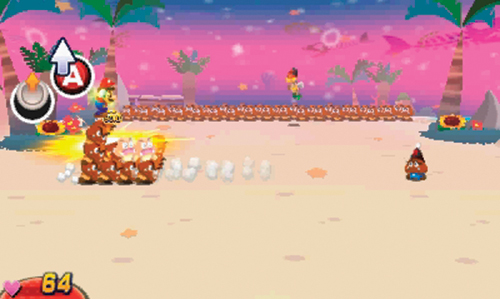
After evading and countering a series of attacks, keep hitting the enemies hard with one Luiginary Attack after another. Private Goomp is the most likely to fall first, but he’s quickly revived by his comrades—this is why it’s so important to knock out all three enemies at once. Be ready to counter Private Goomp’s attack when he sends his army of Sub-Goombas charging at Mario. Leap on the incoming formation, sending them back at Private Goomp. Continue this volley until the Sub-Goombas trample Private Goomp.
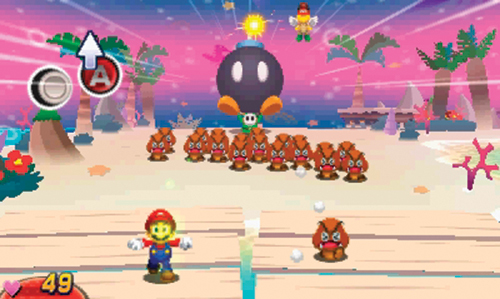
During one of Sergeant Guy’s most elaborate attacks, he comes charging at Mario with a massive bomb, with the Sub-Goombas leading the chase. Jump on (or over) the incoming Sub-Goombas as they come charging at Mario. Private Goomp makes a pass too—try to jump on him to inflict more damage. Keep dodging (or countering) the incoming Sub-Goombas until the bomb explodes, inflicting heavy damage on all enemies.
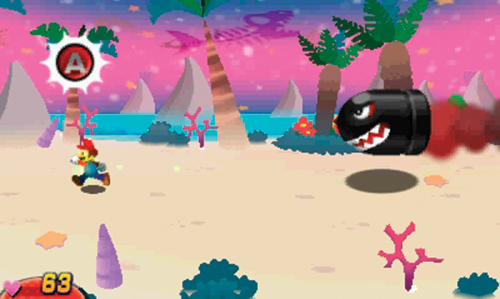
Sergeant Guy also fires a massive Bullet Bill (loaded by pink Sergeant Guy Cannon enemies) from the cannon—it takes Sergeant Guy one turn to load the cannon and a second turn to fire it. But be ready to move when that Bullet Bill comes zooming at Mario. Rapidly press
to boost Mario’s speed, keeping him a few paces ahead of Bullet Bill. Bullet Bill eventually loses altitude, bouncing along the ground and crashing back into Sergeant Guy.
Keep scoring heavy damage with Luiginary Attacks. If your BP is running low, take a turn to consume a Supersyrup Jar, then keep the Luiginary Attacks rolling throughout the battle. If you keep attacking in this fashion, the battle will end soon. You earn Counter Wear for defeating Corporal Paraplonk, an Action Hammer for besting Sergeant Guy, and a Mushroom for knocking out Private Goomp. Kamek is disappointed in the performance of the Elite Trio—for their punishment, he orders them to clean Bowser’s castle. After banishing the Elite Trio, Kamek reveals that the real Princess Peach has already been kidnapped by Bowser and is being held at Neo Bowser Castle. As Kamek makes his exit, Dreambert advises heading back to the real world—they need to devise a new strategy. Enter the pipe on the right side to return to area B. From there you can return to area A by passing through the blue pipe. Jump into the dream portal there to return to the real world.
Destination: Pi’illo Castle
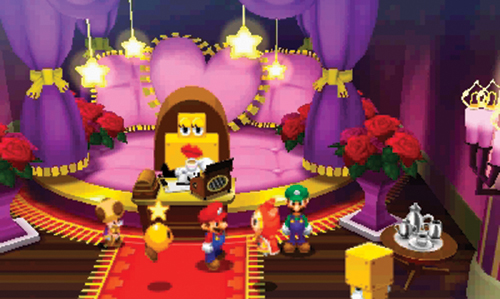
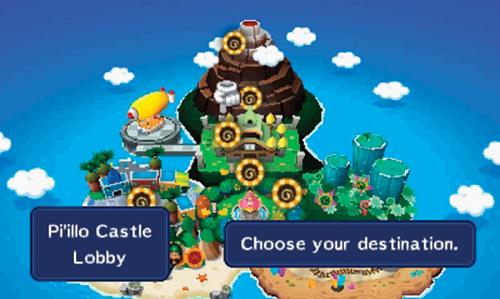
Back in the real world, Starlow and Toadsworth are distraught at the news of Princess Peach being kidnapped by Bowser. Starlow suggests heading back to Broque Madame’s shop—perhaps she can offer some insight. Broque Madame is surprised at the news as well. But she reports that Dr. Snoozemore has returned and is now back at Pi’illo Castle. Dr. Snoozemore is the proprietor of Pi’illo Island and has been conducting research on the island’s history and the Pi’illos. Dreambert feels Dr. Snoozemore might have some information that is useful for reaching Neo Bowser Castle. Leave Rose Broquet and make a beeline for the Warp Pipe in area 3—this is the quickest way back to Pi’illo Castle. Hopefully Dr. Snoozemore can help.