
Mario & Luigi: Dream Team Guide Walkthrough Neo Bowser Castle 1F
Neo Bowser Castle 1F
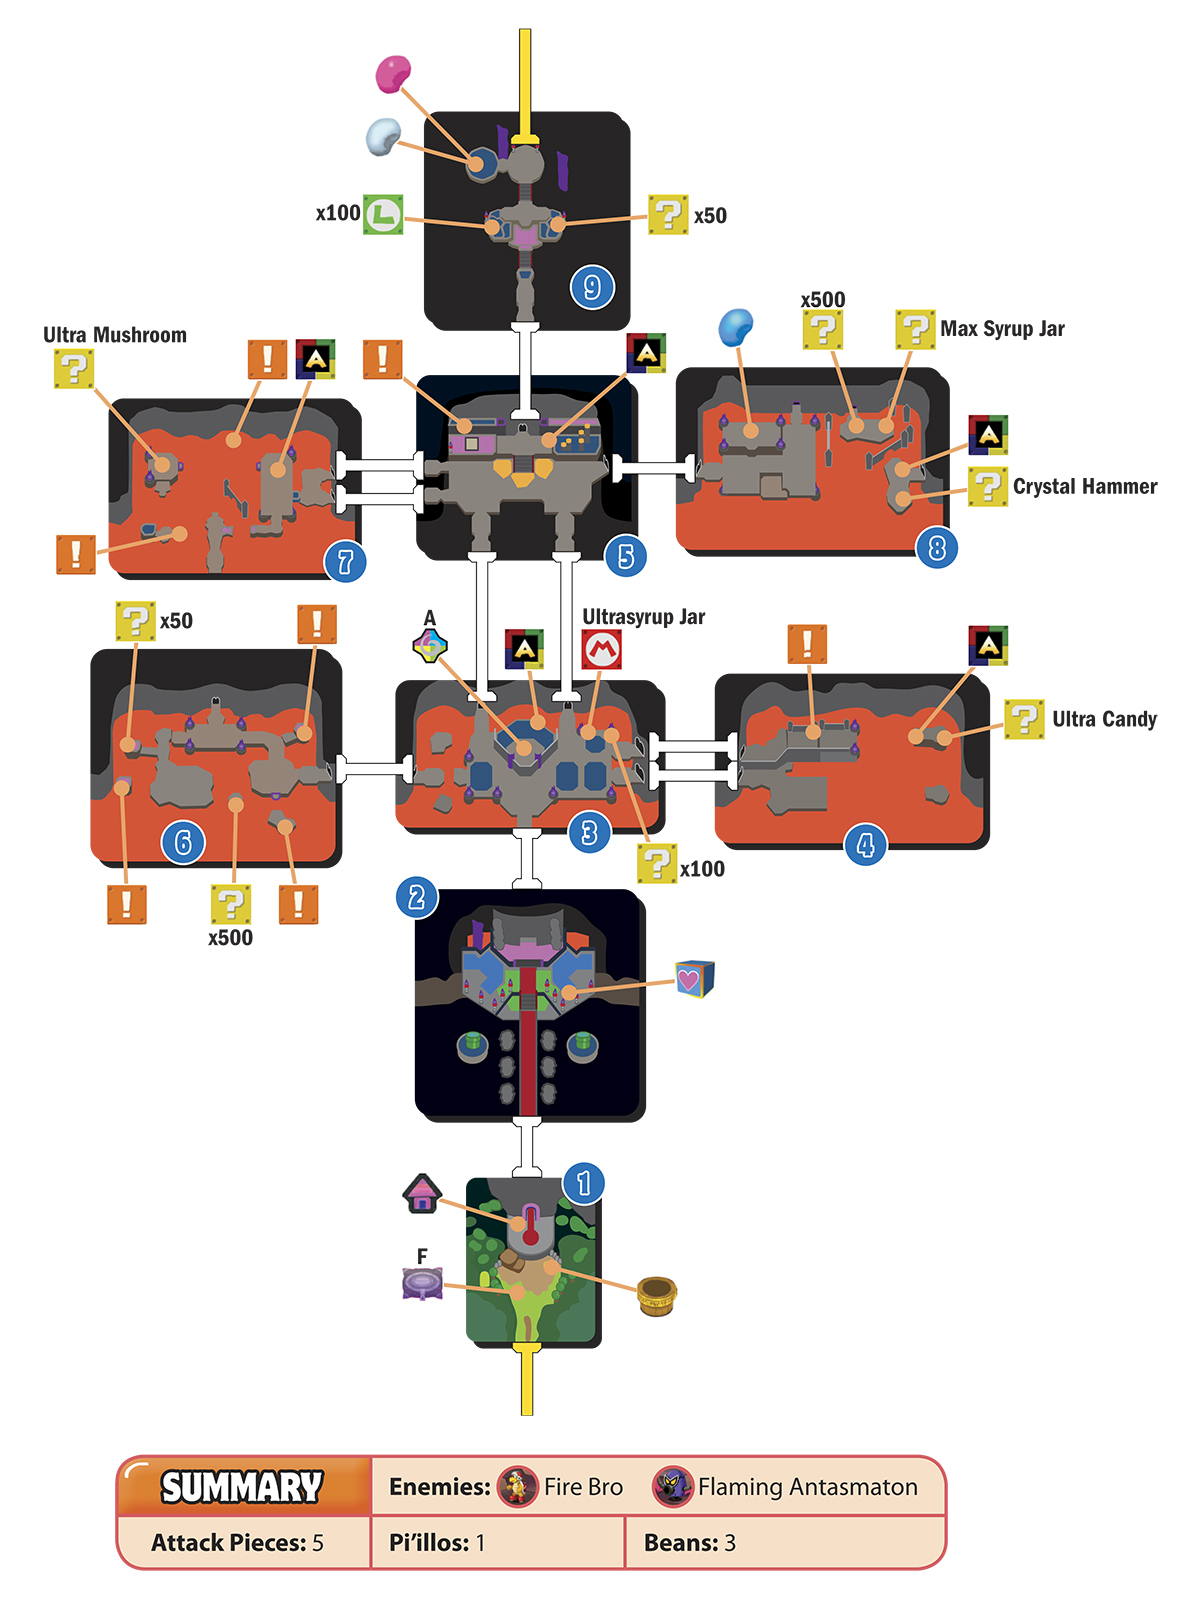
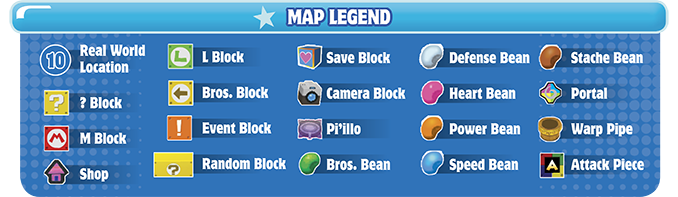
 Neo Bowser Castle Entry
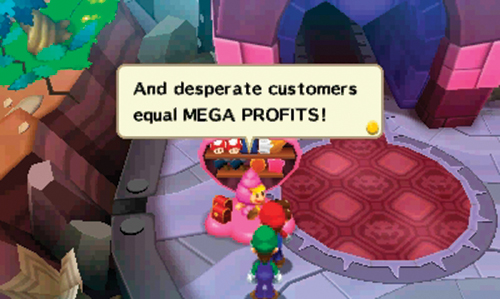
The Zeekeeper’s Wakebeam not only destroyed Neo Bowser Castle’s protective barrier, but it also caused the structure to fall from the sky, landing here, just northeast of Mushrise Park. But before storming the castle, take care of some business here. An enterprising Shelltop has just set up a shop right outside the castle’s gloomy front gate. Take a moment to browse the shop’s wares. You can now purchase a variety of powerful (and expensive) items like the Max Mushroom, Max Nut, and Max Syrup Jar. On the gear side, the Star Boots, Star Hammer, and Star Wear are good options. And while you’re here, consume some Pi’l-latte to fully replenish your HP and BP.
Neo Bowser Castle Shop Inventory
Items
| Merchandise | Coins |
|---|---|
| Super Mushroom | 30 |
| Ultra Mushroom | 90 |
| Max Mushroom | 270 |
| Super Nut | 75 |
| Ultra Nut | 225 |
| Max Nut | 675 |
| Supersyrup Jar | 60 |
| Ultrasyrup Jar | 180 |
| Max Syrup Jar | 540 |
| 1-Up Deluxe | 300 |
| Refreshing Herb | 30 |
| Taunt Ball | 10 |
| Shock Bomb | 50 |
| Boo Biscuit | 5 |
| Mushroom | 10 |
| Nut | 25 |
| Syrup Jar | 20 |
| 1-Up Mushroom | 50 |
Gear
| Merchandise | Coins |
|---|---|
| Star Boots | 2,880 |
| Star Hammer | 2,880 |
| Star Wear | 1,800 |
| Ironclad Wear | 2,160 |
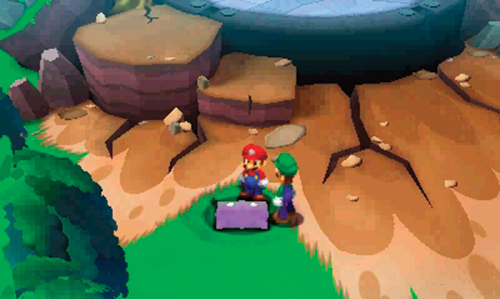
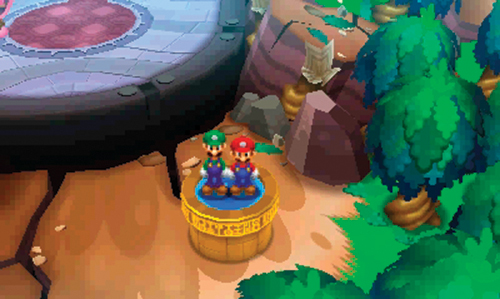
Before entering the castle, look for this pillow, directly south of the shop. Although it appears outside Neo Bowser Castle, this pillow is actually connected to the Mushrise Park dream world. Enter the dream world to rescue this Pi’illo (F). If you rescued all other Pi’illos you’ve encountered during your adventure, this is the 52nd and final Pi’illo! Enter the nearby Warp Pipe and return to Eldream located in the Mushrise Park Maintenance Hut—he has a special reward for you.
 Castle Foyer
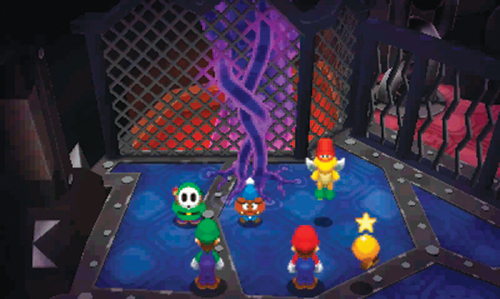
When you’re ready for action, step through the castle’s gate to enter this room. Here Mario and Luigi spot the Elite Trio—they seem entranced by the purple vine-like object to the west. Apparently some sort of power is flowing through these vines. But as Mario and Luigi make their presence known, the Elite Trio make a hasty retreat over the gate to the north.
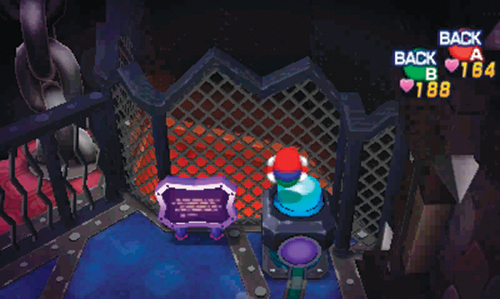
Consider saving your game by striking the Save Block to the east. There’s also a peculiar blue switch on the east side, adjacent to the large gate. The adjoining sign says you must jump really high to activate the gate switch. Use a Ball Hop to bounce on the switch, causing the gate to lower. You can now access the room to the north.
 Dreampoint Chamber
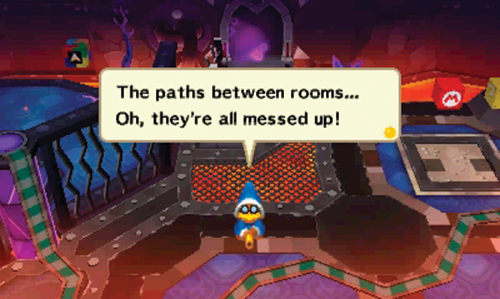
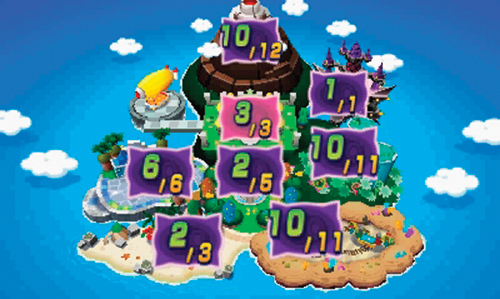
Kamek makes an appearance here, taunting Mario and Luigi before casting spells on a few of the nearby doorways—the doorways are now scrambled, each leading to an unexpected location. After taunting Mario and Luigi some more, Kamek disappears into a dream portal created by Antasma. Starlow suggests finding a way to enter the dream world in the point behind the cage. But first, you need to find a way to lower the gate—and it won’t be easy with those scrambled doorways. But a blue and white striped cable runs from the cage off through the doorway to the east—perhaps this cable leads to a switch?
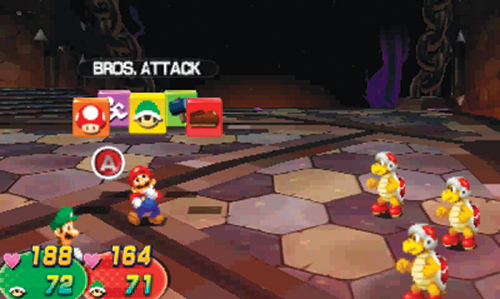
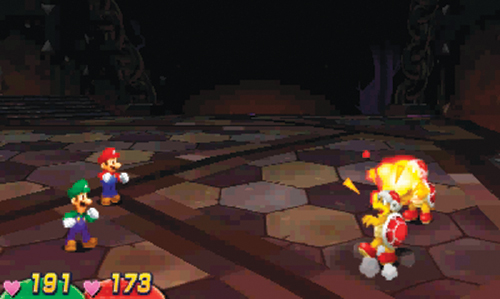
After Kamek makes his exit, battle the nearby Fire Bro. These enemies perform much like the Boomerang Bro from Somnom Woods. But instead of tossing boomerangs, they hurl fireballs. Keep an eye on their hands when they attack—if a fireball appears, get ready to jump. However, sometimes a Fire Bro throws a coin instead of a fireball—there’s no need to jump over incoming coins. Occasionally a Fire Bro launches a massive fireball into the air, causing it to disappear. But the fireball returns after a few turns, coming in from above, so be ready to counter the incoming fireball from above by striking it with your hammer. When it’s your turn to attack, rely on Jump attacks to defeat these guys. Or, if facing off against a large number of Fire Bros., consider using a Bros. Attack like Mario’s Bomb Derby or Luigi’s Dropchopper.
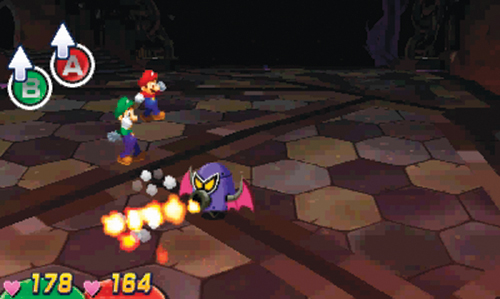
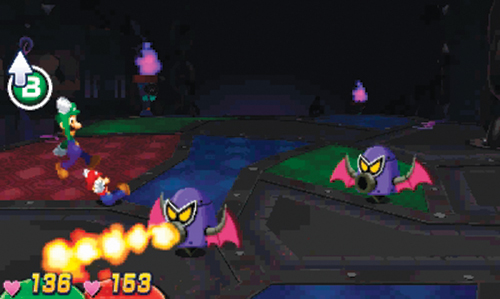
This room also hosts another new enemy: Flaming Antasmaton. These spinning mechanical bats spew flames, requiring Mario and Luigi to stay on their toes. When a Flaming Antasmaton approaches from the top or bottom of the screen, be ready to jump as the foe spins and moves across the floor—both Mario and Luigi need to jump to avoid this flame attack. Keep jumping until the attack has concluded. Later, the Flaming Antasmaton may try another spinning attack, targeting Mario or Luigi. But pay close attention to the changing rotational speeds of the Flaming Antasmaton. Jump over the first flame attack, then watch and wait as the Flaming Antasmaton slows down—if you jump too soon you’ll land directly on top of the incoming flame. As with the Fire Bro, rely on basic Jump attacks to defeat these enemies. But a Bros. Attack may be necessary if confronting a large group of Flaming Antasmatons.
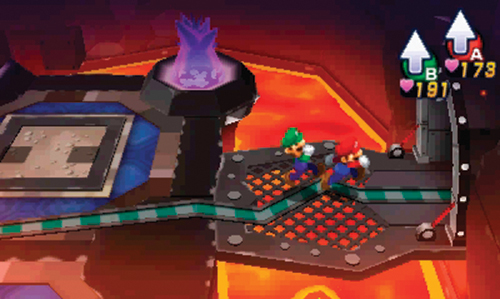
After defeating the enemies here, take a moment to explore. There’s an Ultrasyrup Jar in the M Block and coins in the ? Block to the east. Next, follow the striped cable through the unscrambled doorway to the east.
 Southeast Chamber
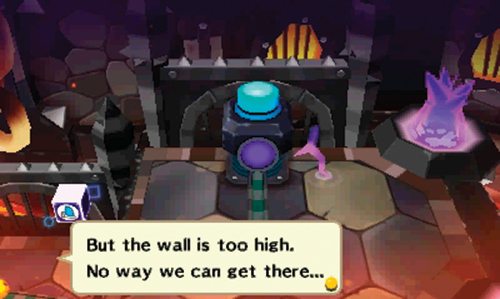
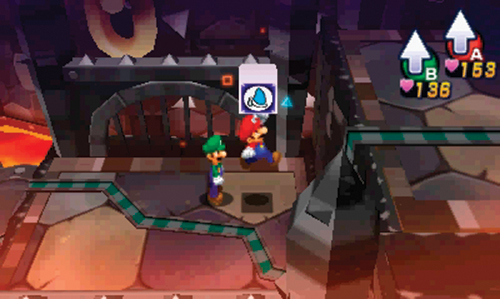
Here you encounter another Fire Bro—defeat him and his friends, then head to the east. Here Starlow identifies the switch controlling the cage in area 3. But you can’t reach it from here—the ledge is too high, even for a Ball Hop. Starlow suggests entering from the south side of the room to reach the switch. While you’re here, strike the nearby Kamek Block. Striking this Kamek Block marks two doorways in area 3 with pink triangle icons—reference the map on the Touch Screen. This helps you decipher where these two doorways go. With nothing left to do here for now, backtrack to area 3. Pass through the scrambled doorway to the northwest in area 3—this leads to the east side of the North Chamber.
 North Chamber
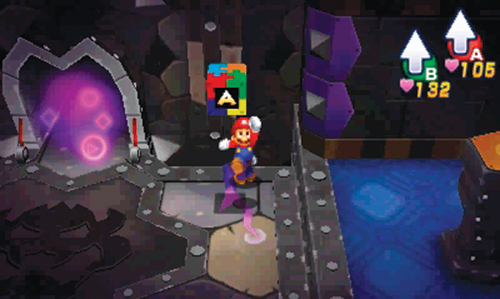
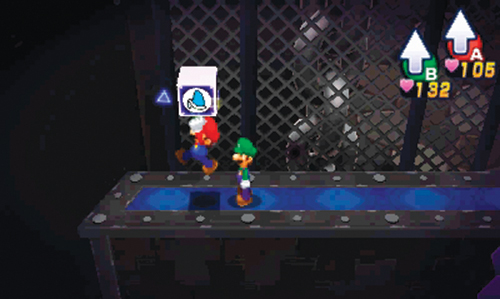
Defeat the Fire Bro and Flaming Antasmatons here, then move to the north side to collect the first Attack Piece. After gathering the Attack Piece, Ball Hop up the nearby pillars to reach a narrow ledge on the north side of the room. Spin Jump to the west when you reach a gap in the ledge and strike the Kamek Block in the northeast corner. This marks two more doorways on the Touch Screen map with orange diamond icons. Descend to the floor and pass through the newly marked door on the west side—this leads to the Southwest Chamber.
 Southwest Chamber
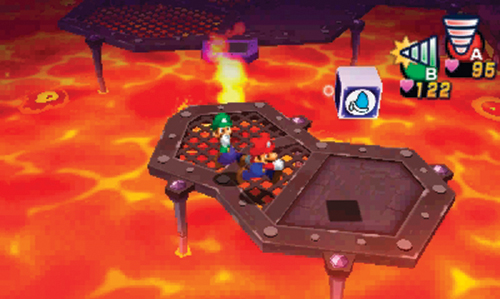
More Fire Bros. and Flaming Antasmatons guard this area—defeat them in battle to earn more EXP. When you’re finished battling enemies, Side Drill to the platform in the southeast corner to strike a Kamek Block—this marks two more doorways with blue square icons on the Touch Screen map.
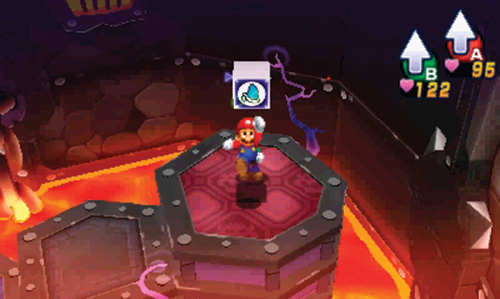
Next, move to the northeast corner of the room to strike another Kamek Block. This marks two more doorways on the Touch Screen map with purple circle icons. Little by little, you’re unscrambling these doorways.
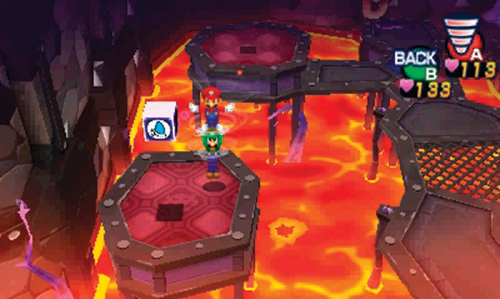
Now move to the west side of the room and Spin Jump to this little platform, holding yet another Kamek Block. Striking this Kamek Block marks two more doorways with green + icons. Next, pass through the unscrambled doorway to the north.
 Northwest Chamber
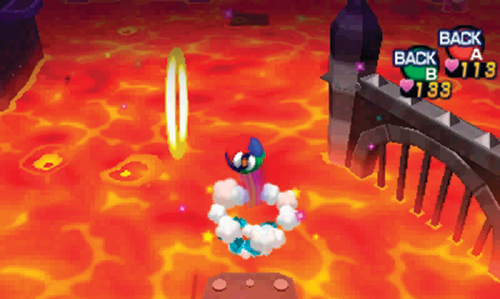
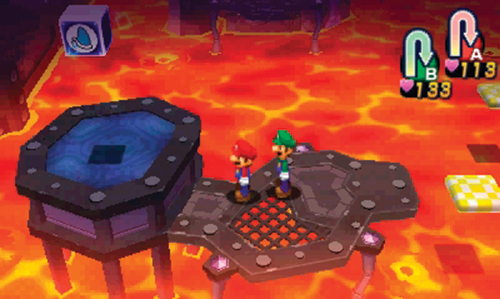
At first glance, this lava-filled room appears to be a dead end. However, take note of the Ball Ring to the north—you know what to do. Ball Hop through the Ball Ring to create a path over the lava. You eventually come to an intersection where you can choose to go west or south. Go south for now to reach the platform in the southwest corner. Strike the Kamek Block here to unscramble two more doorways—yellow circle icons appear over two more doorways on the Touch Screen map.
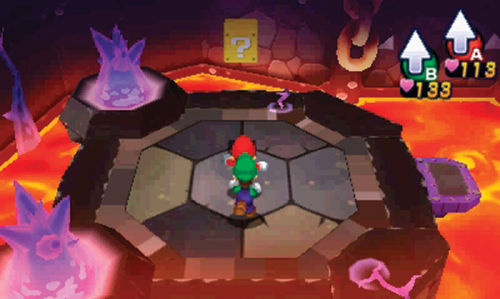
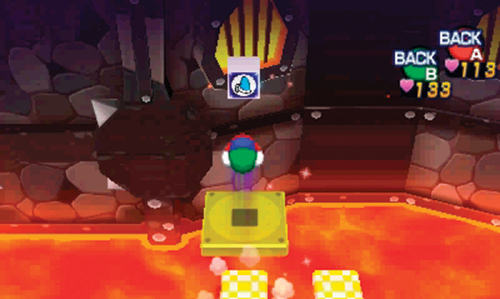
Return to the platform on the south side, then Ball Hop through the Ball Rings, this time heading toward the platform in the northeast corner. Here you can strike a ? Block containing an Ultra Mushroom. Next, Ball Hop through the Ball Ring to the east to trigger a new sequence of rings. When you come to an intersection, head north first. This leads to a small yellow platform holding another Kamek Block. Striking this Kamek Block marks a doorway in area 5 with a red X icon. You’ve now unscrambled all the doorways on this floor.
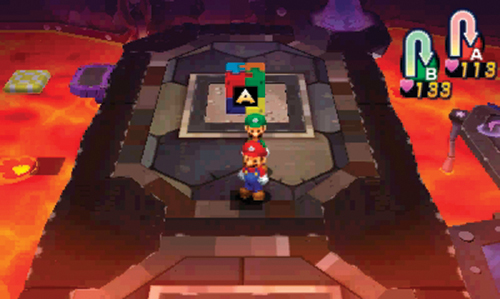
Ball Hop to the platform on the east side to collect another Attack Piece. Now, enter the doorway to the east, marked with a yellow circle icon—this leads to the south side of area 4.
Southeast Chamber
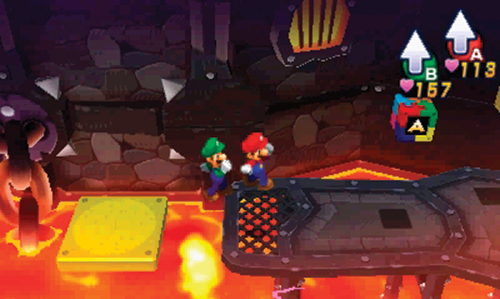
You’ve returned to the room with the switch connected to the cage in area 3. But this time you’re on the south side. Battle the Flaming Antasmaton here, then board a series of moving yellow platforms to the east. Move from one platform to the next, careful to avoid contact with the fireballs launched upward from the lava pool. Work your way to the northeast corner to grab another Attack Piece. There’s also Ultra Candy in the nearby ? Block.
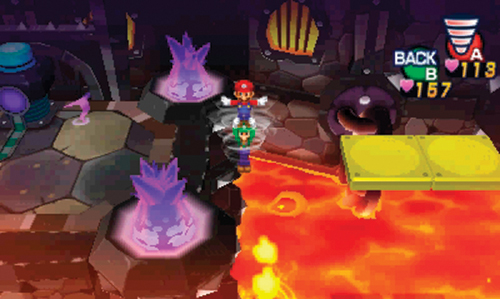
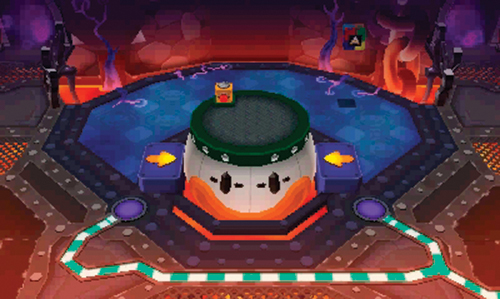
Backtrack across two yellow platforms to the west, then Spin Jump toward the platform with the switch—wait until the yellow platform rises, then initiate the Spin Jump to the west. Ball Hop on the nearby switch to lower the cage back in area 3. You can now enter the dream world and go after Kamek. Exit through the unscrambled door on the west side to return to area 3.
Dreampoint Chamber
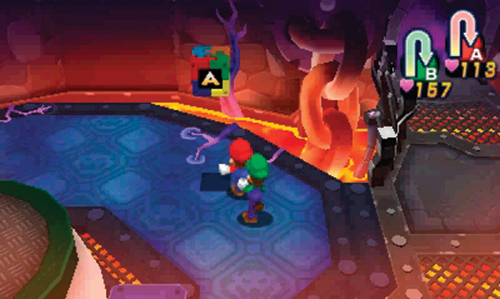
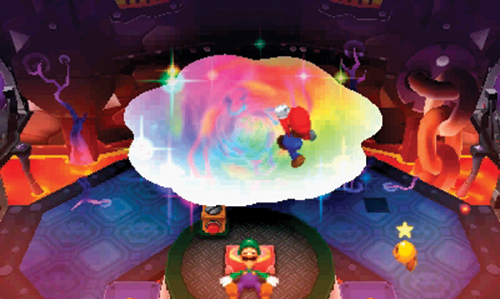
In addition to accessing the Dreampoint, lowering the cage also gives you access to another Attack Piece. Grab the Attack Piece, then climb atop the Junior-Clown-Car-themed Dreampoint to enter the dream world.
Dream World (A)
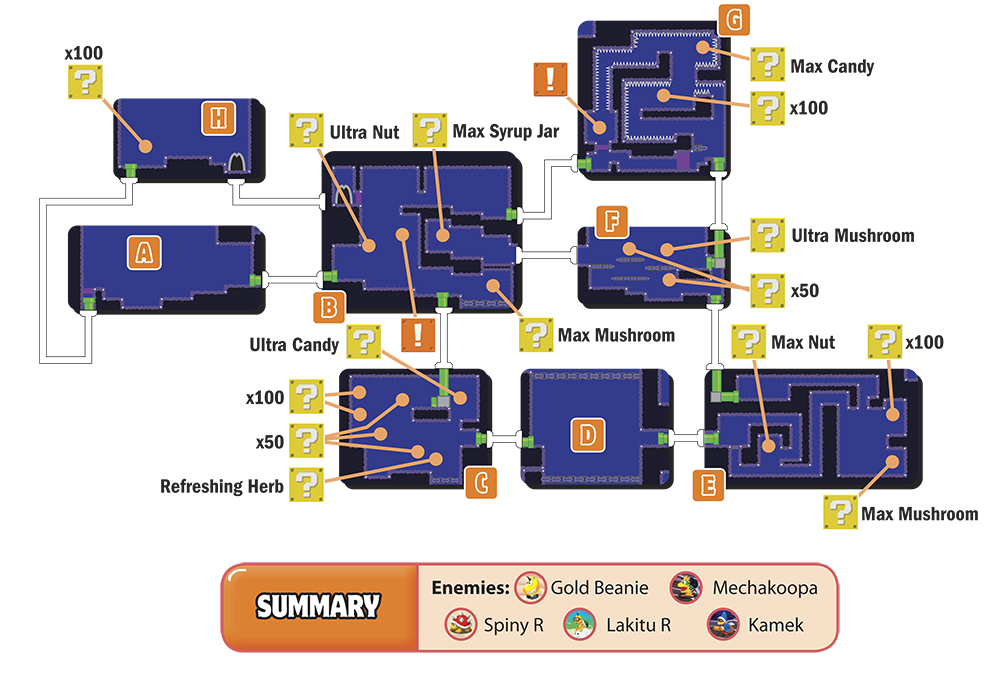
A
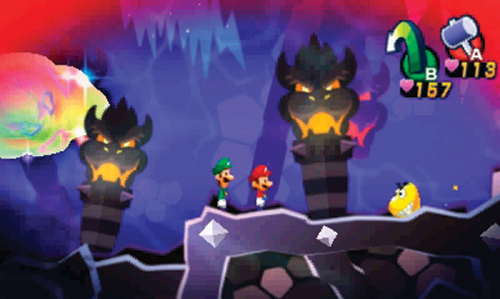
There are two green pipes here, but only the one on the right is currently accessible, so move to the right and be ready to confront a new enemy: Mechakoopa. There’s also a chance you may run into a Gold Beanie here.
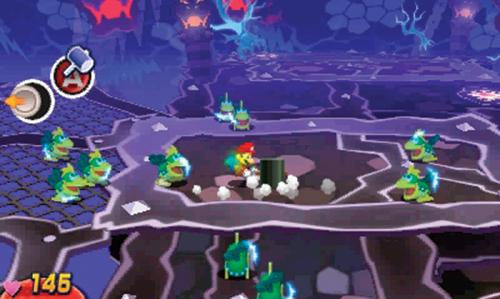
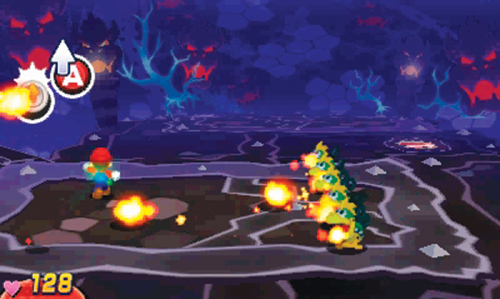
The robotic Mechakoopas have two different states—damaged and undamaged. A damaged Mechakoopa emits blue sparks, altering the way it functions. When Mario is surrounded by Mechakoopas, pay close attention to the pattern in which they attack—undamaged Mechakoopas always attack straight ahead, charging directly at Mario. However, damaged Mechakoopas always attack from the opposite direction in which they approach. For instance, if they approach from the right, be ready to whack them with the hammer when they circle back on the left side. You must correctly anticipate these attacks, as the Mechakoopas move too fast to adequately react to their movements. Mechakoopas also perform charging attacks, moving directly at Mario. If a damaged Mechakoopa hops during its approach, don’t jump—it’ll hop right over Mario. But if it doesn’t hop during its approach, jump to get out of its way—undamaged Mechakoopas perform the exact opposite attack pattern. Mechakoopas also attack with fireballs, marching at Mario in lines while launching their fiery munitions—use the Circle Pad to avoid the fireballs, then jump on the Mechakoopas when they approach. Every fireball that misses Mario circles back and damages the Mechakoopa who fired it. When it’s your turn to attack, consider using a Luiginary Attack to wipe out these foes quickly—the Luiginary Wall and Luiginary Typhoon are both very effective. Mechakoopas are a bit of a hassle, but they’re worth a lot of EXP, so take the time and effort to defeat them.
B
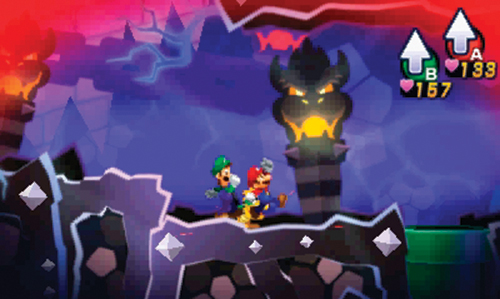
Upon entering this room, Kamek can be seen exiting through the doorway in the upper-left corner. Defeat the Mechakoopas here, then exit through the green pipe in the floor to the right.
C

Here you encounter a new Luiginary Work. On the Touch Pad, touch the red button just above Luigi’s shoulder to activate Luiginary Antigravity. In the dream world this allows Mario to swim through the room, using the Circle Pad to alter his heading and
 to perform a breast stroke. Swim around the room collecting coins and striking ? Blocks. When you’re finished exploring, enter the green pipe on the right side.
D
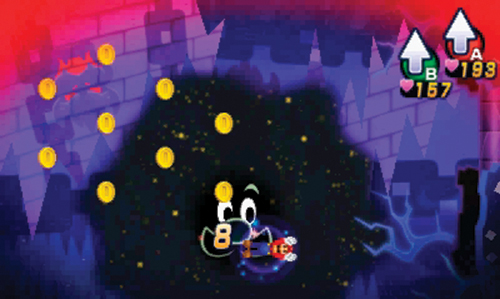
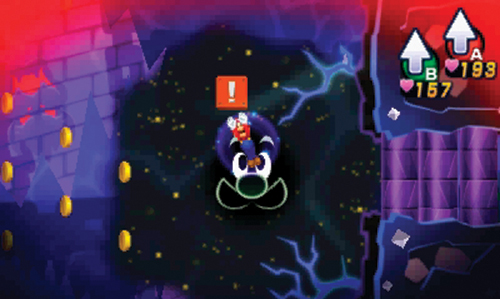
Continue using Luiginary Antigravity here, striking the Red Coin Block to the right. As expected, the Red Coin Block causes eight Red Coins to appear. But it also makes several other coins materialize. Focus on acquiring all eight Red Coins before time expires—you can collect the rest of the coins afterward. Once all eight Red Coins have been collected, an Event Block appears. Strike the Event Block to open access to the green pipe on the right side. Once you’ve collected all the coins in this room, enter the new green pipe.
E
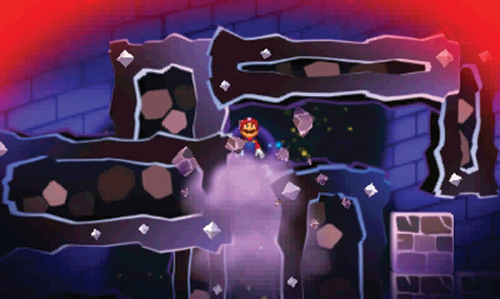
Swim through this maze-like room using Luiginary Antigravity. But midway through, the path is blocked by several gray bricks. Dreambert suggests pushing off the floor to gain momentum. Push against the floor with the Circle Pad, then press
to launch Mario upward through the bricks. Continue pushing off the ceiling, walls, and floor to smash through the remaining bricks in your way. But be sure to strike the ? Blocks on the right side to obtain some coins and a Max Mushroom. Exit through the green pipe in the upper-left corner.
F
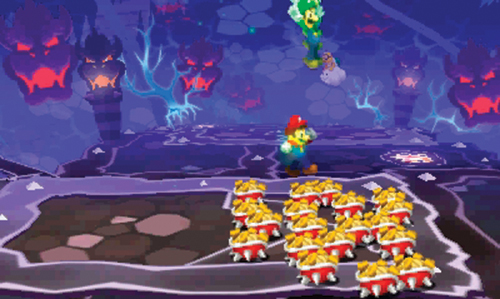
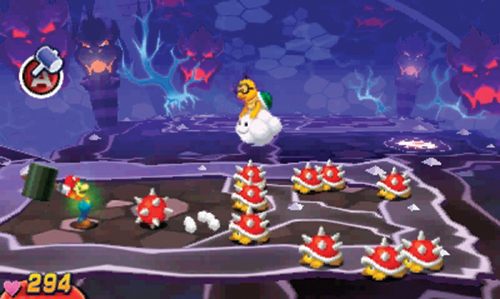
Back on your feet, watch out for the Spiny Rs crawling along the platforms here. These enemies perform just like the Spinies you encountered earlier, but they’re a little tougher, capable of taking more damage. Remember, knock these guys on their backs using a Hammer attack, then follow up by performing a Jump attack while their bellies are exposed. Don’t be surprised if these Spiny Rs are joined by a Lakitu R. Remember, hit back the Spinies that the Lakitu Rs throw at you, but don’t strike the incoming Mushrooms. Once you’ve eliminated the Spiny Rs and Mechakoopas in this area, enter the green pipe on the upper right.
G
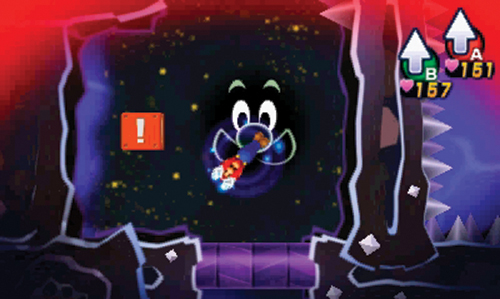
Initiate Luiginary Antigravity here and swim through this area, careful to avoid contact with the spikes in the walls, floor, and ceiling. Take it slow and steady, swimming toward the Event Block on the left side—this opens a series of gates in the room. Ignore the bricks lining the floor here and make a beeline for the pipe in the lower-left corner to exit.
B
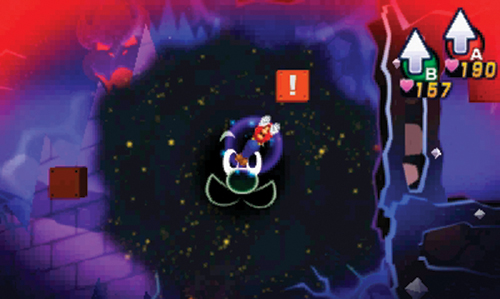
You’re back in area B, but in the upper half of the room. Still using Luiginary Antigravity, swim to the left side of the room, engaging a Lakitu R along the way. Swim toward the Event Block on the left side to open a gate blocking the doorway Kamek entered earlier. With the gate lowered, swim to the doorway and disengage Luiginary Antigravity—Mario must be on his feet to enter the door. Consider replenishing your HP and BP before passing through this door—Kamek is waiting on the other side.
H
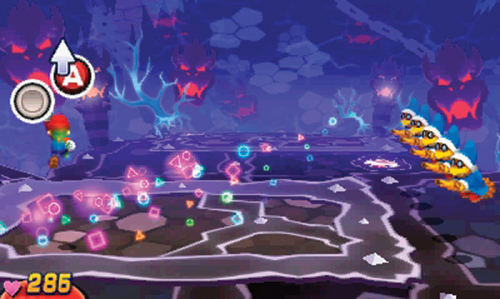
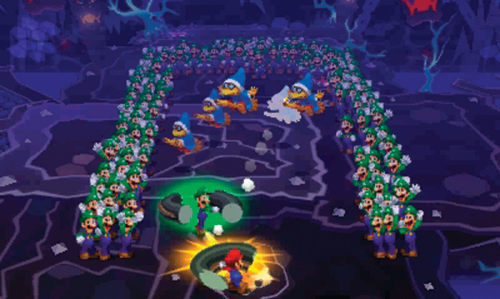
Here Mario and Dreamy Luigi face off against Kamek. At the start of the battle Kamek conjures four clones—try to keep track of the real Kamek. Move and jump to avoid their wand attacks, then go to work when it’s your turn to attack. Don’t bother with standard Jump or Hammer attacks. Instead, focus solely on Luiginary Attacks. The Luiginary Wall and Luiginary Typhoon are both very effective in this battle.
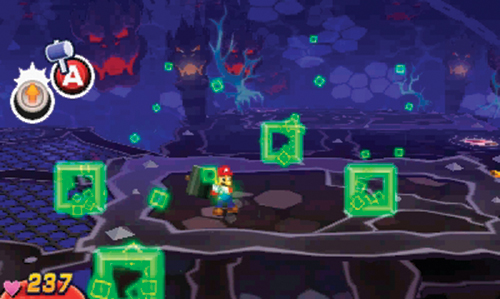
In another attack, Kamek conjures several colored shapes. Mario is soon surrounded by these shapes. Counter by striking the incoming shape with your hammer. Blue circles always approach from the bottom, green squares from the top, pink triangles from the right, and pink inverted triangles from the left. You must anticipate these attacks to counter with your hammer.
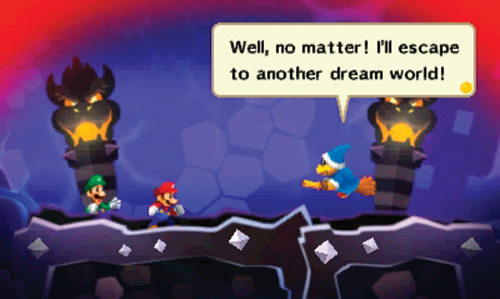
Once Kamek has absorbed enough damage, he simply flees, ending the battle and robbing you of EXP. But you’ll get a chance to conclude this battle later. Dreambert senses something has changed in the real world. Exit on the left side, striking the ? Block along the way to retrieve coins. Back in area A, enter the dream portal to return to the real world.
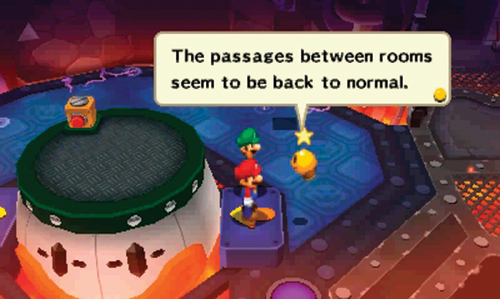
Back in the real world, Mario and friends notice the doorways have become unscrambled. Forcing Kamek to retreat did some good after all. Proceed north into area 5, then head east, entering area 8 for the first time.
 Northeast Chamber
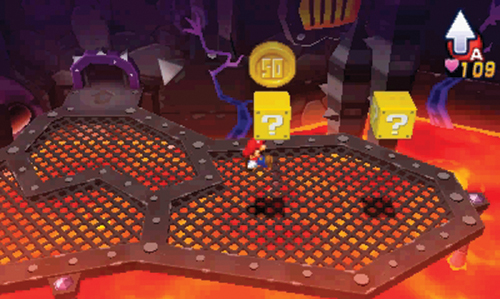
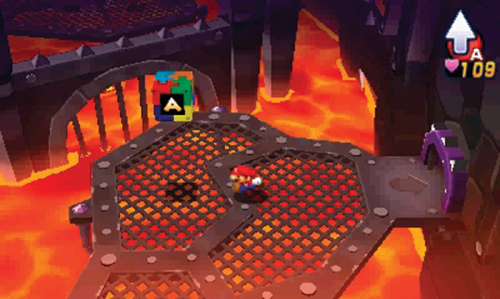
Engage the Fire Bros. and Flaming Antasmaton here, then approach the small gate in the wall to the north. Enter this gate as Mini-Mario and follow the hidden passage beyond to the east. Mini-Mario emerges on a platform in the northeast corner—strike the ? Blocks here to retrieve coins and a Max Syrup Jar. Return to the hidden passage and continue following it to the east. The passage wraps around along the eastern wall, allowing Mini-Mario to reach the Attack Piece on the eastern platform. With the Attack Piece in hand, exit back out to area 5, then head north into area 9.
 Lift
Lift
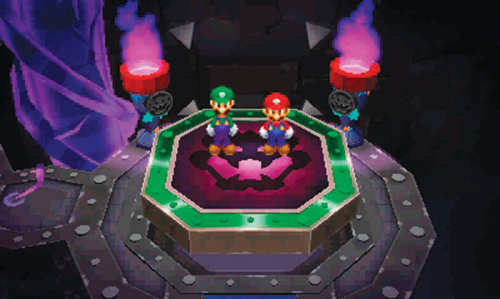
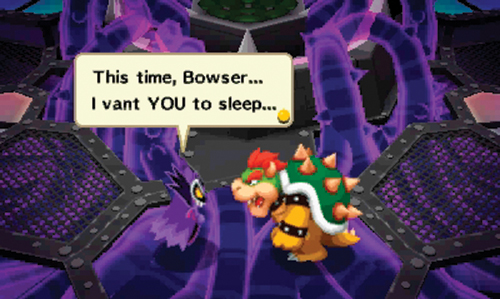
Strike the L Block and ? Block here to retrieve coins, then board the lift on the north side to reach the second floor. Meanwhile, word has reached Bowser and Antasma that Mario and gang have breached the castle. But they don’t seem to be too worried. Instead, they focus on their plans for conquering the world. For the next phase of their plan, Antasma wants to use Bowser’s dream energy to draw more power.