
Mario & Luigi: Dream Team Guide Walkthrough Mount Pajamaja
Mount Pajamaja
 Mount Pajamaja Base

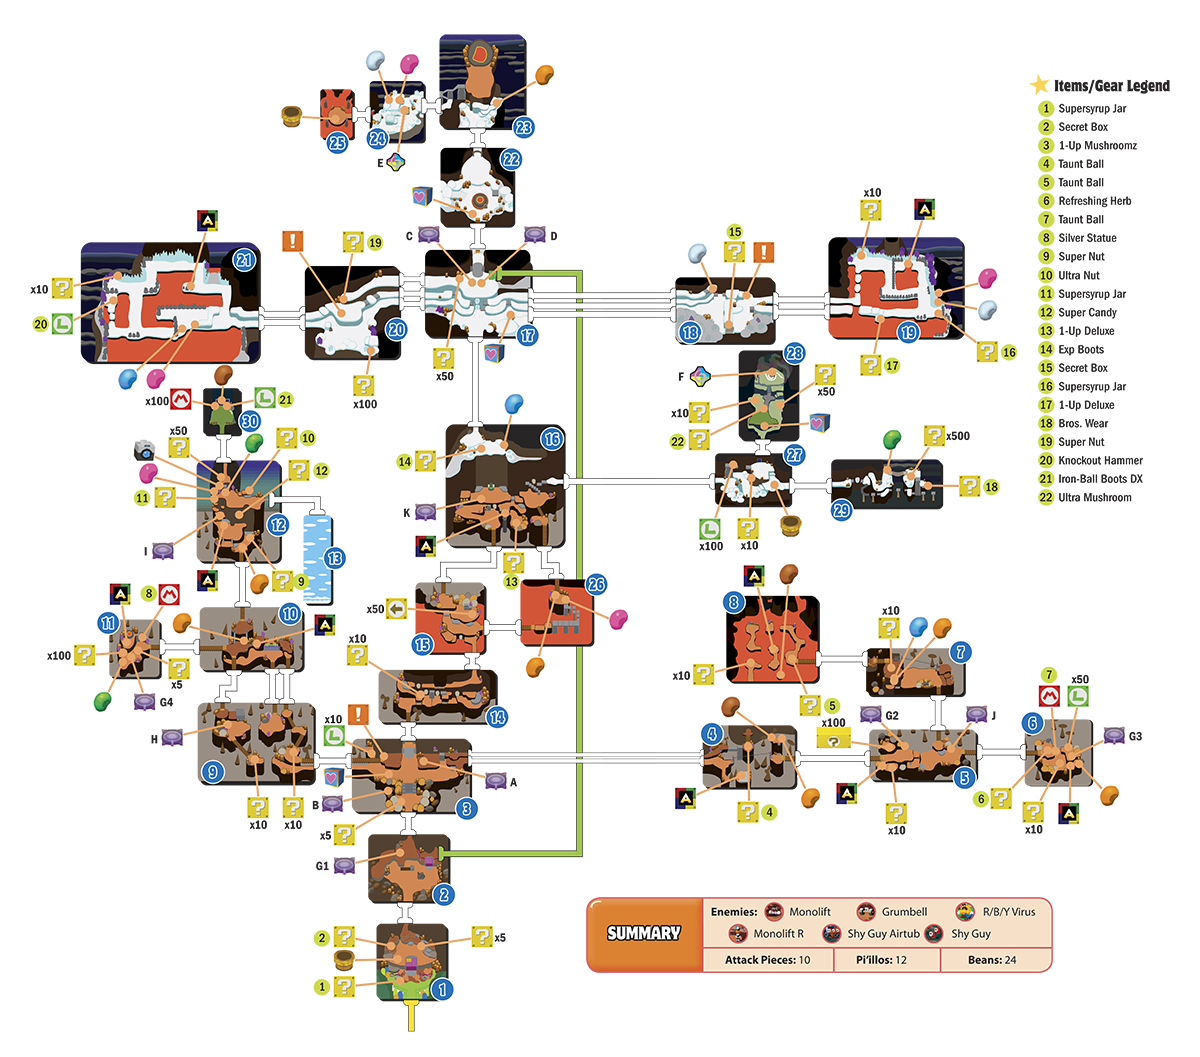
Upon arriving here, a Shelltop greets Mario and Luigi, announcing that a new tour is about to begin. Of course, none other than the Massif brothers are conducting the tour, and are waiting at the midway point of the mountain. Proceed north, through the Mighty Gate, and straight to the lava field in area 15. Feel free to engage the Monolifts and Grumbells you encounter along the way.
 Central Lava Field (West)
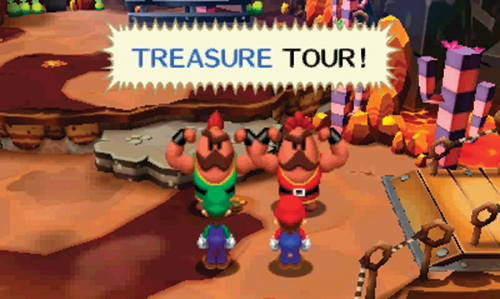
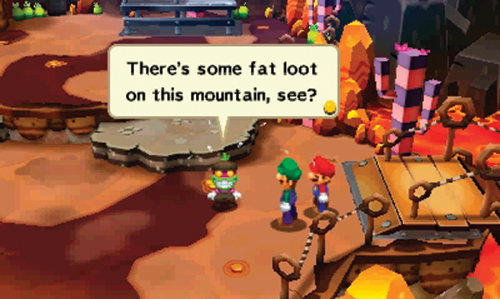
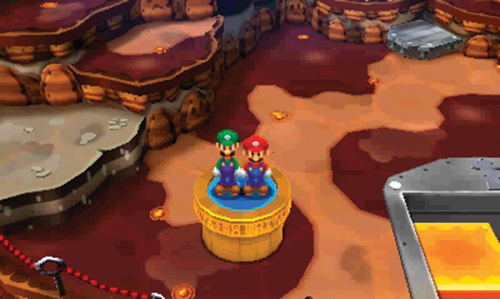
Big Massif and Li’l Massif are waiting next to the bridge here—approach them to begin the tour. But this isn’t the same tour you’ve been on before. This is Massif Vert Pajamaja 2, exploring new areas of the mountain. But what the Massifs are really looking for is a rumored treasure located somewhere on the mountain. As the Massifs cross the bridge to the east, Popple comes scurrying across in the opposite direction—with Mario and Luigi’s arrival, the tour is full. But Popple doesn’t seem too concerned. In fact, he looks relieved—he’s not the climbing type anyway. Instead, he’s off to Wakeport. After Popple leaves, follow the Massif brothers across the bridge to the east.
 Central Lava Field (East)
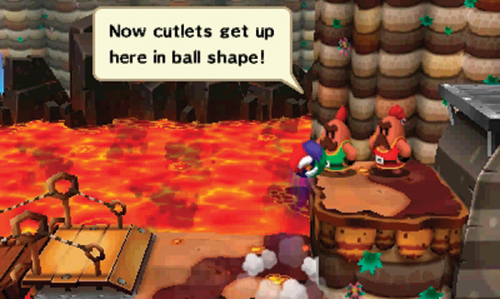
The ledge ahead is too high to reach with a normal jump. But the Massifs have a solution—the Ball Hop. Together, the Massifs form into a ball and bounce their way up to the ledge. Now it’s Mario and Luigi’s turn to try. Press
 three times to change the action icon to Ball Hop. Next, press either
 or
or
 to initiate a Ball Hop. While hopping, use the Circle Pad to move. Maneuver Mario and Luigi toward the ledge while using the Ball Hop to reach the top. Press
to return to normal.
to initiate a Ball Hop. While hopping, use the Circle Pad to move. Maneuver Mario and Luigi toward the ledge while using the Ball Hop to reach the top. Press
to return to normal.
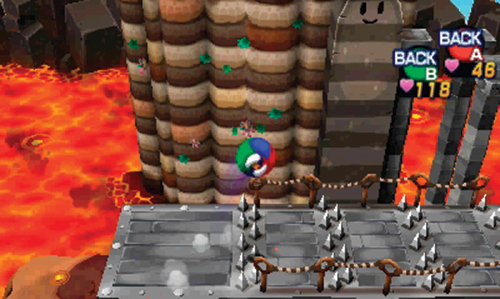
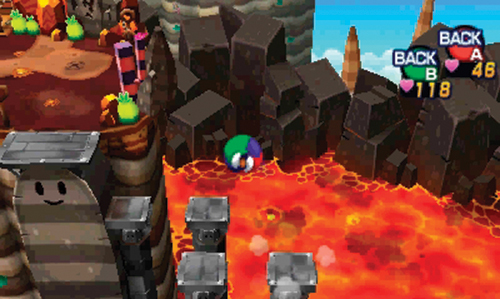
Now you need to use the Ball Hop to catch up to the Massifs. Ball Hop upward to reach the next ledge, then bounce over the spikes in the platform ahead. After crossing over the spikes, turn to the north and bounce across the top of a series of columns, eventually landing on the cliff to the north where the Massif brothers are waiting. But before following the Massifs across the bridge to the north, go underground as Mini-Mario to retrieve a Power Bean and Heart Bean.
 Cannon Pipe Bluff
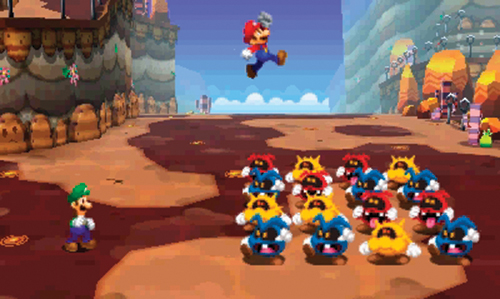
The bridge leads to the east side of area 16—Big Massif and Li’l Massif are waiting atop the snowy bluff to the northeast. But before catching up, initiate a battle with the R/B/Y Virus running around here. In this battle Mario and Luigi face off against a large group of red, yellow, and blue enemies. Each time one of these enemies is hit, they shift colors. For example, when a Yellow Virus is hit, it shifts from yellow, to red, to blue, then back to yellow. The goal is to get at least three like-colored enemies next to each other—this causes the adjacent identical-colored Viruses to disappear. As Viruses in the front disappear, the Viruses in the back move forward, altering the formation and potentially leading to new eliminations based on color adjacency. In this sense, the battle is like a puzzle, so pick your targets carefully, altering the color of each Virus to maximize damage across the entire formation. If you need to hit a Virus twice to change them to a desired color, use a Jump attack. If you only need to hit them once, use a Hammer attack.
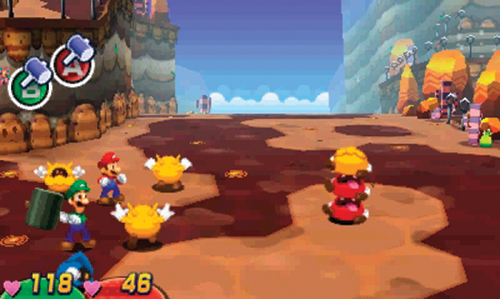
During their attack phase, continue to use the Viruses’ colors against them. When they come marching toward Mario and Luigi, whack them with your hammers to create a stack of Viruses—they don’t change colors when struck during their attack phase. When creating the stack, try to stack three Viruses of the same color to eliminate them—intentionally miss Viruses that don’t fit your three-in-a-row color pattern. But before the attack is over, be sure to hit each Virus with your hammer to send them to the stack—this is the only way to avoid taking damage. In another attack, the Viruses form two lines and march toward Mario and Luigi—simply jump to counter or avoid contact. Once the Viruses are scattered during your attack phase, and no longer adjacent, you must eliminate them one by one. Consider using a Bros. Attack to take them out quickly and finish the battle.
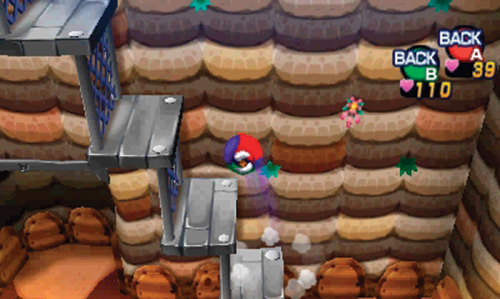
Now ascend the bluff by using the Ball Hop to bounce up the metal stair-like platforms. At the top of the stairs, Side Drill through the rock to the east, then resume the Ball Hop to rendezvous with Big Massif and Li’l Massif. Follow them to the east.
 Treasure Chamber Door
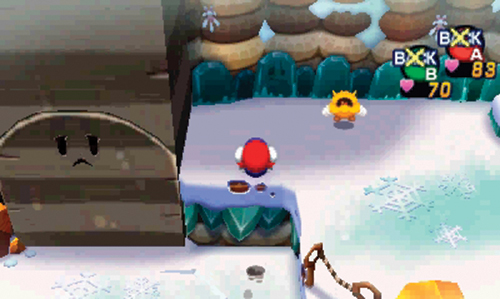
Another R/B/Y Virus is running around here—defeat it in battle, then Ball Hop up onto the ledge to the east. There’s another R/B/Y Virus waiting here, so go to battle once again.
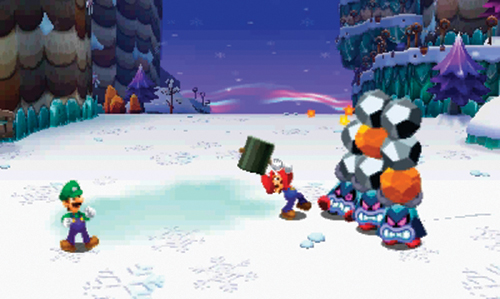
In addition to the R/B/Y Virus, watch out for the Monolift R. This enemy performs much like the standard Monolifts you’ve encountered before—they’re just tougher. Use Hammer attacks to inflict damage on them, then look for opportunities to counter when they attack, using their own rocks against them. Remember, when they approach with a stack of rocks tilting above them, strike them with your hammer when the rocks tilt away from you. And when they start punching rocks at you, make sure Mario and Luigi both jump simultaneously to avoid getting hit by the debris from brown rocks.
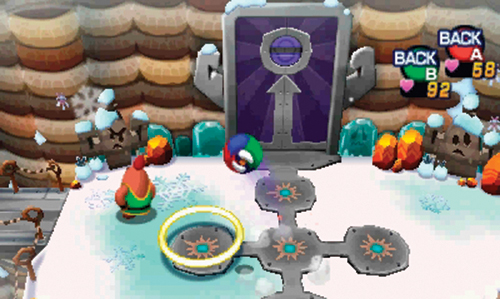
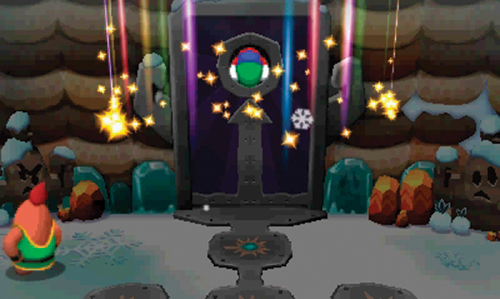
Ball Hop up the ledges to reach the plateau to the north—you pass a new Warp Pipe along the way, located to the southeast. The Massifs are waiting here in front of a large stone door, but they can’t seem to open it. Give it a shot by using the Ball Hop. Bounce through the gold Ball Ring on the ground—this causes it to disappear and a new Ball Ring to appear on the left. Keep bouncing through one Ball Ring after another until the socket in the stone door begins to glow—Ball Hop into the socket on the door to unlock it.
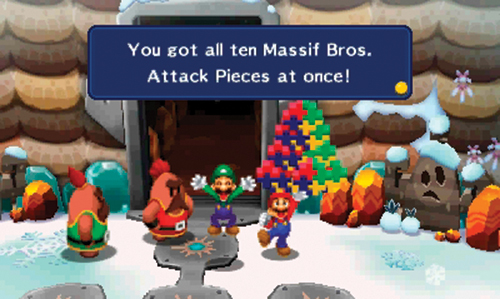
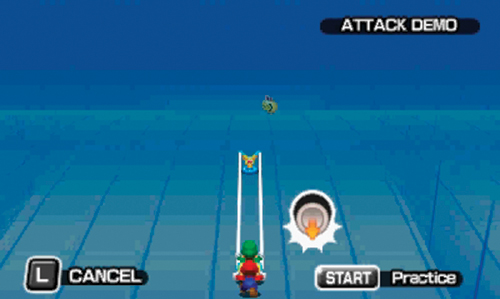
As a reward for opening the door, Big Massif hands over ten Massif Bros. Attack Pieces. This unlocks Luigi’s Slingsniper Bros. Attack—take a moment to practice it. During this attack, Mario uses a large slingshot-like device to launch Luigi at distant enemies. Use the Circle Pad to draw back Luigi in the sling, then hold down
to bring up an aiming reticle—quickly target an enemy by tilting the 3DS. Once a target is centered in the aiming reticle, release
to send Luigi flying. The quicker you target and release Luigi, the more damage inflicted, so don’t take too much time aiming. If you take too much time to aim, both Mario and Luigi will go flying through the air, inflicting no damage on the enemies. The Slingsniper Bros. Attack is very effective against individual enemies or groups. If multiple enemies are aligned, Luigi will fly through all enemies in his flight path, inflicting damage on all of them. Once you’ve spent some time practicing the Slingsniper, follow the Massifs through the open doorway.
 Treasure Chamber (East)
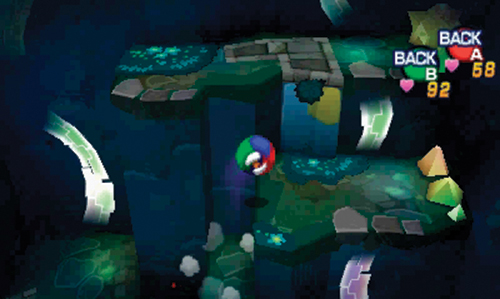
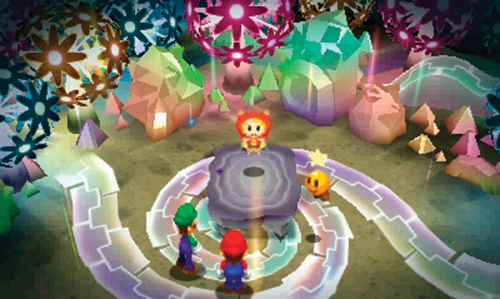
Despite their big talk, the Massif brothers are hesitant to travel too deeply into this cave—they suggest that Mario and Luigi explore this area while they wait near the entrance. The ? Blocks to the north contain coins and an Ultra Mushroom. Ball Hop up the ledges to the northeast, then Spin Jump to the platform on the west. Continue working your way up the next series of ledges using the Ball Hop. At the top Mario and Luigi find the Pajamaja Rock Frame. But Dreambert warns that it’s petrified with nightmare chunks. Before acquiring the frame, Luigi must sleep on it so Mario can enter the dream world and destroy the nightmare chunks.
Dream World (F)
A
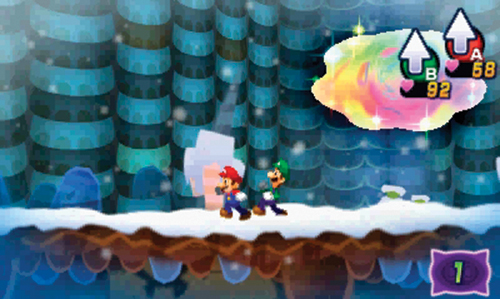
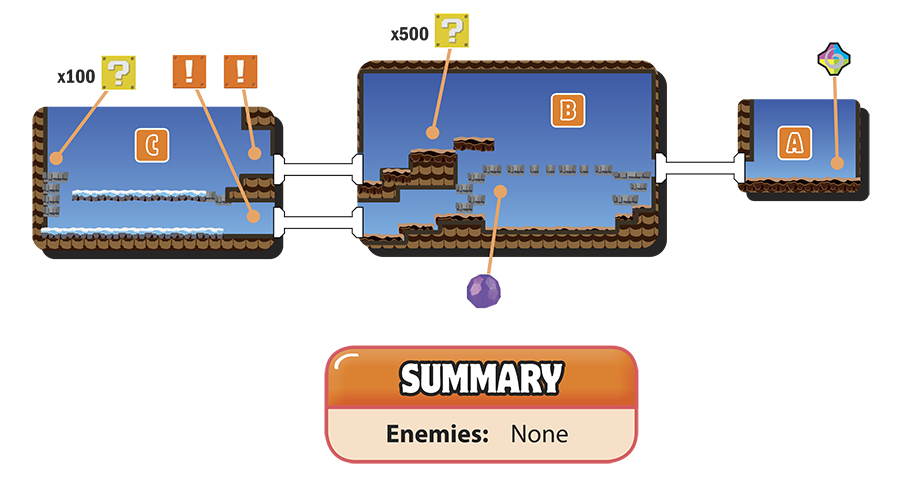
Dreamy Luigi arrives soon after Mario emerges from the dream portal. There’s nothing else to do here, so exit on the left.
B
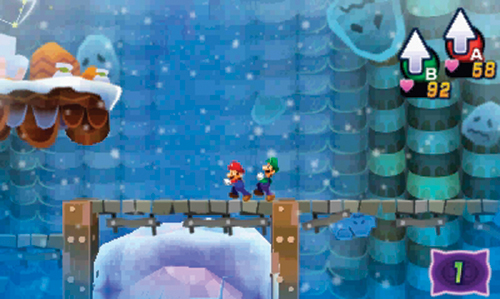
The nightmare chunk is located in this room, but it’s encased in a cracked vessel, preventing Mario and Dreamy Luigi from accessing it. Cross over the top platform and exit on the lower left.
C
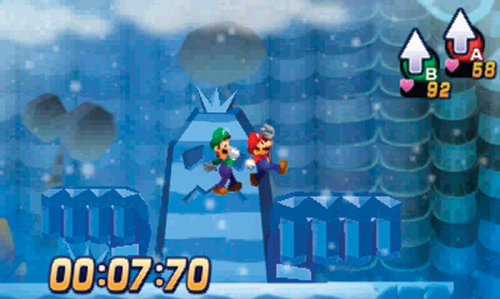
Strike the Event Block near the entrance to trigger a timed event—you must reach the exit on the upper-right side within 30 seconds. As soon as the timer starts, race to the left, careful to avoid contact with the protruding fist-like platforms. Ascend the platforms on the left side and consider striking the ? Block at the top to acquire a few coins. But don’t waste too much time collecting coins. Instead, race across the upper platform, once again avoiding the protruding fist platforms. Strike the Event Block on the right side to stop the timer. If you made it to the Event Block in under 30 seconds, the door on the upper-right side opens, leading back to area B.
B
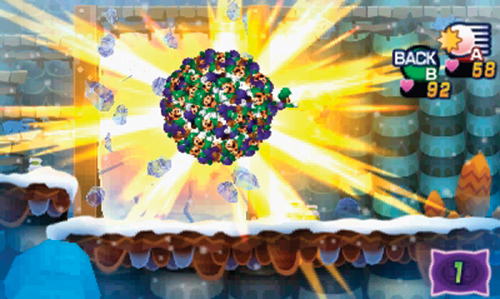
You return to this area on the upper-left platform—collect coins from a ? Block here. You can also access the Luiginary Work. Form a Luiginary Ball and descend to the lower-right level. Approach the case enclosing the nightmare chunk and use the Ball Hammer to smash it open—it takes three solid hits to smash the case and the nightmare chunk within it. Return to area A and hop through the dream portal to return to the real world.
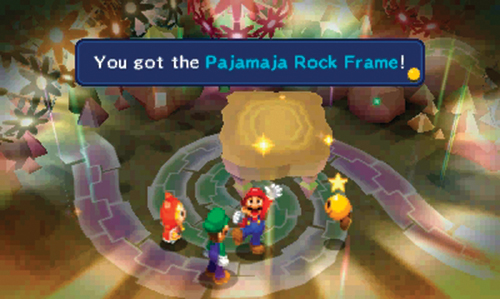
With the nightmare chunk destroyed, the Pajamaja Rock Frame is now safe to acquire and use. Now it’s time to find the remaining bed parts. But before leaving Mount Pajamaja for good, consider taking a detour to search a couple of unexplored areas.
 East Ledges
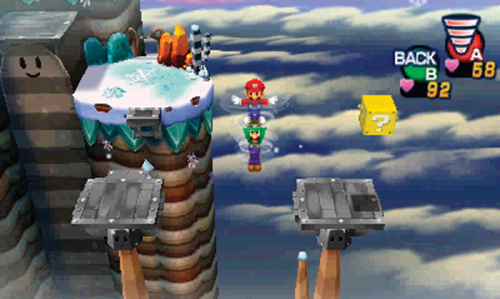
After exiting the cave, head to the east to gather some goodies from this dead-end area. This area is a bit of an obstacle course, requiring you to use all the moves taught by the Massif brothers. Start by performing a Side Drill through the nearby ice chunk, then Spin Jump across the metal platforms to the east—grab Bros. Wear from the ? Block on the far east side. Spin Jump to the plateau to the north, then Ball Hop up to the next ledge to grab more coins from a ? Block. Cross the bridge to the west to obtain a Bros. Bean, then exit the area to the west.
 Treasure Chamber (West)
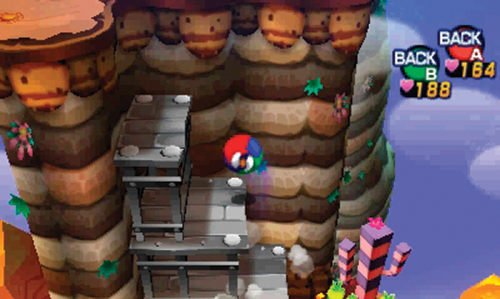
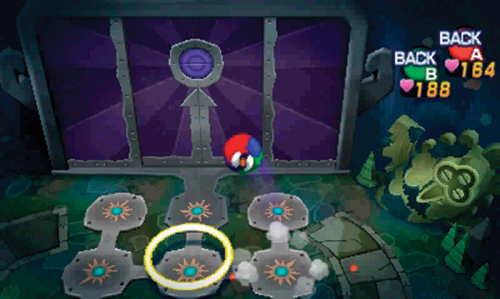
Now that you have the Ball Hop ability, you can access this room, directly north of area 12. Ball Hop up the metal platforms to enter this cave. Inside, complete another Ball Ring challenge to unlock the large door. Ball Hop through all the Ball Rings that appear, then Ball Hop into the socket in the door. On the other side of the door you can retrieve Iron Ball Boots DX from the L Block and coins from the M Block. There’s also a Stache Bean underground, between the two blocks—use Mole Mario to acquire it.
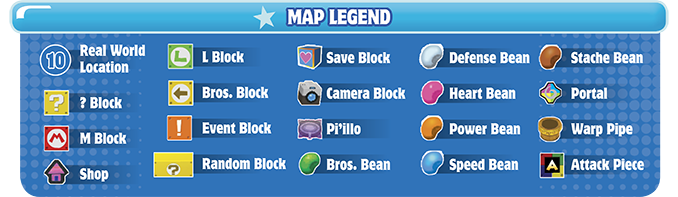
Now’s the perfect time to thoroughly explore the rest of Mount Pajamaja, rounding up beans and Pi’illos you may have missed during your first visit. When you’re finished exploring, enter the nearest Warp Pipe and head for Mushrise Park to resume your search for Ultibed parts.