
Mario & Luigi: Dream Team Guide Walkthrough Pi’illo Castle
Pi’illo Castle
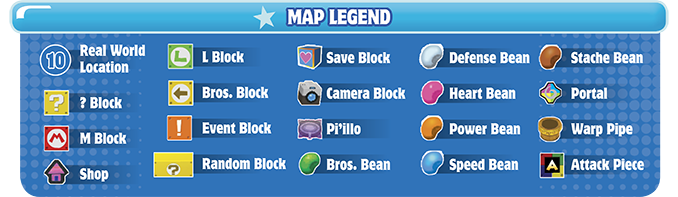
 Warp Pipe Room
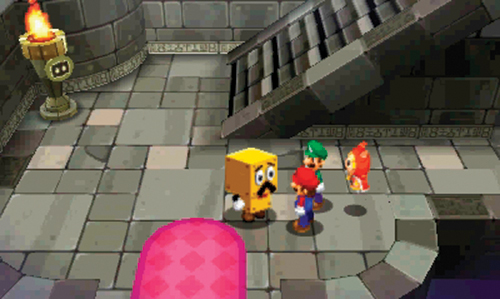
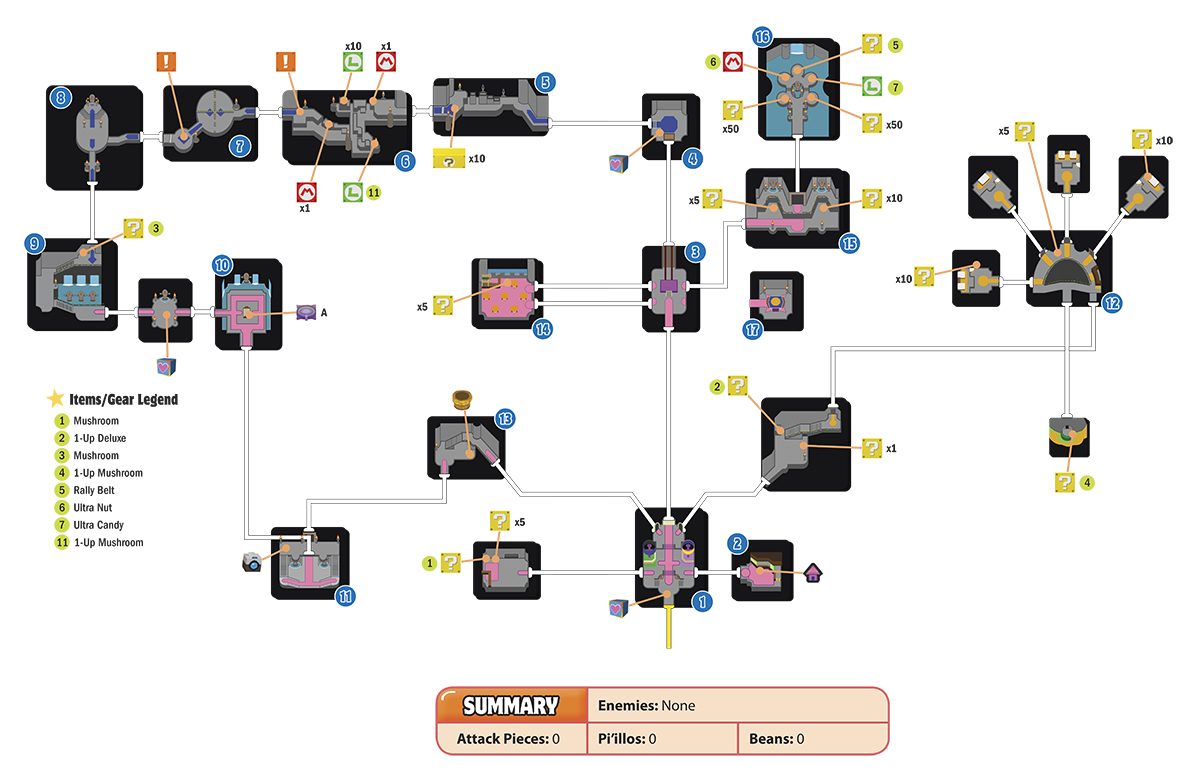
Mario and Luigi arrive back at Pi’illo Castle through the Warp Pipe, just west of the lobby. Here they’re greeted by Broque Monsieur—he’s eager to announce that Dr. Snoozemore is back. He’s currently in the collection room, where Mario and Luigi first met Dreambert. You can reach the collection room by heading south.
 Grand Staircase
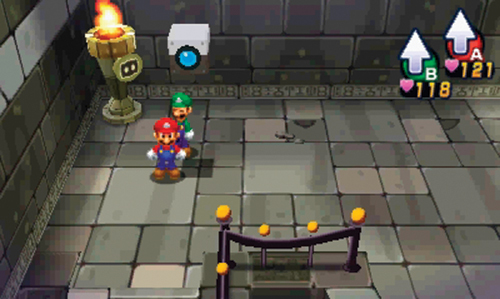
Before descending the staircase, move to the northwest corner to strike the Camera Block—it’s no longer blocked by the Zeekeeper mascot. You can now decrypt the shot back at Kylie Koopa’s in Wakeport. After collecting the shot, descend the stairs and enter the collection room.
 Collection Room
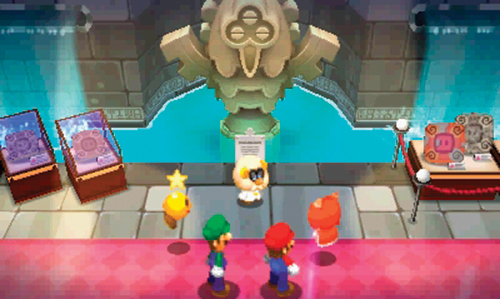
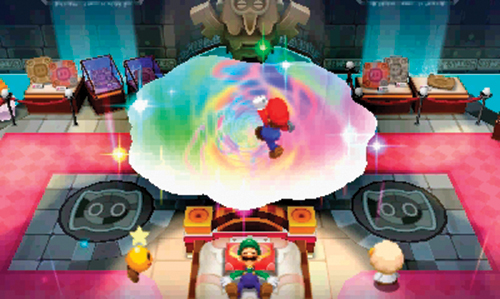
Dr. Snoozemore greets Mario and Luigi in the collection room, but dozes off. However, the professor gains new energy when Prince Dreambert appears. Once Dr. Snoozemore calms down, Starlow and Dreambert fill him in on recent events. After pondering the possibilities, Dr. Snoozemore theorizes that the Zeekeeper is the only way to break through the barrier surrounding Neo Bowser Castle. This legendary bird is real and protected the Pi’illo Kingdom from numerous disasters. But you must find the Zeekeeper first—he’s somewhere in the dream world. When asked if he has any clues to the Zeekeeper’s whereabouts, Dreambert reports seeing an odd-looking Zeekeeper statue in Dreamy Pi’illo Castle. It’s time to head back into the dream world to investigate. Luigi quickly falls asleep on the large bed in the center of the room, prompting Mario to automatically jump into the dream portal.
Dreamy Pi’illo Castle (A)
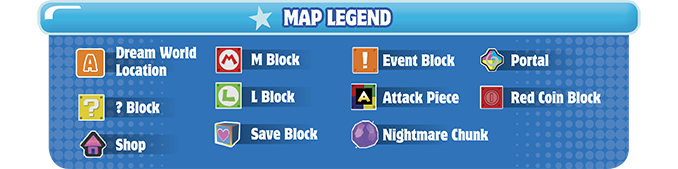
A
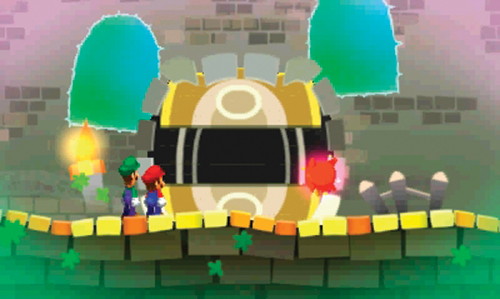
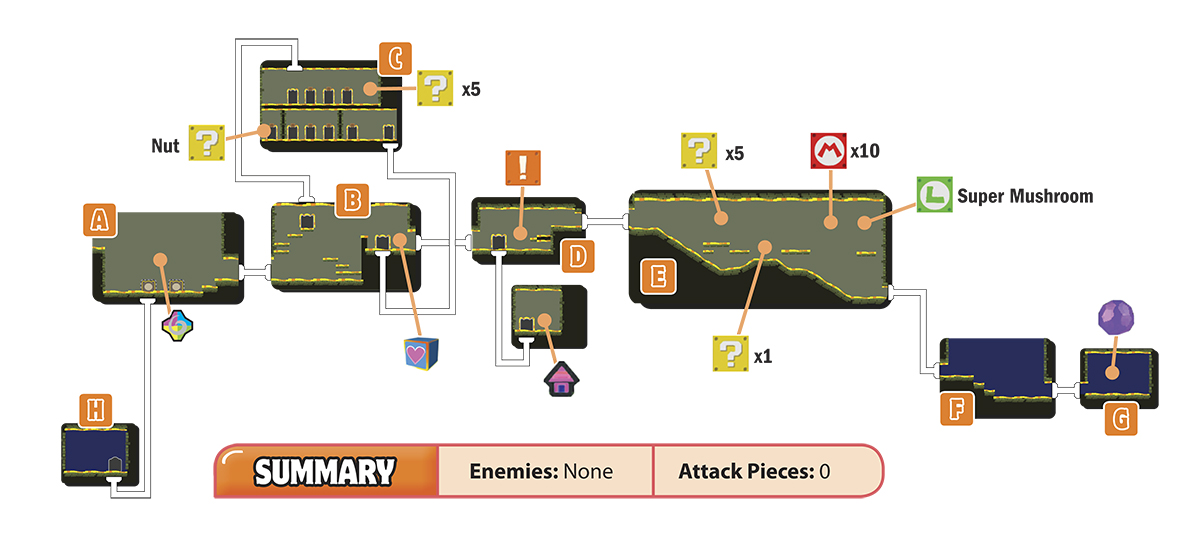
Dreambert remembers seeing that Zeekeeper statue just behind this door. Using his powers, Dreambert unlocks the door, allowing Mario and Dreamy Luigi to enter a new area of the dream world. Move in front of the open door and press up on the Circle Pad.
H
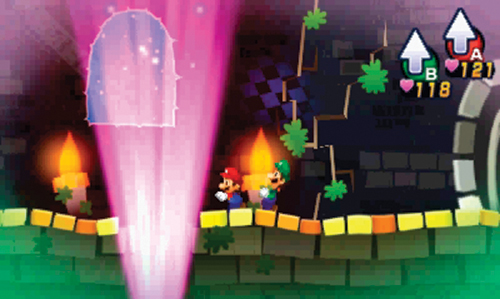
Here Mario and Dreamy Luigi encounter a purple beam of light, shining through the floor—this looks a lot like the entrance to Dream’s Deep. Jump into the light and press down on the Circle Pad to enter.
Dream’s Deep (B)
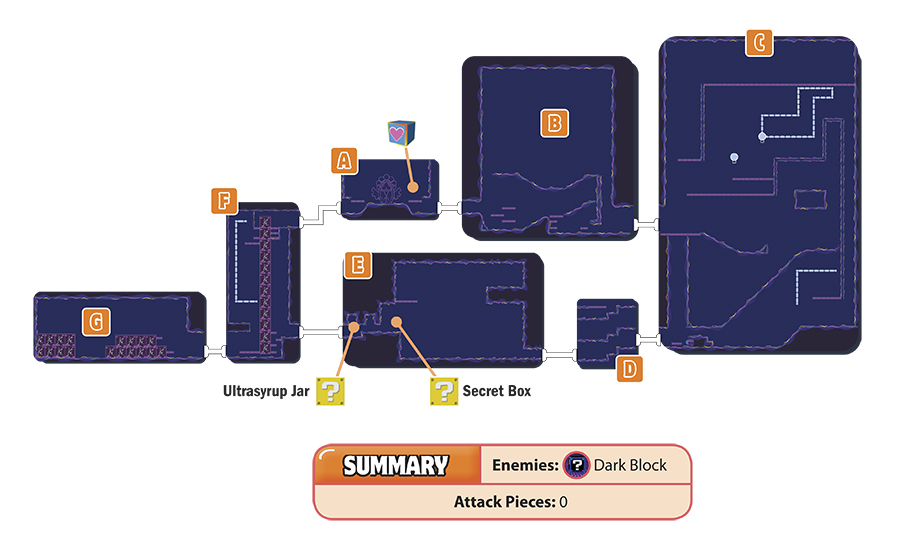
A
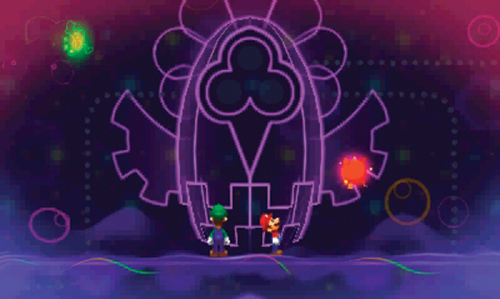
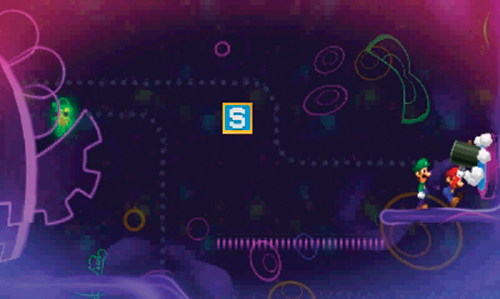
Here Mario and Dreamy Luigi encounter the Zeekeeper statue Dreambert has been talking about. It was here that Dreambert first learned to summon the Zeekeeper long ago. But Dreambert doesn’t quite remember how to summon him. He suggests investigating the area. There is a blue switch on the right side, along with a Save Block—strike the blue switch with your hammer. This activates a light atop the Zeekeeper statue’s head. Now you need to find a way to activate the other two lights on the Zeekeeper statue’s head. Exit to the right to explore the next area.
B

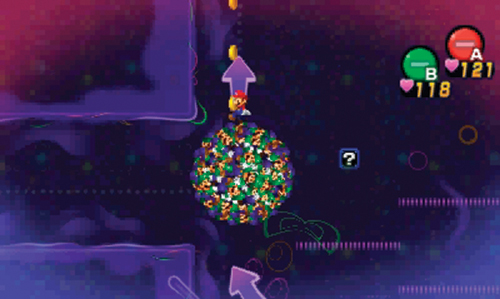
Beware of the Dark Blocks in this area—avoid contact with them and proceed to the far right side of the room. Here you encounter a new Luiginary Work—the Luiginary Ball. Similar to the Stack and Cone formation, when the Luiginoids form a ball, you can roll it around with the Circle Pad while Mario rides on top. Start by rolling the Ball to the left, causing it to pick up momentum as it rolls down a couple of ramps. As it reaches the ramp on the far left side, the Ball shoots skyward, eventually reaching the upper platform. While in the Ball, press
 to cycle between formations, or press
 followed by
 to return to normal. But for now, roll to the right, smashing the Dark Blocks along the way. Drop down the shaft on the right, and exit through the nearby passage, still in Ball formation.
C
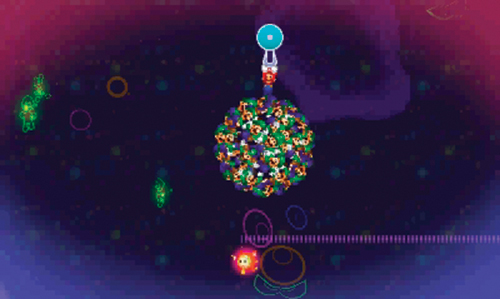
Roll the Ball to the right upon entering here, then follow the ramp below to the left, launching the Ball up to a higher platform. Here Dreambert notices a Hook just above. Press
to shoot out a line of Luiginoids, grabbing hold of the Hook. As the string of Luiginoids extends and contracts, the Ball is left hanging from the Hook—press
 to let go, dropping down onto the next platform. This new move is called the Hookshot, and is essential for gripping Hooks, Line Hooks, and Spin Hooks.
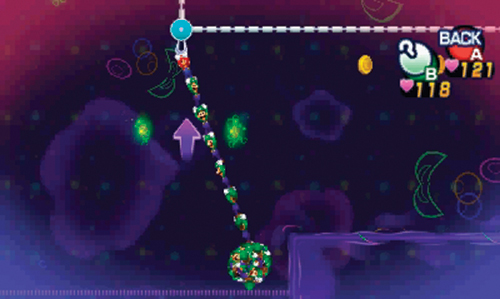
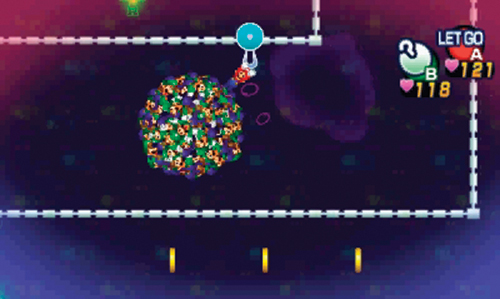
After dropping from the Hook, initiate another Hookshot. This time you can see a Line Hook attached to a track above. When white brackets appear around the Line Hook, press
to shoot the string of Luiginoids outward. The Luiginary Ball reforms once attached to the Line Hook. Unlike the previous one, this Line Hook moves along a track—swing the Ball left and right, like a pendulum, to collect coins along the way. When the Line Hook moves to the far right of the track, press
to let go, then drop down the shaft to the right.
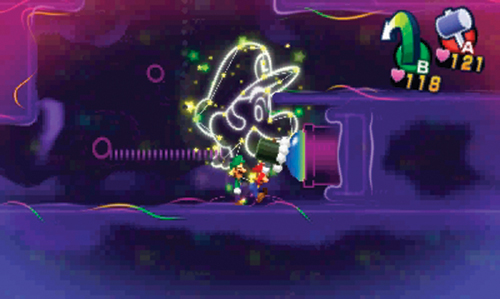
On the bottom level, roll the Ball all the way to the left, smashing a few Dark Blocks along the way. But eventually the Ball comes to a stop—press
followed by
to return to normal. Leap over the ledges to the left to reach another blue switch–whack it with your hammer to activate the second light atop the Zeekeeper Statue’s head. Now, exit to the left.
D
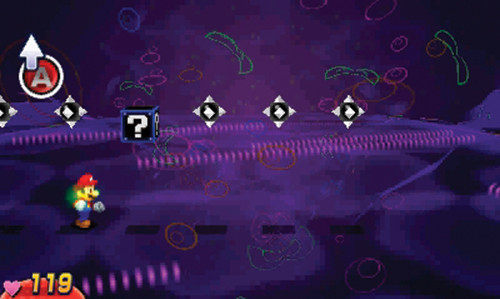
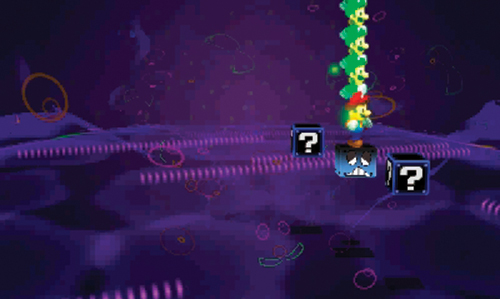
While passing through here, battle the Dark Blocks. During their attack phase, Dark Blocks pass over Mario’s head, along with several other objects—jump up to strike the Dark Blocks to avoid taking damage. When it’s your turn to attack, rely on Luiginary Attacks of simple Jump attacks to inflict damage. Once a Dark Block has been defeated, it turns into a standard ? Block—press
to collect what’s inside.
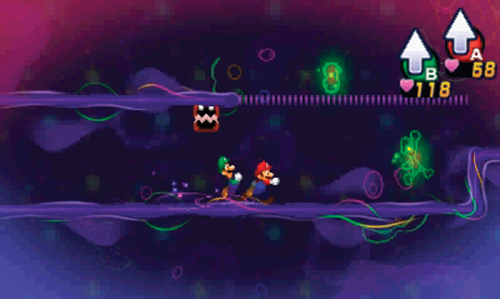
Exiting on the bottom left causes Mario and Dreamy Luigi to appear on the upper right, on the middle platform. On this middle level, battle more Dark Blocks, then exit to the left to collect 50 coins. Return to the middle platform and exit on the right to reach the top platform. Here there are more Dark Blocks—defeat them and then exit this maze-like room by taking the passage on the upper left.
E
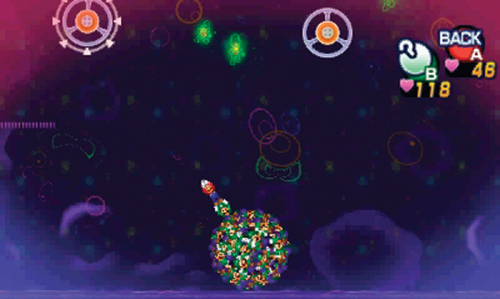
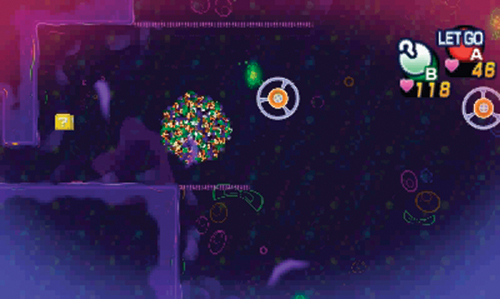
Form a Luiginary Ball here and use the Spin Hooks to navigate through this room. Press
to Hookshot from one Spin Hook to the next, collecting coins along the way. Finally, work your way toward the Spin Hook on the far left. When the Ball is above the left, press
to release. Grab the Ultrasyrup Jar and Secret Box from the nearby ? Blocks, then exit on the left side.
F
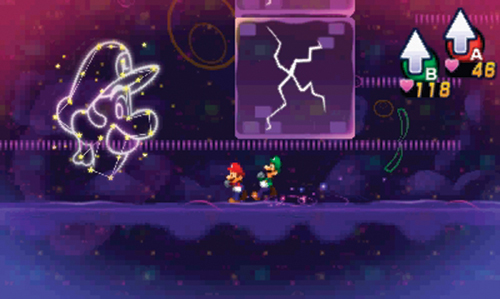
There isn’t much you can do in this room yet, so drop down to the ground floor and exit to the left.
G
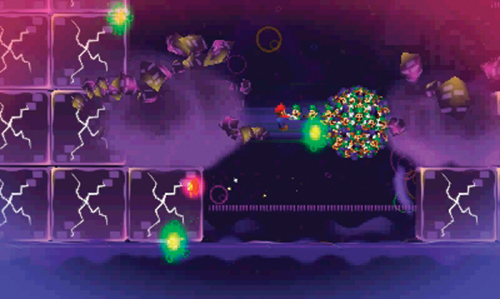
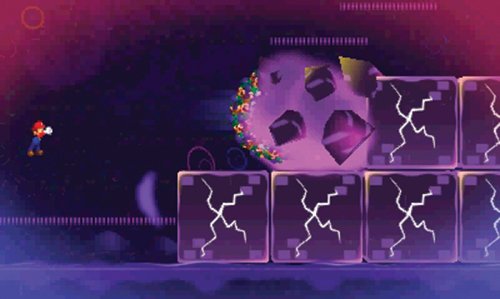
Use the platforms here to aid your climb over the first set of massive blocks. Once on the other side, Dreambert appears—form a Luiginary Ball. Dreamy Luigi has an idea. When prompted, press
to make Mario swing the Luiginary Ball like a giant wrecking ball, smashing the blocks on either side—move the Circle Pad to adjust the elevation of the swing. While swinging the Luiginary Ball, press
again to release it, causing it to fly through the nearby blocks before returning to Mario. This is called the Ball Hammer, and it comes in handy for smashing a variety of objects. Use the Ball Hammer to smash through the rest of the blocks here, then exit on the right to return to area F.
F
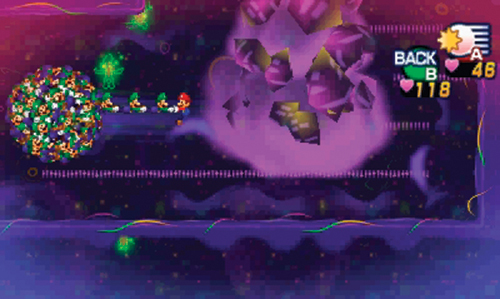
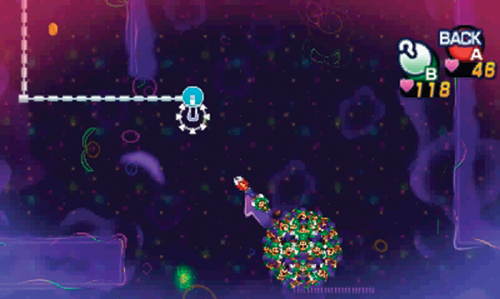
Now you can do some damage to this room. Use the Ball Hammer to smash the towering column of blocks. As you smash the first few blocks, more come falling down—keep the Ball Hammer swinging until all of the blocks are gone. Now, jump up to the nearby platforms and use a Hookshot to reach the nearby Line Hook. Ride the Line Hook upward, collecting coins along the way.
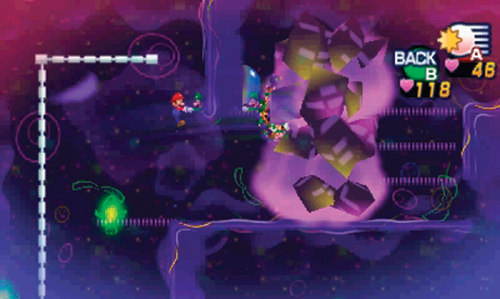
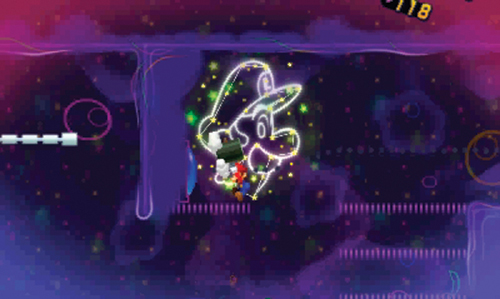
Release from the Line Hook at the top and use the Ball Hammer to smash through the blocks on the right. With the blocks out of your way, you can strike the third and final blue switch with your hammer. This activates the third light on the Zeekeeper statue. Exit on the upper-right side of this room to return to area A.
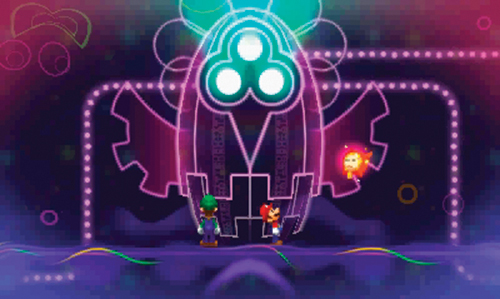
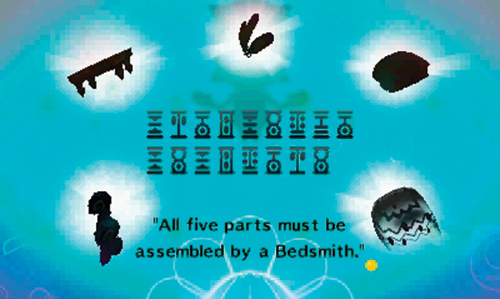
Back at the Zeekeeper statue, the three lights project the image of several cryptic Pi’illo characters. Dreambert translates the characters—apparently they’ll need something called the Ultibed if they want to harness the Zeekeeper’s powers. The Ultibed is constructed of five parts, scattered across Pi’illo Island. The Pajamaja Rock Frame rests on Mount Pajamaja. The Dozing Mattress is located in Dozing Sands. The Mushrise Tree Board is in Mushrise Park. The Driftwood Jellyfish Sheets are located in Driftwood Shore. And lastly, the Zeekeeper’s Feathers are located somewhere in Pi’illo Castle. All five parts must be assembled by a Bedsmith, found in Wakeport. Before departing, the statue releases the Ultibed Manual—this offers a summary of the required parts and their approximate locations. Dreambert theorizes that if Luigi sleeps on the Ultibed, they can find the dream world where the Zeekeeper lingers. Once the conversation with Dreambert is over, return to Dreamy Pi’illo Castle by entering the light to the left—press up on the Circle Pad to exit Dream’s Deep.
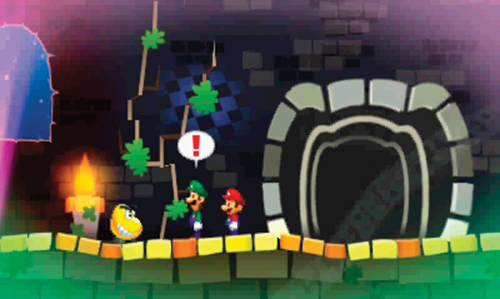
Back in Dreamy Pi’illo Castle, Mario and Dreamy Luigi catch a glimpse of a Gold Beanie—it scurries away through the nearby doorway. Broque Monsieur isn’t far behind, disappointed in his attempt to catch this rare monster. He informs Mario and Dreamy Luigi that Gold Beanies offer special prizes if you’re lucky enough to beat one in battle. Dreambert adds that the Gold Beanie only appears in dream worlds and rewards victors with unique prizes as well as many coins. From this point on, keep watch for Gold Beanies and always engage them in battle. Now return to area A of the dream world and jump into the dream portal to return to the real world.
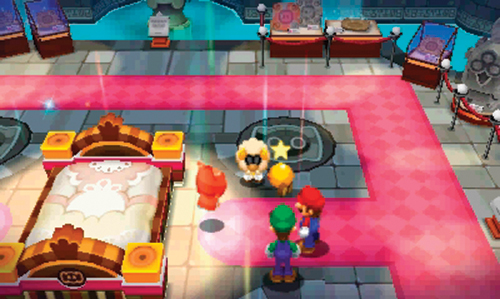
Mario, Luigi, and Dreambert confer with Dr. Snoozemore upon their return from the dream world. Dreambert advises heading for Mount Pajamaja first, to find the Pajamaja Rock Frame. But there’s no particular order you need to collect these bed parts in. So while you’re here in Pi’illo Castle, consider looking for the Zeekeeper’s Feathers. Return to the lobby (in area 1), then head north to reach area 3, returning to the rocket platform room.
 Rocket Platform
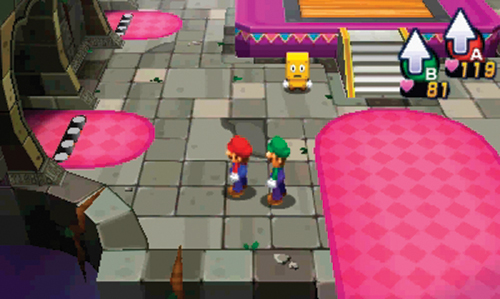
Since you last visited this area, three new areas are open for exploration. The cafeteria is located to the west while the Battle Ring and west wing are located to the east. Take a moment to explore each area.
 Cafeteria
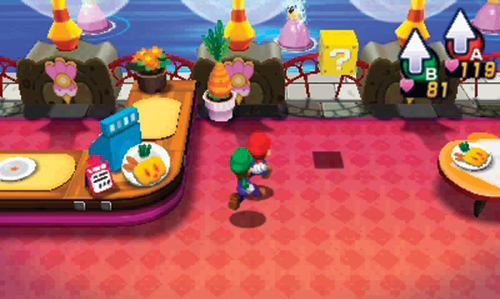
With the exception of some tourists and a ? Block containing coins, there isn’t much to do in the cafeteria. Still, the patrons are more than likely to engage in conversation.
 West Wing
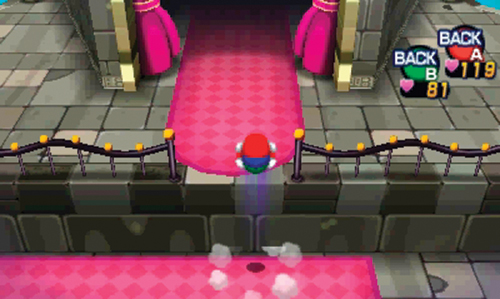
Strike the ? Blocks here to obtain coins. There’s also a Brock hiding in the right corner, clearly slacking from his duties. To reach the upper area here you must obtain the Ball Hop ability, learned in Mount Pajamaja. Only then can you reach the Zeekeeper chamber to the north.
 Zeekeeper Chamber
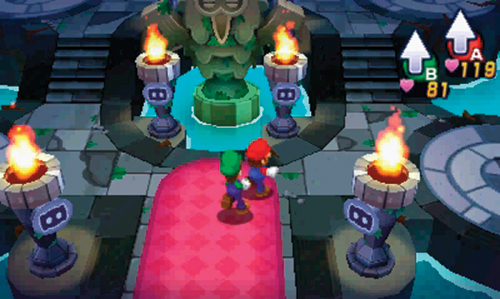
This quiet chamber is dominated by a large Zeekeeper statue. There’s also plenty of treasure to be found here. The M Block contains an Ultra Nut, a ? Block holds a Rally Belt, and the L Block contains Ultra Candy. There are also two other ? Blocks containing coins.
 Battle Ring
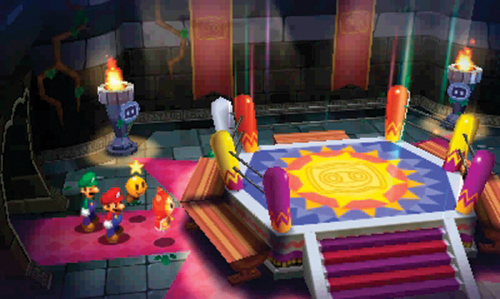
Behold, the Battle Ring! Dreambert offers a bit of background on this room—after all, this used to be his castle. You can fight boss enemies here of those you’ve encountered thus far. However, the enemies fought here are stronger than the versions you fought earlier. Winning battles here earns you prizes, but no EXP. When prompted, choose to enter the Battle Ring. This prompts Luigi to fall asleep in the middle of the ring while Mario leaps into a dream portal.
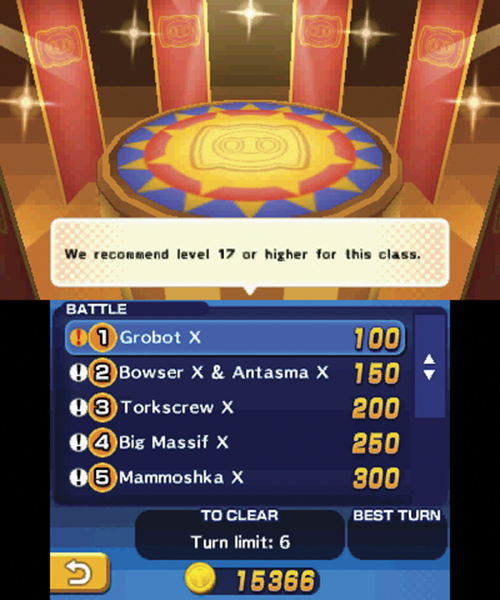
Dreambert guides you through the Battle Ring menus, allowing you to choose from standard battles or giant battles. If you win Battle Class 1, you’ll earn the Zeekeeper’s Feathers, a key part to the Ultibed. In the menu, choose to fight Grobot X for your first battle. Unlike earlier battles, there are certain conditions during Battle Ring battles. For one, there are turn limits—in the case of Grobot X, you must win within six turns. You also have limited items available and you can adjust your badges beforehand. Once you’re ready to face Grobot X, start the battle—it costs 100 coins to begin.
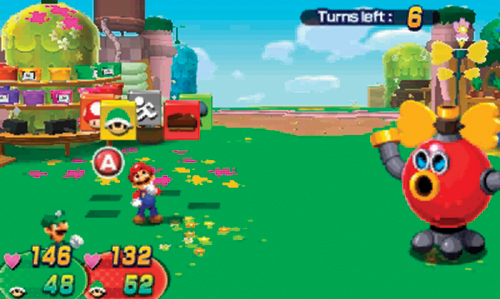
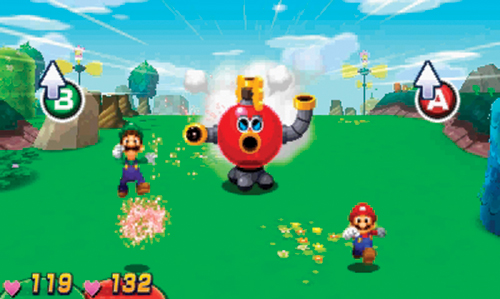
Fighting Grobot X is similar to battling Grobot back in Mushrise Park. But Grobot X has much more HP and does more damage with his attacks. Since you only have six turns in which to complete this battle, don’t hold back. Rely primarily on Bros. Attacks to deal heavy damage against Grobot X. Bomb Derby and Dropchopper offer the best options for quickly reducing Grobot X’s HP. But standard Jump attacks are effective too, particularly if Mario and Luigi are level 20 or higher. Grobot X has his opportunities to attack too. But these attacks shouldn’t come as a surprise. Do your best to avoid or counter these attacks.
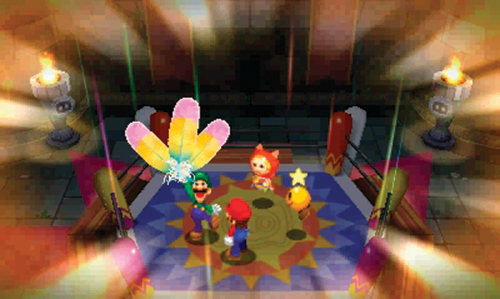
Defeating Grobot X earns you 600 coins as well as the Zeekeeper’s Feathers. You also earn a trophy with each Battle Ring victory. With one part of the Ultibed in your possession, it’s time to resume the search for the remaining four bed parts. Or if you feel like it, enter the Battle Ring and secure more victories to earn coins. When you’re finished playing in the Battle Ring, return to area 13 and enter the Warp Pipe—head for Mount Pajamaja Base next!
Battle Ring Costs/Rewards
| Battle | Turn Limit | Coin Cost | Coin Reward |
|---|---|---|---|
| Grobot X | 6 | 100 | 600 |
| Bowser X & Antasma X | 8 | 150 | 900 |
| Torkscrew X | 8 | 200 | 1,200 |
| Big Massif X | 12 | 250 | 1,500 |
| Mammoshka X | 16 | 300 | 1,800 |
| Elite Trio X | 12 | 350 | 2,100 |
| Pi’illodium X | 26 | 400 | 2,400 |
| Antasma X | 14 | 500 | 3,000 |
| Battle Medley | 45 | 1,000 | 10,000 |
| Robo-Drilldigger X | 10 | 200 | 1,200 |
| Mount Pajamaja X | 13 | 250 | 1,500 |
| Earthwake X | 10 | 300 | 1,800 |
| Zeekeeper X | 6 | 350 | 2,100 |
| Bowser X | 6 | 400 | 2,400 |
| Giant Battle Medley | 41 | 800 | 8,000 |