
Mario & Luigi: Dream Team Guide Walkthrough Wakeport
Wakeport
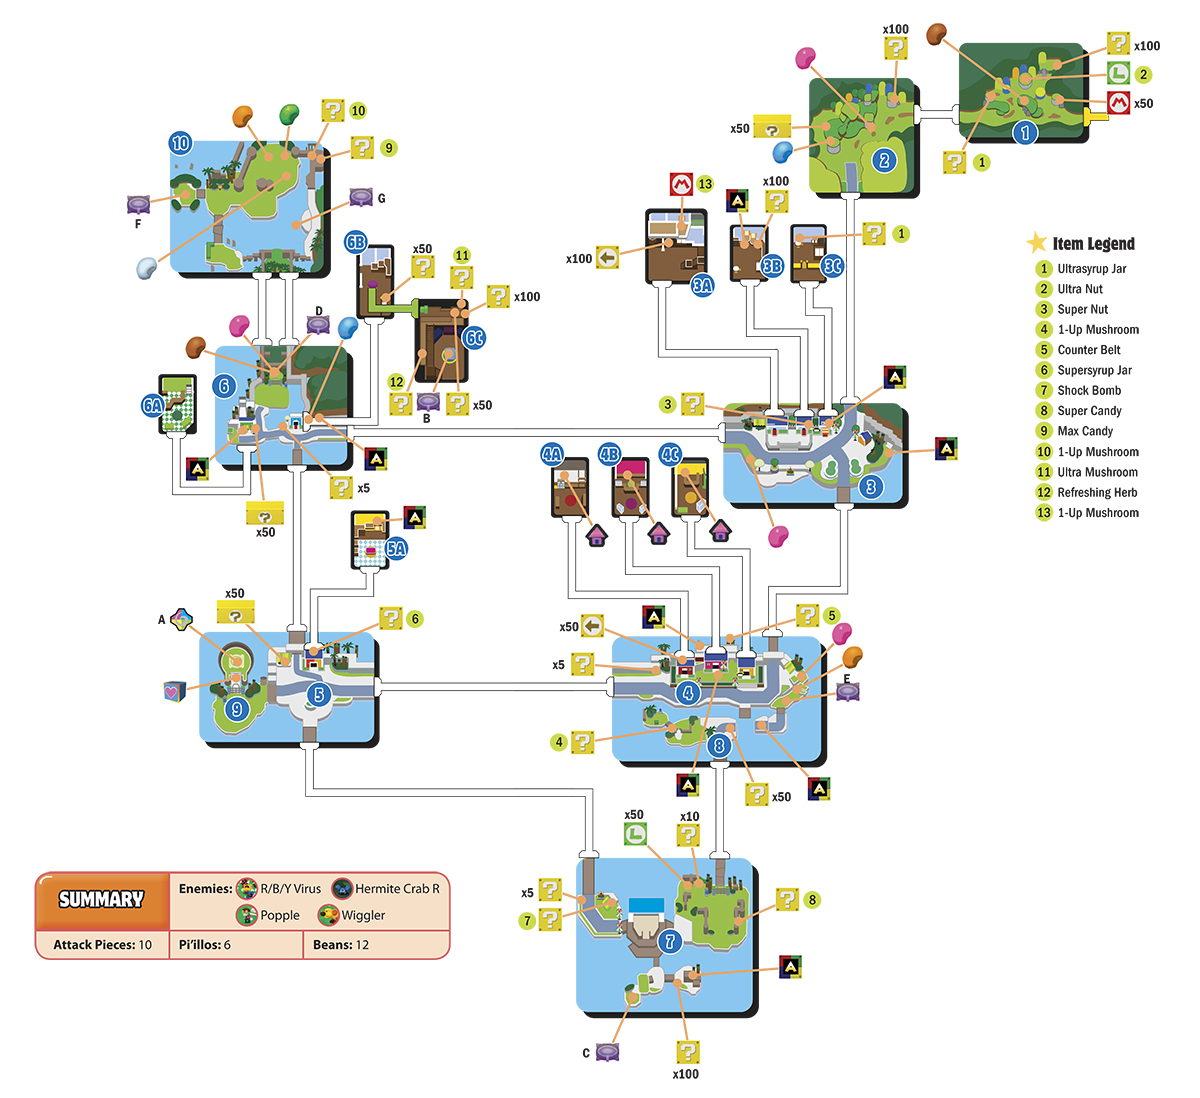
 Tour Center
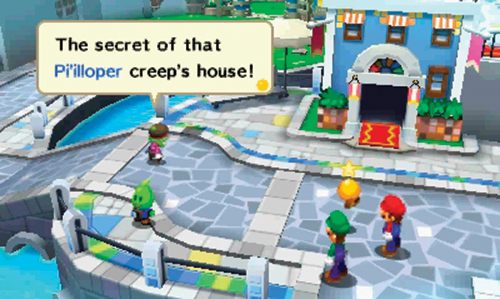
After arriving in Wakeport, head east, entering area 6. Here Mario and Luigi have another run-in with Popple—he’s planning to rob the house of someone called the Pi’illoper. Earlier he couldn’t find a way to reach the second floor. But now that he has a map provided by the tour center, he’s found a way in. After revealing his plans out loud, Popple scurries off to the west. Perhaps you should follow him? Starlow feels this Pi’illoper character may be a Pi’illo collector. But there’s no need to search the bottom floor of the house now. Like Popple, you need to find your way into the second floor—it’s only accessible from the rooftop.
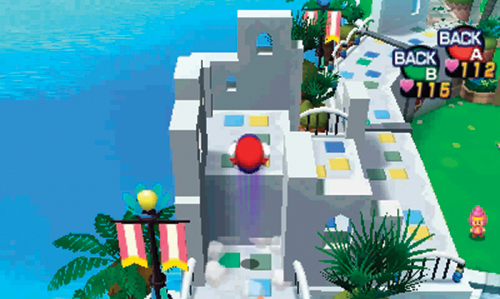
Jump up on the wall directly west of the Tour Center. Here you can use the Ball Hop to reach the high ledge. Advance along the wall and exit to the north.
 Northern Ruins
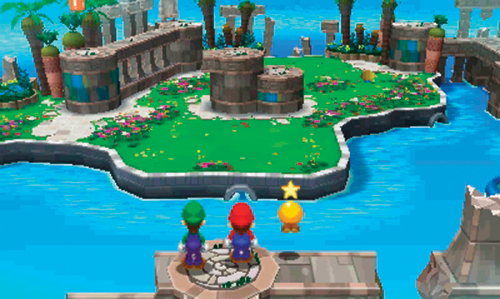
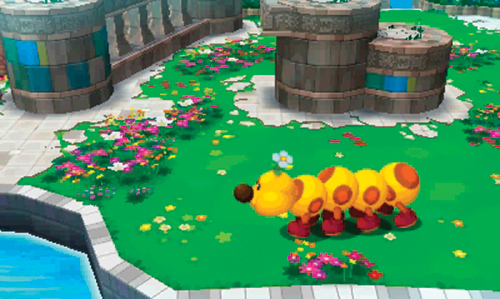
The ruins here date back to the Pi’illo Kingdom—it doesn’t look like anyone else comes back here. Luigi spots Popple snooping about to the north. But his progress is halted by the presence of a Wiggler. The Wiggler just wants to relax among the flowers. But Popple is convinced this Wiggler is some sort of security guard hired by the Pi’illoper. Descend the wall to the west and battle a R/B/Y Virus and Hermite Crab R below.
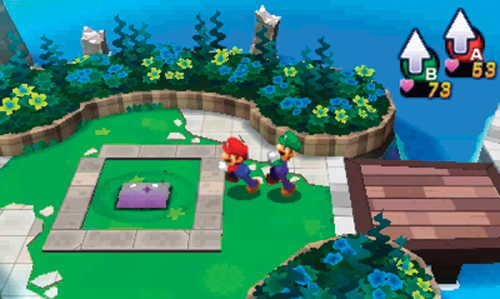
Cross the bridge to the north, then head to the small island on the west. A pillow rests at the center of this island. Enter the dream world and rescue this Pi’illo (F) before approaching Popple. After returning from the dream world, restore your HP and BP by consuming Mushrooms and Syrup Jars.
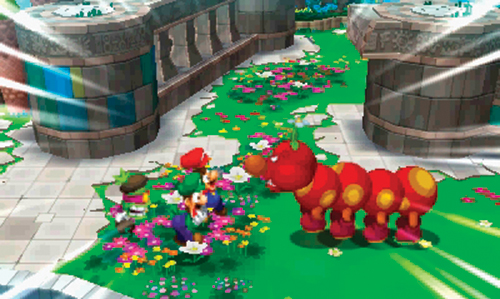
Popple is still trying to devise a plan to get past Wiggler—try to walk past Popple. As Mario and Luigi advance, Popple stops them, fearing they’re after his treasure. But Popple comes to realize that he can use Mario and Luigi to his advantage. Popple approaches and antagonizes Wiggler, before shoving Mario and Luigi forward to do battle. Simply trampling Wiggler’s pretty flowers is enough to get his attention. But when Popple hurls insults at Wiggler, he turns red with anger and prepares for battle.
Wiggler Battle
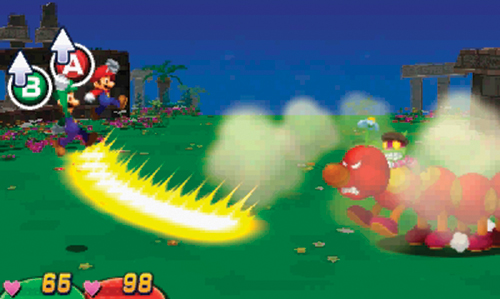
Early in the battle, Popple climbs atop Wiggler and yanks the flower growing on his head. Obviously, this makes Wiggler mad. In an attempt the shake Popple free, Wiggler bucks wildly. As Wiggler stomps the ground, a yellow line of energy radiates along the ground—jump over it to avoid taking damage. As Popple goes flying through the air, use your hammer to knock him out of the sky.
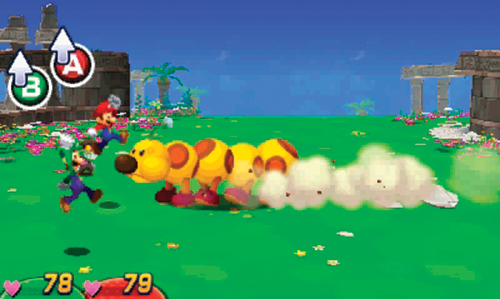
Wiggler also performs a charging attack. Jump on him as he comes charging at Mario or Luigi. On his way back, Wiggler comes charging at the other brother, this time approaching from the left side. Once again, jump on top of Wiggler to inflict minor damage—it’s better than getting trampled.
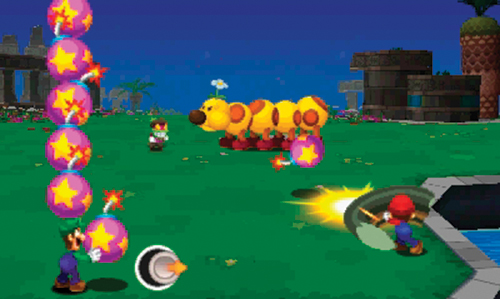
Popple talks a big game, but when it’s his turn to face off against Wiggler, he gives up, hiding behind Mario and Luigi. Wiggler has an enormous amount of HP. Simple Jump and Hammer attacks don’t inflict enough damage to bring this battle to close. So when it’s your turn to attack, initiate a Bros. Attack, such as Bomb Derby or Slingsniper. These attacks inflict the heaviest damage against Wiggler. But even then, you’ll need to perform multiple Bros. Attacks to come out on top. If necessary, take a turn to consume Syrup Jars to restore your BP.
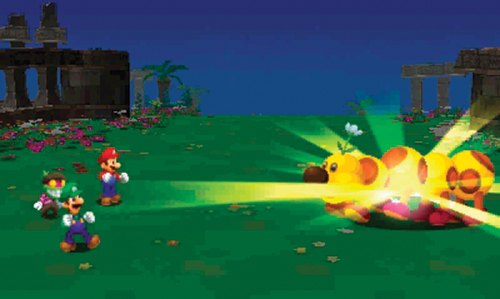
Continue evading Wiggler’s charge and stomp attacks while dishing out Bros. Attacks of your own. After landing several back-to-back Bros. Attacks, Wiggler’s HP is finally depleted. Defeating Wiggler nets you 400 coins and the possibility of earning a 1-Up Deluxe or Max Candy.
Popple Battle
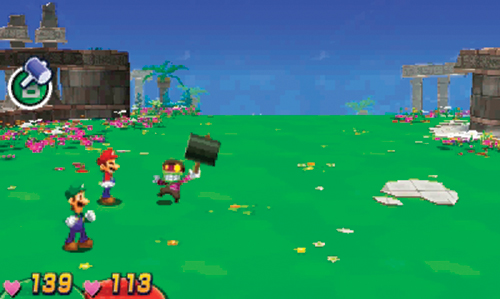
But once Wiggler is out of the way, the battle isn’t over—Popple turns on Mario and Luigi, eager to claim the Pi’illoper’s treasure for himself. As Popple approaches, whack him with your hammer. If you don’t, he’ll spin Mario or Luigi around—rendering them defenseless—before striking them with a hammer of his own.
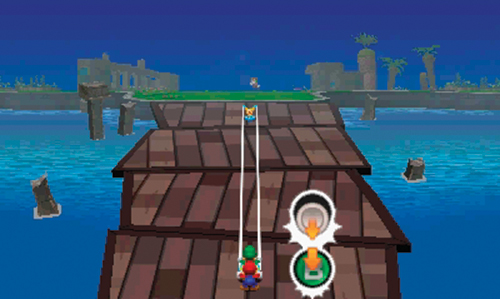
Following the battle with Wiggler, you may be low on BP, so consider taking a turn to consume a Syrup Jar to replenish your BP. When it comes to attacking Popple, nothing is more satisfying than punishing this thief with a powerful Bros. Attack. When it’s Luigi’s turn to attack, use the Slingsniper Bros. Attack to dish out some serious damage—remember, the quicker you acquire the target and release, the more damage dealt. Popple isn’t quite as durable as Wiggler, but it still takes multiple Bros. Attacks to defeat him.
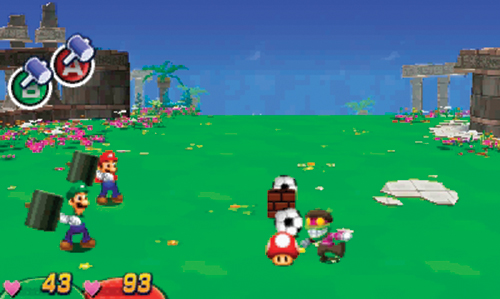
When Popple scatters a few objects (including soccer balls) onto the field, be ready to knock the soccer balls back at him with your hammer. Soccer balls are also contained within the blocks—Popple must kick the blocks first to reveal the soccer ball before kicking them at Mario and Luigi. Watch the direction Popple leans before kicking a soccer ball. If he faces forward, the ball will come flying at Luigi. But if he shifts his shoulders to the right, the ball will be kicked at Mario. But sometimes Popple scatters Mushrooms onto the field—don’t knock these back, otherwise the Mushroom will hit Popple and heal him. Instead, let the Mushroom heal Mario or Luigi.
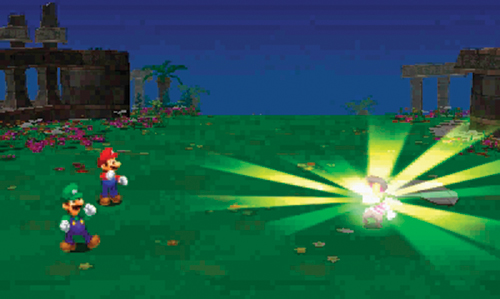
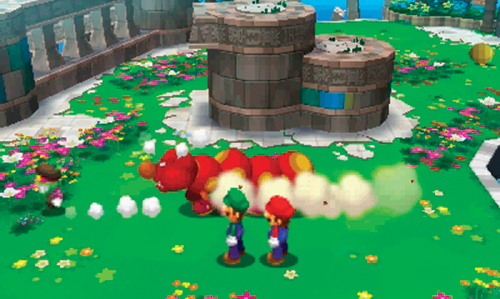
Continue countering Popple’s attacks while performing a series of Bros. Attacks to bring this battle to a close. Popple only drops 100 coins, but he also drops the rare Coin Bros. Gloves DX. When wearing these gloves, enemies drop 40% more coins! Following the battle, Popple continues to insult Wiggler. Before long, Wiggler turns deep red and chases Popple out of the area—you don’t have to worry about them anymore. Starlow suggests heading to the Pi’illoper’s house. Perhaps he may know where to find Bedsmith?
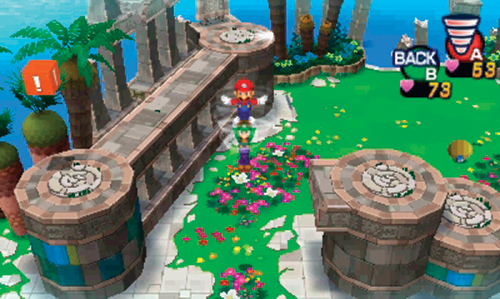
Explore the ground here to battle a few more Hermite Crab Rs. There’s also a Bros. Bean and Power Bean to the north. When you’re finished battling and exploring, Ball Hop up the circular platforms in the middle of Wiggler’s flower garden. From there, Spin Jump onto the wall to the west. Here, strike the Event Block to conjure a yellow elevator platform—you can use this to get back on top of the wall if you fall.
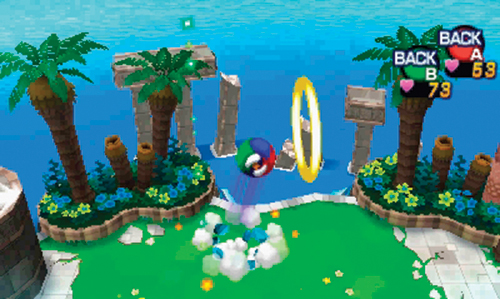
Move to the north side of the wall until you see a gold ring to the east. Just as you did back in Driftwood Shore, you must Ball Hop through a series of rings to reach the wall to the east. But this time the platforms that appear beneath you are brittle. You can only bounce on these platforms once before they break, causing you to fall. This means you need to run a flawless course through these rings. Follow this path to make it across: east, east, south, east, east, north, east, east, east. Once you pass through the final ring, the platforms become solid, making it easier to reach the eastern wall if you fall. ? Blocks containing a 1-Up Mushroom and Max Candy wait on the eastern wall.
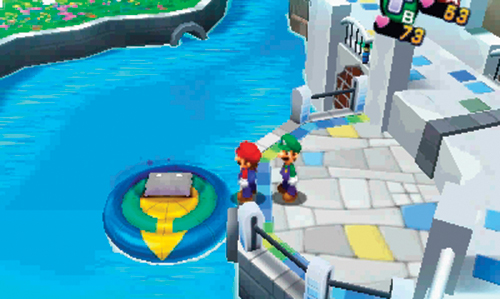
Travel south along the eastern wall until you spot a pillow resting on a Float Bed. Enter the dream world and use Luiginary Gravity to rescue this Pi’illo (G). After rescuing the Pi’illo, continue south along the wall, returning to area 6.
Tour Center
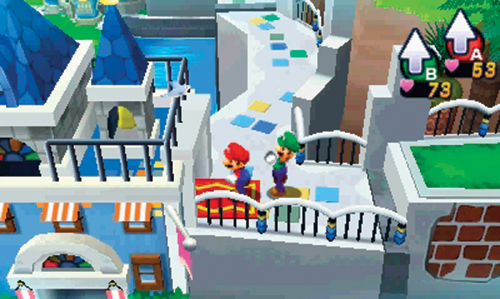
Continue south along the wall to reach the rooftop of the Pi’illoper’s house. There’s a Speed Bean atop the wall, directly east of the Pi’illoper’s house. But watch your step as you return to this area—if you fall off the wall you’ll need to backtrack all the way through area 10. Once you’ve grabbed the Speed Bean, enter the Pi’illoper’s house to the west.
6B: Pi’illoper’s House
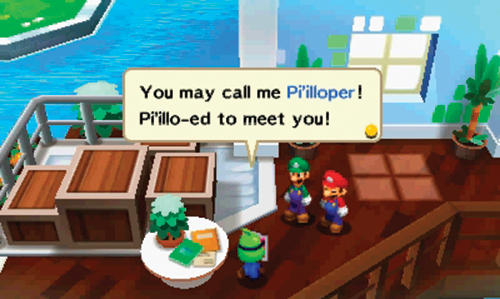
Upon entering, none other than the Pi’illoper himself (complete with Pi’illo mask) greets Mario and Luigi, instantly smelling Pi’illo artifacts. But before he shows off his own collection, he wants to see what kind of things Mario and Luigi have collected. One by one, Mario and Luigi show off the five different Ultibed parts, clearly impressing the Pi’illoper. After seeing Mario and Luigi’s collection, the Pi’illoper says he hasn’t been this excited since finding a pillow—this gets Mario and Luigi’s attention. The Pi’illoper invites you to view his collection, in what he calls his Pi’illo wonderland. Follow him downstairs and enter the green pipe on the first floor.
6C: Pi’illoper’s Basement
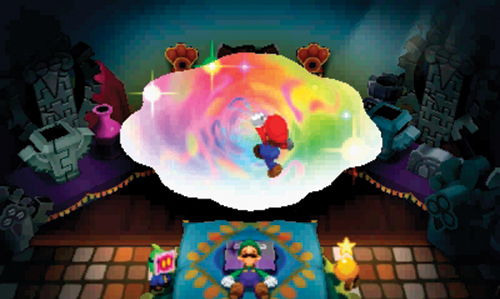
Take your time descending the steps here—there’s plenty of goodies stashed in ? Blocks along the way, including an Ultra Mushroom, coins, and a Refreshing Herb. Rendezvous with the Pi’illoper downstairs—he’s eager to share his collection with other Pi’illo enthusiasts. But Starlow isn’t too impressed, having seen similar artifacts in Pi’illo Castle. That’s when the Pi’illoper reveals his most prized piece—a super rare pillow. Dreambert appears and shoves the Pi’illoper aside to take a closer look—according to the pattens, Bedsmith is trapped inside this pillow. Enter the dream world to save Bedsmith!
Dreamy Wakeport (B)
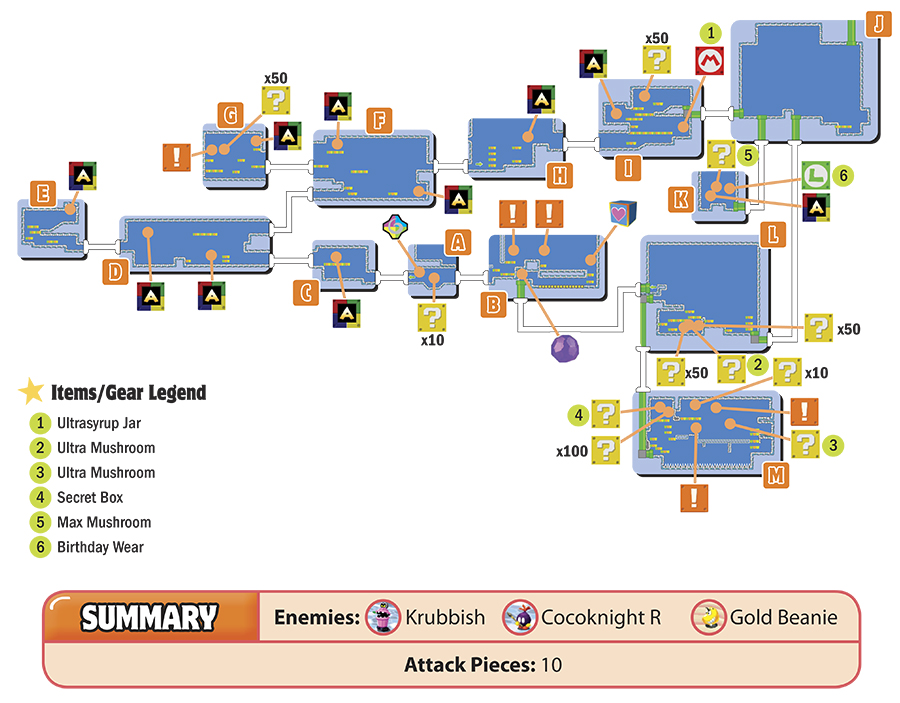
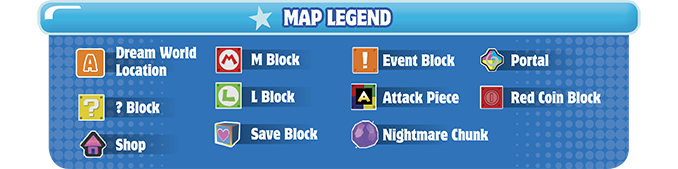
A

Bedsmith is entrapped within a single nightmare chunk located in this sprawling dream world. There’s nothing else you can do here, so exit to the right.
B
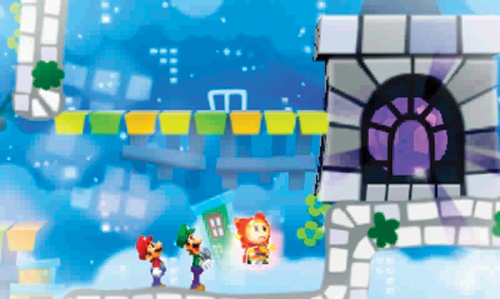
Here’s the nightmare chunk, housed within a castle-like tower. But there’s currently no way to reach it or break through. You’ll need to find another way back to this area. But for now, exit through the passage in the lower-left corner. Pass back through area A and continue moving to the left to reach area C.
C
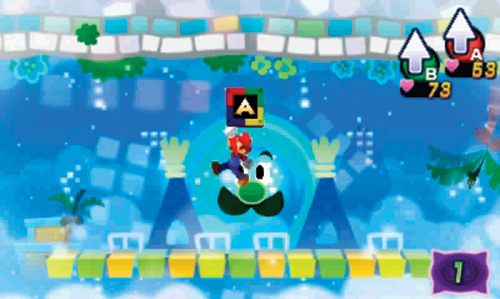
Use the Sneeze Wind here to blow the blocks in the background to the foreground, allowing Mario to reach the upper platform where the first Attack Piece is waiting. Grab the Attack Piece and exit on the left.
D
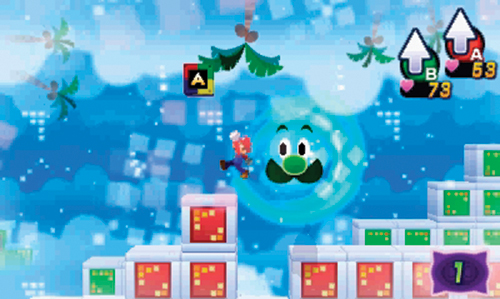
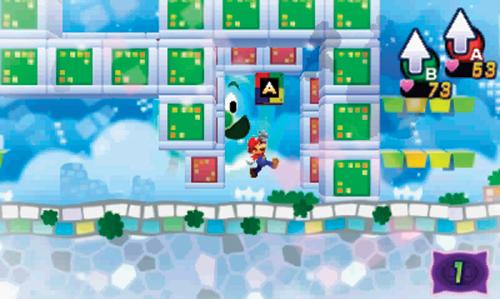
There are two Attack Pieces in this room. Once again, use the Sneeze Wind to blow background blocks forward. This allows you to obtain the Attack Piece on the upper left. After grabbing this Attack Piece, move to the right, standing in the open gap between the green background blocks. Use the Sneeze Wind again to rearrange the blocks and drop to the lower level where you can obtain the next Attack Piece. There are two exits here. Take the one on the left side first to enter a dead-end area.
E
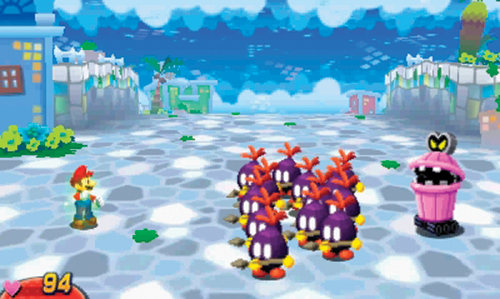
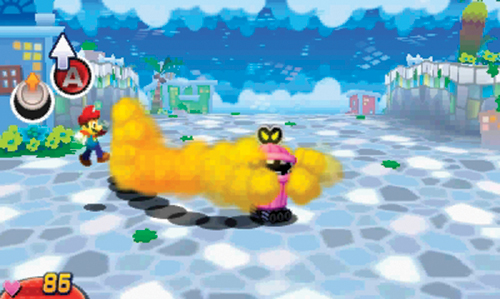
Watch out for the Cocoknight Rs here—don’t get hit by their incoming spears. Instead, hit them with a Jump or Hammer attack to initiate a battle. These enemies are tougher variants of the Cocoknights you encountered earlier. Expect the same kinds of attacks and counters. Some of the Cocoknight Rs are joined by a Krubbish or two, pink trash-can-like foes. During their attack, the Krubbish inhales several Cocoknights and coughs out a cloud of dust, shaped like an arm and fist. Before he attacks, pay attention to which direction the Krubbish coughs in, as this indicates the direction the dust cloud attacks will come from. Move Mario in the opposite direction of the incoming attack, then leap over the dust cloud as it approaches. During these battles, target the Krubbish enemies first, preferably with Jump attacks. If you have BP to spare, a powerful Luiginary Attack is also very effective against these large groups of enemies.
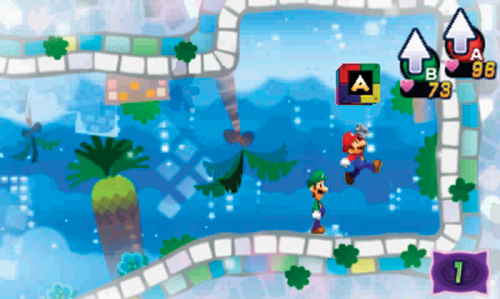
Work your way toward the Attack Piece in the upper-right corner, defeating more Cocoknight Rs and Krubbishes along the way. Once you’ve obtained this Attack Piece, backtrack through area D and exit on the upper right—you’ll need to use the Sneeze Wind a few times to properly arrange the blocks to reach this exit.
F
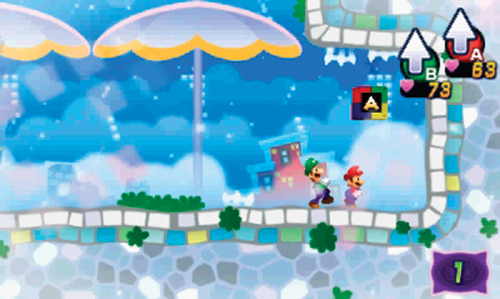
This room contains two more Attack Pieces. There’s also a chance you may encounter another Gold Beanie here too. Clear out all the enemies here, including several Cocoknight Rs and Krubbishes, then move to the right to collect the Attack Piece in the bottom-right corner. There isn’t much else you can do here now, so exit on the left side—you’ll come back here to collect the other Attack Piece after visiting area G.
G
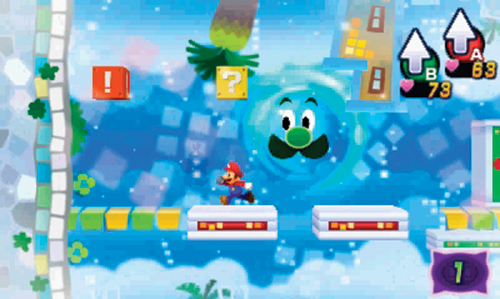
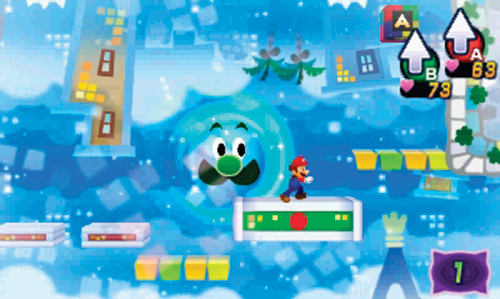
Use the Sneeze Wind once again to navigate through this room. Work your way to the upper-left corner first to strike an Event Block—this rotates a green platform to the right, allowing you to reach the Attack Piece. But you must use the Sneeze Wind once more to bring this platform to the foreground. After gathering the Attack Piece, exit on the upper right, returning back to area F.
F
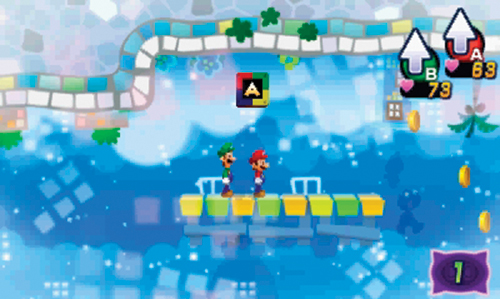
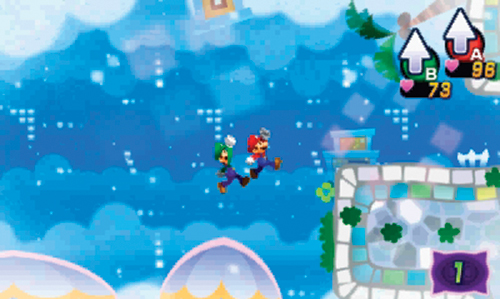
If you exited area G on the upper platform, you arrive back here next to an umbrella. Hop on the umbrella to the right to reach the platform above—umbrellas function like trampolines, allowing Mario and Dreamy Luigi to jump higher. Grab the Attack Piece on the platform, then continue jumping across the tops of the umbrellas here to reach the exit on the upper right.
H
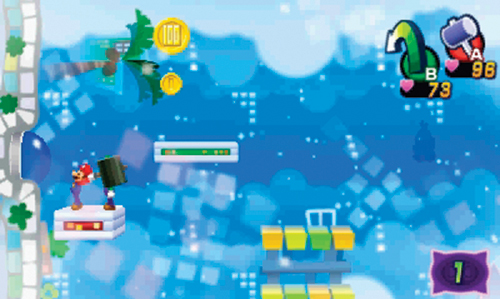
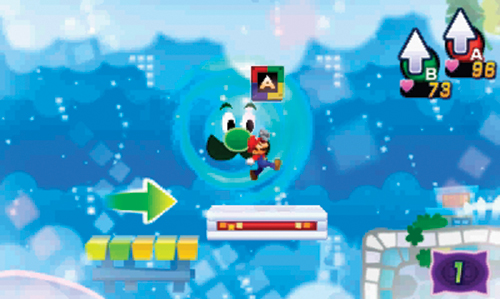
Upon entering here, ascend the nearby platforms to reach the moving red platform above. While standing on the moving red platform, strike the blue switch on the left wall with your hammer. This causes the umbrella below to open. Now you can jump on the umbrella to reach the red platform to the right—grab the Attack Piece just above it. If you’d like, you can use the Sneeze Wind to rearrange the platforms here, allowing you to reach the coins on the upper left. Otherwise, simply exit to the right.
I
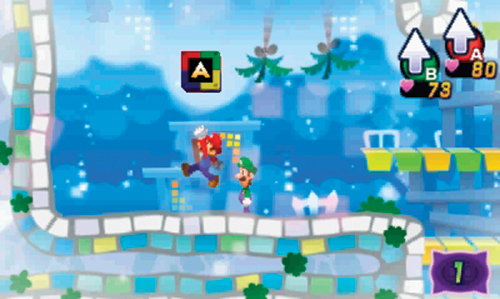
Defeat the Krubbishes and Cocoknight Rs here while advancing along the various platforms. Be sure to enter the alcove on the upper left to obtain another Attack Piece. When you’re finished battling and collecting items like the Ultrasyrup Jar from the M block here, exit through the green pipe on the upper-right side.
J
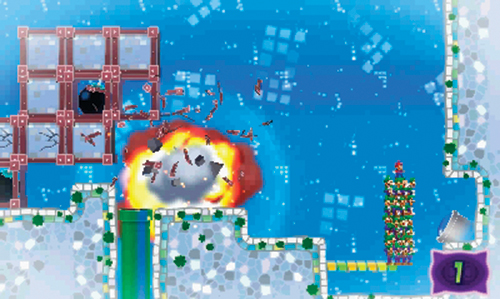
Form a Luiginary Stack here and Spring Jump over the large formation of blocks to reach the right side. Lean the Stack out to the right, striking the blue switch on the right wall. This causes bombs to drop from the ceiling. Snap the Stack upright to bat the bombs towards the blocks on the left. Keep knocking the bombs to the left until all the blocks are destroyed. Once exposed, aim for the large bombs nestled among the blocks to trigger even larger, more devastating explosions. Destroying all the blocks uncovers two pipes in the floor. Enter the pipe on the left side first.
K
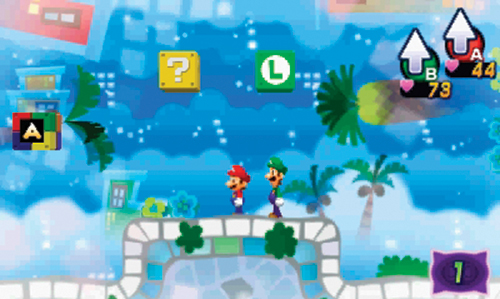
This small room contains the tenth and final Attack Piece as well as an L Block (holding Birthday Wear) and a ? Block containing a Max Mushroom. Grab the Attack Piece to learn a new Luiginary Attack: The Luiginary Wall!
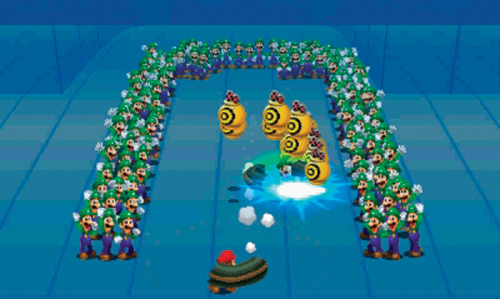
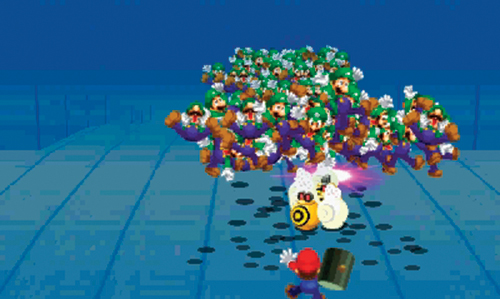
Take a moment to practice the Luiginary Wall before using it in a real battle. During this attack, the Luiginoids form a three-sided box as Mario uses his hammer (
 ) to knock Dreamy Luigi across the floor. When struck by Mario’s hammer, Dreamy Luigi bounces against the Luiginoid wall, smacking enemies along the way. The idea is to bounce Dreamy Luigi off the three enclosed walls—use the Circle Pad to move Mario around so you can strike Dreamy Luigi from different angles, causing him to fly in new directions. But be careful not to damage the perimeter wall too heavily—each time Dreamy Luigi makes contact with the wall, Luiginoids disappear, making the wall thinner and thinner. For best results, send Dreamy Luigi bouncing all over the place to avoid weakening the wall in any single spot. At the conclusion of the attack, the Luiginoids form a massive vertical wall in the background. Knock Dreamy Luigi into this distant wall to cause the Luiginoids to come crashing down on your enemies. This is without a doubt one of the most powerful Luiginary Attacks, ideal for dishing out damage to large groups or individual enemies. When you’re finished practicing the Luiginary Wall, return to area J and enter the green pipe on the right to access area L.
L
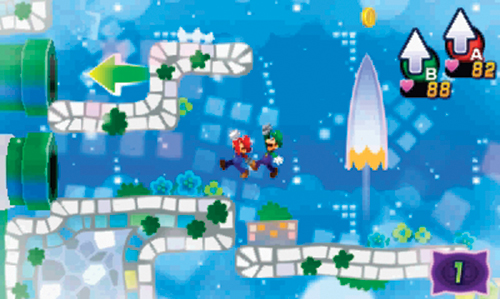
Consider giving the Luiginary Wall a shot here while battling the Krubbishes and Cocoknight Rs—they won’t stand a chance! But there’s not much else you can do here now, so exit through the green pipe on the left side.
M
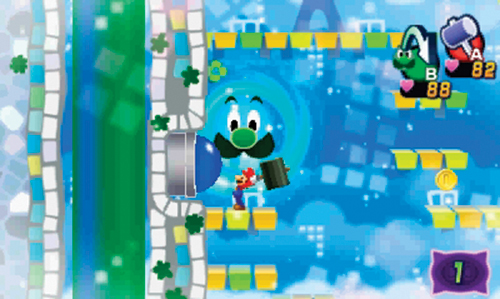
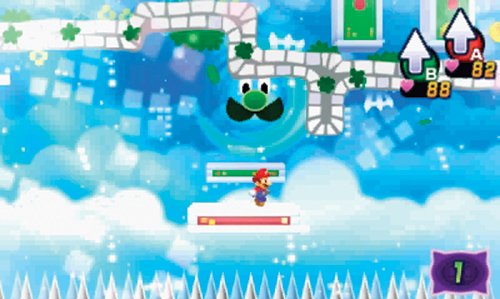
Strike the blue switch on the left wall with your hammer to open one of the umbrellas back in area L. Next, board the moving green platform below and ride it to the right, above the spiked floor. When it intersects with the red platforms in the background, use the Sneeze Wind. This allows Mario to shift from the green platform to the red platform without falling. Continue crossing platforms in this fashion until you reach the right side of the room. There you can whack another blue switch with your hammer, opening yet another umbrella in area L.
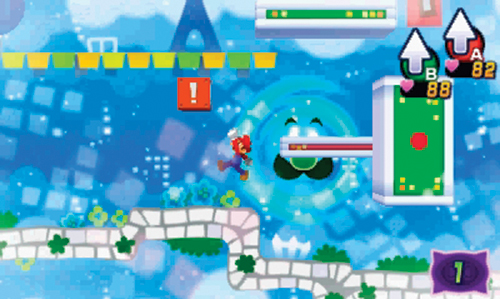
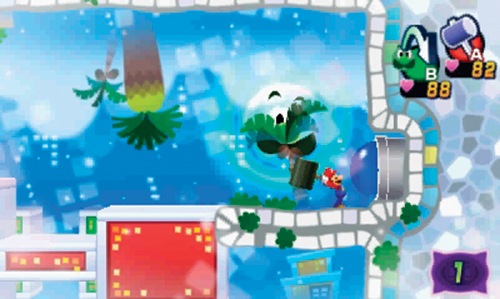
Ascend to the upper level and strike the Event Block on the left side. This rotates a series of green platforms, allowing Mario to cross. Use the Sneeze Wind to bring the distant red platform forward so you can reach the next blue switch above—this opens another umbrella back in area L. Initiate another Sneeze Wind to restore the green platforms, then cross to the right, striking the fourth and final blue switch on the right wall. This opens the fourth and final umbrella back in area L. Before heading back to area L, explore the rest of this room to obtain goodies from the various ? Blocks.
L
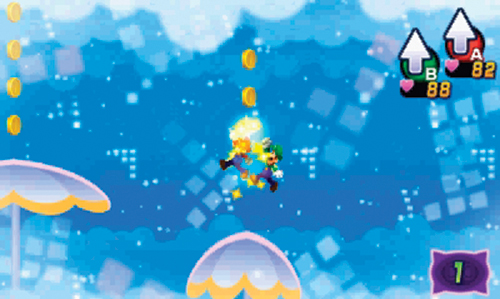
Now that all of the umbrellas are open, move to the right side. Jump atop the first umbrella on the right, then continue bouncing your way across the room, collecting coins along the way. Enter the green pipe on the upper left to return to area B.
B
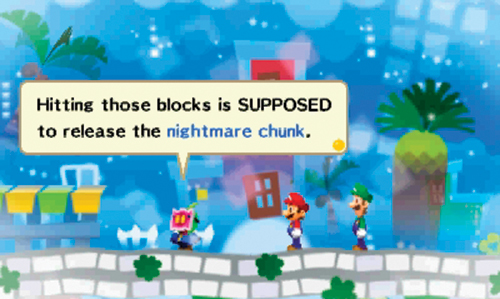
Cross the Conveyor on the lower level and advance toward the nightmare chunk in the center of the room—you may want to save your game at the Save Block before approaching the nightmare chunk. Before you can reach the nightmare chunk, Mario and Dreamy Luigi encounter the Pi’illoper. He proceeds to lecture Mario and Dreamy Luigi about the nightmare chunk, explaining that it can possibly be released by striking two Event Blocks. But he warns that doing so will release a terrible gigantic guardian.
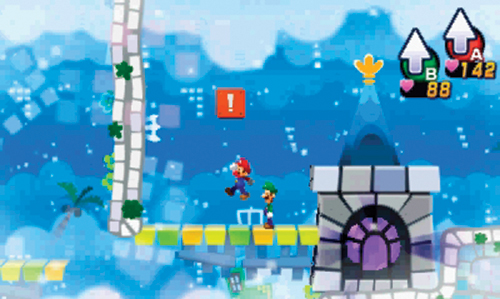
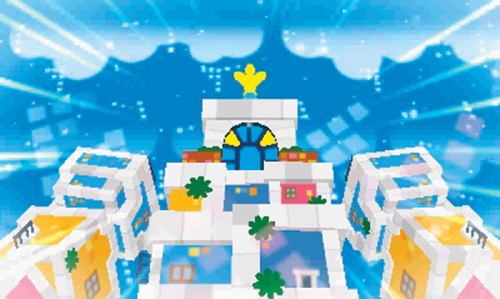
When Pi’illoper leaves, strike the nearby Event Block, on the right side of the nightmare chunk. A warning is sounded after striking the Event Block (and a pail falls on Dreamy Luigi’s head), but nothing else happens. Proceed to the next Event Block and strike it. This time a bright flashing light appears above the nightmare chunk. Pi’illoper returns to warn of the guardian’s arrival—he makes a hasty exit, leaving Mario and Dreamy Luigi to face this battle on their own. The guardian, named Earthwake, takes form out of the surrounding buildings in the background. Tilt the Nintendo 3DS and prepare for another giant battle—press the flashing L on Luigi’s hat on the Touch Screen to begin.
Destination: Somnom Woods
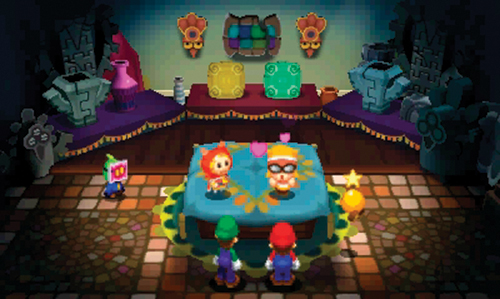
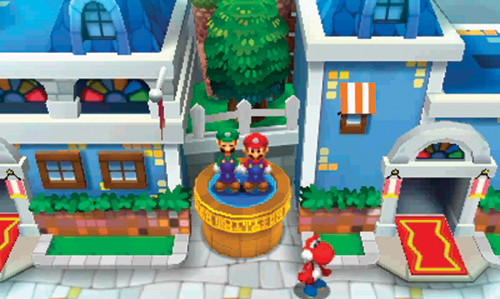
Dreambert fills in Bedsmith on recent events and asks for his help in assembling the Ultibed. But Bedsmith can’t do it here in Wakeport. His shop is located in Somnom Woods, east of Mushrise Park. You must meet him there. Return to the Warp Pipe in area 3 and set a course for the Mushrise Park Entrance—this will put you within a short walking distance to Somnom Woods.