
Mario & Luigi: Dream Team Guide Walkthrough Pi’illo Blimport
Pi’illo Blimport
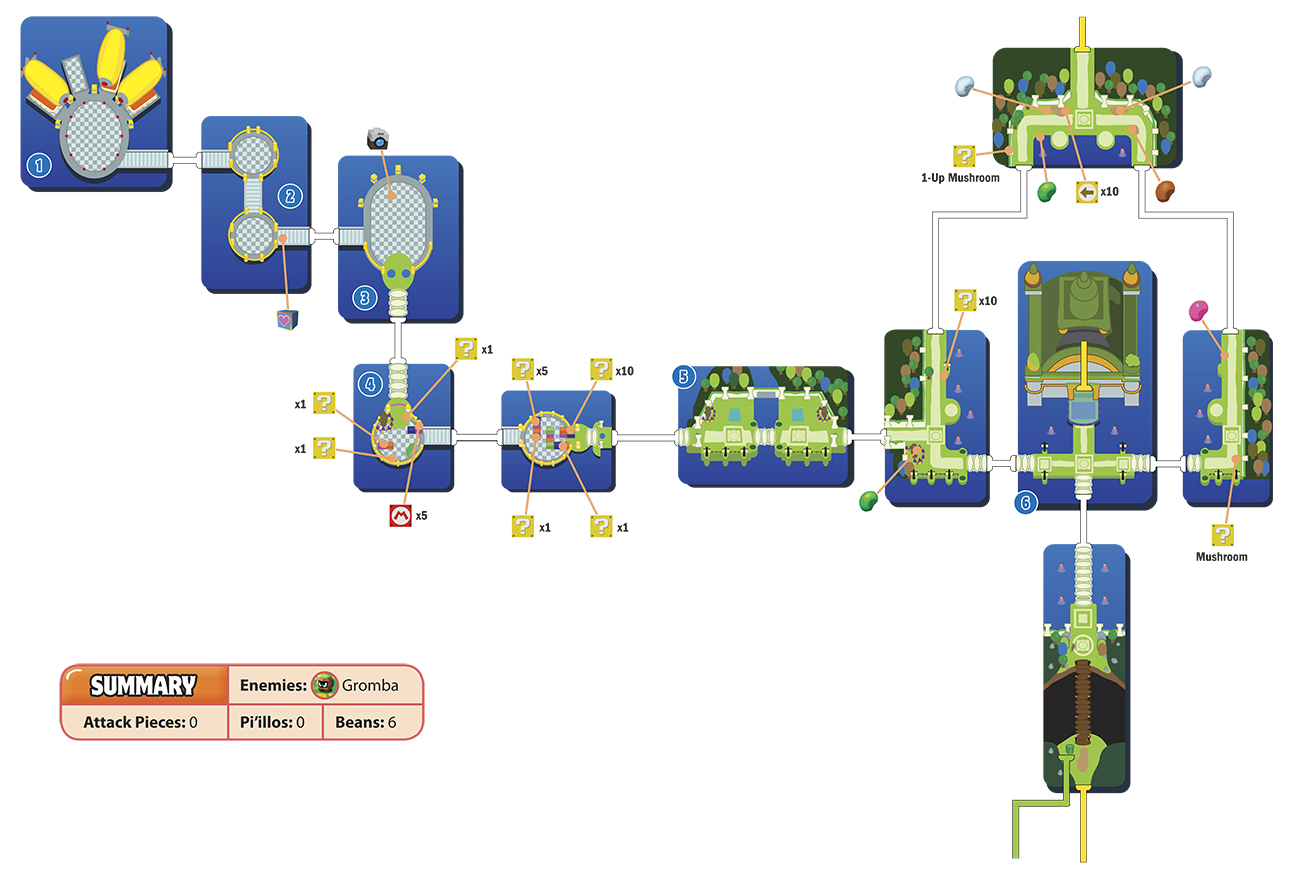
 Landing Pad
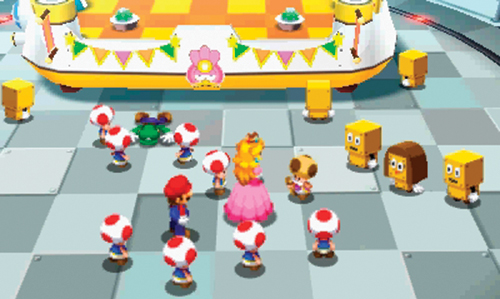
Soon after Luigi’s awkward awakening, a group of Brocks show up at the Blimport to welcome Princess Peach and the other guests to Pi’illo Island. Toadsworth is somewhat incensed that Dr. Snoozemore himself is not present to greet Princess Peach. But the Brocks report that Dr. Snoozemore is away on business, spreading the word about Pi’illo Island in an effort to draw more tourists. However, he’ll be back soon enough to greet Peach in person.
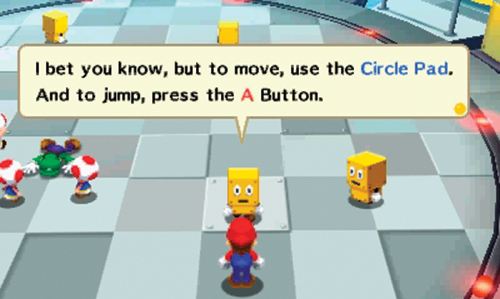
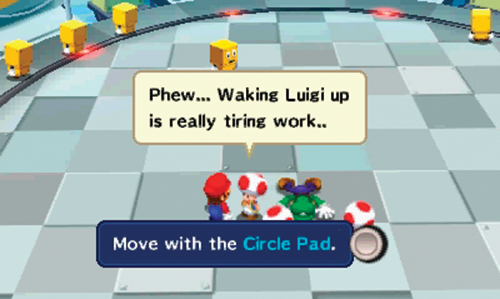
As Peach and the rest of her entourage follow the Brock tour guides, one Brock stays behind to offer Mario some advice on basic movement. Take a moment to review the controls while moving around the landing pad. Practice jumping and talking to the other Brocks standing around the Blimport landing pad. Every character you encounter has something to say. Make an effort to speak to everyone you encounter during your adventure. Some characters offer some helpful clues, not to mention some mini-quests that may yield worthwhile rewards. Luigi is still face down on the landing pad, surrounded by a trio of Toads. The Toads offer to stay behind and wake up Luigi as you catch up with Peach and the tour guides. When you’re finished speaking with everyone, exit this area on the right side of the landing pad.
 Save Block
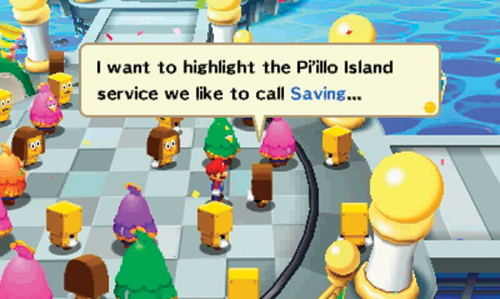
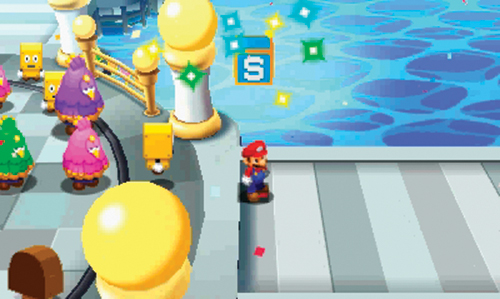
In the next area the path is lined with a celebratory group of Brocks and Zeekeepers. Feel free to speak with each character along the way. As you near the end of the path, a Brock stops Mario to inform him about saving. There are a couple of ways to save your game. At any point during the adventure you can select the large “S” icon on the Touch Screen to initiate a save. Alternatively, look for Save Blocks scattered throughout the world—stand beneath these blocks and jump up to initiate a save. Whether using the icon on the Touch Screen or a Save Block, make an effort to save your game frequently.
 Pi’illo Island Welcome Quiz
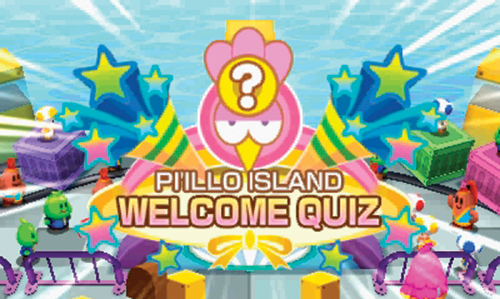
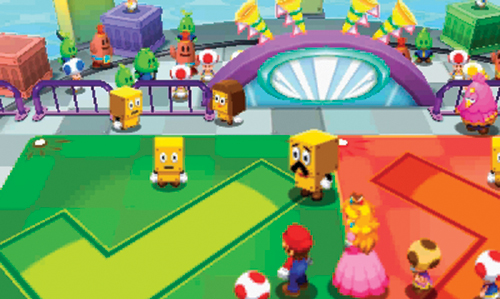
Just ahead a crowd has gathered for the 612th Pi’illo Island Welcome Quiz. Here Mario is tasked with answering two questions pertaining to Pi’illo Island. The test is conducted by Broque Monsieur. You may remember Broque Monsieur from Mario & Luigi: Bowser’s Inside Story. Here Broque Monsieur serves as the tourism ambassador for Pi’illo Island. For the quiz Broque Monsieur will ask two true/false questions. You can answer by speaking to one of two Brocks; one standing on the green checkmark panel (for true) or the one standing on the red X panel (for false). Hopefully you’ve been paying close attention.
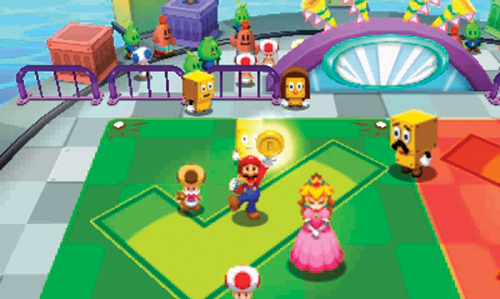
- Question 1: This island is named Pi’illo Island.
This island is indeed named Pi’illo Island so move to the green panel on the left and speak to the Brock to answer “true.” Broque Monsieur awards Mario with five coins for answering the question correctly.
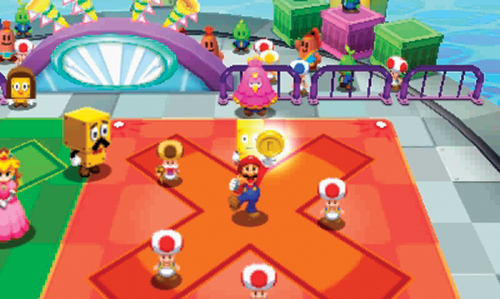
- Question 2: Dr. Sneezemore is the island’s leader.
The leader of the island is Dr. Snoozemore, not Dr. Sneezemore, so move to the red panel on the right and speak with the Brock to answer “false.” Broque Monsieur awards Mario with another five coins for answering this final question correctly. Following the quiz the gates to the south open, providing access to Pi’illo Castle.
 The Road to Pi’illo Castle
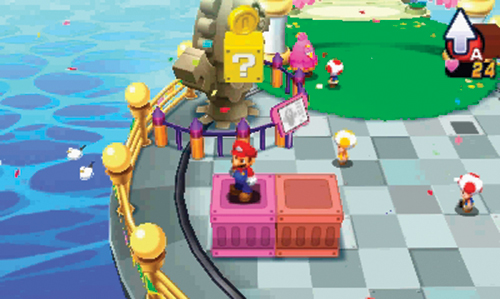
After completing the quiz, you encounter another Save Block. Go ahead and save your game and then explore the surrounding area. Here you find a Zeekeeper Guardian statue as well as two ? Blocks. You know what to do. Move Mario beneath the ? Blocks and jump up to gather a few coins. When you’re finished exploring here, resume your advance to Pi’illo Castle by heading east. Broque Monsieur greets you on the bridge and urges you to proceed with haste.
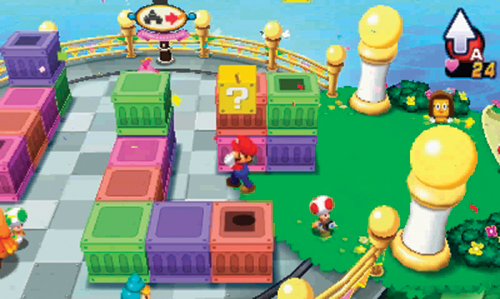
There are four more ? Blocks in this area. If you’re having trouble spotting them, look for their shadows, directly beneath each block. Here you must jump on a series of colored blocks to reach each ? Block. The ? Blocks all contain more coins. In addition to the ? Blocks there are also several characters to talk to along this path.
 Battle Primer
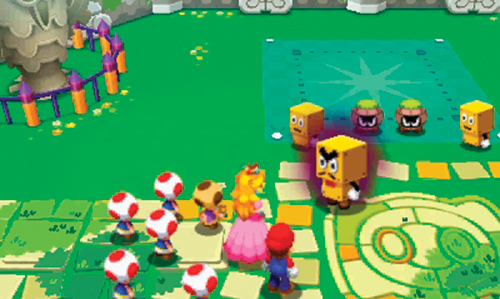
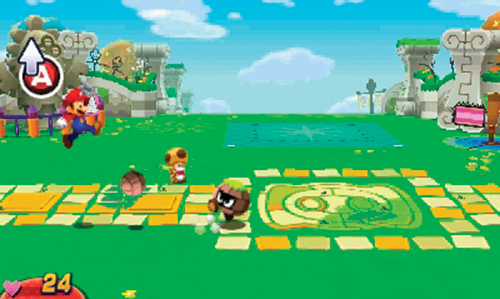
Mario catches up to Princess Peach and her entourage here. But as Mario joins the group, a gate closes behind the group. Broque Monsieur is here too, but he doesn’t seem his cheerful self. In fact, he threatens to feed the guests to a hungry Gromba! Once again, Mario steps forward to protect the group as Toadsworth offers more information. Use Jump attacks to strike the Gromba during your turn. But when it’s the Gromba’s turn to attack, be ready to jump the rocks it kicks at you. Keep performing Jump attacks until the Gromba is defeated.
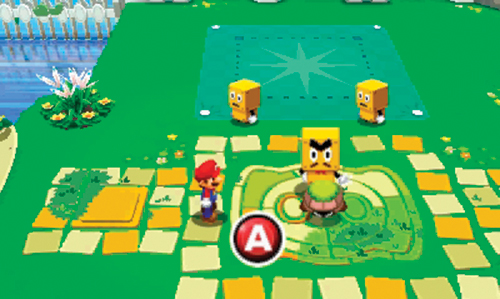
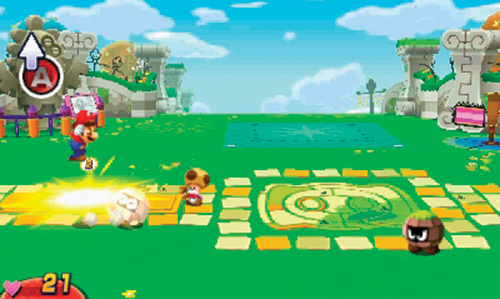
But Broque Monsieur doesn’t seem impressed by your skills, releasing another Gromba from a cage. But this Gromba seems more interested in sleeping than fighting. As Toadsworth advises, jump on the Gromba while it’s still slumbering to inflict some pre-battle damage. As the battle commences, there are actually two Grombas to defeat. During this battle Toadsworth shows you how to perform counterattacks. When the Grombas roll toward you, time your jump carefully so you land on top of them, inflicting damage. Counterattacks are a great way to keep piling on damage during a battle. But every enemy attack is a little different, requiring different counterattack methods. Continue dishing out damage to the two Grombas, both during your turn and during their turn by performing counterattacks.
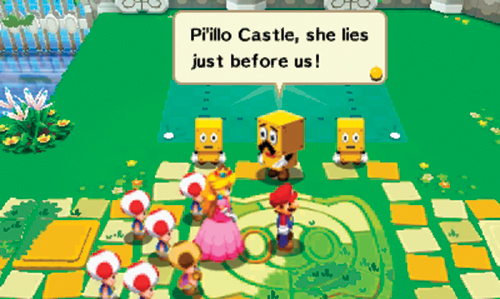
After defeating the two Grombas, Broque Monsieur returns to his cheerful self, explaining that the Gromba attacks were mere acts, one of many events planned for guests. Princess Peach is relieved to hear that they were never in any danger. Without much more of an explanation, Broque Monsieur urges his guests to continue toward Pi’illo Castle to the east. Luigi is still fast asleep back at the Blimport. But don’t worry about fetching him—he’ll catch up.
Coin-Up Challenge
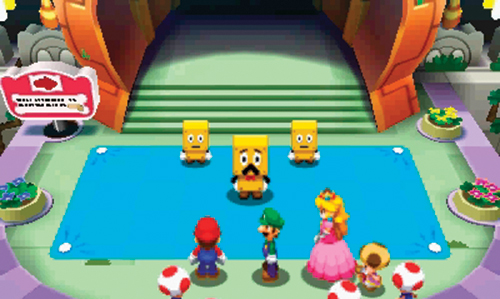
Follow Princess Peach and her entourage to Pi’illo Castle, passing along the crowd-lined path. At the castle Broque Monsieur appears once again to greet his guests. Luigi finally catches up with his friends just in time for a new challenge. Before entering the castle Broque Monsieur proposes an opportunity to earn more coins.
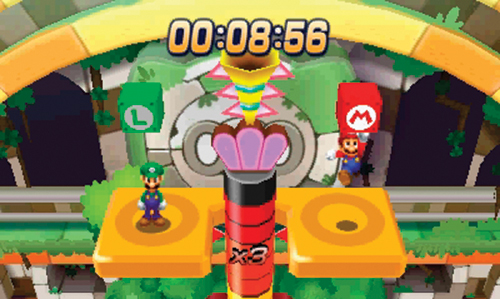
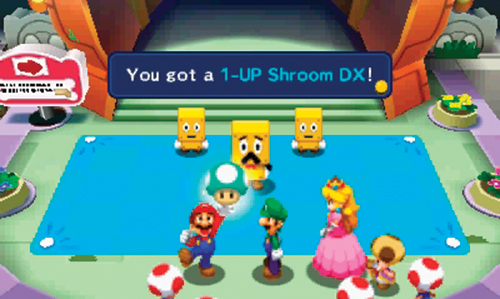
To compete in the Coin-Up Challenge, Mario and Luigi must alternate their jumps to hit the red M and green L Blocks above their respective platforms. With each hit, the platforms rise. The higher the platforms go, the higher the coin multiplier. As the challenge starts press
 to make Mario jump, then immediately press
 to make Luigi jump. Continue alternating jumps to make the platforms rise. If you accidentally press the same jump button twice, the platforms will fall. So strive to maintain a steady
and
rhythm to raise the platforms to the top of the pole-like meter in front of the castle. Get to the very top within 25 seconds to achieve a 3X coin multiplier, tripling the coins in your inventory! If you reach the very top you earn a 1-Up Mushroom DX as a bonus prize! And just for participating you win one Mushroom. Following the Coin-Up Challenge, Mario, Luigi, and the rest of the Mushroom Kingdom guests enter Pi’illo Castle.
to make Luigi jump. Continue alternating jumps to make the platforms rise. If you accidentally press the same jump button twice, the platforms will fall. So strive to maintain a steady
and
rhythm to raise the platforms to the top of the pole-like meter in front of the castle. Get to the very top within 25 seconds to achieve a 3X coin multiplier, tripling the coins in your inventory! If you reach the very top you earn a 1-Up Mushroom DX as a bonus prize! And just for participating you win one Mushroom. Following the Coin-Up Challenge, Mario, Luigi, and the rest of the Mushroom Kingdom guests enter Pi’illo Castle.
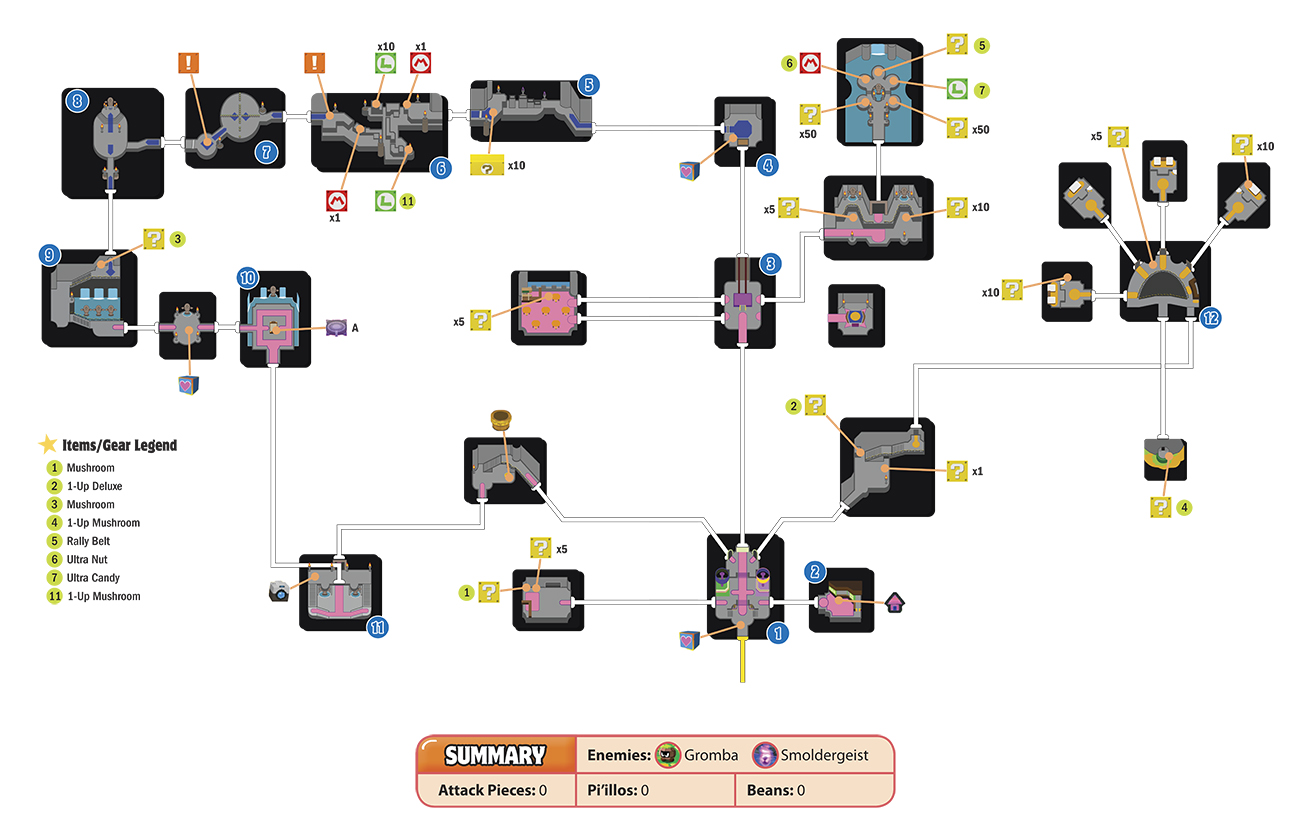
Castle Lobby
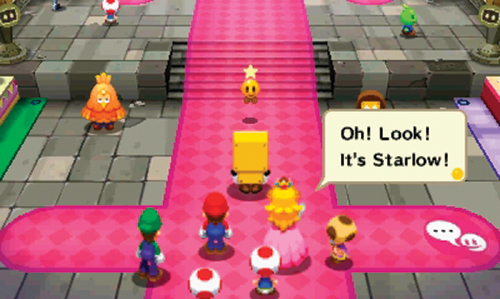
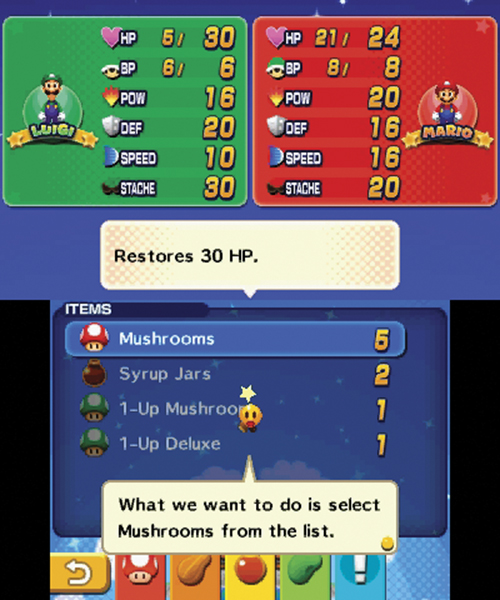
As Princess Peach and her entourage enter Pi’illo Castle they’re pleasantly surprised to find Starlow. Starlow has been asked to visit the island as well, representing the Star Sprites. After greeting everyone, Starlow offers to help Luigi use a Mushroom to restore his HP. Follow Starlow’s step-by-step instructions to select a Mushroom from the Items menu and apply it to Luigi. Mushrooms are critical health items necessary to restore both Mario and Luigi’s HP after taking damage during battles.
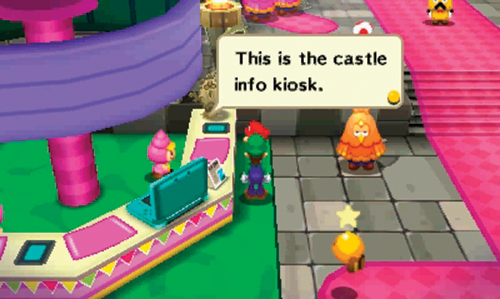
Following Starlow’s quick tutorial on using items, Broque Monsieur encourages his guests to explore the castle, including the gift shop to the east. But before rushing to the shop, take a moment to talk to various characters in the lobby. The castle’s information kiosk is on the west side of the lobby. Here you can learn more about the various floors of the castle.
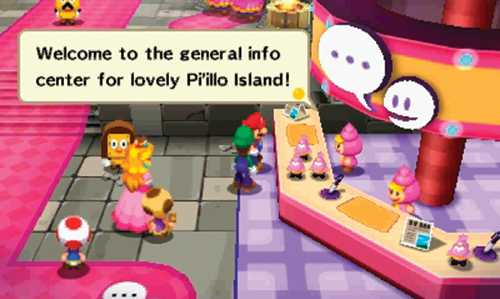
Next, visit the desk on the east side of the lobby. The staff here provide general information on Pi’illo Island, offering a brief description of each area including Pi’illo Blimport, Mushrise Park, Dozing Sands, Wakeport, Mount Pajamaja, Driftwood Shore, and Somnom Woods. You’ll be visiting all of these areas eventually, so it’s good to learn a little more before your visit.
Gift Shop
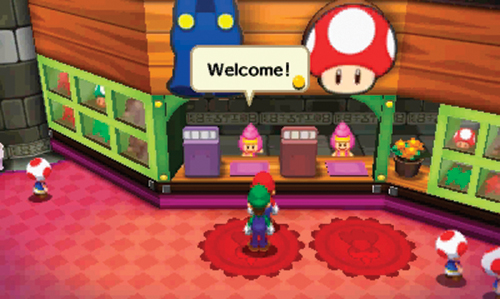
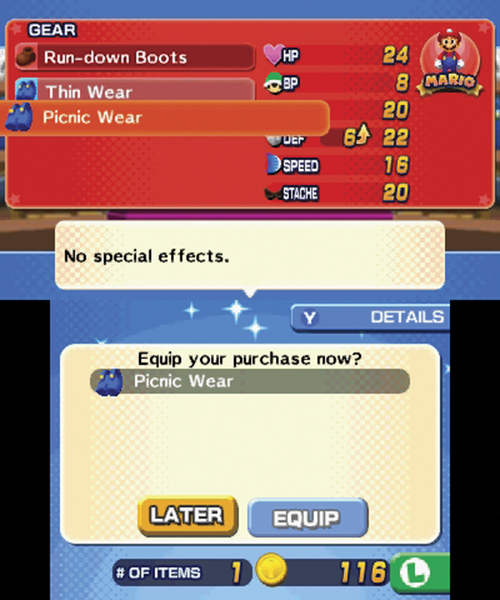
Once you’ve explored the lobby, pass through the doorway on the east side to access the castle’s gift shop. There are three different vendors here—one deals in items, one deals in gear, and one deals in badges. Speak with the gear vendor first and consider buying (and equipping) the Picnic Wear for both Mario and Luigi. If you succeeded in the Coin-Up Challenge earlier you should have just enough money to afford these pieces. The Picnic Wear offers a bit more protection than your default Thin Wear. Once you’ve purchased and equipped Picnic Wear, sell your old Thin Wear back to the shop to recoup a few extra coins. Make a habit of selling items you’re not using—there’s no need to lug around a bunch of gear you’ll never use.
Pi’illo Castle Shop Inventory
Items
| Merchandise | Coins |
|---|---|
| Mushroom | 10 |
| Nut | 25 |
| Syrup Jar | 20 |
| 1-Up Mushroom | 50 |
Gear
| Merchandise | Coins |
|---|---|
| Run-down Boots | 30 |
| Discount Boots | 100 |
| Picnic Boots | 190 |
| Thin Wear | 20 |
| Picnic Wear | 70 |
| So-so Wear | 140 |
| Picnic Hammer* | 190 |
| Run-down Hammer* | 30 |
| Discount Hammer* | 100 |
* = appears after reaching Dozing Sands
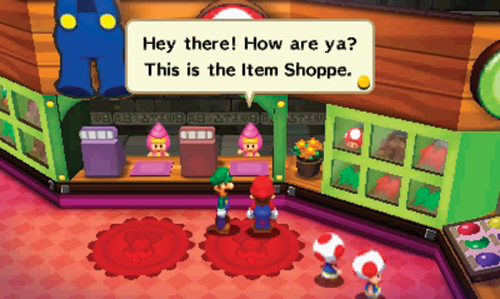
Next to the gear vendor is the items vendor. Here you can select from variety of consumable items including Mushrooms, Nuts, Syrup Jars, and 1-Up Mushrooms. It’s probably best to save your coins for now as you’re likely to find some of these items during your adventure. But once you start accumulating more coins and face tougher challenges, it’s important to stock up on items at shops like this. The shop is replenished with new, more powerful items as you progress through the adventure. So stop back frequently when you’re in the neighborhood to resupply.
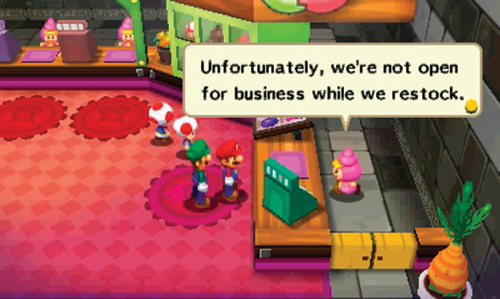
The third vendor, on the east side of the room, sells badges. Unfortunately the vendor currently has no stock. However, you can return to this vendor later on to attain a variety of badges, ideal during combat. You’ll learn more about badges later, but remember the location of this vendor for future reference. The Virus and Risk Badges can be purchased here shortly after visiting Dozing Sands. Later on, the Master and Silver Badges can be purchased here after returning from Driftwood Shore. Finally, come back again after visiting Somnom Woods to purchase the Expert, Gold, and Miracle Badges here.
Rocket Platform
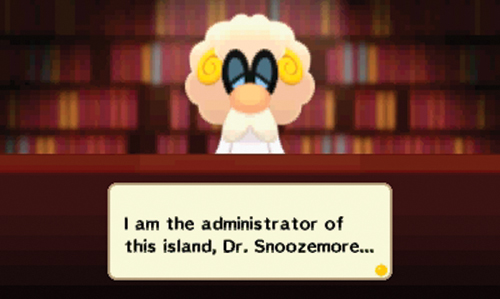
After visiting the vendors in the shop, return to the lobby and meet up with Broque Monsieur. He ushers the guests into the next room to the north. Here the lights are dimmed and the guests are treated to a short filmed greeting by none other than Dr. Snoozemore, the island’s administrator. Dr. Snoozemore’s film provides a brief history of the island.
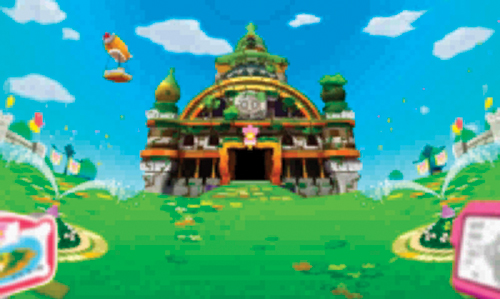
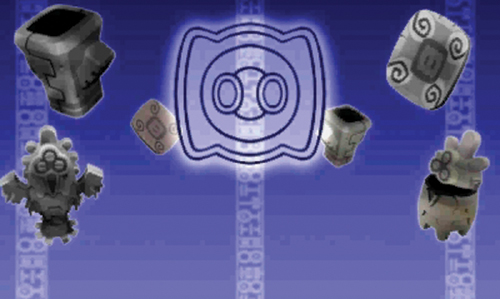
A long time ago the Pi’illo Folk lived in this place and called it the Pi’illo Kingdom. But then over a short span the Pi’illo Kingdom suddenly fell and was no more. It’s still unclear what happened to the Pi’illo Kingdom. It is one of the mysteries that Dr. Snoozemore and his staff are trying to solve. Another one of these mysteries sleeps deep within Pi’illo Castle. Some say a treasure hides there dating back to the time of the Pi’illo Kingdom. The deeper passages have only been recently discovered.
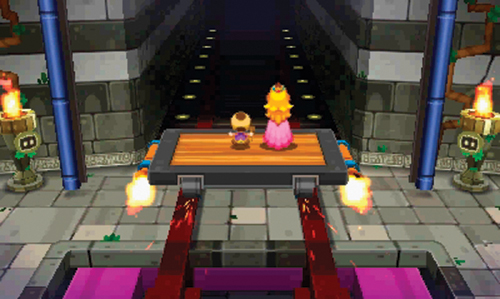
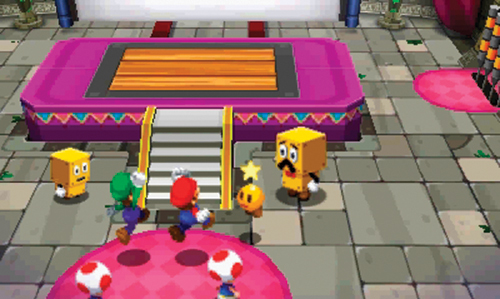
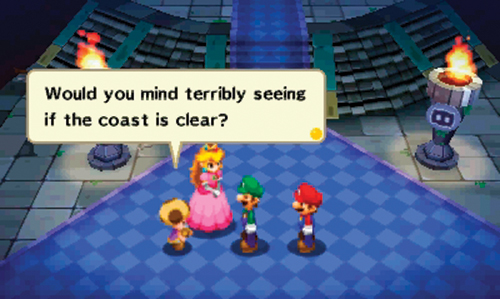
Following the film, Princess Peach is intrigued, clearly wanting to know more about the Pi’illo Kingdom and the treasure within Pi’illo Castle. But soon after she and Toadsworth step onto a platform in the middle of the room, rockets extend along the sides of the platform and ignite, carrying Peach and Toadsworth down a lengthy tunnel to the north. Broque Monsieur informs Starlow and the rest of Peach’s entourage that the platform leads to an ancient hidden area. As the platform returns, sans Peach and Toadsworth, Starlow urges Mario and Luigi to go find the Princess. When you’re ready to leave, speak to the Brock on the left side of the platform to access the ancient hidden area of the castle.
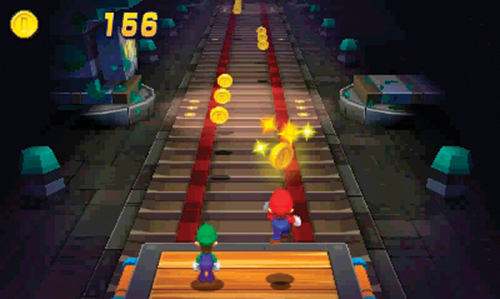
While riding the rocket platform you encounter several coins suspended above the tunnel. When passing beneath coins on the right side of the tunnel, make Mario jump to retrieve the coins. Likewise, when coins appear on the left side of the tunnel, make Luigi jump. The tunnel is rather long, allowing you to boost your coin count during the journey. As you near the end of the ride, you will need to alternate your jumps to collect coins on both sides of the tunnel.
Meet Smoldergeist
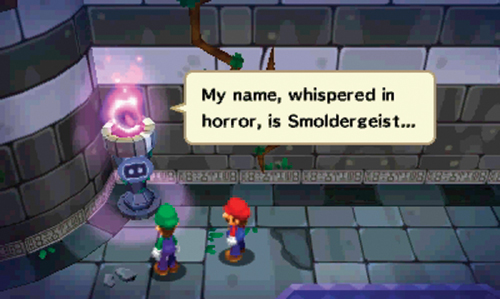
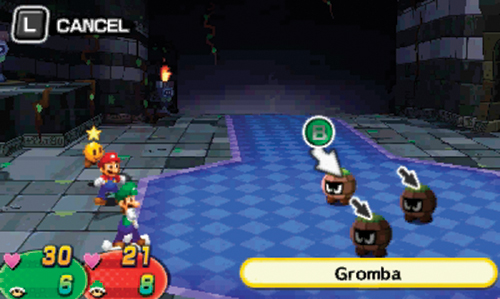
At the end of the tunnel, Mario and Luigi are ejected from the rocket platform, landing in this room. Seconds after their arrival, a purple flame-like ghost speaks. The ghost, Smoldergeist, has guarded this ancient hidden area for a long time. Smoldergeist views Mario and Luigi as yet another pair of intruders and promptly dispatches some Grombas to deal with them. As the battle commences, Starlow interrupts to offer some advice pertaining to Luigi’s attacks. Starlow also offers some useful hints about the attack patterns of the Grombas, making it easier to determine how to perform counterattacks. Counter the Grombas by jumping on top of them as they roll toward either Mario or Luigi. Keep attacking and counterattacking the Grombas until all three are defeated. After the battle, consider interacting with the Save Block to save your game before advancing into the next chamber to the west.
The Test of Jumping
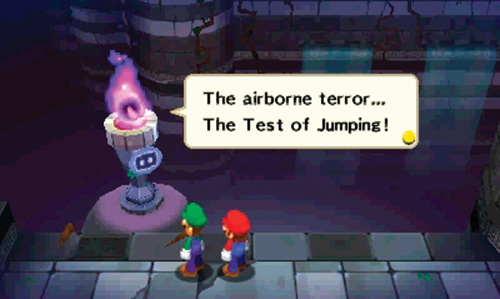
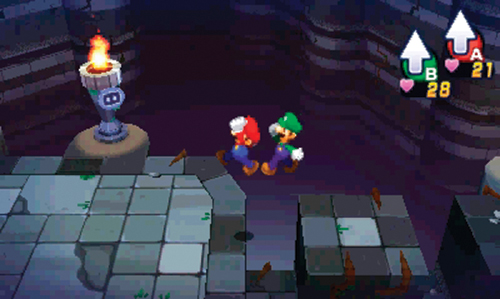
Smoldergeist has yet another challenge for you in this room. Despite Smoldergeist’s predictions of doom, the specter is more than willing to offer some advice on jumping. After Smoldergeist’s quick jumping tutorial, put the new skills to the test by moving and jumping onto a set of stair-like blocks to the west. Alternate using
and
to make Mario and Luigi jump. Alternatively, press
and
simultaneously to make Mario and Luigi jump at the same time—this is the quickest way to negotiate this basic obstacle course, including the final “yawning chasm” section. If you happen to fall during the chasm section, simply walk back to the beginning and start over.
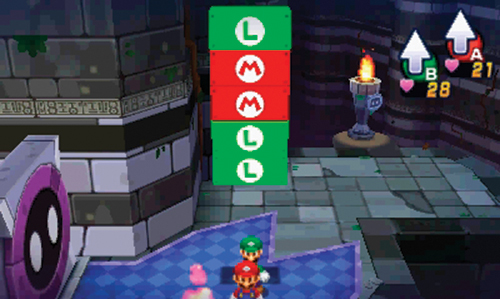
After crossing the chasm section, stand beneath the large yellow Random Block and jump up (with either Mario or Luigi) to hit it. A series of green and red Stack Blocks appear above—memorize the order of the blocks before they turn back to yellow blocks. Start by having Luigi hit the first two blocks, then Mario must jump to hit the third and fourth block. Finally, jump again with Luigi to hit the fifth block. If you hit the blocks in the correct order, the doorway to the west opens. Smoldergeist is frustrated by your ease of progress during this challenge, but is confident you’ll fail his next one.
 Gromba Grind
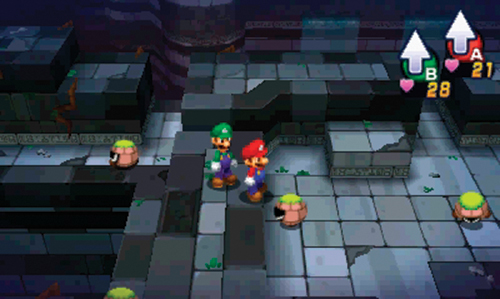
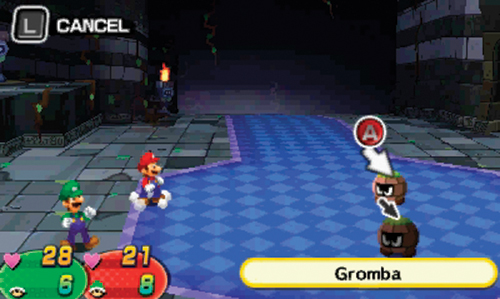
This room is filled with several Grombas and elevated platforms. The Grombas are on the lower level. While it’s possible to avoid enemy contact, you need the EXP to level up. So seek out all the Grombas and initiate a battle by jumping on top of these creatures—the preemptive attack inflicts damage at the start of the battle. Continue using Jump attacks to defeat the swarms of Grombas in this room.
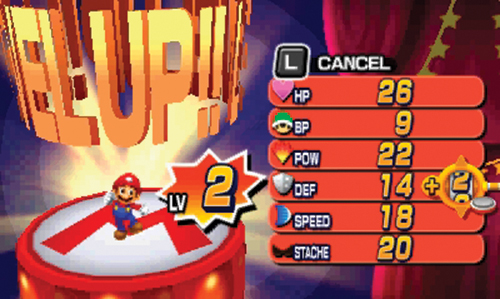
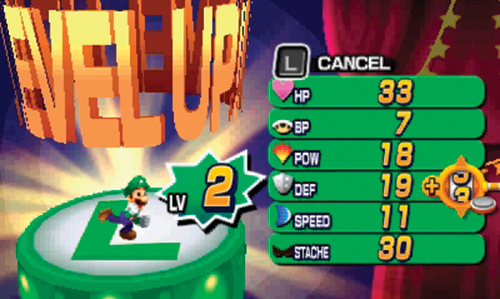
After only a few victories Mario will level up—Luigi will level up a little later. When you level up, your stats increase and you get stronger. This makes it easier to defeat future enemies. In addition to gaining stats with each level, when leveling up you can increase one stat of your choice. Move the bonus slot up and down the column of stats to choose which stat you want to increase. Press
to begin rotating the bonus slot on the desired stat. This causes a series of numbers to begin spinning, similar to a slot machine—press
again to make the numbers stop. Whichever number the slot stops on is the bonus stat you get. But before settling on a stat to boost, take into consideration how you want to tailor your character—the stats you choose to boost can have a significant impact on how each character performs in battle. Here’s a brief description of each stat:
- HP: Raising this will make you hard to KO even if you take damage.
- BP: Raising this will allow you to perform more Bros./Luiginary Attacks.
- POW: Raising this will increase the damage you deal when attacking.
- DEF: Raising this will reduce the damage you take from enemies.
- SPEED: Raising this will allow you to move earlier than other combatants.
- STACHE: Raising this increases the chance for Lucky Hits. (Won’t go up when you level up.)
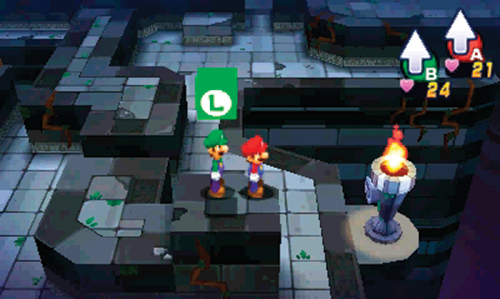
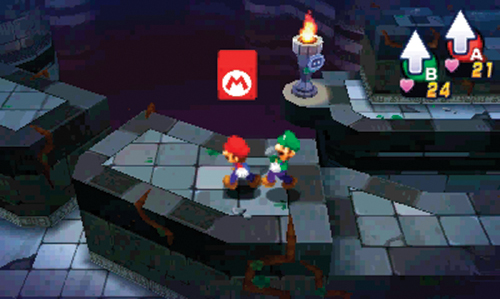
After defeating all of the Grombas, and gaining plenty of EXP in the process, take to the upper-level platforms of the room and look for the M Blocks and L Blocks. Mario must jump up and strike M Blocks while Luigi must jump up to hit L Blocks. Both M and L Blocks can either contain coins or items such as Mushrooms, which are automatically added to your items inventory.
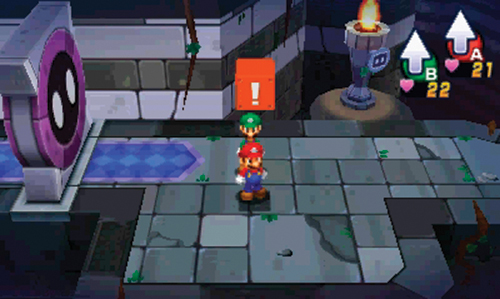
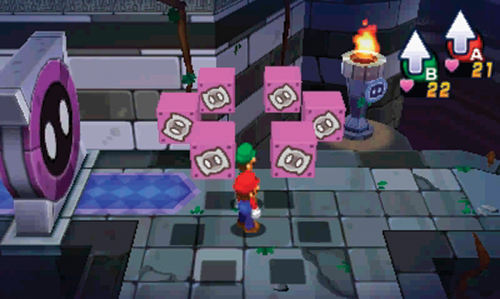
Stay on the upper-level walkway in the room while moving toward the door on the west side—you must perform a series of jumps to reach this area. Near the door is an orange Event Block. Stand beneath this block and strike it with either Mario or Luigi. Once struck, the Event Block spews out six purple blocks, each depicting a Pi’illo. As the blocks begin to rotate, study them carefully—one of them is rotating in a different direction than all the others. Stand beneath the block that is rotating in a clockwise fashion, then jump up to strike it. This causes the door to the west to open, clearing the path into the next chamber. Smoldergeist warns that the test is not over yet.
 Gromba Gauntlet
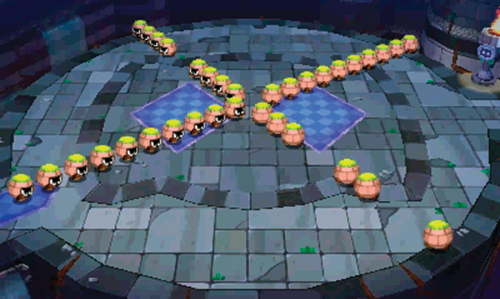
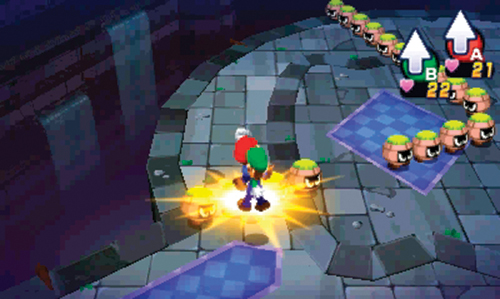
As you enter this room, a massive group of Grombas arrange themselves in propeller-like formation and begin marching, dividing the circular platform into quadrants. Occasionally the Grombas switch directions, rotating both clockwise and counterclockwise. While it’s possible to avoid contact with the Grombas by jumping over the rotating lines, now’s the time to boost your EXP and level up. But instead of running into the Grombas, jump on them to initiate battles. Fight one battle after another until the room is completely clear of enemies. If you take the time to wipe out all the Grombas, Mario has the chance to reach level 3, with Luigi trailing not far behind. Gaining EXP through battles is the best way to level up, so avoid bypassing enemies when possible.
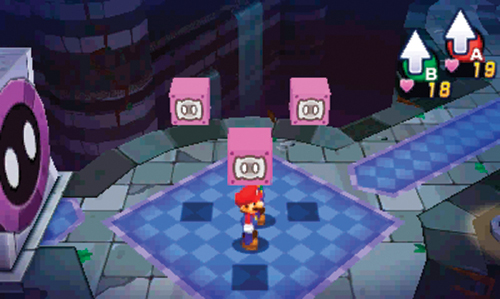
After eliminating all the Grombas, approach the Event Block to the west and strike it—Smoldergeist has another puzzle for you. This time three purple blocks emerge and one of them begins flashing. Keep tabs on the flashing block and continue watching it as Smoldergeist shuffles the order of the three blocks. Once the blocks stop moving, track down the one that was flashing earlier and strike it. If you hit the correct block, the door to the west opens. Otherwise, you must repeat the challenge, starting by striking the Event Block. When you’ve passed this challenge, proceed through the open doorway to the west. As Mario and Luigi near the doorway, Princess Peach can be heard screaming for help in the next room.
 Smoldergeist Showdown
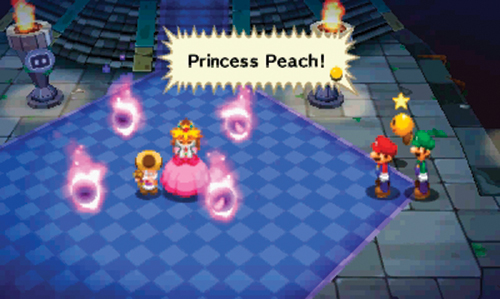
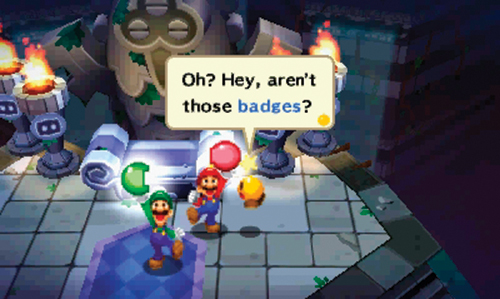
Mario, Luigi, and Starlow rush to the center of the next room, finding Princess Peach and Toadsworth surrounded by four purple flaming orbs—this is Smoldergeist! But as the trio arrive, Smoldergeist disappears. Once Princess Peach and Toadsworth are safe, Starlow suggests inspecting the altar to the north near a large Zeekeeper statue. Climb the steps to the north and approach the altar—interact with the object resting on the altar to retrieve a rectangular rock-like object. As Mario raises the object, two badges fall out, one for Mario and one for Luigi.
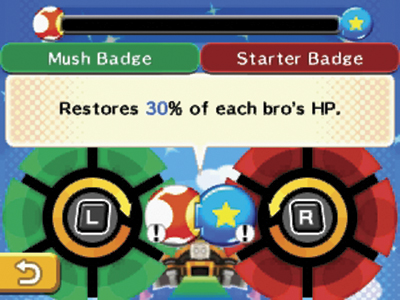
Starlow immediately recognizes the newly found objects as badges and initiates a short tutorial on how to use them. Badges can be combined to cause special effects during battles. Access the Menu screen then choose the Badges option. This is where you can check out all the badges you’ve collected. Mario and Luigi can wield one badge at any given time. Starlow promises to provide more details on badges once you enter a battle.
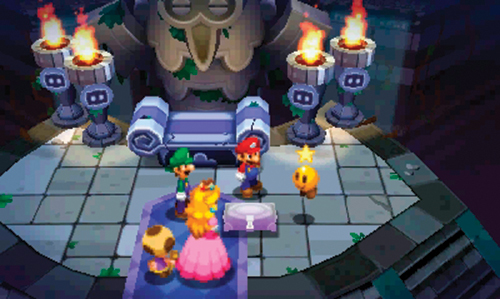
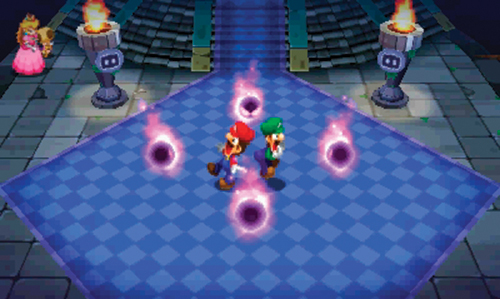
The purple item that contained the badges now lies motionless on the floor. Starlow observes that it looks like a pillow. Princess Peach thinks it might be the treasure. Whatever it is, Starlow suggests gathering it and exiting this chamber. Following the conversation, move toward the exit to the south. But as Mario and Luigi cross the floor, the chamber begins shaking and the Zeekeeper statue speaks. Suddenly Mario and Luigi are surrounded by the four flaming objects better known as Smoldergeists. It looks like you’re not getting out of here without a fight.
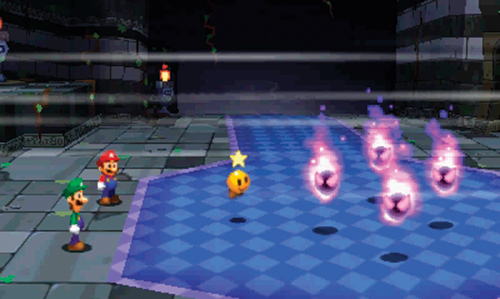
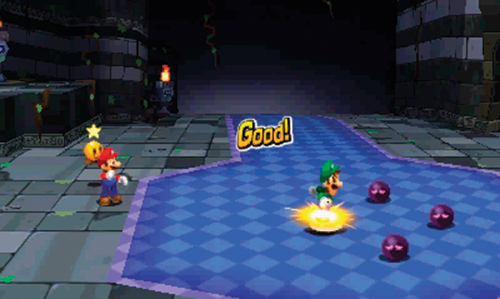
As the battle with Smoldergeists gets underway, Starlow returns to continue his tutorial on badges. In order to use badge effects you need to fill up the meter on the Touch Screen. The meter fills up incrementally each time an attack is successful. The red part of the meter is for Mario and the green part is for Luigi. At this point the meter is almost filled. An explanation of individual badge effects appears directly below the meter. At the moment, Luigi’s Mush Badge and Mario’s Starter Badge can combine to restore 30% of each brother’s HP. This is a good combo for restoring health. Before leaving you to do battle, Starlow notices that the enemies are surrounded by purple flames. Starlow conjures a wind that temporarily extinguishes the flames, leaving the Smoldergeist enemies vulnerable to Jump attacks. Target one Smoldergeist at a time, attacking with both Mario and Luigi.
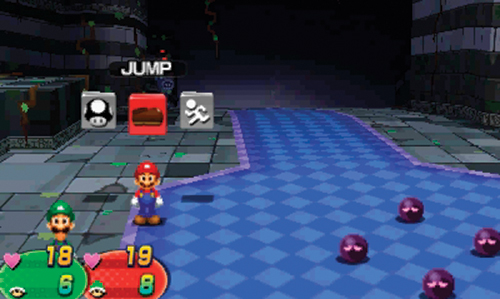
Only a few attacks in, the badge meter fills and a heart symbol appears on the Touch Screen. When the meter gets full, the badge effects get stored here. But you only have two spots to store those effects. You can use badge effects immediately or store them for a tight spot. Starlow suggests using one now. Touch the heart symbol on the Touch Screen to trigger the effect. After touching the symbol once, you must touch it again to confirm. Triggering this effect partially restores both Mario and Luigi’s health. Badges have various effects, so find as many as you can. You can only use badge effects during a battle when the command blocks are available, during either Mario or Luigi’s turn.
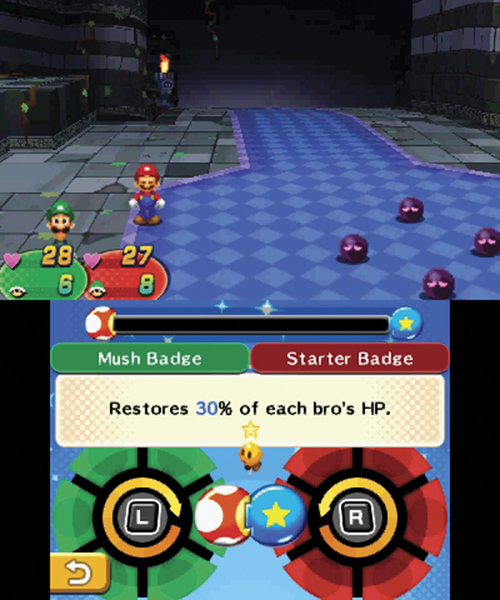
Next Starlow offers to show you how to equip badges. During battles this can be done by touching the Badges button in the bottom left corner of the Touch Screen. This brings up the Badge menu. Use
 to rotate Mario’s badges on the right and
 to rotate Luigi’s badges on the left—this is how you switch badges. But since Mario and Luigi only have one badge each, there is only one possible combination available. There are a total of 12 badges available during your adventure. Some can be purchased and others are rewarded. You can trigger different effects depending on your badge combo. Once you obtain more badges, try various combination to find the one that suits you the best.
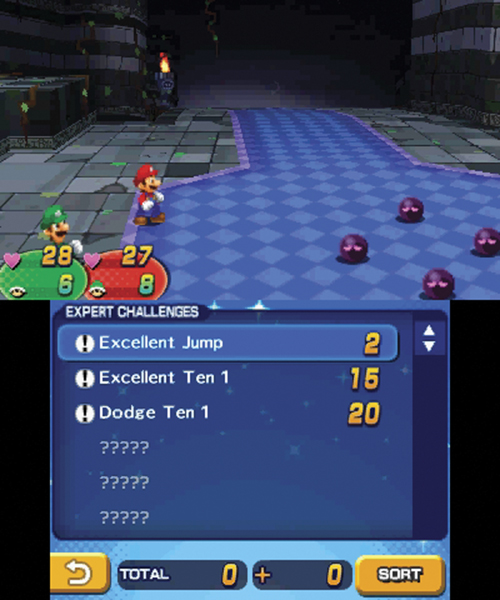
Starlow offers some information on Expert Challenges next—select the button in the bottom right corner of the Touch Screen to see your progress on Expert Challenges. You will accumulate points whenever you clear Expert Challenge conditions. Hitting point targets nets you rare gear. Select each title and press
to check out the types of challenges available. For instance, to complete the Excellent Jump Expert Challenge, you must use only the Jump attack and get Excellent for all your attacks during the course of one battle.
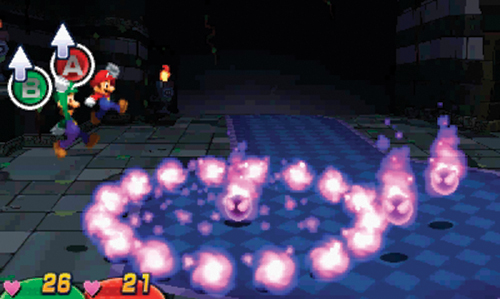
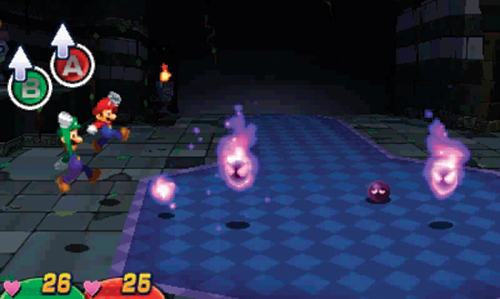
Okay, now it’s time to get back to business by attacking the Smoldergeists. Resume your Jump attacks, focusing on one Smoldergeist at a time. But you’ll need to evade their attacks as well. Upon reigniting, Smoldergeists can perform a couple of attacks. During one attack the Smoldergeist emits a radial burst of purple flame, requiring both Mario and Luigi to jump to avoid taking damage. But you only need to jump when the Smoldergeist performs this attack from the ground—simply stay put when the Smoldergeist attempts this attack in the air. In another attack, a Smoldergeist hovers in front of one of the brothers and spits a purple fireball, requiring the targeted brother to jump. If a Smoldergeist fails in its attack, its flame is extinguished, leaving it vulnerable to Jump attacks.
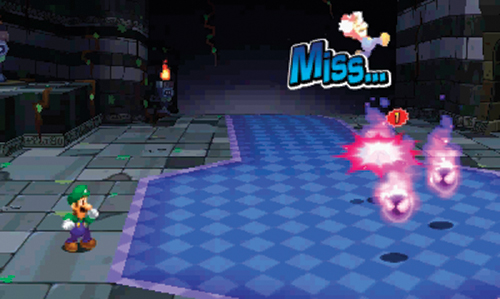
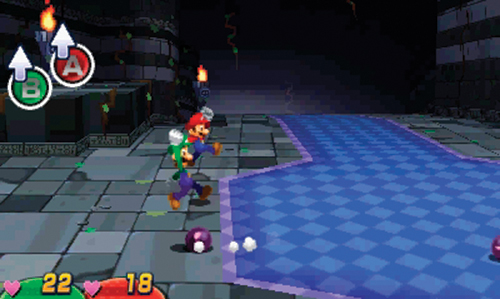
If Smoldergeists are successful in their attack they reignite. There’s no easy way to extinguish the purple flame once reignited. A Jump attack is effective at temporarily putting out the flame, but the attacking brother will take damage during the process. This is why it’s so important to evade their attacks. But even a flameless Smoldergeist can still attack, slowly rolling toward one of the brothers—jump on top of it to counter.
By evading incoming attacks and performing Jump attacks of your own, you can eliminate the Smoldergeists one by one. Smoldergeist is disappointed by its loss in battle. After its defeat a bridge to the south is extended, allowing you to escape. Toadsworth still isn’t confident the path ahead is safe so he offers to stay with the Princess while Mario and Luigi scout ahead. Cross the bridge to the south to enter the next chamber.
 Collection Room Passage
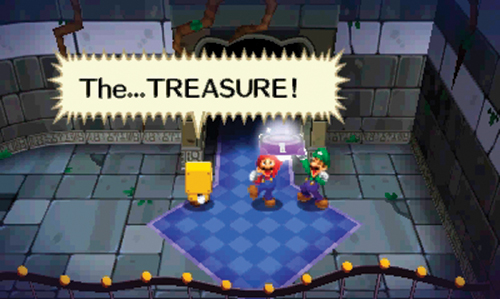
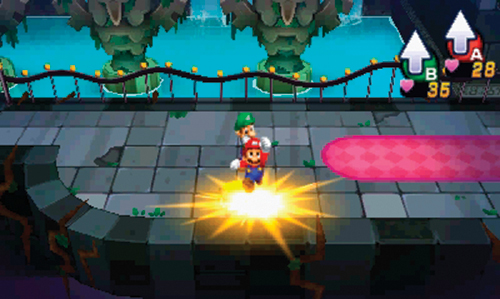
A Brock greets Mario and Luigi is this room, surprised to see anyone emerging from this passage. When asked how the two of them made it here, Mario simply shows off the purple pillow-like object, believed to be the castle’s hidden treasure. The Brock is amazed by the find and suggests heading for the collection room. But the Brock does warn that there may be a few monsters along the way. After speaking to the Brock, be sure to strike the ? Block to the west. Next, head downstairs and engage a few Grombas on your way to the room’s exit in the southeast. You encounter a Save Block in the next room to the east—now is a good time to save your game.
 Collection Room
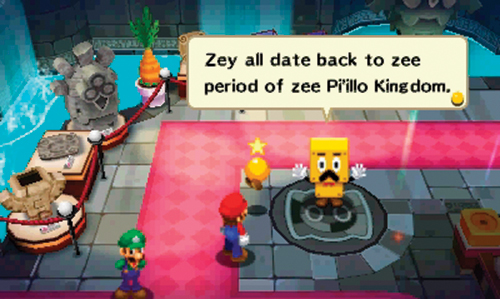
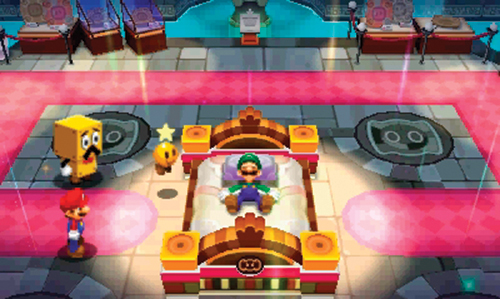
The collection room is filled with numerous artifacts from the time of the Pi’illo Kingdom. Broque Monsieur is present to greet Mario and Luigi, but seems more interested in the treasure they discovered. While looking at the various artifacts, Luigi discovers a large bed in the center of the room. After receiving permission from Broque Monsieur, Luigi hops on the bed and rests his head on the purple pillow-like object they retrieved from the ancient hidden area. At that moment, Broque Monsieur seems to recognize the object beneath Luigi’s head—the pattern indicates it may also date back to the time of the Pi’illo Kingdom. Broque Monsieur is somewhat amazed that Luigi is capable of falling fast asleep on this treasure, but allows him to rest while Mario explores the room.
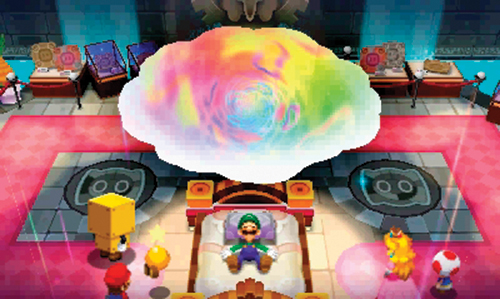
Feel free to explore the room, including the different placards offering descriptions of the exhibits. But as you move toward the south side of the room, two Toads wander in from the adjacent passage while Princess Peach and Toadsworth walk in from the west. Shortly after her arrival, Princess Peach notices that something is wrong with Luigi—a multi-colored cloud has appeared above the bed while he’s sleeping. Broque Monsieur isn’t certain what this is, but theorizes that it may be connected to the object beneath Luigi’s head. As Princess Peach draws closer, she’s pulled into the rainbow-colored cloud. Without hesitation Mario leaps into the cloud to find the Princess.
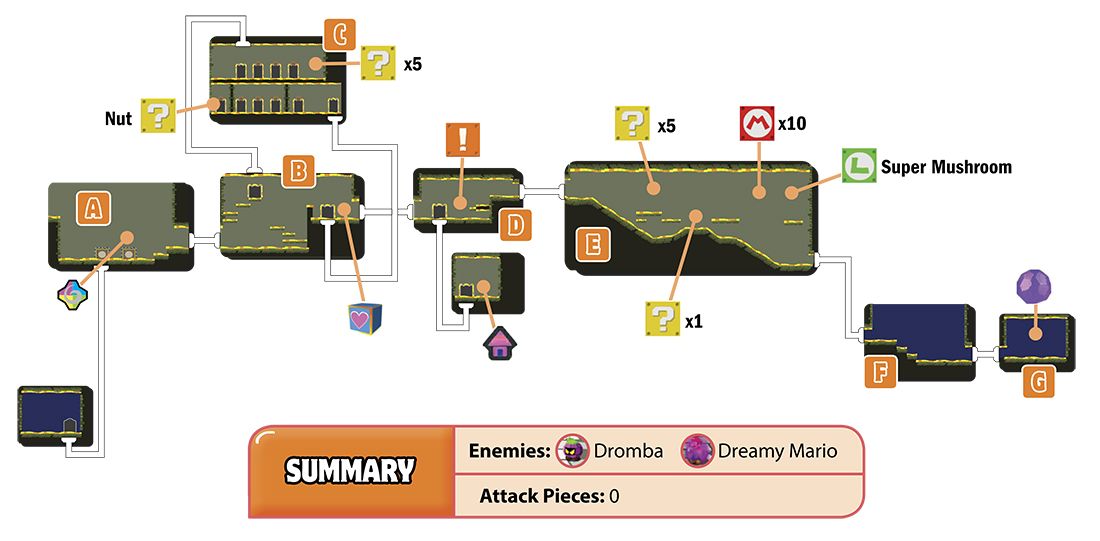
Dreamy Pi’illo Castle (A)


As Mario enters the dream world, Princess Peach is carried away by a familiar purple dark cloud. During this sequence Mario can “swim” by pressing
. Move in the direction where Princess Peach was last seen and enter the multi-colored cloud.
A
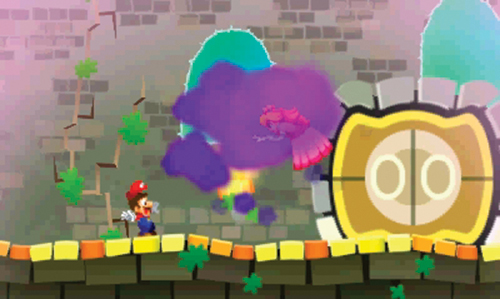
Upon entering the cloud Mario is transported into Dreamy Pi’illo Castle. Here Princess Peach reappears, still trapped and carried by that sinister purple cloud. As soon as Princess Peach is carried away, follow her by advancing along the path to the right. Jump up onto the step-like ledges and proceed through the room’s right exit.
B
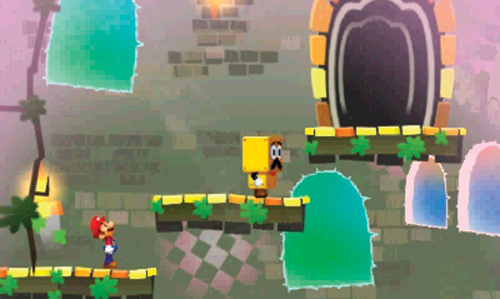
Princess Peach appears yet again at the entrance to this room before being carried away by the purple cloud. Navigate upward through this room until you see Broque Monsieur–what is he doing in Luigi’s dream? Broque Monsieur simply offers a quick tutorial on how to move through gates in this dream world—stand in front of a gate and press up on the Circle Pad to enter a different room.
C
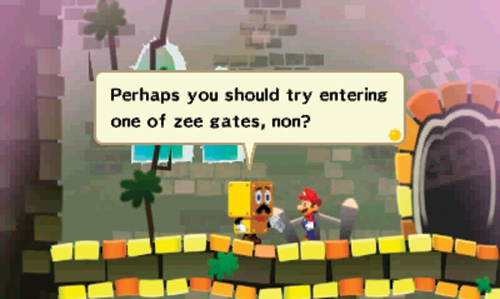
Broque Monsieur warns that this room is very confusing, featuring several gates, all leading to a different location. There are three gates on the top level, as well as a ? Block to the far right. Enter the left-most gate on the upper level to reach a small room in the bottom left corner of the room—there’s another ? Block here. Return to the upper level, then enter the center gate. This leads to the bottom level to a room with three gates—enter the center gate here to exit on the right side of the room.
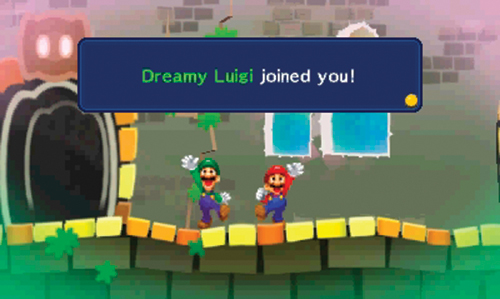
As Mario passes through the gate, Luigi appears behind him. Somewhat startled by his appearance, Mario is informed by Broque Monsieur that Luigi can exist in both the real world and dream world simultaneously. After all, you’re in Luigi’s dream! Dreamy Luigi is a representation of how Luigi sees himself in the dream world—perhaps a bit taller, and definitely more handsome! Once reunited in the dream world, proceed through the gate on the far right side of the room.
D
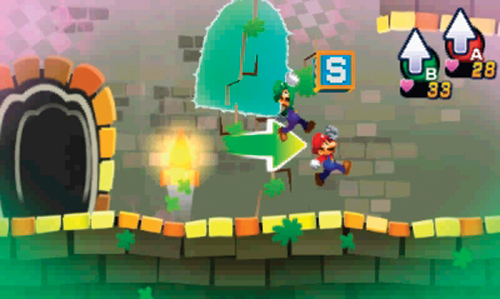
Upon entering this room, move to the right and strike the Save Block—now is a good time to save your game. Just like the real world, you control both Mario and Luigi. Either character can be used to strike blocks, such as the Save Block. Each can also initiate battles by jumping on top of enemies to perform a preemptive attack. Take a moment to practice jumping in the dream world, then exit to the right.
E
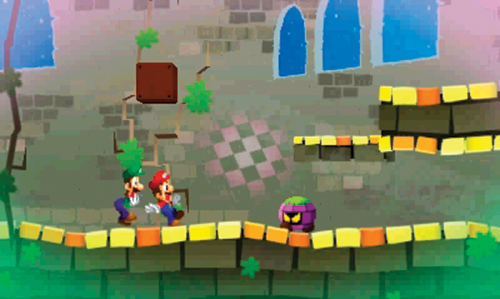
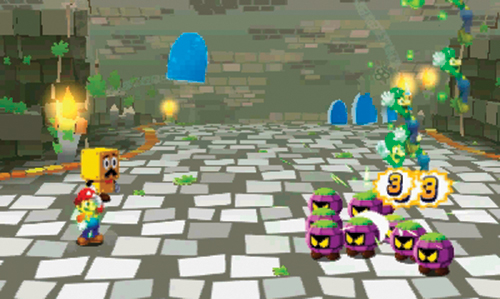
Once again, Mario and Luigi are taunted with the appearance of Princess Peach as they enter this room. But as expected, she’s soon carried away by the purple cloud. Proceed to the right and strike the Event Block. This causes a doorway to open, releasing a Dromba! Just like the real world, making contact with any monster triggers a battle. But in the dream world, Mario has the assistance of Dreamy Luigi, as described by Broque Monsieur. Dreamy Luigi becomes one with Mario during dream world battles, greatly enhancing the power of his attacks. Try performing a standard Jump attack on one of the Drombas in the center of the group. Not only does the initial attack inflict more damage, but upon scoring an Excellent hit, several Luigis (or Luiginoids) come raining down, damaging multiple enemies.
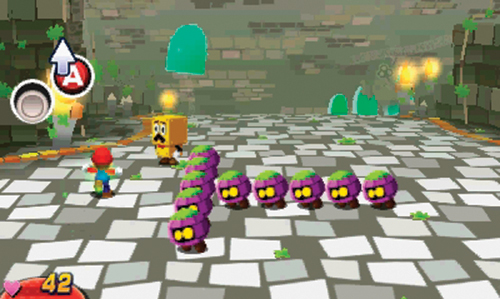
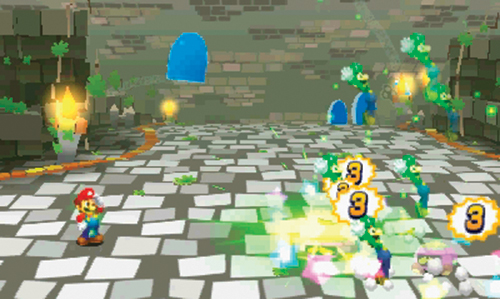
During the Dromba attack phase, Broque Monsieur warns that performing counterattacks works a little differently in the dream world. During some attacks you can use the Circle Pad to move up and down in addition to jumping. Line Mario up with the longest line of incoming Drombas and then jump. If you time the jump just right, Mario will bounce across the long line of Drombas, inflicting damage on all of them. These movement-based counters are exclusive to the dream world. So use it to either evade enemy attacks or set up high-damage counterattacks. Following Broque Monsieur’s tutorial, resume the battle and finish off the Drombas with more Jump attacks and counterattacks. Following the battle, grab the coin where the Dromba was held, then proceed to the exit on the right.
F
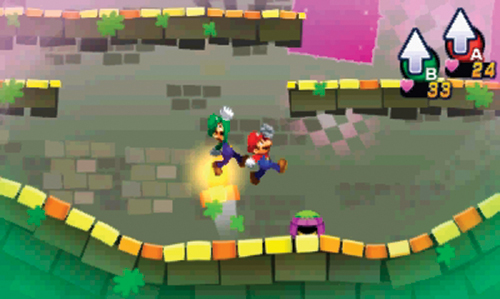
More Drombas patrol this room. While they’re relatively easy to avoid, take the time to enter battle and defeat them for EXP. Don’t overlook the various ? Blocks here too, all containing coins. There’s also an M Block and L Block on the platforms above the room—you’ll need to use the moving platform to reach both of these blocks. When you’re finished battling and exploring, exit the room on the right side.
G
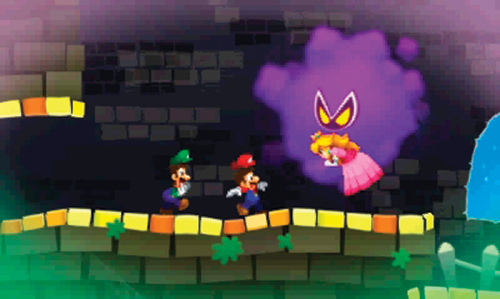
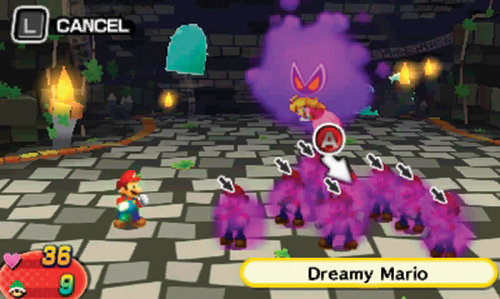
Upon entering here, Mario and Luigi are confronted by the large purple cloud carrying Princess Peach. As a battle commences, Mario is forced to face off with a small army of…other Marios! As the Dreamy Marios multiply, keep an eye on the original Dreamy Mario and always target him with attacks. Start with a Jump attack, targeting the original Dreamy Mario instead of one of his clones. Striking the original Dreamy Mario makes all the clones disappear…at least temporarily.
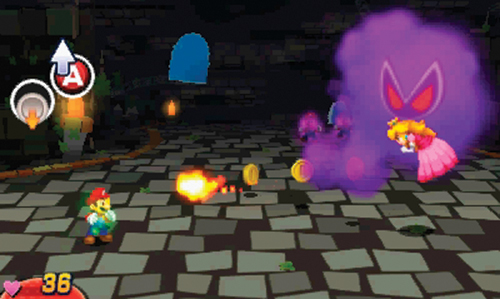
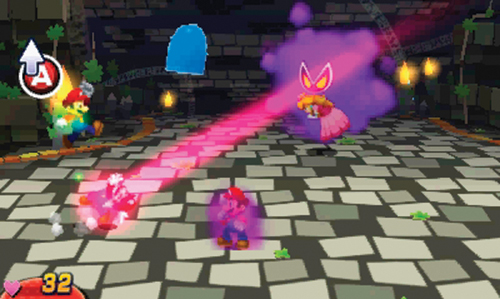
The purple cloud attacks by firing a mix of coins, Mushrooms, and fireballs—grab the coins and Mushrooms but evade the fireballs either by moving or jumping over them. Also, watch out for incoming Dreamy Marios hurtled toward you. You can’t move around these incoming projectiles, so time your jumps carefully. If you time your jumps just right you can land on the incoming Dreamy Mario to inflict damage. The Dreamy Marios also attack by charging directly at you. Once again, time your jumps carefully to either jump over them or on top of them.
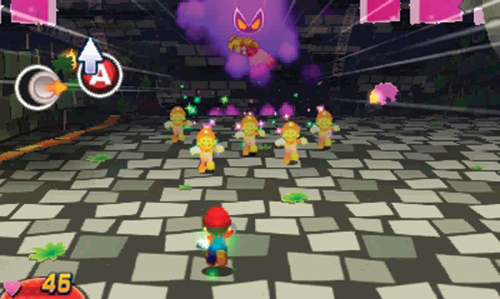
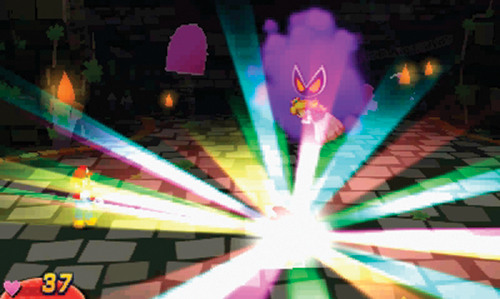
During another enemy attack, lines of Dreamy Marios come charging at you. Don’t make contact with any of these enemies as they’ll inflict damage. Instead, jump over the Dreamy Marios as they approach to avoid taking any damage. When you’re not evading attacks, perform more Jump attacks of your own, targeting the original Dreamy Mario each time. After scoring several hits, the enemy is eventually defeated. But Princess Peach isn’t safe yet.
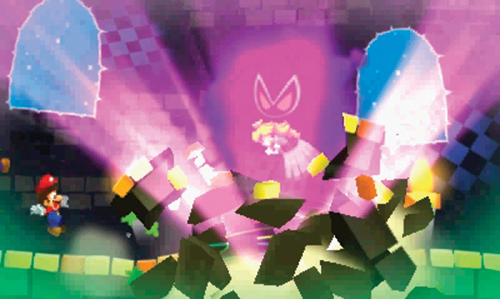
Following the battle with Dreamy Mario, the purple cloud carries Princess Peach deeper into the chamber. Suddenly an explosion erupts from the floor, opening a deep glowing chasm. The cloud escapes into the chasm, carrying Peach with it. Before Mario and Luigi can follow, the floor is magically restored. Suddenly a light appears, urging Mario and Luigi to continue forward and break something called the nightmare chunk. Follow the light through the exit on the right.
H
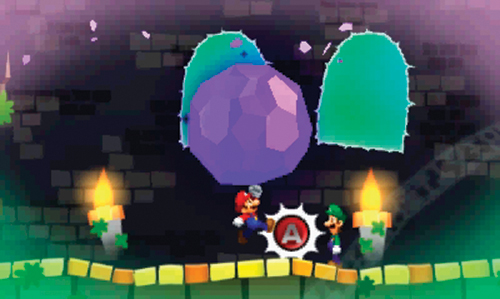
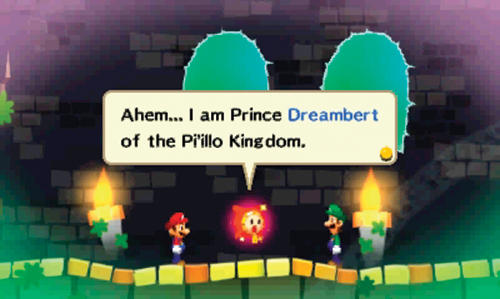
The large purple crystal in this room must be the nightmare chunk. As Mario stands beneath the chunk, jump repeatedly to break it. Once completely shattered, a small entity emerges from the chunk. His name is Prince Dreambert from the Pi’illo Kingdom. Somewhat confused, Prince Dreambert urges them to return to the real world.
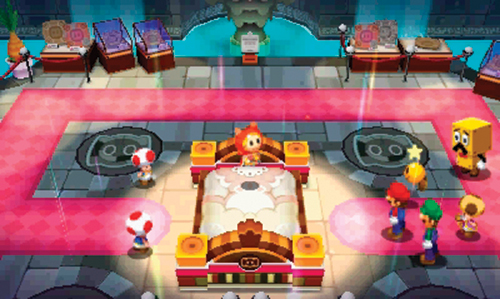
As Mario returns to the real world, he emerges back in the collection room of Pi’illo Castle. While Toadsworth is happy to see Mario, he’s concerned about Princess Peach. Suddenly, the treasure beneath Luigi’s head begins to shift. Luigi quickly awakens and leaps off the bed just before the treasure begins hovering above the room. The pillow-like treasure then emits a blinding light as Prince Dreambert appears. After making acquaintances, Dreambert reveals that he is the prince of the Pi’illo Kingdom. The prince’s soul was trapped within a chunk of solid nightmare until Mario and Luigi rescued him. Broque Monsieur explains that there are more rocks on the island that look like pillows possibly containing more Pi’illo Folk. Upon hearing this news, Prince Dreambert exits, eager to save the others. But Mario and Luigi have a more pressing matter—finding Princess Peach. Since she’s trapped in the dream world, Starlow feels their best course of action is to follow Prince Dreambert. Exit the collection room by heading south.
 Grand Staircase
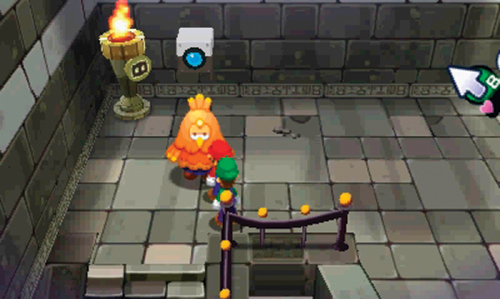
Prince Dreambert is nowhere to be found in this room. But there are two sets of stairs on the east and west sides, both leading to the same upper-floor walkway. There’s a Camera Block in the northwest corner of this room, but it can’t be accessed yet—come back later once the guy in the Zeekeeper costume moves away.
Gear Up!
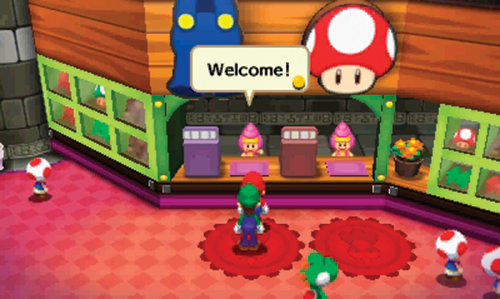
Make your way back to the lobby where Prince Dreambert is seen exiting. But before chasing after Dreambert, Starlow suggests stocking up on new gear at one of the shops. Return to the gift shop to the east of the lobby. By now you’ve collected more coins through battles and exploration. This allows you to purchase more advanced gear, like Picnic Boots. Once you’ve updated your gear, return to the lobby and save your game by striking the Save Block near the castle’s entrance.
 Hotel
Hotel
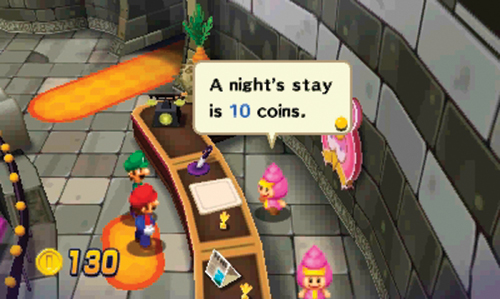
There’s no need to race after Prince Dreambert immediately. If you haven’t already, head upstairs to the castle’s hotel. Here you can explore the various rooms, speak to patrons, and obtain more coins and items from ? Blocks. Don’t forget to check out the view from the balcony either, located just south of the hotel. If you’re low on health, consider spending 10 coins to stay the night at the hotel. Your HP and BP are fully restored following a stay at the hotel. At the moment, 10 coins may seem a bit steep. But later on, the price is very reasonable and is far more cost-effective than consuming items. When you’re finished exploring, return to the lobby and exit Pi’illo Castle.