
Mario & Luigi: Dream Team Guide Walkthrough Neo Bowser Castle 4F
Neo Bowser Castle 4F
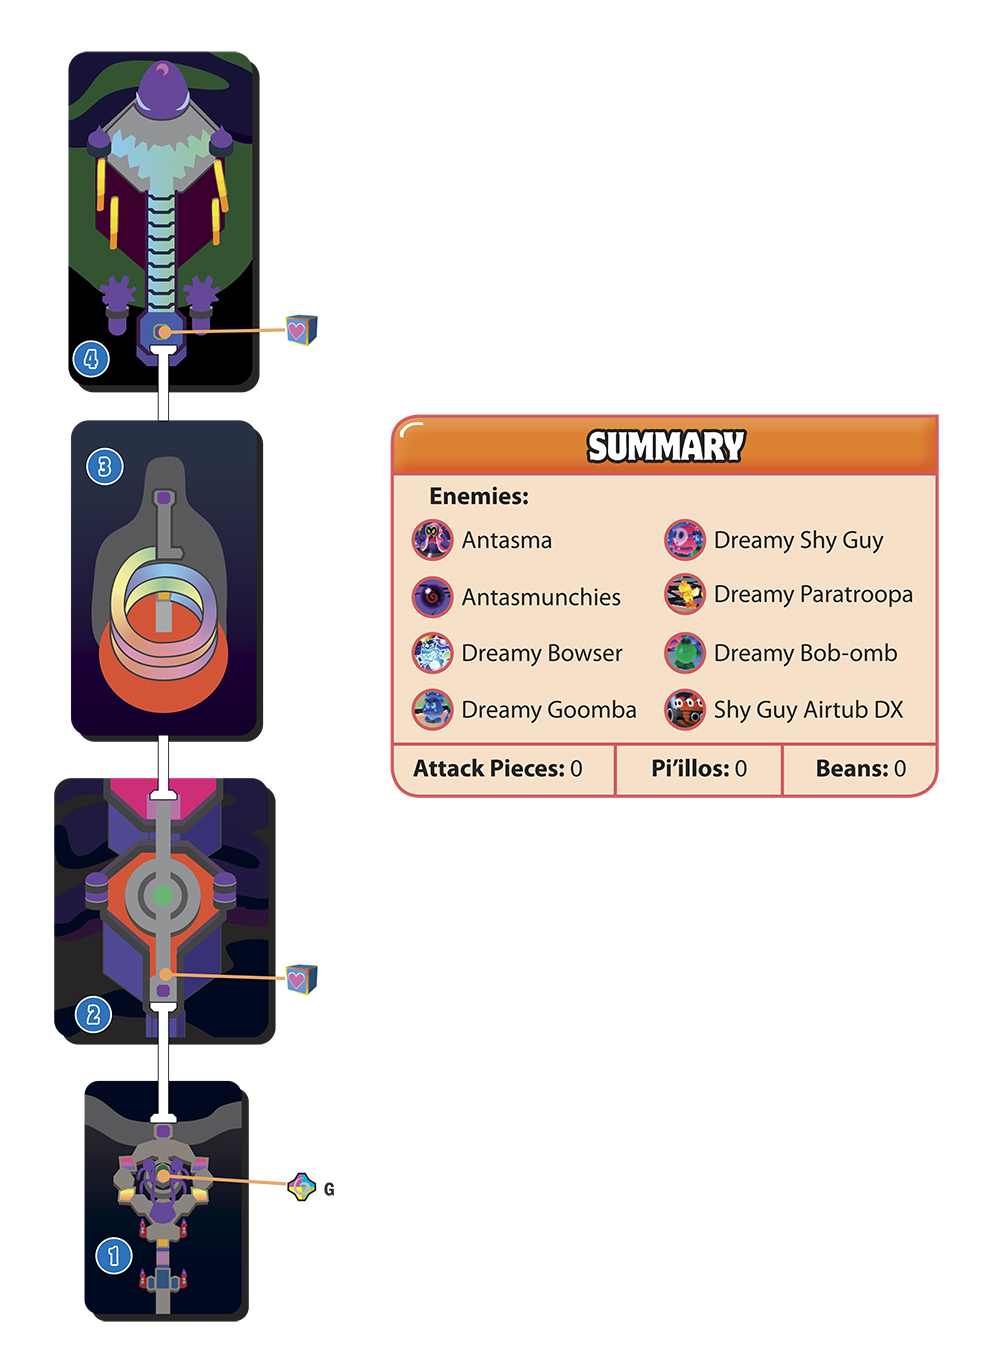
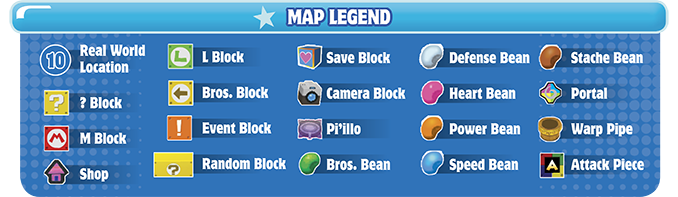
 Bowser’s Dreampoint
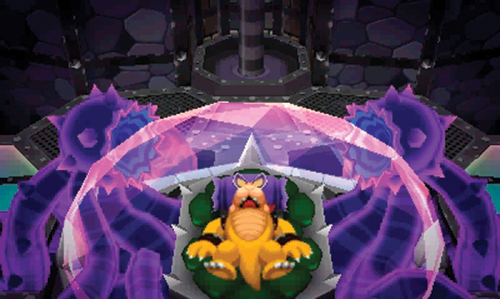
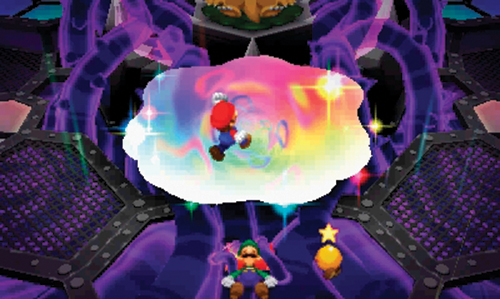
Bowser is fast asleep in this room, using Antasma as a pillow. But both Bowser and Antasma are protected by a barrier of some sort. Dreambert theorizes that Antasma is absorbing the power of Bowser’s dreams. The energy produced through Bowser’s dreams surges through the purple vines distributed throughout the castle. These vines function like a circulatory system, powering the castle. If Bowser wakes up, the energy flow will cease. But there’s no way to wake Bowser due to the barrier. Luigi has an idea—they should try waking up Bowser in the dream world, the same way they did with Big Massif. Dreambert agrees that Luigi’s plan might work, so he binds himself to the vines in the floor, creating a link with Bowser’s dream world. As Luigi falls asleep on Dreambert, Starlow hopes the two dream worlds have merged as Mario fearlessly leaps into the dream portal.
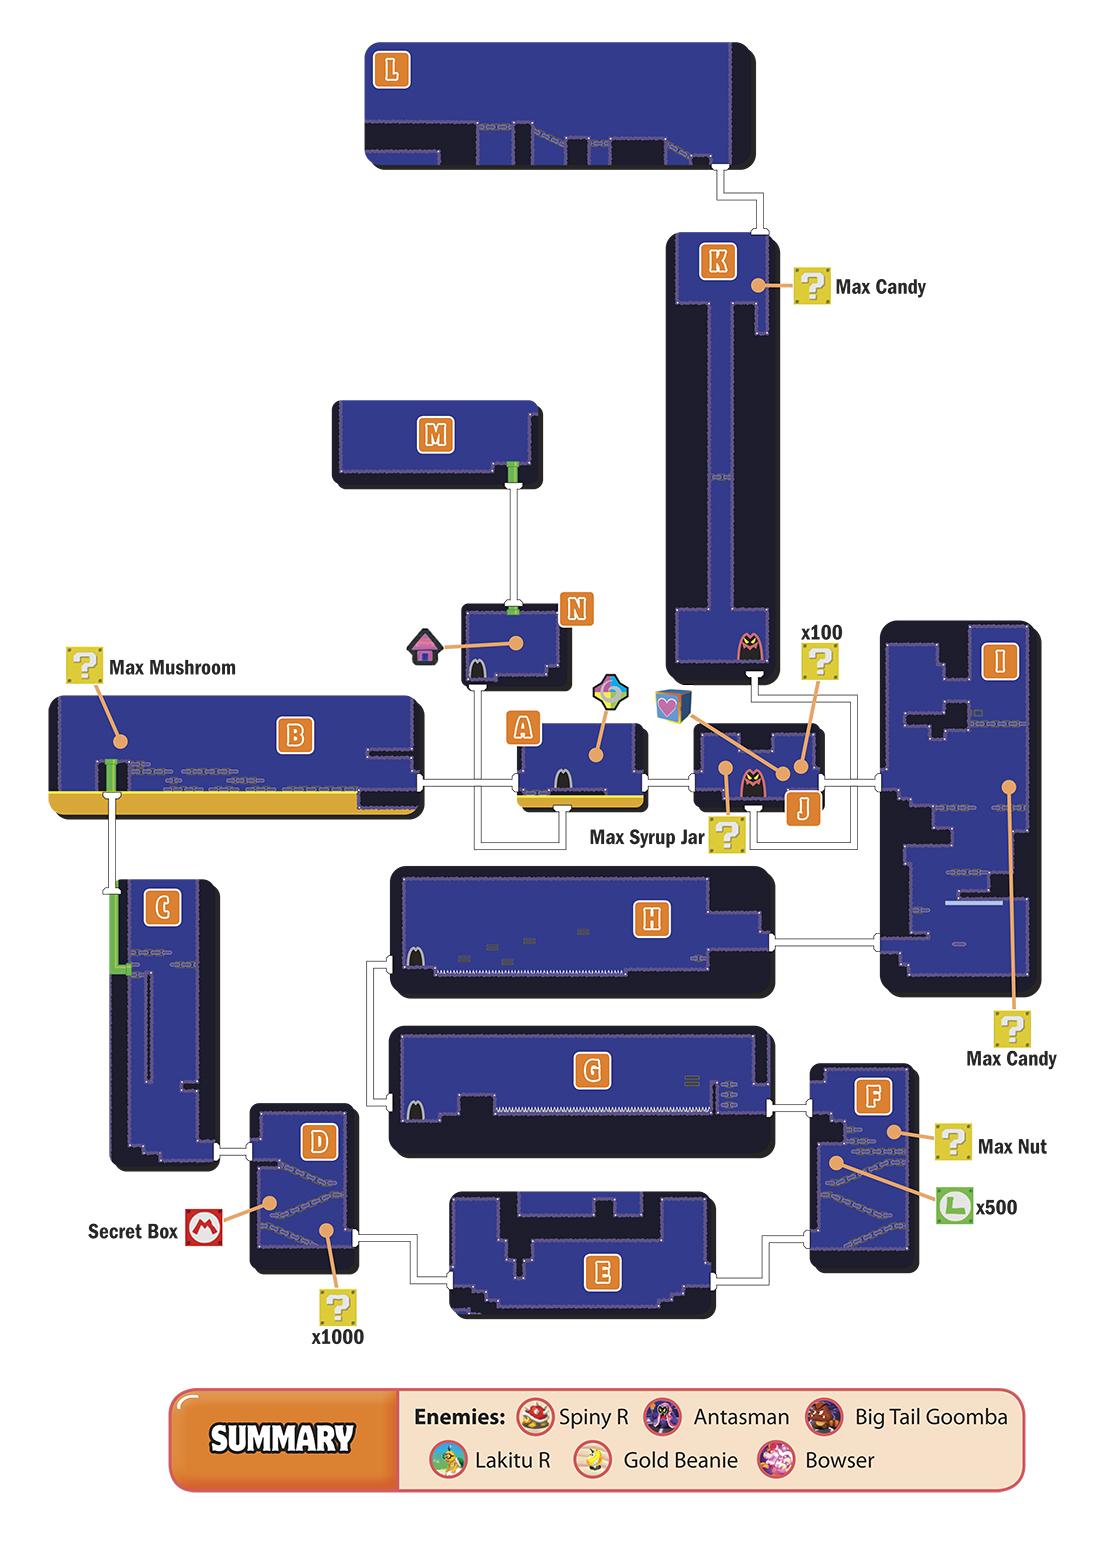
Dreamy Neo Bowser Castle (G)
A
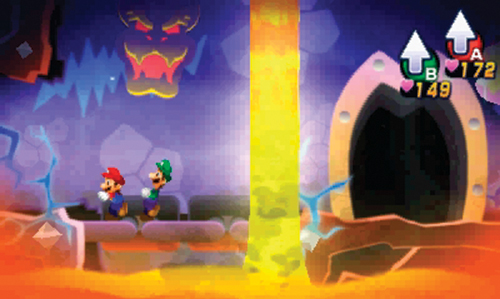
Upon entering the dream world, move to the left side—the path to the right is currently inaccessible due to lava. Ignore the doorway here for now and just exit to the left.
B
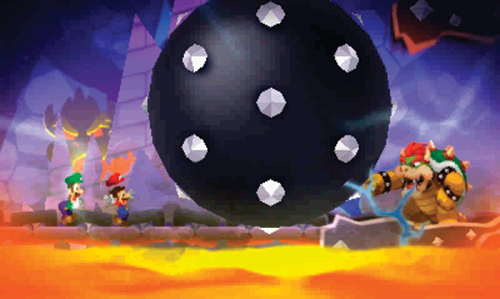
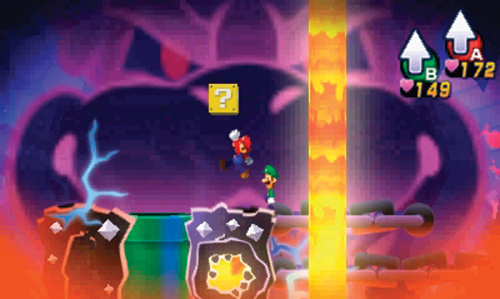
Mario and Dreamy Luigi’s presence has not gone unnoticed by Bowser. He appears here and conjures a massive ball, forcing Mario and Dreamy Luigi to flee to the left to avoid getting crushed. Continue through this room as apparitions of Bowser appear in the background. Strike the ? Block on the far left side of the room to retrieve a Max Mushroom, then descend through the green pipe nearby to enter the next area.
C
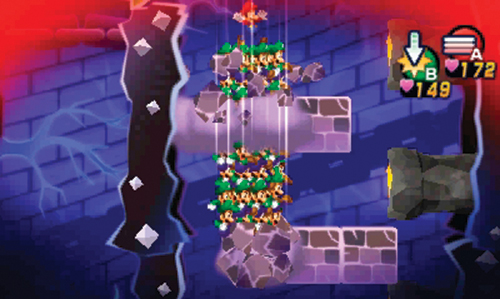
Form a Luiginary Stack here and Ground Pound through the gray bricks. Be careful to avoid contact with the flames on the right. Disassemble the Stack when you reach the floor below and exit to the right.
D
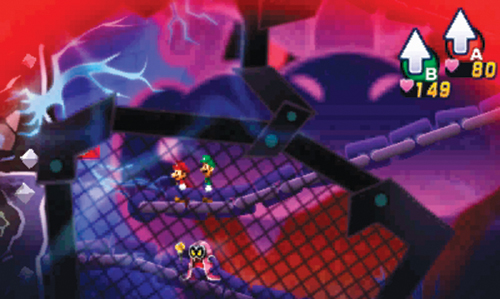
Follow the downward ramps in this room to the ground floor, engaging Spiny R’s and Antasmans along the way—some of the Antasmans may be joined by a Big Tail Goomba and the Spiny Rs may be joined by Lakitu R’s. These enemies attack in large groups, meaning more EXP upon the completion of each battle. Grind away on these enemies, then exit on the lower left side—strike the ? Block before exiting to retrieve a ton of coins.
E
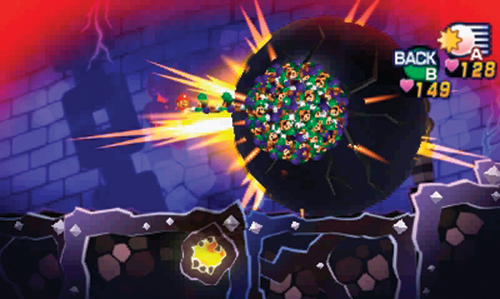
Form a Luiginary Ball here and smack the large black ball with three consecutive Ball Hammer strikes to break it. With this huge object out of your way, exit to the right.
F
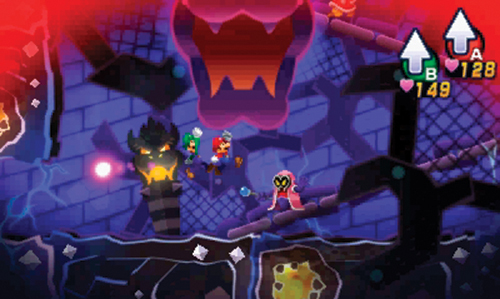
Here’s another enemy-filled room with ramps. This time you must ascend a series of ramps while battling groups of Antasmans and Spiny R’s. Even if you want to, it’s difficult to avoid battling these enemies due to the upward climb. So approach each enemy carefully and initiate each battle with a pre-emptive Hammer attack—this is safer than jumping as you may inadvertently strike an enemy on the platform above. Strike the L Block in this room repeatedly to retrieve several coins. A ? Block on the way up contains a Max Nut. Keep climbing the ramps in this room until you reach the exit on the upper left.
G
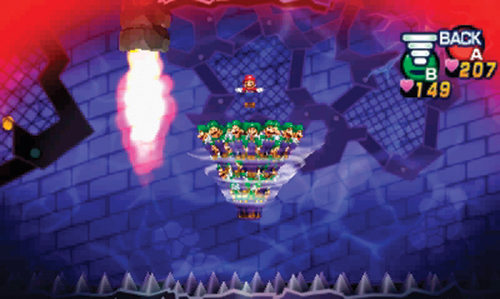
Form a Luiginary Cone here and Hover Spin to the left to avoid the spiked floor below. However, watch out for the two intermittent flames shooting from the ceiling. If necessary, stop and wait for the flame to stop before continuing to the left. But each delay causes the Luiginary Cone to lose altitude, putting it closer and closer to the spiked floor. If you delay too long, you won’t make it across. For best results, make a steady push to the left without stopping. As long as you don’t stop, you won’t have to worry about the flames—they won’t be active by the time you pass beneath them. Keep Hover Spinning to the left, then exit through the doorway on the left side.
H
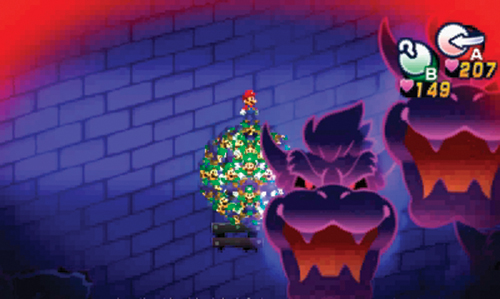
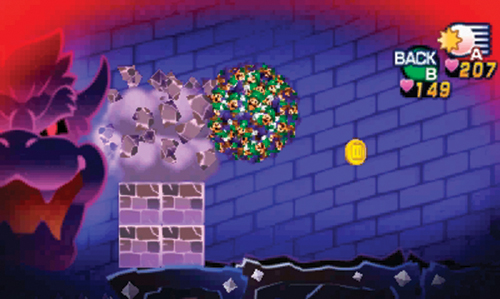
Here’s another room with a spiked floor. Use the Luiginary Cone to Hover Spin to the nearby platform on the right. Once on the platform, form a Luiginary Ball and direct a Ball Hammer strike to the right side—this causes the Luiginoids to crash through a brick wall in the distance, clearing a path to the exit. If necessary, return to the entrance and use another Ball Hammer directed toward the bricks on the right, further decreasing the height of the wall. You can now Hover Spin all the way to the right. Stop if necessary on the tiny platforms above the spiked floor—most of these platforms are obscured by the apparitions of Bowser. But these apparitions can be cleared away with a Tornado. When you make it across the spiked floor, exit to the right.
I
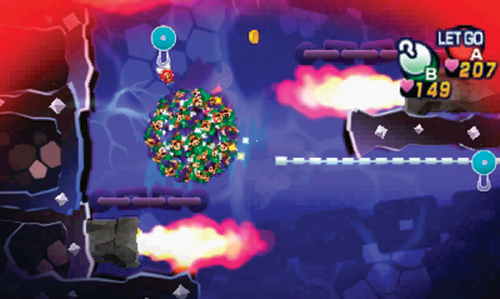
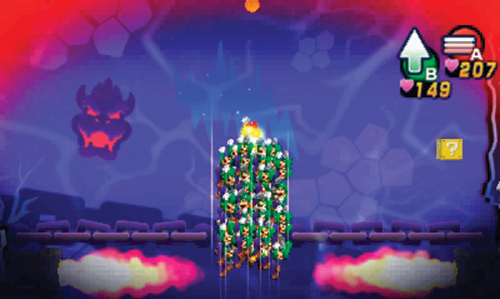
Form a Luiginary Ball and use a Hook Shot to attach the Ball to the Line Hook above. But before the Line Hook takes the Ball close to the flames on the left, drop off the Line Hook, landing on the tiny platform below. From the platform, fire another Hook Shot to the Hook on the left. Continue working your way upward, using the Hooks to latch on to. Drop from the final Hook and form a Luiginary Stack—Spring Jump between the two inward-facing flames to reach the top of the room. From the upper platform, drop off to the left and exit.
J
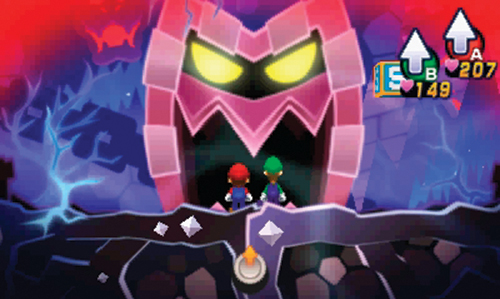
Strike the ? Block near the entrance to obtain coins, then consider saving your game at the nearby Save Block. The path to the left leads back to area A. But instead, enter the doorway in the middle of the room—stand in front of the door and press up on the Circle Pad to enter.
K
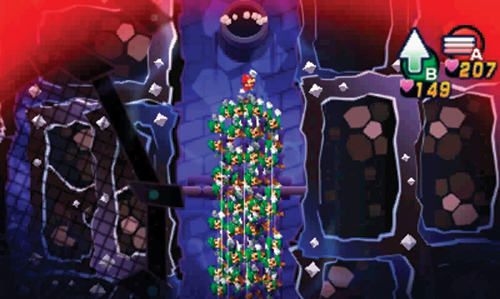
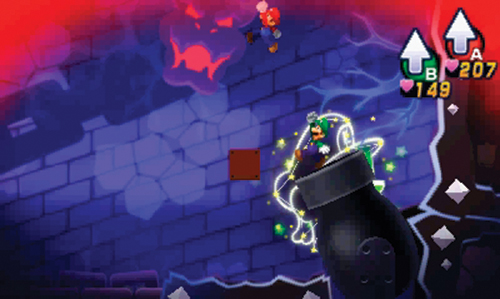
Beware of the incoming cannonballs here. Form a Luiginary Stack and carefully time a Spring Jump immediately after a cannonball crashes into the floor. But one Spring Jump isn’t enough reach the top. When the Stack lands on a platform midway up, immediately Spring Jump again to reach the top of the room before another cannonball comes crashing down. Strike the ? Block at the top to obtain Max Candy, then hop into the cannon on the right.
L
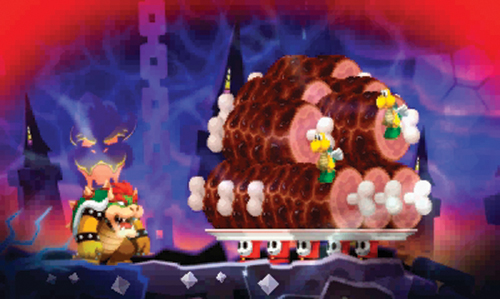
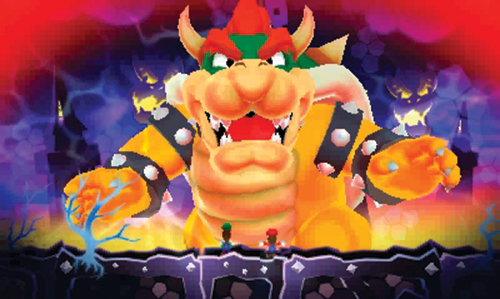
Here Bowser is indulging himself with a massive feast, inhaling large quantities of meat. When Mario and Dreamy Luigi arrive, Bowser demands more meat in preparation for his fight—Bowser grows larger with each plate of meat he consumes. Before long, Bowser is enormous, posing a serious threat to Mario and Dreamy Luigi. But for some reason, Dreamy Luigi doesn’t seem too concerned. When prompted, press the L on Luigi’s cap (on the Touch Screen) to call on Giant Luigi. It’s time for one more Giant Luigi battle!
M
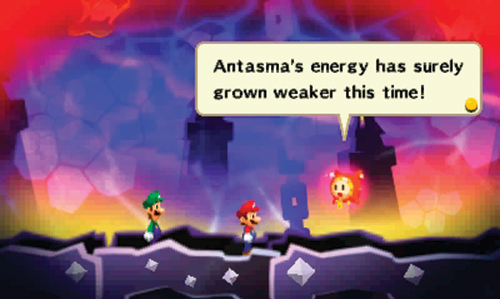
Following the battle with Bowser, Mario and Dreamy Luigi find themselves in this room. Dreambert suggests returning to the real world to confront Antasma. Enter the green pipe on the right side of the room to exit.
N
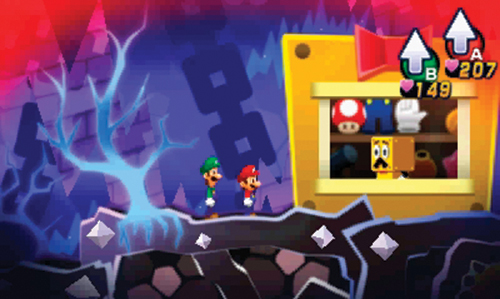
The green pipe drops the brothers into this room, home to a shop operated by Broque Monsieur. Purchase some Pi’l-latte, then browse through the items and gear to update your inventory. If you can afford it, purchase King Wear for both Mario and Luigi—this is best Wear you can currently obtain. While you’re at it, sell back surplus items and old gear you’re not using—there’s no use in lugging these things around. When you’re finished shopping, enter the door on the left side to return to area A—hop through the dream portal to return to the real world.
Dreamy Neo Bowser Castle Shop Inventory
Items
| Merchandise | Coins |
|---|---|
| Super Mushroom | 30 |
| Ultra Mushroom | 90 |
| Max Mushroom | 270 |
| Super Nut | 75 |
| Ultra Nut | 225 |
| Max Nut | 675 |
| Supersyrup Jar | 60 |
| Ultrasyrup Jar | 180 |
| Max Syrup Jar | 540 |
| 1-Up Deluxe | 300 |
| Refreshing Herb | 30 |
| Taunt Ball | 10 |
| Shock Bomb | 50 |
| Boo Biscuit | 5 |
| Mushroom | 10 |
| Nut | 25 |
| Syrup Jar | 20 |
| 1-Up Mushroom | 50 |
Gear
| Merchandise | Coins |
|---|---|
| Star Boots | 2,880 |
| Crystal Boots | 1,200 |
| Star Hammer | 2,880 |
| Crystal Hammer | 1,200 |
| Star Wear | 1,800 |
| Ironclad Wear | 2,160 |
| King Wear | 5,760 |
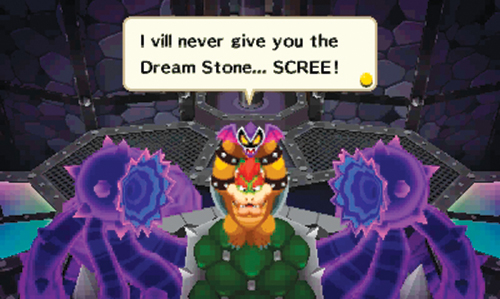
Back in the real world, your victory in the dream world has stirred Bowser awake—and he’s not happy. Antasma transforms into a bat and vows to stop Dreambert from obtaining the Dream Stone. While carrying Bowser, Antasma retreats to the north, revealing another lift. After Bowser and Antasma escape, Starlow notices the energy flowing through the vines has ceased—waking Bowser has cut off the castle from this flow of energy. Dreambert advises Mario and Luigi to prepare for the final confrontation with Antasma. Consider backtracking to a shop and stocking up on powerful restorative items like Max Mushrooms and Max Syrup Jars. Once you’re ready to proceed, board the lift on the north side of the room—Antasma awaits!
 Antasma’s Chamber
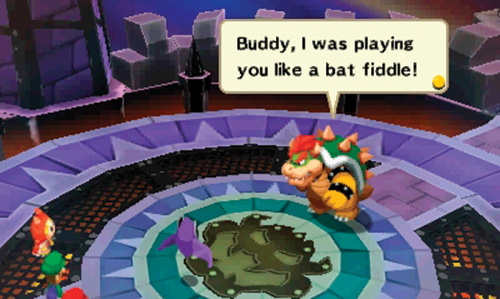
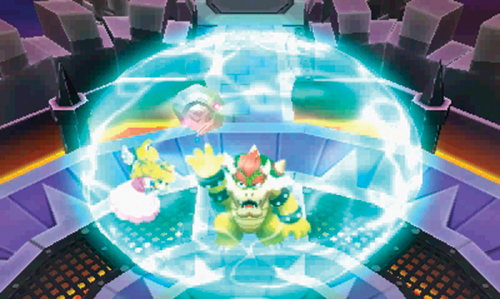
Mario and friends catch up with Antasma and Bowser here—consider saving your game at the nearby Save Block. But this evil alliance appears to have come to an end as Bowser throws Antasma to the ground. Bowser has been using Antasma all along, claiming the castle, the Dream Stone, and Princess Peach as his own. Using the power of the Dream Stone, Bowser ascends to the castle’s highest tower, taking Princess Peach with him.
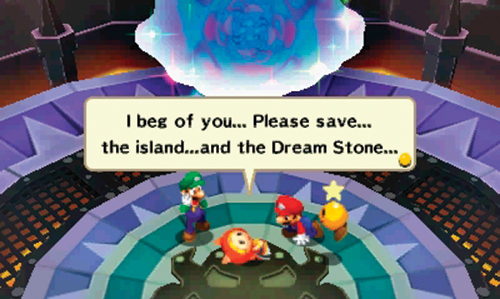
Following Bowser’s departure, Dreambert and Antasma begin fighting, crashing into each other, over and over. Eventually, Antasma escapes into a dream portal, prompting Dreambert to follow. The dream portal collapses after Dreambert enters, preventing Mario and Luigi from following. But soon the dream portal reopens and Dreambert comes flying out, before bouncing along the floor—apparently the fight didn’t go well. Before losing consciousness, Dreambert pleads with Mario to save the island and Dream Stone. Without hesitation, Mario leaps into the dream portal, ready to confront Antasma on his own turf.
Antasma Battle
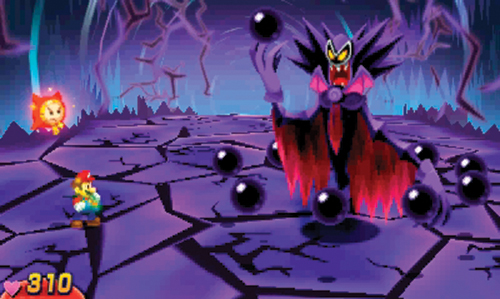
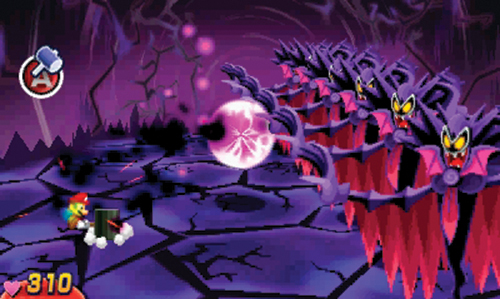
At the start of the battle, Antasma conjures several dark orbs called Antasmunchies. But Mario isn’t alone either—he’s joined by an ailing Dreambert and Dreamy Luigi. Antasma consumes a few Antasmunchies, increasing his POW. Get ready to counter Antasma’s first attack as he creates several clones of himself—pay attention to the one that holds ball of purple energy above his head. As the different Antasmas scramble and form a line, be ready to hit back the ball of purple energy flying toward Mario.
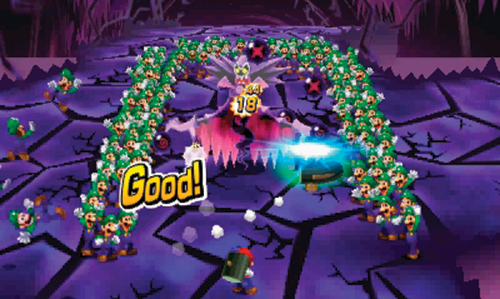
When it’s Mario’s turn to attack, don’t hold back. Choose a powerful Luiginary Attack like the Luiginary Wall or Luiginary Typhoon to inflict as much damage as possible on Antasma and his Antasmunchies. After each attack, Dreambert restores 30 HP to Mario.
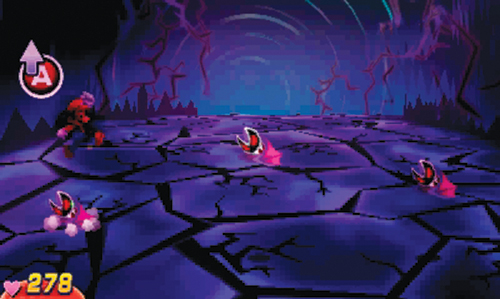
When Antasma transforms into a swarm of bats, be ready to jump as the swarm approaches Mario. But you don’t have to jump over every bat. Just jump over the ones that fly low to the ground, directly at Mario. Watch the shadows of the bats on the ground and only jump over the bats whose shadows are aligned with Mario.
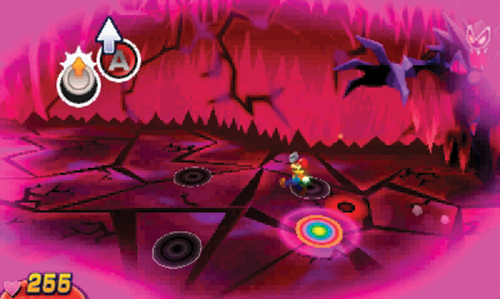
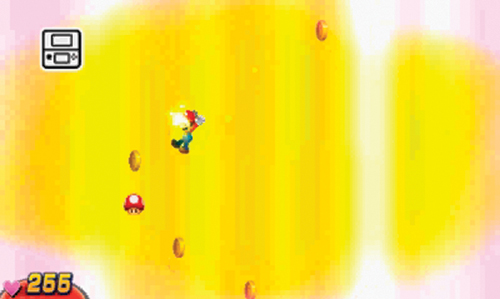
If Mario is hit by the bats or any other Antasma attack, he’ll fall asleep, triggering an endless nightmare sequence—you must find an exit or else you’ll be trapped here forever. As Antasma chases Mario, jump over the incoming purple blasts. But also jump over the holes in the floor—one of these holes is the exit. When you jump over a hole they will turn different colors. If the hole turns red and black, it leads into a falling sequence requiring you to dodge a series of saw blades. But if the hole is rainbow colored, this is the exit. During the next run through of the endless nightmare, drop through the rainbow colored hole. Tilt the Nintendo 3DS as Mario falls to collect coins and Mushrooms. At the end of the falling sequence, Mario wakes up and is ready to attack—smack your foe with another Luiginary Attack!
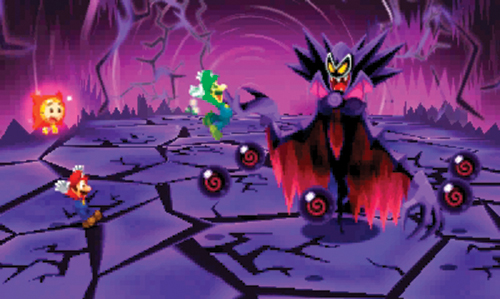
During the battle, Antasma may draw Dreamy Luigi forward and entrap him within one of the Antasmunchies—pay attention to which Antasmunchie Dreamy Luigi is trapped in. Without Dreamy Luigi, Mario can’t perform any Luiginary Attacks, so you need to get Dreamy Luigi back as soon as possible. At the earliest convenience, perform a Jump attack on the Antasmunchie containing Dreamy Luigi to set him free.
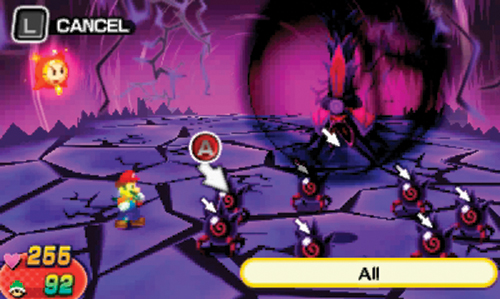
After absorbing a fair amount of damage, Antasma inverts and falls asleep within a purple force field. While sleeping, Antasma steadily replenishes HP and can’t be attacked. You must wake him up by destroying all of his Antasmunchies. A Luiginary Attack is the quickest way to target and destroy all the Antasmunchies, causing Antasma to wake from his slumber. If you destroy all the Antasmunchies in one attack turn, Antasma will recover no HP.
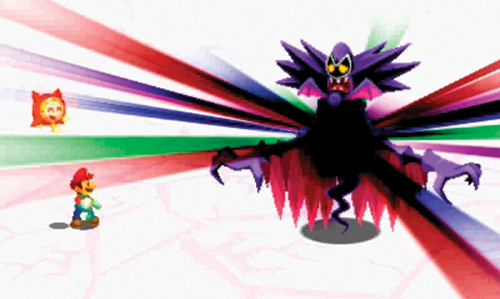
When it’s your turn to attack, keep hitting Antasma with one Luiginary Attack after another. Over time this depletes his HP, leading to his defeat and netting you 900 coins, a Dark Hammer, and 7,500 EXP! Following the battle with Antasma, Dreambert urges Mario and Luigi to press forward and confront Bowser atop the castle. Before exiting to the north, save your game at the Save Block. If necessary, backtrack to a shop and stock up on items.
 Tower Ascent
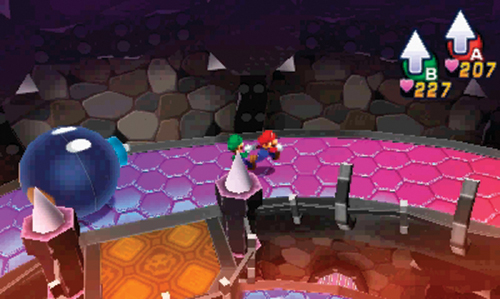
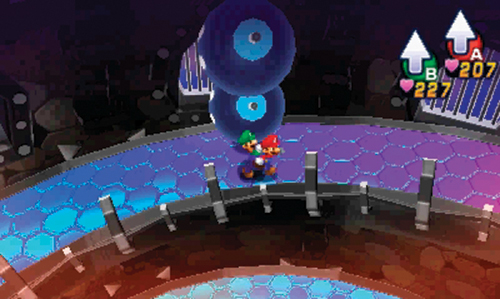
The Elite Trio stand atop this spiral ramp, rolling Mega Bob-ombs toward Mario and Luigi. Dodge the incoming Mega Bob-ombs by moving along the sides of the ramp. If necessary, take cover in one of the ramp’s side alcoves and wait for a Mega Bob-omb to pass before continuing the climb. Eventually you’ll encounter a few regular sized Bob-ombs along the way, which you can jump over. But watch out for bouncing Mega Bob-ombs descending the ramp side by side. Time your movements carefully, passing beneath one of the bouncing Mega Bob-ombs.
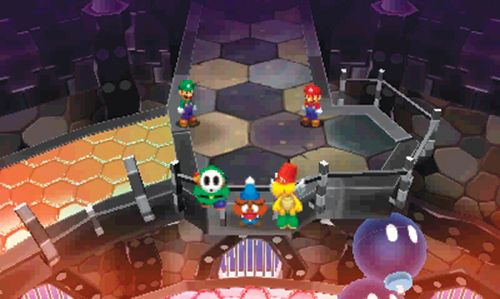
At the top of the tower, the Elite Trio attempt to rush Mario and Luigi. But Mario and Luigi step aside, causing Private Goomp, Sergeant Guy, and Corporal Paraplonk to fall off the ledge, plunging to the bottom of the tower. The path ahead is now clear. Board the lift to the north to reach the top of the tower.
 Bowser’s Tower
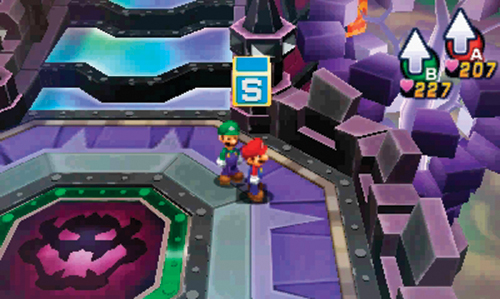
You’ve made it to the top of Neo Bowser Castle! Save your game at the Save Block next to the lift. The game is almost over. If you have any last-minute places to visit, items or Pi’illos to collect, shots to decrypt, Event Stage challenges to complete, or Battle Ring fights to win, do so now. After defeating Bowser, the game is over. But by saving your game here, you can always return to this point and complete those tasks at another time.
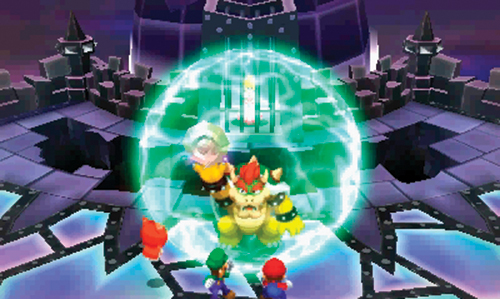
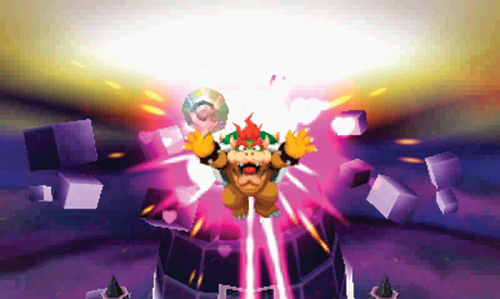
After saving your game, climb the steps to the north—Princess Peach is being held in a cage atop this tower. But before they can rescue Princess Peach, Bowser crashes through the floor and blocks their path. As Bowser taunts Mario and Luigi, Starlow sneaks off toward Princess Peach. As Bowser ascends into the air, using the power the of the Dream Stone, Starlow and Princess Peach target Bowser with pink beams of energy, destroying the Dream Stone at Dreambert’s request.
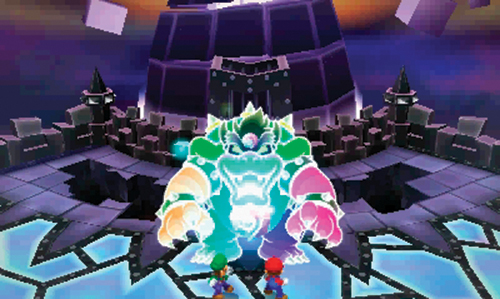
But Bowser inhales the shards from the Dream Stone, making him even more powerful—he is now Dreamy Bowser! Starlow and Dreambert try to stop him, but are tossed to the floor—this is a job for Mario and Luigi. Dreambert replenishes Mario and Luigi’s HP and BP just before the final battle gets underway.
Dreamy Bowser Battle
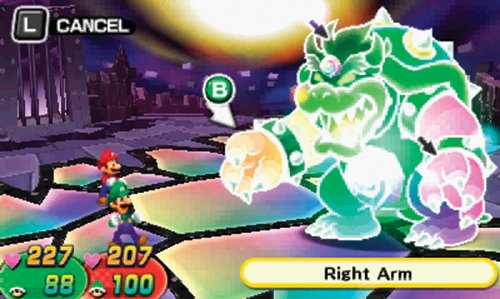
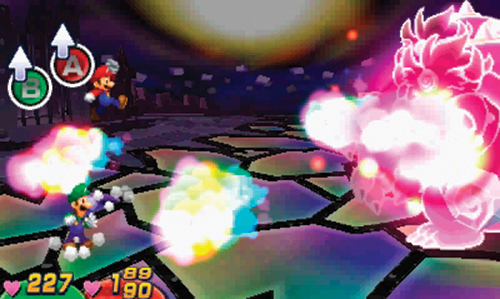
Both of Dreamy Bowser’s arms can be targeted separately from his body. Focus on targeting his right arm first, as this is the arm he uses to deflect attacks to his body. But don’t bother targeting the right arm with simple Jump or Hammer attacks. Use Bros. Attacks like Mario’s Jet-Board Bash or Luigi’s Star Rocket—one Excellent hit from either of these Bros. Attacks should be enough to render his right arm useless. But after attacking his arm, be ready to jump over Dreamy Bowser’s flame attacks. Dodging the first set of attacks is easy, requiring Mario and Luigi to jump at the same time. But as Dreamy Bowser doubles himself, alternate jumps as two sets of flames approach Mario and Luigi at different times.
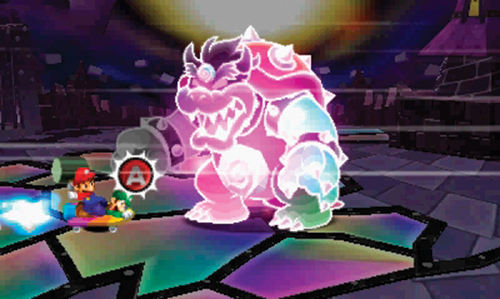
When it’s your turn to attack again, target Dreamy Bowser’s body with more Bros. Attacks. This is one moment where Mario’s Zee Egg is very effective, dishing out tons of damage. If you don’t have access to the Zee Egg, rely on Mario’s Jet-Board Bash and Luigi’s Slingsniper to dish out some heavy damage.
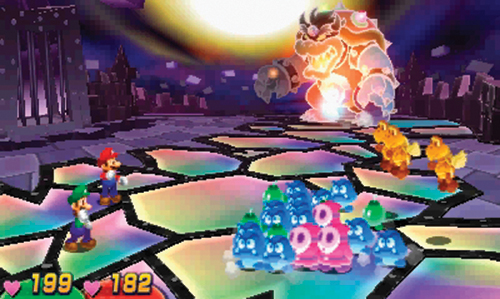
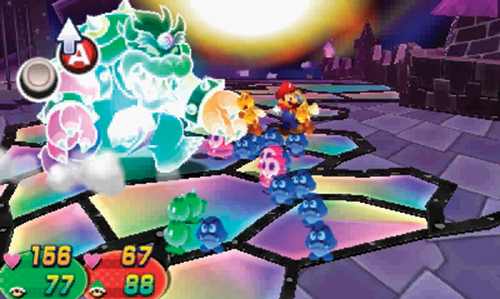
Eventually Dreamy Bowser conjures the Koopa Corps, consisting of Dreamy Goombas, Dreamy Shy Guys, Dreamy Paratroopas, and Dreamy Bob-ombs. As his minions take the foreground, Dreamy Bowser moves to the background and consumes large piles of meat, recovering HP to his arms and body. Dodge and counter the Koopa Corps’ charging attack, jumping on all the enemies but the green Dreamy Bob-ombs and Dreamy Shy Guys—the Dreamy Bob-ombs explode if touched, and the Dreamy Shy Guys jump, so stay on the ground when they approach. Then when it’s your turn to attack, toss a Taunt Ball at Dreamy Bowser, bringing him to the foreground. As Dreamy Bowser chases Mario and Luigi, guide him through the Koopa Corps, causing him to inflict damage on his own minions. You get three passes, so try to wipe out all the Koopa Corps during one Taunt Ball attack to bring Dreamy Bowser back to the foreground—the longer he stays in the background, the more HP he recovers.
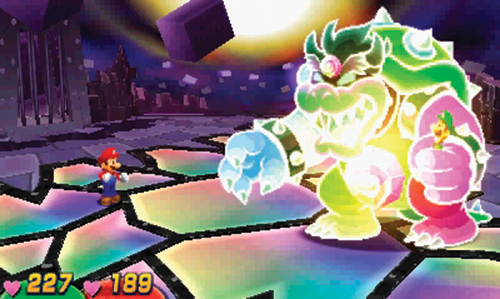
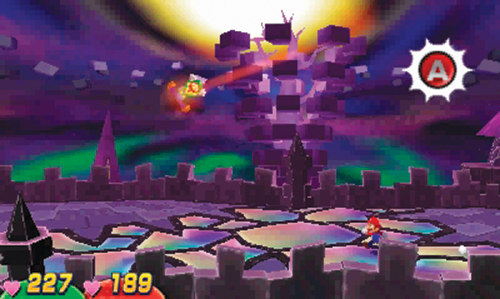
When Dreamy Bowser returns to the foreground, chances are you’ll need to attack his right arm again—the feast he enjoyed in the background most likely restored it. But be ready to counter if Dreamy Bowser grabs Mario or Luigi with his left hand. Upon grabbing Mario or Luigi, Dreamy Bowser tosses them through the air. If Luigi is the one sailing through the air, rapidly press
 to make Mario sprint, catching Luigi before he hits the ground. Likewise, if Mario is the one sailing through the air, press
 rapidly to make Luigi sprint. If you fail to catch Mario or Luigi during this sequence, they’ll return to Dreamy Bowser’s left hand—target his left arm to release the other Bro.
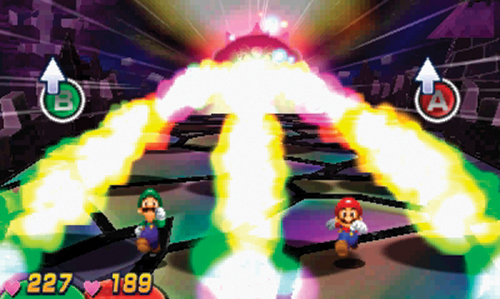
As Mario and Luigi run away from Bowser, be ready to jump to dodge a set of three fiery beams. These beams shift to the left and right, requiring careful jumps to avoid getting struck. Watch Dreamy Bowser in the background. His lateral movements telegraph which way the beams will shift. But there’s a slight delay between his movements and the shifting of these beams. So don’t jump immediately when you see Dreamy Bowser move—wait a bit, then jump.
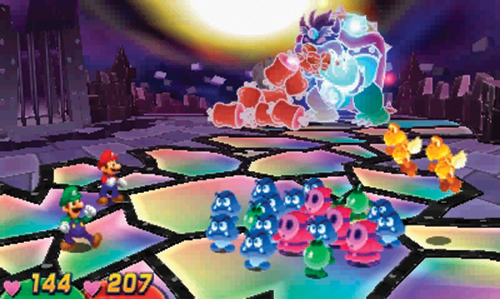
When it’s your turn to attack, disable Dreamy Bowser’s right arm, then keep hitting his body with Bros. Attacks like the Zee Egg, Jet-Board Bash, Star Rocket, and Slingsniper. As Dreamy Bowser’s HP is reduced, he retreats to the background to consume meat while relying on the Koopa Corps to keep you company. Defeat the Koopa Corps as quickly as possible to prevent Dreamy Bowser from fully recovering his HP. Luring Dreamy Bowser with a Taunt Ball is the best way to wipe out the Koopa Corps quickly.
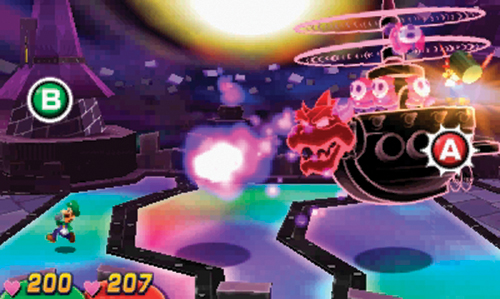
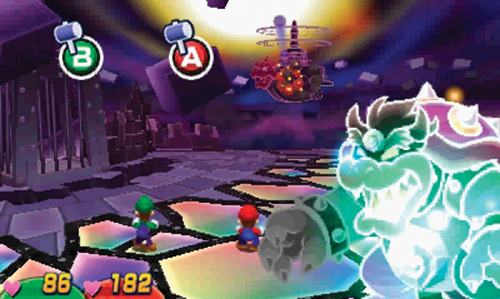
Eventually Dreamy Bowser conjures a Shy Guy Airtub DX, sending it chasing after Mario and Luigi. This sequence requires teamwork. While Luigi runs away from the Airtub, press
to make him jump over the incoming blasts of purple energy. Meanwhile, Mario sneaks aboard the Airtub—press
to make Mario eliminate Shy Guys with his hammer. Once all four Shy Guys are eliminated, hammer away on Dreamy Bowser’s head from the bow of the Airtub to inflict more damage. If you inflict enough damage, the Airtub will crash. Otherwise, the Airtub moves to the background and is replenished with new Shy Guys. The Shy Guy Airtub DX can continue to attack from the background, launching cannonballs at Mario and Luigi—knock them back using your hammers. If countering the Airtub’s attacks aren’t enough to destroy it, lure it to the foreground with a Taunt Ball. This causes it to chase after Luigi, giving Mario another opportunity to deal heavy damage to the Shy Guys on board as well as the Airtub itself.
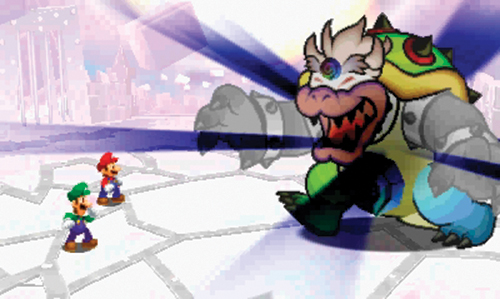
Dreamy Bowser is tough, capable of absorbing tons of damage. Defeating him is made all the more difficult by his frequent meal breaks and attacks by his minions. But as long as you keep hammering him with Bros. Attacks, Dreamy Bowser will eventually fall. Remember, disable his right arm, then keep striking his body to inflict heavy damage.
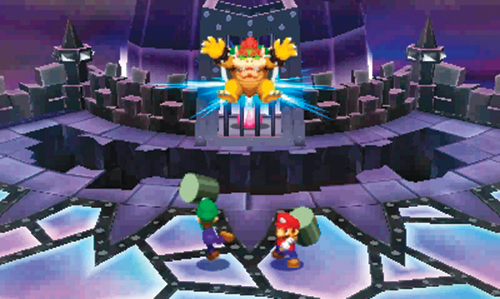
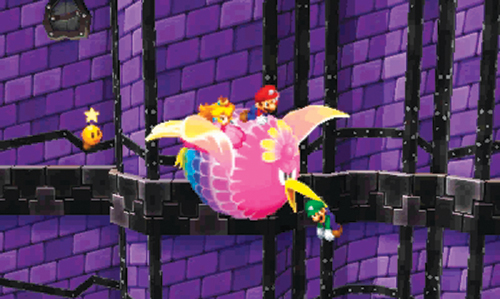
Following the battle, use Luigi’s hammer to knock Bowser into the cage holding Princess Peach. As he rebounds off the cage, use Mario’s hammer to knock Bowser off the side of the castle, flying off in the distance. Princess Peach rushes forward from her cage and thanks Mario and Luigi for rescuing her…again. But they’re not safe yet. With Bowser and Antasma defeated, Neo Bowser Castle begins to crumble. Follow Princess Peach, Starlow, and Dreambert as they race to the south. But shortly after descending the tower, the castle continues to crumble beneath their feet. As they fall, the Zeekeeper arrives in the nick of time, catching Mario and friends.