
Mario & Luigi: Dream Team Guide Walkthrough Dozing Sands
Dozing Sands
 Ball Hop Mesas
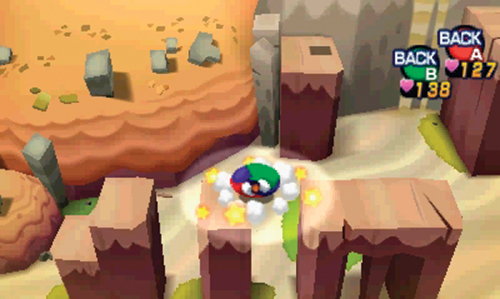
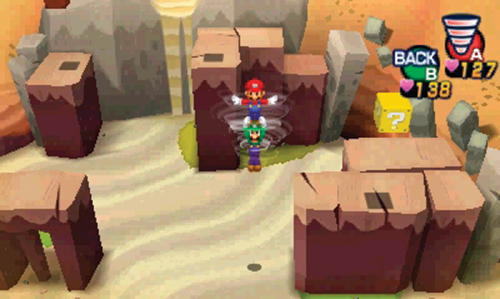
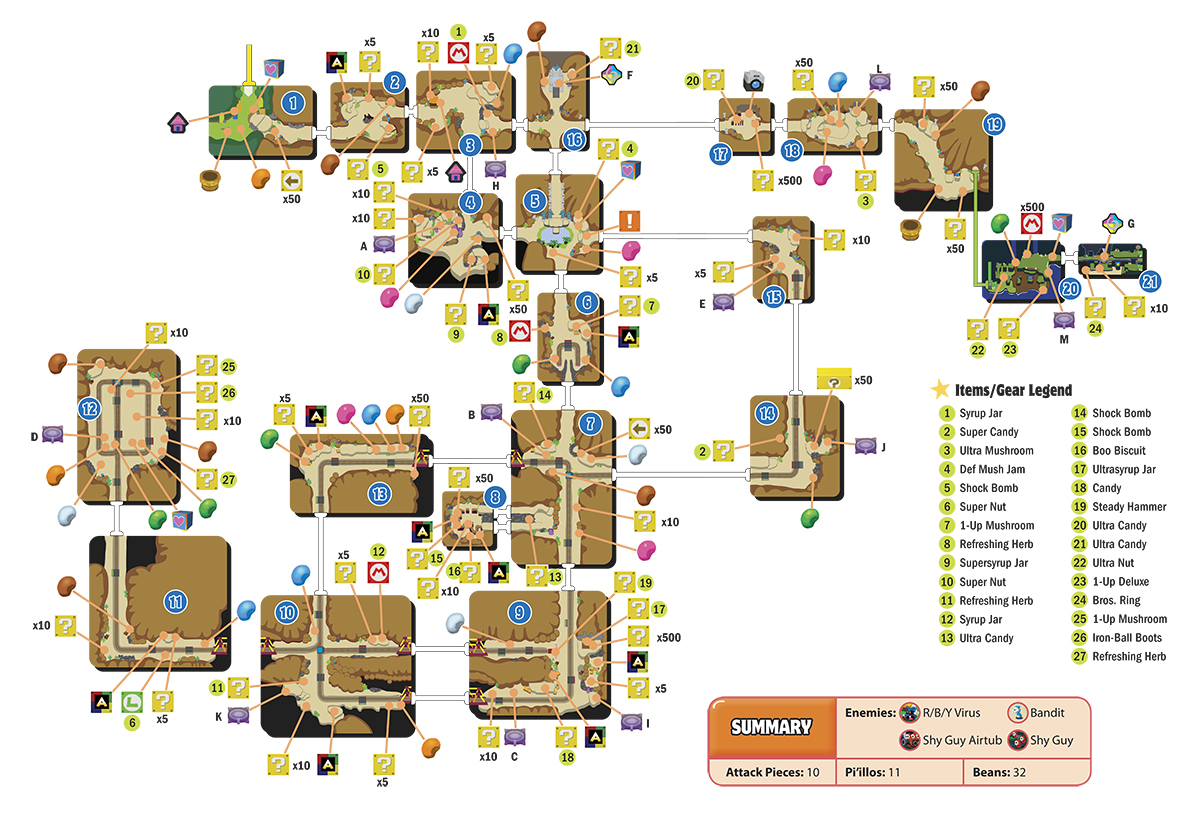
Upon arriving in Dozing Sands, head straight for area 17, directly east of the Dreampoint in area 16. Now that you have learned the Ball Hop, you can fully explore this area. Ball Hop across the column-like mesas, starting on the west side and bouncing east. When you reach the large mesa, halt the Ball Hop and then Spin Jump to the north. Here you can get Ultra Candy from a ? Block. Return to the mesas on the west side and Ball Hop over them again. This time Spin Jump to the east when you reach the large mesa—the ? Block here contains coins.
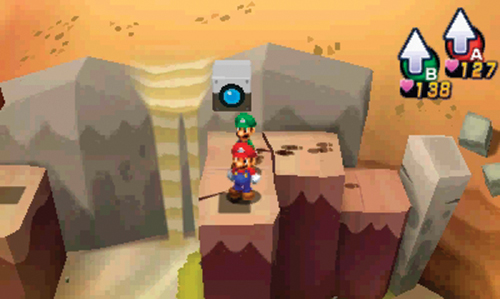
After collecting coins, Spin Jump to the mesa to the north to strike the Camera Block to obtain the Dozing Sands shot—you can decrypt it during your next visit to Wakeport. When you’ve gathered all the goodies here, exit to the east.
 Rock Wall
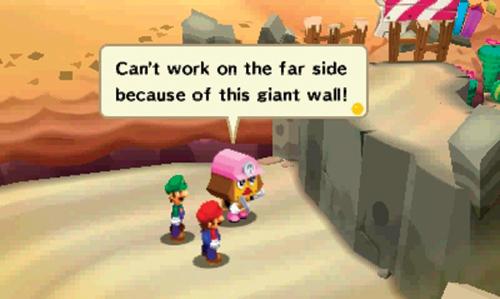
Mario and Luigi meet Britta here—her Shelltop workers are incapable of breaking through the nearby rock wall. And she just knows there’s treasure waiting on the other side. After Britta leaves, simply Ball Hop over the wall. But watch out for the R/B/Y Virus and Bandit on the other side.
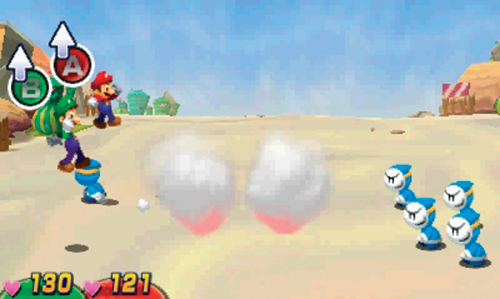
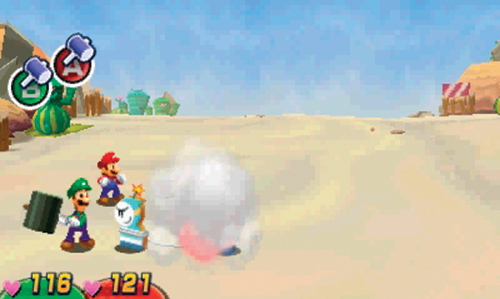
Bandits are tricky enemies, eager to steal Mario and Luigi’s coins. When they toss smoke bombs, be ready to jump over (or on) them as they emerge from the smoke and charge at Mario and Luigi—if they make contact, they’ll inflict damage and steal 100 coins. Keep track of the Bandits that have stolen coins, and defeat them before they can escape. Bros. Attacks work best against these enemies—try Mario’s Bomb Derby. But if you’re low on BP, simple Jump and Hammer attacks will suffice. You only have one attack turn to defeat Bandits holding your coins. If you’re unsuccessful in defeating them in your turn, they’ll toss a smoke bomb and run away, taking 100 coins with them. In another attack, Bandits will push explosive decoys toward Mario and Luigi from the confines of their smoke screen—don’t take the bait. Striking one of these decoys with your hammer will only damage you. Wait until the real Bandit emerges from the smoke, then strike him with your hammer.
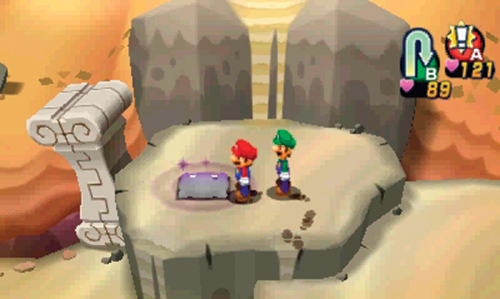
After battling the enemies here, take a moment to seek out some goodies, including a Speed Bean and Heart Bean. There’s also a pillow in the northeast corner—Ball Hop up here to rescue the Pi’illo (L) trapped within. There’s an Ultra Mushroom in the ? Block to the southeast. Once you’ve looted the area, exit to the east.
 Underground Entrance
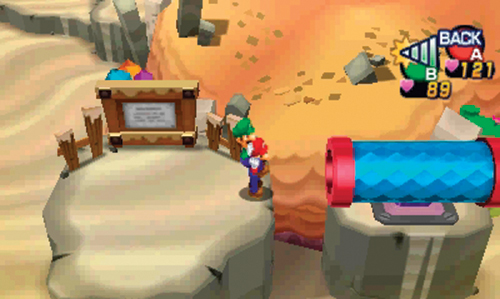
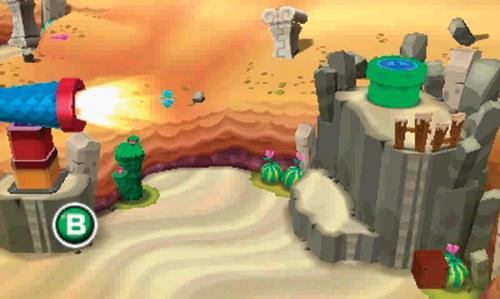
Beware the Bandits and R/B/Y Virus roaming the sand here. Defeat them in battle, then search around. You can find a Stache Bean here as well as some coins contained within ? Blocks. Take note of the nearby Warp Pipe, but don’t use it. Instead, Ball Hop up to the mesa near the center of the area to access the nearby Stretch Pipe. This functions similar to the Rolling Pipes, but you can choose at which altitude you want to exit. Side Drill into the Stretch Pipe, then wait for it to stretch upward, to its second and middle setting—press
 to fire Mario and Luigi out of the Stretch Pipe and toward the green pipe in the northeast corner. Now, enter the green pipe to access the underground chamber.
 Dozing Sands Underground (West)
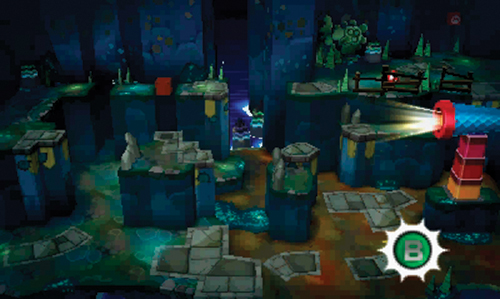
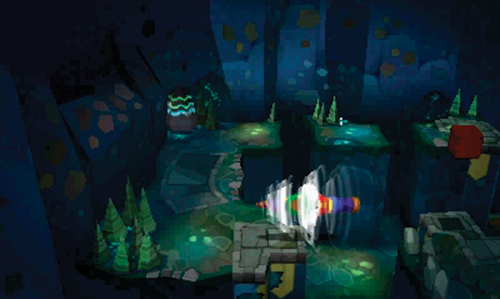
More Bandits scurry about the floor here. Fight your way past the Bandits to reach the Stretch Pipe to the east—grab the 1-Up Deluxe in the ? Block along the way. Enter the Stretch Pipe from the east side using a Side Drill. Then wait for the Stretch Pipe to extend to its second, middle setting before launching out of it. This puts Mario and Luigi on a platform with a ? Block containing an Ultra Nut. Return to the Stretch Pipe, and this time exit when it’s extended to its highest setting to reach the ledge to the far west.
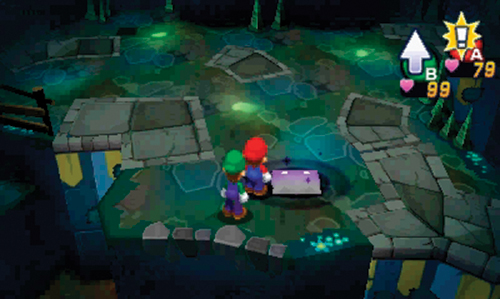
Jump and Spin Jump across the gaps in the perimeter ledge while moving to the east. Battle a couple of R/B/Y Viruses in this area, then strike the M Block to the north to score a lot of coins. Before exiting this area, locate the pillow to the south. Rescue the Pi’illo (M) trapped within, then exit to the east—save your game at the Save Block along the way.
 Dozing Sands Underground (East)
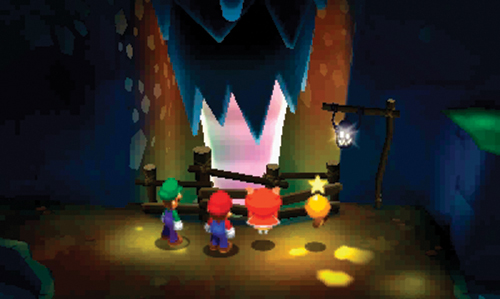
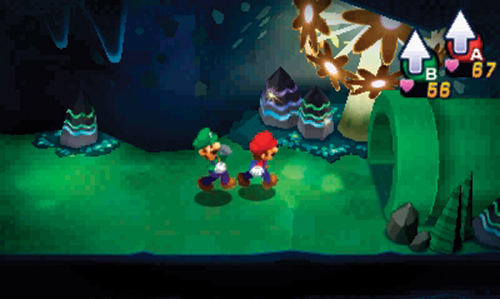
Upon entering this passage, Starlow notices a shiny rock. Dreambert says this is a rare type of mineral called Dozing Ore. Water penetrates the ore and distills within it. It leaks back out as Dozing Drops. When the Dozing Drops become solid, they form into the Dozing Mattress, which is what they’re looking for. Therefore, the Dozing Mattress is somewhere below. Ball Hop up the nearby ledge, battle a Bandit, and then enter the green pipe to the east.
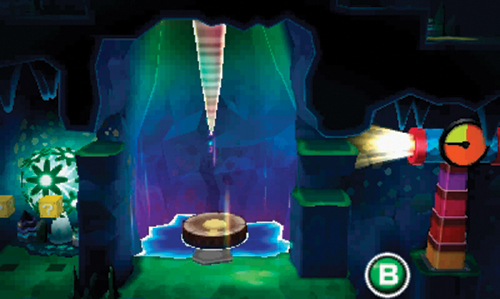
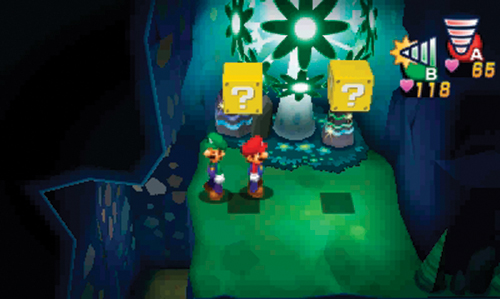
After exiting the green pipe, approach the modified Stretch Pipe to the west—Side Drill to enter the pipe. Unlike the previous Stretch Pipes you’ve encountered, you must manually set the elevation of this one by rapidly pressing
. The analog timer on the side of the pipe indicates how long before Mario and Luigi are launched. Start by elevating the pipe to its highest possible setting. This launches Mario and Luigi into a distant alcove to the west. The ? Blocks here contain a Bros. Ring and coins. Return to the modified Stretch Pipe to the east, clearing out more Bandits along the way.
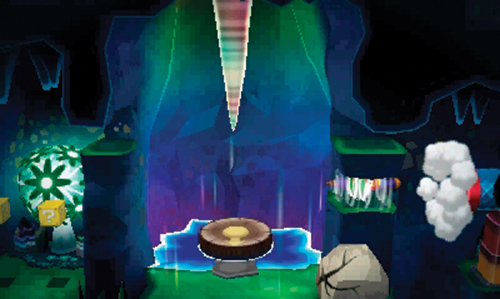
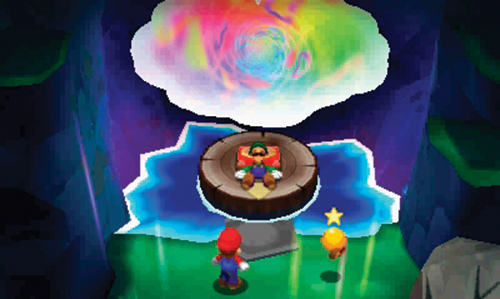
Side Drill into the modified Stretch Pipe and elevate it so it’s aligned with the lowest gap in the wall. You must continually press
, because the pipe will automatically descend on its own if there are no inputs. Once the Stretch Pipe is properly aligned and the timer ends, Mario and Luigi are launched into an enclosed chamber, just below the Dozing Ore. The Dozing Mattress is supposed to be here, but it’s not. However, the log-like object here is a Dreampoint. Enter the dream world to look for clues.
Dream World (G)
A
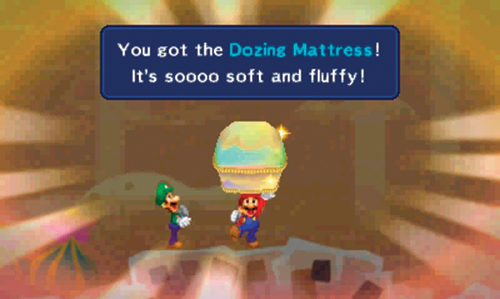
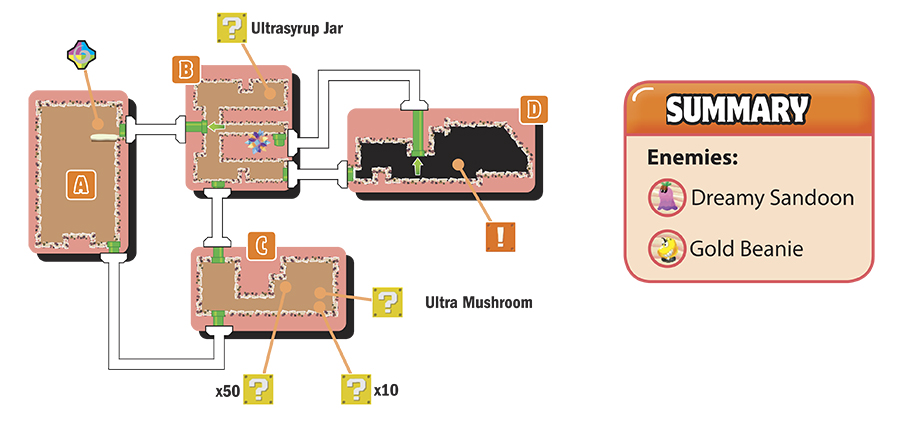
Shortly after arriving here, Mario and Dreamy Luigi spot the Dozing Mattress and automatically retrieve it—that was easy. However, the dream portal is located high above this room. You’ll need to explore this dream world a bit more thoroughly to find a way to reach the dream portal. Exit by entering the green pipe to the right.
B
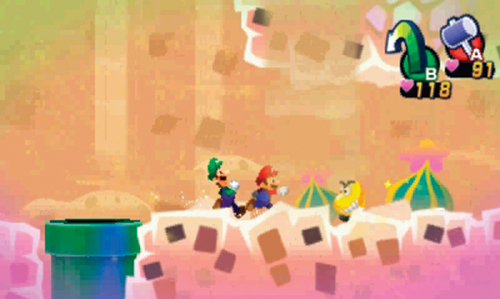
You have a chance of encountering a Gold Beanie here—initiate a battle by whacking it with your hammer or by jumping on it. But make sure you’re stocked up on HP and BP before starting a battle with one of these guys.
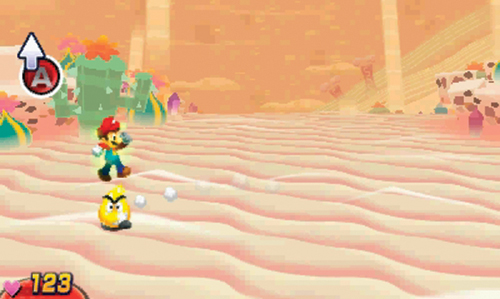
The highly elusive Gold Beanie isn’t easy to defeat, thanks in large part to high HP and DEF stats. Even your strongest attacks do very little damage to these durable guys. During one of their attacks, the Gold Beanie marches in a circular formation—jump on top of him as he approaches to counter. Upon jumping on the Gold Beanie, he reverses direction, marching back toward Mario—keep jumping on him to inflict damage. Jump on him at least three times to knock him on his back—this prevents him from escaping. When it’s your turn to attack, don’t bother with Jump or Hammer attacks—bring out the big guns, using a Luiginary Attack, like the Luiginary Stack or Luiginary Hammer. Don’t use Luiginary Flame, because Gold Beanies are immune to it. But as you deal more and more damage, don’t be surprised if the Gold Beanie runs away, ending the battle prematurely. This is why it’s so important to successfully counter this enemy during its attack phase, knocking him on his back. But if you do defeat the Gold Beanie, you earn 800 coins and 4,000 EXP! The Gold Beanie also drops a random DX Bean or gear. Make an effort to defeat these enemies whenever you encounter them.
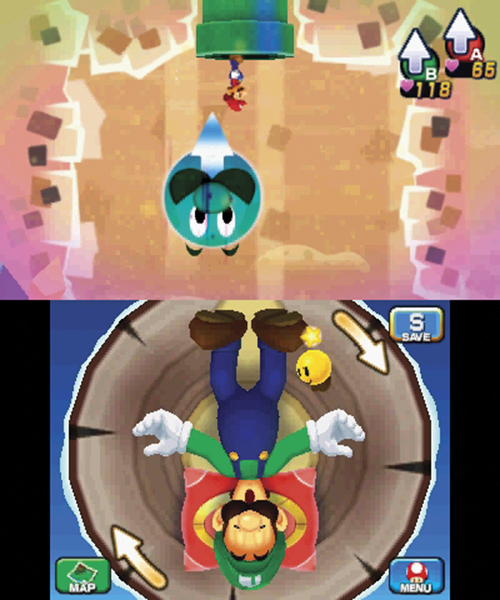
Proceed to the right and battle some Dreamy Sandoons. Next, use Luiginary Gravity to navigate this area—the log-like object Luigi is sleeping on functions just like a Float Bed. Here you can collect coins and an Ultra Mushroom from a ? Block. Once you’ve collected these items and defeated the Dreamy Sandoons, exit through the green pipe on the ceiling, located in the upper-left corner.
C
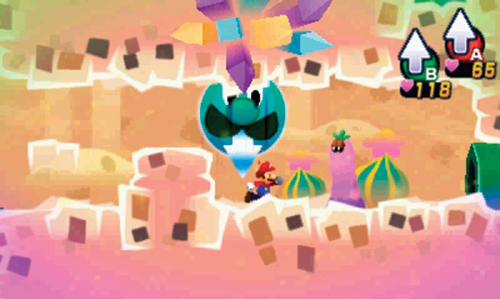
Once again, rely on Luiginary Gravity to navigate this area. Descend to the bottom passage, battle a Dreamy Sandoon, and then exit through the green pipe in the bottom right—you’ll come back later from a different pipe.
D
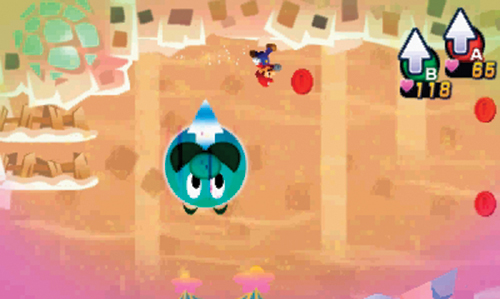
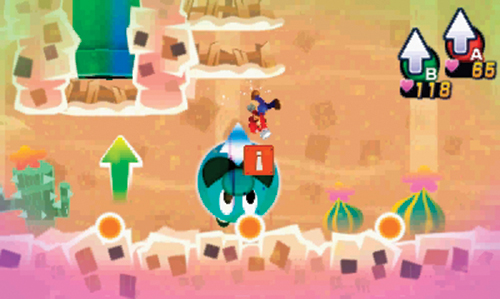
Strike the Red Coin Block here, then use Luiginary Gravity to collect all eight Red Coins before time expires. Collect the Red Coin closest to the Red Coin Block, then rotate Luigi 180-degrees on the Touch Screen. It’s necessary to run across the ceiling to collect the remaining Red Coins. If you manage to collect all eight Red Coins, an Event Block appears below. While still on the ceiling, strike the Event Block to gain access to the nearby green pipe, also in the ceiling. Enter this green pipe to return to area C.
C
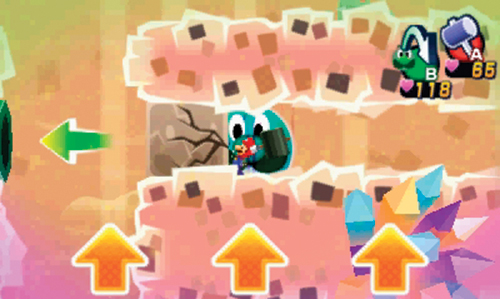
Use your hammer to smash the cracked block in this cramped passage, then use Luiginary Gravity so Mario can reach the pipe embedded in the wall on the left—this leads back to area A. Once back in area A, leap into the dream portal to return to the real word.
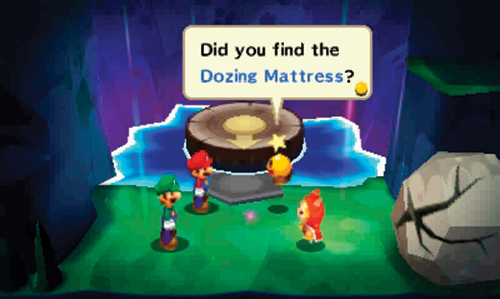
Starlow and Dreambert are relieved that Mario has returned with the Dozing Mattress. There’s one more bed part to collect, located in Driftwood Shore. Smash the rock to the east to exit this chamber, then backtrack all the way to area 19 and use the Warp Pipe. Choose the Driftwood Shore Beach as your destination.