
Dying Light Guide Weapons, Equipment, and Crafting
Weapons
Weapon Stats
Name
The name of the weapon itself. This lets you know two things: the overall type of weapon you’re dealing with and the relative power of the weapon once you know the various tiers. For example, there are many types of Hammers. At first, you’re not going to know the difference between a Brick Hammer and a Claw Hammer. But you are going to quickly pick up that Hammers are fairly fast, one-handed weapons. Axes are much slower to wield, but have higher damage per swing.
In time, you’ll begin to understand the tiers of weapons that are available. “Oh, the Brick Hammer is the next tier up. They do more damage.”
Damage
Damage is the amount of destruction that a weapon does each time it lands against an opponent. This factor doesn’t take into account swing time, Stamina cost, or anything else. It’s just damage done per hit. More is always better, but there are differences between the types of weapons that make some high damage weapons only somewhat awesome while certain medium-damage choices might be superior.
Durability
Each time you hit something, there’s a chance of losing some Durability off of your current weapon. Eventually, this causes weapons to break and become worthless. More Durability is always a great thing, regardless of the type of weapon you’re looking at.
There are skills that improve the amount of time you can use your weapons (e.g., Conserve Weapons, a Power skill). There are also other ways to improve your Durability. Each weapon can be repaired only a certain number of times. As long as you have Metal Parts, you can repair a weapon to get its full Durability back. This requires a few seconds, so it’s better to do outside of combat.
Once a weapon has used all of its repairs and is low on Durability, it’s pretty much done. However, you don’t have to drop the weapon or let it simply break. Instead, you can either sell the weapon at a store to get some money. Or, you can dismantle the weapon and salvage parts from it.
Handling
Handling determines weapon speed. The faster you can swing, the more damage you can deal against enemies in a given amount of time. This is a very important stat, and the higher it goes, the better off you are. Even what looks like a small difference in Handling can actually lead to a major difference in your ability to swing quickly and fend off enemies.
Repairs Left
You can repair an item only so many times before it’s just totally worthless. There’s a fine line you must walk with this. If you wait too long to repair your weapons, they can break while still having Repairs Left. That’s awful, because you’ve just wasted all of the time you would have had with that weapon if you’d bothered to repair it.
On the other side, repairing items too soon can also be bad. If you repair things when they’re at half of their Durability, you’re wasting tons of attacks. It’s usually best to let your weapons drop into low levels of Durability and then repair them. The icon in the lower-right corner of your screen is a reflection of the Durability for your current weapon. When the icon’s colored section starts to look a bit small for your liking, repair that weapon! When desperate, you can even do this in battle by running away from enemies as you frantically patch together your favorite toy.
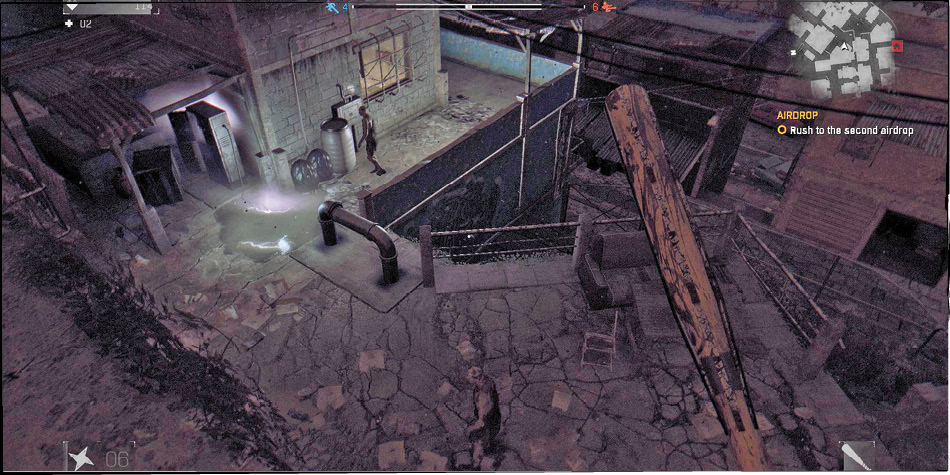
You can also switch weapons temporarily, finish a fight with something that isn’t about to break, and then repair everything afterward. That’s a safer and saner way to go about your business.
Upgrades
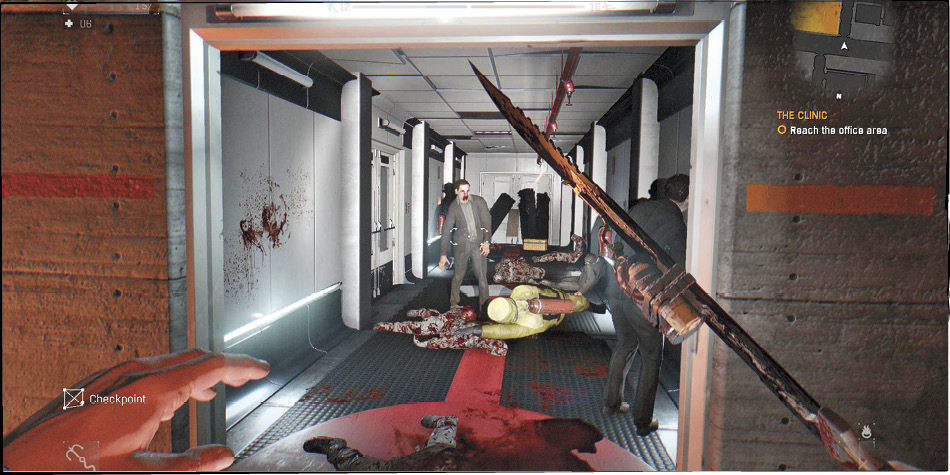
Weapons are upgraded in two ways: Blueprints and Upgrade items. The number of upgrades you can use on a weapon is determined by the quality of the item in question. Better weapons can receive more upgrades.
Upgrades are given as rewards for completing side quests and various targets of opportunity around the world. Sometimes you also find them in locked chests, but that’s not common. They improve the general stats of each weapon by a percentage. You get to preview each upgrade before locking it in, so you are never left in the dark about which upgrade is the best for your current item. Damage, Durability, and Handling can all be improved in this way.
Blueprints modify weapons even more drastically. They do NOT use an upgrade slot, so they’re useful even if you’ve already used every upgrade slot on the weapon. That said, they’re best used really early on when you find a good weapon because you want to get the most time out of it. The sooner you upgrade and use a good Blueprint, the better off you are (because any improvements to Durability from the upgrades are going to make the item last even longer if they’re done early). Blueprints dramatically raise weapon damage and add elemental effects to the item. They also produce a visual change to the weapon, making them particularly fun.
Upgrade List
- Assassin: Handling (Level 1)
- Barbarian: Damage (Level 2), Durability (Level 2)
- Berserker: Damage (Level 1), Handling (Level 1)
- Brawler: Damage (Level 2), Handling (Level 2)
- Bruiser: Damage (Level 2), Handling (Level 1)
- Brute: Damage (Level 2), Durability (Level 1)
- Champion: All Weapon Stats (Level 1)
- Clicker: All Weapon Stats (Level 2)
- Crusader: Durability (Level 1), Handling (Level 1)
- Duelist: Damage (Level 1), Handling (Level 2)
- Enforcer: Damage (Level 1)
- Fencer: Handling (Level 2)
- Gladiator: Damage (Level 2)
- Juggernaut: Durability (Level 1)
- King: All Weapon Stats (Level 2)
- Knight: Durability (Level 2), Handling (Level 1)
- Mercenary: Damage (Level 1), Durability (Level 2)
- Paladin: Durability (Level 2), Handling (Level 2)
- Pit Fighter: Damage (Level 1), Handling (Level 1)
- Templar: Durability (Level 1), Handling (Level 2)
- Titan: Durability (Level 2)
Upgrades are often best used on crafted weapons or higher-end ones that you find later in the game. These have superior stats and can be incredibly deadly. Make them last longer and work even better by attaching your finest upgrades to them.
Value
This is the overall value of the weapon you’re carrying (if you were buying that item from a shop). Sell old, unneeded, or unwanted weapons to get more money. You get only 10% of the item’s value when you sell it to one of the storekeepers. If you take Hard Bargain (a Survivor Skill) you get way more cash for your sales, making it quite a viable source of income for your character!
Firepower
This is a stat for firearms. The more Firepower a gun has, the more damage it does to its targets. It’s analogous to the Damage stat for melee and thrown weapons.
Accuracy
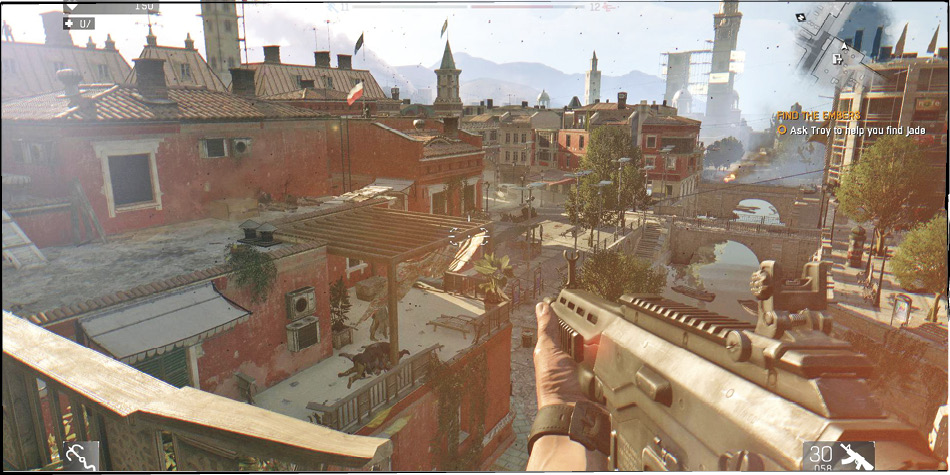
This firearm stat indicates the likelihood of your attacks going directly toward the cursor when you pull the weapon’s trigger. More Accuracy means a greater chance for headshots and hits instead of misses. Player skill also factors into this, of course.
Rate of Fire
Guns have a rate of fire to show how often they can be used. This applies even to semi-automatic weapons (which have a limit to their firing speed so that you can’t spam attack button to make them ultra deadly). Unlike some stats, Rate of Fire isn’t necessarily superior. Fast weapons are generally good, but you don’t want to waste ammo either; it’s already in short supply.
Weapon Quality/Rarity
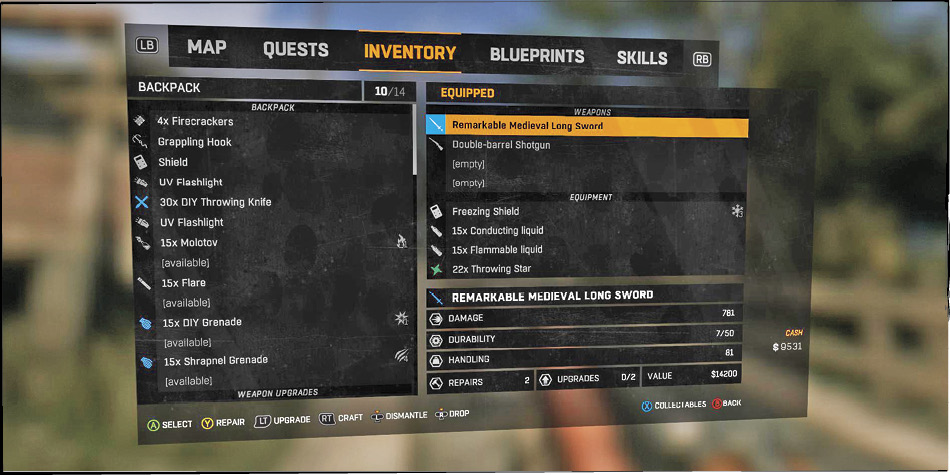
Many of the items you find are given a color code to let you know how good they are within their own category. In other words, not all Brick Hammers are the same. The color of the weapon’s icon provides a quick means of determining whether the weapon is good or bad.
The Color System
WHITE – Base level of quality
GREEN – Improved stats
BLUE – Higher end stats but fairly rare
VIOLET – Very good stats and extremely uncommon
ORANGE – Highest possible stats for the given type of item
Here’s what the rarity differences actually mean:
Sample Classic Baseball Bats
| Color | Damage | Durability | Handling | Repairs Left | Upgrades | approx. Value ($) |
|---|---|---|---|---|---|---|
| WHITE | 40 | 35 | 82 | 3 | 1 | 1,350 |
| GREEN | 42 | 38 | 82 | 3 | 1 | 1,350 |
| BLUE | 54 | 43 | 82 | 3 | 2 | 1,678 |
| VIOLET | 58 | 49 | 82 | 4 | 3 | 1,834 |
| ORANGE | 62 | 52 | 82 | 5 | 3 | 1,989 |
As you can see, an orange Classic Baseball Bat is way better than a generic white one. You deal over 50% more damage, and the weapon is going to last so much longer. Always keep your eye out for higher quality weapons. Also remember that Durability and Repair improvements are totally synergistic. If you get 50% more Durability and 66% more Repairs, that means your weapon could last 2.5 times longer than a generic version. Add some additional Durability through Upgrades and you’re going to get even more out of this uber weapon.
Dismantling Weapons
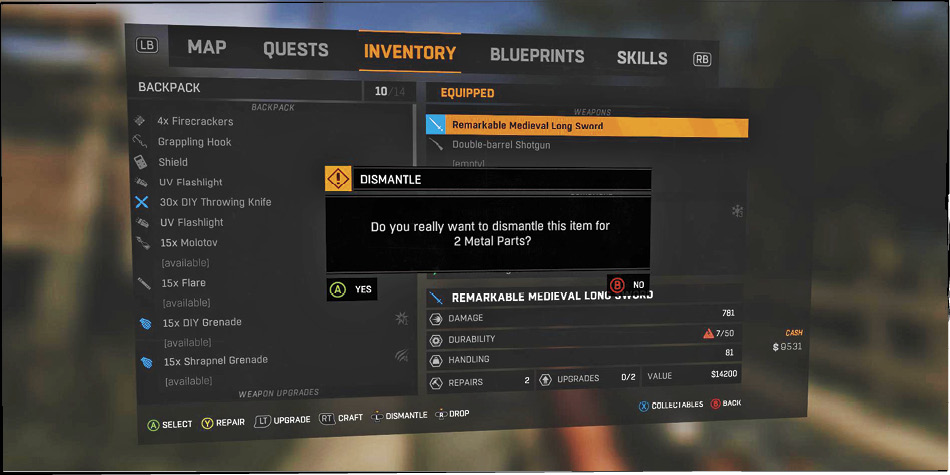
When you’re done with a weapon, go into your Inventory and highlight the moribund item. Look in the lower-left corner of the screen to see which button to use, and then click on Dismantle if you’re ready to give up on the weapon. This breaks it immediately and gives you Metal Parts so that you can repair anything else that’s close to breaking. Financially, this isn’t a great move, but it’s perfect if you’re out in the field and need Metal Parts for repairs.
Upgrading Weapons
This is also done from your Inventory. Highlight the weapon that you want to upgrade, make sure that it has Upgrade slots remaining, and then click on the appropriate button from the lower-left. This takes you into the Upgrade Screen.
Each slot can be socketed with one mod. Select the slot that you want, then choose a mod to put into it. These mods have names like Berserker, Assassin, Titan, etc. They improve a weapon’s Damage, Handling, or Durability. Some mods may even improve multiple stats.
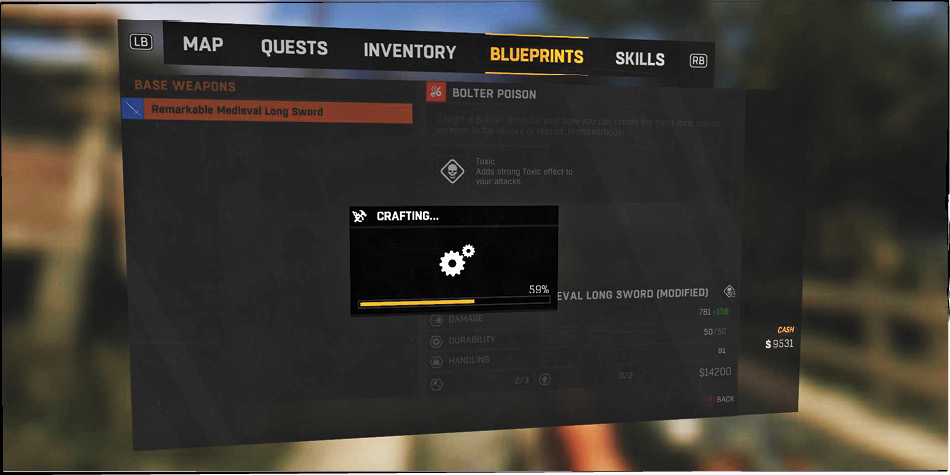
The Upgrade Screen shows you the final results of your mods before you commit to anything. Use this to compare results and decide what would be best for your weapon. Improving Handling on slow weapons is very nice. Improving Damage on fast ones is equally effective. For weapons that are already amazing, look for the best Durability you can get so that the weapon stays with you a very long time. Upgrades are given by survivors that you assist, so help out everyone that you can!
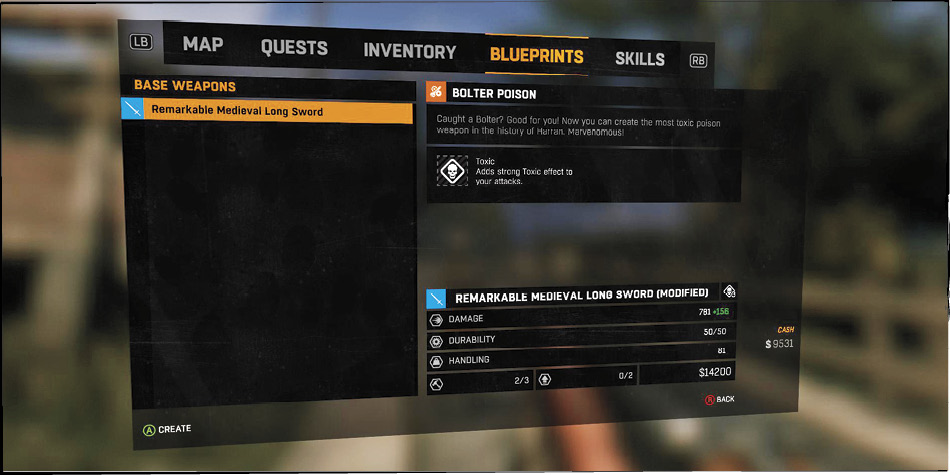
Another way to upgrade weapons is to modify them with Blueprints you’ve found. This doesn’t occupy an Upgrade slot, but it can be done only once per weapon, so use the best Blueprint you have for the weapon in question.
Weapon modifications are expensive (in that they require a wide range of components). However, they are unquestionably powerful. These mods add different damage types to your weapons. That improves the overall lethality of the weapons, but it also changes the visual appearance of the item and how it functions in combat.
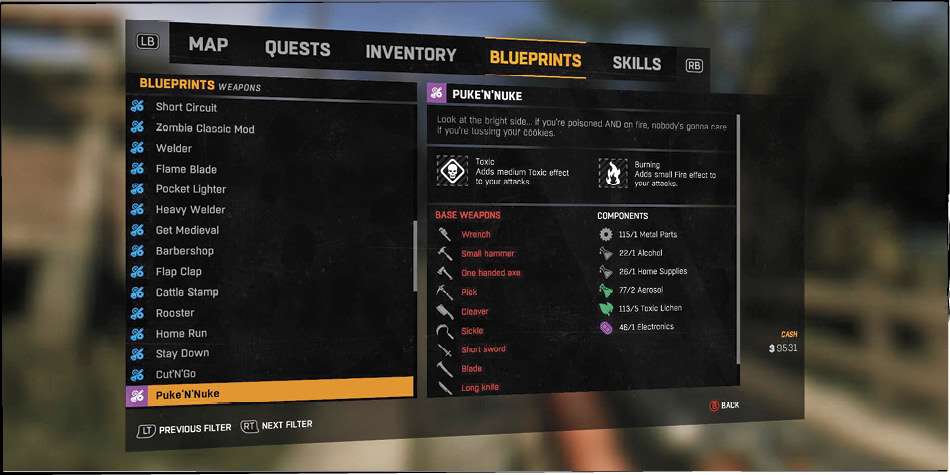
Crafted Mod Damage Types
|
|
Burning | Does damage over time to Infected or living targets |
|
|
Toxic | Does damage over time |
|
|
Bleeding | Does additional damage |
|
|
Electricity | Stuns victims so that you’re less likely to get hurt by them |
|
|
Impact | Throw people around with increased damage |


Choosing What to Wield
You can arm four weapons at once for fast switching. Early on, you’re likely going to put whatever you find up there. Eventually, this matures and you start to have real choices about what you’re going to wield. Ideally, you will get a firearm, a fast weapon, a slow weapon, and then whatever you like for your fourth slot. One of our favorite loadouts is to have a Pistol, a Rifle, a One-Handed Sword, and a Two-Handed Weapon. This allows for ranged combat with multiple ammunition types, fast killing in melee, or area of effect swings against groups of targets. Immense versatility!
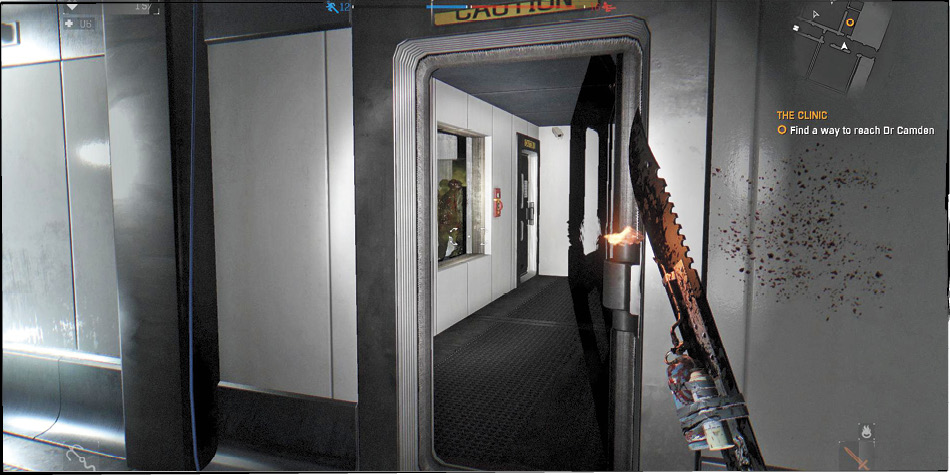
If you discover that something is about to break or isn’t ideal for the situation at hand, pause the game and switch in new gear at any time. Never force yourself to fight with a bad combination of items.
Types of Weapons
There are quite a few categories of weapons in Dying Light, so you’re going to need some time to get used to them all; each has its place. This isn’t a hierarchy, because all of the weapon categories have both weaker and stronger weapons, so you can stay current throughout the game as long as you’re able to find higher level versions of the weapons in question. Some categories shine more at specific points, and we’ll mention if something is more of an “early game” or “late game” weapon.
This section of the chapter covers the properties of each category, and provides a sample for each weapon to show its baseline stats in a relative sense.
Axe (One Handed)
Progression Charts
| Weapon Name | Damage | Durability | Handling |
|---|---|---|---|
| Axe | 84 | 35 | 85 |
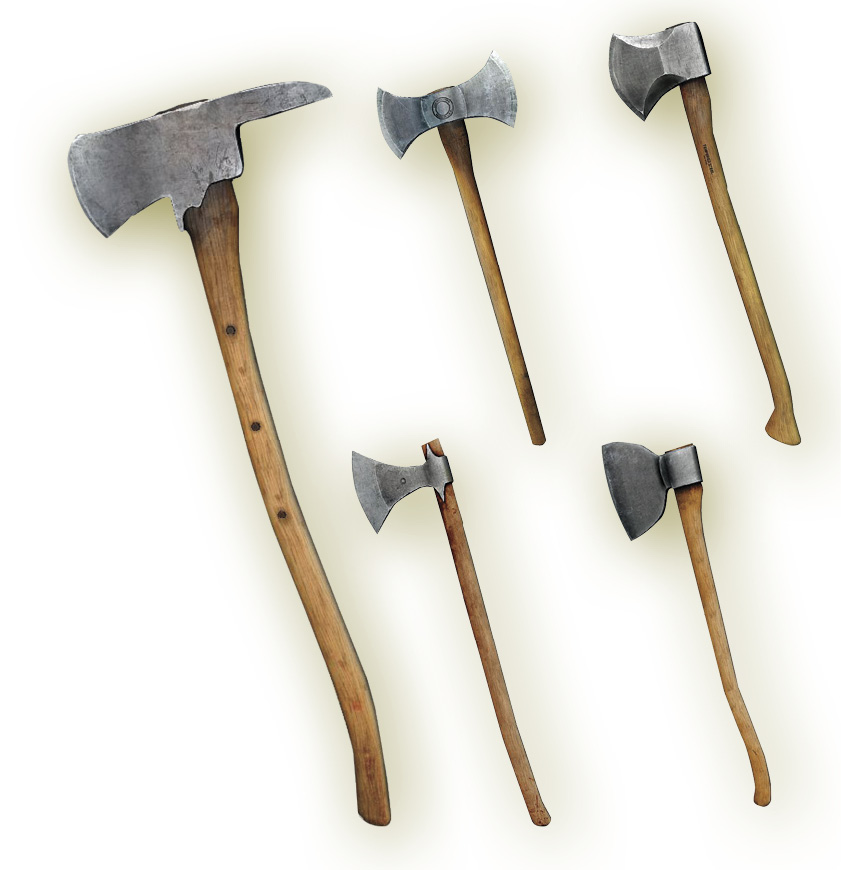
Regular Axes do adequate damage at medium-speed. They’re a standard tool for fighting in the early game. Use them against weaker Infected, and aim for headshots to deal maximum damage while throwing the targets around to avoid their counterattacks.
Axe (Two Handed)
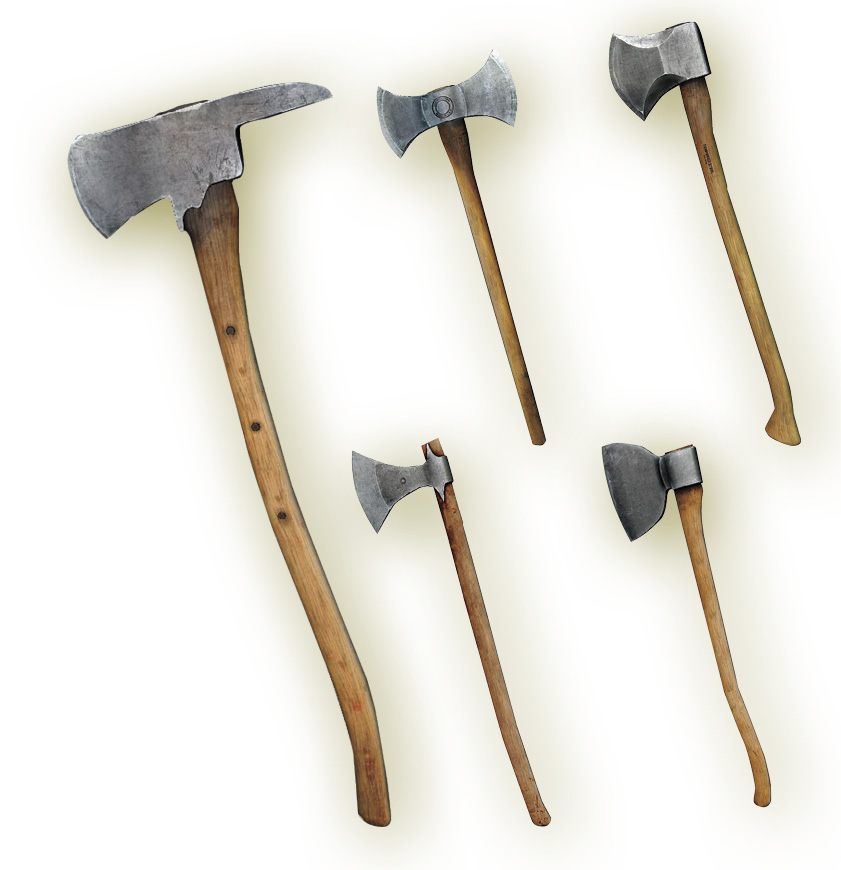
| Weapon Name | Damage | Durability | Handling |
|---|---|---|---|
| Heavy Splitting Axe | 154 | 35 | 68 |
Two-Handed Axes bring more damage to the table but require a much greater time investment as you swing and recover. Wield them against Biters, Goons, Demolishers, and other slow targets. Avoid using them against agile enemies that can avoid your single attack and then punish you while you prepare the next swing.
Baseball Bat
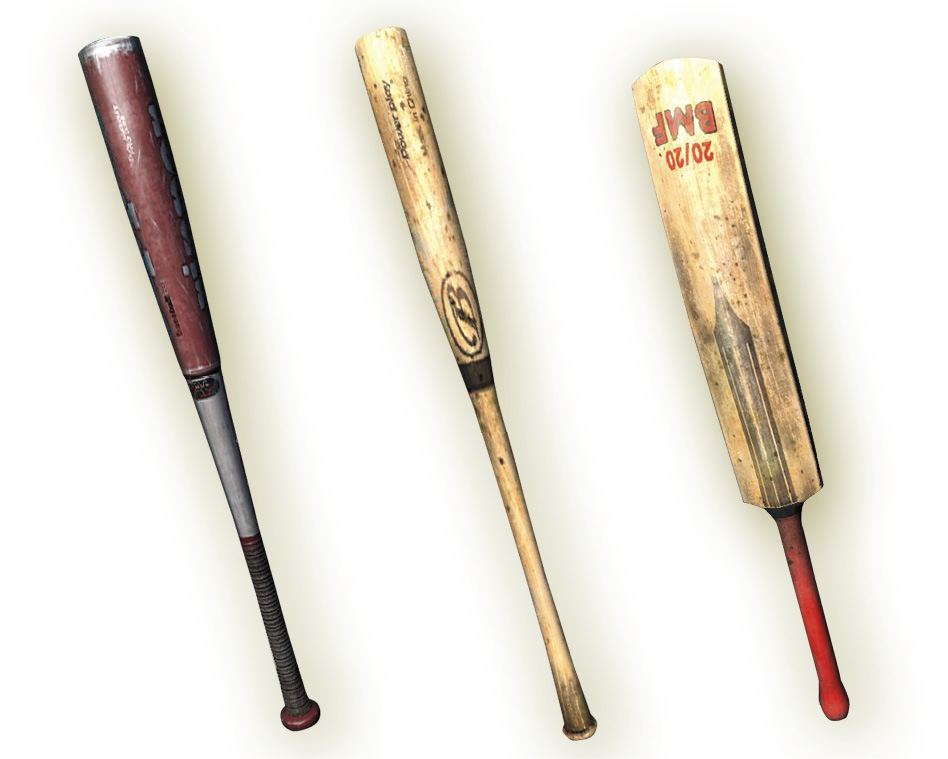
| Weapon Name | Damage | Durability | Handling |
|---|---|---|---|
| Composite Baseball Bat | 55 | 35 | 82 |
Step up to the plate and break Infected skulls open with your trusty Baseball Bats. These are extremely common, being one of the weapons that you might receive free of charge from the Quartermasters. Use them on weaker targets and dispose of them when you’re done. Always aim for headshots, because killing enemies with body blows takes way too long to be effective.
Blade
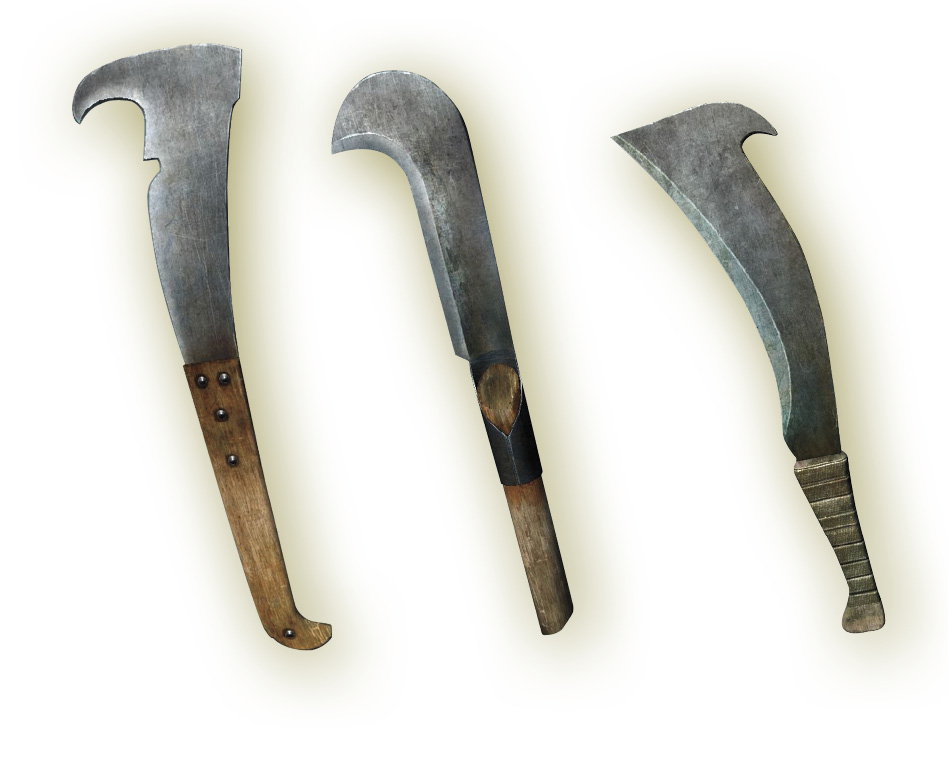
| Weapon Name | Damage | Durability | Handling |
|---|---|---|---|
| Hook Blade | 54 | 30 | 88 |
Blades are slower than Knives and occupy a position between those fast weapons and One-Handed Swords. They’re still effective against somewhat faster monsters, especially if you’re good with your aiming and can swing for vital areas quickly.
Cleaver
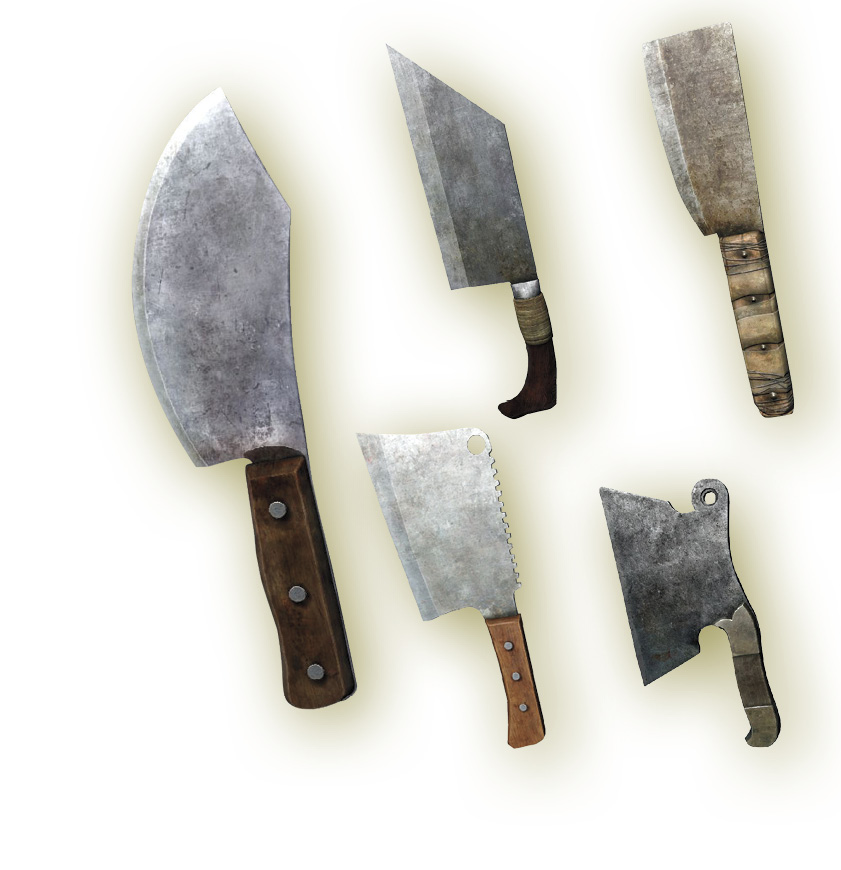
| Weapon Name | Damage | Durability | Handling |
|---|---|---|---|
| Beef Cleaver | 76 | 30 | 88 |
Cleavers have decent damage in the early game. They kill Biters and other lesser Infected quite well, but need some augmentations if you want to use them against Volatiles, Demolishers, and other high-health targets. They still break somewhat quickly, so don’t invest your better upgrades on them.
Crowbar
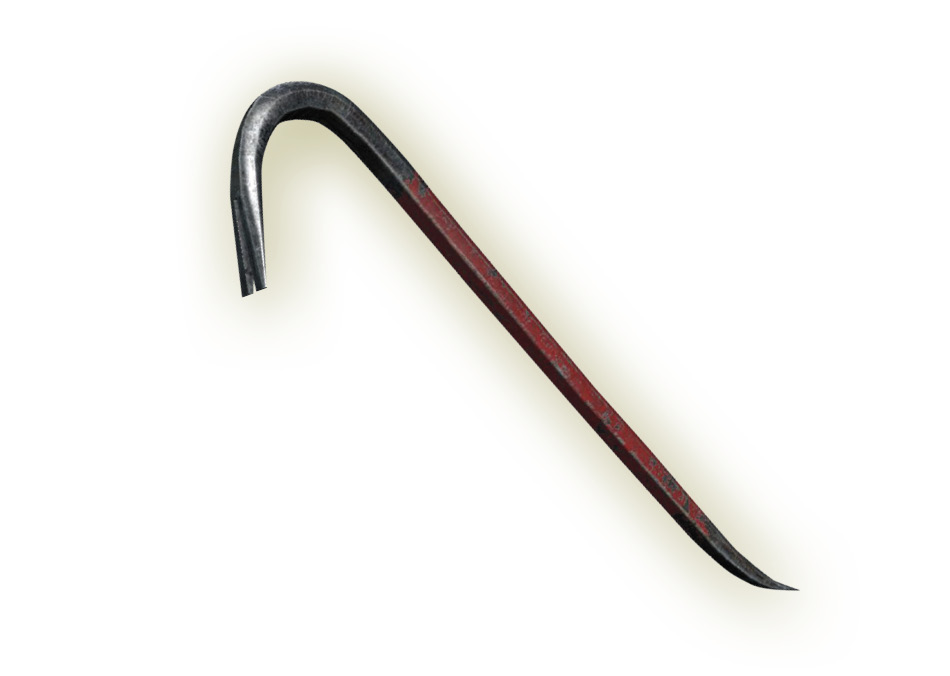
| Weapon Name | Damage | Durability | Handling |
|---|---|---|---|
| Iron Crowbar | 88 | 35 | 82 |
Crowbars are somewhat standard one-handed weapons. They don’t have particularly strong (or weak) attributes in any area. Grab one whenever you find one and use it in the early game. Later on, they drop off in value to you as more militant gear becomes available.
Hammer (Small)
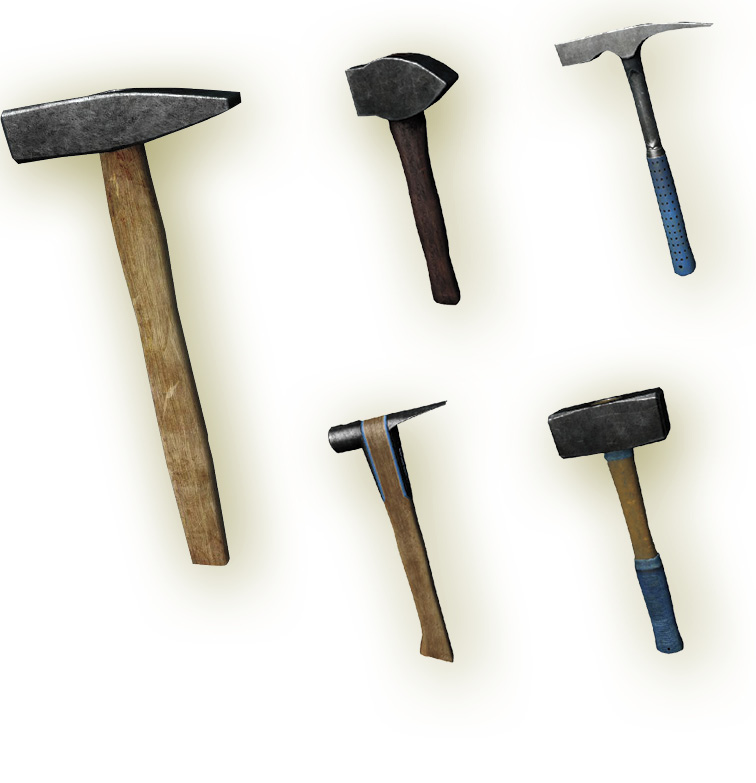
| Weapon Name | Damage | Durability | Handling |
|---|---|---|---|
| Plain Hammer | 46 | 30 | 82 |
Small Hammers are relatively fast weapons that are easy to find. They’re a cheap option against Biters without feeling like you’re wasting the Durability on something valuable. Think of them as your fire and forget weapons. Use them up, then break them down for Metal Parts when they’re done and move on.
Hammer (Two Handed)
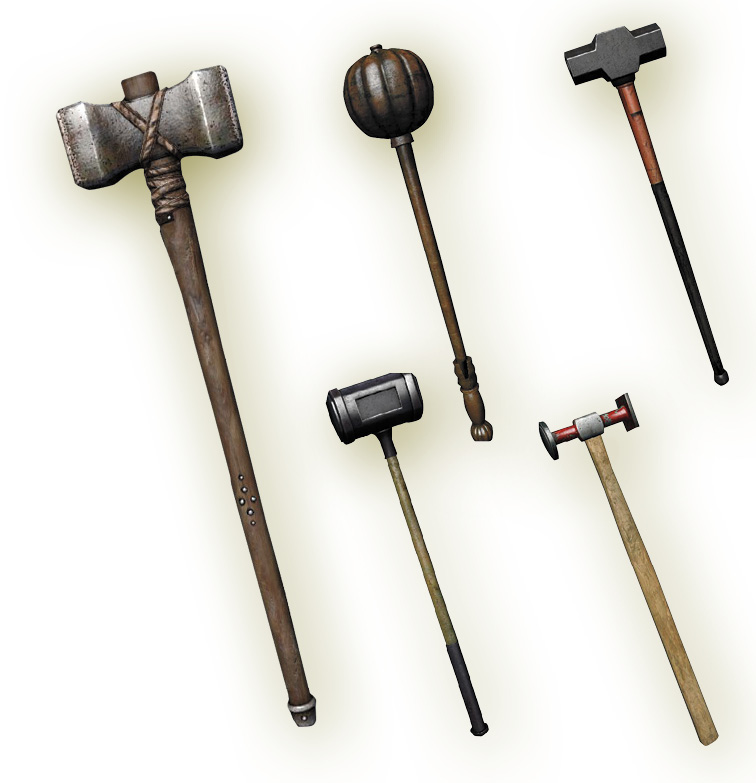
| Weapon Name | Damage | Durability | Handling |
|---|---|---|---|
| Heavy Blacksmith Sledgehammer | 206 | 35 | 52 |
Don’t let the stats fool you into thinking that these are some sort of ultimate weapon. Two-Handed Hammers are very difficult to use effectively. They can murder larger groups of foes if you use Whirlwind correctly (which can still be difficult in its own right because the timing is precise). They’re also superb against Goons, who cannot avoid attacks to save their unlives. However, these weapons are almost worthless against Virals, survivors, and Volatiles. You can’t afford to miss when swings take that long!
Khopesh
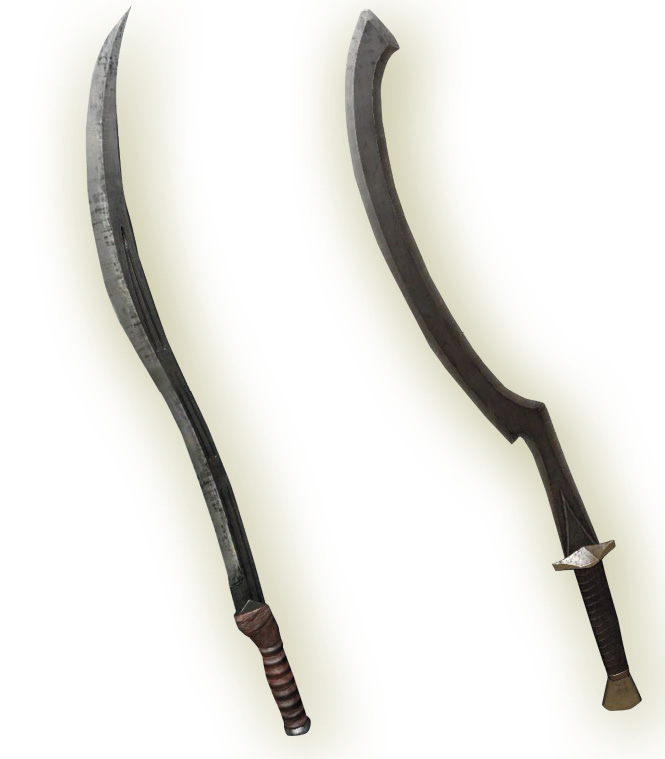
| Weapon Name | Damage | Durability | Handling |
|---|---|---|---|
| Oriental Khopesh | 279 | 35 | 81 |
These cruel-looking blades don’t show up until you’re quite far into the game, so their stats are quite high compared to the starting weapons in most of this section. To be fair, a Khopesh is still a great weapon either way. It’s deadly, only slightly on the slow side, and can eviscerate heavier targets.
Knife
| Weapon Name | Damage | Durability | Handling |
|---|---|---|---|
| Brass Knife | 40 | 40 | 90 |
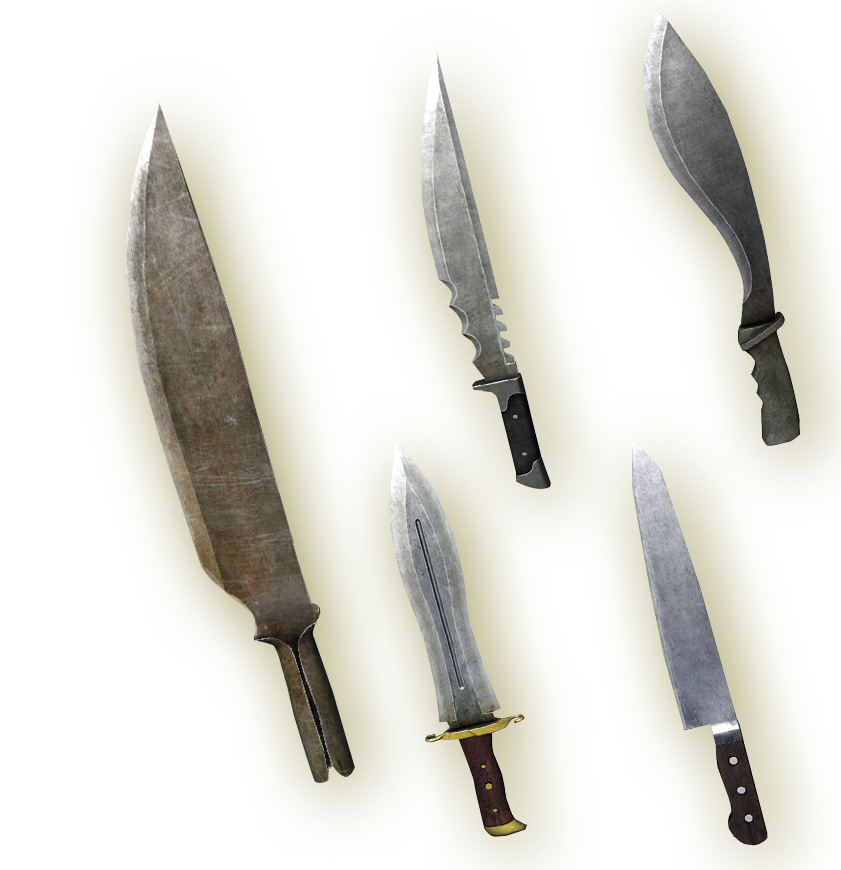
Long and Short Knives have a visual difference but are used in a very similar way during combat. They’re both extremely fast weapons that deal light damage per hit but fairly high damage over time. They rip through agile targets well, because losing a hit or two to dodging and parrying is trivial. That makes Knives excellent for killing aggressive survivors at close range.
Machete
| Weapon Name | Damage | Durability | Handling |
|---|---|---|---|
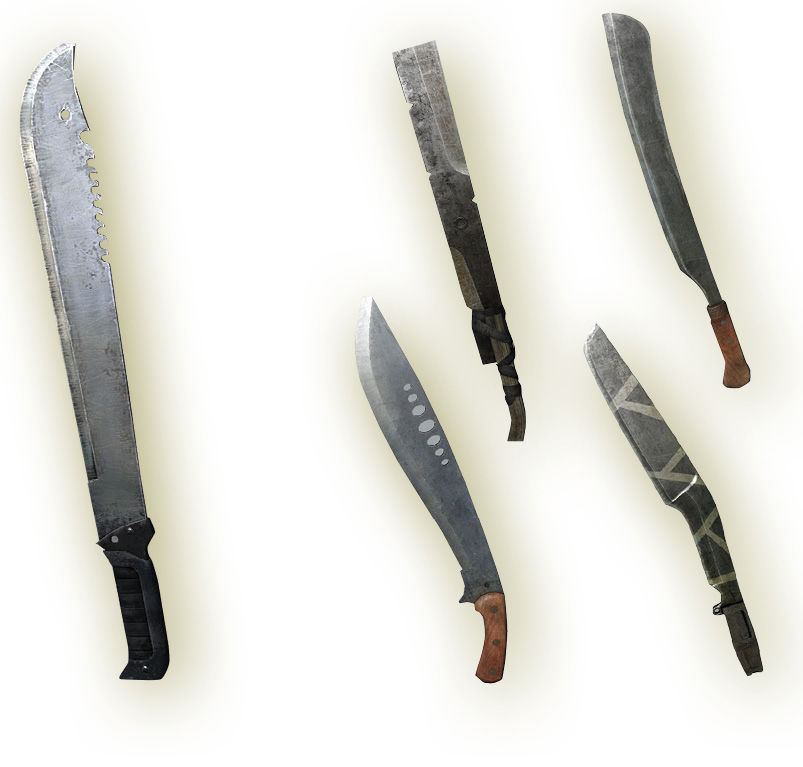
| Military Machete | 175 | 35 | 85 |
Machetes are deadly weapons that you won’t see as often in the early game. Use these heavily when they’re available, because they have adequate speed, high lethality, and very few weaknesses. You have a real chance to sever heads with these guys, so swing at neck level!
Military Shovel
| Weapon Name | Damage | Durability | Handling |
|---|---|---|---|
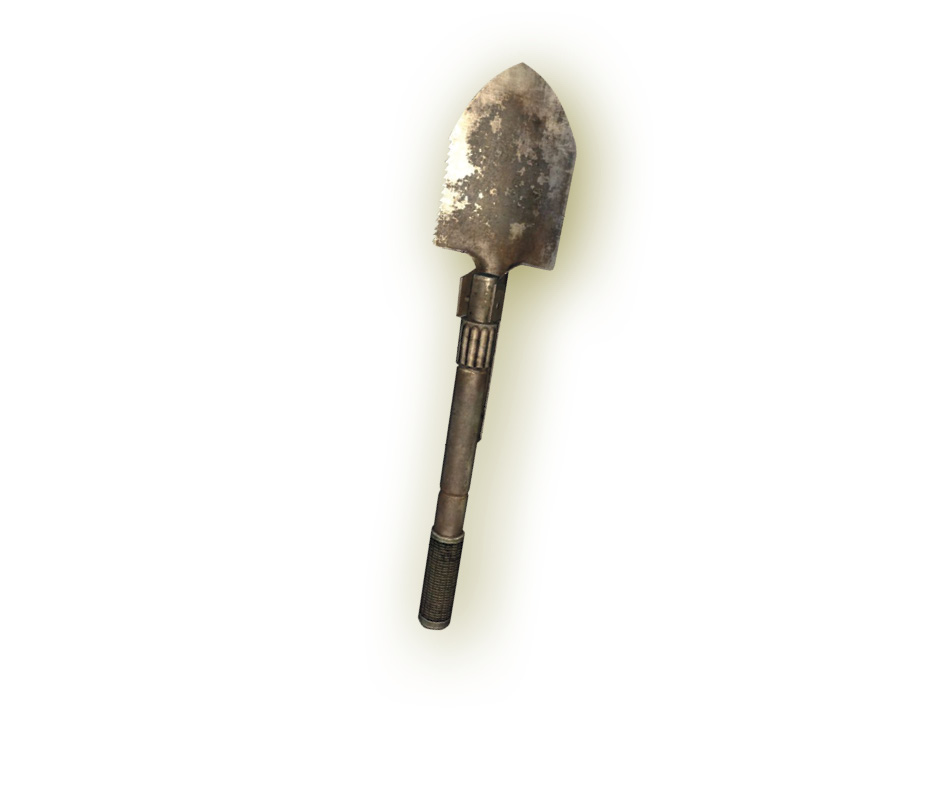
| Military Shovel | 46 | 25 | 68 |
You don’t see Military Shovels too often. They’re never going to be a mainline combat choice. Their swing time is faster than their Handling would imply, but moderate damage doesn’t give them enough oomph to be worth prioritizing over other choices.
Pick
| Weapon Name | Damage | Durability | Handling |
|---|---|---|---|
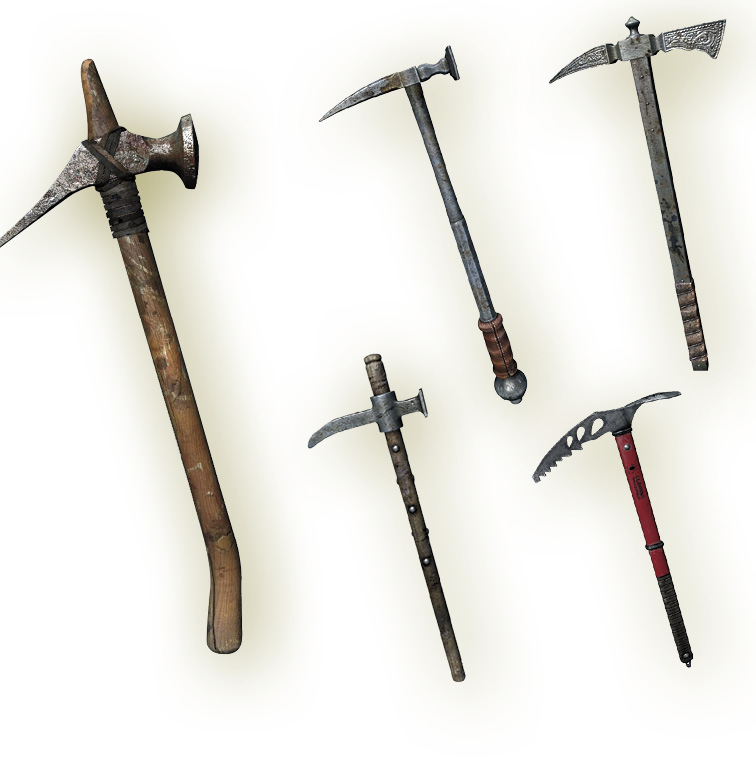
| Primitive Pick | 100 | 35 | 81 |
Picks are solid one-handed weapons with a mix of decent speed and worthwhile damage. You can rely on Picks in the early game for killing a variety of Infected. They’re usable against faster targets, but you won’t do quite as well as if you equip something really fast.
Pickaxe
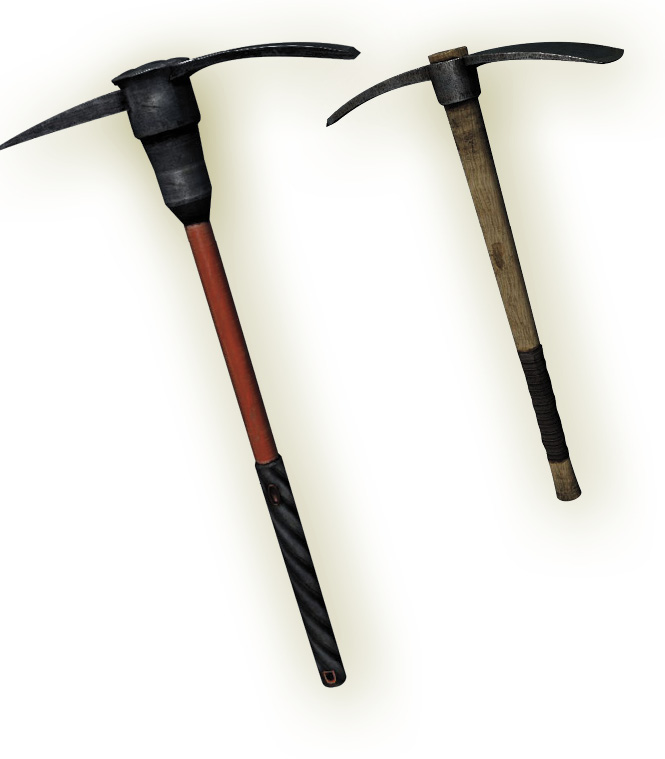
| Weapon Name | Damage | Durability | Handling |
|---|---|---|---|
| Pickaxe | 180 | 35 | 68 |
Try mining for brains if you find a Pickaxe. Use them to splatter Goons or tiny groups of Biters, but don’t use them against anything that has a chance to fight back.
Pipe
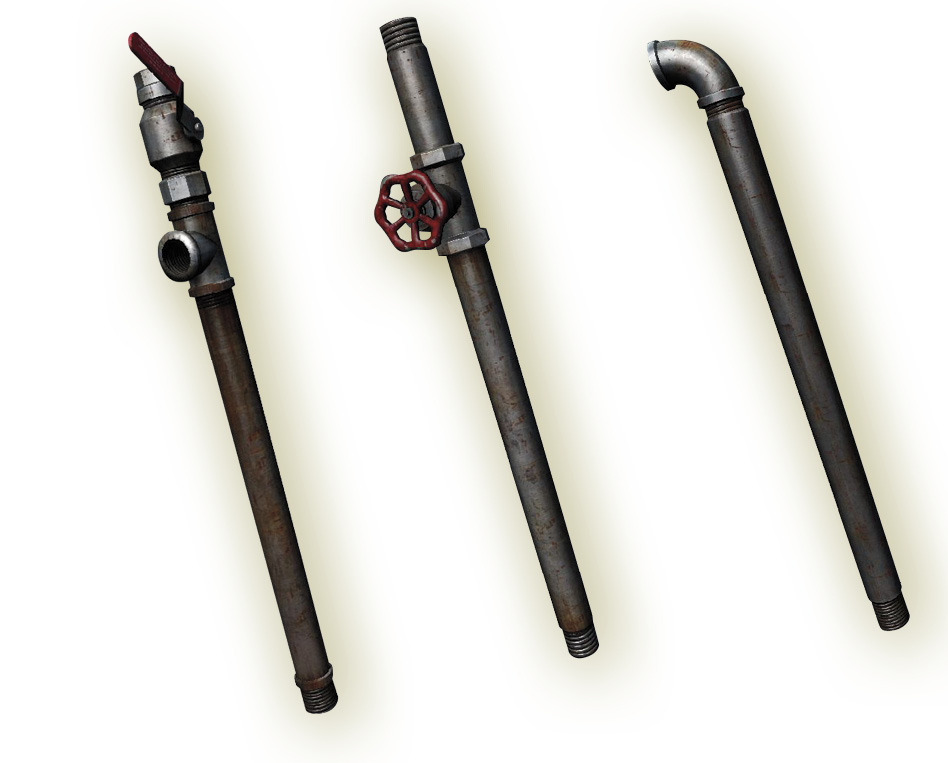
| Weapon Name | Damage | Durability | Handling |
|---|---|---|---|
| Plain Pipe | 49 | 25 | 82 |
Pipes are decent early-game weapons when you’re still at the phase of “Find something, anything to kill these guys.” Use them to smash in Biters’ heads. For any heavier lifting, find a more military weapon choice.
Pistols
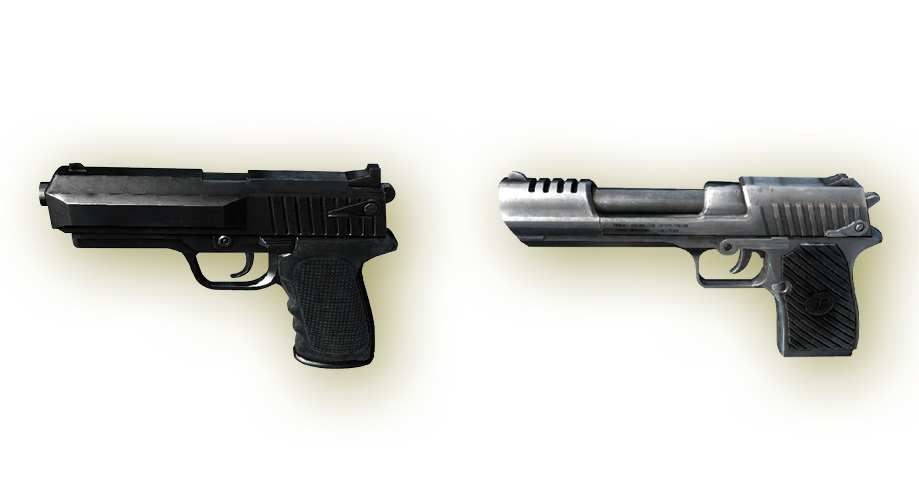
| Weapon Name | Firepower | Accuracy | Rate of Fire |
|---|---|---|---|
| German 9mm Pistol | 159 | 95 | 199 |
Pistols let you kill survivors and Infected at short- or medium-range without having to engage in melee. Save your ammo when dealing with hordes of Biters, and instead use this precious resource to snipe Toads, to bring down Goons quickly through headshots, or to stave off Volatiles, Virals, and aggressive survivors.
Police Baton
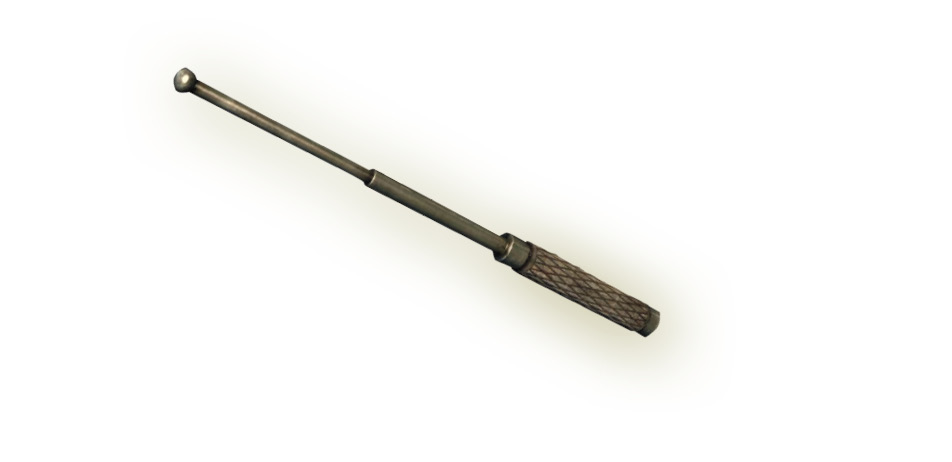
| Weapon Name | Damage | Durability | Handling |
|---|---|---|---|
| Police Baton | 73 | 35 | 89 |
Police Batons are bashing weapons. Aim for headshots to make them count as much as possible with each strike, and crack some skulls.
Rifles
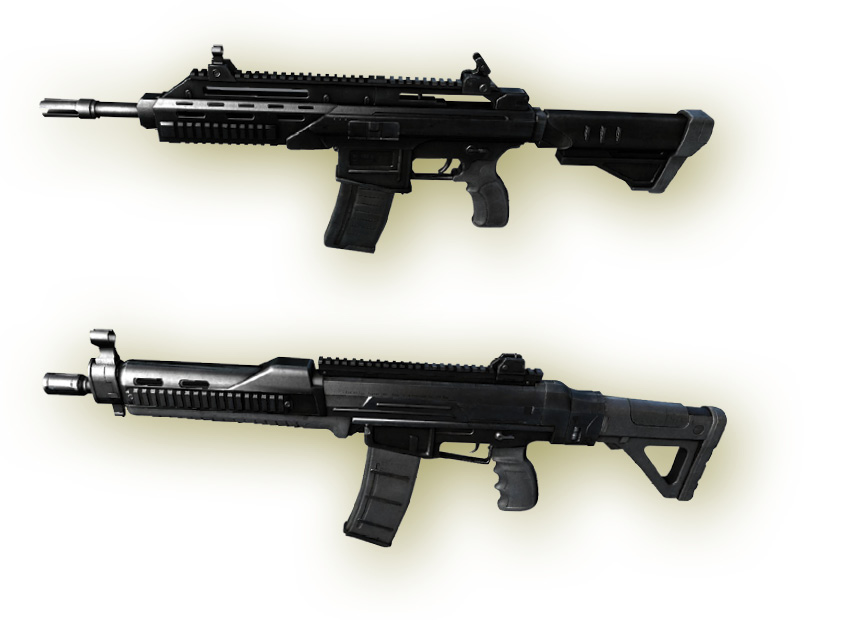
| Weapon Name | Firepower | Accuracy | Rate of Fire |
|---|---|---|---|
| Police Rifle | 184 | 75 | 100 |
| Military Rifle | 137 | 55 | 100 |
There are both Police and Military Rifles in some parts of Harran. They’re amazingly deadly weapons, as long as your ammunition holds up. Save that precious ammo by firing in short bursts with the fully automatic Military Rifle, or use the Police Rifle (which is not fully automatic).
When you have more time, use single shots, aim down your sights for improved accuracy, and make every bullet count. If possible on your setup, switch to keyboard and mouse controls for improved aiming and watch the kills roll in.
Shotguns
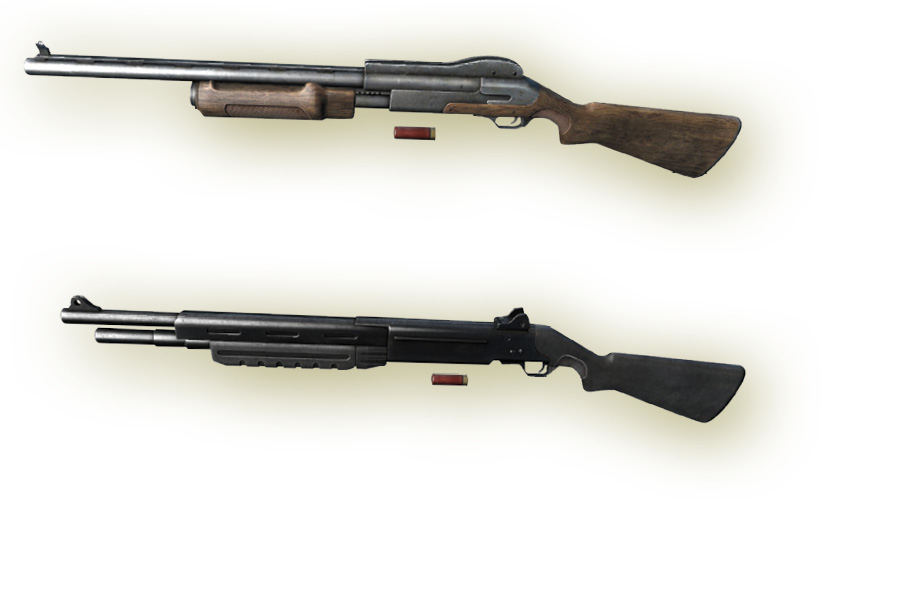
| Weapon Name | Firepower | Accuracy | Rate of Fire |
|---|---|---|---|
| Double-Barreled Shotgun | 1576 | 25 | 199 |
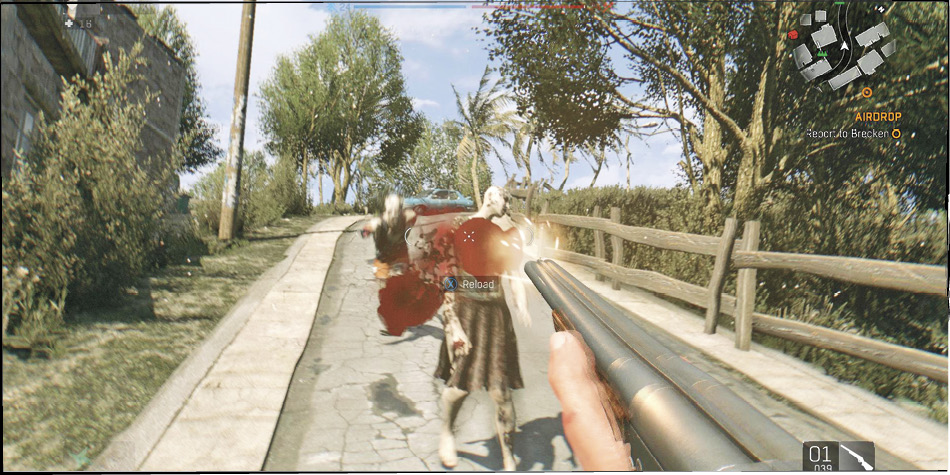
Shotguns have very limited capacities, so you must reload them often. They also can’t hit the broadside of a barn at long range. However, they’re almost as good as it gets when it comes to burst damage at short range. Obliterate Demolishers, Goons, Volatiles, and other targets that are about to end your life. These are amazingly good for getting out of sudden trouble.
Sickle
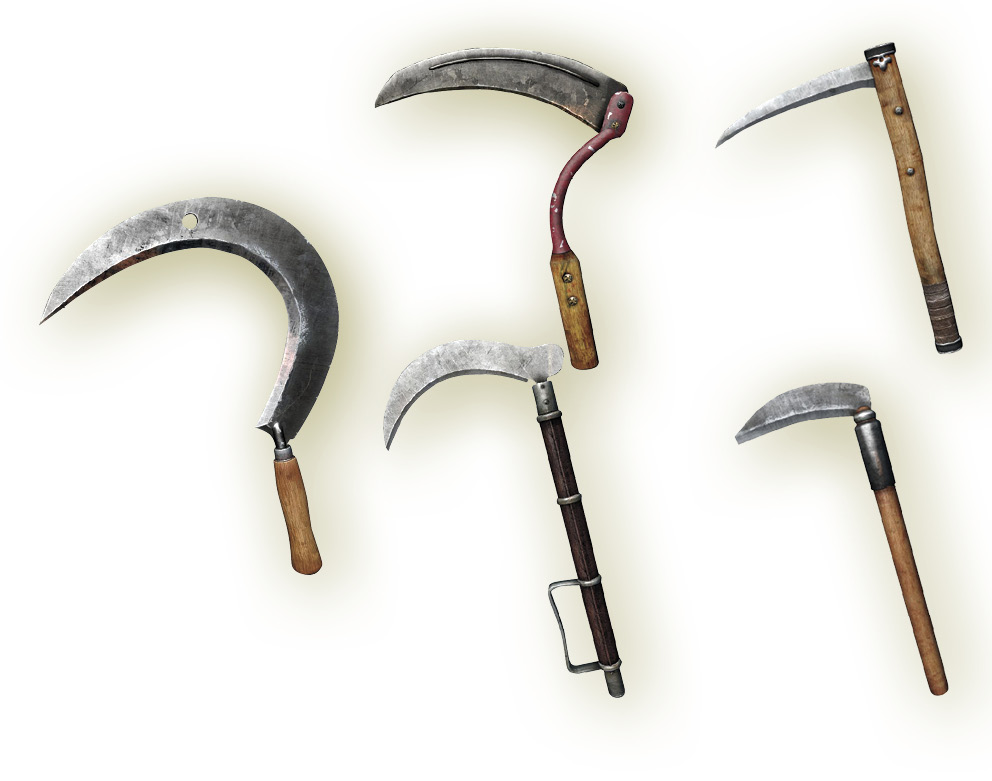
| Weapon Name | Damage | Durability | Handling |
|---|---|---|---|
| Garden Sickle | 63 | 35 | 88 |
Sickles are effective for weeding out your targets. They’re pretty fast and deal enough damage to score kills even against more challenging opponents. If properly upgraded, they can still be useful even when you’re facing superior Infected or living targets.
Sword (One Handed)
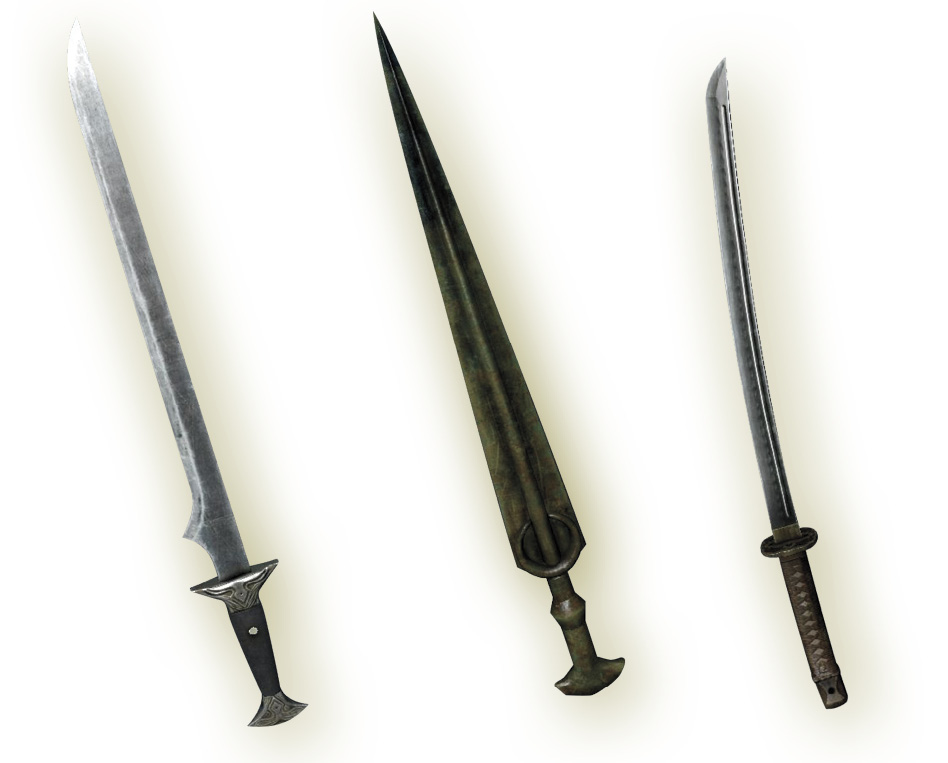
| Weapon Name | Damage | Durability | Handling |
|---|---|---|---|
| Sipahi Saber | 134 | 35 | 85 |
This is another category that severs heads well. One-Handed Swords have pretty high damage, good enough swing speeds, and can be used against most targets without a problem. They’re not fast enough to make instant work of dodging enemies, but their damage output makes up for that well enough that you still win your fights comfortably.
Sword (Two Handed)
| Weapon Name | Damage | Durability | Handling |
|---|---|---|---|
| Bastard Sword | 323 | 35 | 81 |
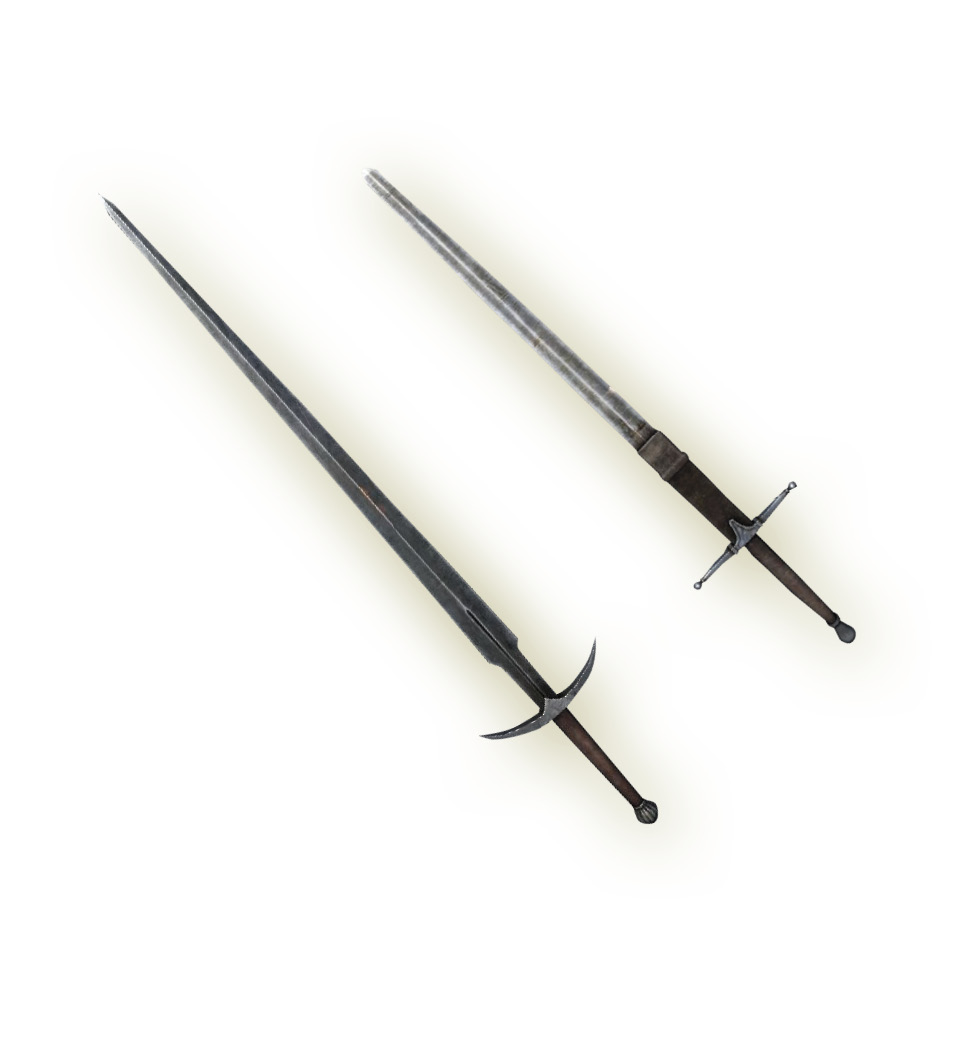
Longer swing times mean that you’re going to save the heaviest blades for targets that don’t dodge or block as often. Avoid these when fighting living opponents, but instead break them out to destroy Goons, Demolishers, or crowds of enemies once you have Whirlwind as an ability. Two-Handed Swords are brutal weapons to wield against anything that has more health than brains.
Wrench
| Weapon Name | Damage | Durability | Handling |
|---|---|---|---|
| Pipe Wrench | 29 | 25 | 82 |
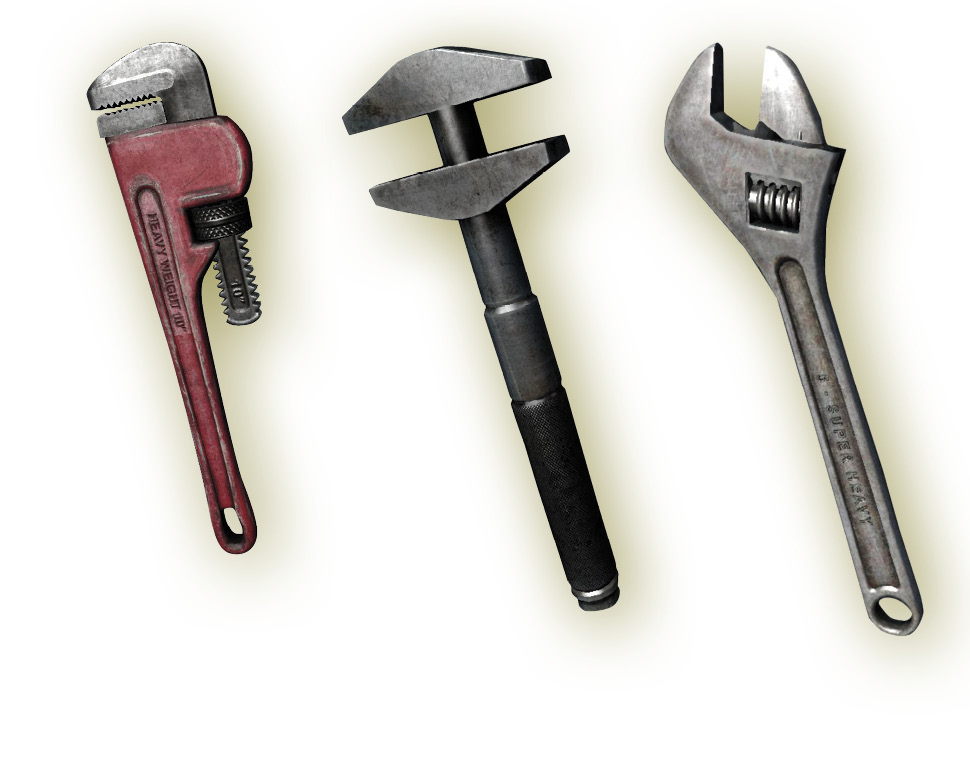
Wrenches are found frequently in the early game. Their weakest members are only functional against Biters, though you soon find upgraded variants that are good enough to hold up against some tougher targets (perhaps Virals or survivors, if needed). You have to go for headshots to get anything good out of these tools.
Non-Standard Weapons
A few other weapon types come up rarely. Goons carry Rebar clubs that you can steal and wield after they die (and they’re the slowest weapons ever). You also find Oars, other types of Shovels, and Boards with nails and such. All of these are wieldable, but have no upgrade potential and serious deficiencies of various sorts.