
Broadcast
Reward: 20,000 Survivor XP
The world is still being kept in the dark. You have to let people know the truth about what’s happening here. Troy has a new plan for that.
Use Sewers Tunnels to Reach the Radio Tower
Finish your meeting with Troy and get back outside. Climb carefully down from her location and return to the streets or rooftops. You need to get to the left side of the map; take whatever style of transport you feel most comfortable with.
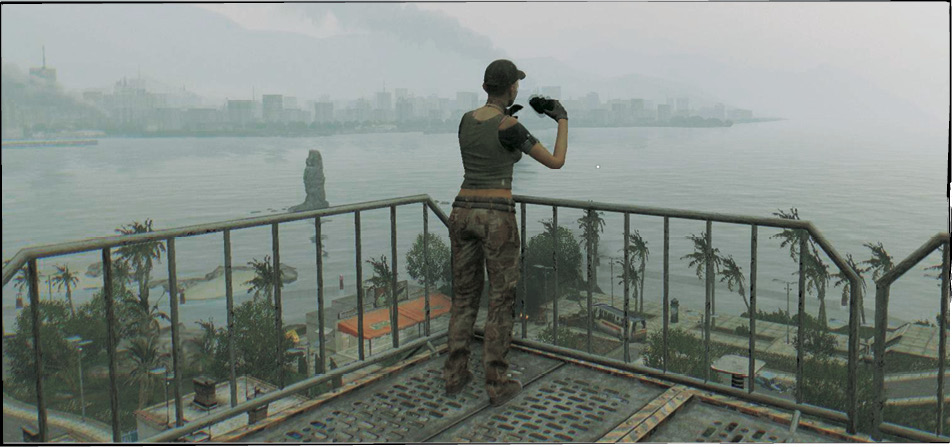
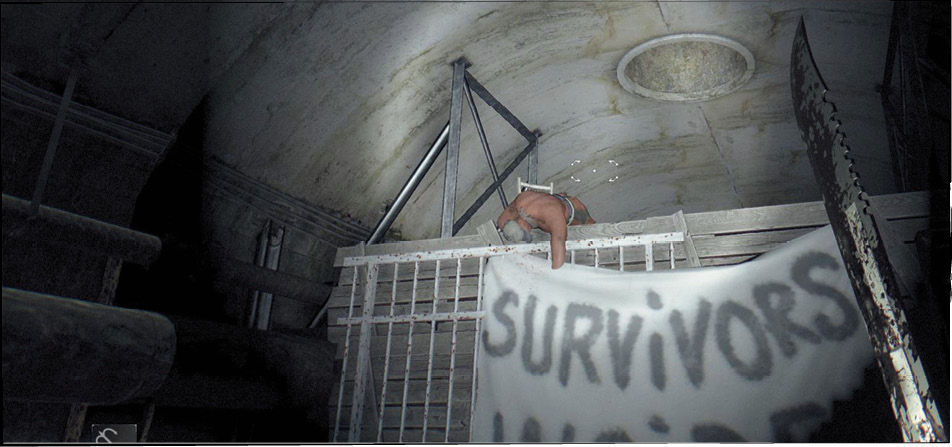
The sewer entrance that you need is under a heavy stone bridge. Hop down into the canal that runs below it and look for the entrance there. Go inside and enjoy the brisk smell of the sewers once again.
Jump down from the entrance area to the walkway below and loot a couple of chests as you make your way through the small room ahead. Go through there and around the right bend in the next area.
You reach a junction with three rooms attached to it. The side rooms are locked and have chests in them. The main route is in front of you. Walk through that opening and turn left. The passage takes you to what used to be a Safe Zone down here, but things didn’t turn out that well.
Climb over a barricade and explore the destroyed survivor base. You know things are going poorly when you hear the weeping. This has happened before, so you know what to expect. The partially-closed door at the end of the route leads to the Screamer’s room. Silence the Infected quickly and search the room for a Double Barreled Shotgun and some good supplies.
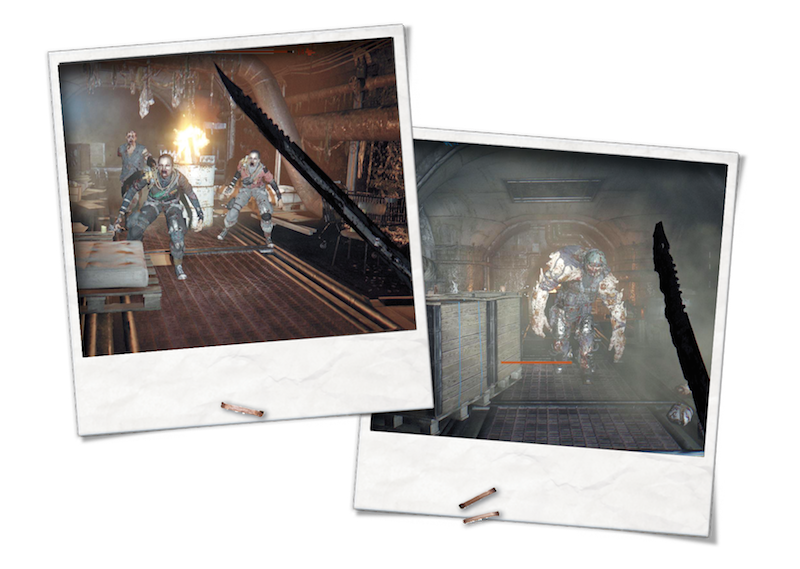
Sadly, the Infected in the area are going to become more active now… Much more active. This place is about to become a festival of meat.
|
 They’re Coming!
Slaughter any remaining Virals when you reach the end of the sewer passage, then loot the chests stashed there. The valve on the right lets you open a gate that provides access to a pipe. Use this to get out of there. The pipe leads to a room where you can drop into a lower corridor. Jump down and ready your firearm. Snipe two Toads at range before going all the way into the next chamber. There are two more Toads that are harder to see until you’re inside, but they’re easier to deal with once the others are dead.
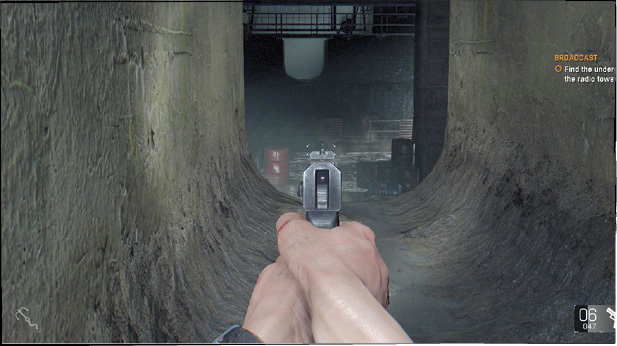
Clear the room and then look for a ladder on the other side that leads up toward the higher walkways. Zip up there on your Grappling Hook or climb the old fashioned way. The way out is directly along the route that gets you up there, but there’s another room with piles of ammunition and chests of components across the room. Get what you need before leaving.
The main room takes you to stairs that lead up several flights. Climb them all and proceed quietly at the top. Several Virals are facing away from you, and someone with Takedown can grab a wonderful number of free kills without having to risk themselves.
If you don’t have Takedown, use your normal killing methods to draw these Virals out and slice them up. There’s some loot in an interior room halfway along the tunnel, but it isn’t really worth a detour.
Climb the stairs at the other end of the corridor and head out into the open air.
Find an Access Card for the Radio Tower
Run off the ledge where you exit the sewers and drop all the way down to a large heap of trash below. You may die if you miss the bulk of the bags, so sprint to the edge and get a strong start.
The buildings below you don’t have much to find, but search them anyway is you’re the type who likes to stay really well stocked on items. Go through the open gates after you get the radio call that explains what you have to find. There is an Access Card somewhere ahead. Your buddies can narrow it down to two buildings, but that’s the best they can do.
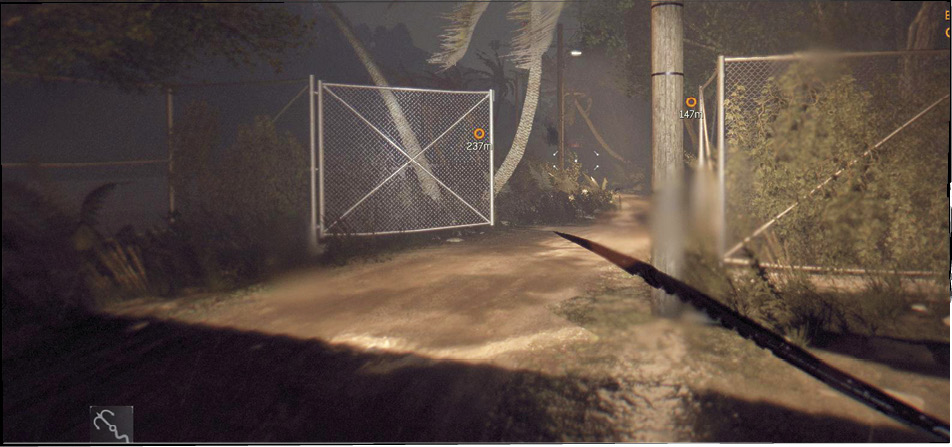
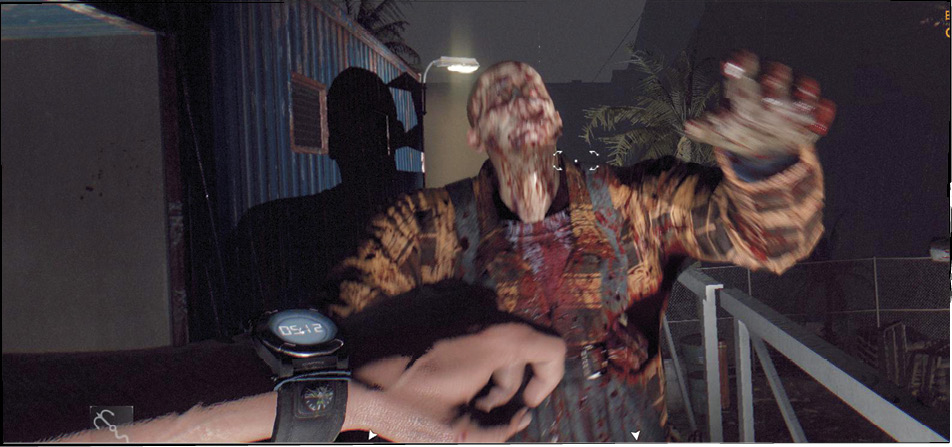
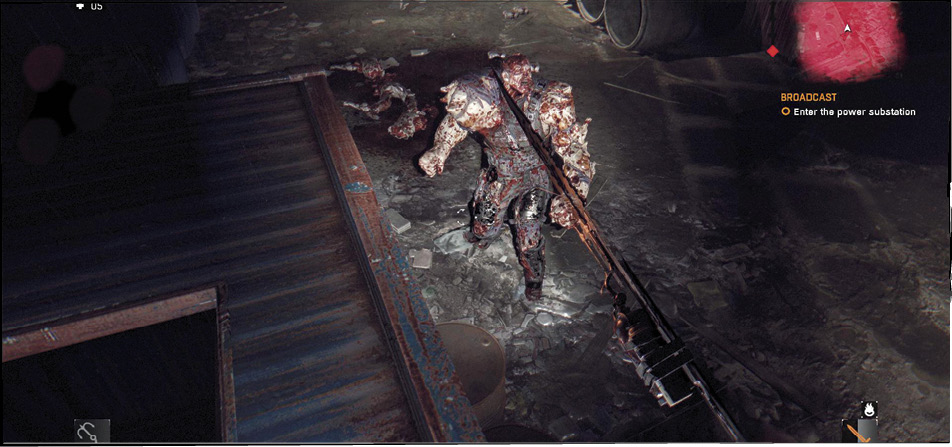
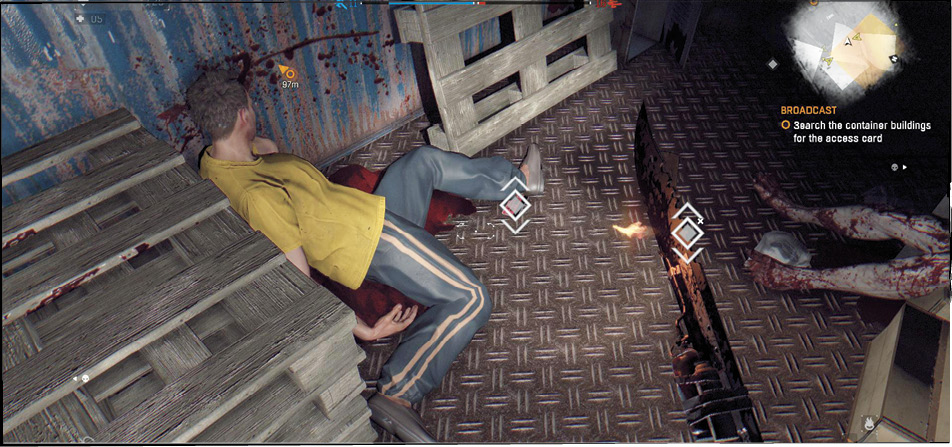
Walk along the dark road that goes to the first of these buildings. There are Virals, Biters, and Goons on the way. Fight them or swing wide to the right to try and avoid some of the trouble.
Things don’t get any easier when you arrive at the first searchable location. There’s a building on the right and a parking lot on the left. Monsters infest the entire place. You’re going to face myriad Infected, including quite a few tougher enemies. Don’t try to rush in and get it all done in a single swoop. Hang back, lure the faster enemies out to die on their own, and then work on the remainder of the host. Otherwise, you stand a good chance of dying.
Search everywhere for the Access Card, then travel to the second marked site. To get there somewhat safely, cross the damaged bridge that connects the sites. You must maintain your balance to do this. The last section is more manageable if have your Grappling Hook.
The other site is just evil. There are two Demolishers, Volatiles and Virals for backup, and a Toad providing overwatch. There also isn’t much room to maneuver. It’s as tough as it sounds. And to make matters worse, the Virals and Volatiles keep coming, so you can’t just weed them out.
Are you ready for our brilliant strategy for surviving this? Don’t fight them. Sure, it’s possible to get some great kills here, but you’re going to lose tons of your medical supplies embarking on that fruitless effort. A more prudent plan is to sneak into the second compound and sprint toward the blue container on the left side of the yard (following your map). Dive into it from a hole in the top of the container, then kill any Volatiles or Virals that come over you. The Biters and Demolishers can’t do anything about it because they’re not agile enough to reach you. So, you’re safe for a moment. Search for all of the components inside the container and take the red Access Card from the ground near a body.
Enter the Power Substation
With the card in hand, you can enter the power substation. Leave the yard and climb the tall hill that goes up toward the radio tower. Use your Grappling Hook or run along the switchbacks to get as high as you can, and watch the map for incoming Virals. Kill any of your pursuers so that you can resume a stealthy approach. Fighting your way up the hill is not entirely safe or sane.
Hook your way over the barbed wire fence, or follow the road around the radio tower and use a white van as your landmark. That’s where the fence has an unprotected area for you to jump over. Inside, two Toads are standing on top of a building. Hurry over there and kill them to eliminate their ranged attacks. This affords you a moment to look around.
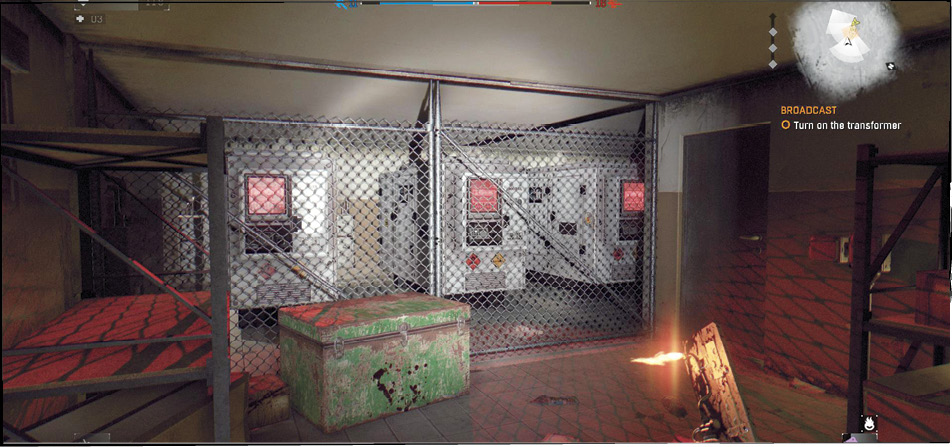
Goons, Virals, Volatiles, and Biters are here in abundance. The more noise you make, the more that arrive. From the main building where you fought the Toads, throw some Firecrackers and jump down to ground level. Look for a glowing card reader by the building’s door. Use your Access Card on it and get inside. Kill the Infected in there and shut the door before you have to fight the whole horde of beasts out there.
Search the building for a pile of Lockpicks, some other components, and the breaker that you need to flip in a side room. Take care of it and then go the tower.
Use the control panel at the base of the tower to activate the elevator. And here it comes! It’s coming down. A bit quickly. You’d better step back from the tower, actually.
So it’s the slow way up after all. Climb onto the wreckage of the elevator and start heading up.
When you want to proceed, climb up only a third of the way inside the elevator shaft and look for an opening in the metalwork. Jump to that and pull yourself through so you can walk the rest of the way up by the stairs (you can’t climb far enough, so this is what you have to do).
You reach a broken section of the stairs when you’re halfway up. Stop and look to your side. A piece of rope is tied to the tower’s struts. It looks like a candy cane. Jump over to that and pull yourself higher, then leap back to the main walkway above.
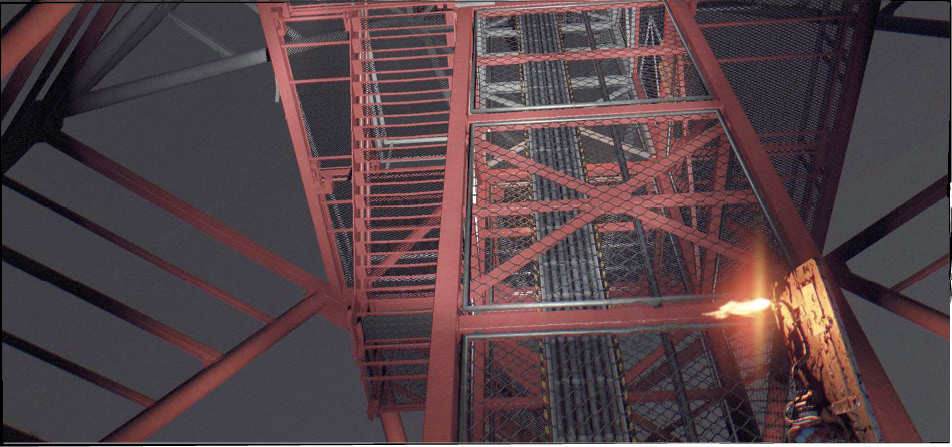
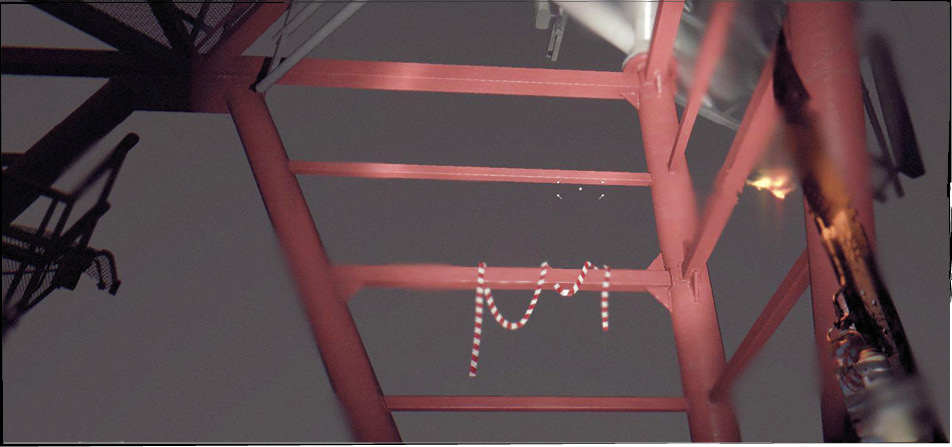
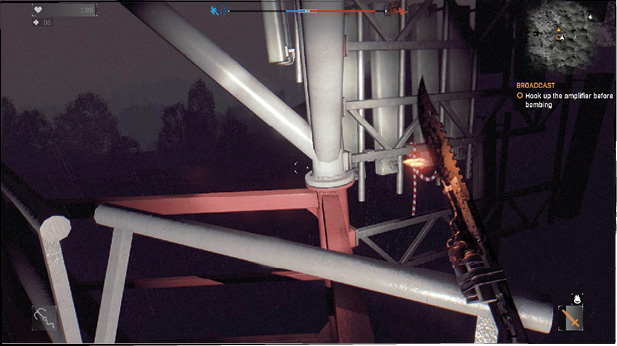
We hope that you’re not afraid of heights, because the next jumping section is a bit adventurous. The stairs quit out on your again, so you must jump onto the supports that are suspended farther out (and again, they have a red and white striped rope on them). Jump aggressively out to that support, or else you won’t get far enough and will fall to your death.
Pull yourself up and jump from section to section until you reach the edge of that group. Turn around and jump back to a walkway. Now you’re in business again, on solid ground for at least a few seconds.
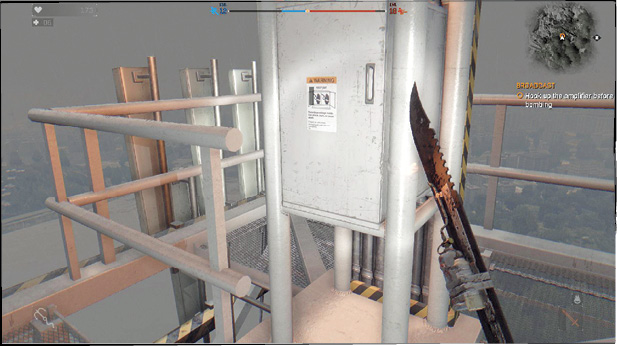
The final leg of the climb is safer, but can still be harry at times. Use the striped yellow bars as your guideline and head for the last platform up top. When you’re there, use the Amplifier on a control panel to send your message out to the world.
Watch the next scene, then use the support wires on the tower as the ultimate zipline to get back down to the ground quickly. You just did some amazing work.
Get to the Tunnel
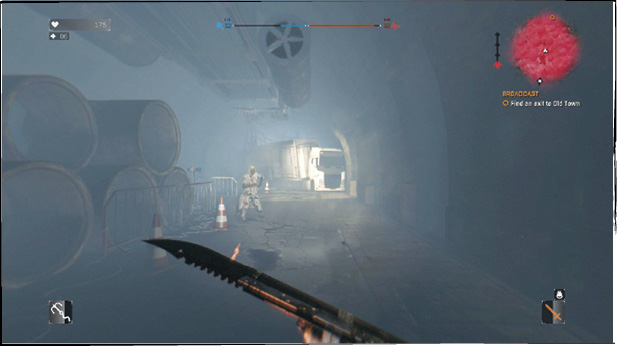
You have a fairly easy run back to the sewers. The tunnel doesn’t have many enemies along the way, and you don’t actually have to fight any of them. Dawn has arrived, too, so the Volatiles have backed off again to wherever they go during the daylight hours. Get to the marked tunnels as soon as you can. Old Town is just a short trip away.
There are Infected everywhere… Goons, Biters, Virals, you name it. Run from them to get through the tunnels until you bump into the Volatiles. Guess we figured out where they were hiding. Small comfort.
Sprint toward the next waypoint without delay. Use your Grappling Hook, if possible, to get more speed during the open stretches in the tunnels. Avoid the large piles of bodies by diverting to the side, but stay focused on making forward progress.
Jump up and climb over the white truck at the end of the route and run through the door to the right. This leads to the Old Town exit soon afterward.