
Public Face
Reward: 20,000 Survivor XP
Harran’s time is running out, and you need to let the world know what’s going on.
Meet With Michael in the Sewers
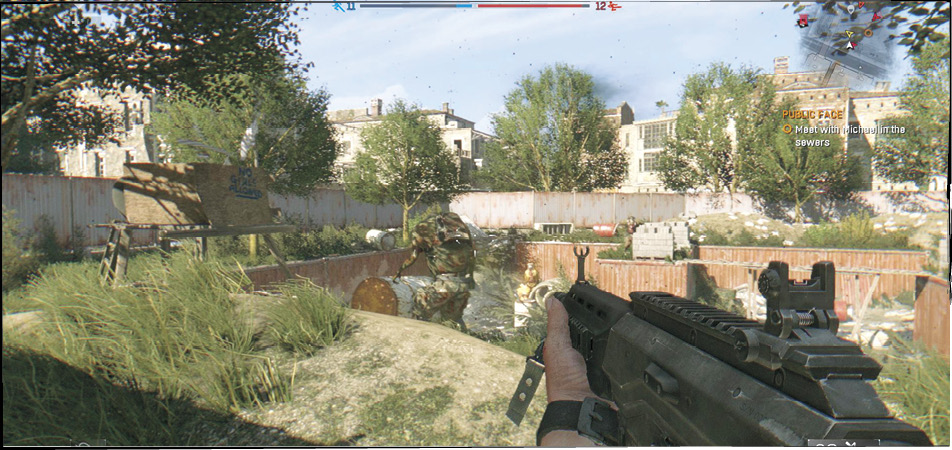
Cross Old Town again. Your contact is Michael, one of Troy’s runners. He has an important mission, but he needs some help to get it done.
The entrance to the sewers is marked on your map, but it’s not a safe area. There are Toads and Gas Tanks all over the site. If you want to avoid a fight, hop over the wall that surrounds the yard and rush over to the sewer entrance. You can hop onto the ladder and scurry down to avoid most of the fighting.
Swim from the water below toward the waypoint. A door lets you get back into the main sewers (your favorite place in town)!
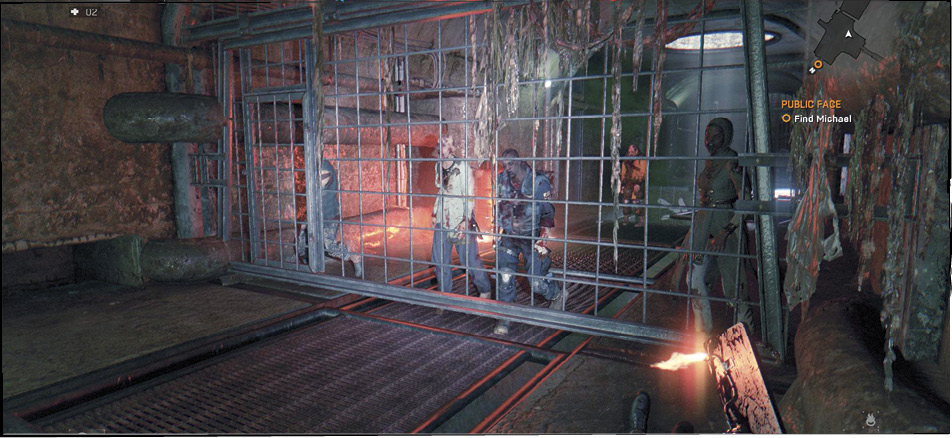
There are more monsters in the sewers. Swim underneath the grating in the first room to avoid them, and come up the other side (or tear through the group if you’d like to get bloody). Either way, you need to swim below a barricade to continue.
Follow the flares to another tunnel and dive into the water when it ends. Pull yourself up, and walk deeper into the sewers once you catch your breath.
A small group of Biters crowds the next junction. It’s possible to run past them, but a good fight won’t take too long either. Clear or bypass them, then turn left to reach the waypoint.
Michael isn’t far away. Get to his location and search the room next door to him for low grade melee weapons and minor components. Talk to Michael and take four sets of Explosives from him. Open the red door and enter the building.
Reach the 10th Floor
The red door leads into a stairwell. Climb two flights of stairs and walk through the open door up top. Search the floor for spare components and then take the elevator up. This only gets you so far before the lift stops. Pull yourself out from the top of it and climb the yellow-striped ledges to get up toward the 9th floor. Jump around the outer edge of the shaft to avoid riding the cables back down, and leap through the opening to the main floor.
You can now reach the 10th floor by pulling yourself up through a hole in the ceiling; it’s inside the large apartment on the other end of the floor. There are some minor toolboxes and such between the elevator and that apartment.
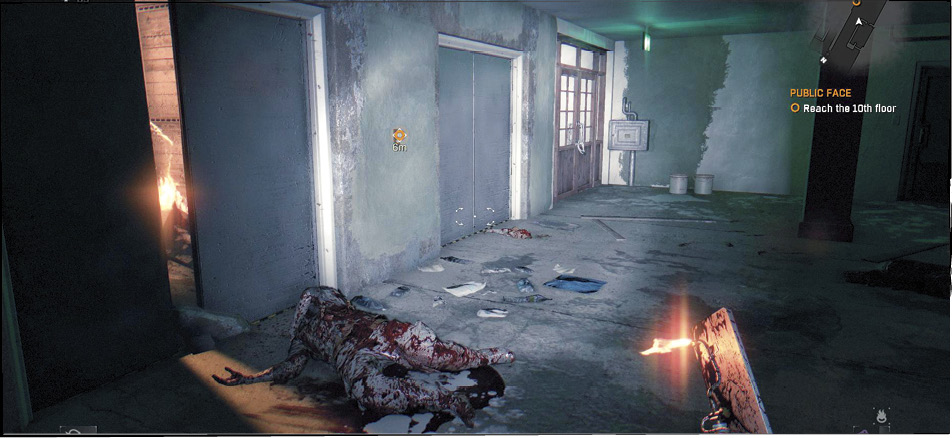
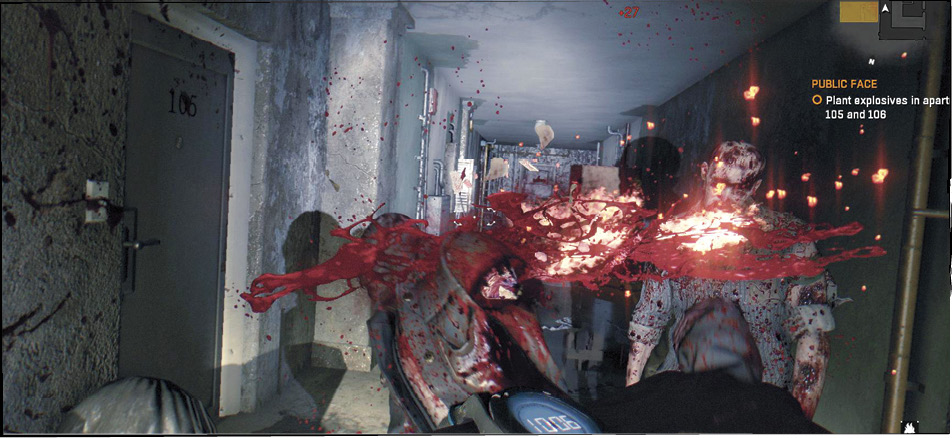
Get yourself to the 10th floor and then fight through the Biters that dominate the level. Use your pistol ammo freely here if you want to (there are multiple boxes of it in the various apartments).
Plant two bombs in the side apartments on this level. There are more enemies inside of them, but their numbers aren’t too heavy. The occasional Bombers in this building are the only serious threats, so minimize that danger by looking carefully when you enter each room.
Plant Explosives on the 13th Floor
Take the stairwell up. You’re trying to get to the 13th floor next, though you’re attacked by Virals, a Bomb, and some Biters while trying to pass the 12th floor.
Clear 12 and search for a substantial amount of ammunition and components, then climb to the 13th floor via a large hole near the entrance.
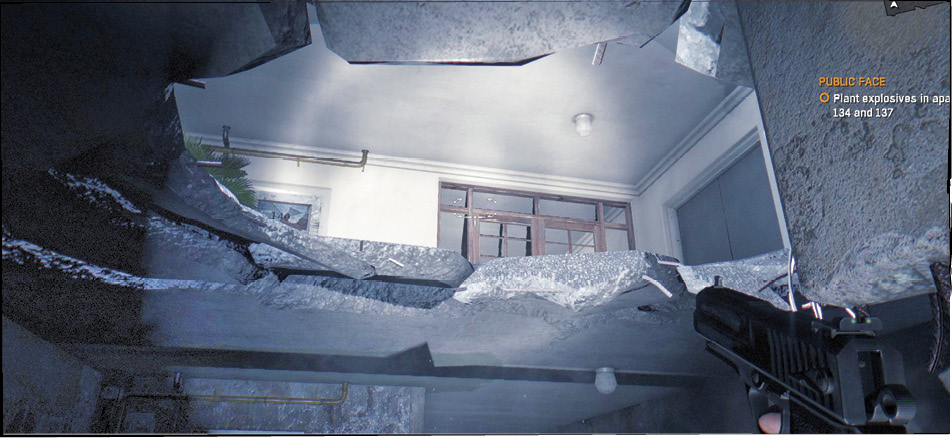
Reload all of your guns and have a good melee weapon ready as you look around the 13th floor. You’re about to meet a new type of Infected, and things might get ugly very quickly.
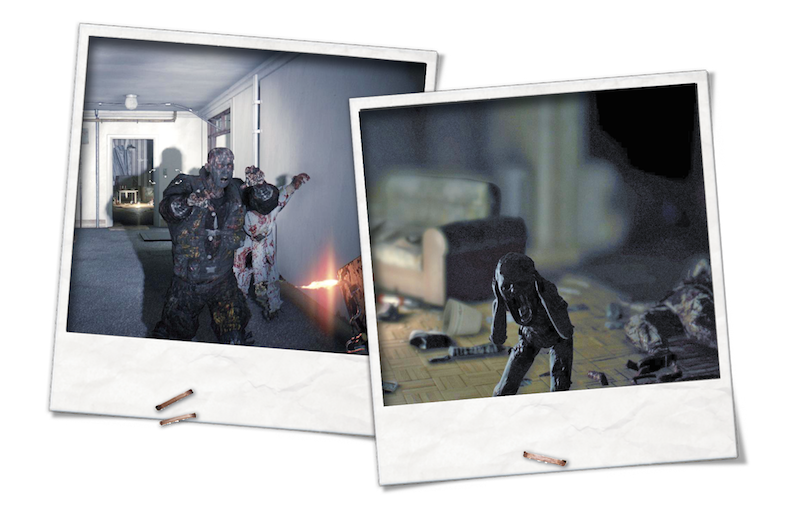
|
 Screamer
Search the remaining apartments and plant the other two Explosives on the stoves up there. As soon as you’re done, run back to the elevator and slide down the cables. Take the elevator back down to the bottom and return to Michael quickly.
There are quite a few Infected at the bottom of the shaft. Switch to a ranged weapon and kill the Goon that dominates the group; he’s lethal in these close quarters. The Gas Tanks and Biters that remain after his death won’t be nearly as much of a threat, so you can return to melee weaponry.
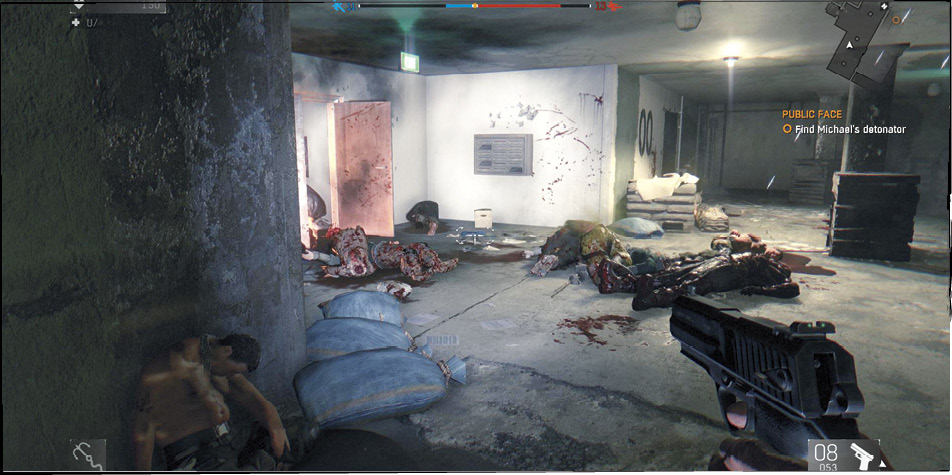
Use the marked stairs to get down a level, and then search for the Detonator in a small room off of the main hallway. There’s a Bomber with a few Biters down here, so use caution.
Grab the Detonator when you can and take it to the waypoint as you reverse your course through the sewers. Arrows mark the way out, and there won’t be as many Infected to fight. There’s a Goon coming up, but he’s alone in a larger room (and thus, is a manageable kill). Search his area for components, then climb to the tunnel above to escape.
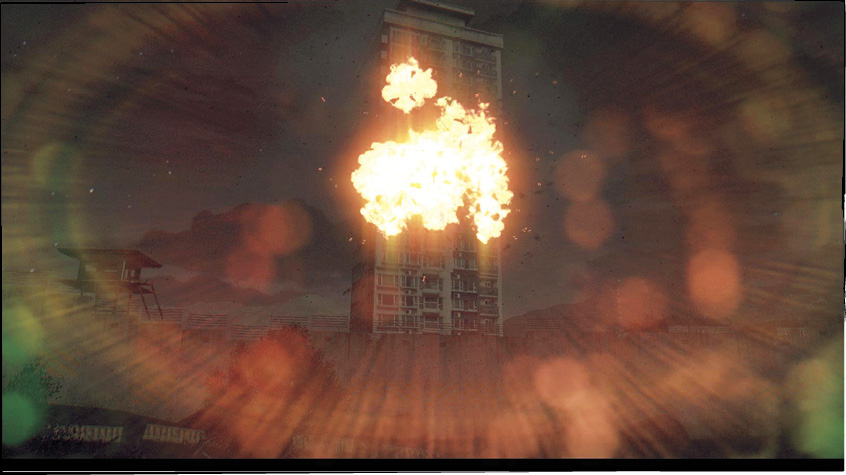
The way out is easy from there. Get outside and use the Detonator. Watch the next scene, and talk to Jade to find out what to do.