
First Assignment
Reward: 3,250 Survivor XP
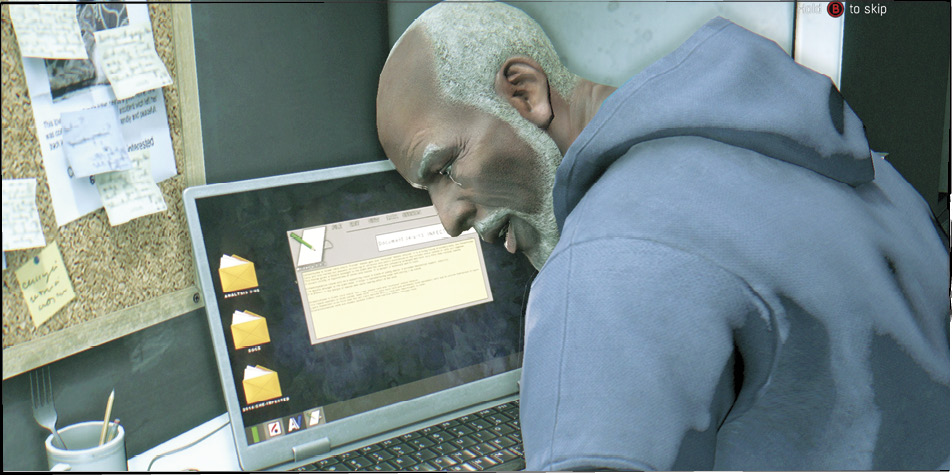
You’re part of the team now! There’s plenty of work to be done, and the head of the scouts is the guy to talk to about getting your assignment. He isn’t too far away.
Get a Job From Spike
Spike is inside a small shack on the edge of the court. Talk to him to get your task, then pick up the Wrench and Firecrackers on his desk. He’s hoping to snag two shipments of Antizin this evening before any of the city’s other denizens get their hands on it. The problem is that his people won’t be able to pull off the run without a bunch of traps being activated ahead of time. And that’s where you come in.
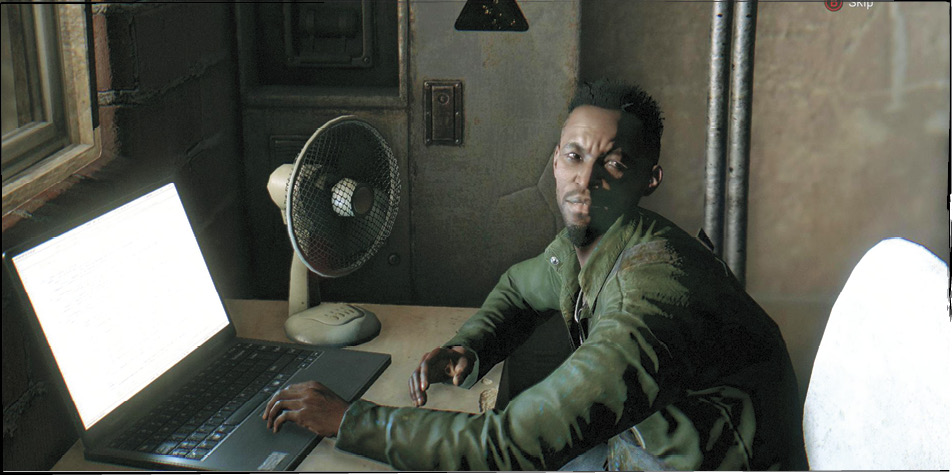
Prepare a Trap for Brecken’s Mission
The first trap that you’re going to arm is about 100 meters away from Spike’s shack. Leave the court and go through the streets carefully. Zombie presence isn’t very high, and it’s still light out, so get some fighting experience under your belt if you see any stragglers.
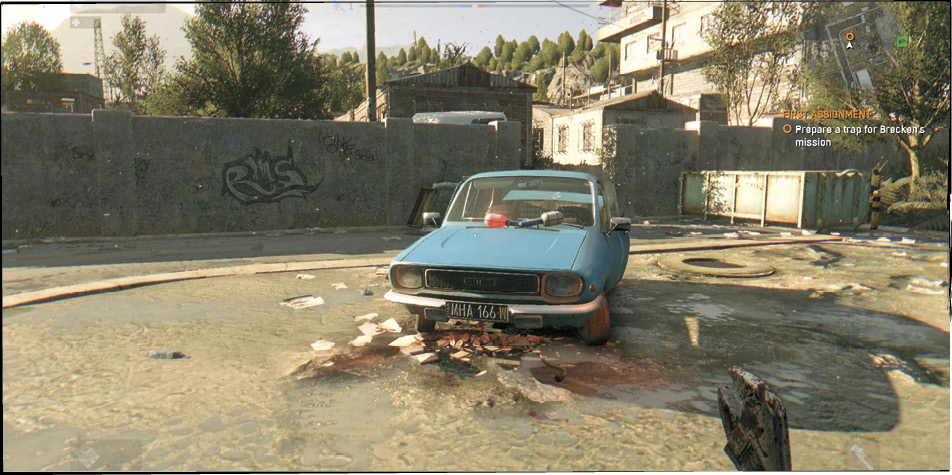
When you reach the waypoint, open the hood of the marked car and activate the trap. It’s a piece of cake to do. A call comes through on the radio when this is complete.
Help a Trapped Survivor
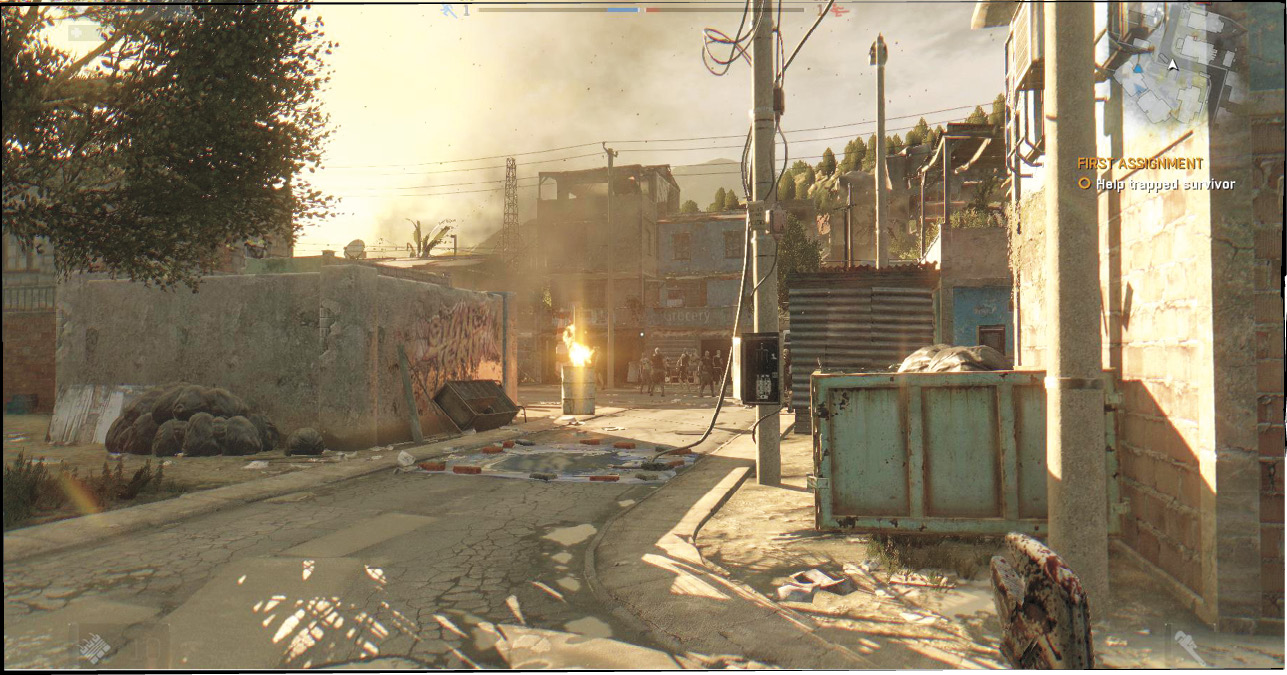
Another survivor is trapped by zombies, not too far away. Take to the rooftops of the buildings nearby and proceed through town from an elevated position. This is often a much safer way of getting around. Rahim told you that zombies have trouble climbing, so rely on height to stay safe and plan your travel. The view is also better from up high, so it’s easier to figure out where you’re going.
There are more of the Infected in this part of town. You’re free to practice combat, but always remain cognizant of your surroundings. What starts as a fight with one viral can quickly devolve into a rush from half a dozen additional foes (or more) from multiple angles. These things track by sound and activity, and the more of each you make, the more trouble you’re going to get into.
Approach the waypoint where the other survivor is trapped once you’ve had some fun searching, running, and fighting. There are two zombies beating on the building. Kill them with head attacks and clear the area.
Search the zombies you killed and then pound on the door. Open it when you’re convinced that the survivor is still in there, but keep your guard up in case anything attacks. Fight off any enemies by staying in the corner of the building and swinging away.
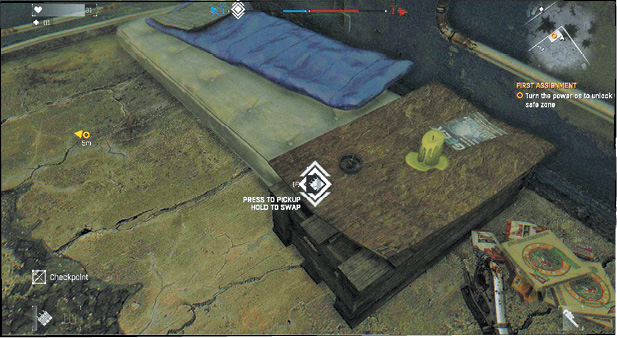
Look inside the building for a circuit breaker, then use it to activate the Safe House’s defenses and ensure that it’s actually a protected place to which you may return.
Get Over to Another Building, Climb to Its Roof, and Contact the GRE
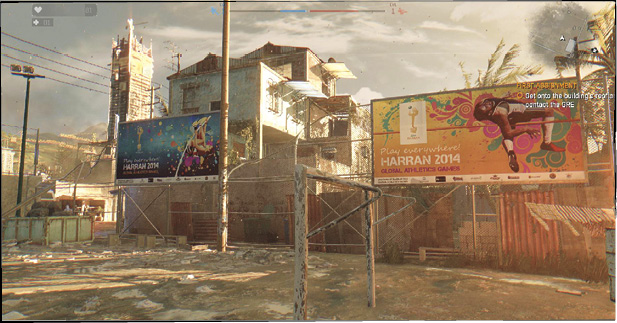
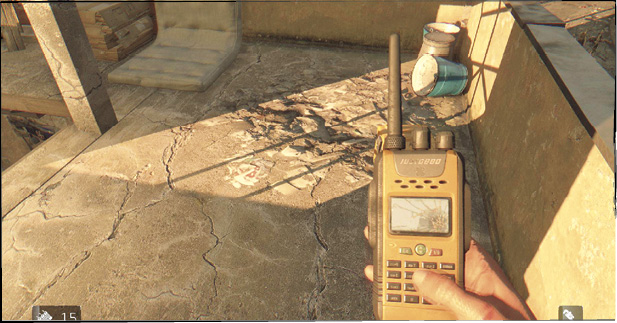
You should call in and report on what you’ve seen so far. The radio won’t get great reception from where you’re standing, so look for a taller building that isn’t too far away. Your goal is marked on the map, so walk in that direction as you leave the protected yard. Some boards have been placed, so it’s fairly easy to leap over the fence and get out to the street.
As before, zombie presence is higher. A quick sprint lets you get over to the building in question; you’re then able to climb a telephone pole and jump over to the roof without fighting a single viral (unless you want to).
The radio conversation is quick and to the point. Get it over with and look around for a few spare weapons before leaving the building.
Arm More Traps
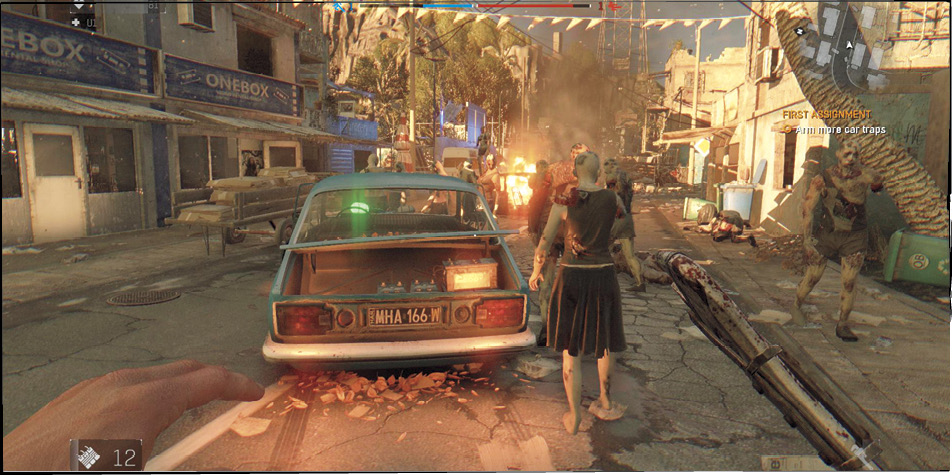
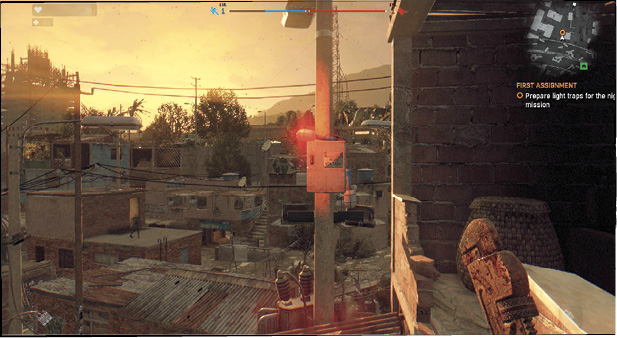
The next two car traps are in the middle of the street. They’re practically swarmed with zombies, so it’s a dangerous idea to walk right up and arm them without creating a diversion. Get yourself higher up and look over the street. Make sure that you’ve spotted both cars so that you know where you’re going, and then use Firecrackers to distract the zombies. Toss these items toward the other end of the road and wait for the Virals to look away from the cars. Hop down carefully, arm the vehicles, and then scoot away before you get any real attention.
Go across town to reach another type of trap; this one is higher up because it’s a light trap. You can’t get up to it directly (the building has been set up to be very hard to climb). Instead of fighting that, go up the small set of stairs nearby, climb onto a tiny building, and walk across the boards that connect that roof with your target. Activate the light trap and then search the room inside for a locked chest.
Okay, that’s all done. Arm two more light traps. Both are marked and won’t be hard to find. They’re on pole that you can’t climb, but luckily there are other poles in the same area that are easier to get up. Travel over to the train yard where both of the lights are located, and then climb the old iron struts that are between the light posts. Use that to jump between the poles and activate whichever trap you get close to.
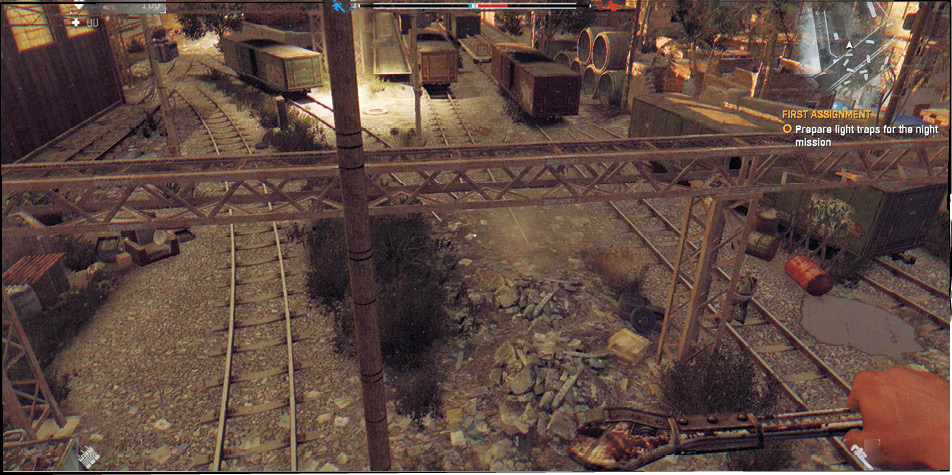
Stay in the train yard and go toward yet another light. This one is easy to reach because it’s right next to a train car. Climb onto the car, activate the trap, and be done with it.
Or not. Darn power grid issues. This is a great time to do some fighting and reach Power Level 2 and Agility Level 2 (if you haven’t already). Dodge is going to be useful pretty soon, and it doesn’t take much time to get the XP for it.
Find the Power Distribution Panel and Fix the Light Problem
So the lights aren’t working. That’s fine; there’s a panel in the yard that controls the electricity. Make your way there and try to use the panel. It should work, but someone doesn’t want you to succeed without a fight. Prepare to face a gargantuan creature with a hammer.
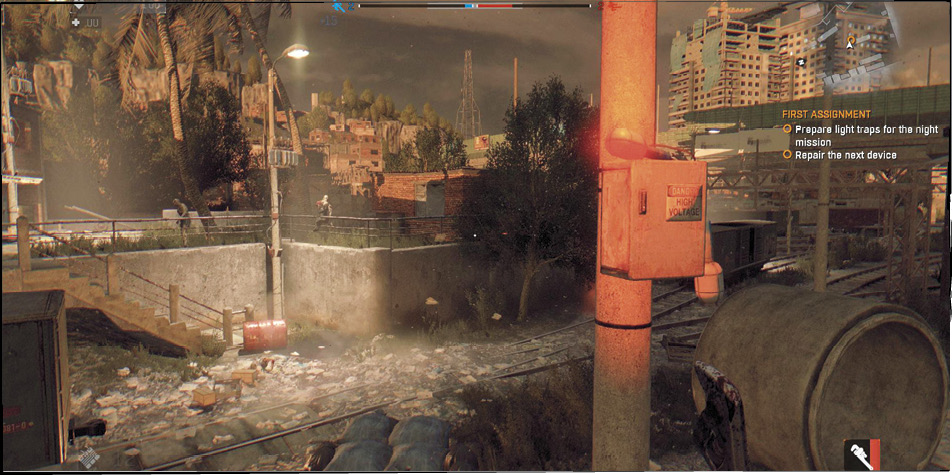
Before engaging, however, consider your options. The power must be restored, but is the fight necessary? Maybe not.
|
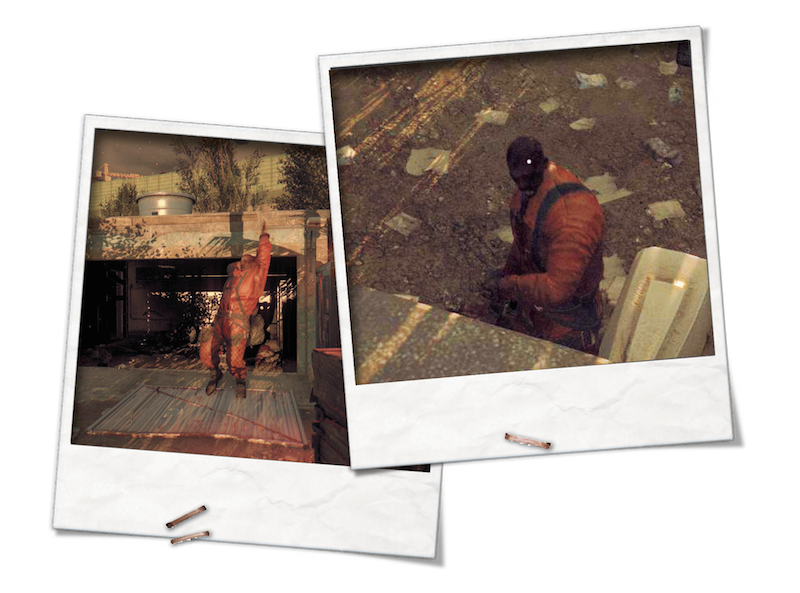
 They Call This Goon Mr. Hammer
Collect everything from the building, turn on the breaker, and unlock the door that leads back to the street. Night has fallen, and you shouldn’t tarry. Zombies get much more dangerous once darkness comes. They’re harder to see, and they attack aggressively. Return to your Safehouse as soon as possible!
Run Back to the Safehouse
You can sneak at night and avoid attention, but the way to safety is decently lit (because of the work you just did). That makes it easier to find a good path, stay above your enemies, and avoid battle. Freerun toward the waypoint; it’s the Safehouse that you cleared earlier. Don’t fight or waste time, and try to stay off the ground as much as you can.
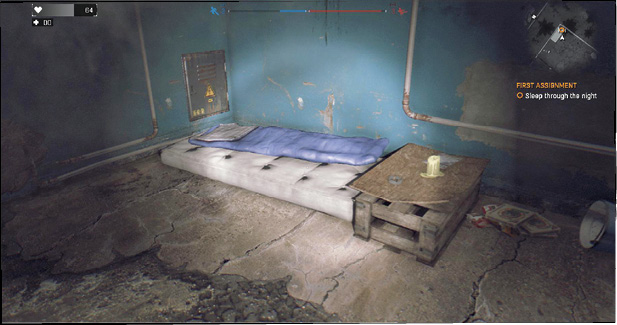
A short scene plays when you arrive at the Safehouse. Watch what happens and then go inside. Sleep on the bed to bypass the deadly evening hours, and wake when the sun rises.
Spike calls in on the radio and asks to see you in person.
Talk to Spike
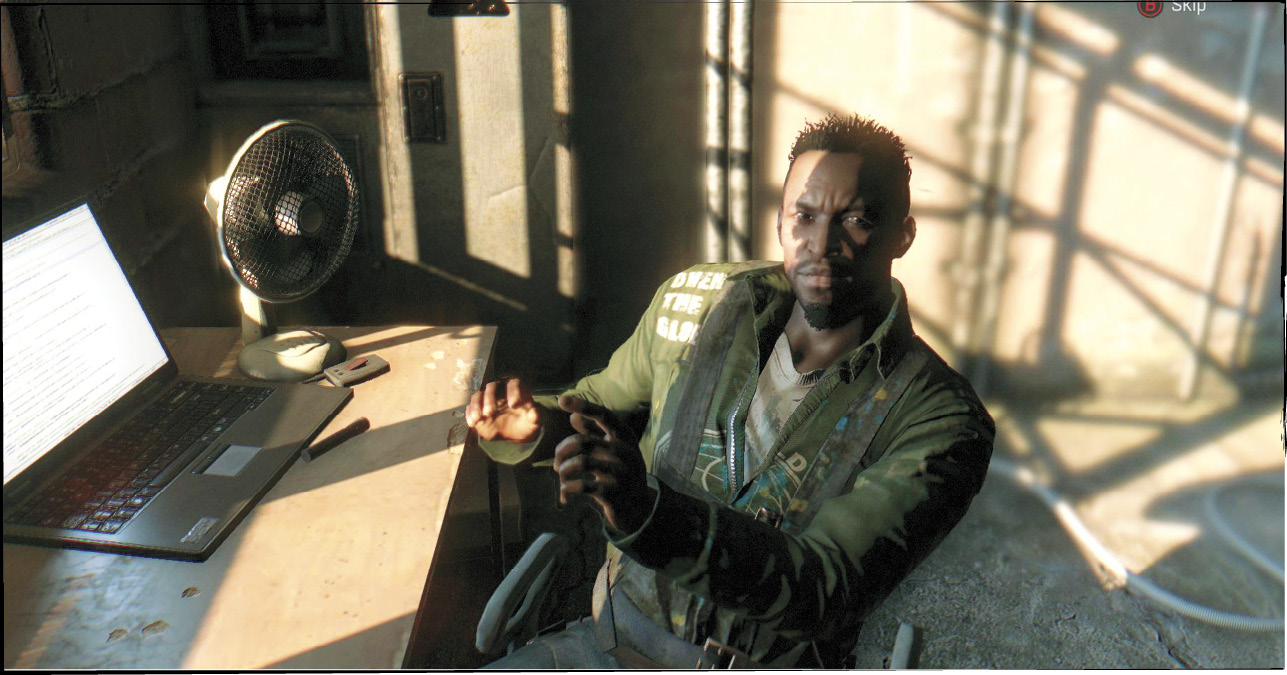
Go back to the Doctor’s compound and meet with Spike. It’s not all good news, but he has a UV Flashlight and a Trap Detonator to spare for you! You also get the experience that you need to advance to Survivor Rank 3.
Spend your new skill point and get either Boosters or Backpacker; they’re both great, so you don’t have to worry too much about the consequences of this choice. You’re likely to get both of them eventually, so it’s more about what you need now (a larger supply of weapons to choose from, or the ability to start crafting items that improve your various abilities).
Report to the GRE and Then Return to the Tower
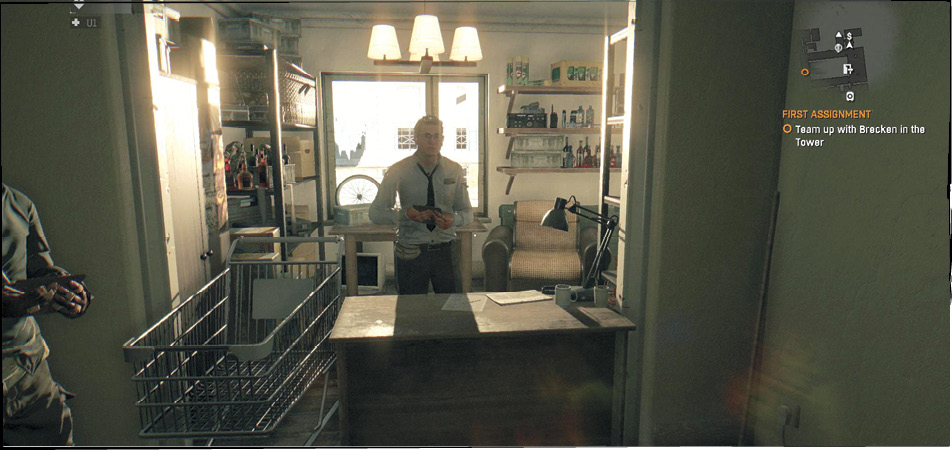
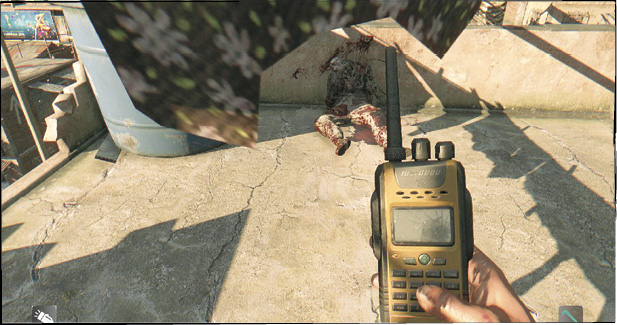
Walk to the tall, marked building on the map and climb to a higher floor so that you can report in about your progress on the mission. Afterward, go back to the Tower. On the way in, see the Quartermaster for any free items that you can get. Try to do this every day!
Ride the elevator to the higher floors. Talk to everyone you can before going to your meeting. Look on the map to see people who have something to tell you. There are also more services around the building now that folks are starting to trust you. The Pawn Shop is close to the elevator. It’s a great place to sell unneeded items, like weapons that are old or trashed. There isn’t much stock of things to purchase just yet, but things will improve on that front as you gain more Survivor Ranks.
Talking to people around the building also gets you started on Side Quests. These are tasks outside of the things that you need to perform just to make it through the game. They’re now available, and can get you really good rewards. These are covered in their own chapter (because they are optional, so speed runners may choose to skip them).
Attend the meeting. Start a side quest afterward by talking to Lena, or continue on your primary mission.