
The Pit
There’s no time to think. Start running toward your waypoint!
Get to Dr. Zere’s Laboratory
Reward: 15,000 Survivor XP
Sprint from the Tower over to Dr. Zere’s lab. Leap over the damaged fence and tear into Rais’ men. There are several of them there. You can use firearms to hit them early, or attack the first couple with your best melee weapon and then retreat to heal and repair before going against the next two.
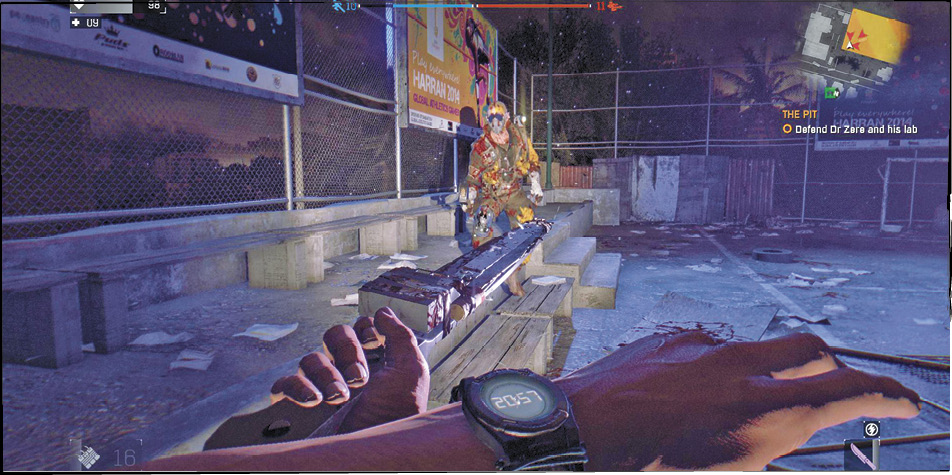
Talk to the man by the lab doorway to get more information after the battle ends. You find out where the doctor has been taken, but it might not be that much of a surprise.
Go to Rais’ Compound
Cross the city and go to Rais’ area. Bring plenty of heavy weaponry and supplies with you; this part isn’t timed, so you’re allowed to gather your strength before pushing the issue. Leap into the yard without issue; there are no guards outside this time. Try the front door and then start searching around for another way inside.
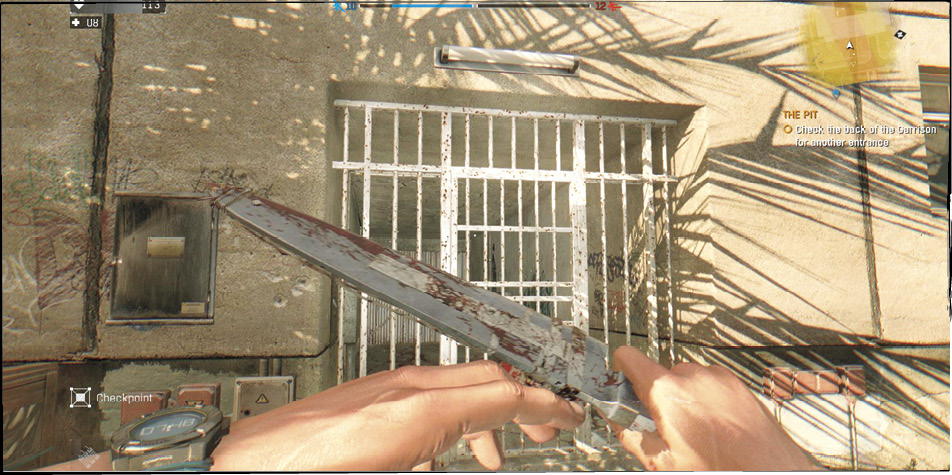
Walk around the right side of the compound and look for a crashed, white van. Climb onto it and jump onto the upper balconies. Pull yourself up and then use the small walkway that leads around the back side of the building. You’re in!
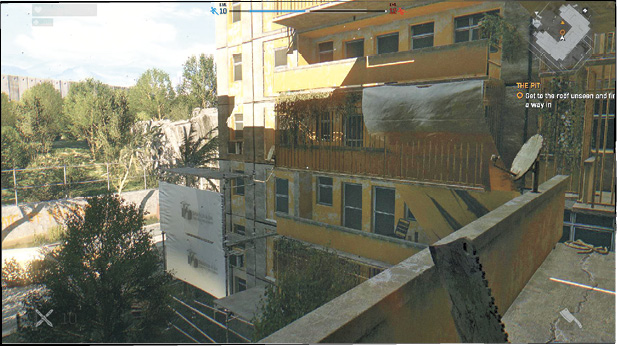
You must reach the roof to proceed. There isn’t a clean way to do that, but a freerunner like yourself should be able to pull it off eventually. Go to the center of the inner courtyard and use sprint and jump to keep hopping up one level at a time. Do this back and forth until you’re high enough to reach the edge of the roof, and then get up there.
A small building on the right portion of the roof has a trapdoor. Go in there and climb down into the main building.
Look for Dr. Zere
After a quick call with your radio, you’re back in control. Search the surrounding area for Military Throwing Knives; they’re very effective thrown weapons, so you might want to ready them before advancing.
Proceed to the next waypoint, then press the call button on the elevator and pry the doors open. Don’t leap into the shaft unprepared unless you’re in the mood for a crunchy death. Instead, aim carefully for the main cable and grab that.
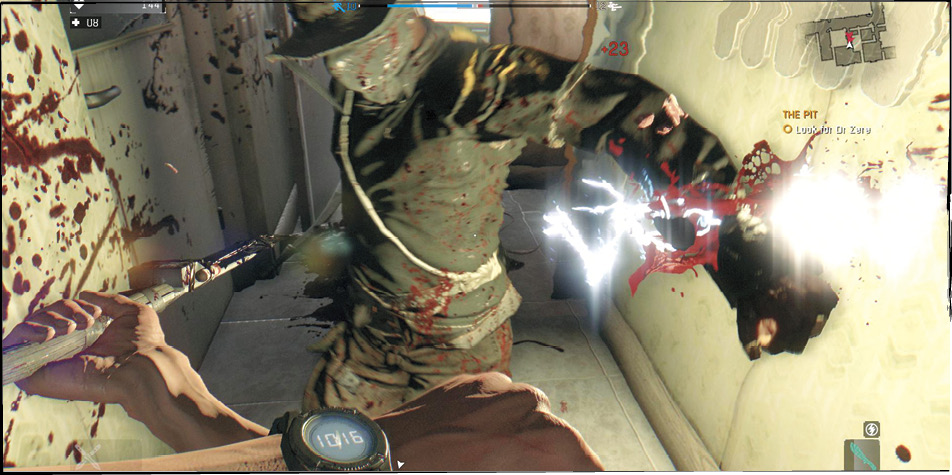
Slide down to the next floor and pry open the elevator doors to get out. Walk quietly through the corridor and kill the lone guard who is relaxing down the side passage that you reach. Loot the nearby shelves and then approach the main portion of the level. There are several patrollers here. Wait for them to walk away from your position and then go for a wicked back attack. The entire group comes if you make too much noise. If that happens, back into one of the apartments on this floor and force the enemies to come to you.
Components are all over the place, so you’re going to get plenty of crafting items if you search here.
The stairway that leads down is at the end of the long hallway. Use it and explore the next floor. There’s another guard here (and he won’t have come to the last fight even if you did make a fair amount of noise). Try another stealth run here if you can, and dispatch him discreetly. He frequently patrols the second hall.
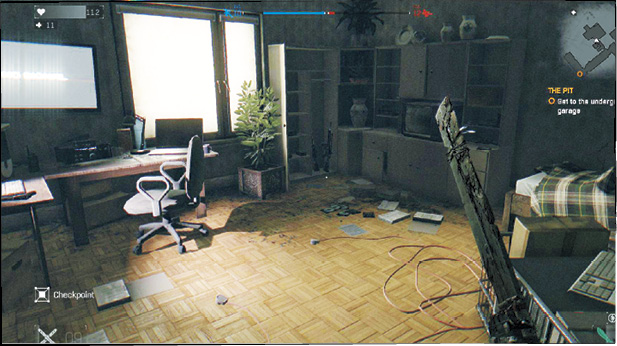
Once he’s out of your way, you are in great shape. Get modest supplies for the rooms on this end of the floor, and then stock up on some major firepower when you reach the security room beside your next waypoint. There are several guns that you can take.
Get to the Underground Parking Garage
Reward: 15,000 Survivor XP
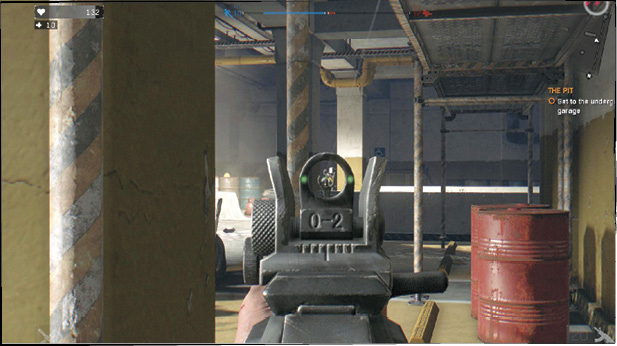
There’s still no sign of the doctor. It’s time to look all the way down at the bottom of the building. Arm one of the rifles that you recently looted and use the stairs at the end of the hall. There are many gunmen below, but each has ammunition and you have a great weapon to use against them. Take cover and start popping heads as you work your way through the garage. There are explosive barrels and gas containers stashed down there, so look for their telltale red color when going after your enemies.
If you’re ever hurt in these exchanges, use the cement pillars in the garage for full cover while bandaging yourself. It’s useless to sit still and heal even if you’re partially protected because it’s way too easy for enemies to land a few extra shots either before you finish or soon afterward. Take the extra time to do things correctly instead of shrugging off unnecessary damage.
Search the last room off of the garage to finish this area. A cutscene comes in once you do that, and then you are taken somewhere else.
Survive the Arena
Reward: 15,000 Survivor XP
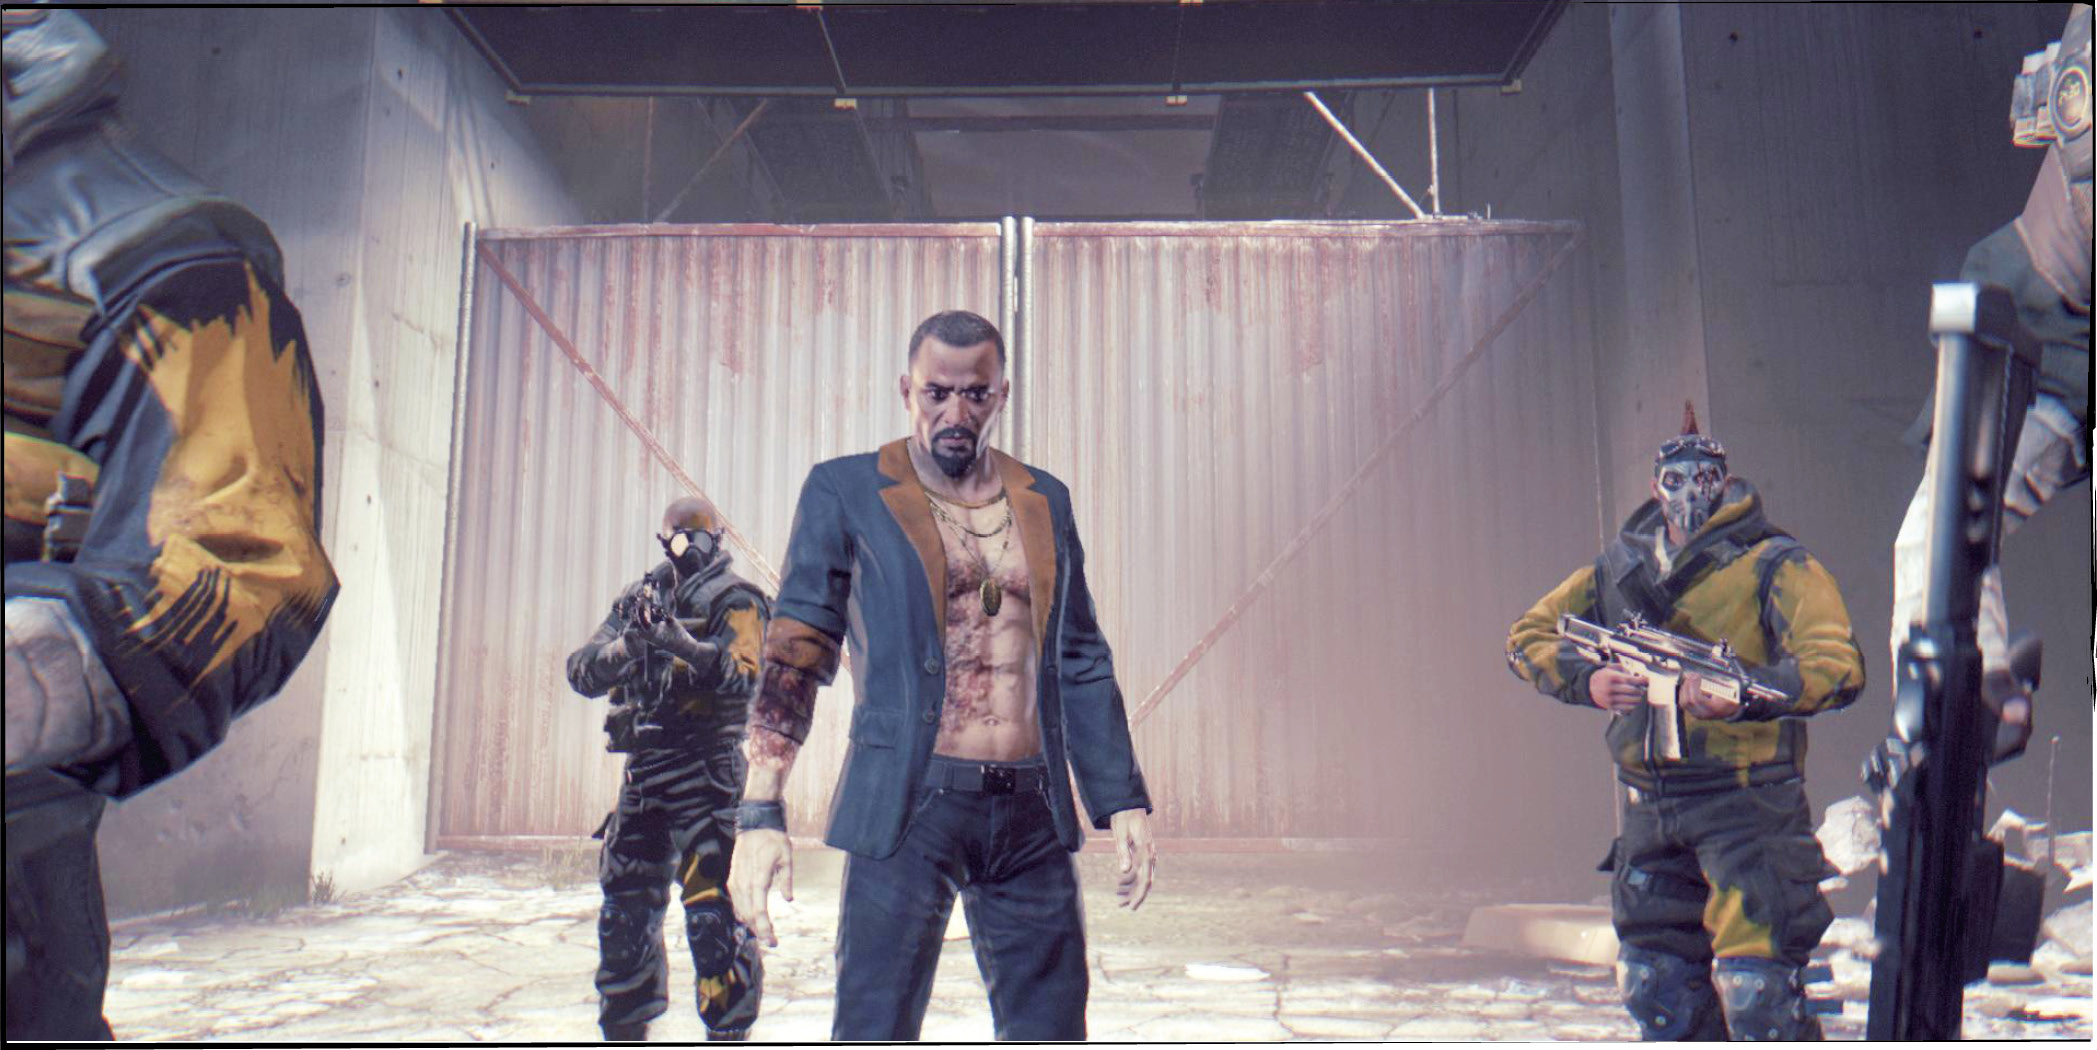
You awaken in the previously-mentioned arena. It’s about as grim as you might have imagined, and you have the best/worst seat in the house. There are several shipping containers worth of Biters around the area, and enemies are going to come after you very soon. Get ready.
You don’t have any Medkits or your weaponry. You must make do with what you find around the arena floor and what’s on top of the containers. Throwing Knives and basic melee weapons are available, so hunt for them quickly.
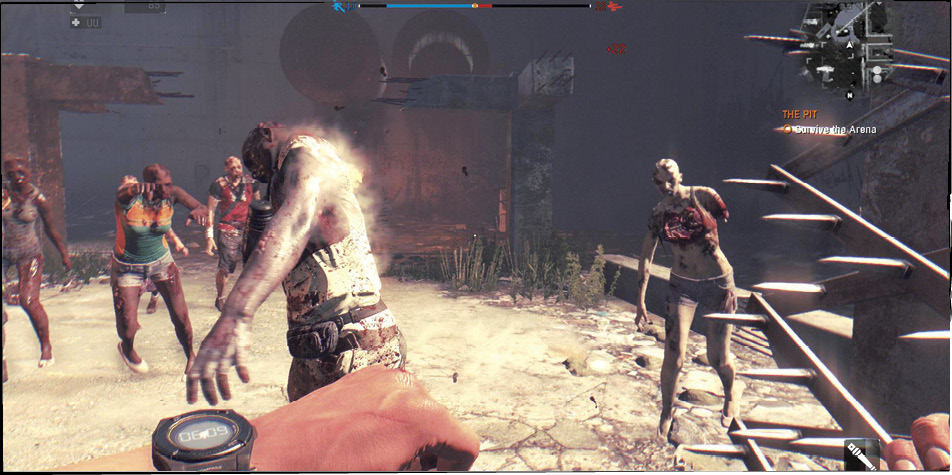
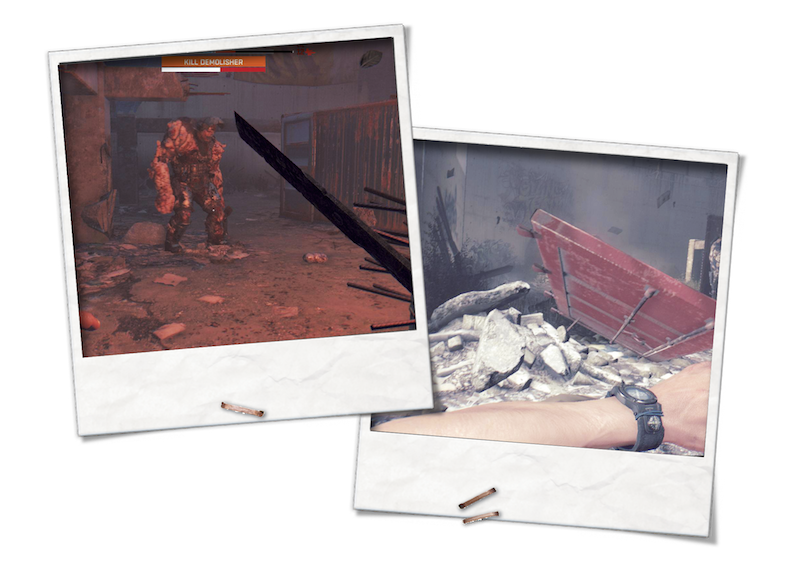
Once you’re done with the Biters, the second stage begins. Collect the weapon that Rais throws down into the arena and ready it. Another container is lowered into the arena, and a Demolisher breaks out. This is going to be the real fight.
|
 The Demolisher
Get the medicine that Rais drops and watch the scene that plays out after your victory. When it ends, flee the area.
Get Out of There!
Reward: 10,000 Survivor XP
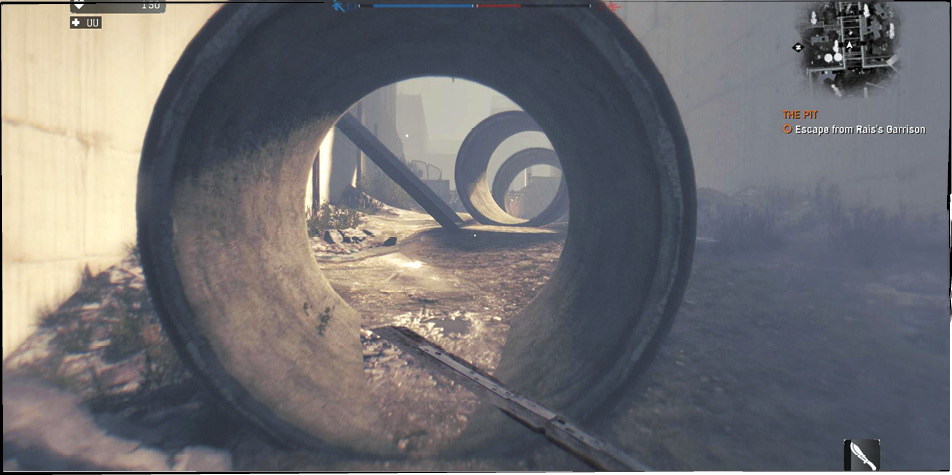
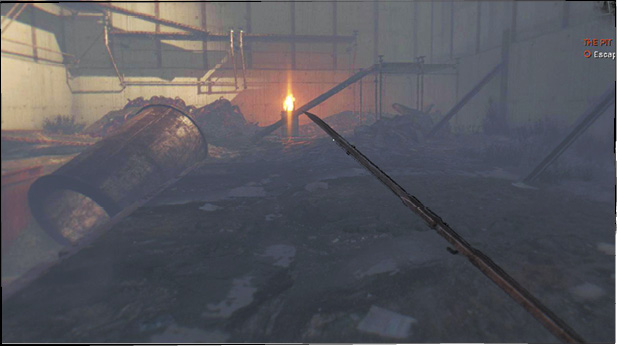
There’s gunfire everywhere, so stay under cover when you can. There are cement pipelines to run through; they break line of sight with your enemies, so stick to them.
Head directly for the far end of the arena, then turn left and race toward a catwalk. Climb up the right side and go around the outer edge of the area so that you can climb even higher up.
Catch your breath for a brief moment and then continue. Follow the waypoints through the next section and sprint across a narrow board. Weave around the area to make a turn and come back from the other side of the arena.
You’re likely to take a few hits during this process, but it won’t be enough to bring you down as long as you stay fast and mobile.
There’s an elevator shaft on the right side of the arena. Dive into it and hope for the best. You land in the water, thankfully. Pull yourself out of the shaft and get your bearings. Run through the flooded garage ahead and avoid battle with the Biters inside. Stay straight until you hit the other end of the garage and then turn left. The next waypoint is your way out of the building. Get to the door and evacuate!
Avoid combat as you return to the Tower. Crane is having a tough time, and he won’t be up for much combat. Treat him gently.
Before you get back, a cutscene breaks in. You wake in a Safe Zone and get to talk to a few people. Your Stash is there, so it’s time to get your gear back as soon as you have control again. Things are tough right now, but at least you’ve survived!