
Dying Light Guide Controls and Gameplay
Your Character Screen
The Character screen pauses the game. There are many important tabs here that let you develop your character and see where you’re going.
The Map
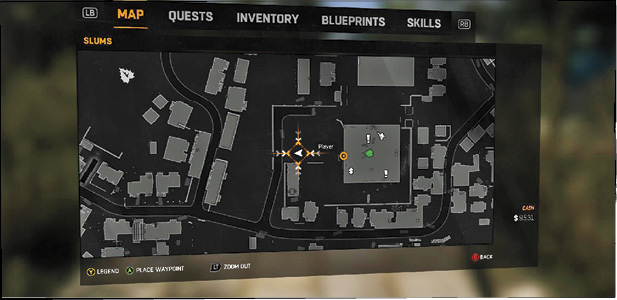
The first tab is your larger map. This isn’t just a larger version of the minimap; there are several things you can do here that are quite helpful. Zoom out to look over the whole city, and highlight locations if you’d like to place custom waypoint markers on them. This really helps when you’re trying to reach a specific place that isn’t shown as a quest goal.
You can also look over the various icons, bring up the legend if you don’t know what something means, and see what’s available to do. Quests and challenges show up quite well here, so you don’t need to track them down by wandering all over the city. Simply place a waypoint on them, go where you need to go, and start the event that you want to try out.
Quests
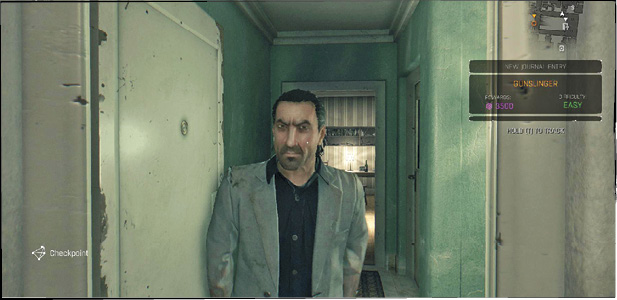
Information about story quests, side quests, and challenges are located here. Select a specific item to see more about it or read about what you’ve already done on that task. Switch your quest tracking around if you’re interested in pursuing one thing over the others. This brings it up on your main screen and sets the waypoints on your map so that you always know where to go next.
Inventory
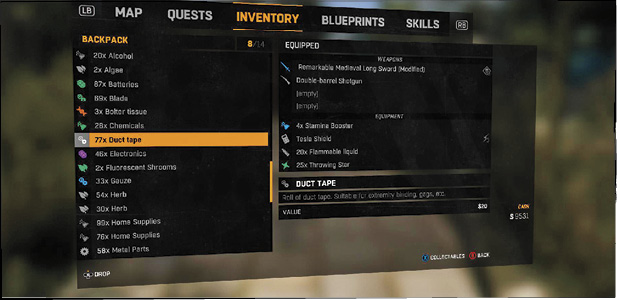
Your backpack, weapons, and equipment appear in this tab. Move items between your backpack and equipped areas to access these weapons and items on the fly while running around the city.
To learn more about each item, highlight it and review the stats that are displayed in the lower-right. From there, you can also Dismantle weapons (for spare parts), upgrade them to improve their stats, or drop the items entirely if you need the room and don’t care about losing some potential cash for selling them.
Your backpack starts off fairly small, but a couple of upgrades in the Survivor XP line earn you considerably more slots.
Blueprints
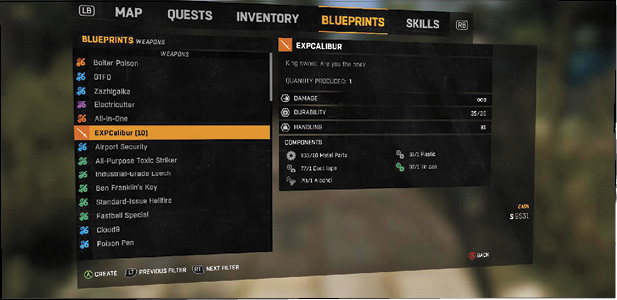
This tab is where you do your crafting! Look through your available Blueprints to see what you know how to make, and then decide if you’re willing to spend the components to make it all happen. When highlighting a Blueprint, you see everything that’s required to make the item, so it’s always really clear what you still must gather.
Crafting doesn’t require in-game time, so you can pause the game, make the items that you need, and then use them to survive whatever fight you’ve gotten yourself into.
You start the game with very few Blueprints, but these roll in over time as you gain skills that provide Blueprints and search the city for additional ones that are hidden!
Skills
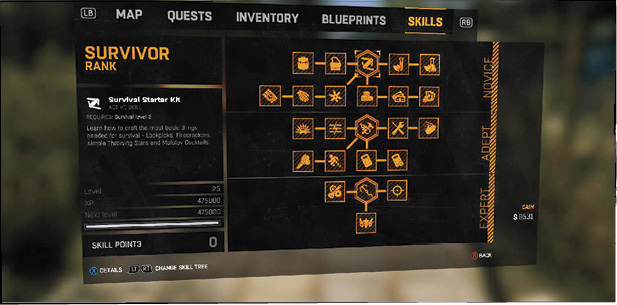
Last, but not least, is the Skills tab. This is a fun section because it’s where you spend your skill points. We mentioned Agility and Power XP earlier, and that is a major part of this tab. Three areas of experience are tracked on this screen: Survivor, Agility, and Power. You get experience for these by helping other survivors, zipping around the city, and fighting your enemies.
When you earn enough experience to level up, your character gets a skill point in the appropriate area. Thus, if you fight all the time, you can increase your Power quickly. Players who help others as often as possible earn more Survivor XP. There’s also a bonus each time you survive until morning, so each dawn is a reward unto itself.
Agility is the hardest type of XP to earn early in the game. You must freerun well to build it up. However, this becomes much easier once you start to develop special moves like Vault, Tackle, and Dropkick. These actions earn you serious amounts of Agility XP, and they’re fun to do. Combine that with evading night Pursuits and using traps to start leveling like a fiend!
Select the individual types of advancement to see their skill trees. Each one has different perks that reward you for leveling up. Take the skills that are most exciting to you and watch your character become even better over time. These skills are discussed in greater detail at the end of this chapter.