
Rendezvous at the Museum
Reward: 5,000 Survivor XP
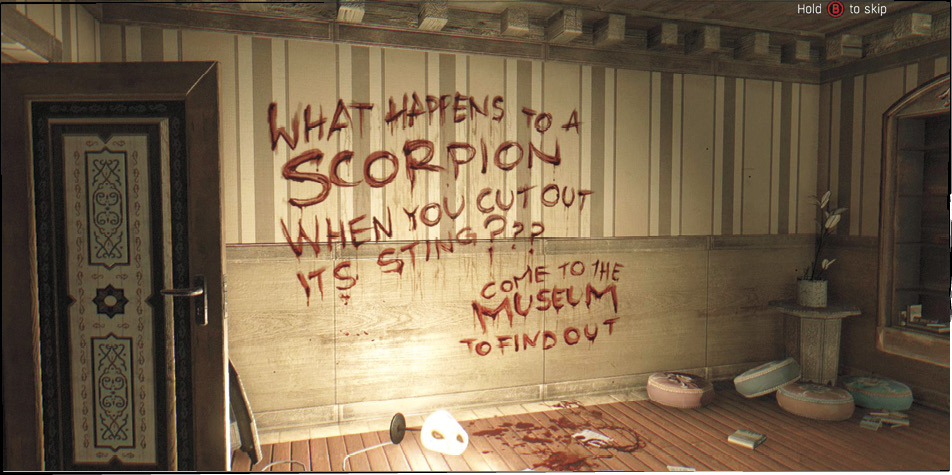
Go to the marked apartment where Jade is waiting. There’s a message in the room when you arrive. Read it and change your plans. You must now go to the museum.
Find the Museum Custodian
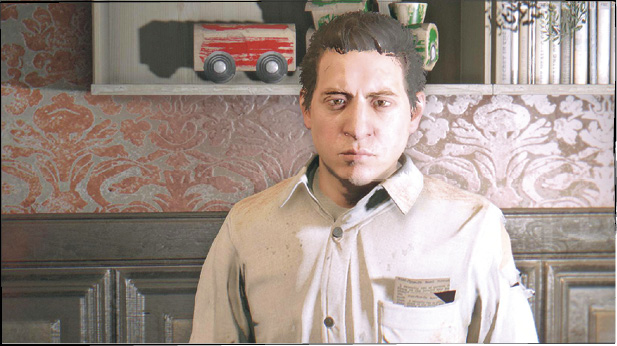
Leave the apartment and cross the city. Tariq is the museum’s custodian, and he’s in a Safe Zone on the roof of a building. Pay him a visit and try to convince him to tell you more about the museum. Even though he needs your help on another matter, he still gives you the information you’re looking for; that makes him a pretty cool guy, so consider running his side quest if you have the time.
Find the Underwater Entrance in Emerald Pond
Travel to Emerald Pond and look around the area. From the sound of things, the swim ahead of you is going to be very challenging. The area around the pond is fairly lucrative; you might find some Supply Drops and tougher enemies to fight, if you’re in the mood for adventure.
When you’re satisfied, go to the marked area at the lower side of the pond. A yellow circle appears on your map because Crane doesn’t know exactly where he’s going.
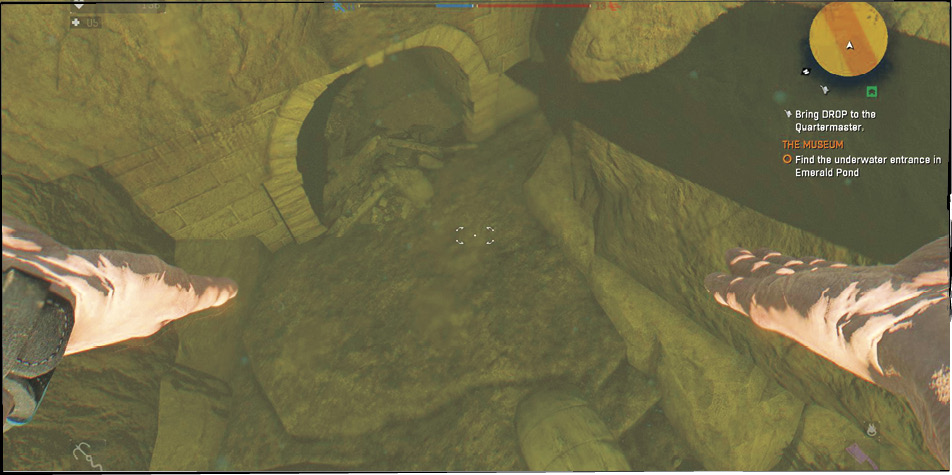
Get close to the middle of the circle and then drive down while looking at the cliff in front of you. There’s a stone entranceway underwater. Swim quickly toward it and weave between the collapsed stones that block most of the way through. There’s barely enough room, but you can make it!
Turn to the right when you reach the end of the tunnel and surface for air. There isn’t much room, but you have just enough here to get your head up. Breathe deep, and then follow the path on your minimap to get through the remainder of the underwater section.
This finally takes you to a door underneath the museum (or close to it). Success! Go through the door quietly.
Find a Way into the Museum
Take a moment to prepare, then walk toward another submerged section in the new building. This is going to be your longest underwater run, so it must be done properly. You’re going to be going through a room without air above, so proceed with conviction and don’t hesitate.
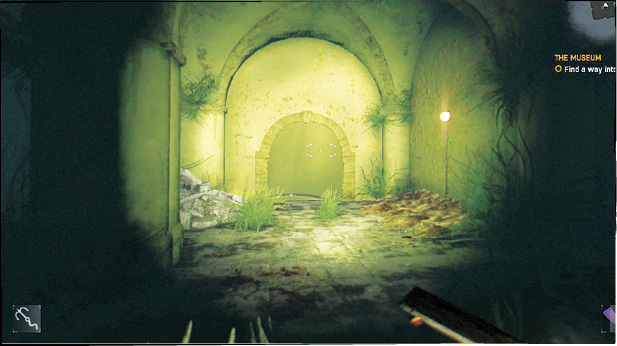
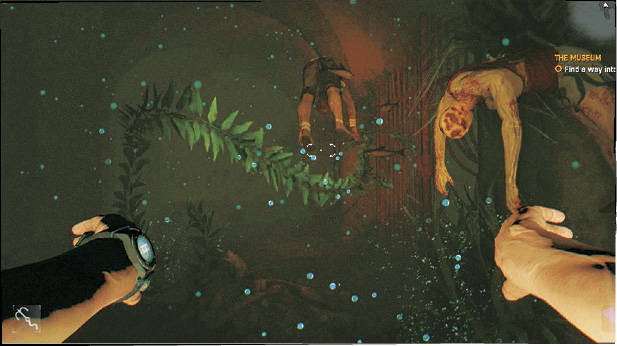
Swim forward, and then go through the damaged iron bars on your right side. Take the path as it leads to the right around the edge of the room, and through more bars when it stars to turn left again. Dive lower as you reach the end of the room so that you can get through a stairway entrance. This gets you up into a chamber with air at the top, so surface immediately!
Restore all of your Stamina, then dive and swim forward quickly. Go to the waypoint and turn right. Swim in that direction while slowly drifting a little bit right to avoid obstacles as you approach the next entrance.
This portion of the swim is fairly linear, but it’s long. Stay calm and don’t try to surface until you get to the next waypoint (the one above you). Surface then and relieve your aching lungs.
Climb out of the old tower that you’ve located using the beams on the sides. It’s a fairly simple climb. The way forward isn’t too bad now either. You’re in an unused portion of the museum; probably sections that were covered during a remodeling a long time ago. Follow the waypoints through and talk to Troy to give her an update.
Before long, you get out of there and see Rais’ men. Slow down to take stock of things. You have the advantage because they sure weren’t expecting you to come in this way!
Take out the two guards below you with ranged weaponry or a proper melee ambush before they can react. Once they’re down, loot their ammo and approach the main gate ahead. Open that door and watch a cutscene, but take cover afterward and keep your best ranged weapon armed. The next gunfight is an extensive one.
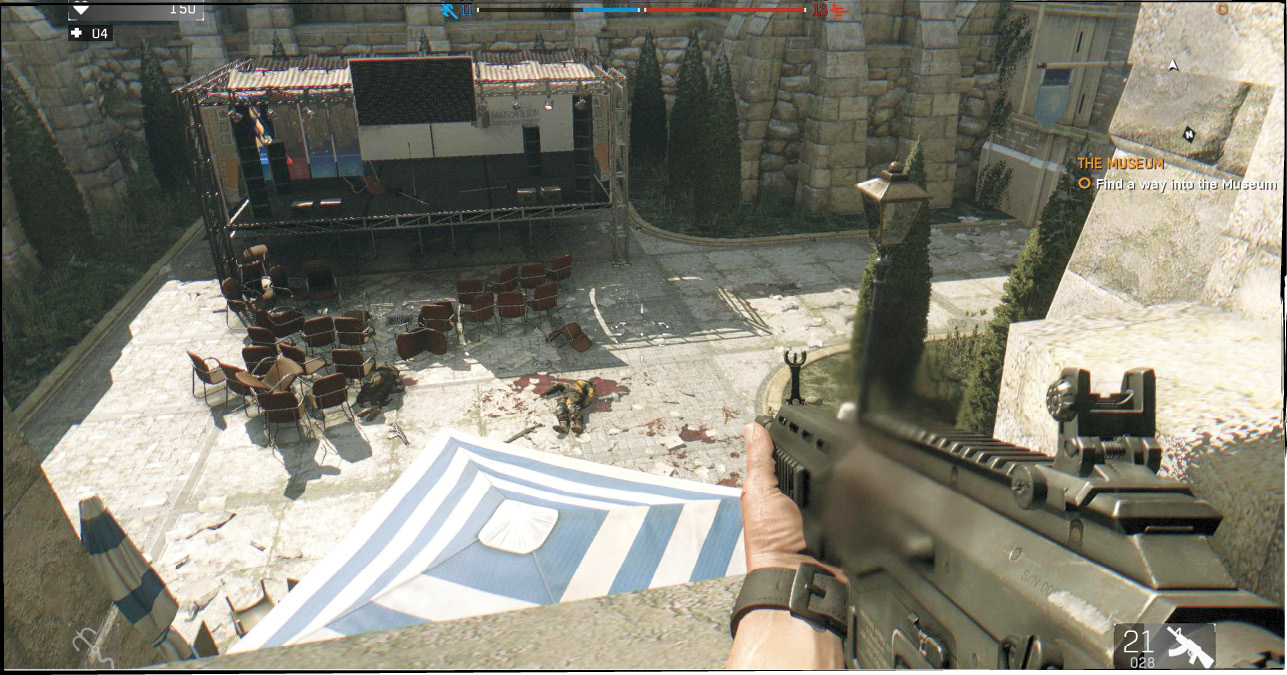
Eliminate Rais’ Guards
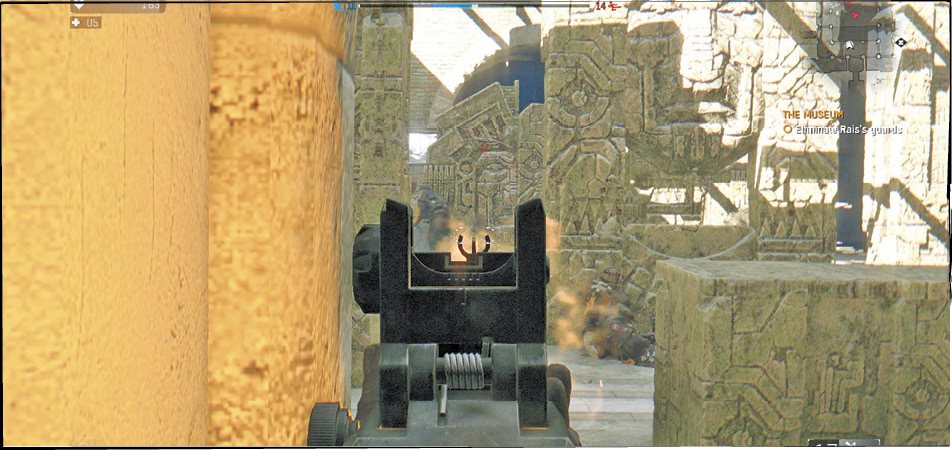
Two waves of Rais’ men attack. The first wave is on ground level. They have rifles and grenades, and they use both pretty heavily. Switch cover if any of the grenades lands close to your location, but otherwise stay safely behind the pillars and only pop out to aim, fire, and eliminate targets.
Loot the bodies quickly at the end of the first fight and then tackle the second wave of enemies on the walkway above. Use a Grappling Hook to get up there afterward, or climb on the glass display cases and jump to the larger stone sculptures to get higher up in the room.
There are three more guards in an adjoining hallway, on the upper tier. Sneak around the corner to surprise the first one, and aim carefully down the hallway to snipe the other two when they look out to see what’s going on. This fight is not as challenging as the previous one.
Walk down the hallway and open the shutter at the end of the passage.
Follow Jade
Go down to the lower level in the next room and head outside through a garden area to find several more of Rais’ men. Take cover and fight through the throng of enemies as you approach the next building. Stop to make a few more Medkits if you’re running low, and always pick up ammunition from the slain thugs when the fighting ends.
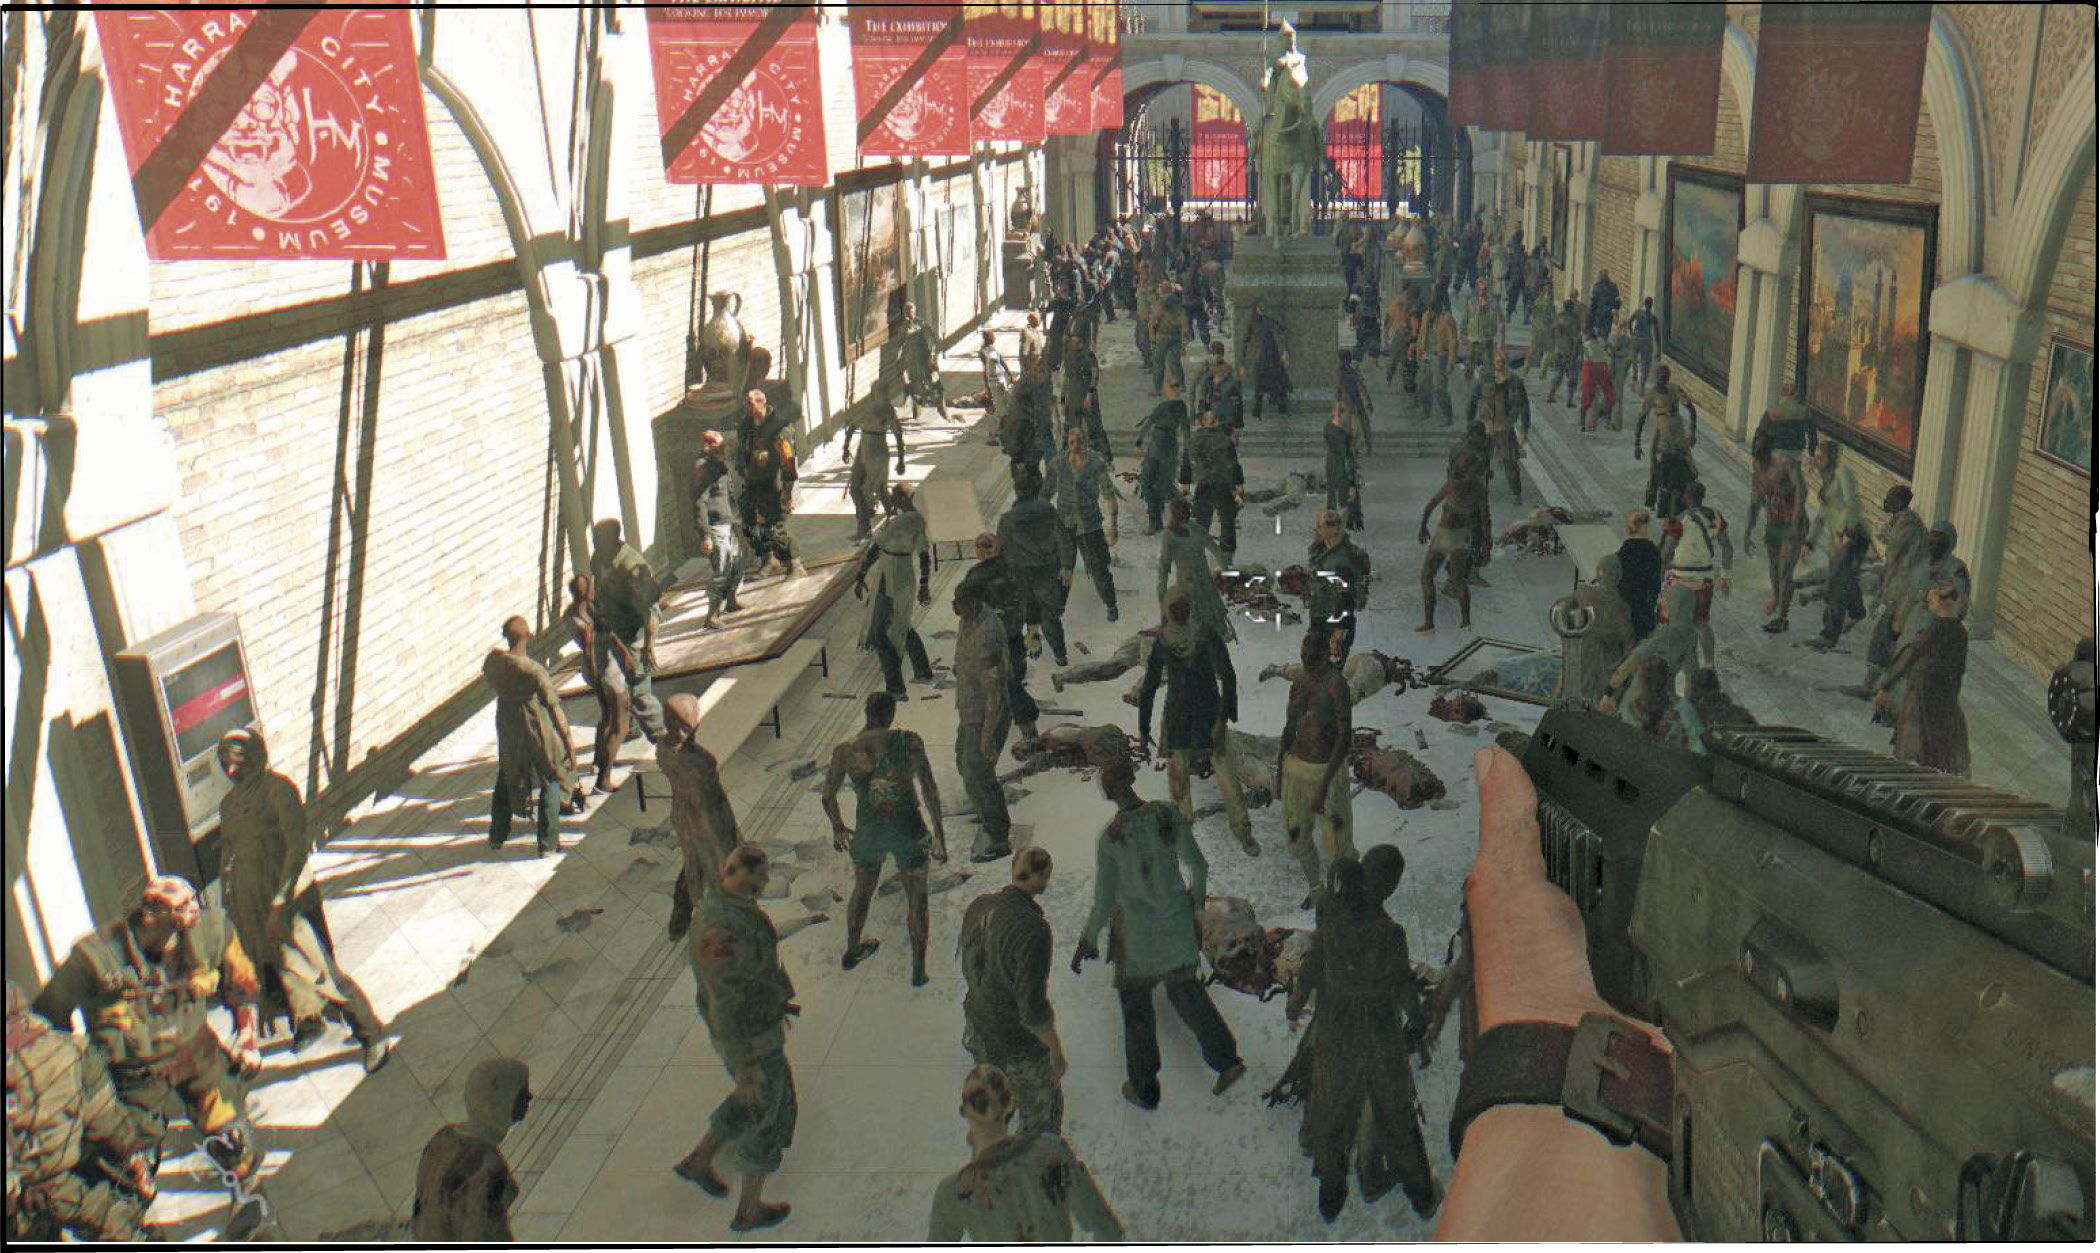
Pass through the first room of the new building, and look out over the next one. It’s a doozy. There are dozens of Biters in the lower chamber, and two of Rais’ men are watching over the area from the far side. They attack once you get down into that mess. If possible, use a Grappling Hook to pull yourself onto the suspended lights over the center of the room. That’s a good way to avoid the Biters and achieve a clear line of fire against Rais’ men. Failing that, you can get onto the first light from the entrance and leap onto a ledge to the side to get around to the second light.
Search the dead guards on the far side of the room and go to the last part of this area. There are several more Biters down there, and all of them must be eradicated before you’re allowed passage through the doors below. Use any weapons you like; melee attacks are fine, because this horde isn’t quite large enough to overwhelm you.
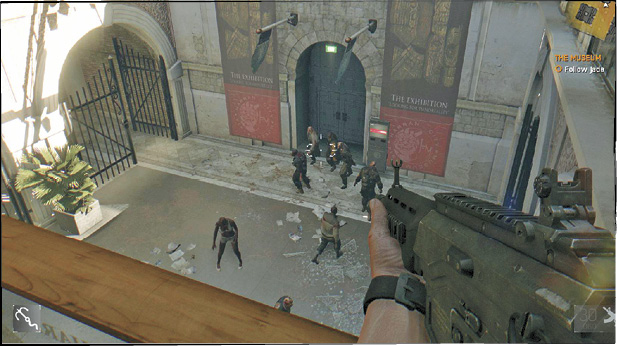
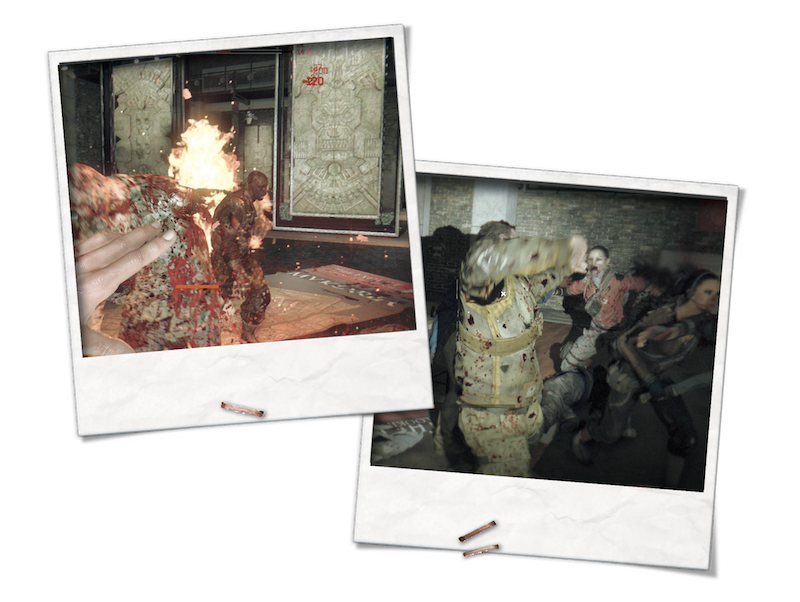
Vanquish the mob and then proceed through the doors. A cutscene follows.
|
 Help Jade Kill the Infected
Escape the Museum
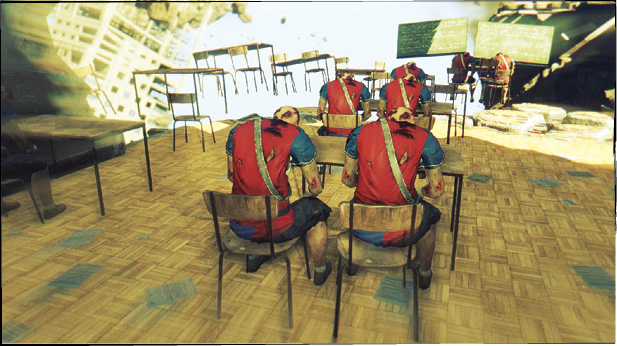
Follow Jade to the door and try to escape the museum. A long scene follows. There isn’t any loot to find and you don’t have to do any fighting. Follow Jade through a complex landscape of buildings and islands, and listen to what she’s saying. You can’t really lose in this section, so we’re not going to explain what happens. It’s important that you see it for yourself. This part of the story concludes when you return to the museum and another cutscene plays.
Defeat Tahir
Reward: 20,000 Survivor XP
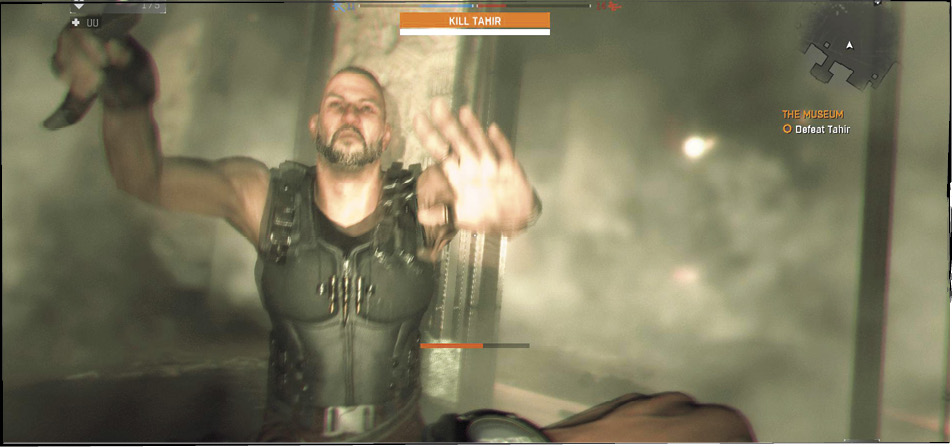
Now we’ll get back to the action. Rais sends his second in command to kill you. Well, that’s fine. It means you know exactly where he is. Take this guy out forever.
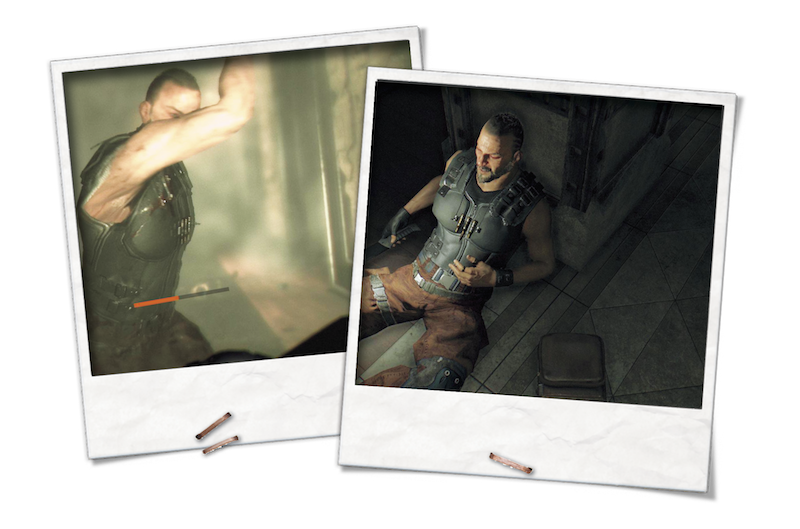
|
Leave the Museum
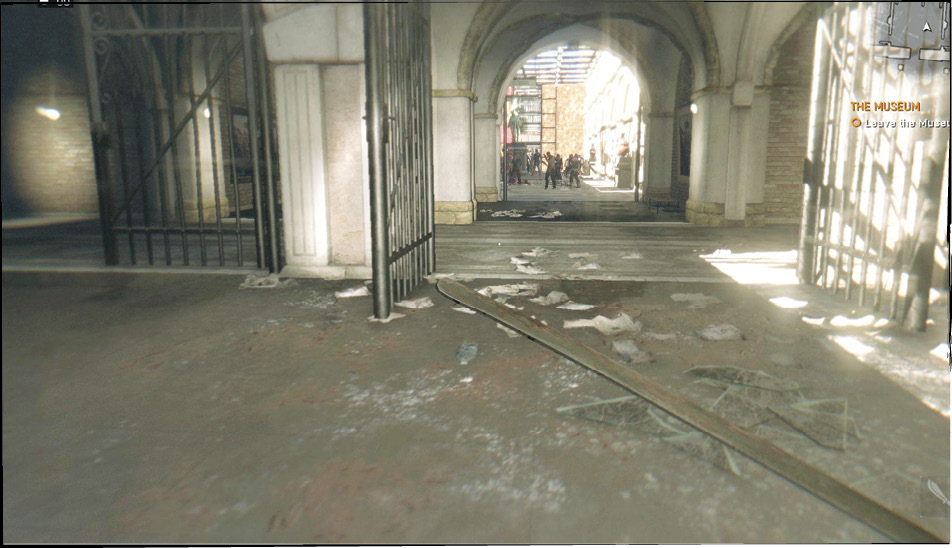
Arm yourself with Tahir’s Weapon and leave the museum. Follow the waypoints out toward the main gate. There are two thugs with melee weapons on your way, so take out some aggression on them.
Stop after that small fight, search the area for a Stash, and then get your equipment back. Cross Old Town and meet Troy on top of a tower in the upper-right portion of the map. This initiates the next portion of the story.