
Siblings
Reward: 10,000 Survivor XP
Jade has a plan that might solve the Tower’s most immediate issues. It’s worth a try!
Meet Jade by the Boxcars and Infiltrate the School
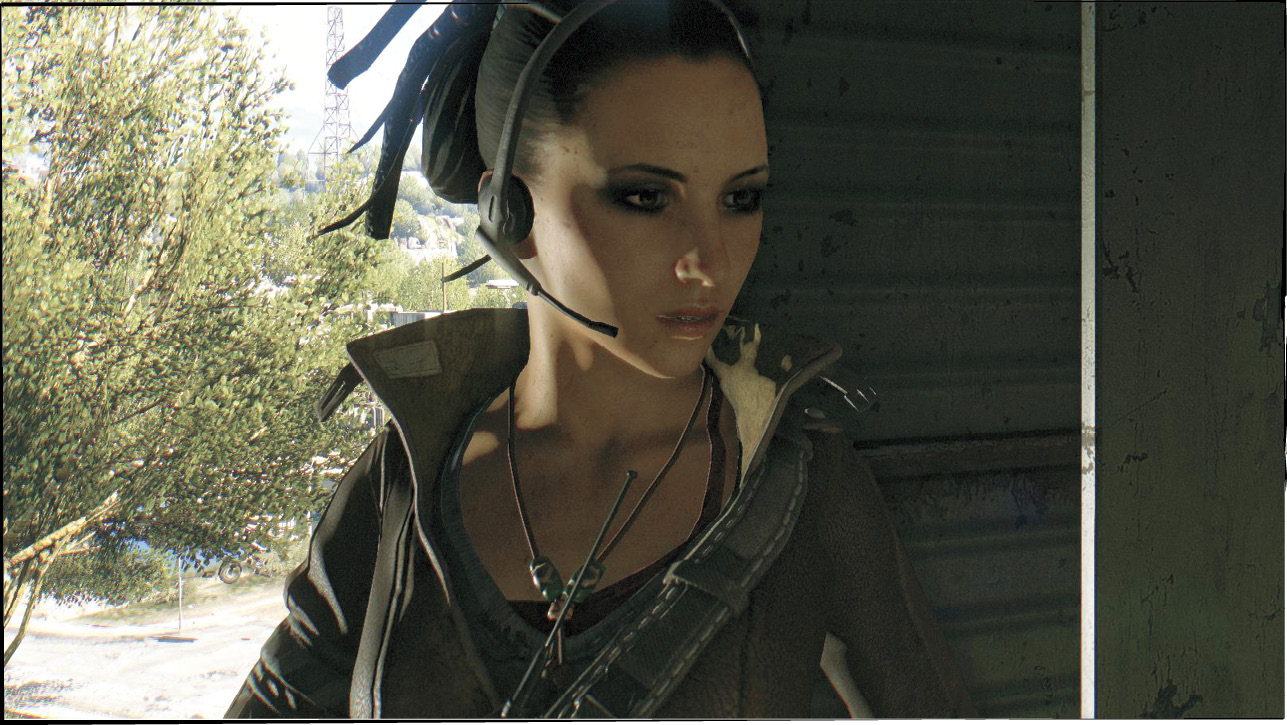
Follow the waypoint out onto the train tracks. Jade is inside a boxcar by that area. Open the car door from the side and watch another scene that follows. When it’s over, you are standing near the school.
Approach the front of the building and try the main doors. Not surprisingly, they won’t open. Rais’ men aren’t here to watch for you, but there may still be Toads or other Infected to give you some trouble, so keep your guard up.
When the front doors don’t work out, go around the side of the school and look for a way into the basement. The door there is also locked, so you don’t have many options for getting inside.
Continue around the side of the school. You pass a van and a cop car (loot them for some decent materials). Next, you come to a telephone pole that’s close enough to get you onto the school’s roof. Climb that. There are just a few Infected up there. Kill them and look around. On the far side of the roof you might meet up with Toads and a Bomber; that’s the biggest threat out here. As long as you use cover, the Toads can’t hurt you much.
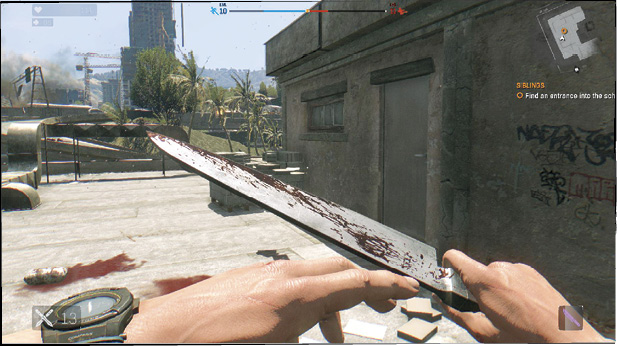
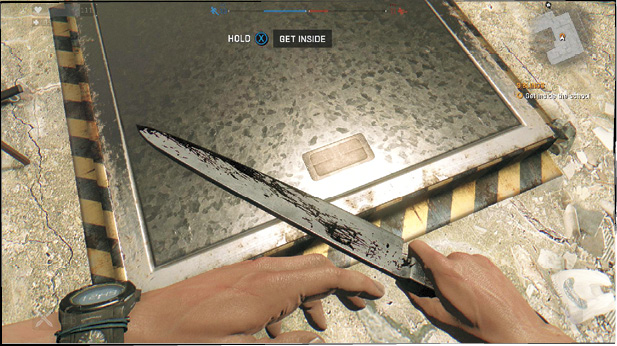
Again, use caution when you open the door from the roof that leads into the school. Something dangerous might be hiding just inside that next roof. Dodge backward as soon as you see what’s there. We’re not going to say it’s another Bomber, because that would spoil the surprise.
When the area is safe, loot the room (because it has a few good items, including a locked chest), and then use the trap door to get into the main part of the building.
Search for Antizin
The ground floor has a variety of components, so make sure that you use Survivor Sense and loot well as you go through the school. Chemicals are in good supply here, and they’re useful for a few crafting items later on.
Beyond that, the school is fairly safe and simple up here. There aren’t any enemies, though you hear more than enough noise to keep the place from being peaceful. Wind your way around the classrooms and barricades to reach the stairs and follow them down into the basement.
The basement has even more good materials; it’s loaded with lockers and bags. Search everything that appears on Night Vision.
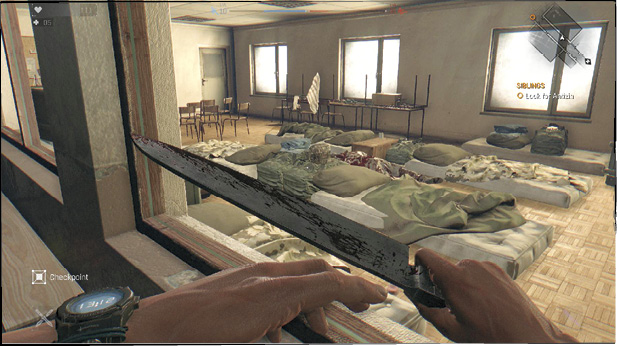
The waypoint eventually leads you to a room with many body bags. Adjacent to that is a room with a lone guard in it. This starts the heavy action portion of your mission, so get all of your weapons ready before opening that door.
Let the first guard see you, but back into the previous room. He gives up his position and comes toward you. Ambush him in the doorway and kill him as quickly as you can. Advance to the next door and do a similar ambush to kill the next of Rais’ men that comes by. This is a consistently nice trick while you’re down here.
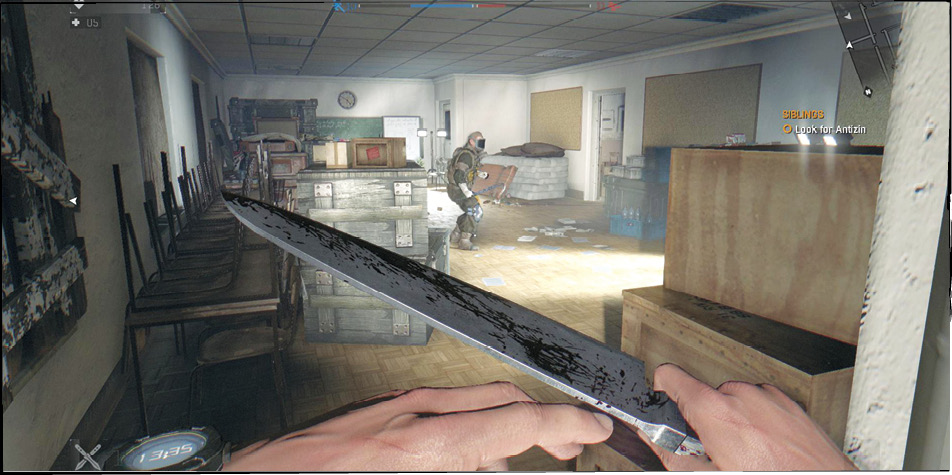
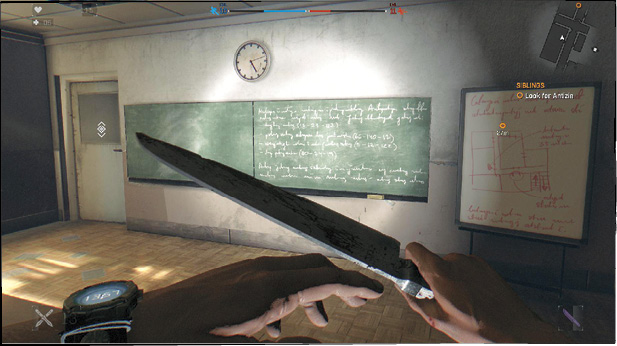
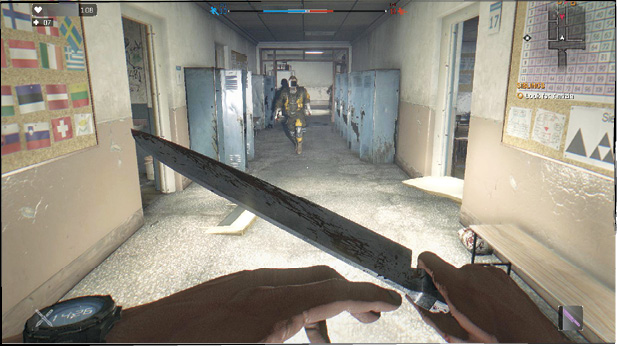
Go into the hall and then to the room on the right. Although there are large boxes in there, they don’t contain anything of real value. Proceed to the adjacent room (marked as yellow on your map), and turn off the alarm. A guard breaks through the door, but he’s alone. Lay into him. As with many human targets, these guys are much easier to kill with fast weaponry because they have so little time to dodge. Knives are excellent.
Continue through the school’s basement. The bathroom on the right doesn’t have anything useful, but it’s fun to search if you don’t mind minor risks.
The room on the left is the way forward. Take that and enter a chemistry lab next. Race up to a guard, who is trying to break through the closed door, and assassinate him before he realizes you’re there. The cabinets in the room have some minor components, and so does the room across the hall does, but they’re not especially important.
Collect your wits and continue to the end of the hallway. Stairs lead back to the ground floor. There are several more thugs up top, and they’ve let a few Biters loose to slow your advance. None of the thugs have guns, so you’re in luck. Kill the Biters on their own and move calmly forward. It feels like you’re in a rush, but haste might get you killed. Keep checking the side rooms for materials. There’s another bathroom with a stealthy enemy, but it won’t be a major threat to you.
Three of Rais’ men are close together, by the corner library. Once they come after you, back away. Get on the other side of a doorway so that they must line up to fight you. One on one, they won’t stand a chance.
Search the janitor’s closet ahead for a Medkit (there’s a couple of them on this level, along with some small supplies of food here and there).
The marked area in the corner has some cabinets. Look in those to get the Keys to the Basement. Once you have them, go into the hall and push aside a bookcase that’s blocking a set of double doors. Break the boards that are also keeping the doors closed, and then proceed.
A few more Biters and a Viral have been released (you did hear them banging around upstairs when you went through earlier). Fight them and then make your way back to the basement.
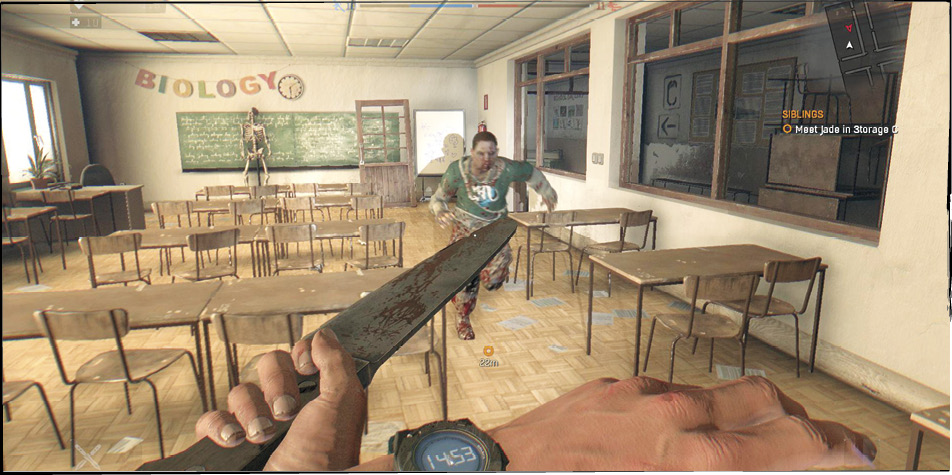
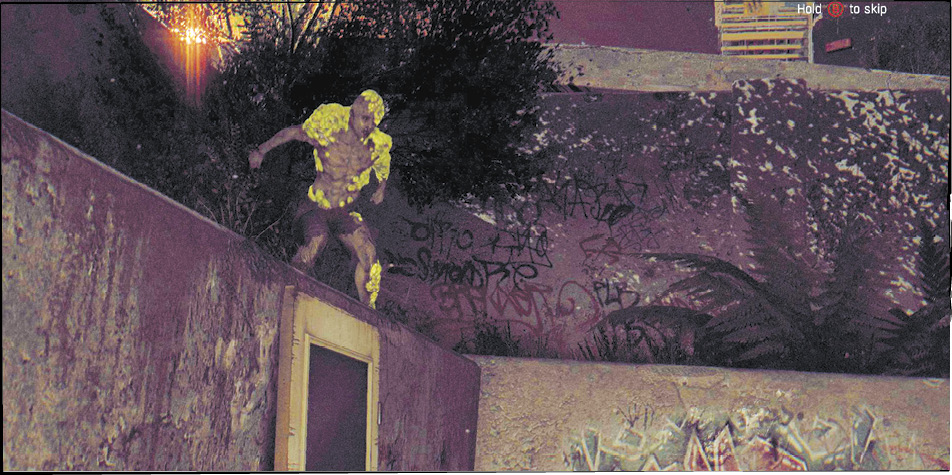
Descend the stairs slowly. A Bomber would love to creep in behind you and score an easy kill here. Use ranged weapons or a good dodge to trigger and detonate the Infected before you unlocked the doors to the next area.
The doors get you to even more stairs, down into a sub-basement. It’s pretty awful down there because of water damage. Use a valve across the bottom hallway to turn off the water, but it’s still a murky mess.
Walk toward the far end of the hall and ignore the waypoint for now. Wait until you see a Bomber, and then kill it before worrying about anything else. Do this at range, or trigger and dodge to bring him down without much fuss.
Then back up to the door that’s marked by the waypoint. A scene occurs, and then you’re beset by a couple more thugs. Kill them with melee attacks and then search the rest of the floor. The door leading outside is only a few seconds away. Leave once you’re satisfied that you’ve found everything you want.
You spot that elusive type of Infected again. As before, it runs instead of attacking you. Ignore it for now and get back to the Tower. Get any essential supplies, then proceed to the roof and tell Rahim about what you found at the school.
Talk to the Doctor and Get Him a Sample
Reward: 15,000 Survivor XP
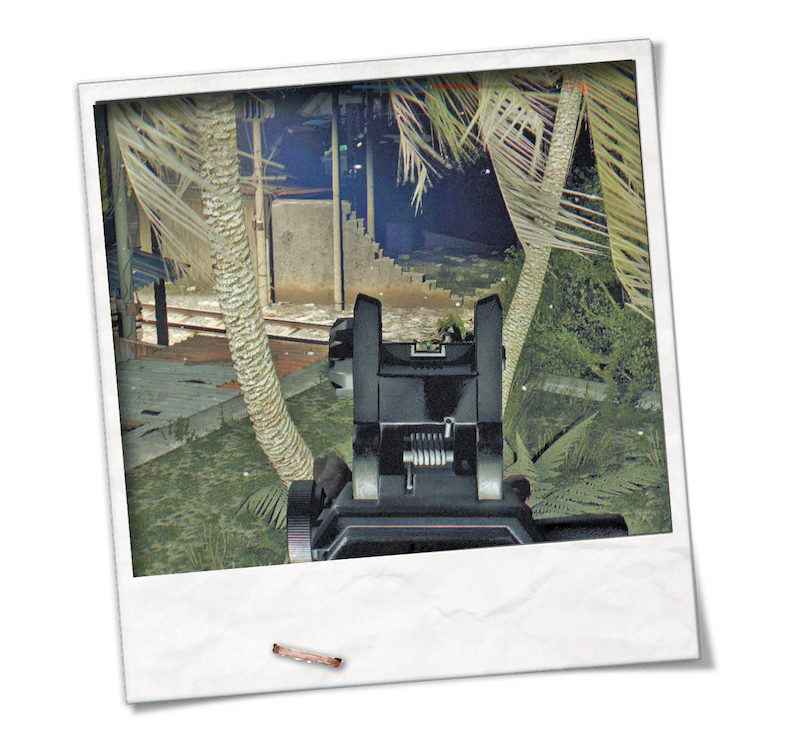
Talk to Dr. Zere about the Infected that you saw; the doctor is visiting the Tower currently. Look in Room 206 (the Storage Room). Then speak with the Quartermaster on the ground floor. He knows a bit about these Infected, too. They’re called Bolters. You find out where they like to hang out. You won’t find them during the day because they’re so skittish. And that means you must hunt them at night.
|
 Bolters, The Fleeing Infected
The Doctor gets what he wanted out of the material, but he needs to get this data to his counterpart for the full effect of the research to continue. That’s going to be tricky, but it’s also a matter for another time.
Get some sleep and advance to the next day.
Get to Rahim
Shortly after bringing the doctor his Infected tissue, a call comes over the radio. Rahim needs to see you quite soon. When it’s morning, go to his location on the map. He’s on the overpass by the train yards. Either get onto the overpass from farther off, or go to the location and use the supports on the side of the structure to climb up.
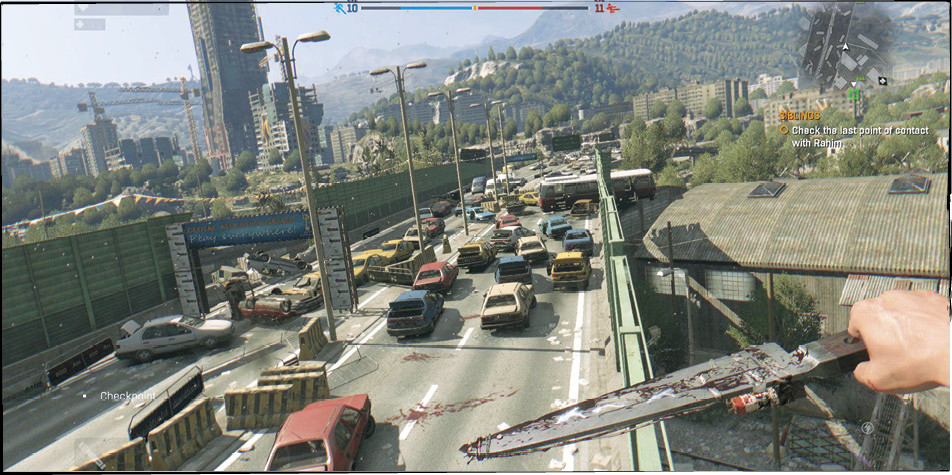
The marked location has quite a few bodies. Turn all of them over. There aren’t many Infected up there, so it’s a safe objective and you can take your time. After you find one of the bodies, the waypoint changes and you’re told to go into the train yard.
Hop down safely from the overpass by going to the top of buildings and then eventually to ground level. An unlocked door farther into the yard is marked, and that’s where you have to go.
There are two waves of enemies inside the demolition area. The first has Virals and Biters; they’re attacking a train car, so you have the drop on them. Use ranged weapons (like DIY Grenades) to take large bite out of the group before engaging them directly.
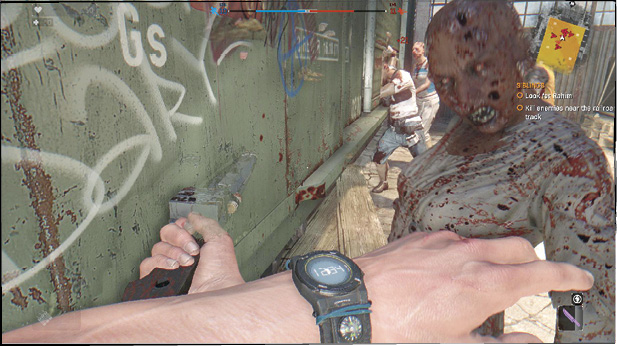
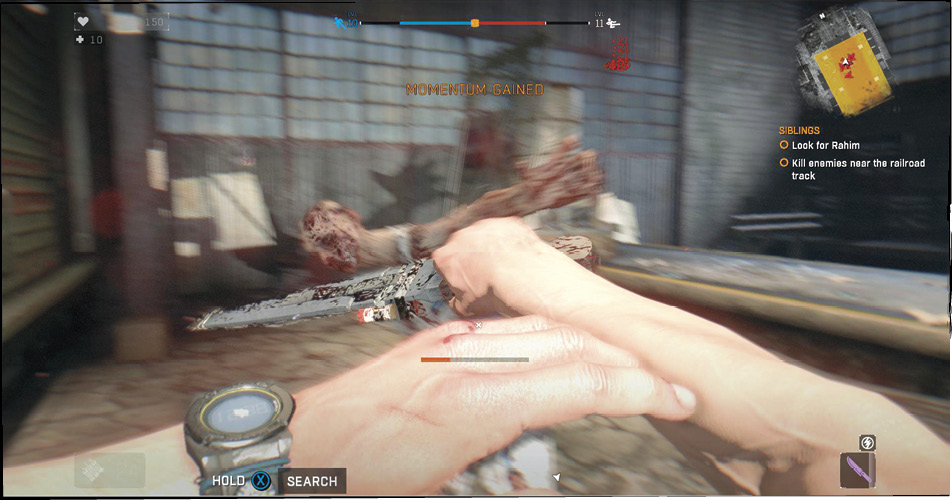
Back off to rest for Stamina or to heal if anything goes wrong during the fight, then try to open the train car. This triggers the second wave of the battle. A Toad jumps onto the car above you, and more Biters pour into the room. Take out the Toad first (climb onto the car to fight him without the Biters at your back). Once he’s dead, the Biters are fairly exposed and quite manageable to eradicate.
Have Firecrackers and Medkits ready for what’s about to come up. This next bit is exciting, but it’s also a major test of your resources. Open the car door and talk to Rahim once the fight is over. He’ll give you a package that must be delivered very quickly!
Take the Explosives to the Volatiles’ Nest
Reward: 15,000 Survivor XP
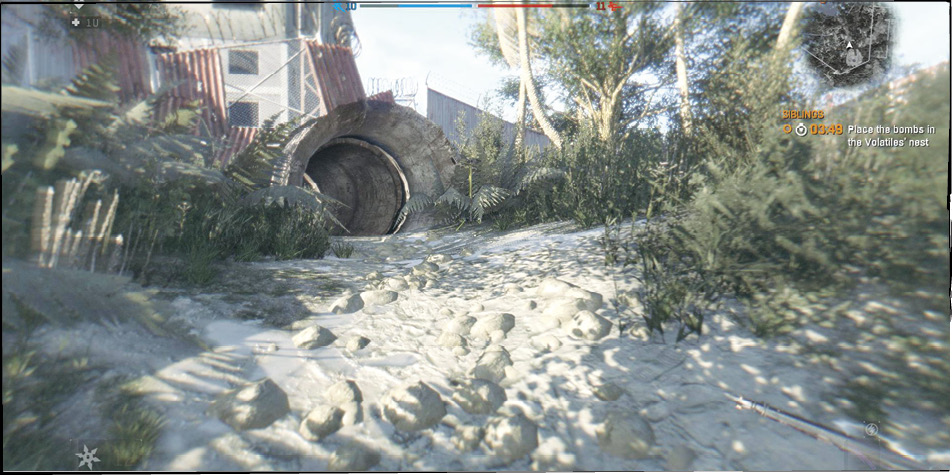
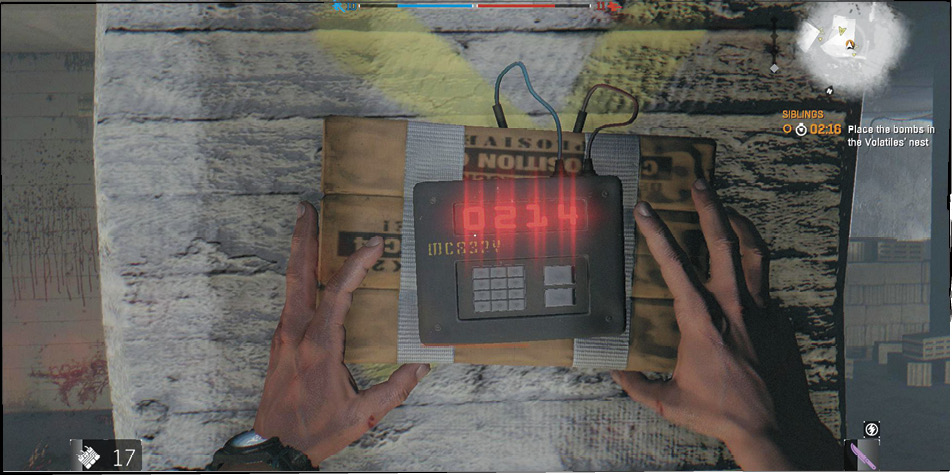
You have less than five minutes to deliver the explosives to the target location, and the way there has multiple obstacles. Take the bomb and look for a sewer entrance on the other side of Rahim’s rail car. Slide down the ladder into the sewers and madly swim to the other end of the short area. There’s another ladder that takes you back up to the surface.
The Volatiles’ building is right there, but you’re still in a tough situation. Sprint into it, using Firecrackers to distract some of the Virals that are using the place like a flop house.
Climb the first set of stairs and continue toward the back side of the building. You must place the first explosive on one of the pillars in there. Use one of the Firecrackers right before trying to set the explosive so that nothing disturbs you. Then use the nearby stairs to get up a floor and toward the next waypoint. Delicate freerunning is required to accomplish this, but it’s possible to pull yourself back up to that floor if you fall.
Set the second explosive and watch as a Goon breaks through the wall to attack you. Brush past him without fighting and make headway toward the next waypoint; it’s time to get out of this mess!
Sprint away from the Goon and dive out of the broken wall to get outside. Run into the same storm drain where you entered the area, and reverse your course back to the sewers as the building behind you goes up like a torch.
Return to Rahim ASAP so that you can help him. After getting to the car, you complete your goal and should return to the Tower. Meet Brecken and Jade there. The new story quest starts immediately after your discussion, so be prepared with full health and a fresh supply of weaponry before you talk to Brecken.