
Dying Light Guide Controls and Gameplay
Gameplay Features
Let’s go into the major game features in Dying Light. These are the systems that let you run, fight, escape, craft, collect, and have fun around Harran. The more you learn about them, the sooner you can start doing crazy and awesome stuff.
Freerunning
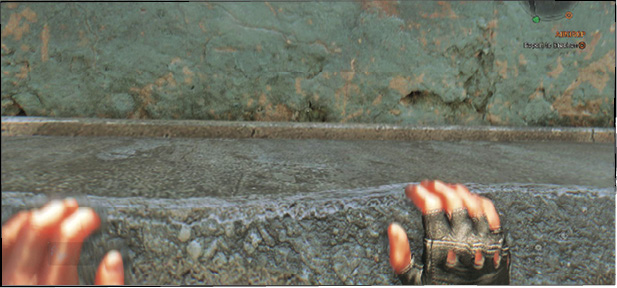
Freerunning is the ability to get around Harran without using pedestrian creations things like stairs and elevators. Kyle is a fit man with extensive training, so he can run, jump, pull himself over cliffs, fall a fair distance, and survive almost all of the above unless you make serious mistakes.
Use sprint and your jump commands to get around quickly. Sprint lets you move at high speed for a fair distance before running out of Fitness. Jumping lets you get up onto things, cling to objects, climb, and do most of your general freerunning abilities. It’s a versatile command that takes a few minutes to learn but has incredible depth.
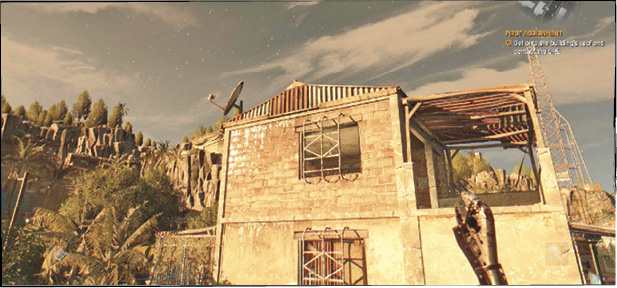
Practice your freerunning throughout the early game. See what you can climb up, hang onto, and survive. Kyle can jump off of objects while hanging to them, so he has quite a few ways to get around even when it looks like there isn’t anything above him to grab. Always look up and in every direction before you decide that you can’t make it somewhere.
Tap the Freerunning button to jump. Hold it down during a jump to cling to whatever you land on. To let the game know that you’re trying to go up, simply raise the camera angle. This encourages Kyle to grab onto objects above him.
Prepare this ahead of time if you need to make a hasty escape. Look at the top of a wall while approaching it, and then jump and cling so that Kyle leaps, grabs the wall, and pulls himself up.
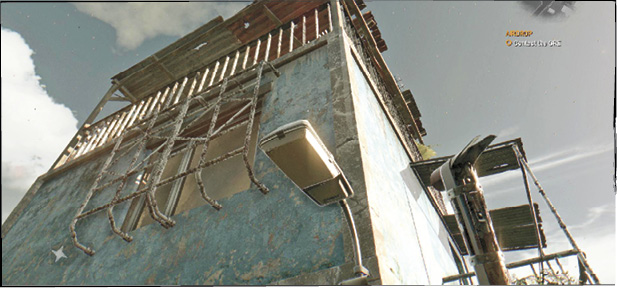
Early on, you gain a Dodge skill that’s also controlled with the Freerunning button. Tap it while moving left, right, or backward to quickly hop in that direction. This is a major way to avoid damage during combat!
Combat
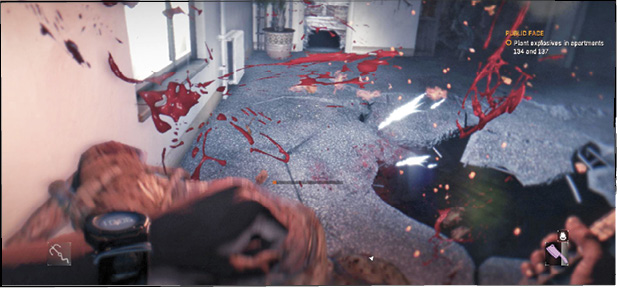
Speaking of fighting, let’s go over the general combat systems. Kyle can use hand-to-hand techniques, melee weapons, and ranged weapons to fight his enemies. Barehanded attacks are almost worthless, but kicking can be very effective. Kick enemies to delay them and throw them off balance, then follow up with heavier attacks.
As you level up, Power skills provide many more maneuvers that wound or kill your targets even if you don’t want to use a weapon. Look through the Power skills to get an idea of what’s available.
Melee Weapons
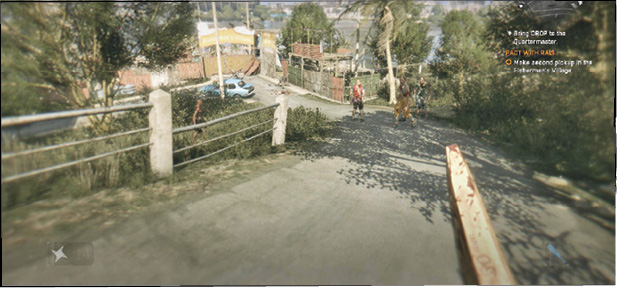
The most common fighting method is to wield a melee weapon against your target. Crowbars, Baseball Bats, Hammers, and other simple items are common at first, but you eventually find true weapons like larger Axes and Swords. Go into your Inventory screen to control the four weapons you have equipped, then determine which one you’re currently wielding.
The position of your cursor determines where you’re going to swing your weapon. Aim him to attack enemies’ heads. This is very effective with almost any weapon, but it’s especially good when you’re using heavy, blunt objects.
Aim for legs to knock targets off of their feet, or go for the chest when you desperately need a hit and aren’t worried about getting the fastest kills. Headshots are superior, but missing is never a good thing!
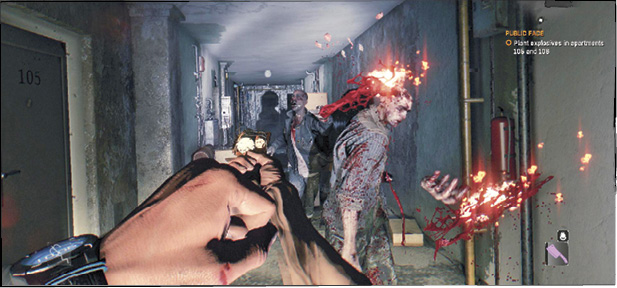
Most enemies take multiple hits to kill. Swing multiple times with your weapon until your target dies. You know enemies are dead when they fall to the ground AND are searchable. If they fall but can’t be searched, they’re still alive and kicking. Continue to attack them on the ground to finish them off before they get up again.
Firearms
Guns make things easier for you, though you won’t always have access to them (or enough ammunition). Keep firearms ready so that you can take ranged attacks against particularly nasty Infected. Don’t kill generic Biters with bullets. Save these items for Goons, Demolishers, Volatiles, and other deadly opponents that are tougher to beat with melee weapons. Firearms are your best choice when battling aggressive survivors, because those enemies jump around, duck, deflect thrown weapons, and fight back well in melee. A shot to the head can end all of that.
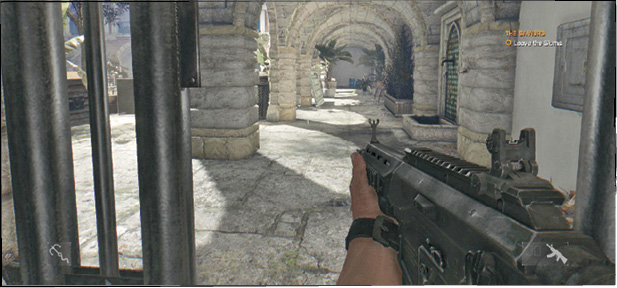
Switch between different types of firearms to efficiently use all ammunition types. Try to find a Shotgun, Pistol, and Rifle so that every piece of ammo you find has a place in your arsenal! After Survivor Rank 9, shops begin to offer firearms. You can also search Harran emergency vehicles for a decent chance of finding these. They’re usually locked, so bring some lockpicks and keep your eyes peeled when passing large groups of vehicles.
Headshots are always the best way to use firearms, so take the time to aim down your sights instead of firing blindly at your enemies. A moment of preparation often pays for itself by resulting in higher accuracy and way fewer misses. That’s how you make every bullet count.
Thrown Weapons
Thrown weapons won’t usually do as much damage as a firearm, but they’re a good way to ensure that you have ranged potential in a variety of situations. In addition, these tools don’t go into your weapon’s slots. Instead, they’re treated as tools (which have four slots of their own). You can be in the middle of wielding a melee weapon and still have Throwing Stars, Throwing Knives, or other thrown weapons at your disposal. This makes them fast to use because you don’t have to switch to a new weapon.
Treat thrown weapons as a way to damage, distract, and sometimes kill targets that are getting too dangerous to obliterate with your general melee attacks. Use them when there are slow enemies at range, too many targets to handle, or when you really need to wound something and slow it down.
Traps and Obstacles
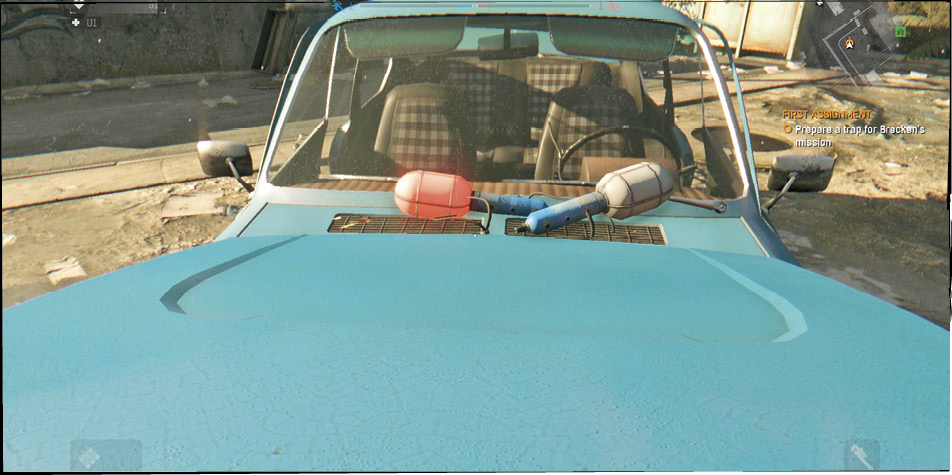
The city is filled with barricades and traps that were erected by survivors who were trying to hold back the Infected. As sad as it is to think, some of those survivors are probably the very undead wandering the streets right now. There isn’t anything you can do about that, so just enjoy the fact that the traps are there, and learn how to use them to their fullest!
Traps
Some traps require zero expertise. Spikes are a good example of this. Kick or use Power attacks to push enemies into Spikes. This does a huge amount of damage and gets you more XP than you’d normally get for a simple kill.
Early in the story, you’re given an Activator to handle traps in Harran. Use this to activate Light Traps that distract local Infected with a burst of sound and light. Though not terribly deadly unless you have explosives ready, this is helpful for escaping your enemies.
Electric Fences aren’t usable until you get a skill from the Survivor line. They stun and damage anything that gets close to them.
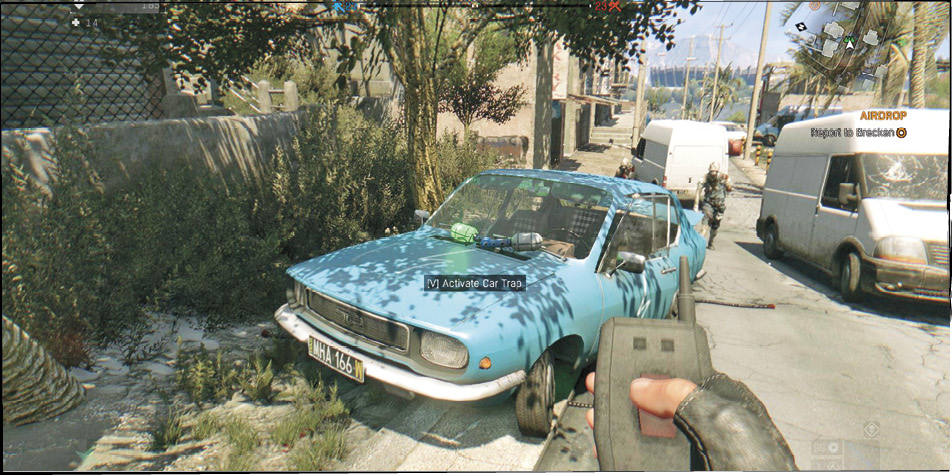
Exploding Cars are some of the best traps in the city. Activate them on your way past, and get to a safe distance. Infected rush to the car alarm that sounds, and then are all killed or severely injured when the car explodes. This earns you a pile of Agility and Power XP.
Obstacles
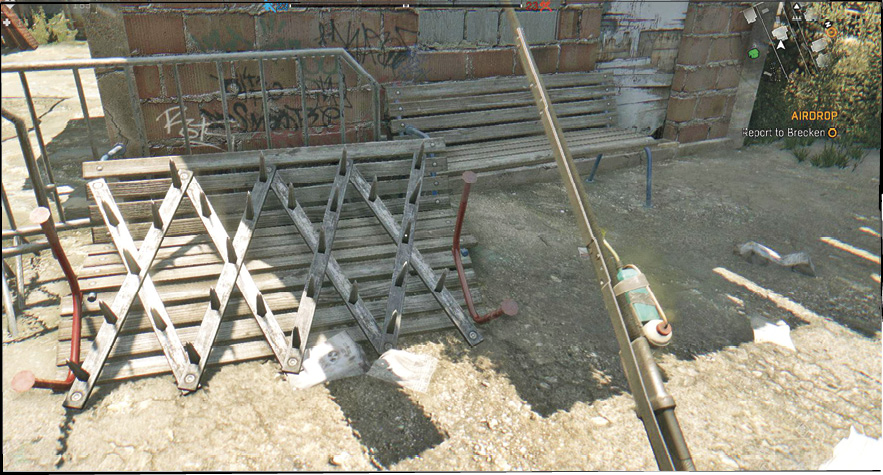
Fences, crawlspaces, and barricades block many of the less mobile Infected from getting around Harran. Don’t let these things deter you. Look for fences that are climbable (any that are low and don’t have barbed wire) and pull yourself over them.
You can also slide underneath holes without missing a beat. This lets you get away from Infected that require more time to get around or figure out how to chase you through the opening. If you don’t learn Slide, you’ll have to slow down and crabwalk through holes, which could be a deadly delay.
The more mobile Kyle becomes, the easier it is to fight on your own terms. Attack weaker groups of enemies, but flee if anything too dangerous comes your way. When that happens, divide the groups of enemies by climbing where few of them can follow, or running faster than they can pursue. Kill the few that are able to keep up, and then you’re back on your own.
Day and Night
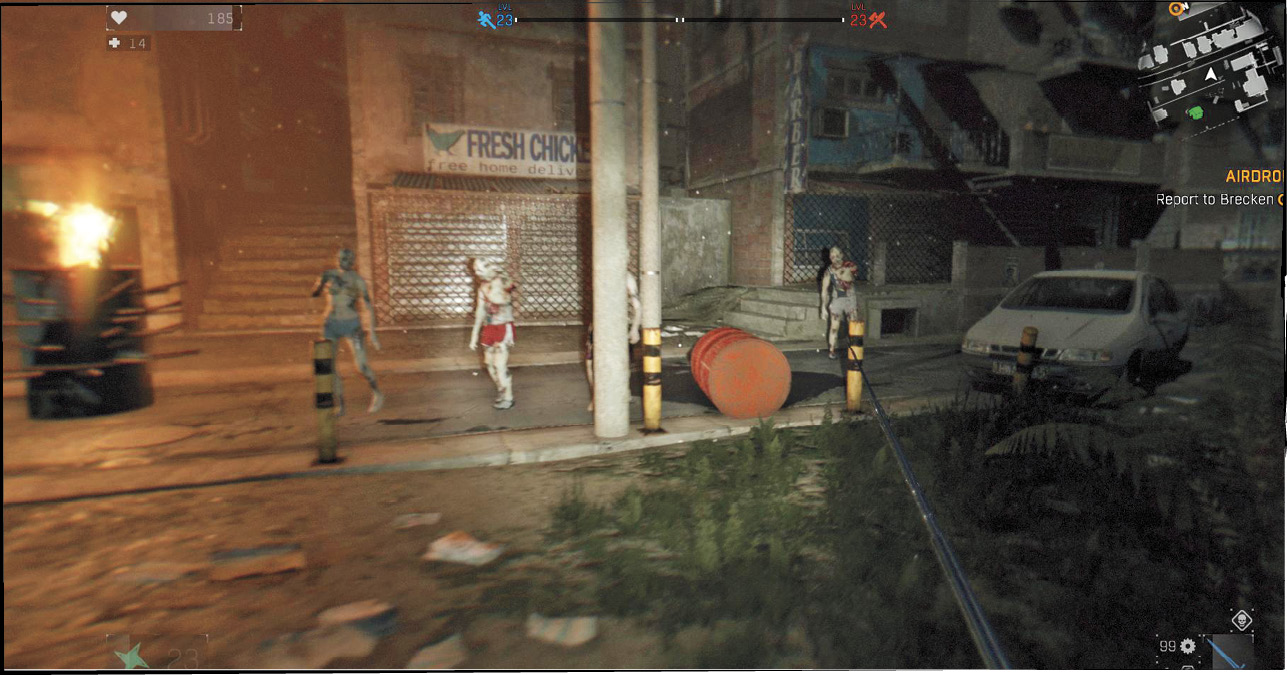
Enter your character screen to check the time (it’s over on the right). Keep track of this throughout the day so that you aren’t surprised when evening falls. The rules of Harran
change quickly once it gets really dark. Volatiles and Bolters come out at night, and it’s also easier to run into ambushes or have Virals come out of nowhere.
To avoid this entirely, get to a Safe Zone with a bed and rest when dusk approaches. Explore only during the day until you’re really comfortable with the game, as well as your weapons and tactics.
Also, read through our Bestiary to learn about the difference between the various Infected. The more you know about each enemy, the easier it is to survive at night and get away from trouble.
Light and Shadow
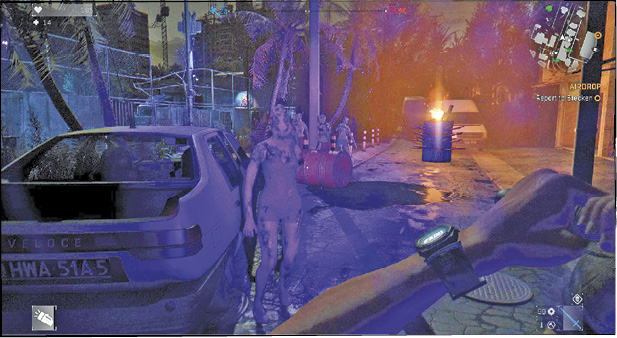
Your Flashlight is always available to prevent total darkness from being an issue. Infected are going to spot it and come after you, but at least you won’t be running blind. If you’d prefer total stealth, turn your light off and creep slowly through the streets. This is nerve-wracking, but it’s also pretty darn exciting.
Eventually, you’ll learn how to craft potions that give Kyle night vision. In the meantime, use either stealth and guts or lights and speed to survive the evening hours until you get somewhere safe.
The Minimap
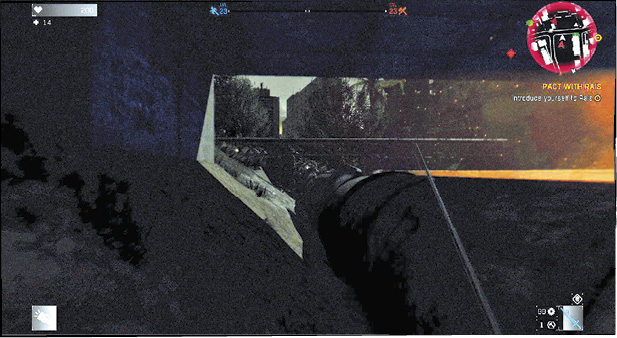
The minimap is your best friend at night. It shows the location of Virals and Volatiles (two of the most deadly hunters during that time). Avoid their cones of detection to avoid getting chased by them. If either type of those Infected spots you, they’ll fearlessly and ferociously pursue Kyle. All hopes of stealth end if that happens. Run for your life! More and more Infected join the hunt as they hear the Pursuit begin. Use speed, traps, and your best maneuvers to make it out of there.
Pursuits
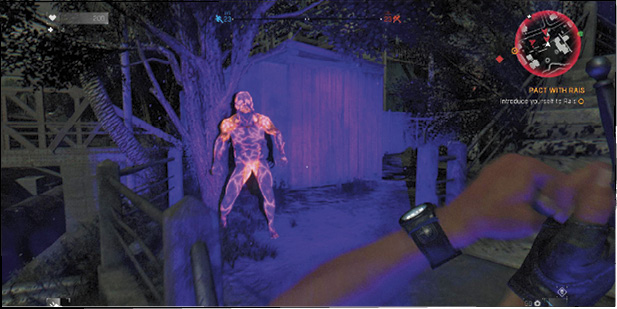
This brings us to Pursuits. Being chased at night isn’t the same as a chase during the day. Until you evade all of your enemies, the horde behind you calls more and more reinforcements from the night. Things are only going to get worse for you.
A meter appears in the upper-right corner of the screen. The more pips that fill, the worse your Pursuit is becoming. Though this can be extremely dangerous, it’s also a great way to have fun and get experience. Practice your ultimate freerunning techniques, and use traps around Harran to kill the horde.
Exploding Cars are the best way to end Pursuits. Watch your minimap for the green saw-like symbol that indicates an armed trap. Head directly toward those and use them to delay or kill attackers.
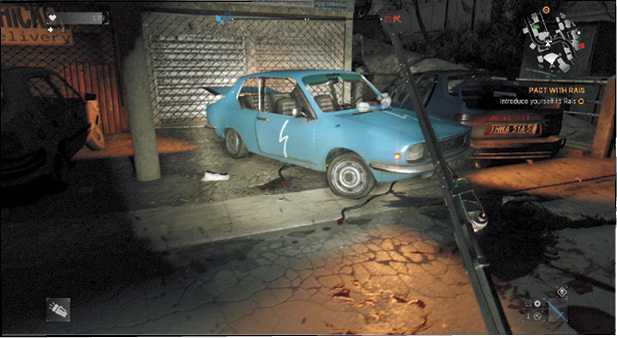
When that’s not an option, use Firecrackers to distract your hunters. They take a moment to go after the Firecrackers, leaving you free to run and break their line of sight. Use this multiple times in a row if necessary until you get so far away from the horde that they won’t find you again. Deep water and Safe Zones end Pursuits, too—if you’re lucky enough to make it to either location.
While running, use Agility skills like Vault and Tackle to get over or through enemies. This way, you don’t have to fight them or take damage while moving past the adversaries. The central Agility skills also let you run longer without running out of Fitness, and that’s essential when you don’t want to get caught and killed.
Another way to extend your run is to use Lookback, a skill that lets you turn around while still running forward. Use this to see what’s behind you and deploy thrown weapons, explosives, or UV Flashlights to kill or blind your enemies.
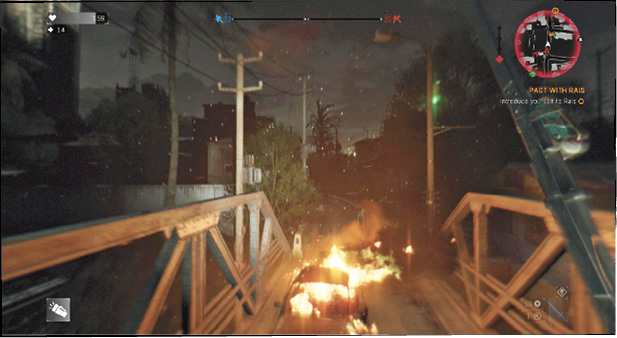
Intentionally starting Pursuits is a viable way to powerlevel your XP and prove how truly hardcore Kyle can be. Don’t be afraid to try this; it’s one of the most enjoyable hobbies in Harran (if you’re a little crazy).
Your Inventory
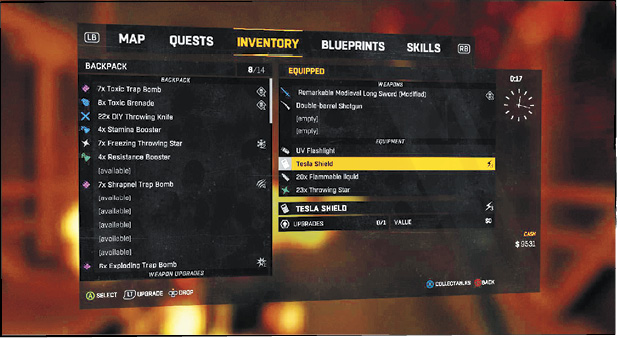
Items that you pick up automatically go into your Inventory. Enter the Character screen to check out what you have, and to move items between your backpack and active weapon/equipment slots. Each of your weapons and equipped items can be selected on the fly, so you have constant choices when you’re out in the field.
Components, upgrades, and valuables won’t take up space in your backpack. Instead, your limited Inventory consists of your weapons and equipment. Fill up your four weapon and tool slots (because that leaves your backpack free to handle everything else you have). Then, upgrade your Inventory slots as you gain Survivor XP to get up to 10 more slots later on.
Gaining Experience
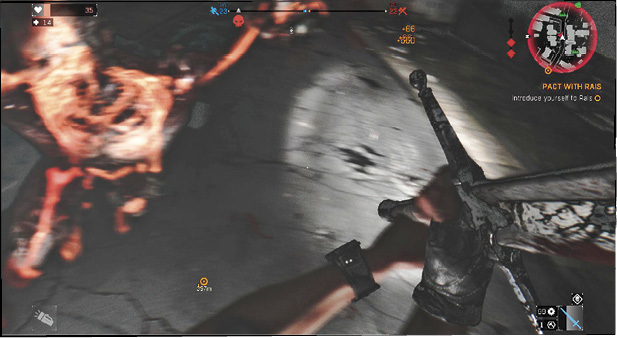
You gain three types of experience as you play. Help other survivors and complete quests to gain Survivor XP. This earns you skill points that aid in using traps, crafting, or making money. These are all generally useful skills. To raise Survivor XP as quickly as possible, take on every challenge or side quest you find, and always help people who appear on the map as targets of opportunity.
Agility XP is gained from climbing, jumping, and using special maneuvers. Pick up skills like Vault or Ram so that you can skirt around the Infected without always engaging them. Agility lets you run far, recover from extreme damage, survive falls, and remain mobile.
Raise Agility XP by taking extreme routes through the city and by going through Pursuits at night.
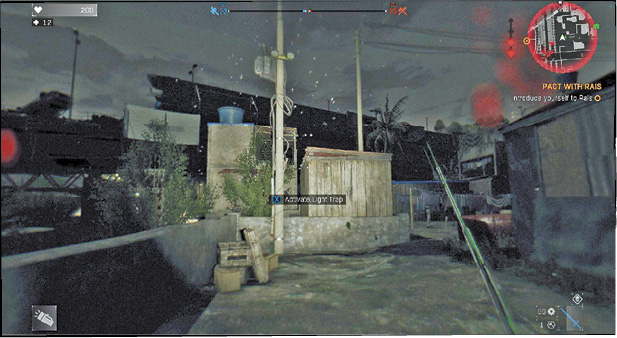
Power XP comes in when you damage or kill enemies. It’s the most intuitive type of experience to gain, because you only need to find and attack enemies to get it. The more you fight, the faster you gain Power levels.
Power skills help improve your health, hit harder, and disable your enemies. Fight large groups of targets to raise Power XP as quickly as possible.
Scavenging
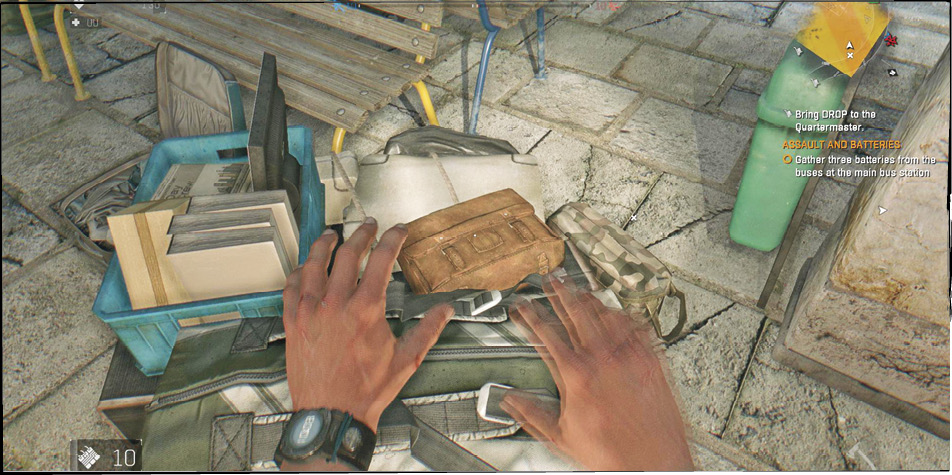
Scavenging is the process of looking for components as you loot the many buildings around the city. Search chests, lockers, baskets, medicine cabinets, and everything else that you can get your hands on. Pick up all of the components that you find and use them to craft new weapons, upgrades, and equipment for yourself.
Use your Survivor Sense to detect components and containers so that you know where to look. Hold down your Survivor Sense button until the small blips appear on your screen, then track each one down to find every item near your character. Components don’t fill up your backpack, so there’s never a downside to collecting.
Lockpicking
Locked areas are usually the best places for scavenging. Bring Lockpicks with you every time you enter the city. Craft more with Metal Parts if necessary, and talk to Quartermasters each day (because they usually have free ones to spare).
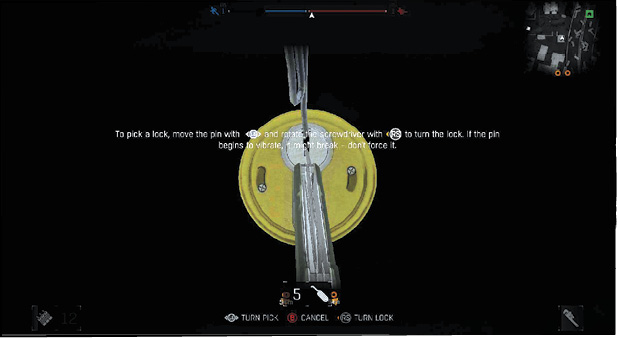
The Lockpicking minigame isn’t too hard. Use one control to move the pick left or right, and the movement control turn the tumbler. If you hit a snag, release the pressure on the pick and try a different position.
If you can almost get the tumbler to turn, then you know that the pick is almost in the correct position. Make small adjustments to move it closer and closer to the perfect spot, and keep trying to turn until you meet resistance.
Picks eventually break when too much pressure is placed on them in the wrong position. Note that this doesn’t change the tumbler’s orientation. That means every position you’ve already ruled out is still not going to work. And if you were close to finding the perfect spot, then start where your pick broke and continue from there.
Lockpicking has several difficulty levels. These determine how quickly your pick breaks, and how small the window of success is for that perfect spot. The more you practice, the easier it becomes to gently ease off on your pick to avoid snapping it. Eventually, even the Very Hard doors become simple with one or two Lockpicks in your backpack.
Safe Zones
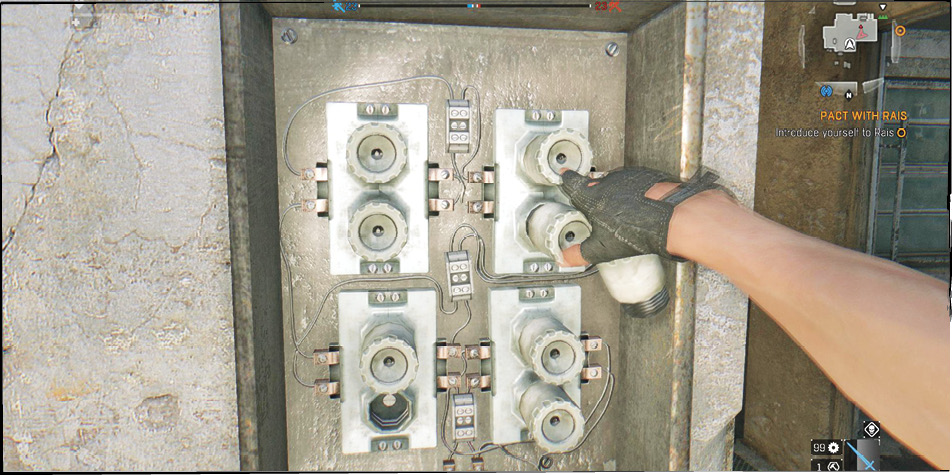
Safe Zones are marked as little houses on your map, though they might be buildings of almost any sort. Most of these start off red, meaning that they’re not safe at all yet! You must clear out any Infected and secure the area before the Safe Zone turns green and becomes viable.
To secure a Safe Zone, go to that location on your map and see which local objectives appear. Infected that turn red on your minimap must be killed. Circles note locations where you have to do something else, such as close a gate, turn on electricity, or push a barricade into position.
Do all of these chores to unlock the Safe Zone. This makes the spot a respawning area for you if you die anywhere nearby. It’s also now a place to avoid Pursuits or rest until evening or dawn in a nice, comfy bed.
Health
Health is a reflection of Kyle’s life and ability to survive. If it drops to zero, he dies and returns to the nearest Checkpoint or Safe Zone. Use skills in the Survivor or Power lines to raise your maximum Health (up to 200 if you get everything)!
Avoid losing Health by Dodging attacks, breaking out of grapples from Biters and other Infected, and by dropping safely from higher locations. Fire, toxic gas, aggressive survivors, and your own explosions can also cause massive damage to Kyle. Stay alert, even outside of battle, and watch out for any threats.
Stamina
Stamina is a measure of your combat potential. It appears as an orange bar in the middle of the screen when you swing your weapons. If it depletes, the bar turns grey. This reduces the speed and strength of your melee attacks until the bar fully recharges. Dodge away or run to safety while this happens to avoid remaining in combat without the ability to protect yourself.
The Power line of skills raises your Stamina, making it much easier to engage in extended combat sessions. Some potions also help with this. Another way to last longer is to look for weapons that don’t cost as much Stamina to wield. Generally, heavier weapons require greater Stamina and should be avoided unless you’re fighting larger or slower Infected. They’re usually a waste of Stamina against anything that can evade quickly.
Fitness
There’s a difference between Stamina (the resource that lets you swing your weapons at full strength and speed) and Fitness, which slows down Crane’s movement when he gets out of breath. Think of Stamina as your combat endurance, and Fitness as your freerunning endurance.
Listen to Crane’s breathing to determine how your Fitness is dropping. If you can’t hear your breath, everything is going just fine. Once Crane’s breathing becomes labored, he slows down for several seconds. As soon as he catches his breath, you can start sprinting again like nothing happened. He’s a pretty fit guy.
Using Stamina will NOT impair your Fitness, and vice versa. Thus, you can sprint out of danger even if you’re totally out of Stamina. Or, you can fight hard and make fast attacks even when you’re winded from running. Switch up your actions to maximize both resources! The more freerunning skills you get from the Agility line, the better your Fitness becomes.
Death and Dismemberment
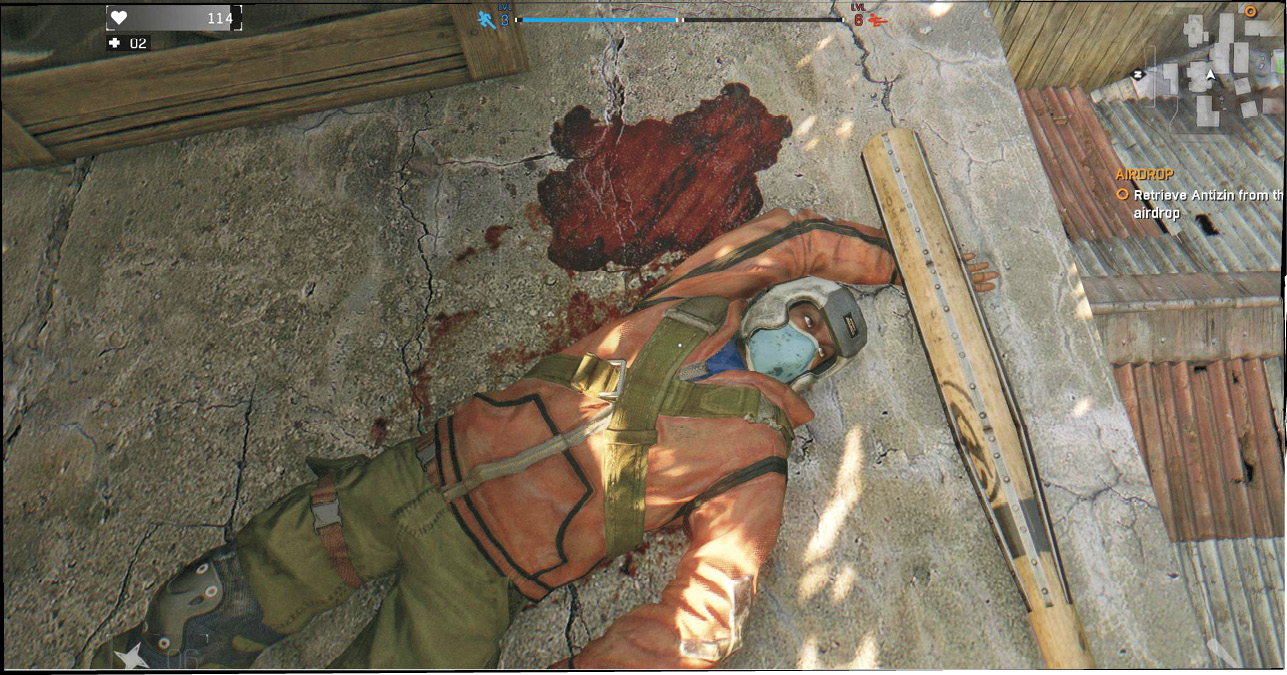
You die if your health drops all the way to 0. Crane’s natural health regeneration kicks in if your health is super low and you stay away from damage for a few seconds, but it regenerates only up to a modest threshold. This minimum health improves when you get more Agility ranks (the Health Regen skills control this). Otherwise, you need more Medkits to get Kyle back up to speed. Failing that, you’re going to die. Falls, fire, toxic clouds, bites, impact, ranged weapons, and melee attacks all hurt you. Some attacks might even kill you if you have full health!
This is, surprisingly, not the end of the world. Dying Light can be a tough game, and death isn’t supposed to take you out for long. There’s a short revival timer, and then you pop back up at the most recent Checkpoint or Safe Zone. This is why it’s very important to unlock Safe Zones as you explode Harran. The more you get, the smaller the consequences if your character gets killed.
You come back from death at maximum health. Any ammunition or items that you used during your final battle are gone, but all the experience you gathered is still yours! In other words, you aren’t being taken back to your last save point. You’re being given another chance.
Crafting
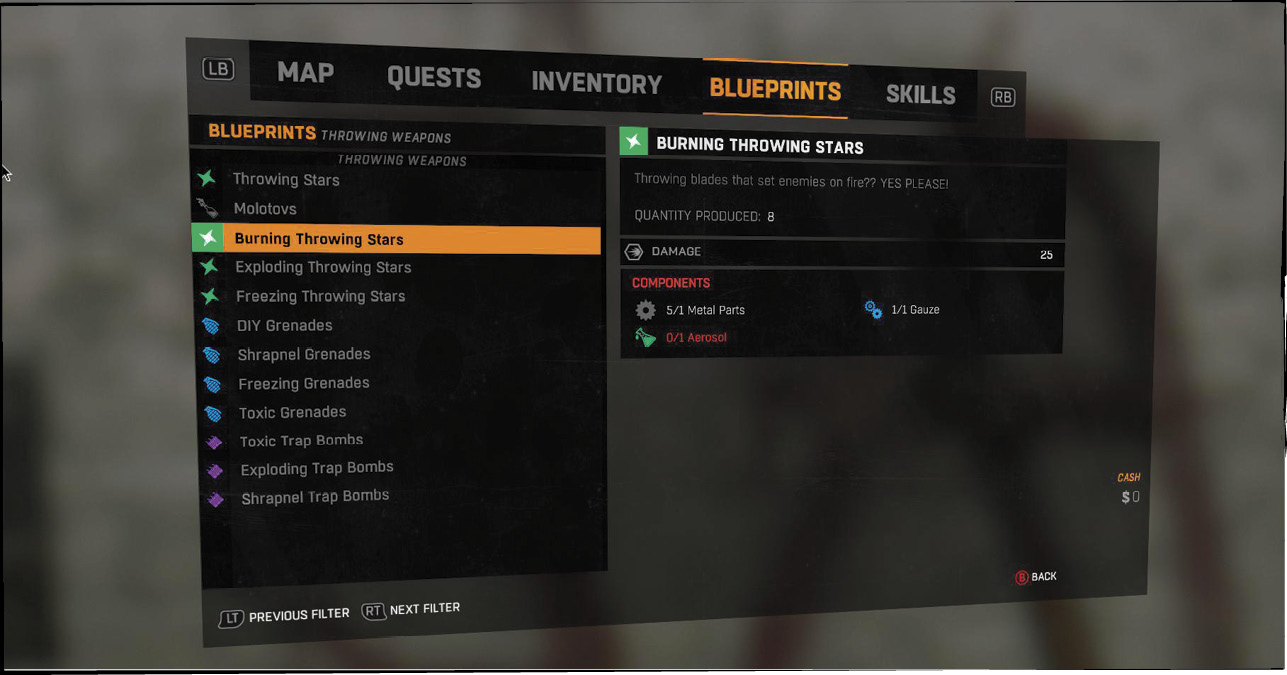
Crafting is a way to take scavenged components and turn them into weapons, upgrades, and tools. This is an extremely potent way to keep your character alive and equipped with the best possible gear. Crafting is covered fully in the Weapons and Equipment chapter so that you know where to find Blueprints and what components to gather once you’re ready to make something.
Collecting
Notes, Battle Logs, Statues, Recordings, and Flags are hidden throughout the Slums and Old Town of Harran. Collect all of these to complete your Achievements/Trophies and to have fun. The Notes and Recordings provide extensive background information about the people of the city. These usually pop up in areas where you have quests.
Flags award Agility XP, so they help you build up your character. They’re found high up in areas that are often difficult to reach. Battle Logs provide tips about fighting the undead and surviving in Harran. They’re in a variety of buildings, all over the place. Statues are the toughest of all to collect. There are 100 of them! Fortunately, our Collectables chapter lists every location.
Story Quests
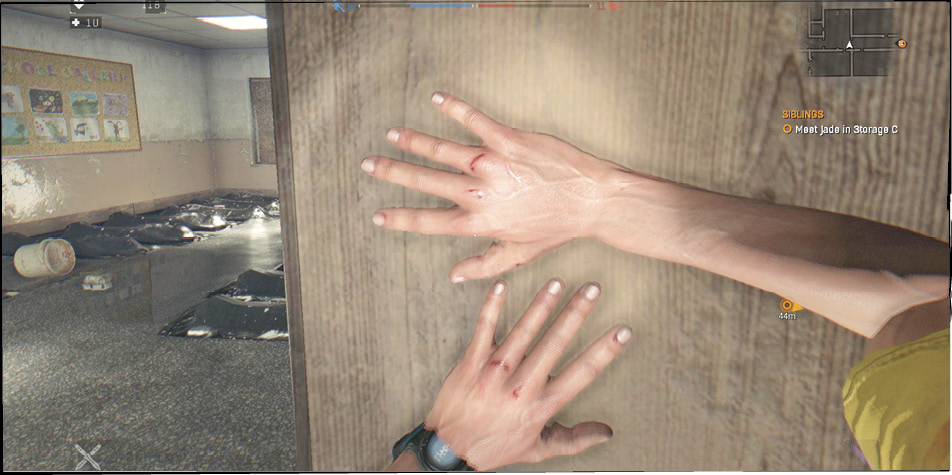
Story quests are a linear progression of events that tell Kyle Crane’s story as he tries to help the city of Harran. Use the walkthrough to accomplish all of these. We do our absolute best to avoid many spoilers, so you won’t find out too many things about the game beyond the basic locations and jobs that you must work on.
Side Quests
Side quests have an entire chapter devoted to their stories and challenges. Refer to this chapter to learn about a ton of content that’s off the beaten path in Dying Light. You’re likely to spend more time on these than on almost anything else (it takes MANY hours to get all of them done).
Side quests award you Survivor XP, special Blueprints, and sometimes even money or supplies. There are also a few awesome stories behind some of them, so don’t miss out!
Unlike the main story, you can pursue several side quests simultaneously. Use the Quests tab in your Character screen to select the one you want to track.
Challenges
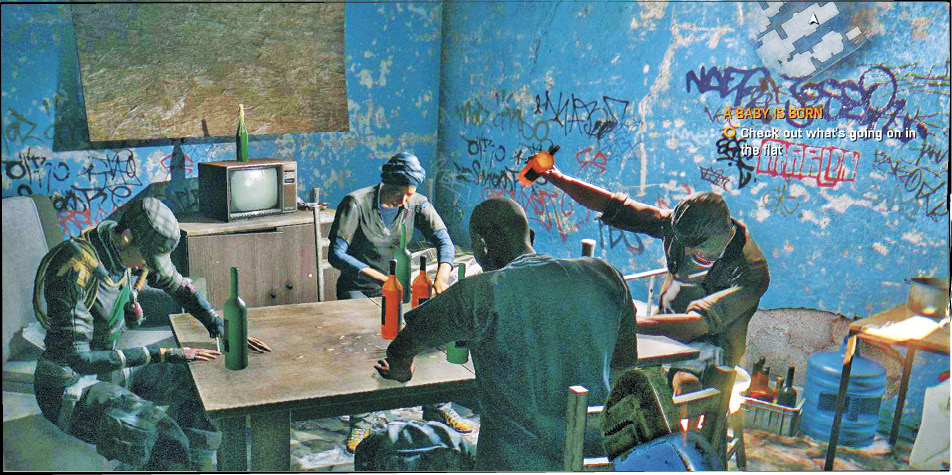
Challenges are timed quests that task you with killing a set number of targets with a given weapon, or completing a race in a specific area. These can be repeated to improve your proficiency, but you get the rewards only for finishing the challenge.
Periodically return to the survivors who start each challenge to see if they’ve come up with new versions of their challenges. Write-ups for these are in our side quest chapter, if you’d like some help finishing or finding them.
Targets of Opportunity
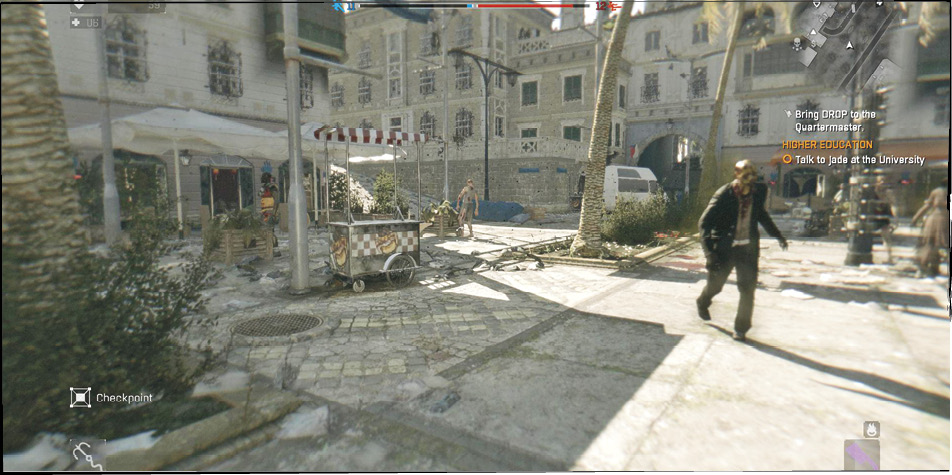
Some events aren’t going to wait for you to show up. They’re either happening already, or they won’t be around at all! Harran is a living city. Not for long, but still. You can find airdrops that are flown into the area each day. Or, you might bump into survivors with things to tell you or troubles of their own.
All of these are targets of opportunity because you can get them while they’re available if you’re already out in the city. Leave them for too long and they disappear!
Airdrops
If you hear the massive rumble of a plane over Harran, look outside to see where it is, where it’s going, and if any airdrops fall toward the city. Red smoke trails indicate where they’re landing.
Head straight toward these airdrops to collect their contents. During the day, you often fight against Rais’ men, who are also tasked with grabbing airdrops. Kill them wherever they appear, and open the containers. Most of the contents have to be brought back to a Quartermaster before you get your credit. A few things might instead be sold (Valuables) or help you with supplies (Medkits, Flares, etc.).
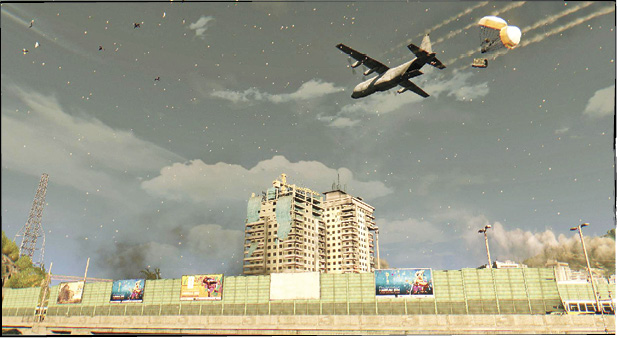
In the evening, Airdrops are more valuable, but are also very difficult. Rais’ men are asleep, but the Virals and Volatiles wandering around town are even worse adversaries. Bring thrown weapons, Firecrackers, UV Flashlights, and Trap Bombs to give yourself an edge during Pursuits, and see what you can find. Airdrop contents have improved qualities at night, so that makes the danger worthwhile!
People in Trouble
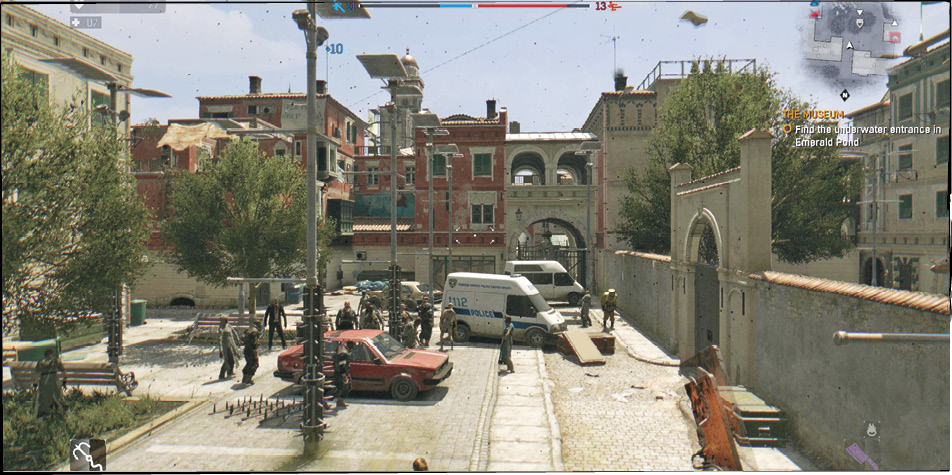
Blue arrows indicate that survivors are nearby; often they’re in trouble. Kill any Infected or thugs that are attacking them. This is a great way to quickly earn Survivor XP and get a reward. You might receive money or useful items. In terms of Survivor XP per minute of work, saving people like this is about as good as it ever gets!
To do the actual saving, look for red arrows near the blue ones and kill off everything that’s marked as a red target. Once all of the local threats have been eliminated, approach the survivor and take whatever they’re offering.
Random Encounter (Learning About Harran)
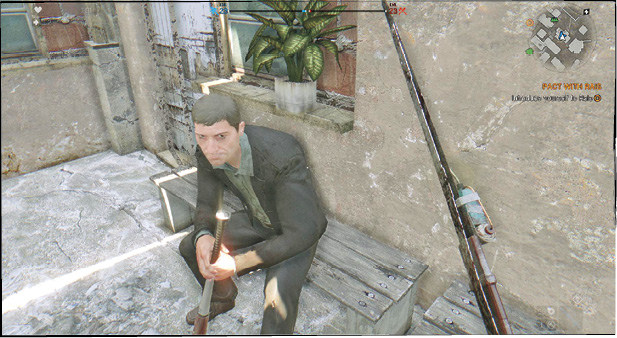
Random encounters aren’t usually going to get you XP or money. Instead, they develop the world. Lone survivors might tell you about their experiences. You also find wandering merchants this way.
Multiplayer Modes
You can play this game cooperatively with friends or strangers, or get some DLC so that you can engage in BtZ Mode. That’s when someone is able to become an Infected and go after other players at night. Pretty cool, eh? We cover this and all other online options in the Multiplayer chapter of this guide.