Dragon Quest Builders Guide Alefgard Adventure Final Chapter: Tantegel
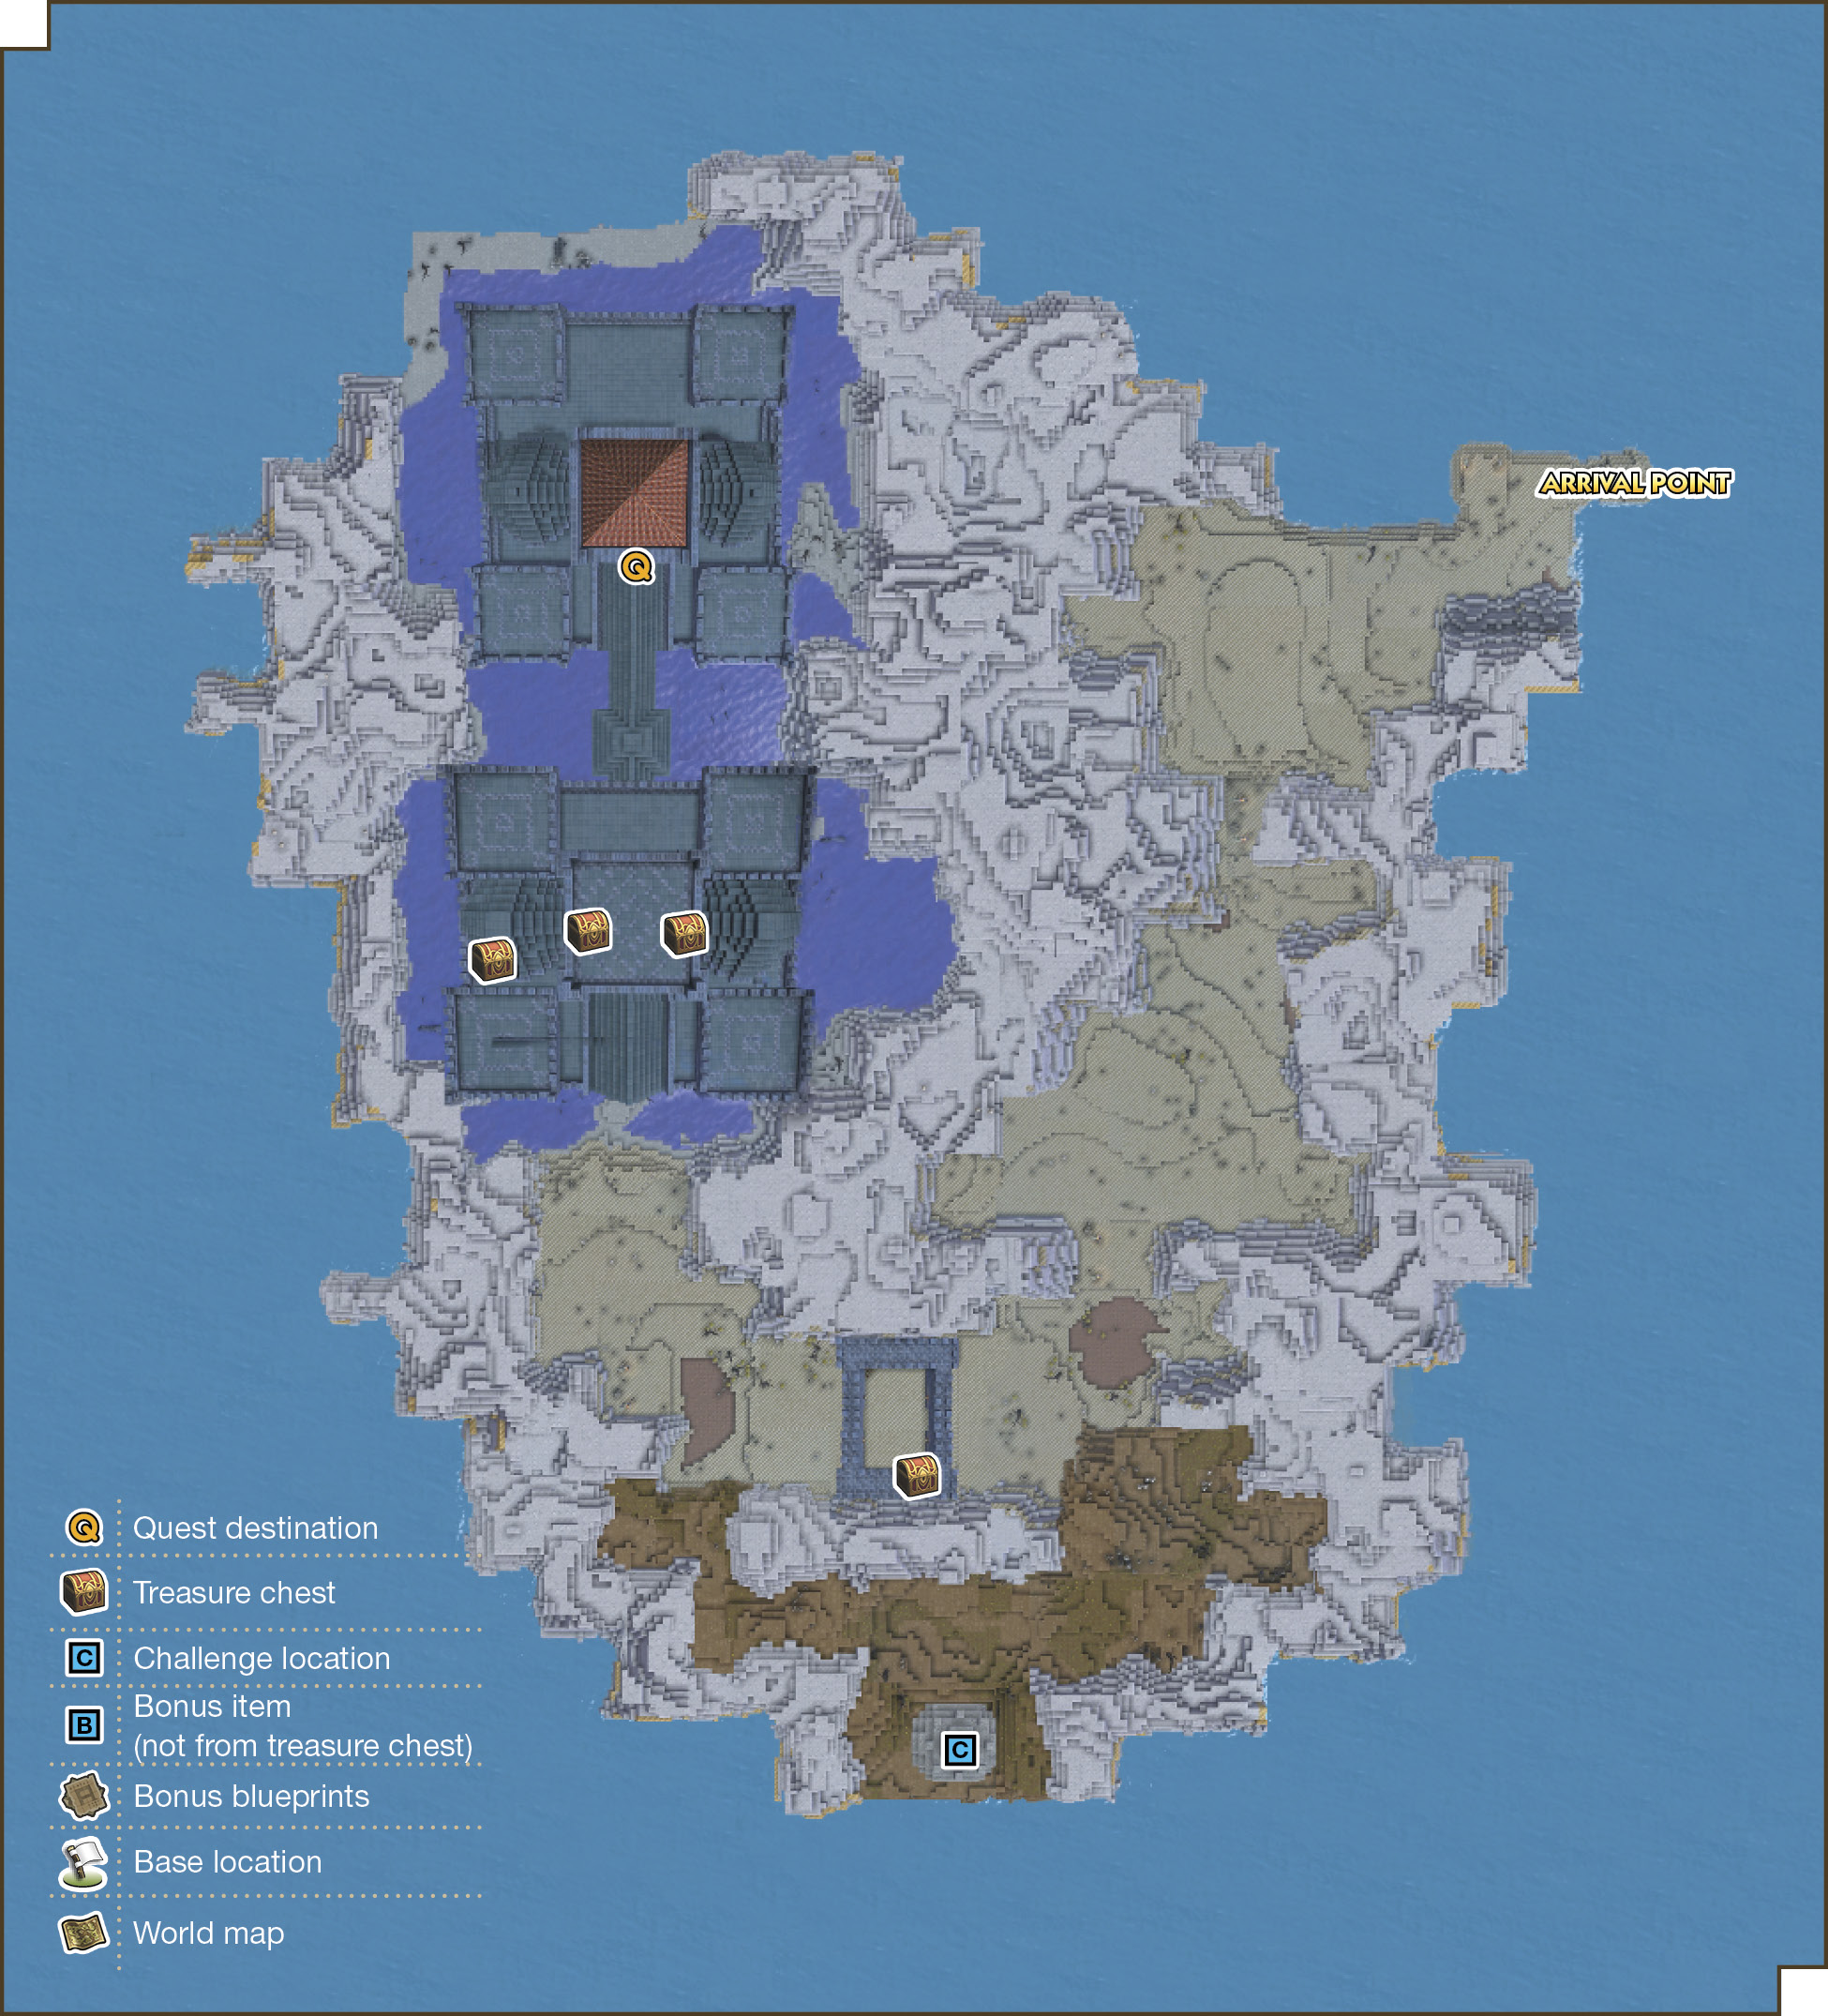
The Dragonlord’s Island
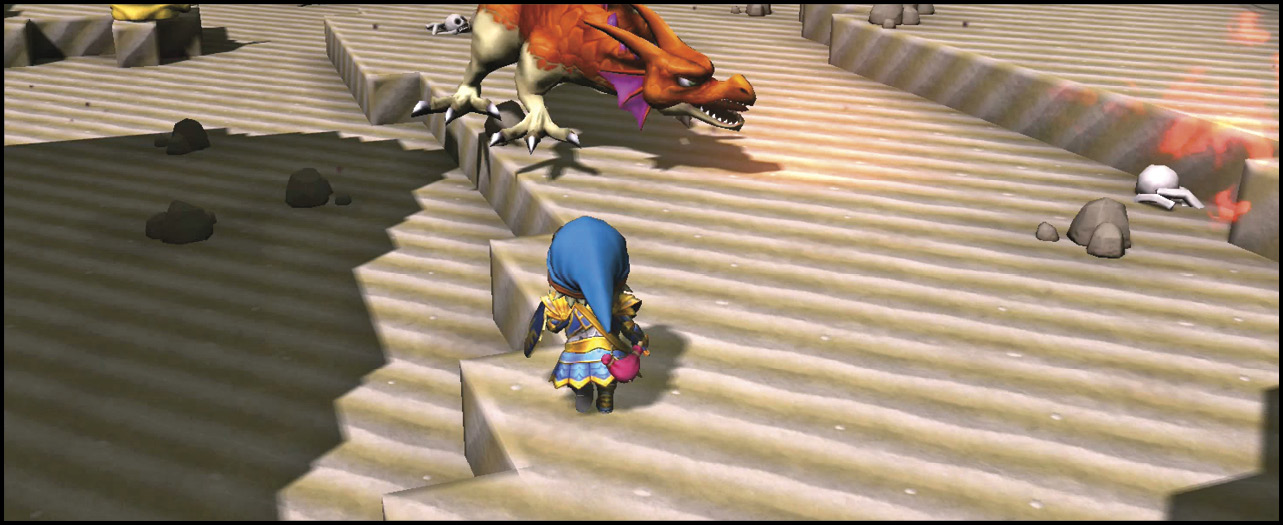
The Dragonlord’s stronghold is an imposing structure overlooking your point of arrival. Powerful monsters cover the island, making even your approach a daunting task.
Available Materials
Icon |
Raw Materials |
 |
Broken branch |
 |
Plumberry seedling |
 |
Pumice pieces |
 |
Stone |
 |
White petals |
Icon |
Raw Materials (shovel required) |
 |
Blighted branch |
 |
Branch |
 |
Grass |
 |
Milkblossom |
 |
Sandgrass |
 |
Shadowgrass |
 |
Stalwort |
 |
Water (bucket required) |
Icon |
Building Material and Decorations |
 |
Ash |
 |
Bloodstone |
 |
Chalk |
 |
Clay |
 |
Dilapidated crate |
 |
Earth |
 |
Fortress battlement |
 |
Fortress foundation |
 |
Fortress wall |
 |
Grassy leaves |
 |
Obsidian |
 |
Pebblestone |
 |
Plumberry lumber |
 |
Sand |
 |
Sandstone |
Wandering Enemies
| Icon | Name | HP | Drops |
|---|---|---|---|
|
|
Cosmic chimaera | 36 | Monster egg, chimaera feather |
|
|
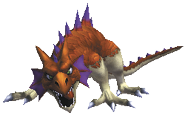
Dread dragon | 228 | Meaty bone |
|
|
Fightgeist (night only) | 75 | Monster egg, chimaera feather |
|
|
Ghost (night only) | 80 | Monster egg, chimaera feather |
|
|
Rockbomb | 60 | Rockbomb shard |
|
|
Rocky box slime | 11 | Small stones, pumice |
|
|
Rocky box slime (large) | 23 | Bathtub, big rock |
|
|
She-slime | 11 | Orange oil, daffodaisy bud |
|
|
Spitegeist (night only) | 75 | Monster egg, chimaera feather |
|
|
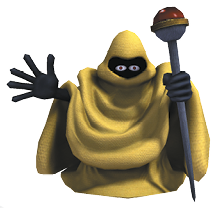
Vis mager | 105 | Newt |







Storm the Castle
Before you leave, put the diviner’s altar where you can pull it out if necessary. You’ll need it to complete one of the challenges, and there’s an additional scare root found in a chest that will allow you to craft another Yggdrasil essence. Cook any food that provides statistical bonuses, and load up on healing items.
You can fight through the patrolling enemies, or use the mountain to bypass the dread dragons and vis magers. There aren’t many bonus items to collect, and you can always descend from the mountain at the appropriate spots.
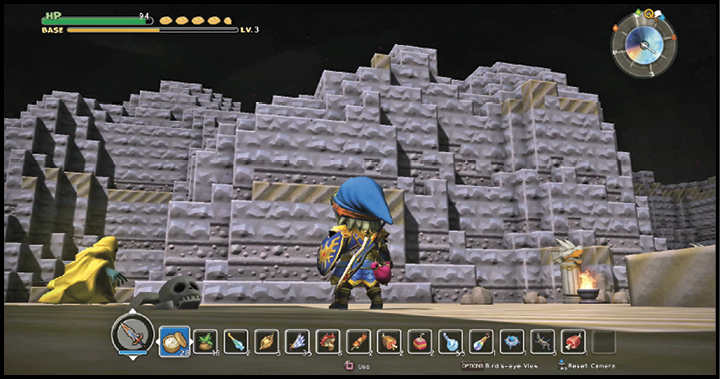
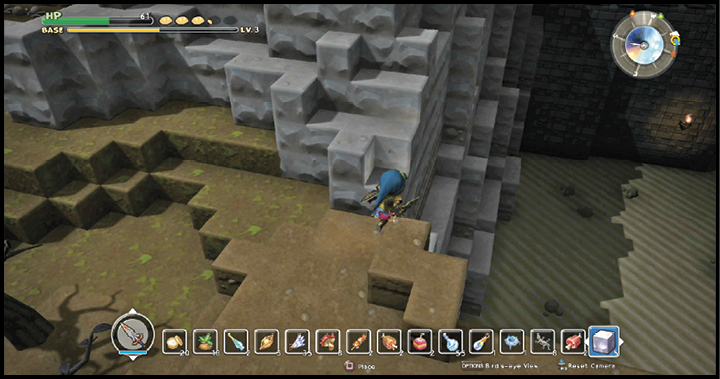
The blocks of the castle’s interior are more powerful than your weapons. You must follow the path of broken-down gates and hallways. A dread dragon is behind the steel doors that open into the throne room. It might have a blast of fire breath waiting for you when the door opens, so be ready to dodge.
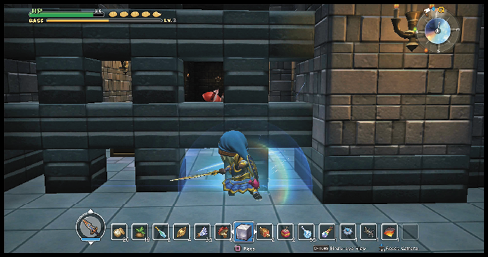
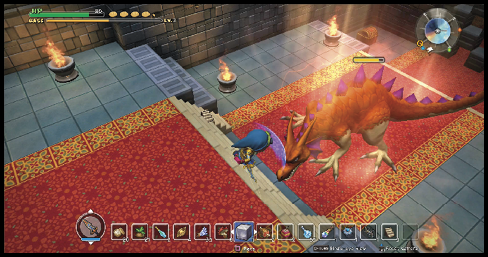
Examine the dragon throne, then investigate the wall behind it. Break through the weaker blocks and follow the hall to the Dragonlord’s true throne room.

Boss Fight: The Dragonlord (human)
To kick off the fight, the Dragonlord hides behind a magic shield and sends out duplicates. Other hazards in the room include the evil idols (which you can knock out quickly with a hammer) and orbs summoned by the Dragonlord that send out fiery blasts you must avoid. He also sends out blasts from his energy screen. In addition, he attempts to curse you from time to time, blocking out your access to items.
The smaller duplicates are strictly melee fighters whose only strength comes from numbers. The larger duplicates charge up a powerful dash attack. To avoid the dash attack, try moving to a higher spot (the top of the steps, for example), then counterattack. If you’re comfortable in the Bashmobile, use it here to fight the duplicates. However you eliminate them, their numbers are tracked in the lower corner of the screen.
When the last duplicate falls, the field around the Dragonlord dissipates and he’s vulnerable to attack. Hurry to the throne and pour on the damage.
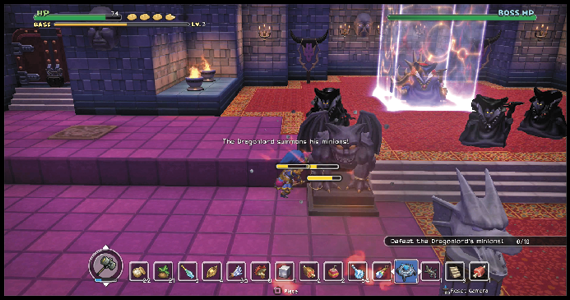
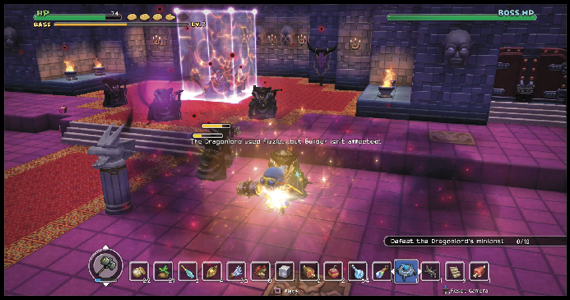
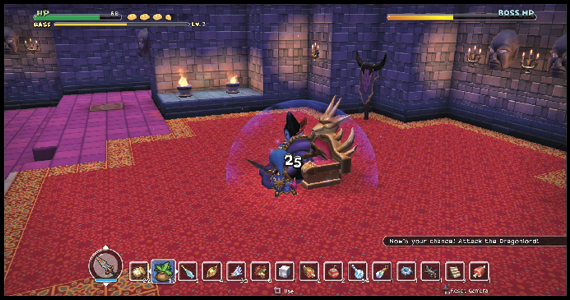
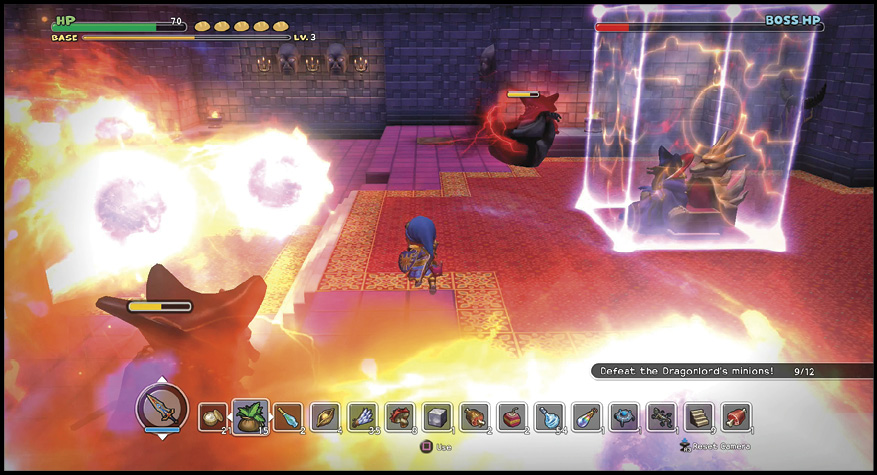
If you survive two to three more rounds of eliminating duplicates, you will defeat the Dragonlord’s human form. Before you remove that last tick of health, you should consume any remaining seeds of life in your inventory. If you’re trying for the challenge, this is your last chance to stash the legendary equipment into the colossal coffer.
Don’t worry if this battle used up every Yggdrasil essence you were able to craft. There’s one more battle ahead, but no items will carry over.
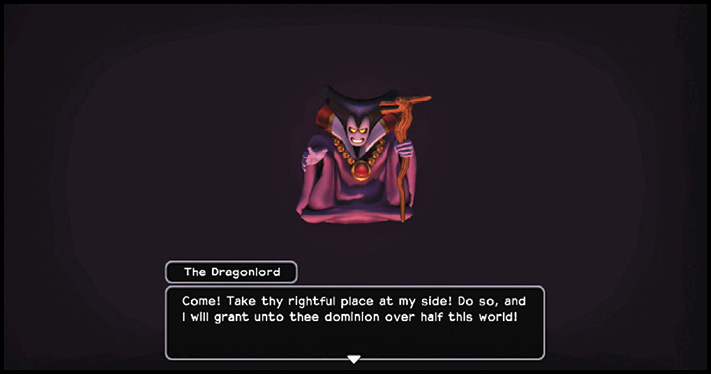
The Dragonlord pauses long enough to pose questions to you. Respond NO to the first to begin the battle against the Dragonlord’s true form. (Note that responding YES twice results in death, and you start again from your last game save.) All your items, except any legendary equipment, are removed.
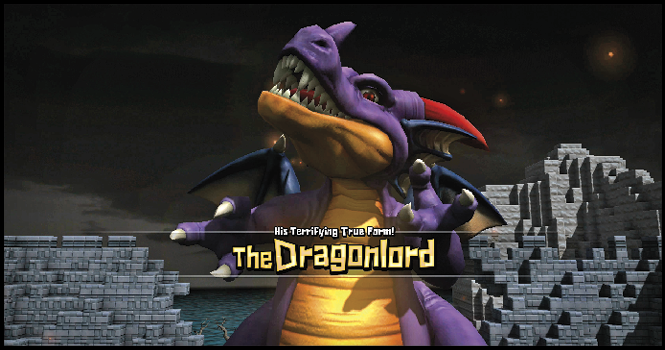
Boss Fight: The Dragonlord (true form)
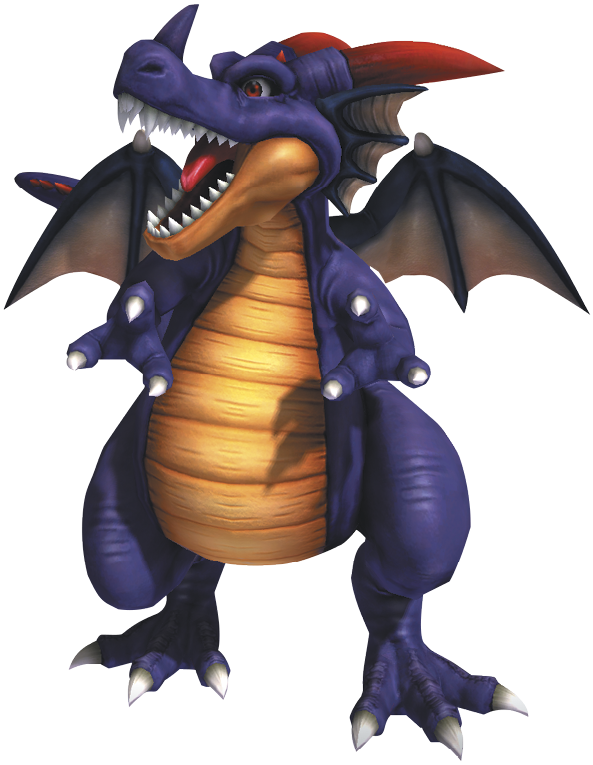
Avoid the Dragonlord’s initial bite attempt, but don’t try any counterattacks until after Rubiss sends the first friend to assist you. Some provide food and various less helpful items, but the items provided by others are the keys to defeating the Dragonlord.
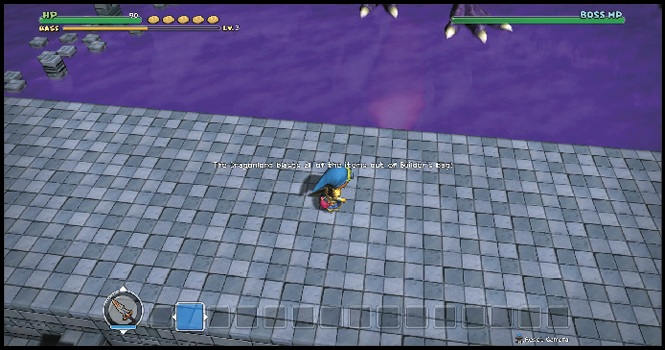
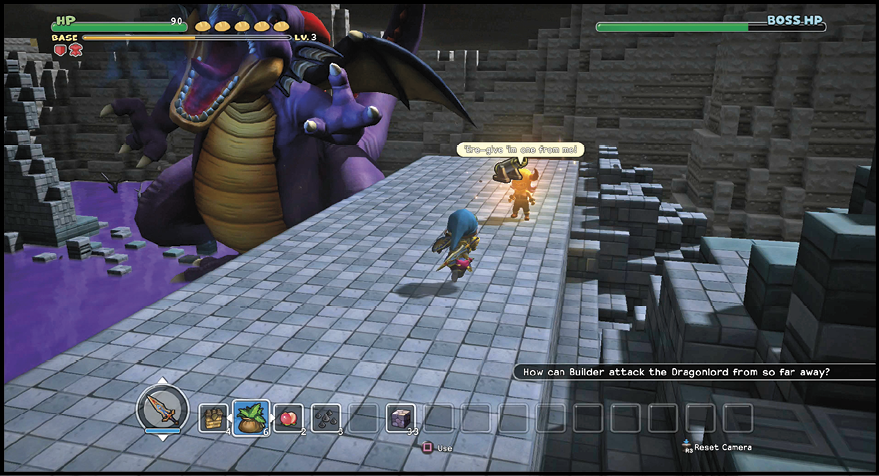
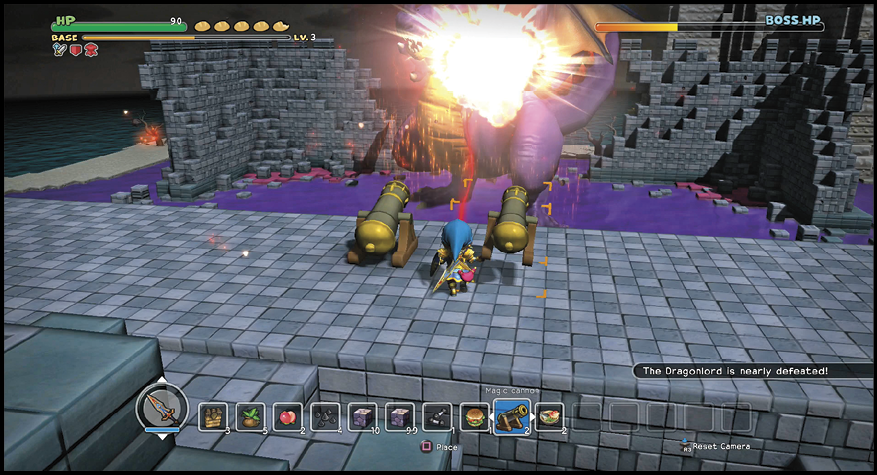
Gerontius provides healing items, and the occasional (and much-appreciated) Yggdrasil essence. Barbella delivers magic cannons, which are the only way to damage the Dragonlord when he’s far away. Use them when the game queries, “How can you attack the Dragonlord from so far away?” Your cannons won’t have much of a shelf life. After one or two hits, the Dragonlord will destroy them.
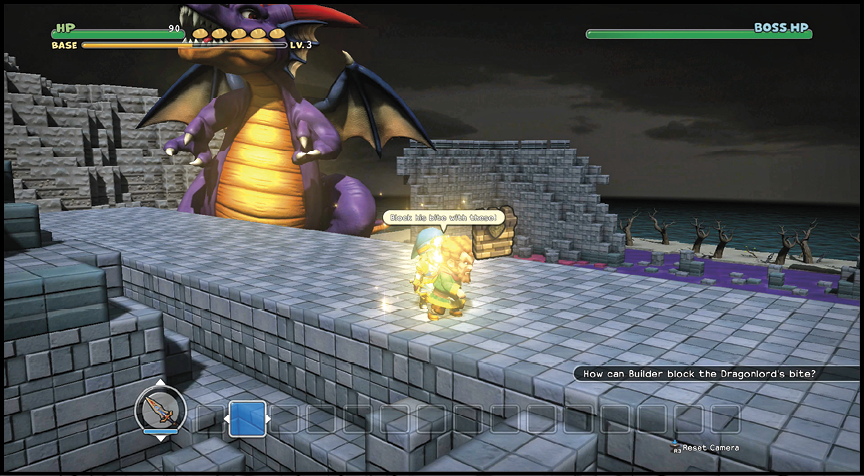
Rollo appears and provides Cantlin shields. When the game poses the question, “How can you block the Dragonlord’s bite?” place a Cantlin shield in front of, and facing, the Dragonlord. Biting the shield stuns him long enough for you to get in a few hits with a melee weapon.
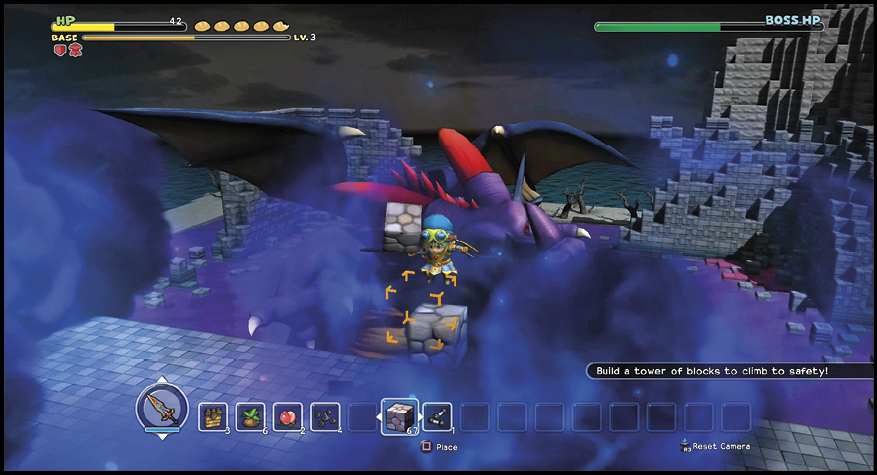
Magnus provides stone blocks, which get put to use when the game prompts you to build a tower of blocks to climb to safety. Don’t bother with a tower. Hold the Aim Below/Look Down button, jump, and while still in the air, set a block directly underneath yourself. Repeat the process in rapid succession to get above the Dragonlord’s sweeping breath attack with time to spare.
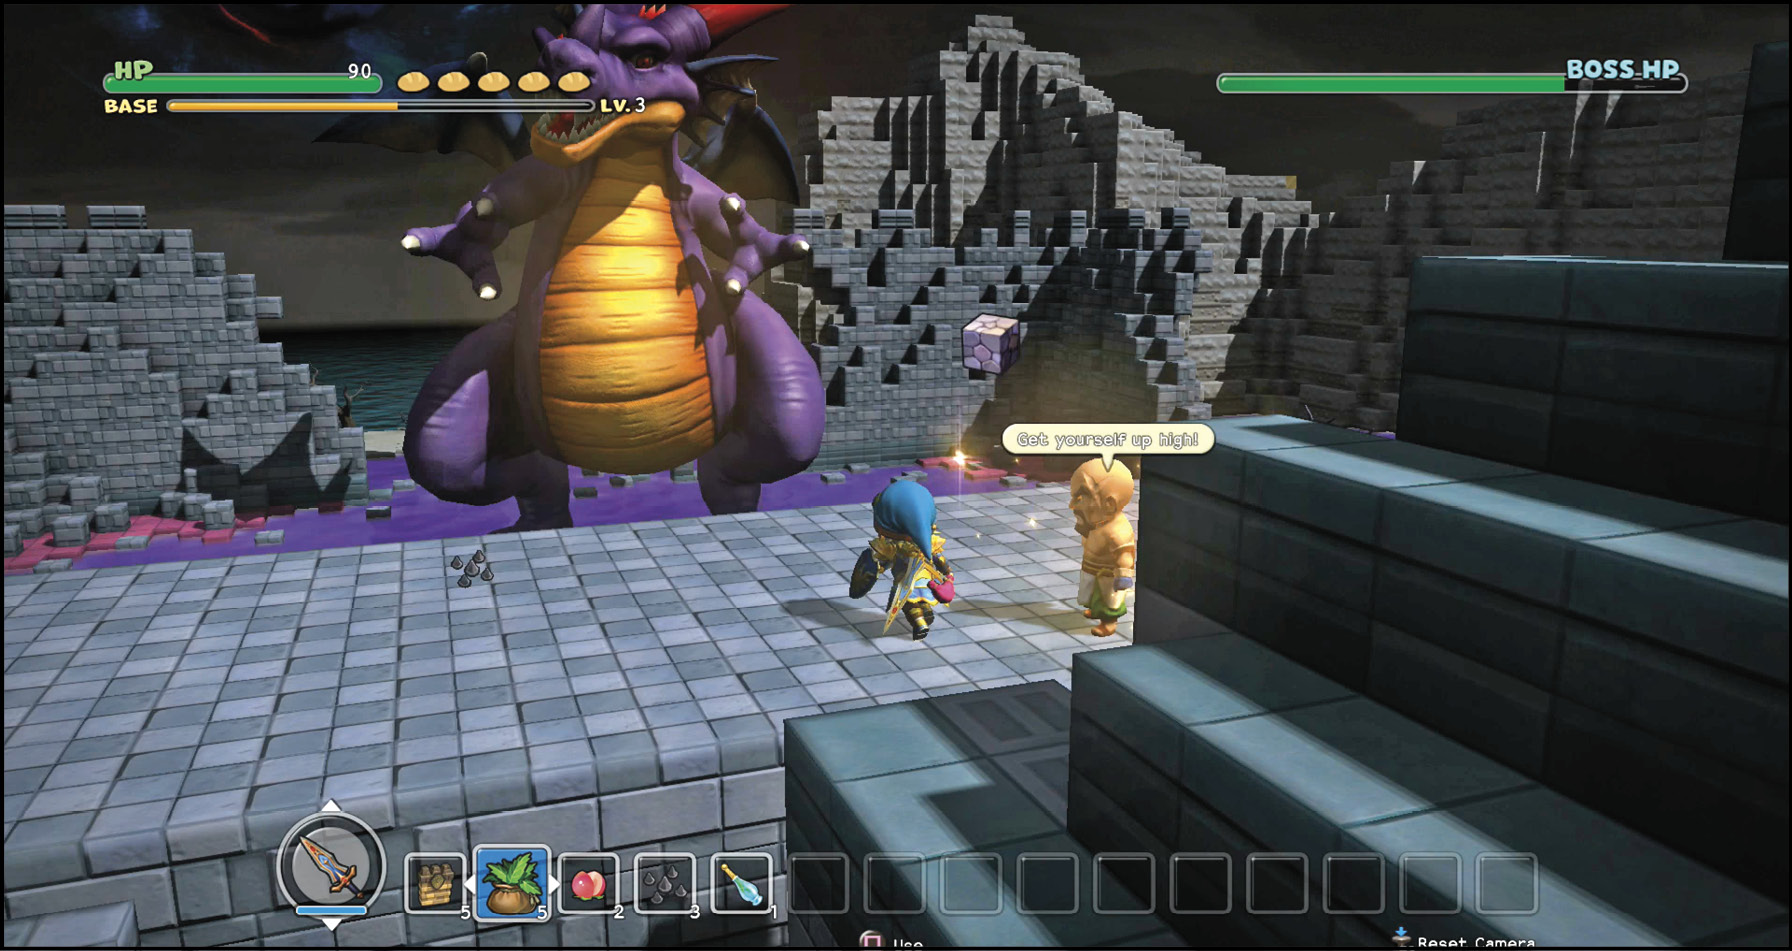
There is no defense against the Dragonlord’s shadowy breath and lobbed shadow ball attacks other than avoiding them. When the Dragonlord hops away from the bridge, it either charges dark energy to lob a shadow ball or summons minions (and then charges dark energy).
Watch the counter in the corner to see how many minions you must defeat. The summoned enemies become more powerful as the Dragonlord’s health decreases. After he summons two dragons, he won’t summon any additional reinforcements.
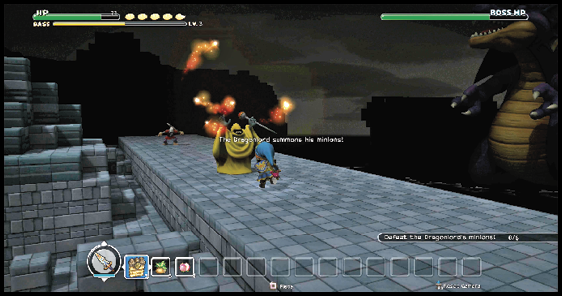
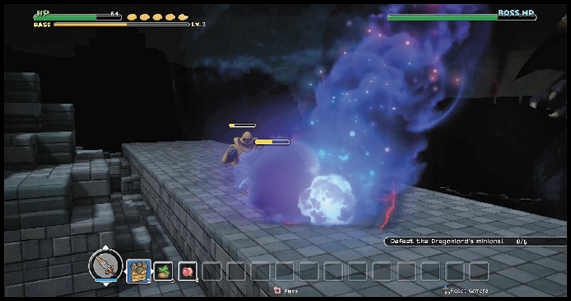
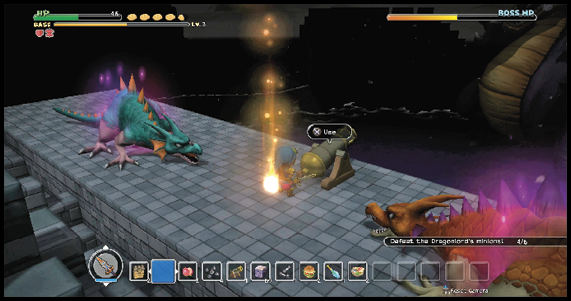
Manage your resources carefully. Don’t panic and place an incorrect item just because your health is low, or you failed to avoid an incoming hit. Losing an item like a magic cannon will extend the battle, which rarely works out in your favour. When the Dragonlord is nearly defeated, you’ll lose some of the helpful messages the game provides. They simply inform you of the Dragonlord’s situation. Press home the attack and restore clear skies to Alefgard!
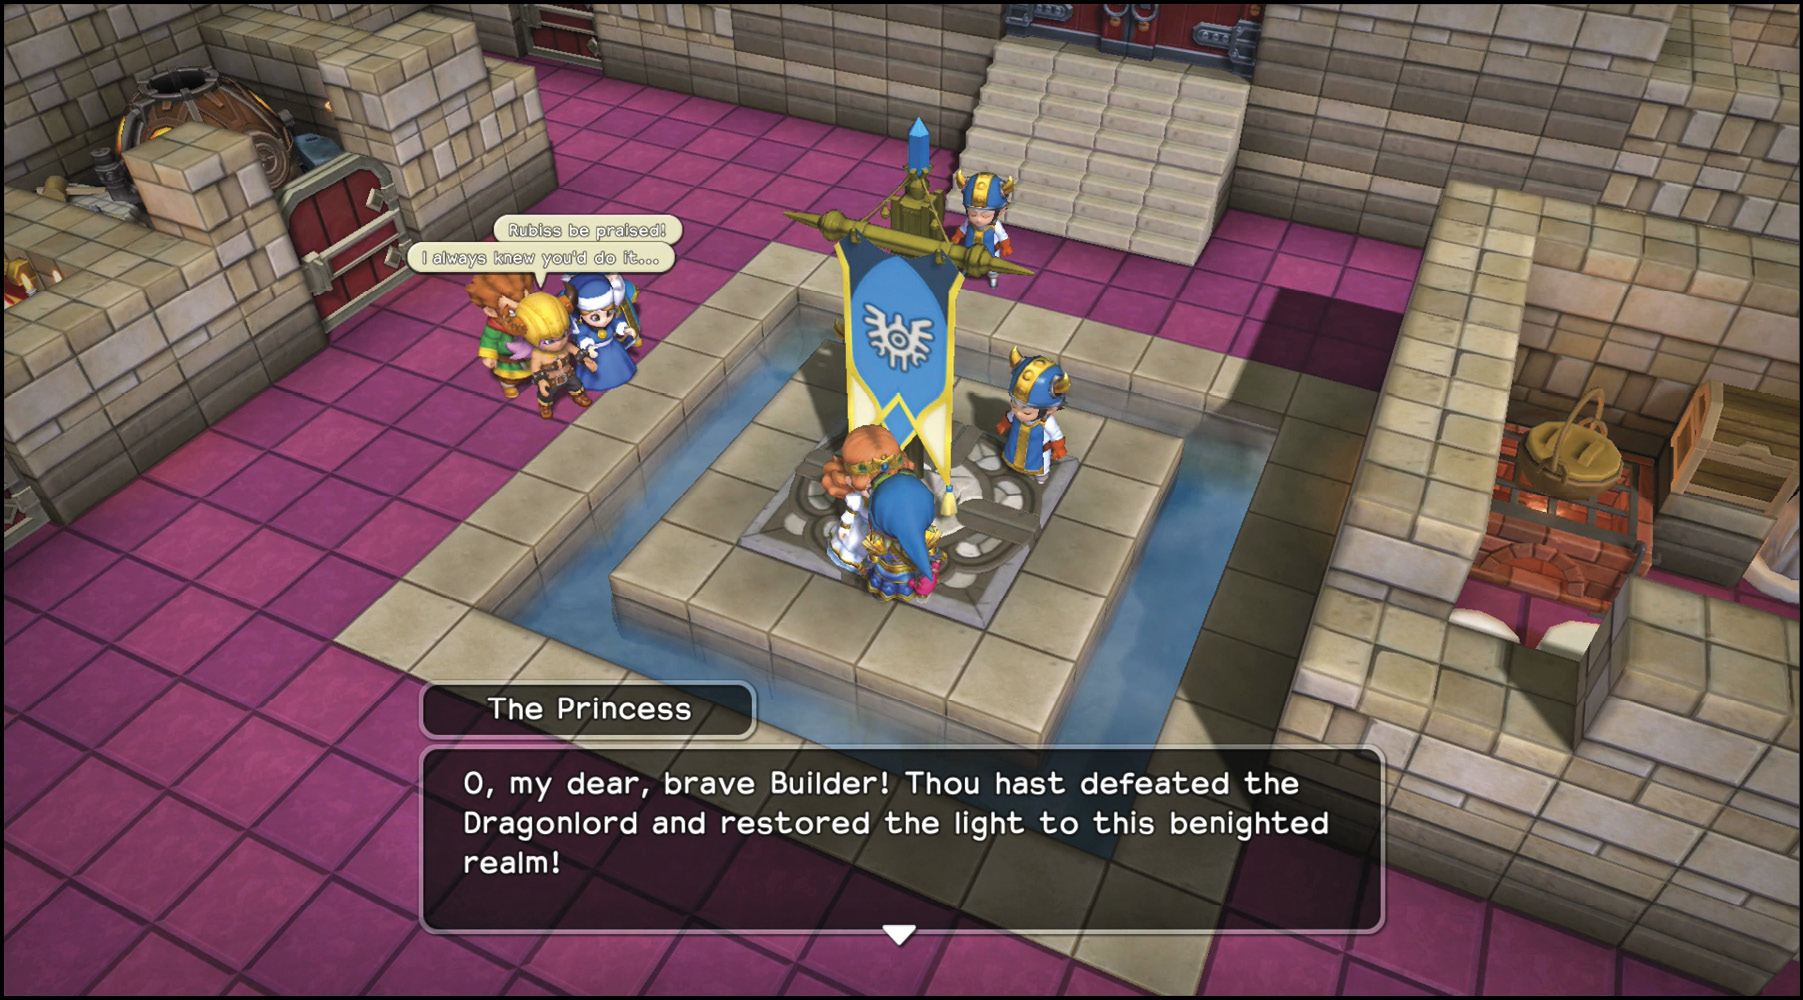
After the battle, return to Tantegel Castle. Save if you need to complete challenges but don’t want to battle the Dragonlord again. Speak with the Princess, then everyone else. Finally, speak to the Princess again. Congratulations! Now get to building your base in free play.