Dragon Quest Builders Guide Alefgard Adventure Chapter 1: Cantlin
Cantlin: Hammerhood Heights
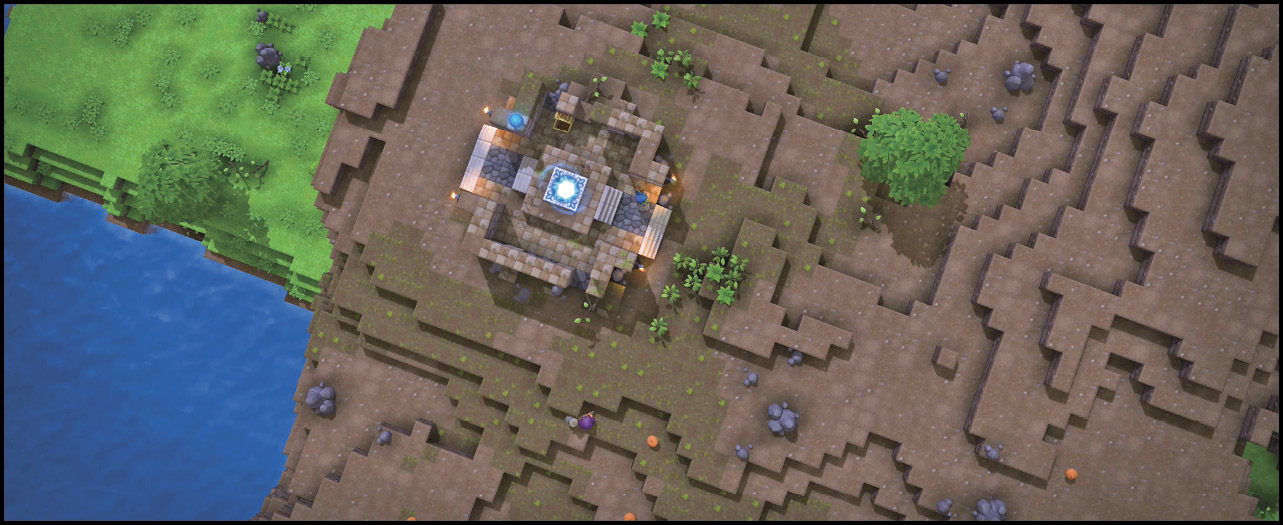
Rollo’s inquiry about the fragments sparks the plans for a blue teleportal. Rebuild the blue teleportal from the fragments and other materials at the mason’s workstation. The island through the blue teleportal is Hammerhood Heights.
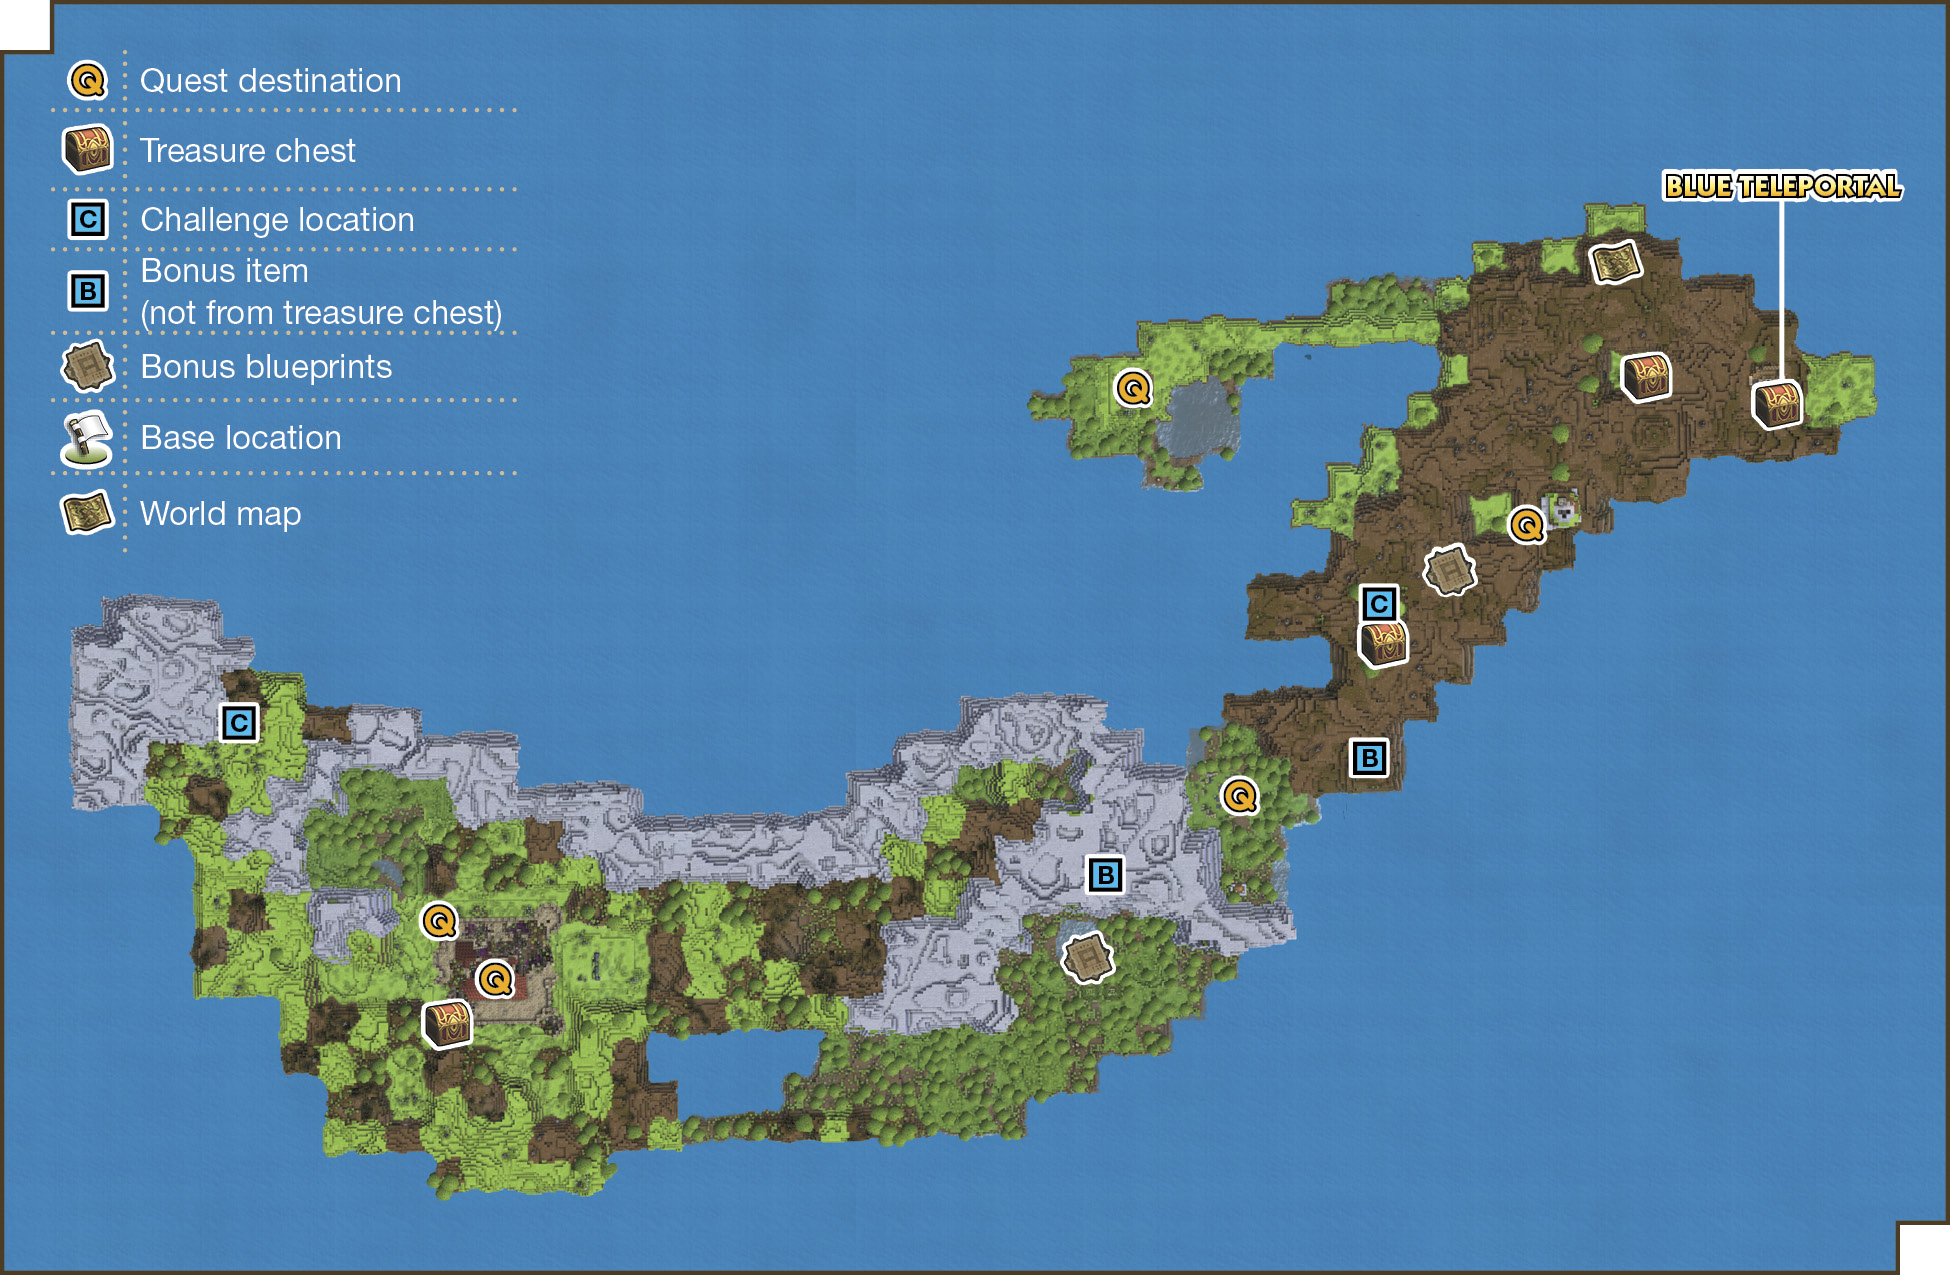
Available Materials
Icon |
Raw Materials |
 |
Broken branch |
 |
Butterbeans |
 |
Coal |
 |
Copper |
 |
Grassy leaves |
 |
Ivy |
 |
Marshroom |
 |
Medicinal leaf |
 |
Plumberry |
 |
Plumberry seedling |
 |
Pumice pieces |
 |
Silver |
 |
Stone |
 |
Wheat |
 |
White petals |
Icon |
Raw Materials (shovel required) |
 |
Branch |
 |
Grass |
 |
Medicinal shrub |
 |
Milkblossom |
 |
Pristine plumberry |
 |
Stalwort |
Icon |
Building Material and Decorations |
 |
Broken barricade |
 |
Broken brickwork |
 |
Chalk |
 |
Clay |
 |
Dilapidated crate |
 |
Earth |
 |
Obsidian |
 |
Pebblestone |
 |
Plumberry lumber |
Wandering Enemies
| Icon | Name | HP | Drops |
|---|---|---|---|
|
|
Brownie | 20 | Fur |
|
|
Brownie (large) | 40 | Leather sack |
|
|
Chimaera | 12 | Chimaera feather, monster egg |
|
|
Dracky | 11 | Coralily bud, grass seed |
|
|
Fightgeist (night only) | 56 | Monster egg, chimaera feather |
|
|
Ghost (night only) | 40 | Monster egg, chimaera feather |
|
|
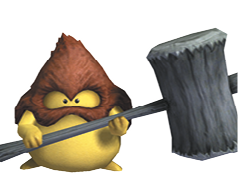
Hammerhood | 18 | Fur, whopping needle |
|
|
Rocky box slime | 24 | Small stones, pumice |
|
|
Rocky box slime (large) | 14 | Bathtub, big rock |
|
|
She-slime | 12 | Orange oil, daffodaisy bud |
|
|
Skeleton | 23 | Coarse cloth, bones |
|
|
Slime | 7 | Blue goo, milkblossom bud |










Exploring a New Island
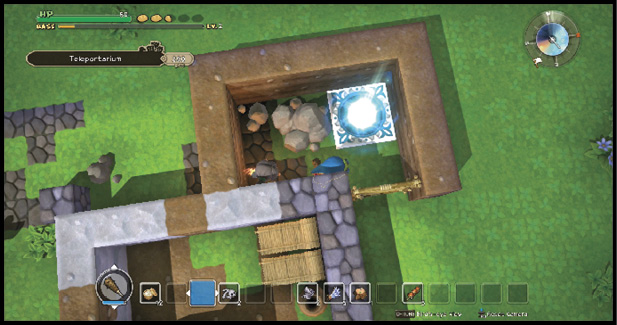
Speak with Rollo after recreating the blue teleportal to receive coarse cloth. Create an empty room and place the teleportal inside to construct a teleportarium. This isn’t strictly necessary, but doing so increases your base’s score. Before using the teleportal, check in with Rollo.
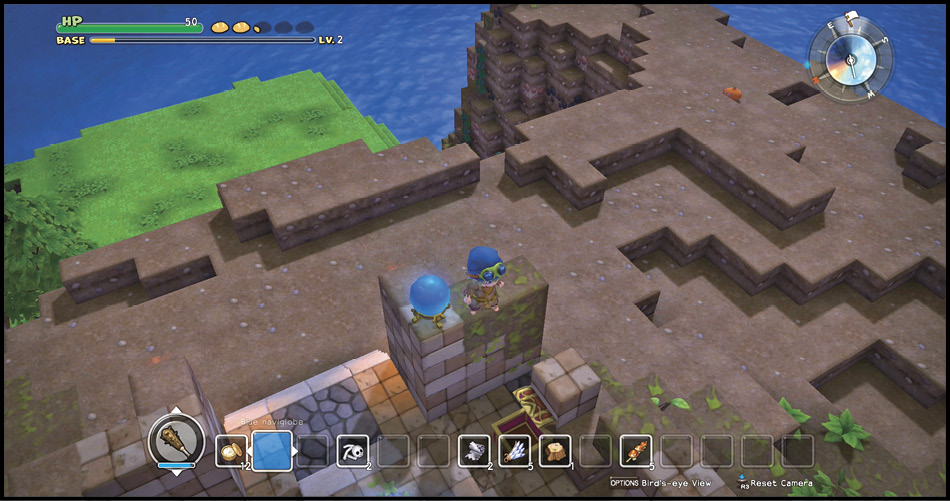
After traveling through the blue teleportal, open the nearby treasure chest to obtain a blue naviglobe. Set the naviglobe anywhere and its location appears on your overhead view and compass. Until you’re familiar with the island’s geography, keep the naviglobes you find with the teleportals so you know the direction to get back home.
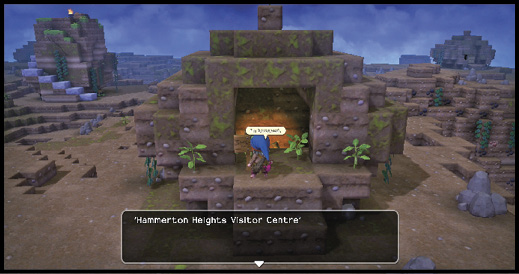
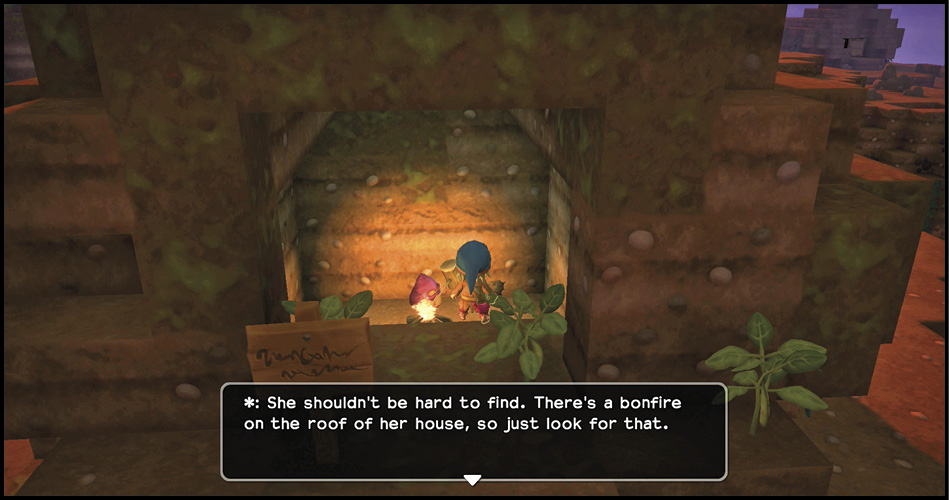
Your first destination is a bored hammerhood warming itself at a fire a short distance west of the teleportal. A quick conversation nets a signpost and directions to Clobberina, whose earthy home has a brazier burning on its roof. While traveling to Clobberina’s home, collect any new items in the area, such as ivy and butterbeans.
Earn the Giant Mallet
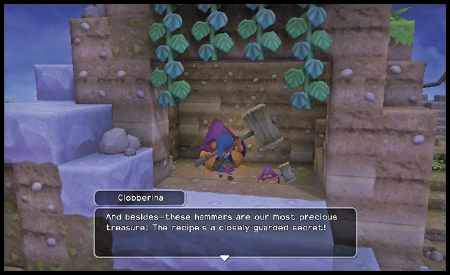
Speak with Clobberina, who agrees to share the secret of giant mallets if you repair her roof. Use the chest inside the home to store any excess items while you gather ivy and grass.
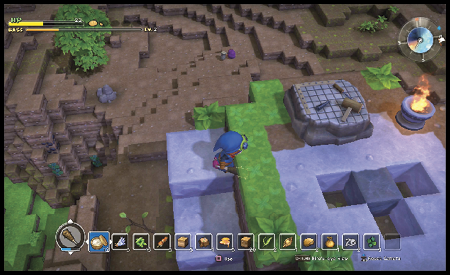
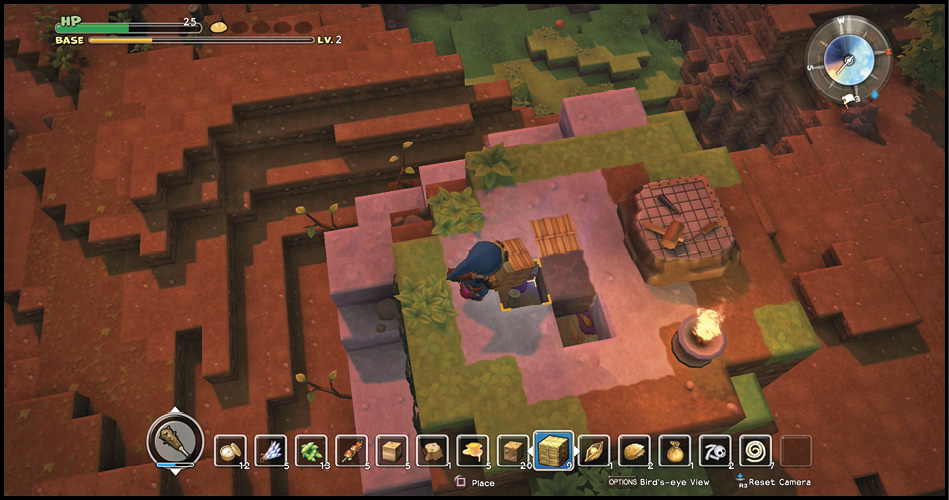
Take your items up to the roof, where Clobberina has set up a mason’s workstation. Make cord from ivy, then straw floor blocks from the cord and grass. Fill in the three holes, then speak with Clobberina to learn how to make a giant mallet.
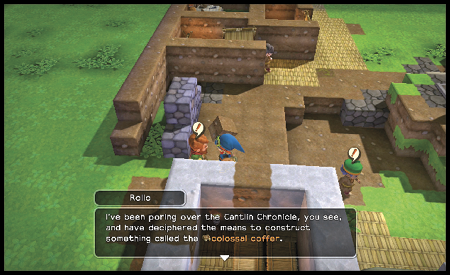
After exploring the island (don’t go too far, you’re coming back soon), return to the base and get chimaera wing (x2) from Rollo. His next task is a gift to you: building a colossal coffer. If you need wood, whack nearby trees with a giant mallet, then take the lumber to the mason’s workstation.
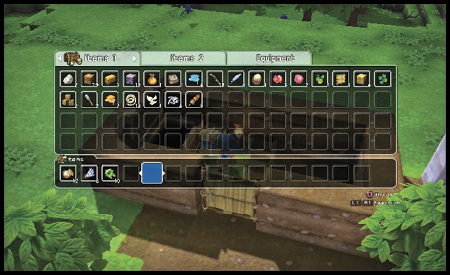
When it’s placed inside your base, a colossal coffer can be accessed anywhere through the Item option in the Main menu. Any items collected while your inventory is full are automatically sent to the colossal coffer. While the colossal coffer is reward enough on its own, Rollo adds blue goo (x5) for good measure.
Rescue Kenelm and Defend the Base
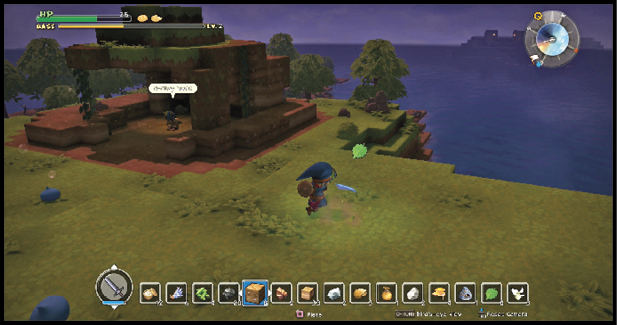
Larouche reveals the location of another person and marks it on your compass. Travel through the blue teleportal. Your destination is a man named Kenelm, who is at the end of a peninsula. He’s safe for now, so take some time to explore and hunt for new raw materials.
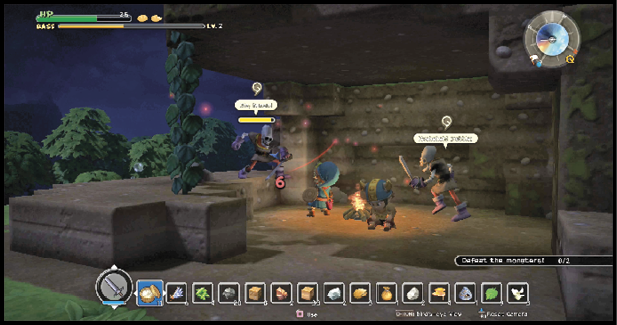
After you find Kenelm, your conversation is cut short by the appearance of two skeletons. After defeating the undead creatures, speak with Kenelm to have him follow you, then step out from under his shelter and use a chimaera wing to return to the base. Welcome Kenelm to your base, then get a seed of life from Larouche.
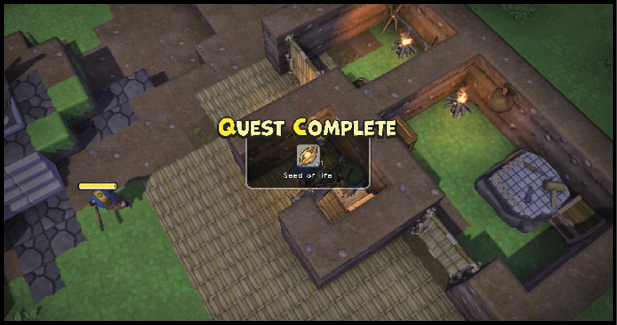
By this time, you should be able to upgrade your equipment to copper items. The timing couldn’t be better. The base is about to come under attack. When you’re ready, check in with Rollo.
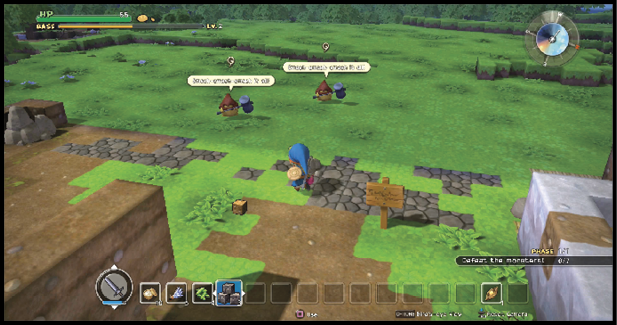
The fight begins with four brownies appearing in two groups, who are then supported by two chimaeras. The leader of the attack is a large brownie, who drops a seed of life when defeated.
Pippa’s New Rooms
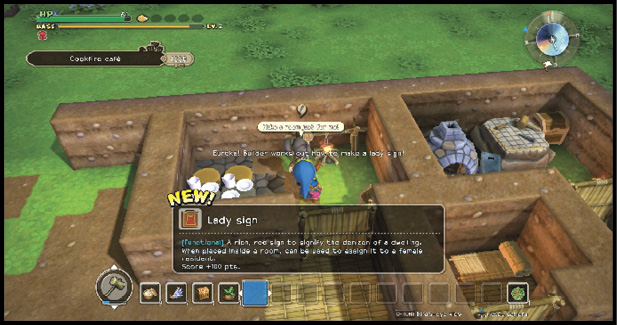
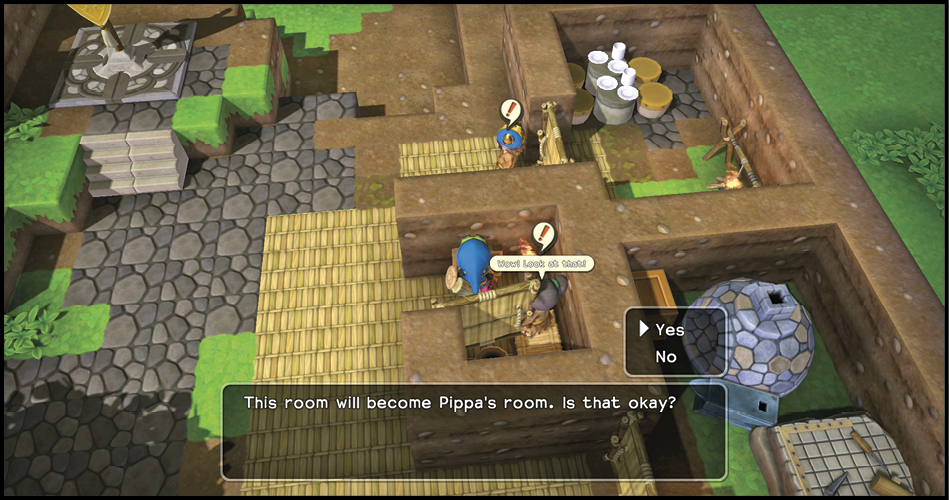
At the conclusion of the battle, three new quests pop up. Speak with Pippa first, who wants a room to herself. Set up an empty room, then add a single bed, a pot, and a lady sign. Whether you assign the room to her or not, you get the same reward from Pippa: chimaera wing (x2).
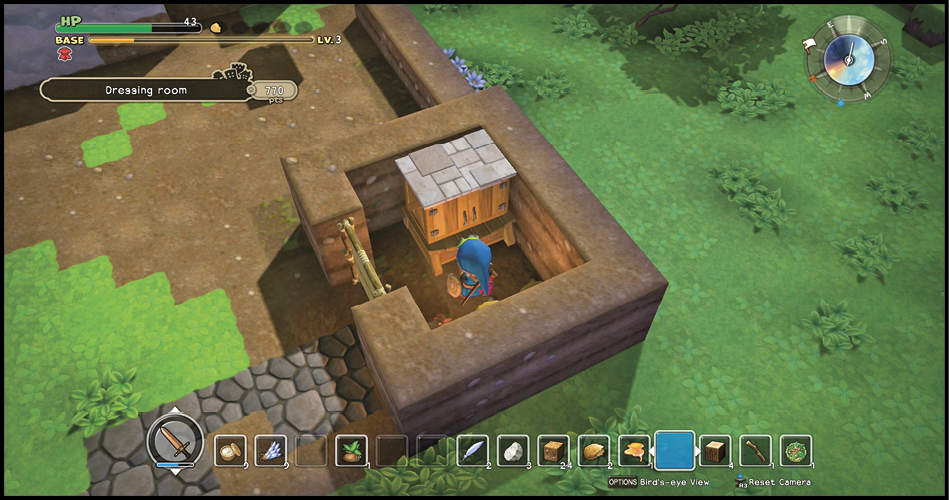
Pippa’s next request is the construction of a dressing room. Follow her suggestion and add two stone stools (or any two chairs) and an armoire to an empty room. Everyone changes clothes and you get fried egg (x3).
More Time in Hammerhood Heights
Get quests from both Kenelm and Rollo before stepping through the blue teleportal. You can complete Kenelm’s quest, which is learning a special technique from defeating an iron scorpion and three chimaeras, on the way to the castle Rollo sends you to investigate.
You must return to your base to learn the technique (and collect healing cream (x5) from Kenelm), but you won’t need it while visiting the castle. Don’t rush to the castle immediately. There are a few bonus items for you to scout out. You can’t get them all yet, but you should investigate them while you’re nearby.
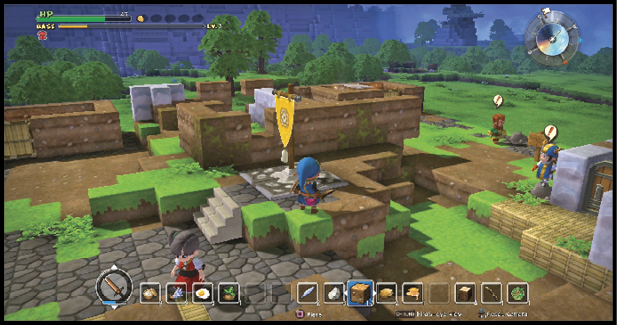
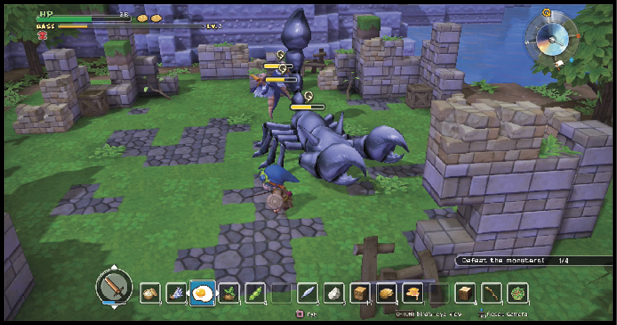
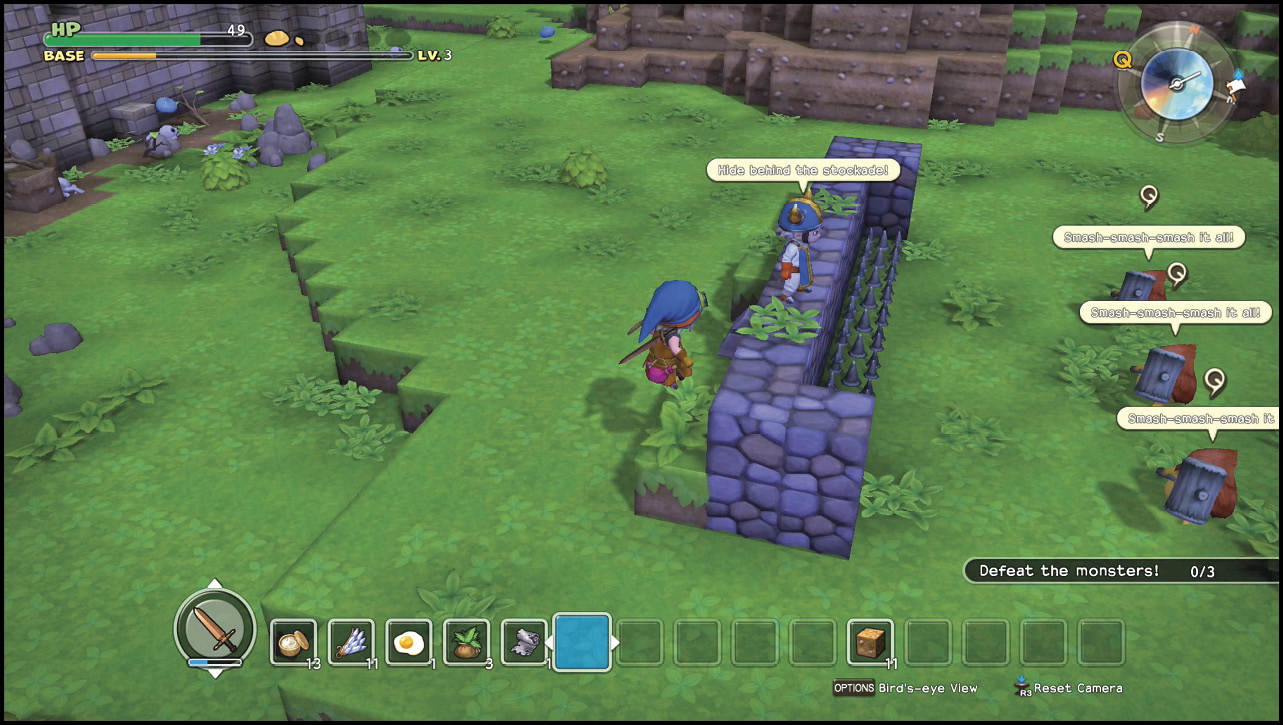
Speak with the man standing atop a broken stone wall outside the castle. He provides the material you need to repair the blockade. When it’s complete, move behind it and let the brownies damage themselves on the spikes. Talk to the man on the wall a second time to learn more about the structure behind you and the green-garbed figure inside, Ranulph.
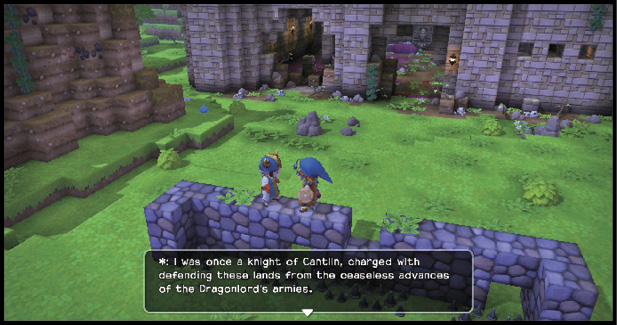
Before you go into the castle, dismantle the blockade (blocks and spikes both) since you’ll need the parts soon. The castle itself is loaded with decorative items. Take everything from the doors, to the bed, to the banners hanging on the walls.
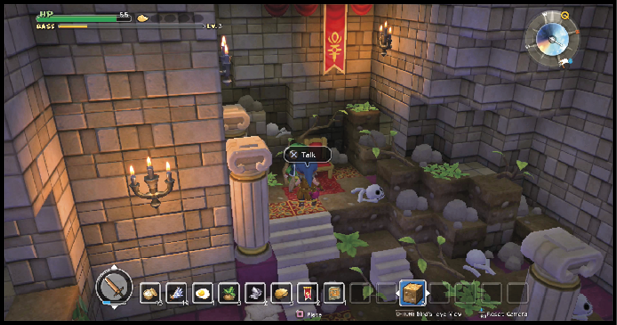
After speaking with Ranulph, follow him to the roof. He’s atop one of the towers. The chest near him has defensive design blueprints. Explore the battlements before returning to your base. The stone (x3) Rollo provides for returning with the blueprints isn’t much of an incentive to hurry!
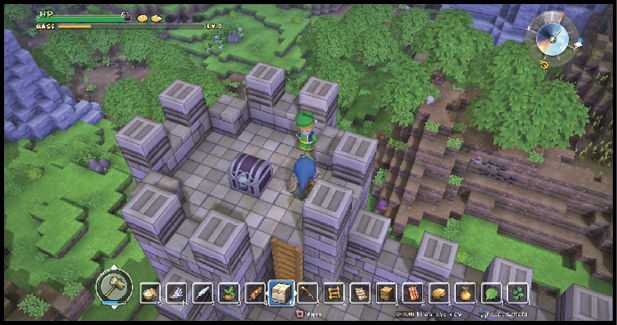
Rollo supplies a blueprint for the stone stockade, which unlocks recipes for stone wall, stone cladding, and spike traps. Build the stone stockade on the west side of the base. Use stone cladding to change any remaining earth walls to stone, then get your reward of fur (x3).
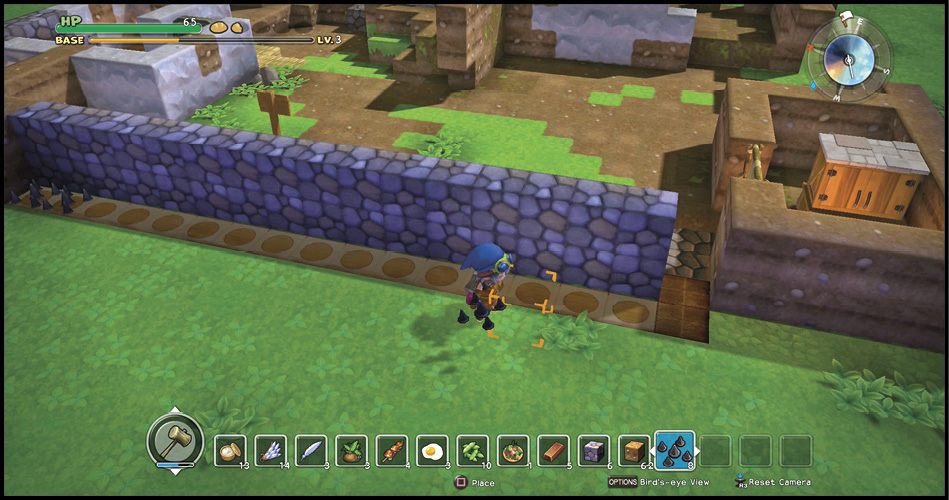
Improve Your Base to Lv. 3
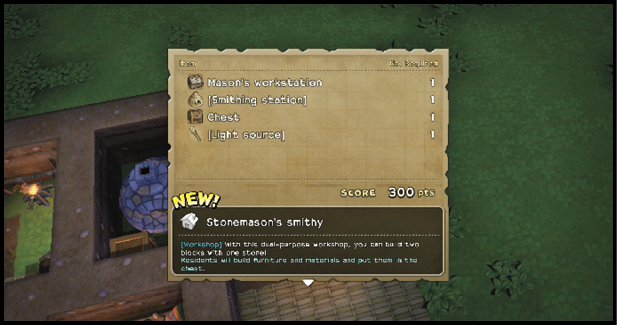
Check in with Larouche, who wants you to update the workshop into a stonemason’s studio. If you already upgraded it, Larouche accepts only a studio. You may need to remove some items to make it comply. When Larouche is satisfied, he provides wood (x3).
If the base is already at lv. 3, then Rollo’s quest is completed while you’re speaking with him. If not, put the spoils from the castle to use and build some new rooms. You should be able to build a few rooms that provide bonuses, such as items from the residents of the base.
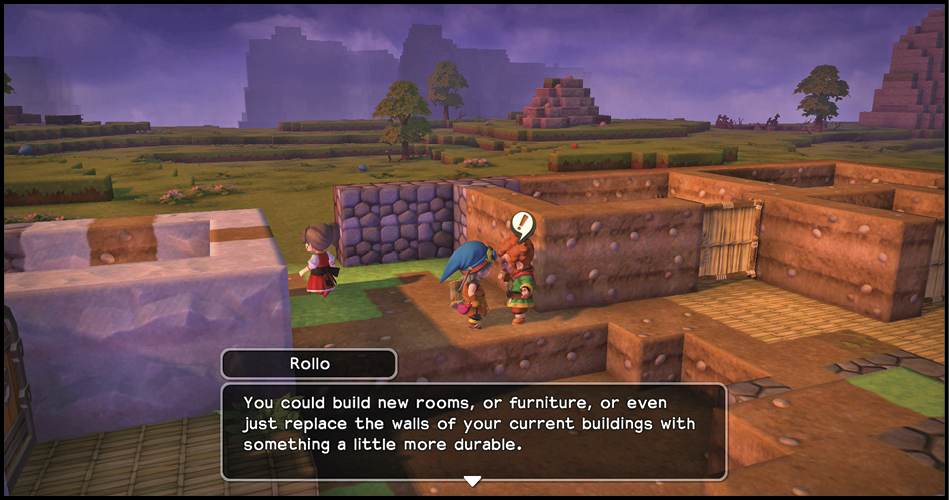
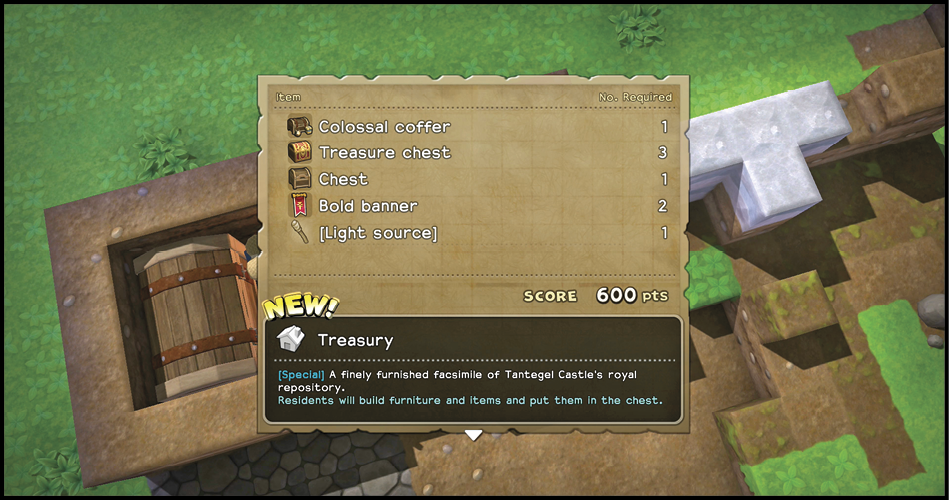
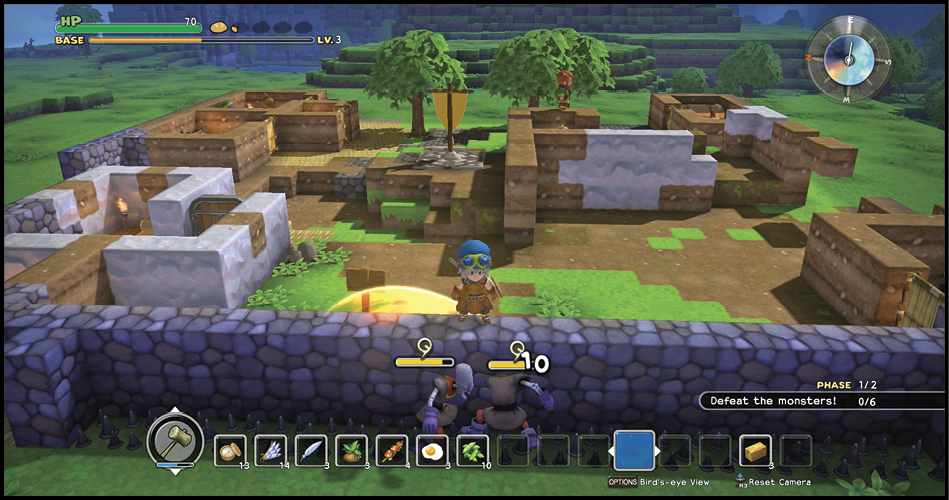
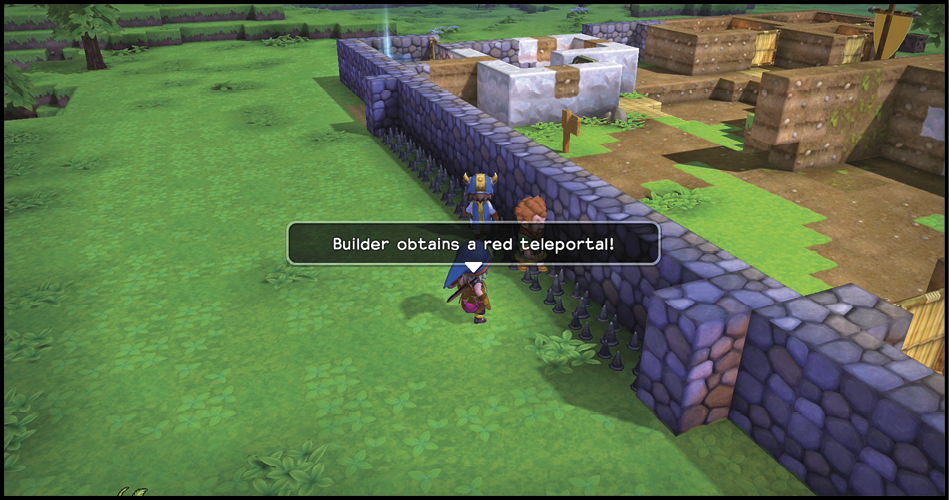
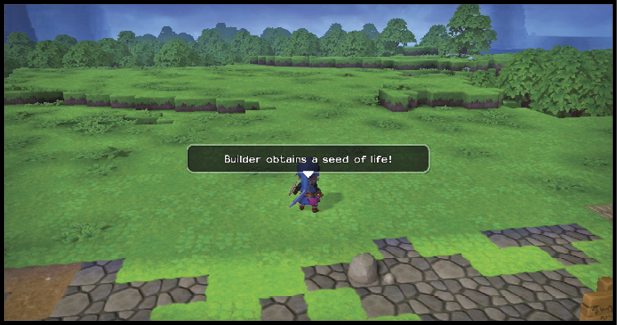
Your reward for the base reaching lv. 3 is a seed of life, and another battle. If your western wall is set up properly, you can stand atop it and watch the skeletons and brownies tear themselves to shreds on the spikes while trying to breach the wall. After two phases of six enemies each, a knight errant joins the battle. When it falls, it leaves behind the red teleportal. You also earn a seed of life with the victory.