Dragon Quest Builders Guide Alefgard Adventure Chapter 3: Kol and Galenholm
Galenholm: Island of Ice
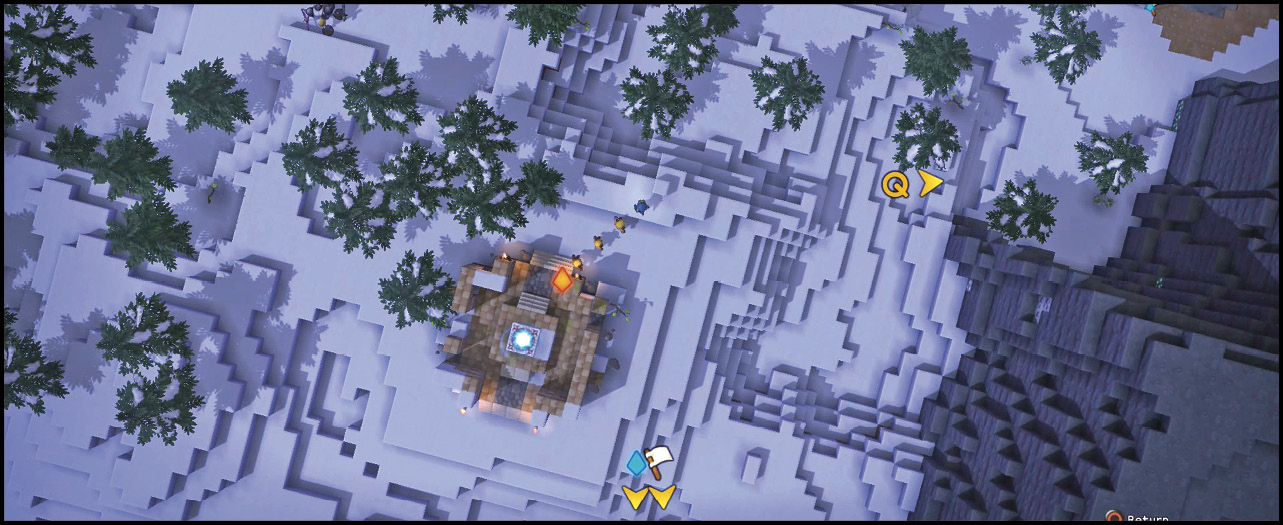
The island through the red teleportal is as frosty as the first island was fiery. The enemies here are fierce and powerful, so you should never travel alone. Cannons may not be good for the environment, but they can be a boon for your safety.
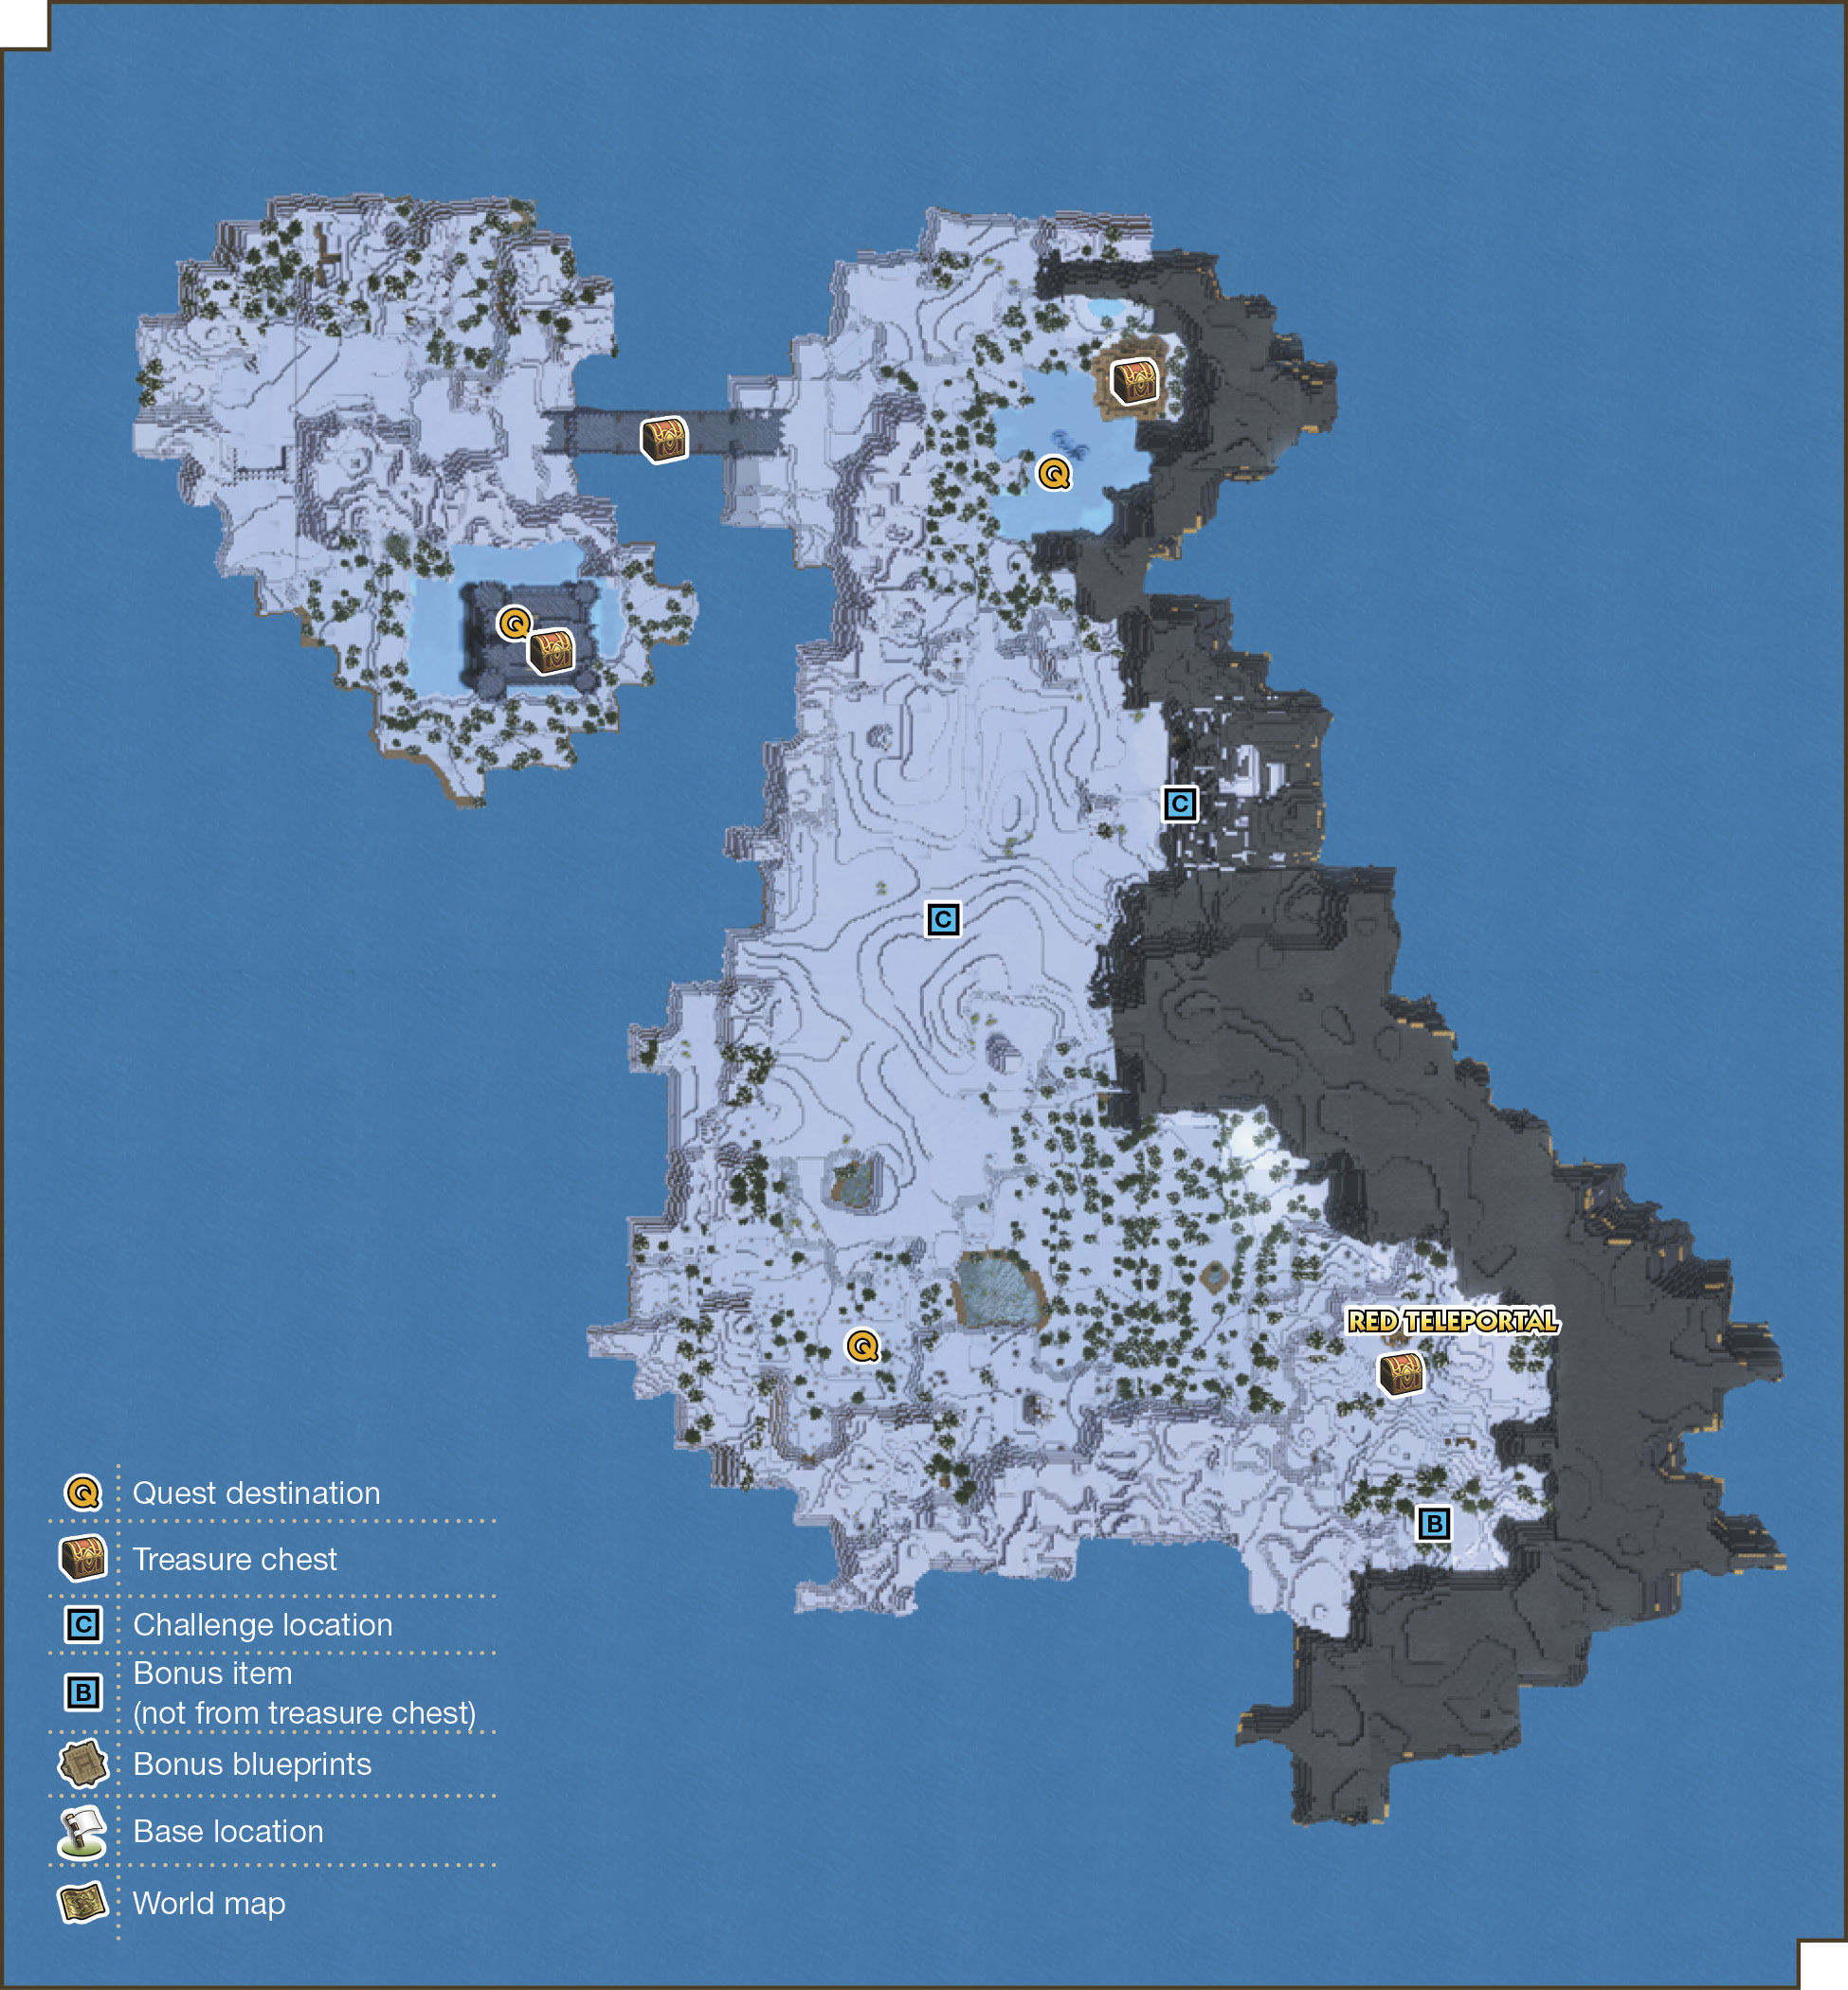
Available Materials
Icon |
Raw Materials |
 |
Broken branch |
 |
Cedar seedling |
 |
Coal |
 |
Freezia flower |
 |
Heartfruit |
 |
Medicinal leaf |
 |
Mythril |
 |
Silver |
 |
Stone |
 |
Sugar cane |
 |
White petals |
Icon |
Raw Materials (shovel required) |
 |
Branch |
 |
Freezia |
 |
Medicinal shrub |
 |
Milkblossom |
 |
Water (bucket required) |
Icon |
Building Material and Decorations |
 |
Broken brickwork |
 |
Cedar lumber |
 |
Chalk |
 |
Clay |
 |
Dilapidated crate |
 |
Earth |
 |
Fortress battlement |
 |
Fortress foundation |
 |
Fortress wall |
 |
Ice |
 |
Iron |
 |
Obsidian |
 |
Pebblestone |
 |
Sand |
 |
Snow |
Wandering Enemies
| Icon | Name | HP | Drops |
|---|---|---|---|
|
|
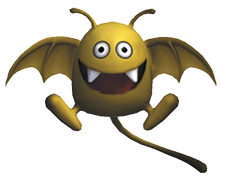
Dracky | 28 | Coralily bud, grass seed |
|
|
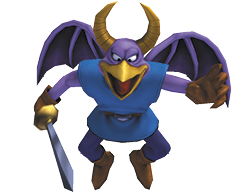
Drackyma | 141 | Grass seed, limegrass seed |
|
|
Fightgeist (night only) | 70 | Monster egg, chimaera feather |
|
|
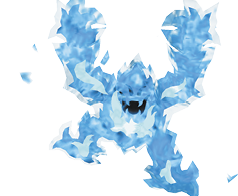
Frostburn | 1 | Frost orb, snow cone |
|
|
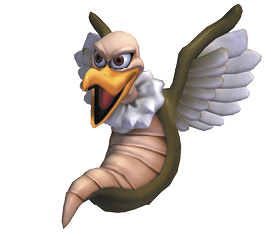
Hawk man | 111 | Bottles, bones |
|
|
Hocus chimaera | 80 | Chimaera feather, monster egg |
|
|
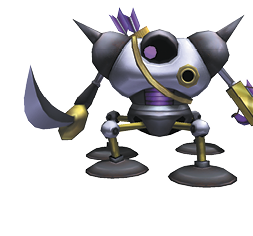
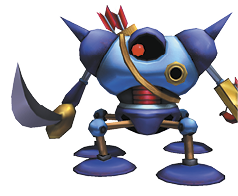
Hunter mech | 180 | Mechrochip |
|
|
Killing machine | 250 | Mechrochip |
|
|
Powie yowie | 81 | Powie yowie fur, tea service |
|
|
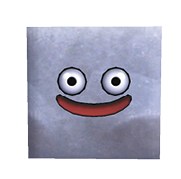
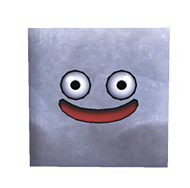
Rocky box slime | 35 | Small stones, pumice |
|
|
Rocky box slime (large) | 42 | Bathtub, big rock |
|
|
Slime | 14 | Blue goo, milkblossom bud |
|
|
Spiked hare | 68 | Meat, finest fur |





An Icy Rescue
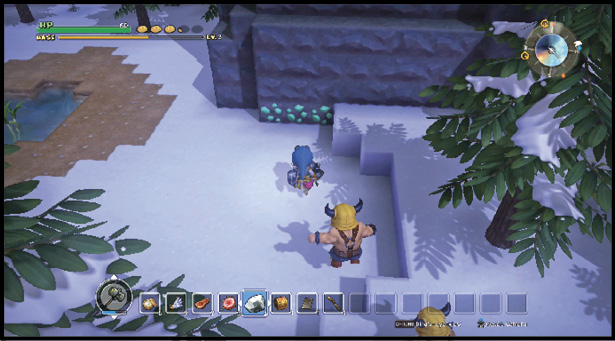
The newcomer is named Baird, and he wastes no time in asking for help. He marks the location of someone in need of rescue. Barbella has a request for ice blocks. Both quests require travel through the red teleportal. Assemble a team to go with you, then head out. While you’re exploring the new land, look for new raw materials, especially mythril veins.
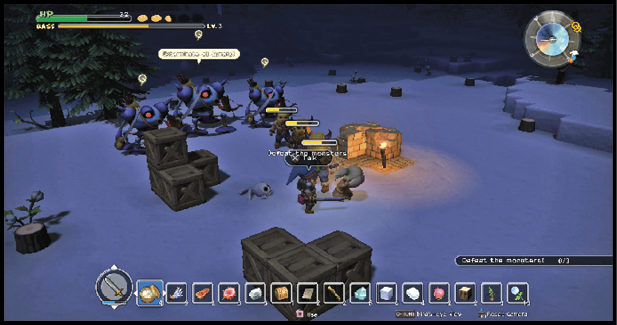
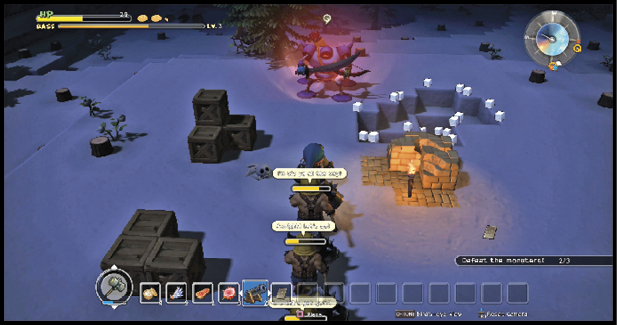
Baird’s quest marker leads west to Cecille. Speaking with her starts a battle against three killing machines, one of which is slightly larger than the others. Be ready to move away as soon as any of the mechs show signs of an upcoming spin. When the battle ends, Cecille joins your party. When you return her to your base, a relieved Baird presents you with a seed of life.
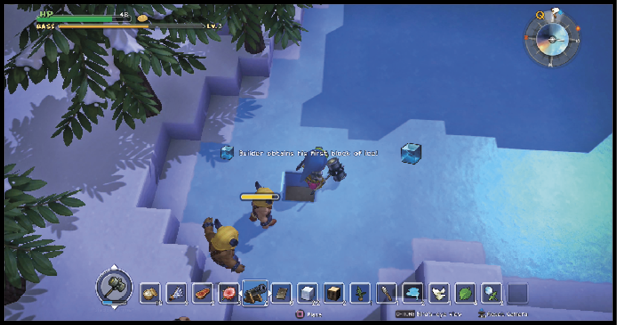
The ice blocks Barbella desires are located far to the north. Cut 10 from the frozen lake and return to your base. The lava (x5) you earn isn’t the best reward you get from this quest. You learn how to create Crack shots and Sizz shots, which finally allows you to take down dancing flames and frostburns.
Fire and Ice Comeuppance
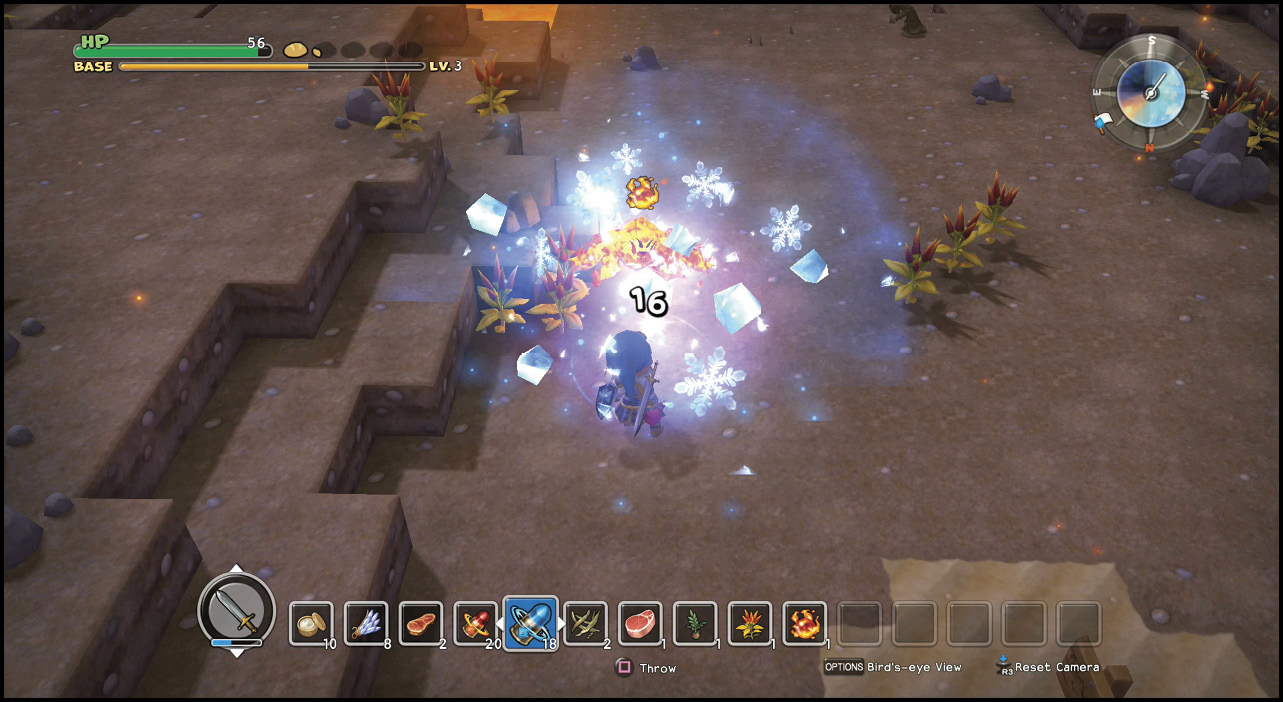
Make a pile of Crack shots (hold off on Sizz shots) and accept Barbella’s next quest. Travel through the blue teleportal and fling Crack shot at the dancing flames. When they are hit with a Crack shots, they leave behind a flame orb. You need five for Barbella (who gives you Sizz shot (x30) for fulfilling her request), but you should collect a few more since you’re already here.
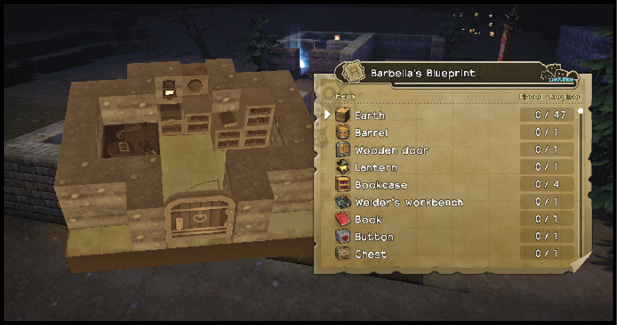
Barbella’s follow-up task begins with a blueprint and the recipe for making a book. Recreate her vision to build a welder’s workshop, and she presents you with iron ingot (x5).
And Now the Magic Happens
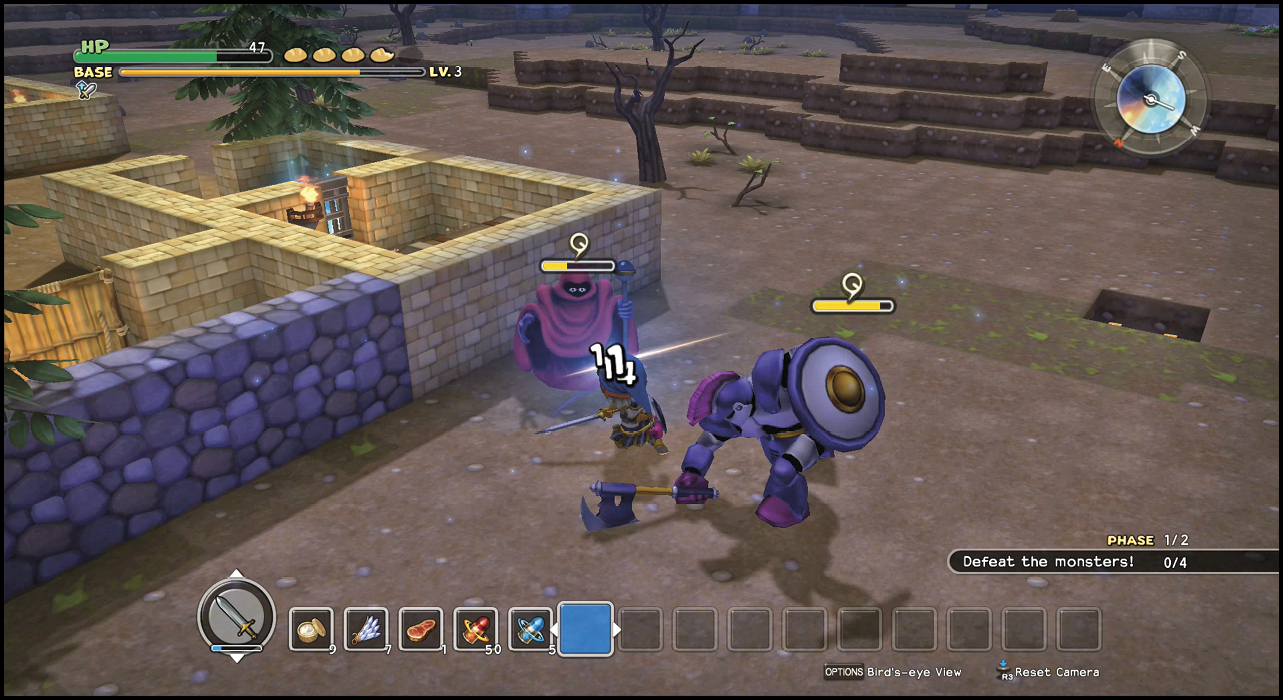
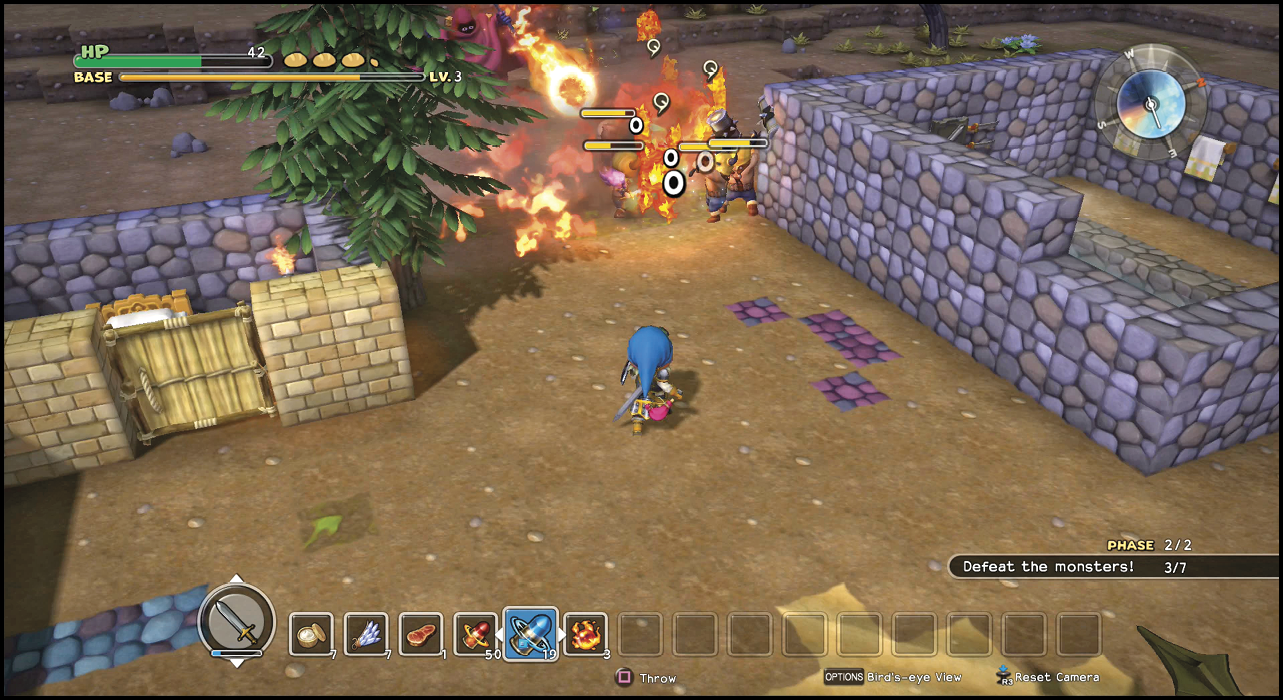
Barbella sends you to defend the base from another assault. Phase one is two knights aberrant, followed by two legerdemen. For phase two, get your Crack shots ready to take down six dancing flames. Stay focused on them until they’re all down, because the residents stay engaged with them, despite doing no damage to them. Gang up on the legerdemen last to earn a seed of life.
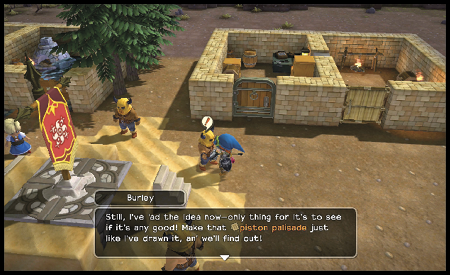
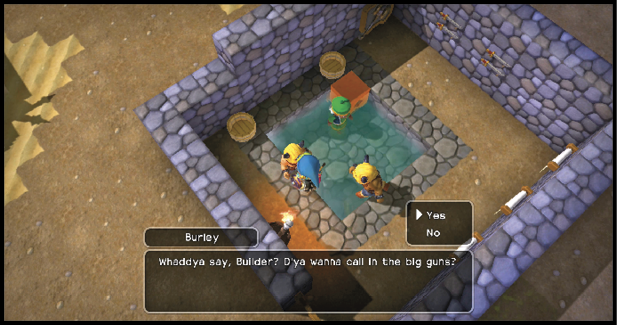
Tired of the monster incursions, Burley presents you with a piston palisade blueprint that can be used to keep the monsters out. Build it in the indicated spot to earn chimaera wing (x3).
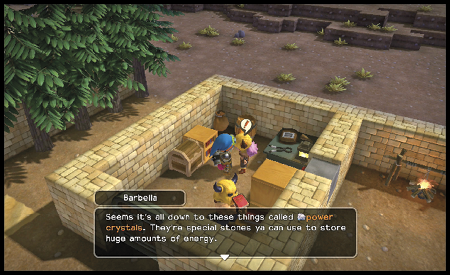
Next, Barbella shows you how to make power crystals. Gather the required materials (you should have everything already) and assemble one, which leads to the recipe for a magic ingot. Make a magic ingot and settle in to scroll through a number of new recipes.
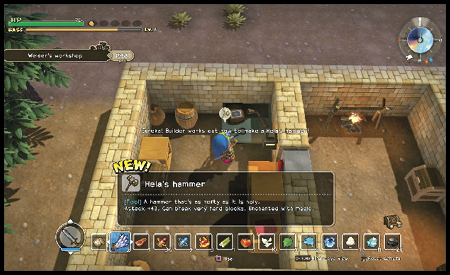
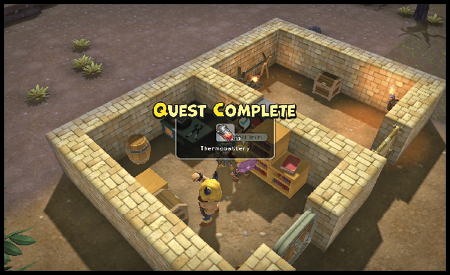
Hela’s hammer is the item that interests Barbella. Make one and show it to her. She gives you thermobattery (x10). Build as much magic armour and weaponry as possible, then equip it all.
Build a Better Bath Before Big Battles
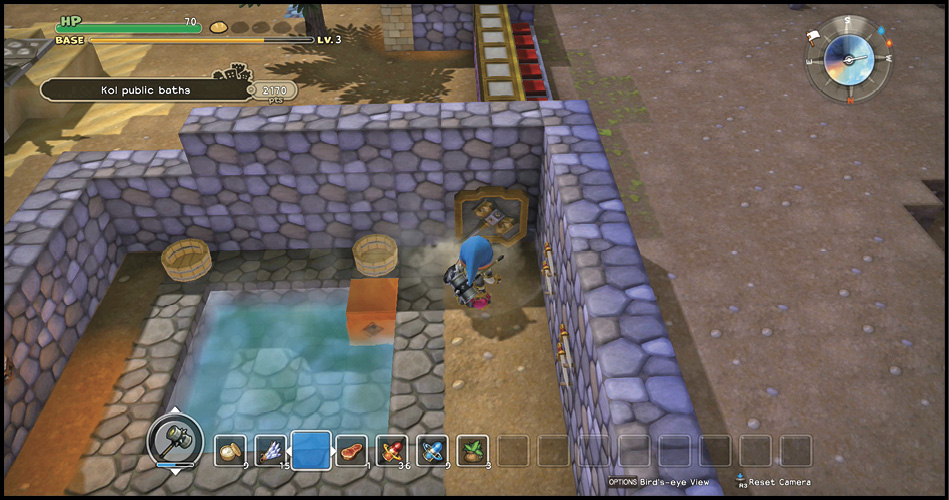
Learn the recipe for Hela’s hammer sign from Maxi. Remove the armourer’s sign from the baths, then upgrade it and put it back up to turn the room into Hela hot baths. The medicinal herb (x3) and the residents equipping magical weapons are welcome rewards, considering what’s coming next.
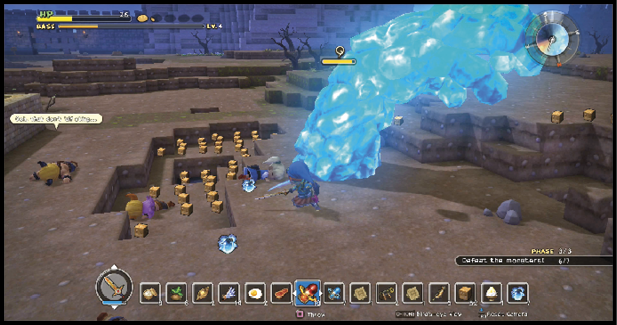
The battle that begins after checking in with Barbella kicks off with four frostburns, but this time, the magic weapons allow everyone to damage them. Two hawk men pop up next to round out phase one. Phase two consists of two pairs of hawk men, followed by the hunter mech leader of the attack. Your reward for defending the base is medicinal herb (x3).
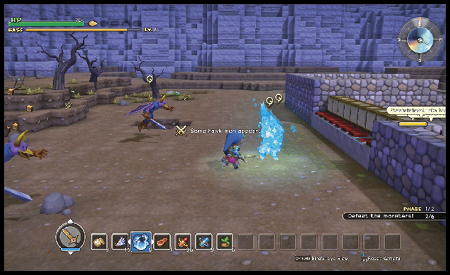
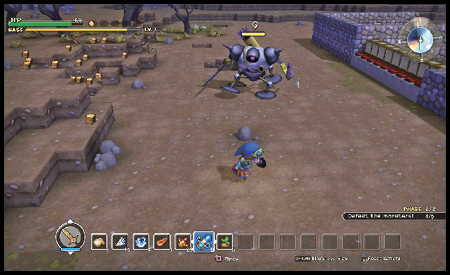
When you talk to Barbella again, you learn that it’s time to take the battle to the monsters. Recruit the bodybuilders into the party and travel through the blue teleportal. Your target is the giant fiery hand in the lava field.
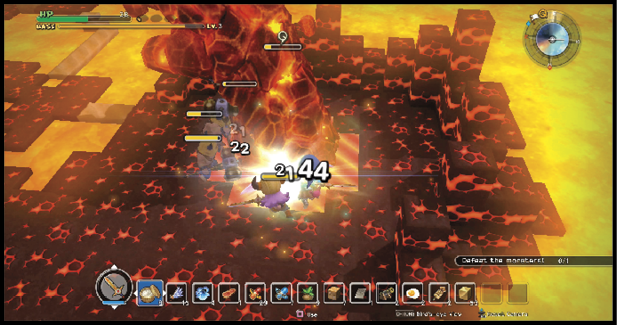
Build a bridge out to the hand so everyone can follow and join in the attack. With magic armour and a magic shield equipped, the damage you take from the magmalice’s hand is relatively low. Keep up the pressure until the hand sinks into the lava and leaves behind a seed of life. Barbella matches that reward back at the base. Save one of the seeds for an emergency healing item for an upcoming battle.
Frosty Fight at a Lv. 4 Base
Glutimus’s latest request is to improve the base to lv. 4. He also offers the Pec and Whistle blueprint as a room to add that will help boost the base’s score. If you follow the blueprint, you create a bodybuilders’ bar. If that doesn’t add enough to your score, search your inventory for decorations to add to rooms, or use cladding and flooring to enhance the value of existing rooms.
Track down Barbella to begin a big battle. Phase one is six frostburns and a hunter mech. Phase two starts with two hunter mechs and ends with two killing machines. This is a dangerous battle, considering the tendency of the base’s residents to fight in a tight knot. Four spinning attacks will chew through everyone’s health in a hurry. The key is to focus on one enemy at a time and burn it down quickly before moving on to the next. The final phase starts off with another six frostburns before the attack’s leader, a firn fiend’s hand, appears. This battle is similar to the one you completed against the magmalice’s hand. Magic armour and shield cut down on incoming damage from the hand’s swipe attack. There’s enough of a break between swipes that you should be able to restore your HP safely. Keep hammering away until the hand falls and leaves behind the green teleportal.