Dragon Quest Builders Guide Alefgard Adventure Final Chapter: Tantegel
Tantagel: A Patchwork Island
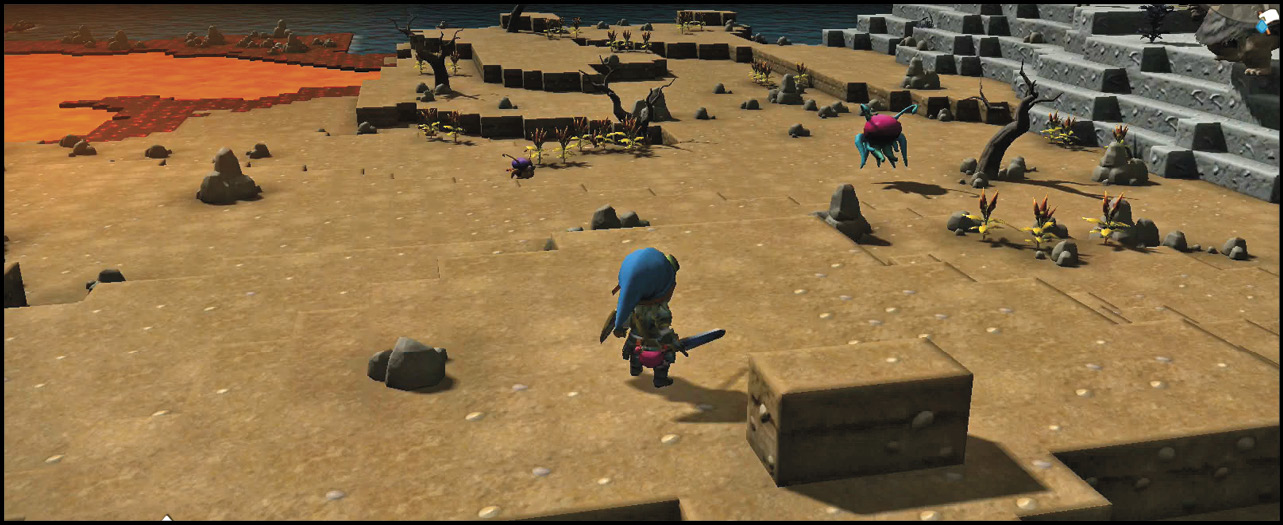
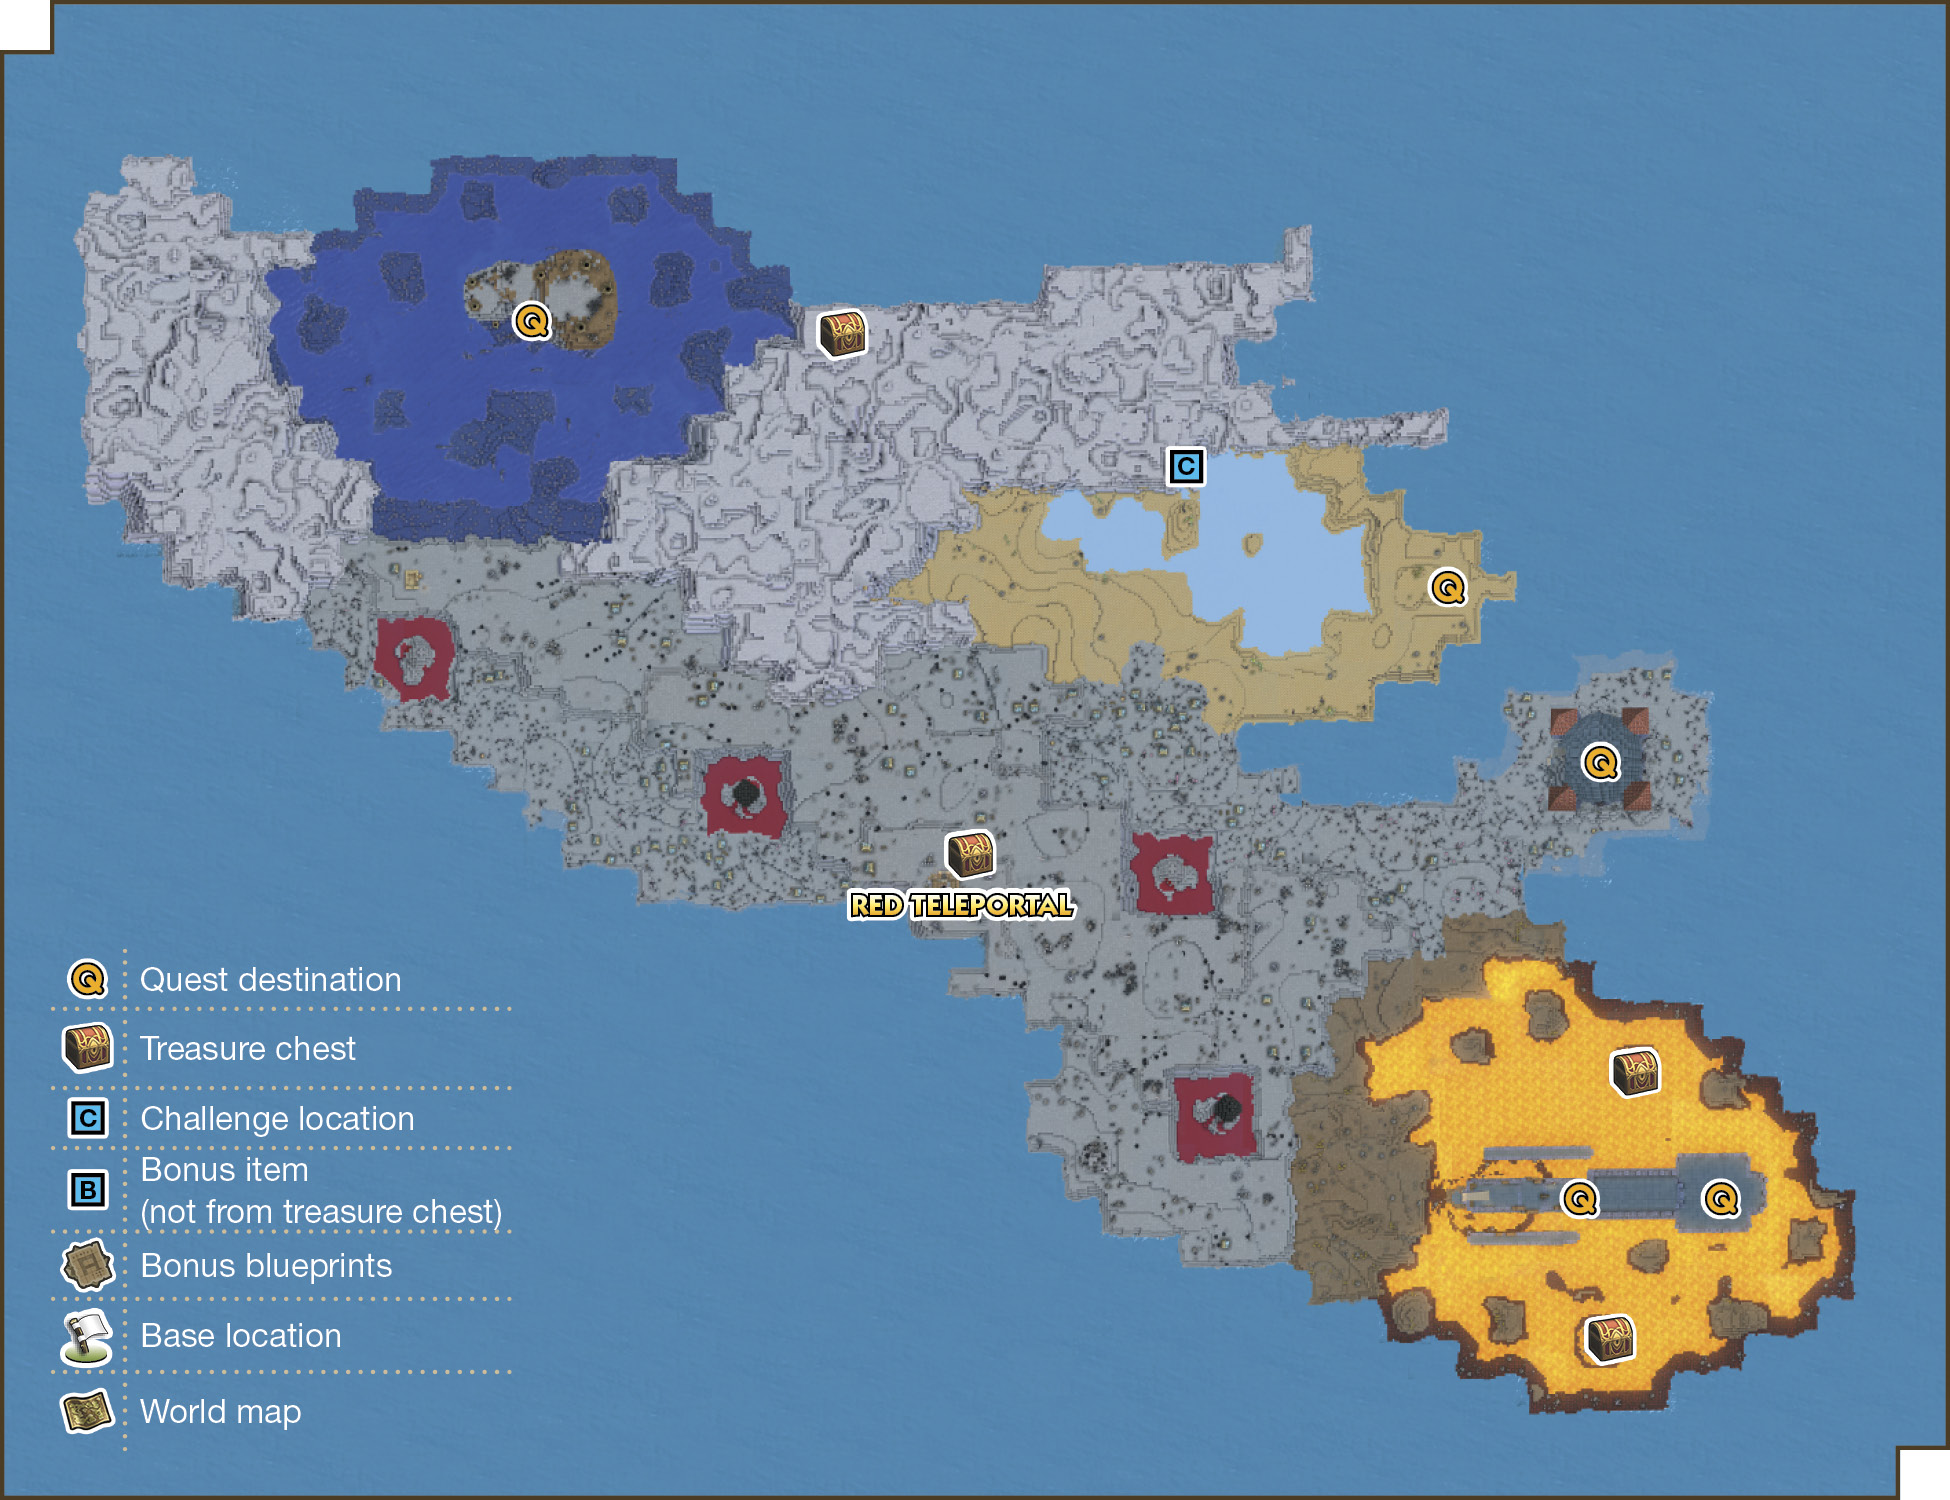
This final teleportal leads to an island with wildly varying environments, from lava in the south to a poison swamp far to the north, with a wide array of monsters to match.
Available Materials
Icon |
Raw Materials |
 |
Broken branch |
 |
Cactus cutlet |
 |
Chilli pepper |
 |
Coal |
 |
Coarse cloth |
 |
Dragon bones |
 |
Frogstool |
 |
Huge horn |
 |
Infernal ivy |
 |
Iron |
 |
Ivy |
 |
Marshroom |
 |
Medicinal leaf |
 |
Orichalcum |
 |
Plumberry seedling |
 |
Prickly peach |
 |
Ruby |
 |
Silver |
 |
Stone |
 |
Strong stalks |
 |
White petals |
 |
Zenithium |
Icon |
Raw Materials (shovel required) |
 |
Blighted branch |
 |
Bogwort |
 |
Branch |
|
Cactus crown |
 |
Cactus trunk |
 |
Grass |
 |
Medicinal shrub |
 |
Milkblossom |
 |
Prickly peach cactus |
 |
Sandgrass |
 |
Shadowgrass |
 |
Stalwort |
 |
Witchgrass |
 |
Water (bucket required) |
Icon |
Building Material and Decorations |
 |
Ash |
 |
Bloodstone |
 |
Bonestone |
 |
Broken barricade |
 |
Chalk |
 |
Clay |
 |
Dilapidated crate |
 |
Earth |
 |
Fortress battlement |
 |
Fortress foundation |
 |
Fortress wall |
 |
Grassy leaves |
 |
Ice |
 |
Lava |
 |
Metal memorial |
 |
Obsidian |
 |
Pebblestone |
 |
Plumberry lumber |
 |
Poisonous peat |
 |
Sand |
 |
Sandstone |
 |
Tattered standard |
Wandering Enemies
| Icon | Name | HP | Drops |
|---|---|---|---|
|
|
Cosmic chimaera | 36 | Monster egg, chimaera feather |
|
|
Death scorpion | 92 | Meaty bone, spike trap |
|
|
Drackyma | 39 | Grass seed, limegrass seed |
|
|
Drohl drone | 55 | Witchgrass seed |
|
|
Fightgeist (night only) | 75 | Monster egg, chimaera feather |
|
|
Ghost (night only) | 80 | Monster egg, chimaera feather |
|
|
Grillerpillar | 58 | Coal |
|
|
Handsome crab | 64 | Crab claw |
|
|
Lunatick | 52 | Healing cream |
|
|
Raving lunatick | 105 | Medicinal herb |
|
|
Rockbomb | 60 | Rockbomb shard |
|
|
Rocky box slime | 11 | Small stones, pumice |
|
|
Rocky box slime (large) | 23 | Bathtub, big rock |
|
|
She-slime | 11 | Orange oil, daffodaisy bud |
|
|
Skeleton scrapper | 65 | Coarse cloth, bones |
|
|
Spiked hare | 54 | Finest fur |
|
|
Spitegeist (night only) | 75 | Monster egg, chimaera feather |
|
|
Treevil | 106 | Tainted tree, twisted tree trunk |
|
|
Troll | 160 | Meaty bone, float-o-copper |



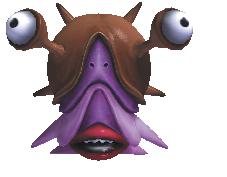










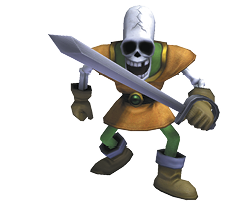


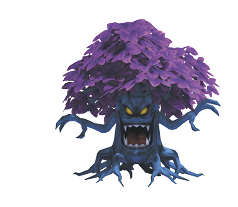

Rescue the Sages: Rollo
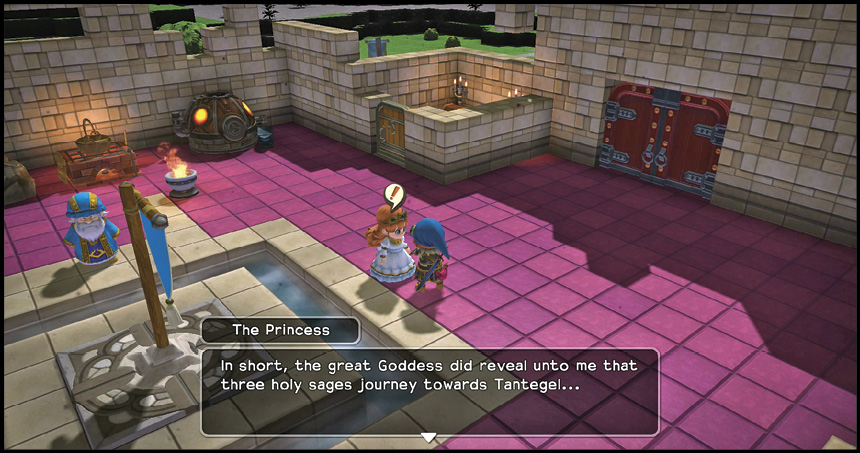
Speak with the Princess, who provides a red naviglobe and reveals that three sages were to arrive in Tantegel, but problems have arisen. Trystian, Launce, and Myrlund have additional information and each offers a quest to retrieve a sage. The sages can be retrieved in any order, or all at once. They’re covered individually here in case you become stuck at a particular one before looking for help.
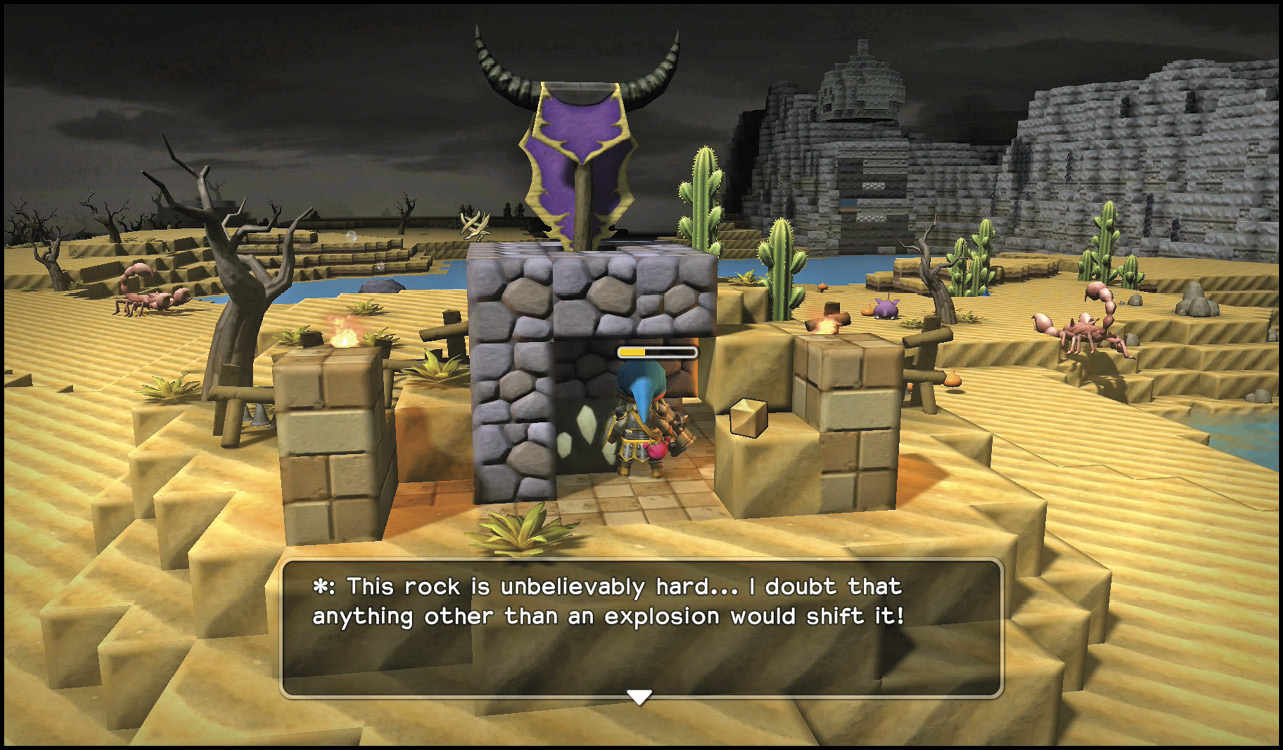
Myrlund marks the sage’s location on your compass. Before you travel through the red teleportal, put a wrecking ball in your inventory if you have one, or take along the mason’s workstation if you don’t have a wrecking ball.
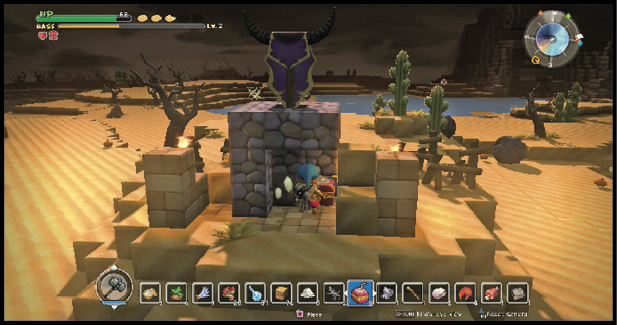
Talk to Rollo at the destination, which is also marked with a Dragonlord’s standard. Rollo isn’t visible, but he is able to explain the situation. Place a wrecking ball near the orichalcum vein to free the mayor of Cantlin from his stone confines.
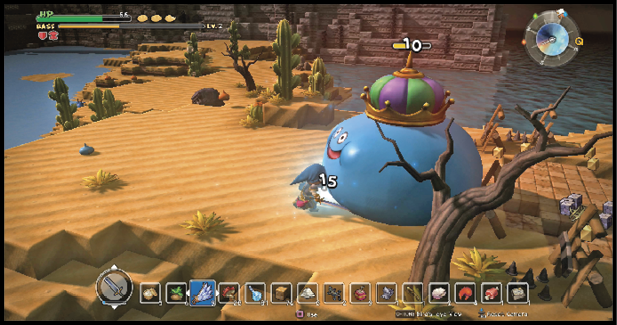
The explosion draws the attention of a king slime, known as His Wobbliness. Defeat the giant blue blob, then check on Rollo. Talk to the smaller slime, which returns the Ancient Emblem. Show the legendary item to Rollo, who then agrees to accompany you to Tantegel Castle. When Rollo joins the castle, he presents you with spike trap (x30) and evil idol (x2). Myrlund adds chimaera wing (x5).
Rescue the Sages: Elle
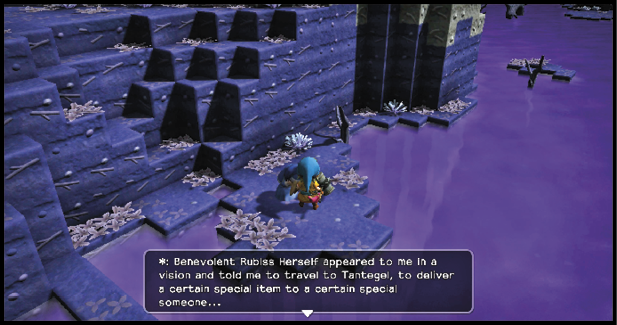
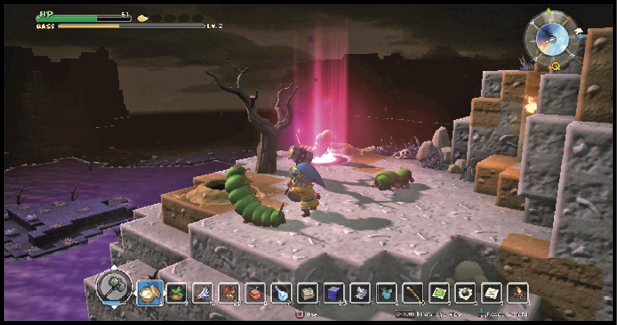
Launce sends you in search of Elle, who’s in the poison swamp area in the north. She provides medicinal herb (x5), antidotal herb (x5), Tingle tablet (x5), and Defuddle drops (x5). To retrieve the Staff of Rain, you must destroy all the beastly burrows on the nearby hill.
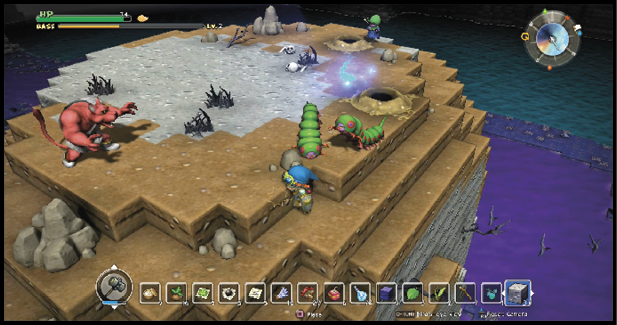
Each burrow has low-health protectors that spawn in large numbers. The lowest burrow summons bodkin fletchers who use poison darts. The next level has two burrows of killerpillars, which sometimes inflict paralysis. The next ledge has a single burrow inhabited by bewarewolves that employ claw attacks that may cause confusion.
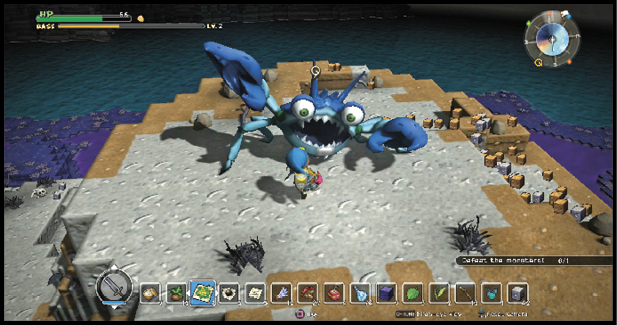
The highest ledge has three beastly burrows. Each burrow spawns one of the types of enemies you already faced. If you have any leftover wrecking balls, this is a good spot to put them to use. When all three burrows are destroyed, a large handsome crab appears. Clear out any remaining summoned enemies before tackling the crab. It’s essentially a large version of a handsome crab with one extra ability. When it throws up its claws, it summons a standard-sized handsome crab to attack you.
Collect the Staff of Rain from where the handsome crab dropped it and carry it down to Elle. Elle joins the party and asks you to lead her to Tantegel Castle. Once there, speak with her, and she joins the castle and gifts you medicinal herb (x20). Launce chips in medicinal herb (x10) as well.
Rescue the Sages: Barbella
Add divine daggers to your inventory, then accept Trystian’s quest. He sends you through the red teleportal, then southeast to a bridge in a lava-covered area.
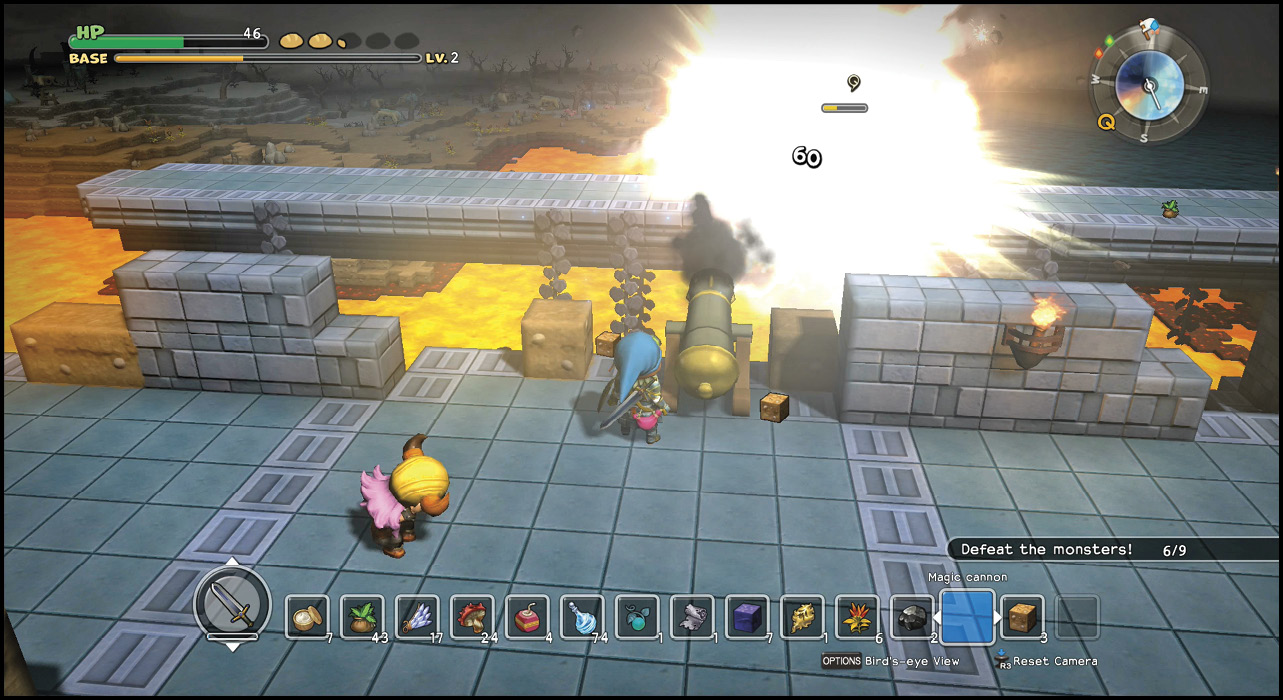
Ascend the stairs to begin the challenge. Speaking with Barbella is optional. There are nine enemies, many of which are out of melee range. Take down the enemies on the same bridge as Barbella. Use the existing walls as a shield from the energy blasts coming from the vis magers and lunaticks. Move the magic cannon into position to blast the enemies on the sides. The bridges are all sturdy enough to withstand blasts from the cannon, so you don’t need to worry about creating gaps on your bridge.
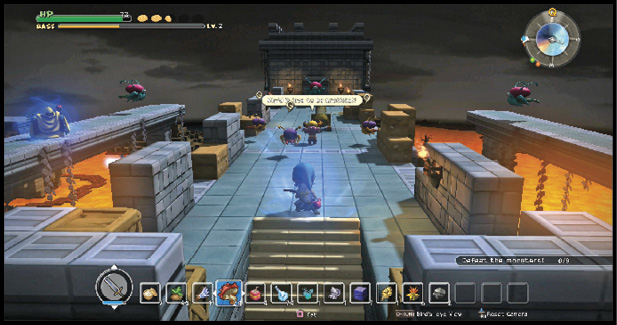
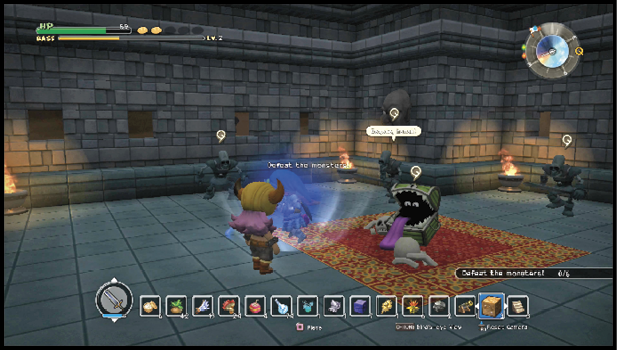
Talk to Barbella, which causes the quest marker to move. The building ahead is now open. When you try to open the chest, it becomes a mimic and five dark skeletons appear. Defeat the monsters to obtain the Sunstone.
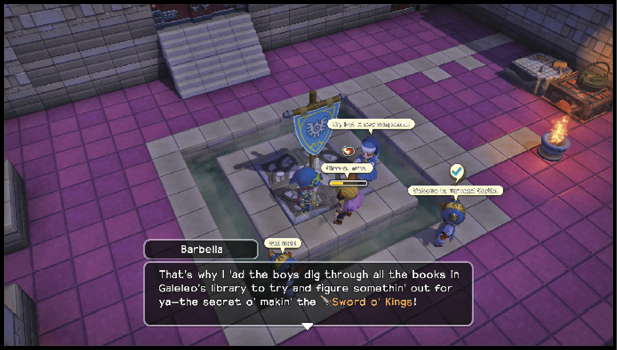
Return to the castle, where Barbella becomes a resident after she gives you a magic cannon and the Bashmobile. Trystian rewards you with iron ingot (x5). When all three sages are safely in the castle with their legendary items, the Princess awards you a seed of life.
Castle Expansion
With all the new arrivals, the castle is starting to feel cramped. Talk to Elle, who shares the secret of making Goddess statues and a holy hostel blueprint that she asks to have built. The finished room provides beds to sleep in and a place for residents to prepare food. When you’re done, Elle rewards you with ruby (x2) and the recipe for Yggdrasil essence.
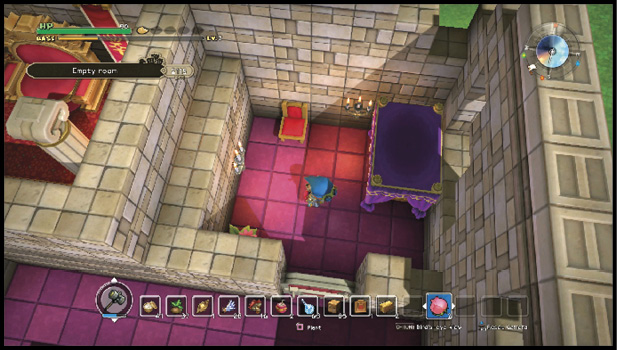
Trystian asks for a special bedroom for the Princess. To make a princess’s bedroom, you need a lady sign, a princess-sized bed, chic chair, any flower, and candelabrum. When the room is complete, your reward is chimaera wing (x10).
Forging Legendary Equipment
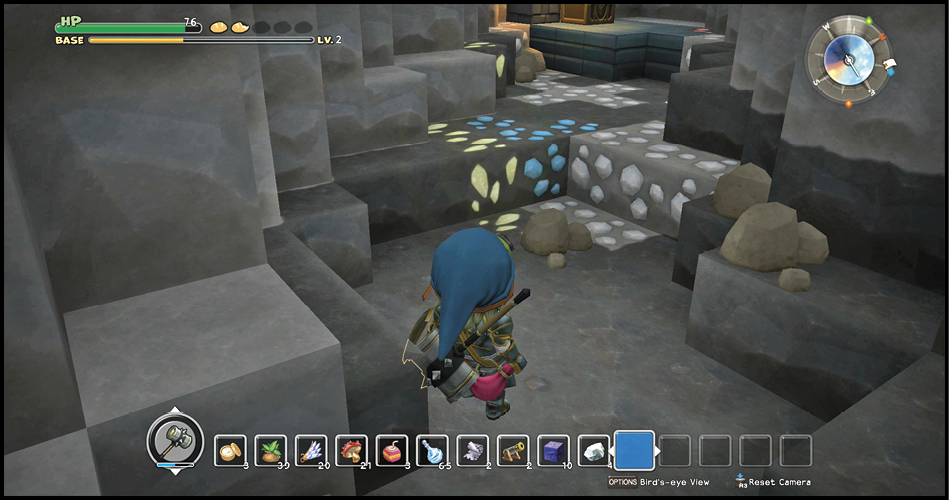
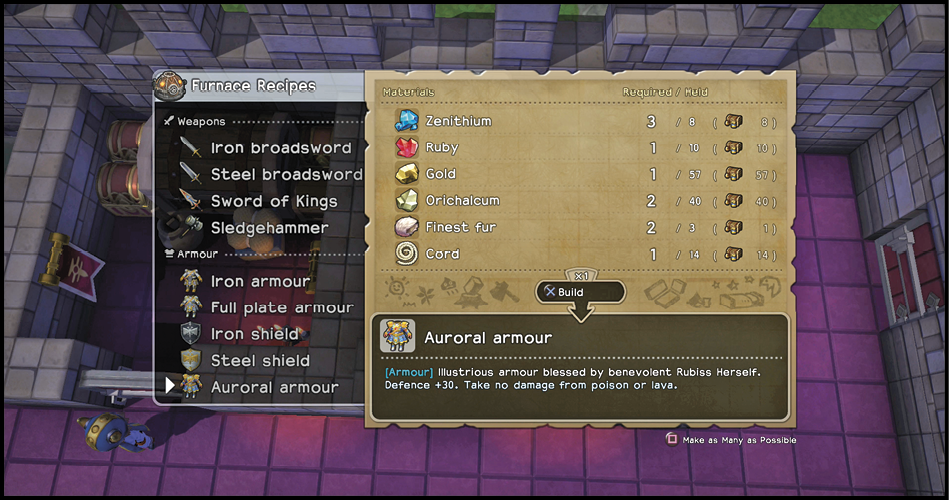
Barbella and Rollo share the secrets of making the legendary Sword of Kings and auroral armour when you speak with them. In order to make the legendary equipment, you must mine gold, rubies, zenithium, and orichalcum from the caves beyond the red teleportal.
A magic cannon works for mining zenithium, but orichalcum requires wrecking balls. Get eight zenithium ore while you’re out, otherwise you’ll be back again later. The reward for crafting the Sword of Kings is silver (x2). For the auroral armour, you receive gold and the recipe for the hero’s shield.
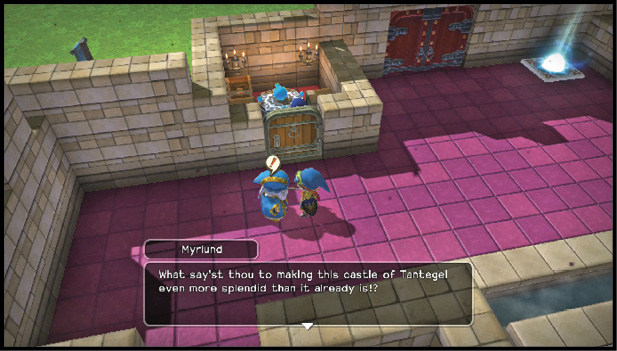
Myrlund asks you to improve the castle to lv. 3, which you likely have reached just through the recent additions. He gives you a seed of life when it’s accomplished.
Facing the King of Darkness
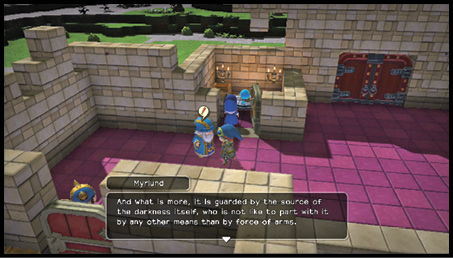
Talk to Myrlund again and he hands you the keystone. He marks the location of the prismatic crystal your compass and you learn how to make the ultimate key. Craft the key at the diviner’s altar (if you need a float-o-copper, get it from a troll), then travel through the red teleportal.
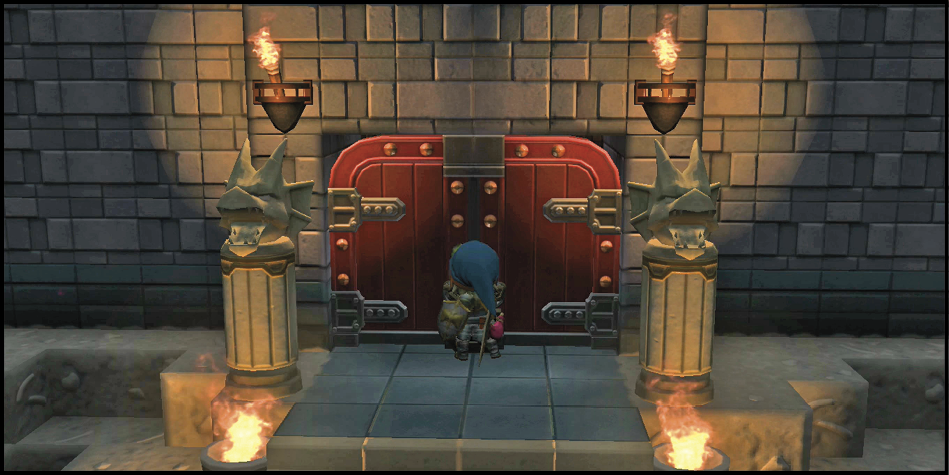
The marker leads you to a locked door, which requires the ultimate key. The King of Darkness is on the other side of the door and the battle against him begins immediately. His primary attacks are an overhead chop, a spinning slash (which knocks you away), and a twisting jump attack. All these attacks start out slow, providing plenty of time to avoid them. Sometimes, his attack fails and he falls to a sitting position.
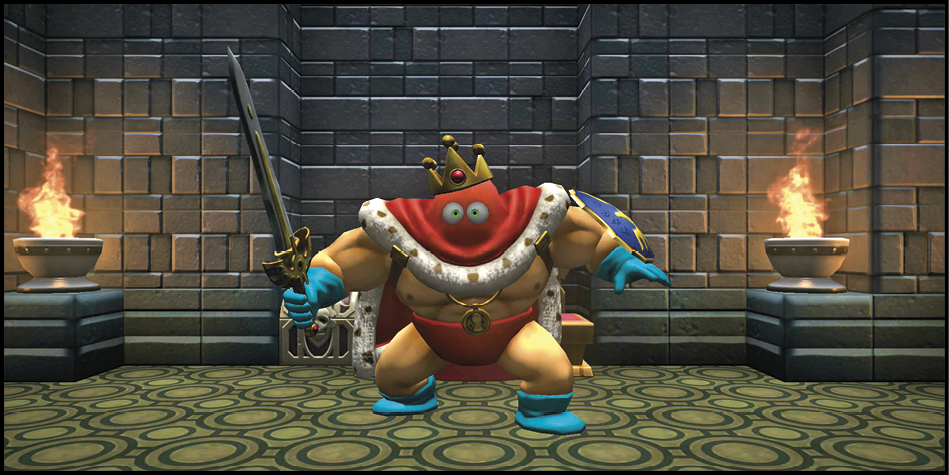
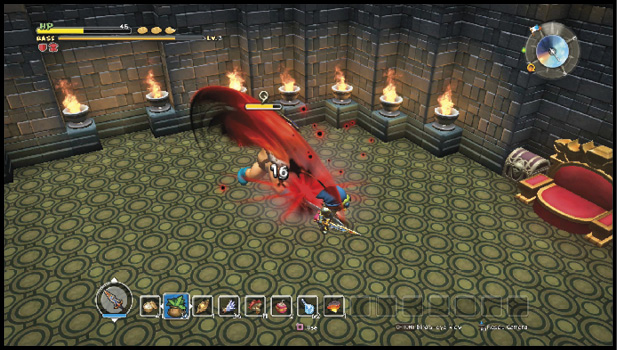
When the King of Darkness sheathes his sword, he becomes invulnerable and summons zero, one, or two raving lunaticks to aid him. They remain in place after being summoned and you need to eliminate them quickly. He continues to summon them throughout the fight and you don’t want to deal with more than two at a time.
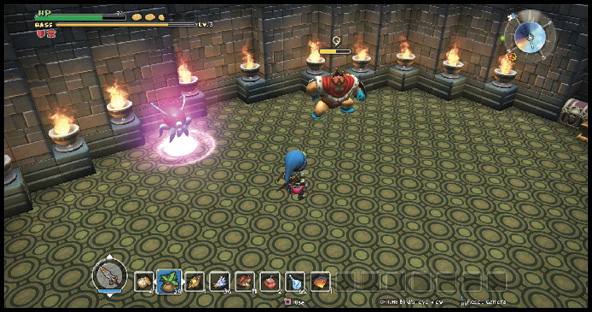
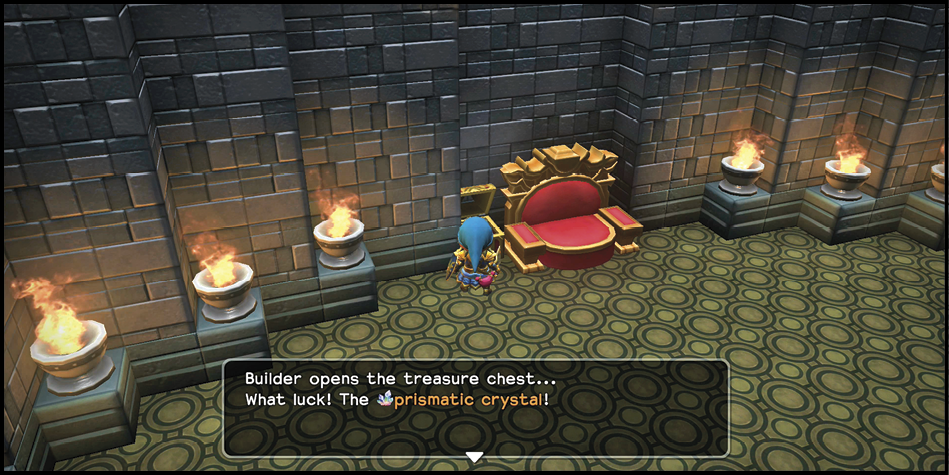
The fight concludes just before the King of Darkness loses all his health. He runs away, leaving you to claim the prismatic crystal from the now-unlocked treasure chest. Return to the castle, where you can claim a seed of life from Myrlund for returning with the prismatic crystal.
Assaults with Giant Leaders
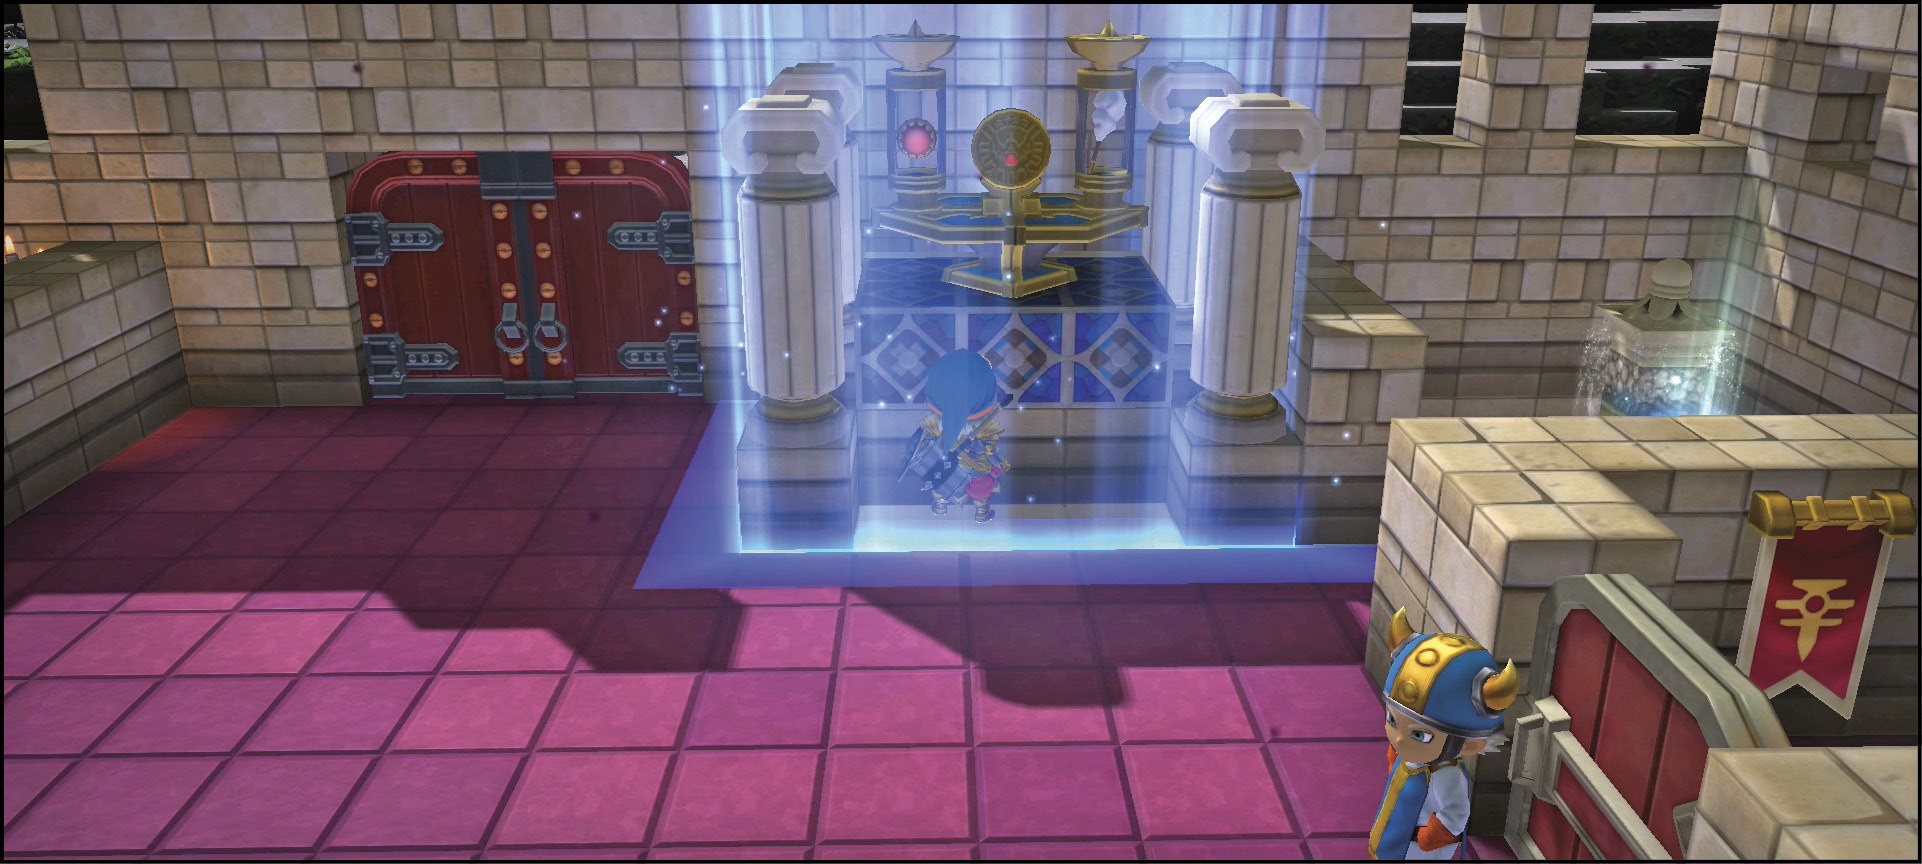
Talk to the Princess to receive the Sanctum blueprints and learn how to make the ancient altar from the legendary items delivered by the sages. Craft the Rainbow Drop, which allows you to teleport to the Dragonlord’s island fortress. After creating the Rainbow Drop, the Princess gives you scare root (x2), the final component you need to make Yggdrasil essence.
The last two events to complete before traveling to the Dragonlord’s island are assaults led by enemies capable of demolishing your castle. Save now, before you speak with the Princess, if you would rather restart a battle than restart construction on your castle.
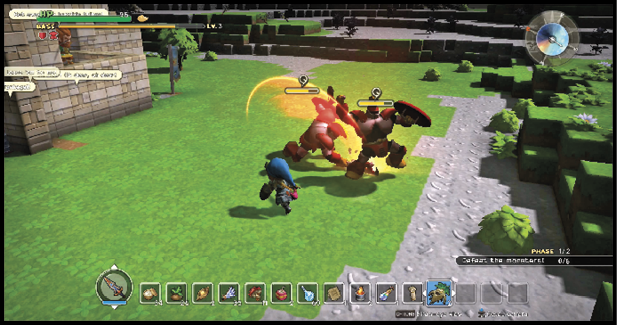
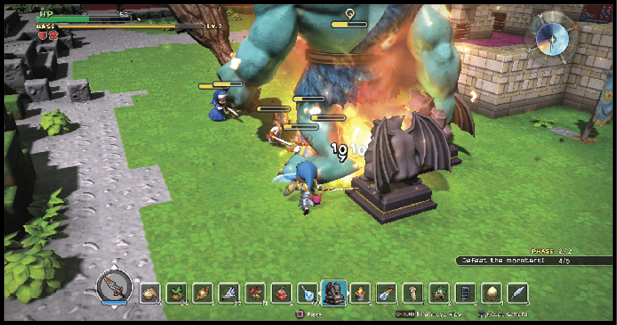
If you aren’t concerned about your castle, break out the magic cannon for the next two attacks. Evil idols can be helpful and won’t damage the surrounding area. Set up everything outside the south wall, as that’s where the enemy forces muster.
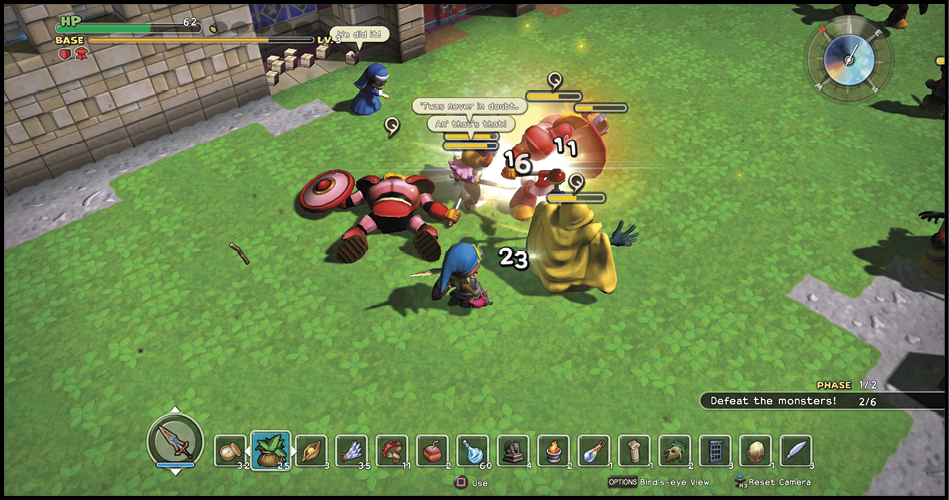
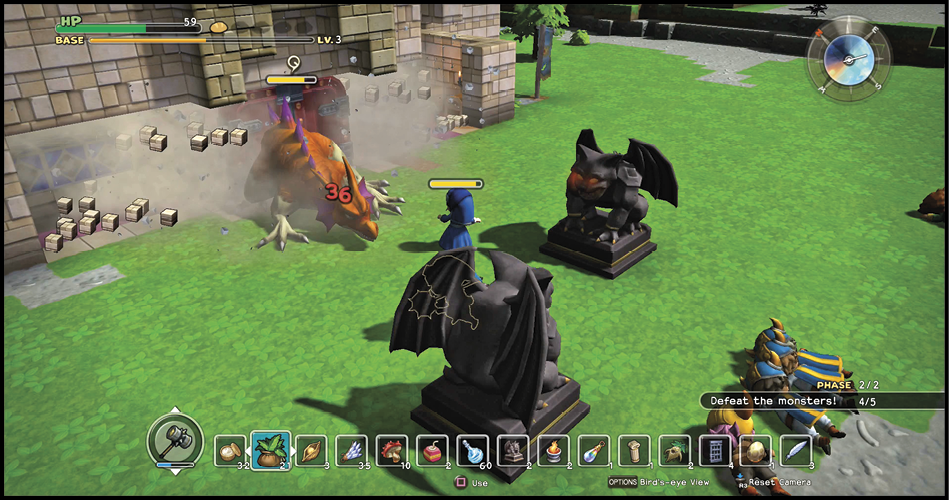
Respond YES to the Princess to start the attack. The first phase is two knights abhorrent, then two cosmic chimaeras, and then another two knights abhorrent. The next phase is another pair of knights abhorrent, then two cosmic chimaeras, and finally the leader, gigantes. Gigantes will demolish the castle and its residents with the same devastating blow, so try to keep it away from the walls while you slowly chip away at its health.
Answer the Princess with YES again to start the final assault on the castle. The initial phase is two pairs of knights abhorrent supported by two vis magers. The residents tend to focus on enemies that arrive first, so you should jump on the vis magers when they appear. The second phase starts out with one pair each of knights abhorrent and vis magers, then turns dangerous when a dread dragon appears. The dread dragon uses the spin and fire breath attacks you’ve encountered in dragons before, but dread dragons actually move while fighting. Its spin move will destroy people and building blocks with equal ease. If it gets inside your castle, expect to lose a few of your rooms.
When the final enemy falls, you earn a seed of life. Now, the only task left to undertake is the Dragonlord’s island. Speak to the Princess and use the Rainbow Drop to teleport there.