Dragon Quest Builders Guide Alefgard Adventure Chapter 3: Kol and Galenholm
Kol: Island of Lava
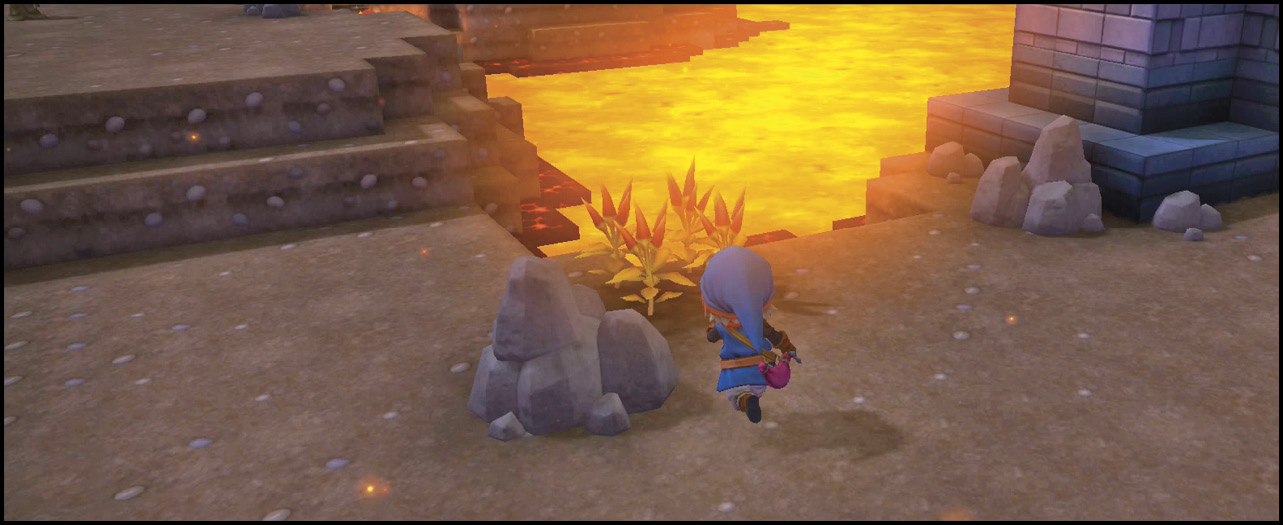
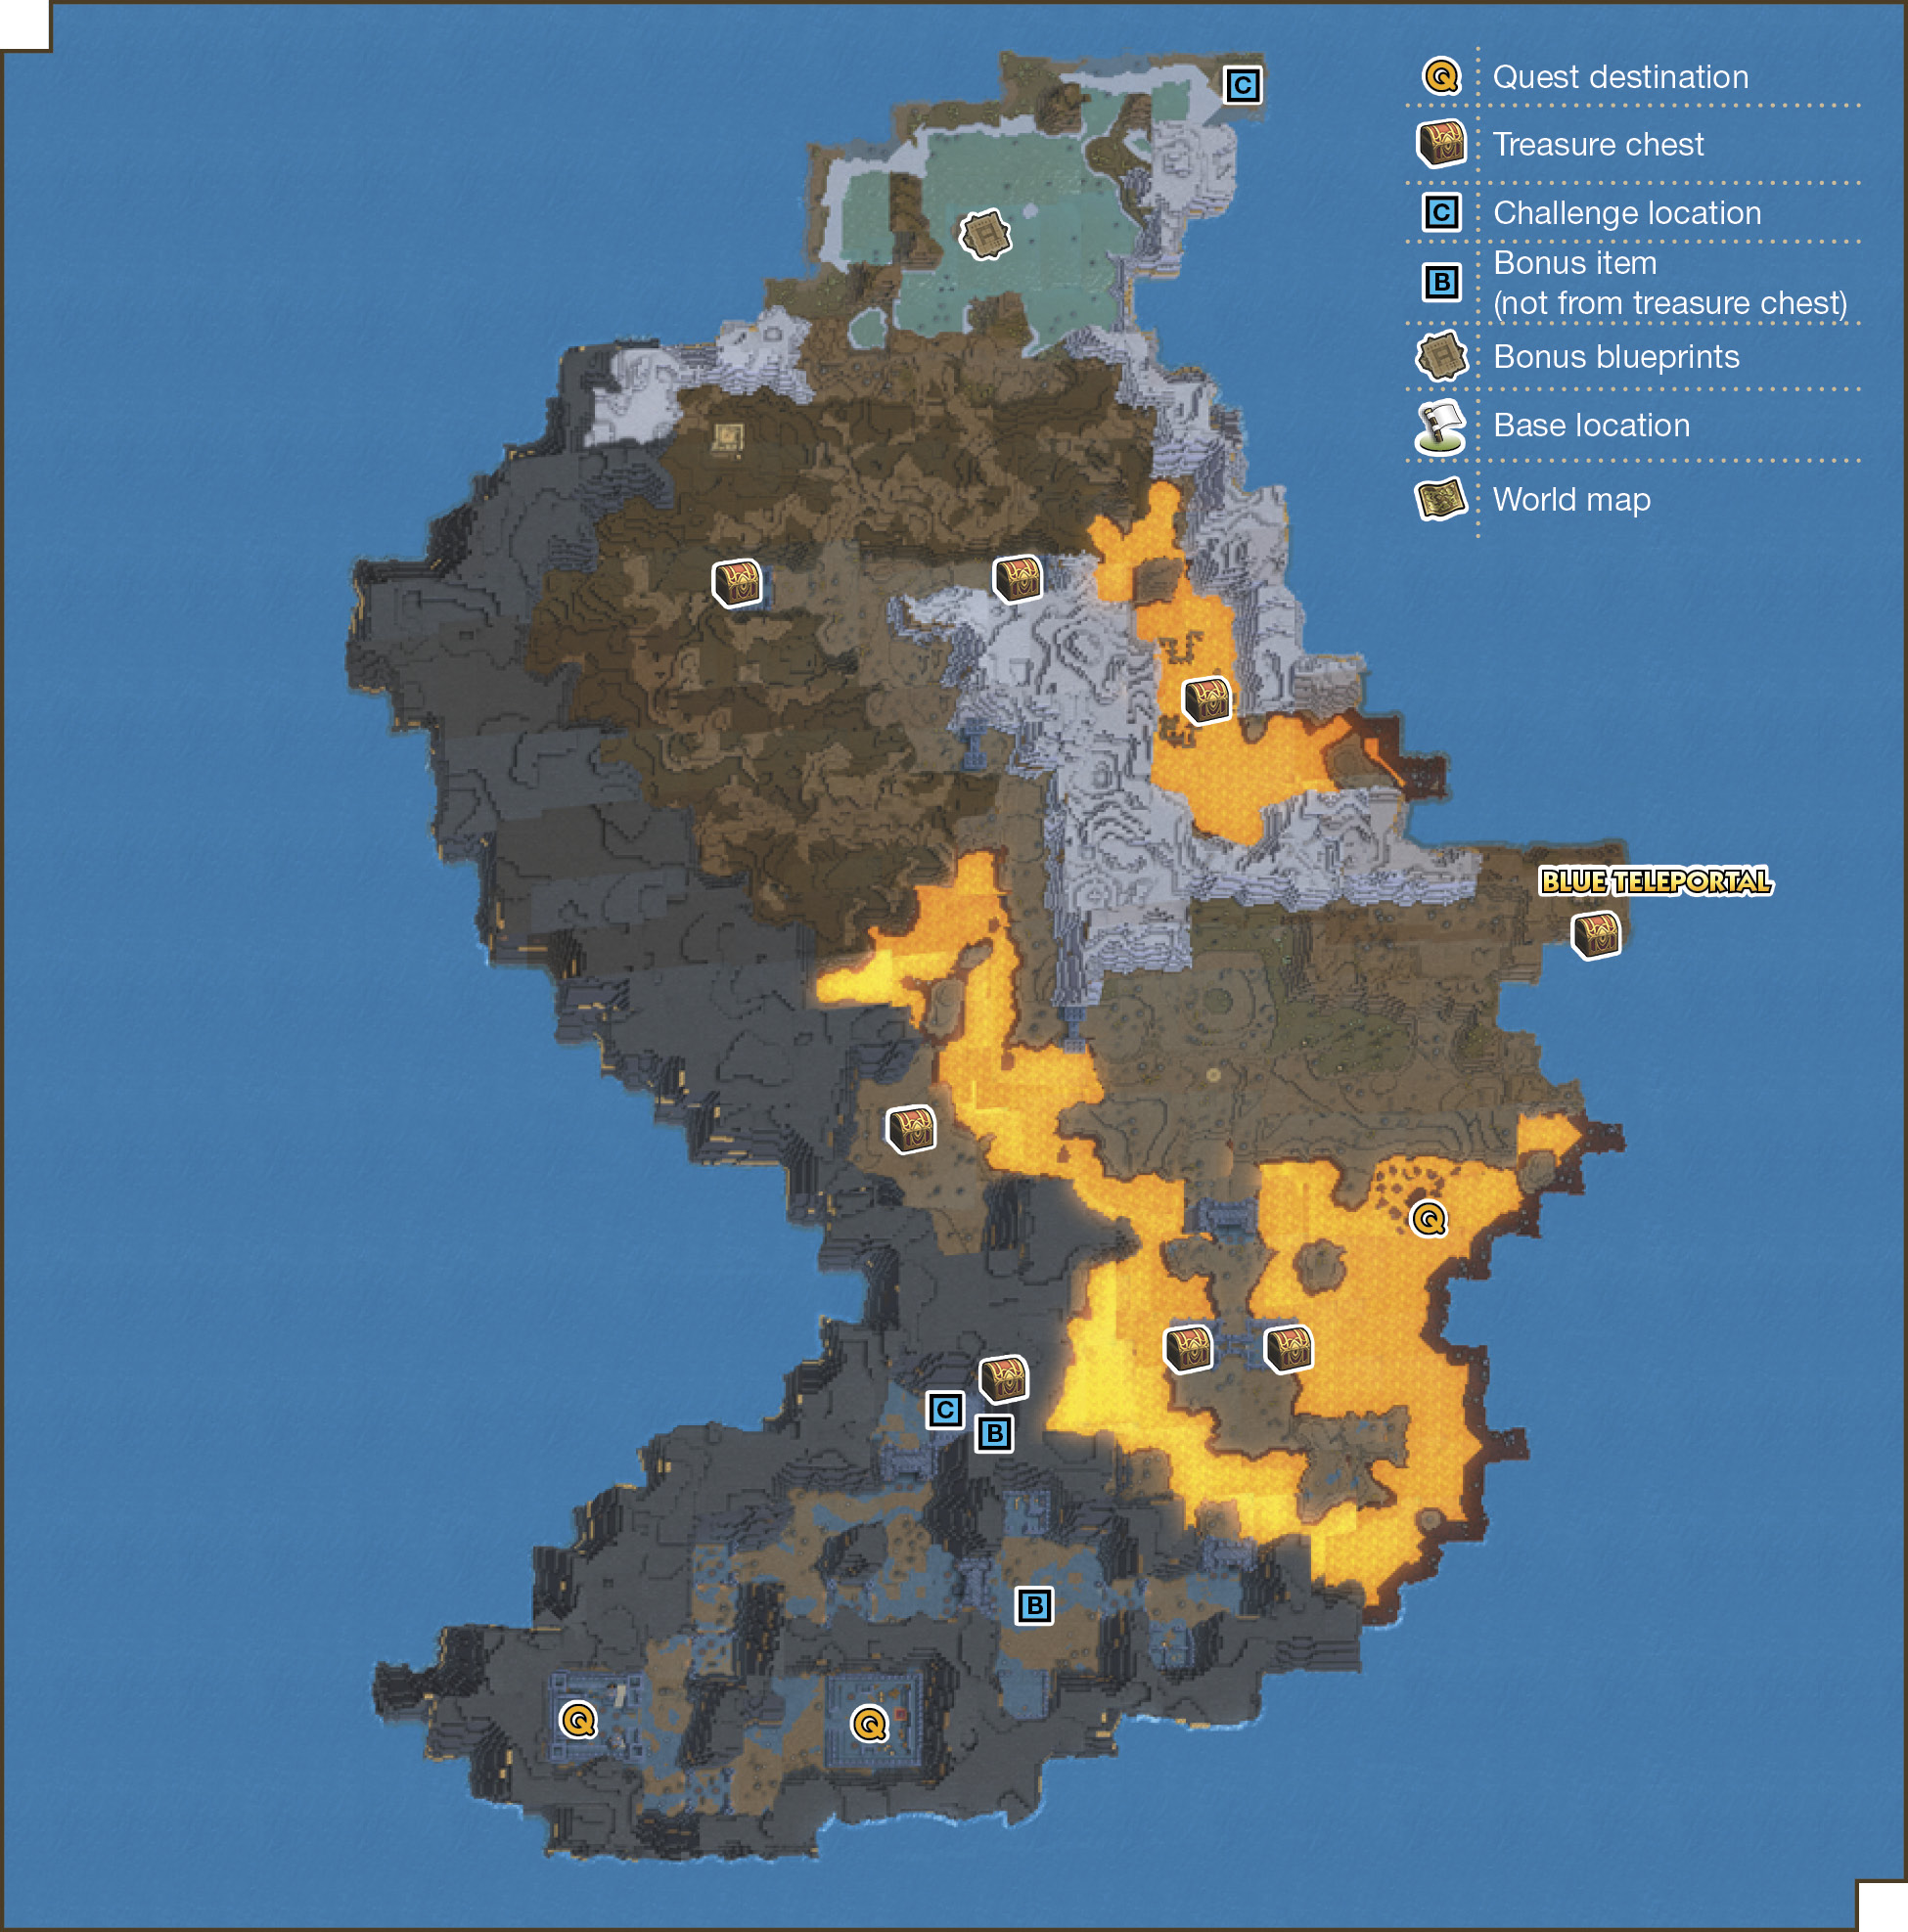
Lava covers much of the island on the other side of the blue teleportal. Powerful enemies guard gates and make early exploration tricky. Initial trips should focus on improving your equipment.
Wandering Enemies
| Icon | Name | HP | Drops |
|---|---|---|---|
|
|
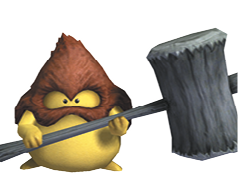
Brownie | 16 | Fur |
|
|
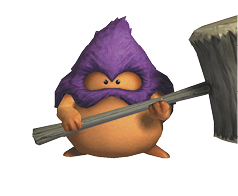
Brownie (large) | 3024 | Leather sack |
|
|
Bunicorn | 21 | Meat, medicinal leaf |
|
|
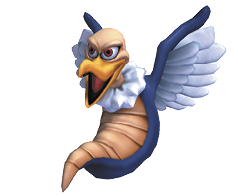
Chimaera | 20 | Chimaera feather, monster egg |
|
|
Chimaera (large) | 82 | Chimaera feather, monster egg |
|
|
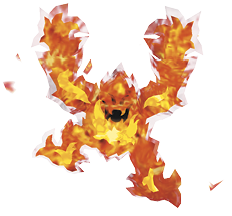
Dancing flame | 1 | Flame orb |
|
|
Fightgeist (night only) | 70 | Monster egg, chimaera feather |
|
|
Ghost (night only) | 8068 | Monster egg, chimaera feather |
|
|
Hammerhood | 16 | Fur, whopping needle |
|
|
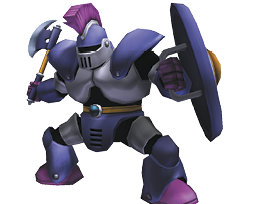
Knight aberrant | 197 | Face guard fragment, healing cream |
|
|
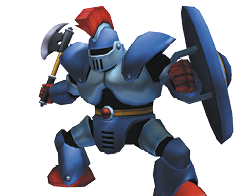
Knight errant | 107 | Face guard fragment, healing cream |
|
|
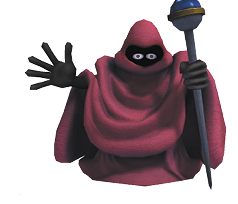
Legerdeman | 65 | Coarse cloth |
|
|
Metal slime | 5 | Silvery sludge |
|
|
Muddy box slime | 21 | Mossy earth, pot |
|
|
Muddy box slime (large) | 24 | Bottles, crockery |
|
|
Muddy hand | 30 | Lichen limb, cedar seedling |
|
|
Rocky box slime | 35 | Small stones, pumice |
|
|
Rocky box slime (large) | 42 | Bathtub, big rock |
|
|
Scorpion | 28 | Chains, medicinal herb |
|
|
She-slime | 15 | Orange oil, daffodaisy bud |
|
|
Slime | 14 | Blue goo, milkblossom bud |
|
|
Spiked hare | 36 | Hareloin steak |
|
|
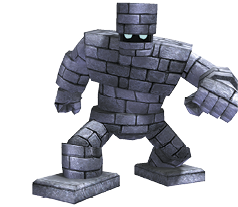
Stone golem | 238 | Round table, bathtub |







Available Materials
Icon |
Raw Materials |
 |
Broken branch |
 |
Cactus cutlet |
 |
Cedar seedling |
 |
Chilli pepper |
 |
Coal |
 |
Copper |
 |
Dragon bones |
 |
Iron |
 |
Ivy |
 |
Prickly peach |
 |
Pumice pieces |
 |
Ruby |
 |
Stone |
 |
Wheat |
 |
White petals |
Icon |
Raw Materials (shovel required) |
 |
Branch |
 |
Cactus crown |
 |
Cactus trunk |
 |
Milkblossom |
 |
Prickly peach cactus |
 |
Sandwort |
 |
Water (bucket required) |
Icon |
Building Material and Decorations |
 |
Chalk |
 |
Clay |
 |
Clodstone |
 |
Crumbly clodstone |
 |
Dilapidated crate |
 |
Earth |
 |
Fortress battlement |
 |
Fortress foundation |
 |
Fortress wall |
 |
Lava |
 |
Leather sack |
 |
Obsidian |
 |
Pebblestone |
 |
Sand |
 |
Sandgrass |
 |
Sandstone |
Bodybuilders Demand Improvement
Glutimus sends you through the blue teleportal in search of iron. Travel west from the blue teleportal through two unguarded gates (keep the lava on your left between the gates). Avoid the dancing flames since you still can’t damage them.
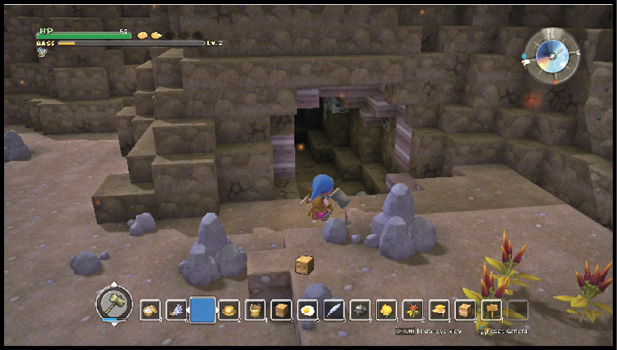
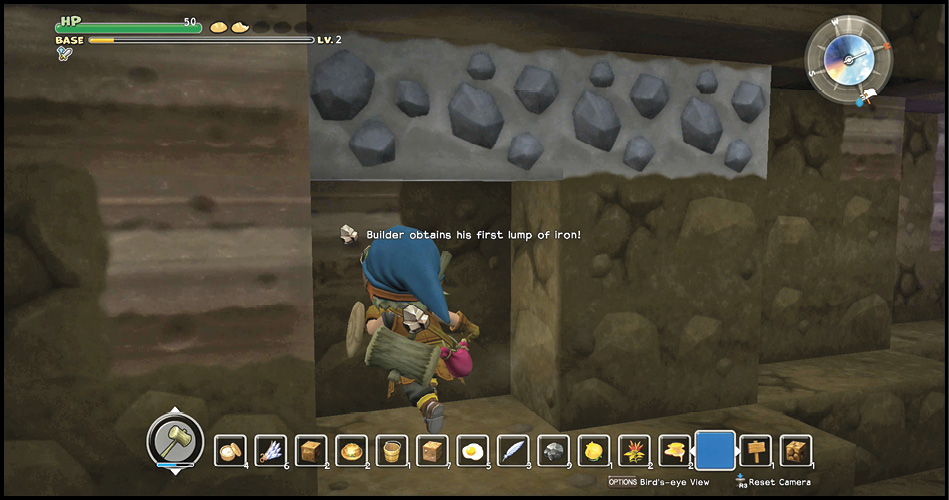
Watch carefully for an opening in the side of the mountain. It’s recessed and not easy to see. The floor has weak spots, so be ready to hop to higher ground when it gives way. Mine as much iron and coal as possible before you return to your base. Create 10 ingots for Glutimus, who returns copper ingot (x5).
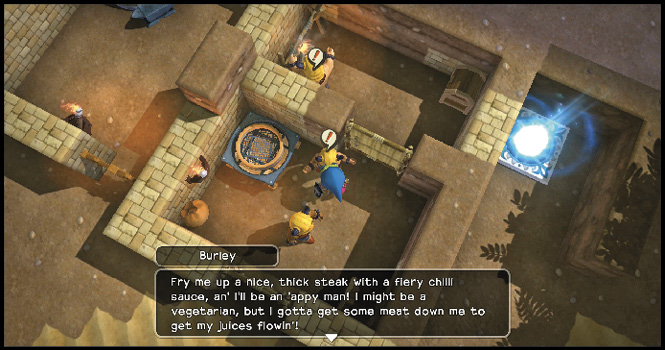
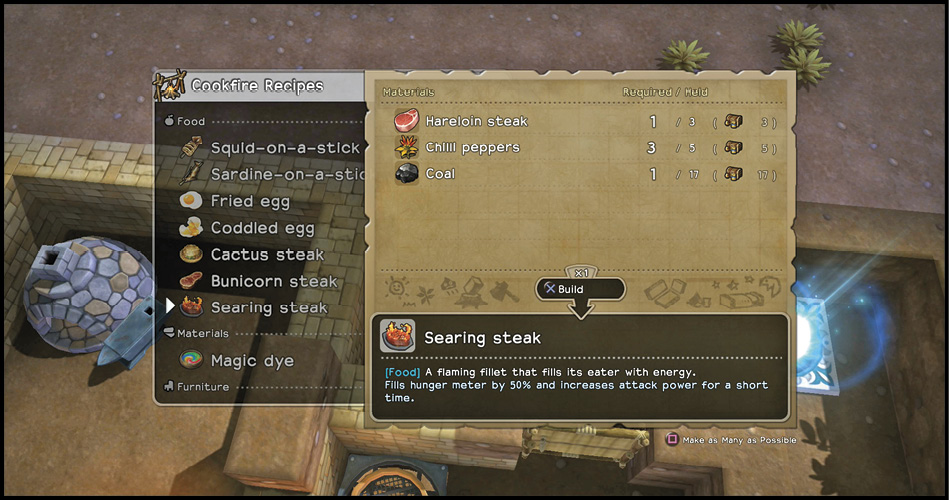
Burley continues to push for spicier food, even if it’s meat. The searing steak he wants requires chilli peppers and hareloin steak, which you may have picked up already. If not, travel through the blue teleportal for the peppers, and hunt down spiked hares (they’re purple) for hareloin steak. Prepare a searing steak for him, and he repays you with prickly peach (x5).
Build a Better Bath and Defend it
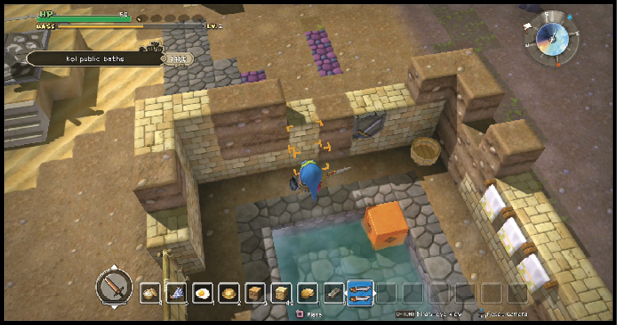
Maxi requests improvements to the base. He inspires the learning of the armourer’s sign recipe while asking for upgrades in the bathhouse. Add an armourer’s sign and two sets of ornamental swords to upgrade the room to bodybuilders’ baths. You earn chimaera wing (x3) for your work.
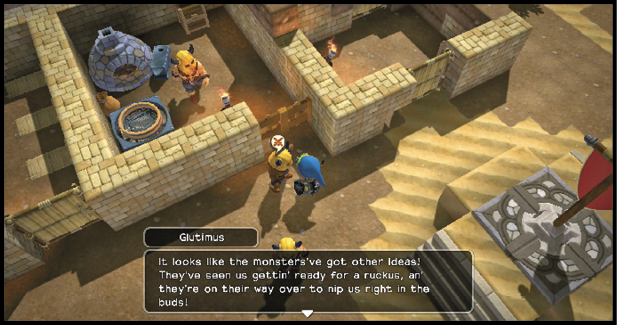
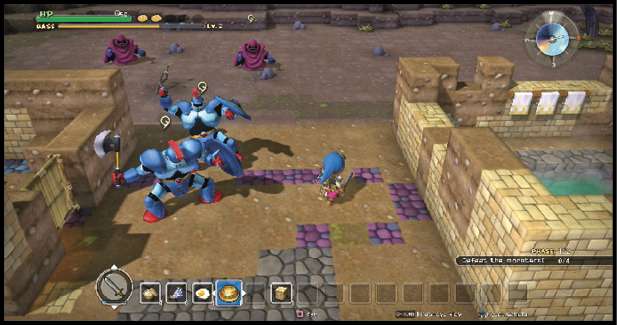
Talking with Glutimus initiates a defense of the base from another assault. You should be using iron equipment at this point. If not, consider a return trip to the iron mine. Phase one starts with two knights errant that are shortly joined by two legerdemen. Phase two is the same, except the leader of the assault, a knight aberrant, appears after the legerdemen. The seed of life you earn after ending the assault is a welcome addition to your health pool, and you’ll need it for your next task.
Rescue Barbella with Her Cannon
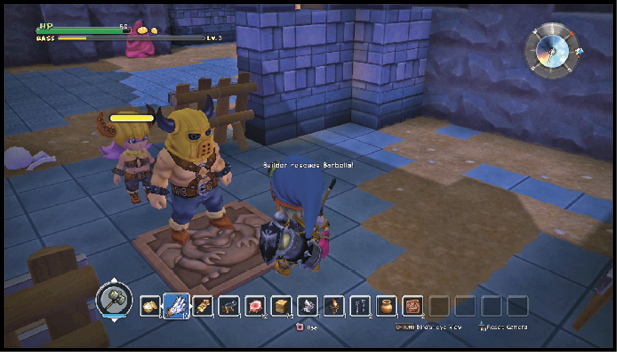
Glutimus is so excited for the next task that he agrees to join the party. Don’t leave the base to rescue Barbella until you have all three bodybuilders with you. Step through the blue teleportal and travel to the marked location. Where your path requires travel over lava, build a bridge with earth blocks.
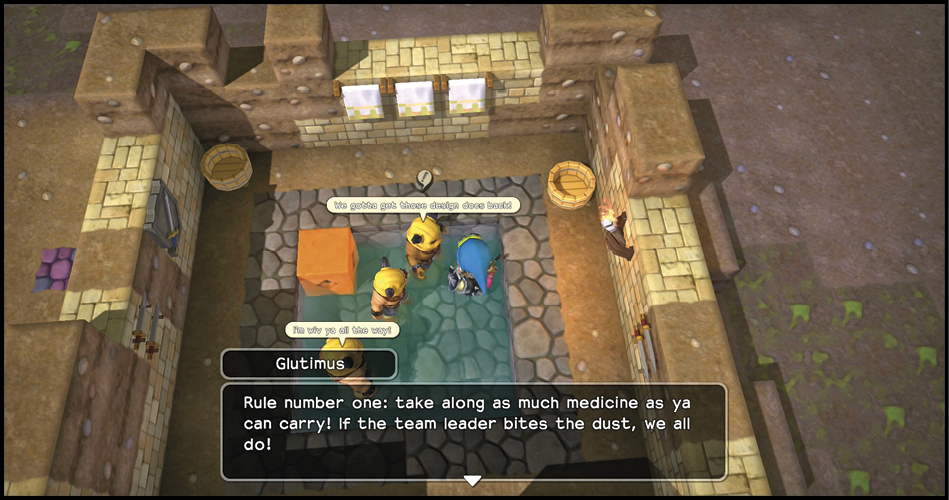
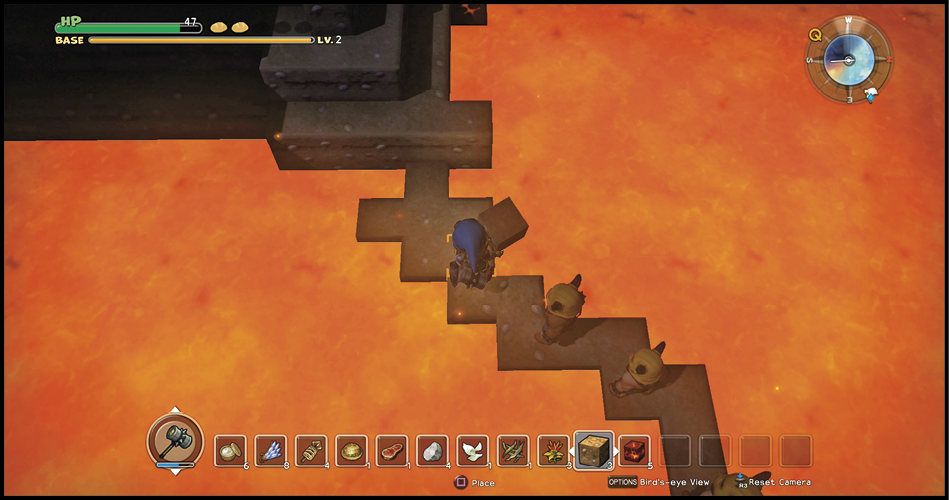
You have two paths to Barbella. You can either fight through the enemies guarding the gates, or carefully climb the mountains and descend near her cell. The stealthy route requires solid building skills since the bodybuilders are not the best at following. They need easy paths built for them in order to keep up with you. If you choose the fighting route, don’t take on too many monsters at the same time. You have help, but there are far more monsters than bodybuilders.
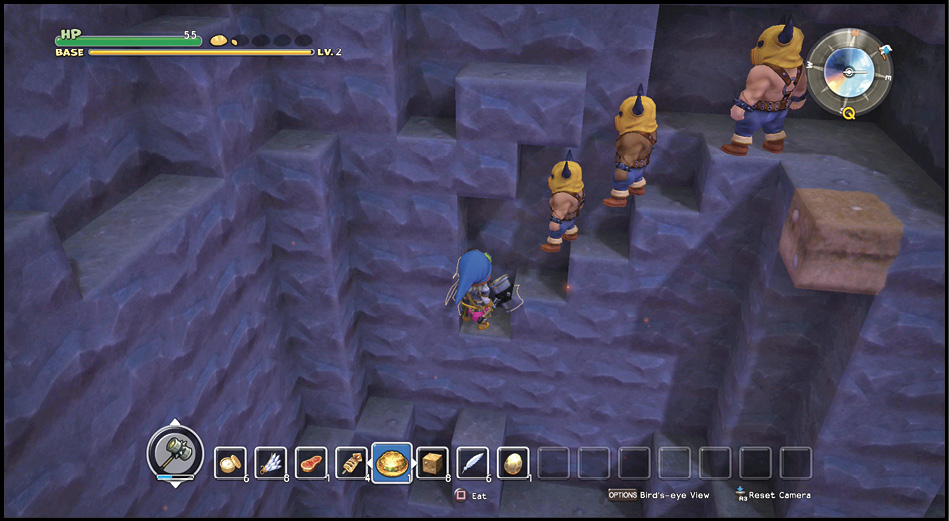
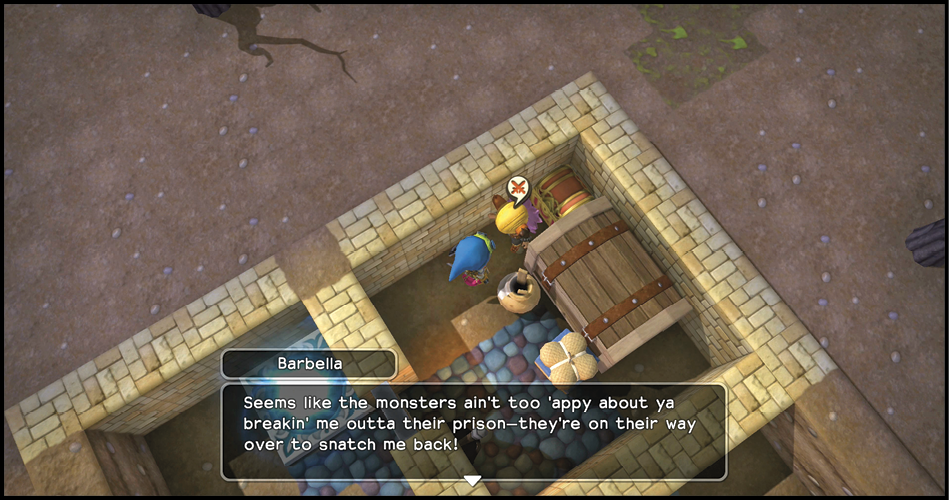
However you arrive there, speak with the man in front of Barbella’s cell, then to Barbella herself. She sends you to find her design documents since the cannon they describe is the only way to break her out of her cell.
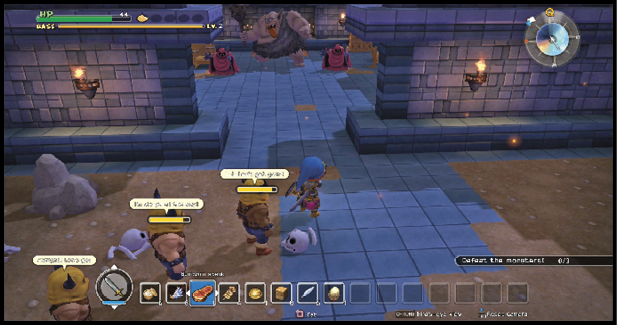
A troll and two legerdemen guard the chest with the documents. When the monsters fall, the chest becomes unlocked. Grab the design documents from inside the chest and return to your base. Glutimus won’t complete the quest unless he’s inside the base. You get iron ingot (x3) and the ability to create a welder’s workbench.
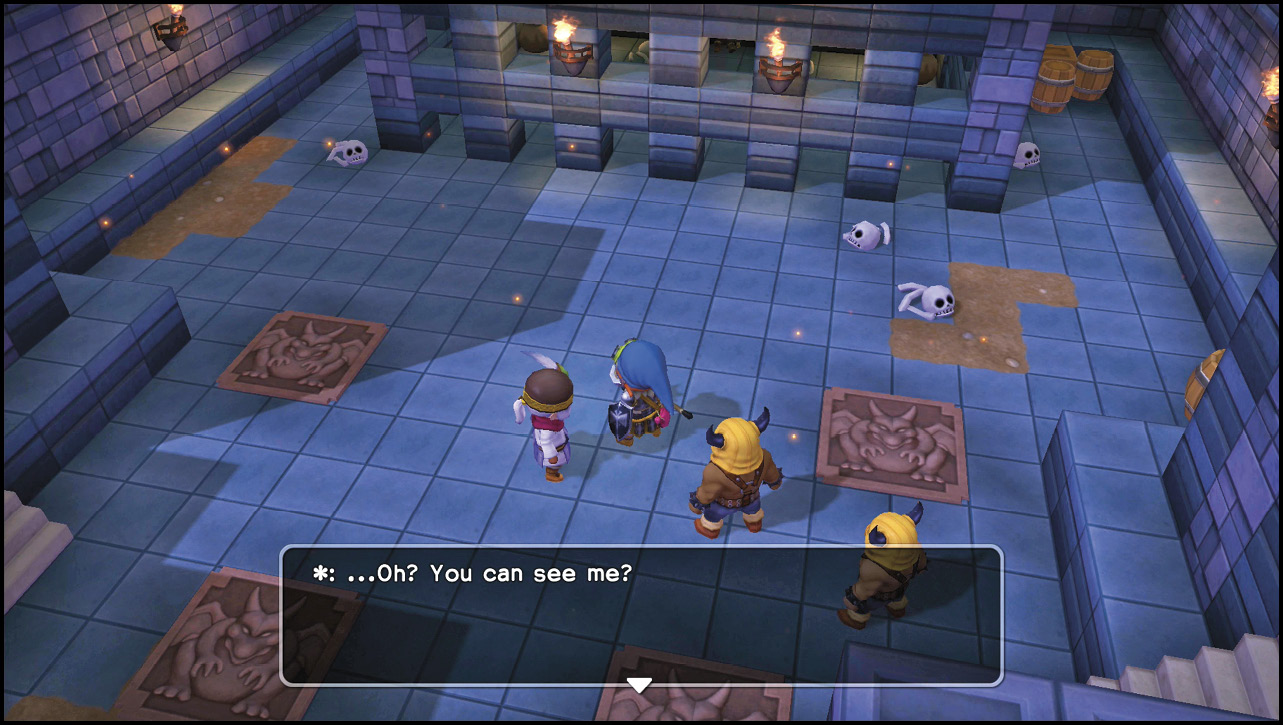
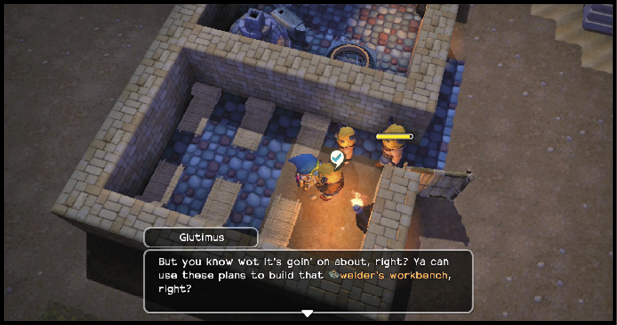
Talk to Glutimus again to work out how to build a cannon, then build one. Show off your creation to Glutimus to earn coal (x10). Accept his follow-up quest, then get everyone together again and go back through the blue teleportal.
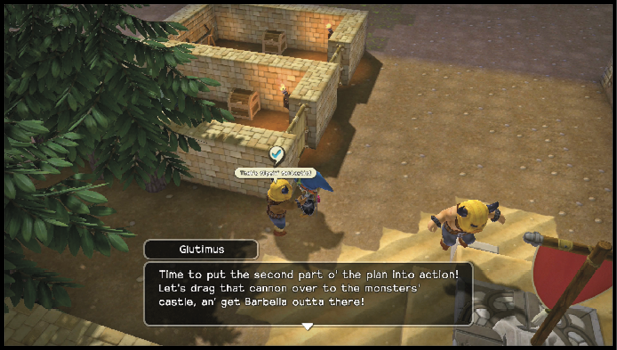
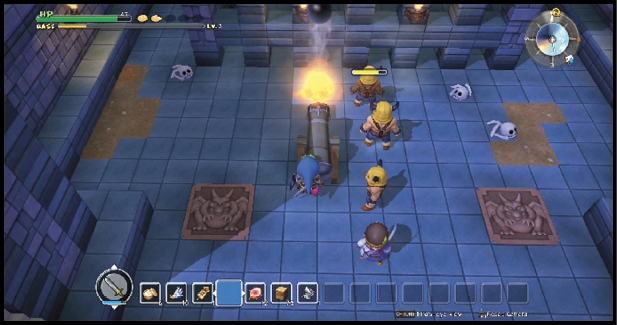
Return to Barbella’s cell and put the cannon to use. Speak with Barbella inside her cell, and she joins the party. A horde of monsters appears outside the cell, but it isn’t necessary to fight them. Run through them and down the path until a message pops up informing you that you’ve set her free. If everyone is still with you (check the compass for a frowny face), you can use a chimaera wing to return to your base quickly.
Build a Big Boomstick and Battle
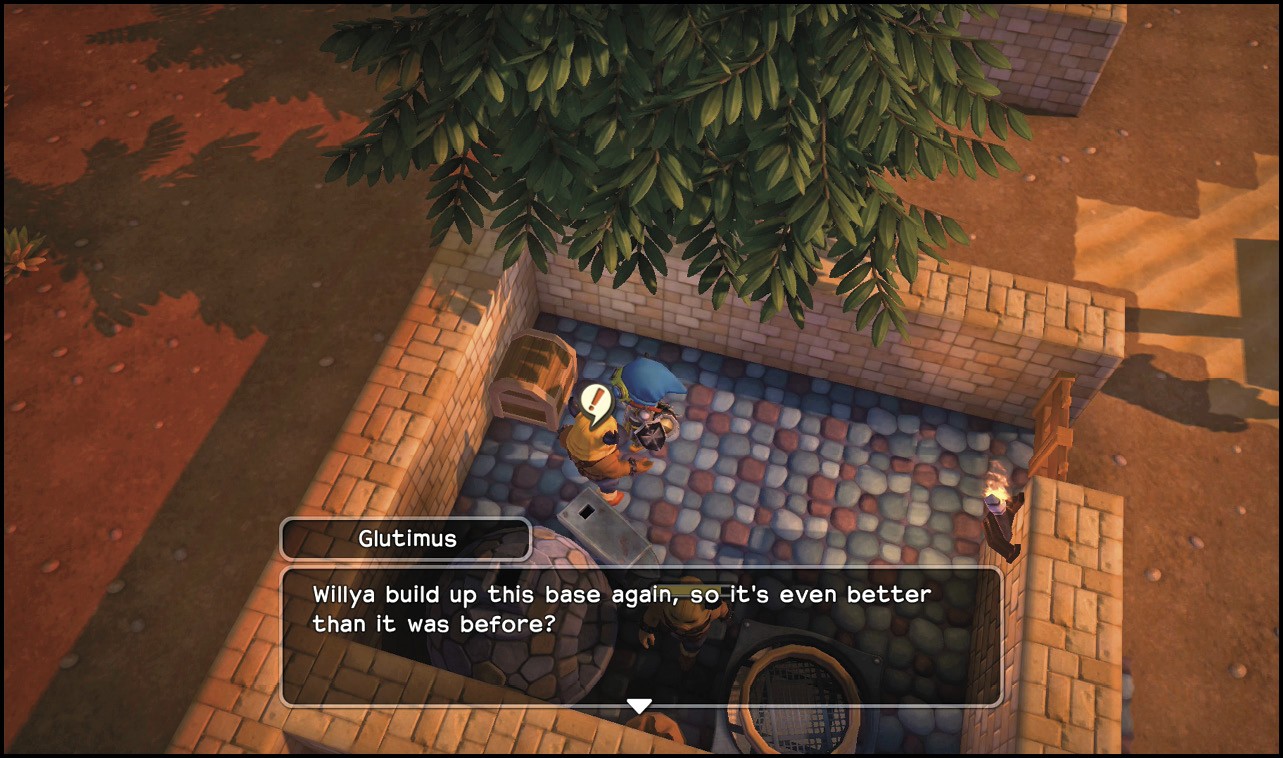
With Barbella safely back in the base, talk to her so she joins your settlement. Get your seed of life from Glutimus, which also triggers your learning how to make dumb-bells. Continue speaking with Glutimus, who wants the base boosted to lv. 3. After you’ve accomplished that, he presents you with bunicorn steak (x3).
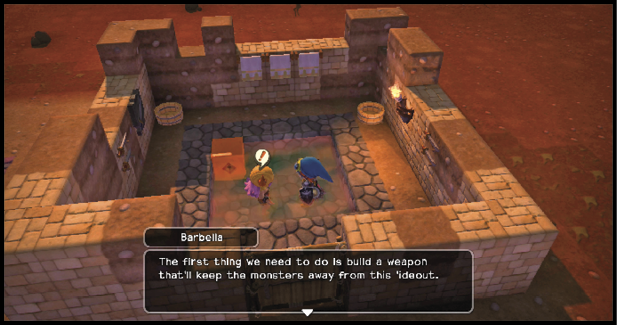
Barbella wastes no time settling into the base. She asks you to follow the double-barrelled bombard blueprints while also showing you how to make a pressure plate and button. When it’s ready (aim it toward the west since that’s where many attacks originate), she gives you healing cream (x3).
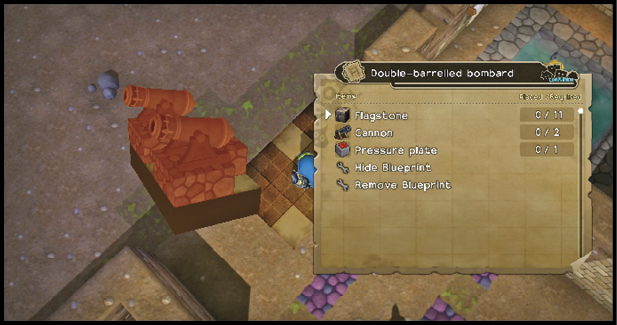
Barbella takes over Glutimus’s role as initiator of base defense battles. The first phase is a pair of knights errant, followed by a pair of knights aberrant. The middle phase starts off with dancing flames that you should avoid. When the two legerdemen appear, take them down quickly to remove the dancing flames as well.
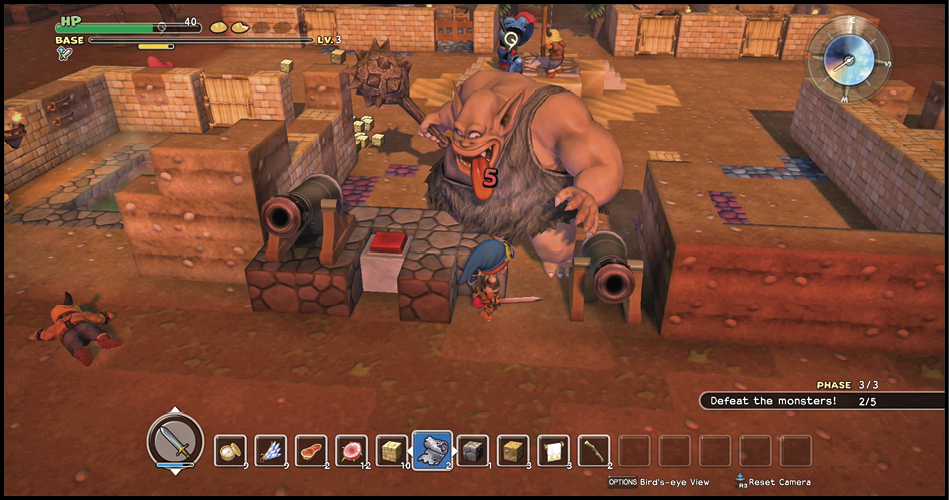
The third phase begins with two knights errant and two legerdemen, and it soon becomes much more dangerous when the leader of the attack appears. The troll has more HP than you want to handle with just your weapons. Use the cannons as much as possible. The troll will destroy portions of your base more effectively than anything else you’ve faced to this point. If it destroys the double-barrelled bombard, try to set up one of the cannons to keep hitting the troll. When the dust settles from the fight, you get the red teleportal.