Dragon Quest Builders Guide Alefgard Adventure Chapter 2: Rimuldar
Rimuldar: Prickly Wilds
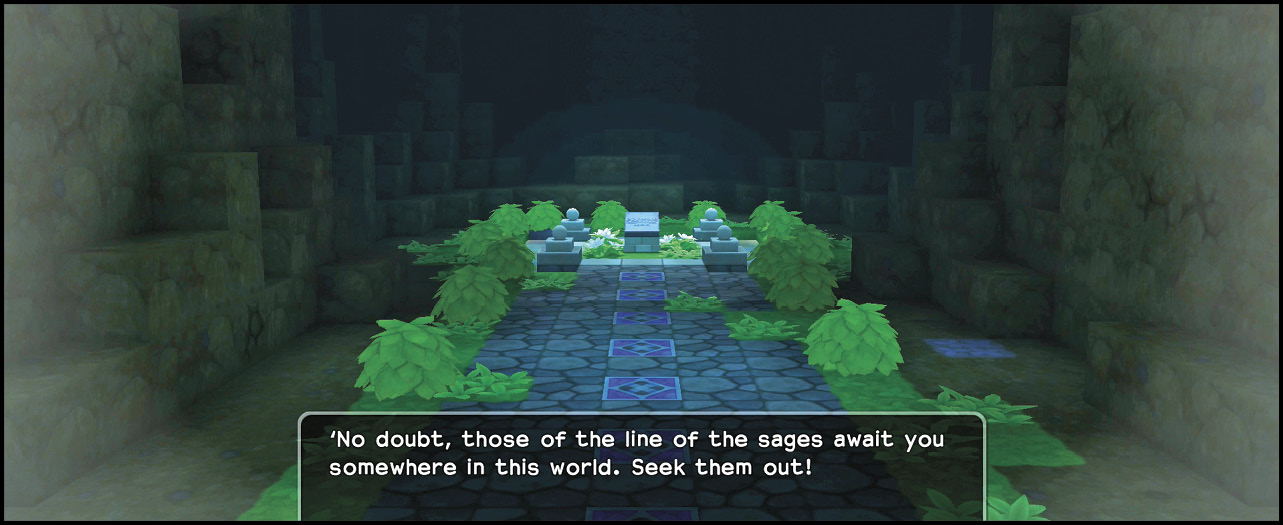
After winning the battle, go to sleep to experience another memory. The Prickly Wilds have new dangers, including flowers that cause paralysis when touched. You must also watch your step since there are places where the ground crumbles from under your feet.
Available Materials
Icon |
Raw Materials |
 |
Broken branch |
 |
Butterbeans |
 |
Coal |
 |
Cotton |
 |
Fibrous frond |
 |
Ivy |
 |
Medicinal leaf |
 |
Palm seedling |
 |
Plumberry seedling |
 |
Pongsettia leaf |
 |
Pumice pieces |
 |
Stone |
 |
White petals |
Icon |
Raw Materials (shovel required) |
 |
Branch |
 |
Cotton plant |
 |
Fibrous fern |
 |
Grass |
 |
Medicinal shrub |
 |
Milkblossom |
 |
Tingleweed |
 |
Water (requires bucket) |
Icon |
Building Material and Decorations |
 |
Chalk |
 |
Dilapidated crate |
 |
Earth |
 |
Leather sack |
 |
Palm lumber |
 |
Pebblestone |
 |
Plumberry lumber |
 |
Sand |
Wandering Enemies
| Icon | Name | HP | Drops |
|---|---|---|---|
|
|
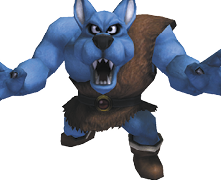
Bewarewolf | 27 | Fur |
|
|
Brownie | 30 | Fur |
|
|
Brownie (large) | 38 | Leather sack |
|
|
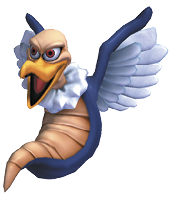
Chimaera | 19 | Chimaera feather, monster egg |
|
|
Drackolyte | 24 | Tingleweed bud, limegrass seed |
|
|
Fightgeist (night only) | 56 | Monster egg, chimaera feather |
|
|
Ghost (night only) | 30 | Monster egg, chimaera feather |
|
|
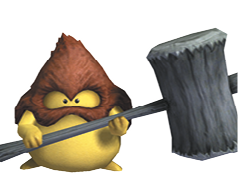
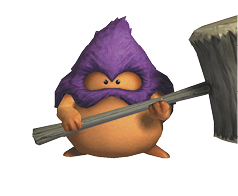
Hammerhood | 28 | Fur |
|
|
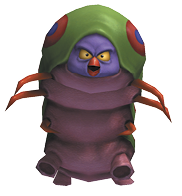
Killerpillar | 26 | Paralystinger |
|
|
Killerpillar (large) | 32 | Paralystinger, tingleweed bud |
|
|
Metal slime | 5 | Silvery sludge |
|
|
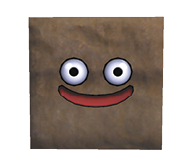
Muddy box slime | 26 | Mossy earth, bottles |
|
|
Muddy box slime (large) | 32 | Window (x1-3) |
|
|
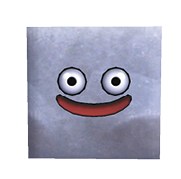
Rocky box slime | 27 | Small stones, pumice |
|
|
Rocky box slime (large) | 32 | Bathtub, big rock |
|
|
Scarewolf | 40 | Fur, confusing claw |
|
|
She-slime | 16 | Orange oil, daffodaisy bud |




Base Expansion
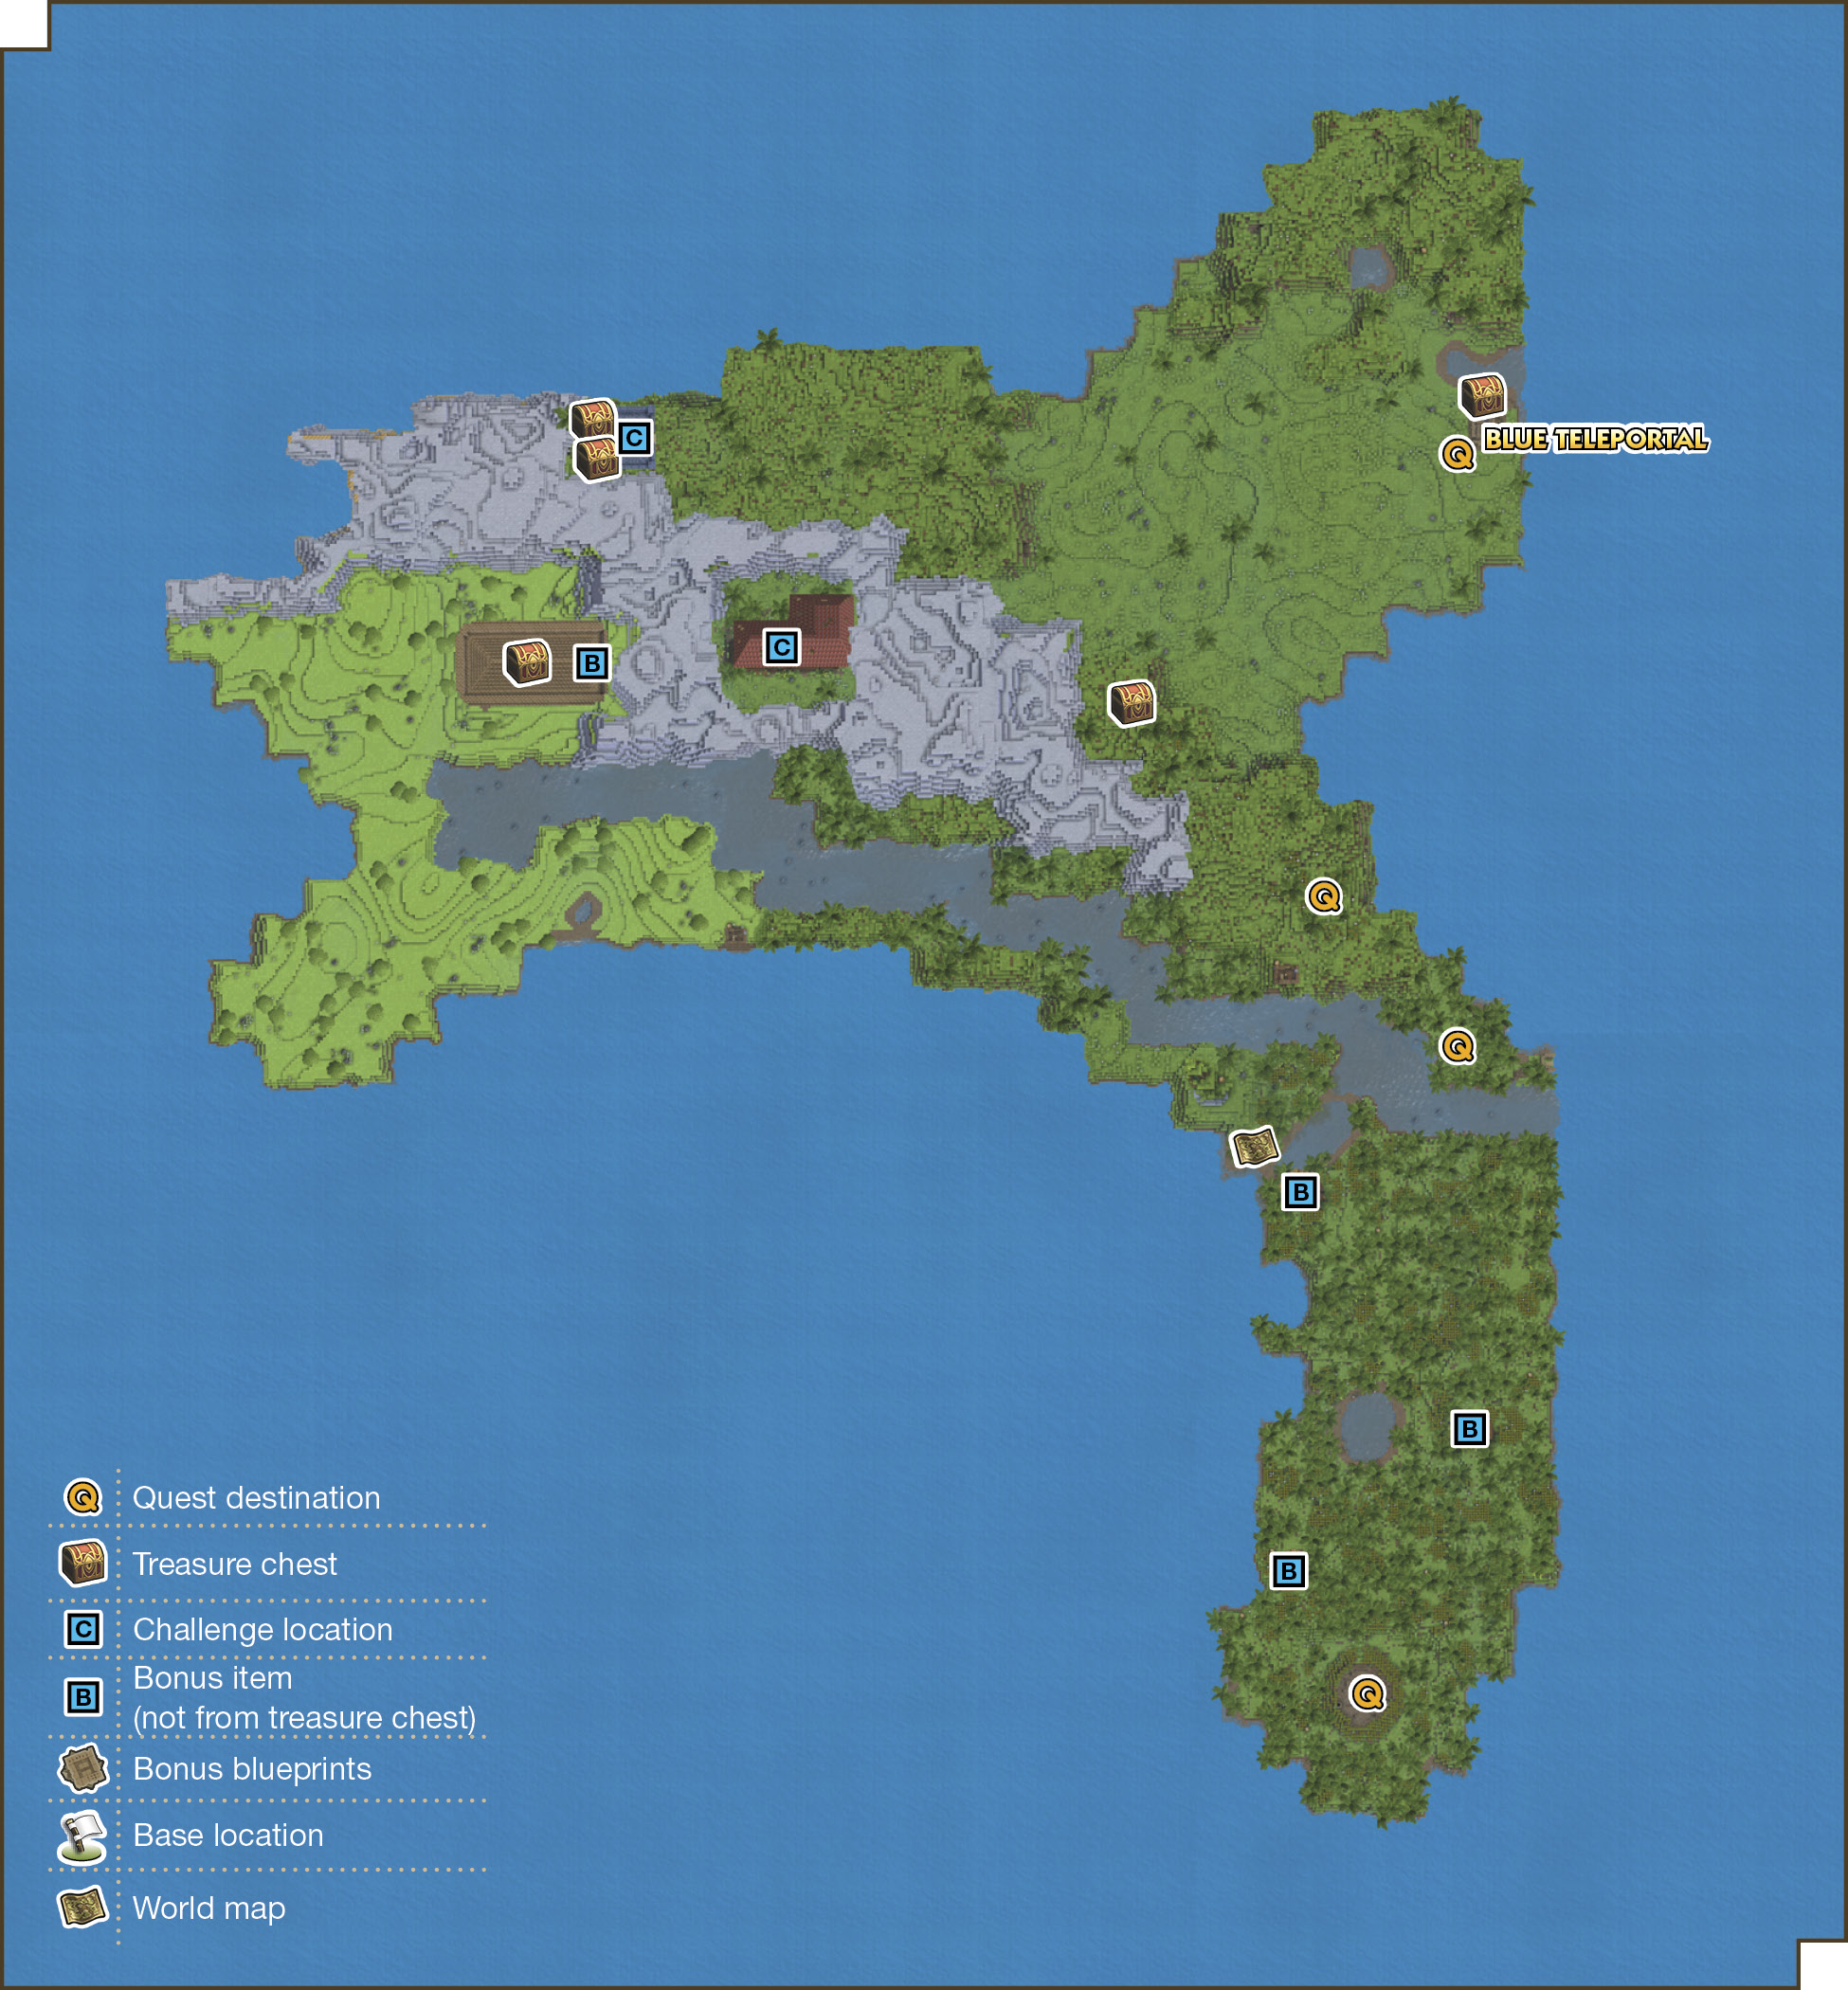
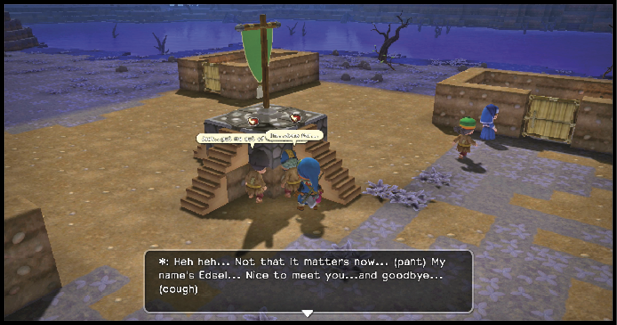
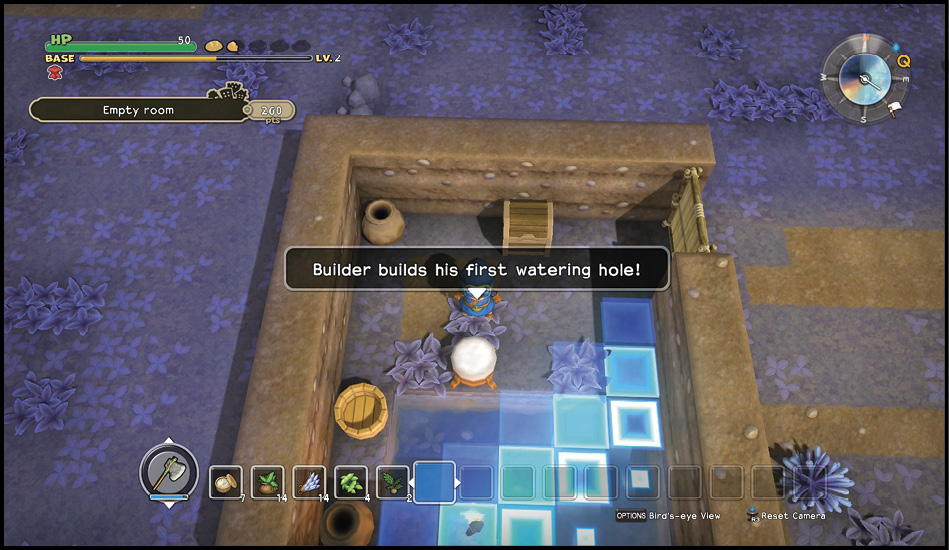
Edsel and Kean arrive at the base but must be taken to the sickroom after you speak with them. Place the blue teleportal, and get ready for requests from everyone at once. Talk to Casey, who wants a water room built. You must build a stool to complete the room, and the closest wood is through the blue teleportal. Before you go, get the quest from Nosh as well.
Gather wood on the way to the location marked for Nosh’s quest. Carry the seedlings from the trees back to your base, and plant them for a renewable source of wood. A blue block known as a water crystal can be found in the northwest corner of the base and provides water when placed; use this to complete the water requirements for Casey’s water room.
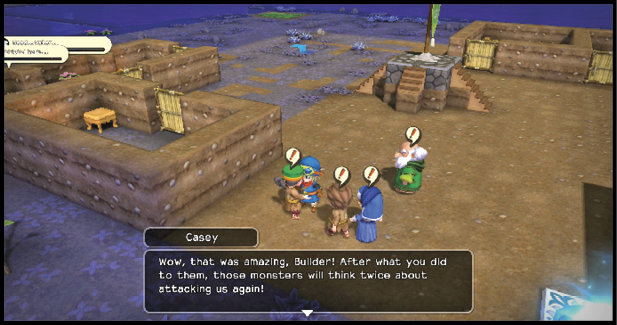
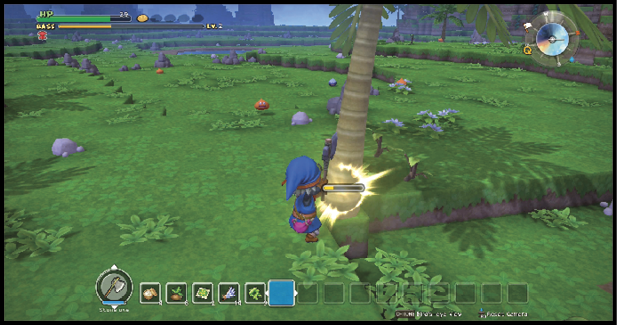
Nosh’s quest leads to a bodkin village, where you meet an archer who loves fishing. Repair the walls of his fishing hut (the water side doesn’t need to be rebuilt), then speak with him again to learn the secret of fishing rods. Continued conversation with the bodkin archer teaches you a bit more about fishing.
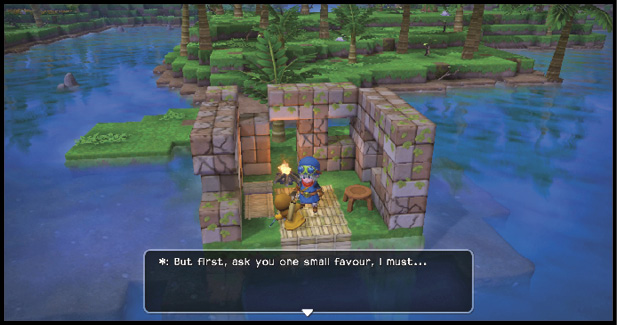
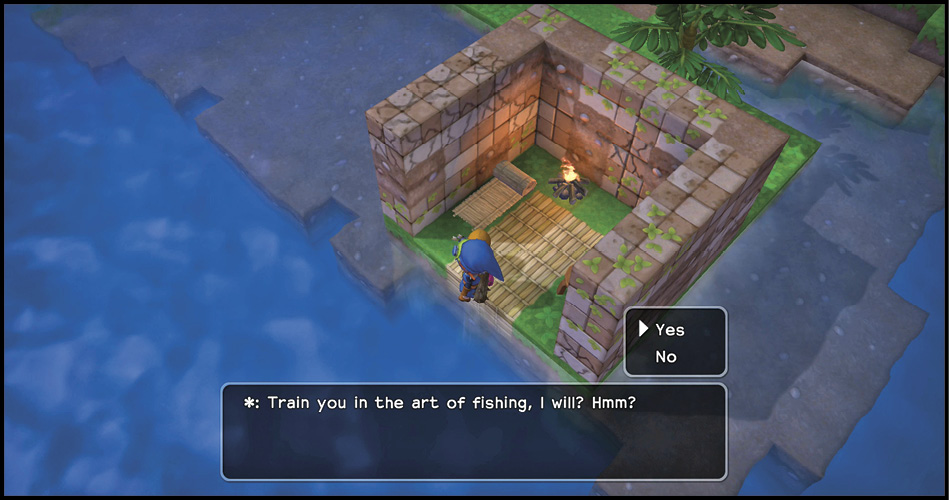
Return to your base and complete the water room. Casey’s reward is palm lumber (x5), and you also learn how to make a bucket. Despite his frustration, Nosh gives you medicinal herb (x3) after seeing a complete fishing rod.
Pushing Deeper into the Wilds
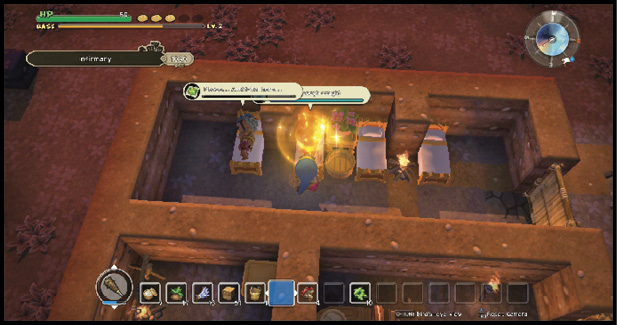
Build a bucket and carry water to the sickroom. Give a scoop of water to Kean and an antidotal herb to Edsel, although they won’t recover yet. Speak with Nosh and Gerontius to get their quests, and then return to the Prickly Wilds.
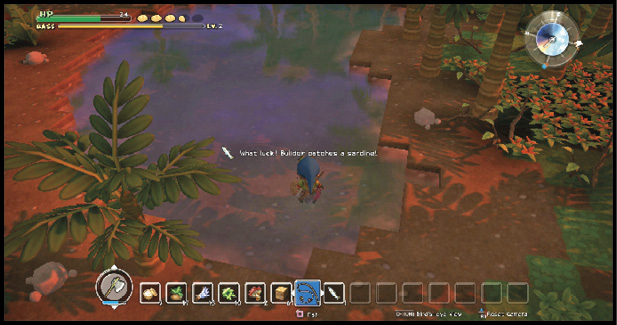
The killerpillar nest (which Gerontius marked on your compass) is located far to the south. Stop anywhere along the way where you find water to catch five sardines for Nosh. You know you’ve arrived at the nest when you encounter chanting bodkin archers.
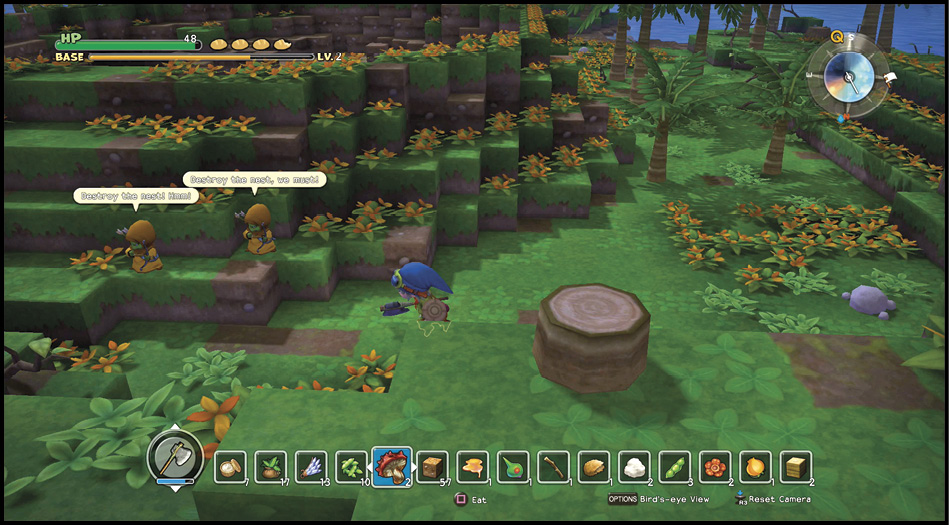
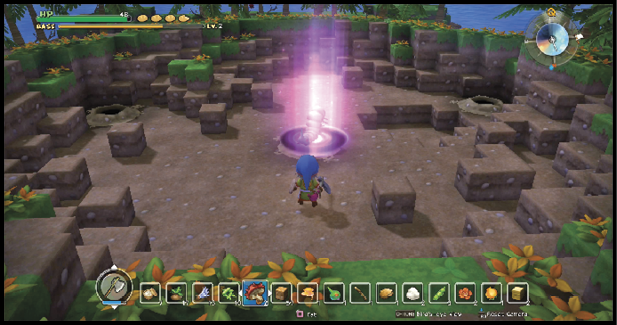
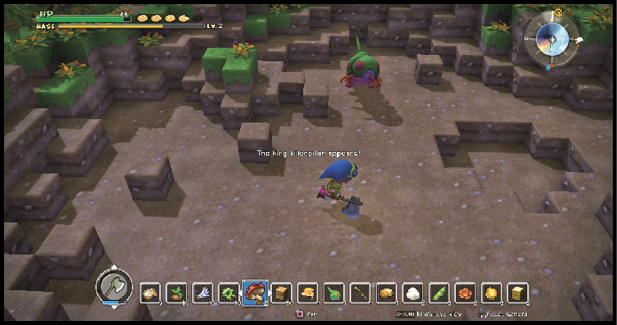
Destroy the three tunnels from which the killerpillars emerge to force the king killerpillar to appear. He’s an oversized killerpillar with no additional abilities, so your only concern is paralysis.
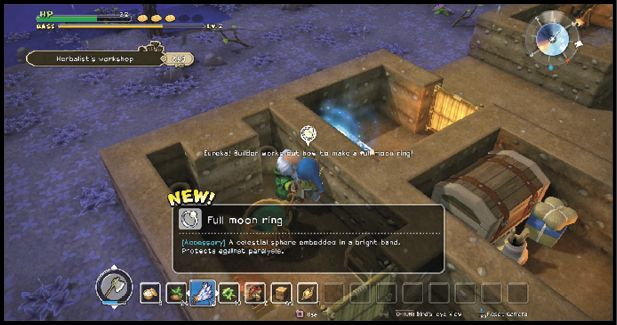
Back at the base, Nosh rewards your fishing skill with orange oil (x10). Gerontius does you one better by giving you a seed of life, then teaching you how to make a full moon ring and Tingle tablets.
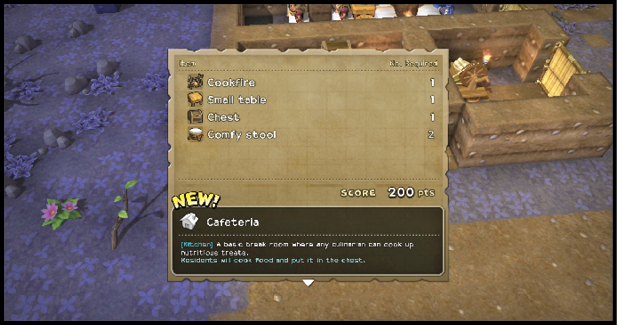
Follow up with Nosh, who hands over a blueprint for a kitchen. Complete the blueprints to build your first cafeteria. Nosh’s reward is orange oil (x10).
Additional Rescues
Elle wants you to bring more people into the base. The first is Irvyn, who is next to the blue teleportal. You may have already saved him. Carry him to the sickroom and feed him a fried frogstool. He needs a night’s rest, which he will get because you have one more person to rescue.
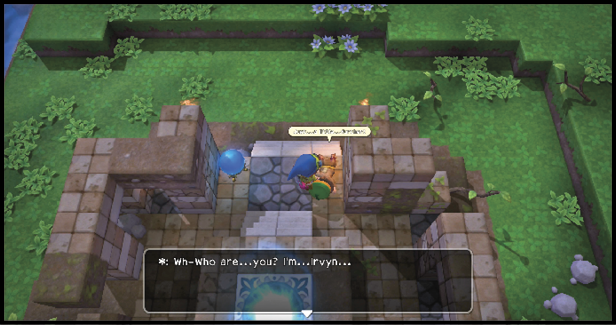
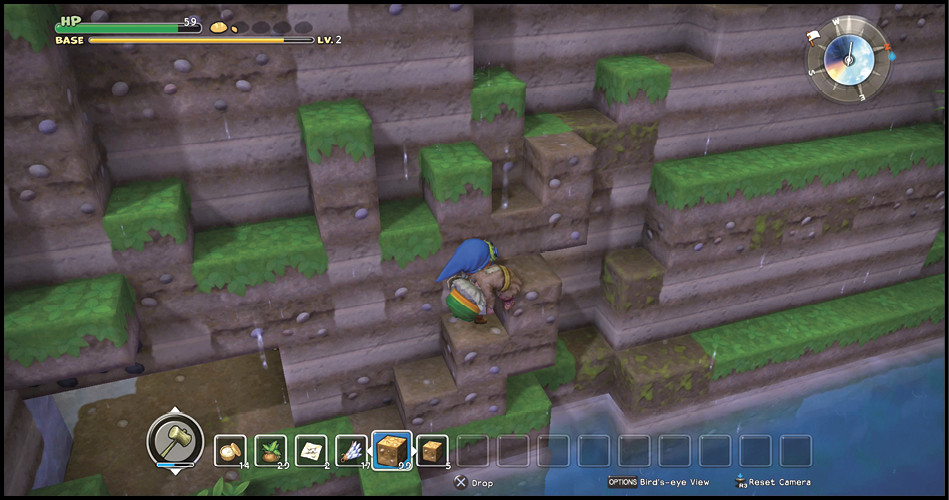
The target this time is Jacob, who is underground at the spot Elle marked on your compass. Walk on the weakened blocks, which give way and deposit you next to Jacob. Don’t pick him up until you clear a path to the outside (there’s no going back the way you came in) and build steps up to the top of the hill. The best spot for this is through the east wall, not far from the signpost in the room.
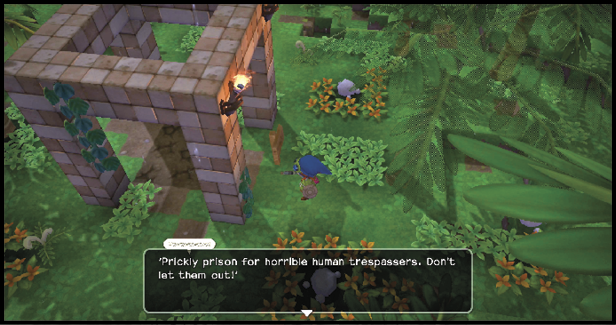
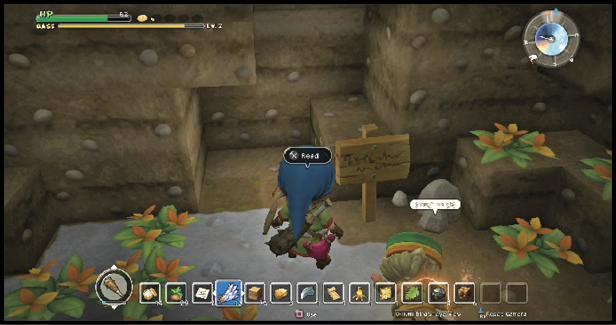
Once you’re outside, carry Jacob back through the blue teleportal and set him in a bed inside the sickroom. Feed him a sardine-on-a-stick. He’ll ask for a Tingle tablet next, but only after a night’s sleep. He’ll then need another night’s sleep, which makes this a perfect time to hunt down bonus items through the blue teleportal.
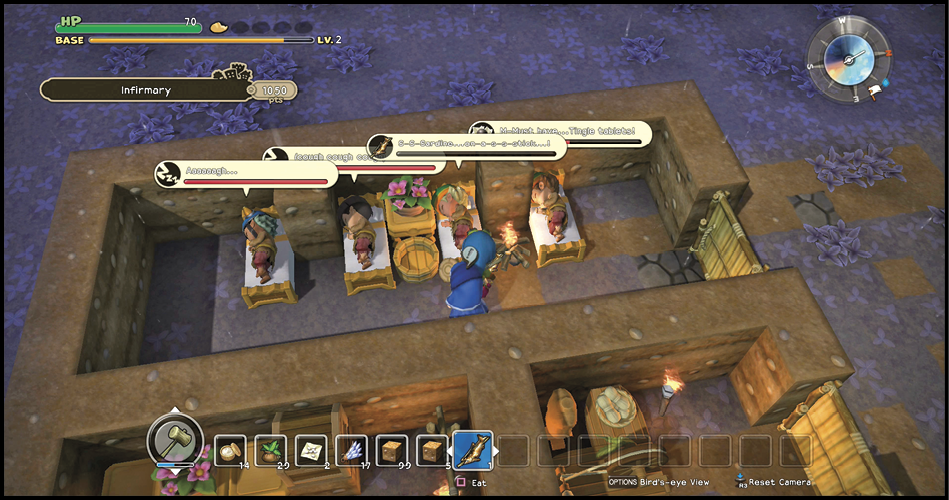
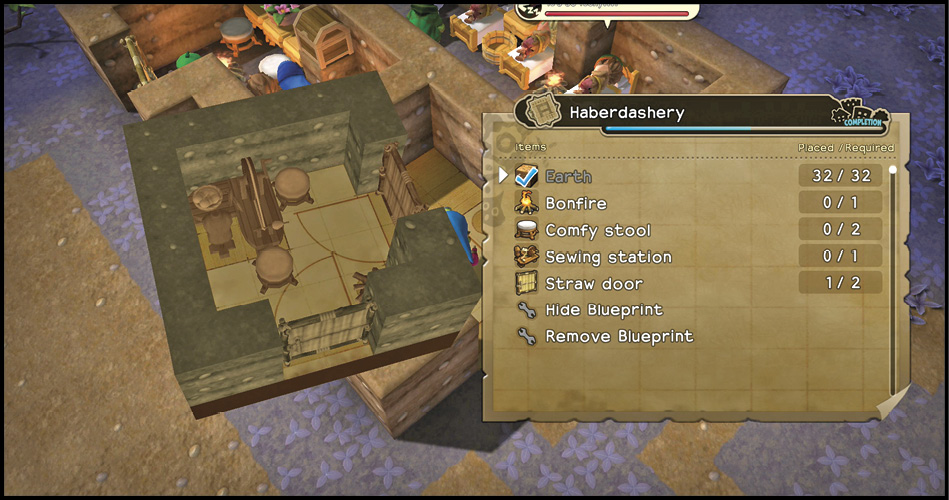
The four patients sleep fitfully even after you’ve done everything you can for them. Elle’s reward for you is a haberdashery blueprint, which shows you how to build a sewing room.
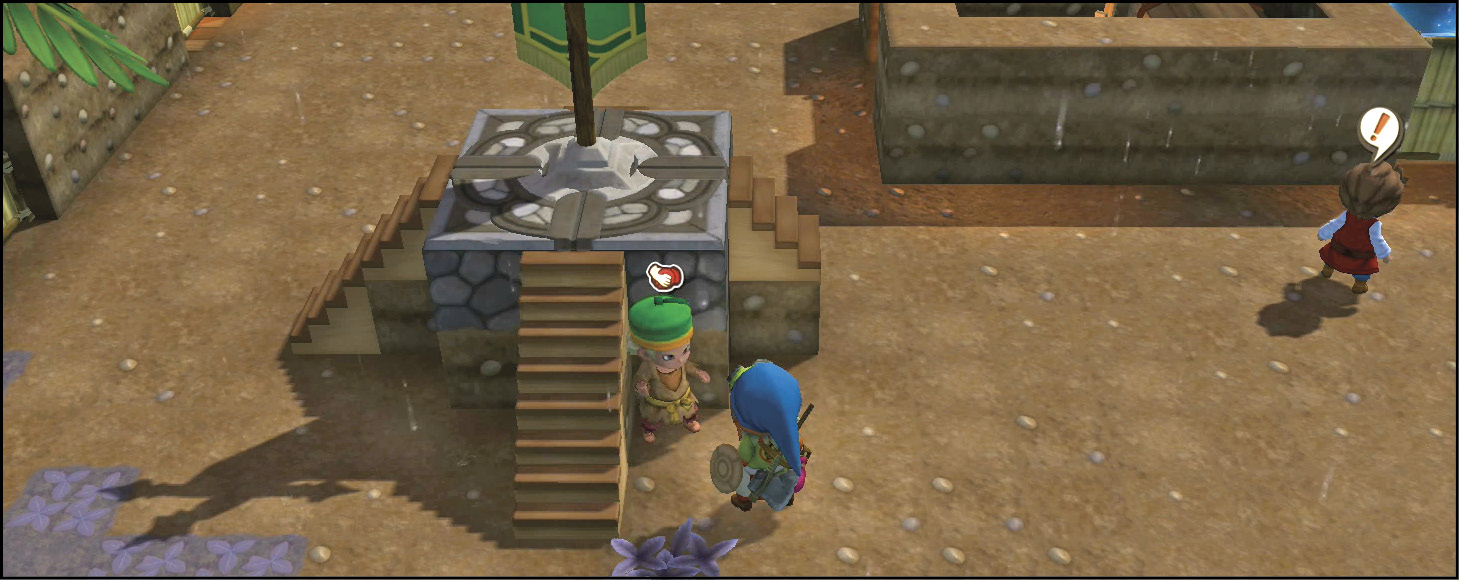
If a night hasn’t passed yet, sleep now. When you see Jacob at the Banner of Hope, speak with him to get a seed of life.
Defend Your Lv. 3 Base
After you complete the haberdashery blueprint, Gerontius asks you to raise the base to lv. 3. If you’re short of the required score, decorate the rooms inside your base with items gathered from the Prickly Wilds. When the base reaches lv. 3, Gerontius presents you with a seed of life.
The Hades condor has mustered its forces nearby. Speak with Elle to begin a defense of your base. Phase one consists of two pairs of killerpillars. The second phase begins with two more killerpillars. They’re soon joined by a duo of scarewolves that are strong enough to tear through earth walls if left unchecked. The leader of the assault is a walking corpse. When the final enemy falls, you get the red teleportal.