Dragon Quest Builders Guide Alefgard Adventure Chapter 1: Cantlin
Cantlin: Rockbomb Ravine
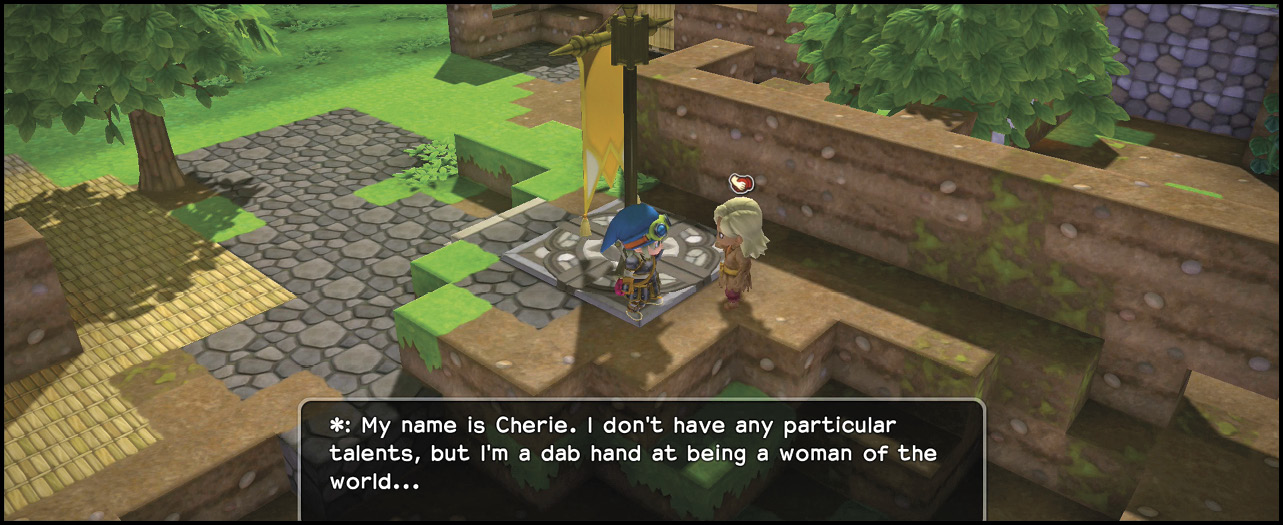
Greet the newcomer, Cherie, when she appears at the base. Talk with Sheridon to learn how to make a wrecking ball. One of the components is found only in Rockbomb Ravine.
Available Materials
Icon |
Raw Materials |
 |
Broken branch |
 |
Cactus cutlet |
 |
Coal |
 |
Copper |
 |
Grassy leaves |
 |
Iron |
 |
Marshroom |
 |
Medicinal leaf |
 |
Orichalcum |
 |
Plumberry seedling |
 |
Prickly peach |
 |
Pumice pieces |
 |
Ruby |
 |
White petals |
Icon |
Raw Materials (shovel required) |
 |
Branch |
 |
Cactus crown |
 |
Cactus trunk |
 |
Grass |
 |
Medicinal shrub |
 |
Milkblossom |
 |
Prickly peach cactus |
 |
Sandgrass |
 |
Sandwort |
 |
Stalwort |
Icon |
Building Material and Decorations |
 |
Chalk |
 |
Earth |
 |
Obsidian |
 |
Pebblestone |
 |
Plumberry lumber |
 |
Sand |
 |
Sandy sandstone |
Wandering Enemies
| Icon | Name | HP | Drops |
|---|---|---|---|
|
|
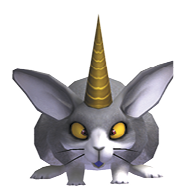
Bunicorn | 28 | Meat |
|
|
Cosmic chimaera | 68 | Monster egg, chimaera feather |
|
|
Fightgeist (night only) | 56 | Monster egg, chimaera feather |
|
|
Metal slime | 5 | Silvery sludge |
|
|
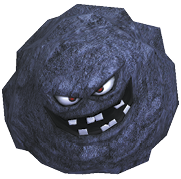
Rockbomb | 160 | Rockbomb shard |
|
|
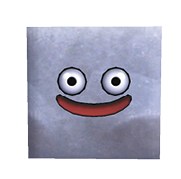
Rocky box slime | 24 | Small stones, pumice |
|
|
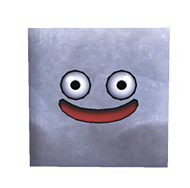
Rocky box slime (large) | 14 | Bathtub, big rock |
|
|
She-slime | 12 | Orange oil, daffodaisy bud |
|
|
Slime | 7 | Blue goo, milkblossom bud |





It’s the Bomb
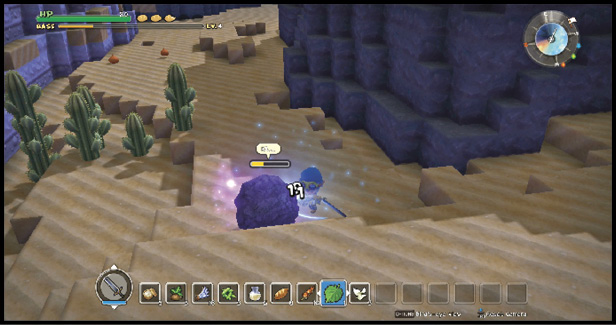
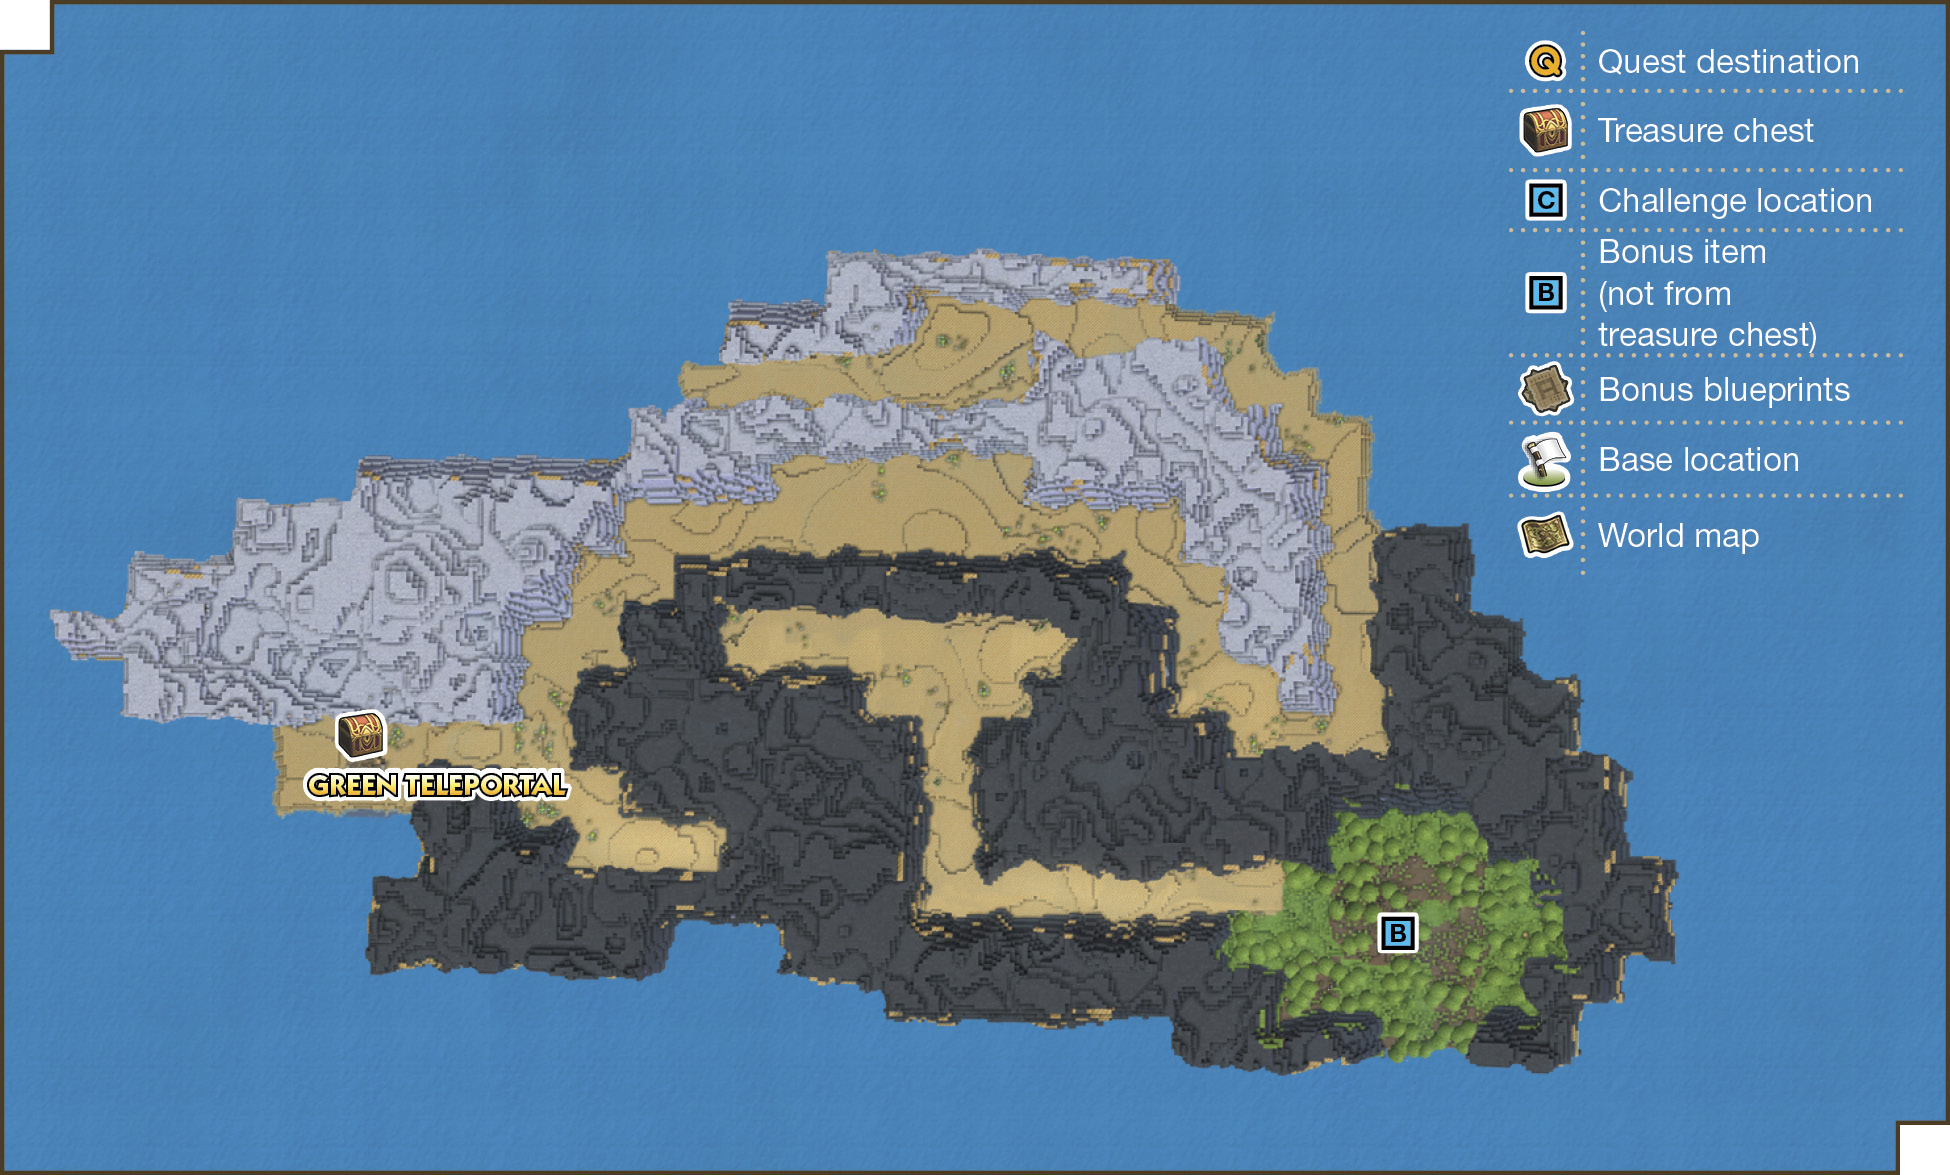
Go through the green teleportal and set the green naviglobe. The rockbomb shards come from rockbombs enemies. They begin a countdown to self-destruct when they take some damage, so you must finish them off before they explode. The explosion is a powerful attack that ruins the environment and your HP. When they explode, rockbombs also don’t leave behind any items.
Final Battle Preparation
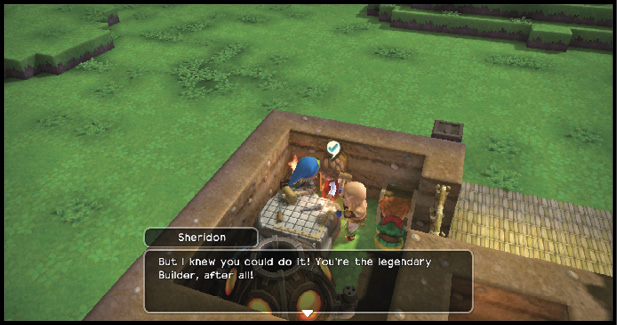
Show off the wrecking balls to get a seed of life. Consider saving this. A quick fix back to full health will be more valuable than five additional HP.
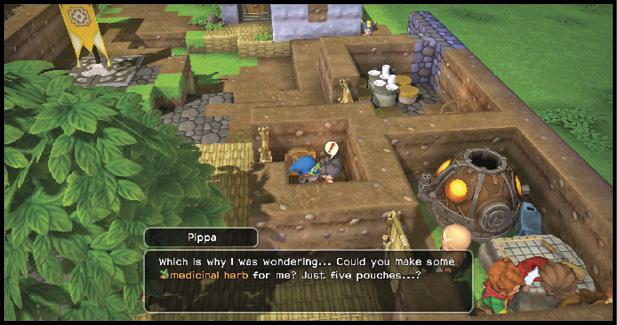
In case you’ve avoided medicinal bushes through the Cantlin adventure, Pippa directs your attention to them. Give her five medicinal herbs and she returns medicinal herb (x7).
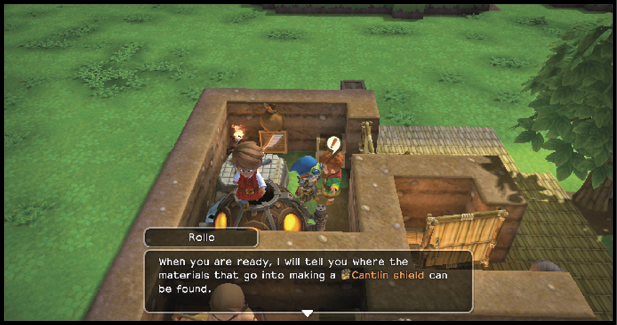
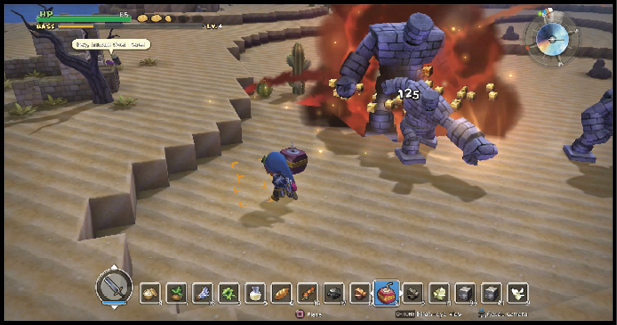
Track down Rollo. He explains how to obtain parts for the Cantlin shield. Your first stop is Damdara. Track down the big stone golem and plant a wrecking ball at its feet. The golemite left behind is one of the components you need.
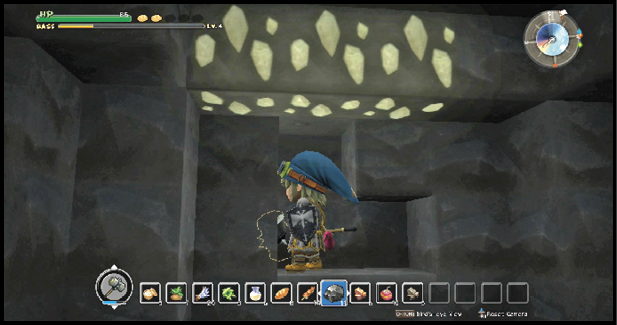
The second component is orichalcum. Return to Rockbomb Ravine and plant a wrecking ball on the veins containing exposed white crystals with a light green tint. Pick up additional rockbomb shards for the upcoming battle against the giant golem. When the shield is done, you get iron ingot (x5) from Rollo.
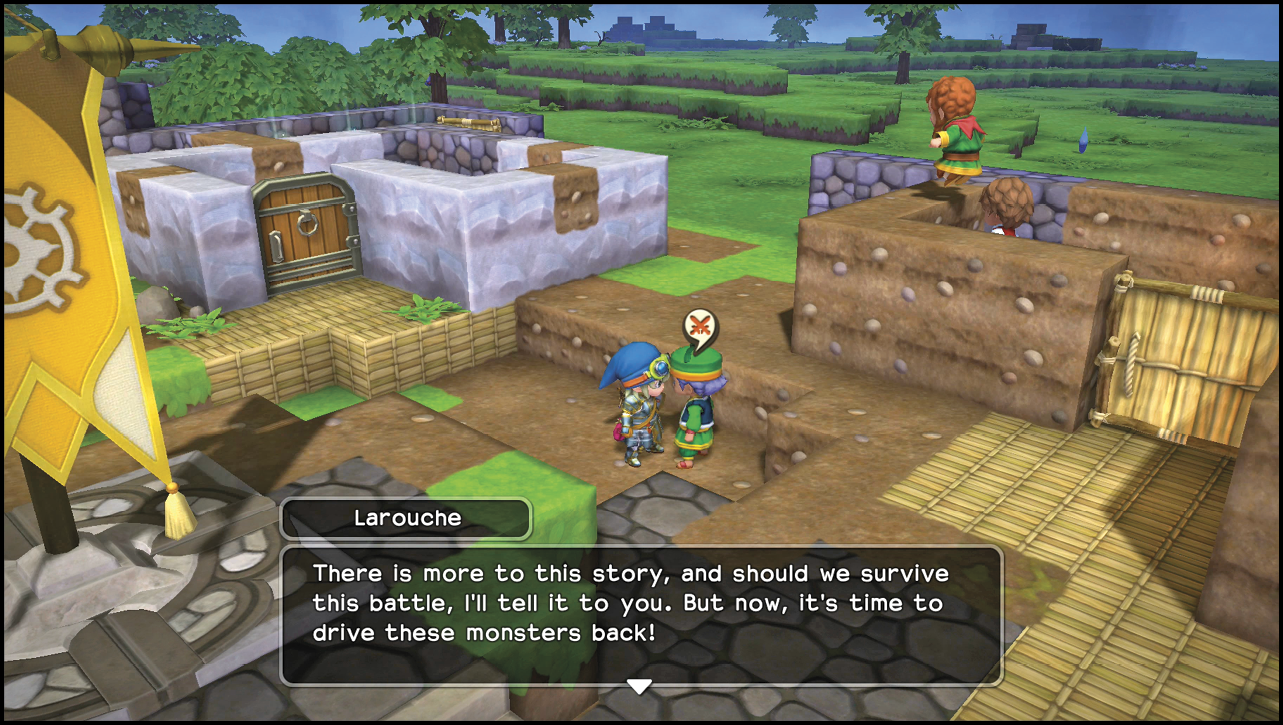
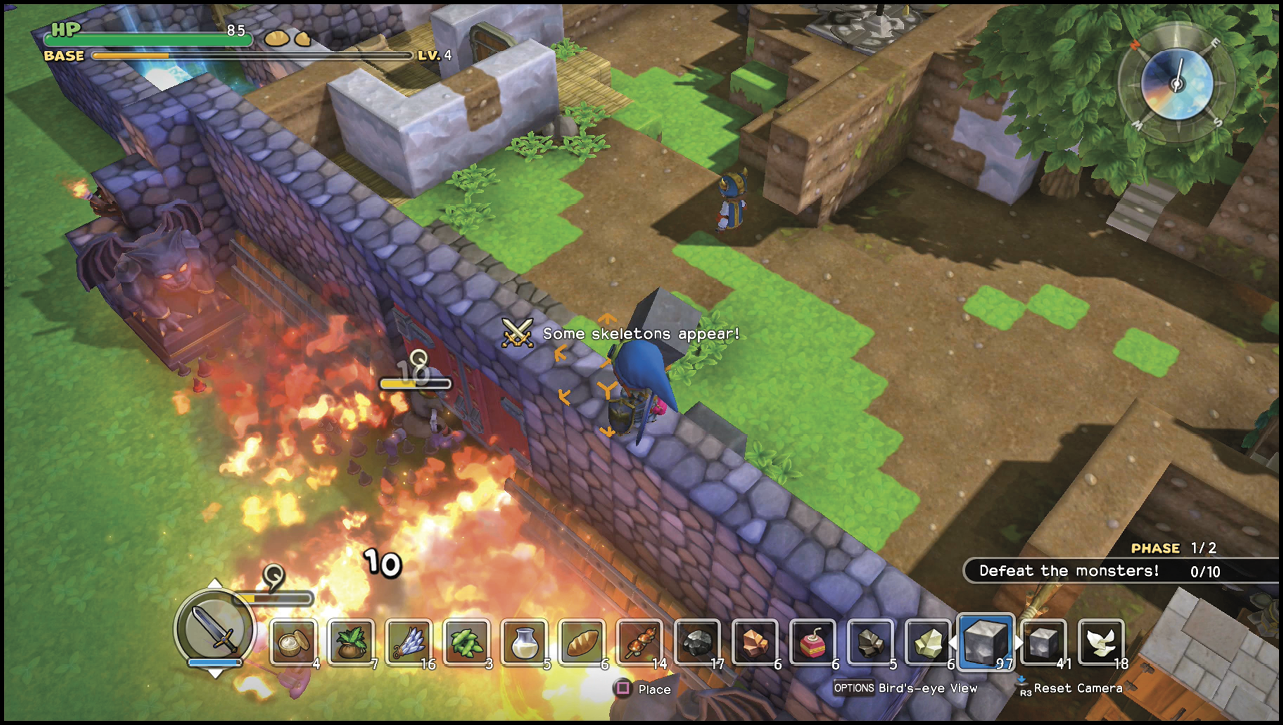
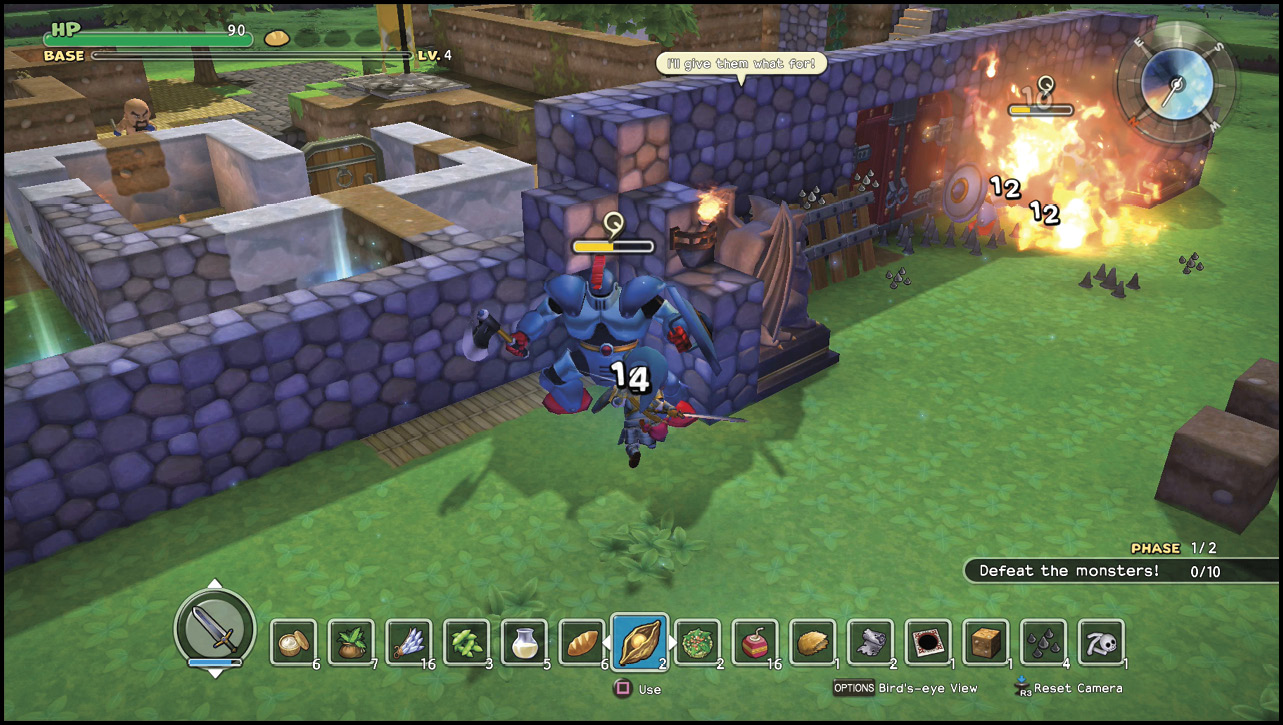
All that remains is a series of battles that culminates in the fight against the giant golem. Speak with Larouche to begin each battle. Check the counter in the lower-right corner of the screen to track your progress in each battle. Your reward for completing each of the battles is a seed of life. Save these for emergencies if possible.
The first battle has two phases. The initial phase is six skeletons followed by four chimaeras. The second phase begins with six brownies, continues with four chimaeras, and ends with a knight aberrant.
The second battle is a single phase. Knights aberrant open the action, followed by three pairs of skeleton scrappers. One pair each of scorpions and iron scorpions end this battle.
The final appetizer battle before the main event kicks off with two knights errant, followed by four pairs of skeleton soldiers. Phase two starts out the same, with two knights errant supported by two pairs of skeleton soldiers. A quartet of cosmic chimaeras pop up next, followed by the leader of the assault, a knight aberrant.
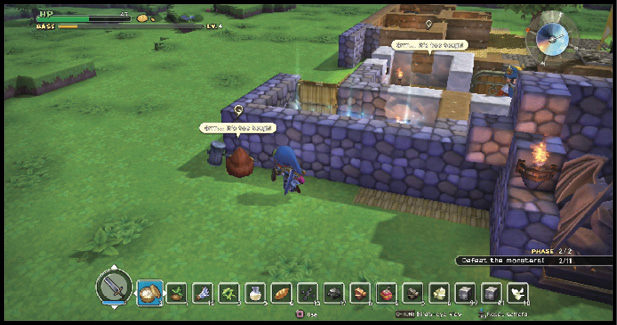
Take some time to rest, recover, and rebuild. When you speak with Rollo next, it’s to start the battle versus the giant golem.
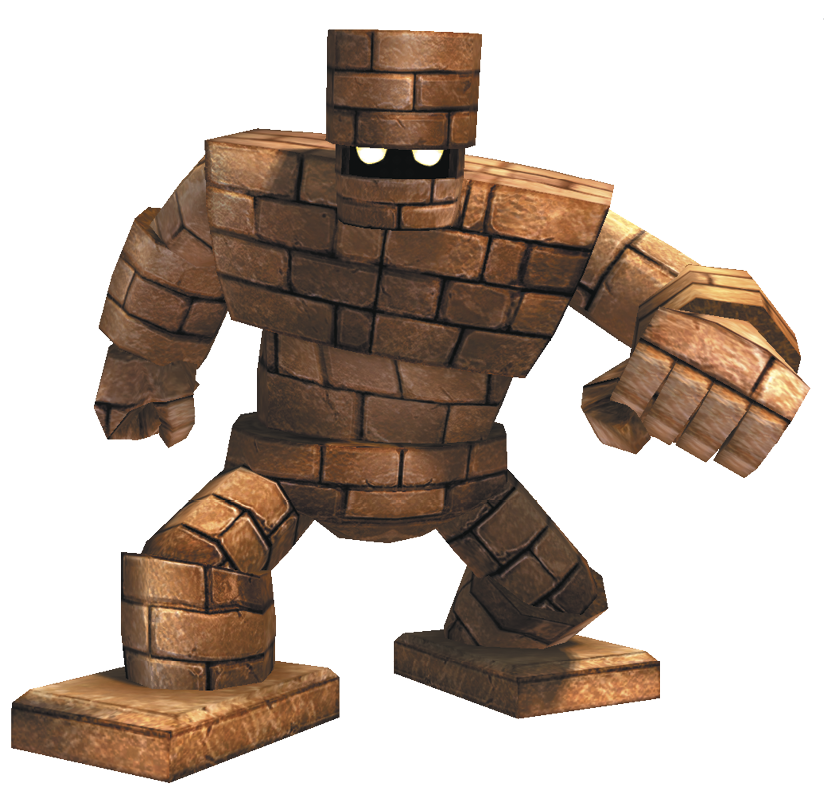
Boss Fight: The Giant Golem
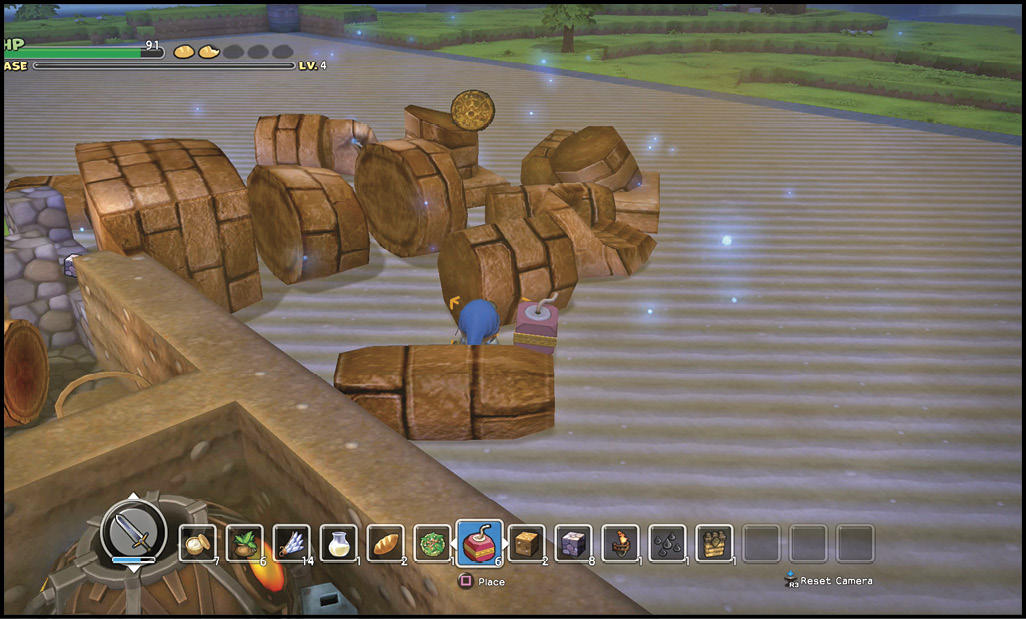
The giant golem appears outside the base and rolls an enormous boulder, which destroys anything in its path except for the Cantlin shield you created earlier, or any obsidian you mined while in Rockbomb Ravine. Though obsidian doesn’t contribute to the countdown of blocks in the lower-right corner of the screen, it will defend your base against any stray boulders you miss.
You can anticipate the attacks by watching for the red glow that indicates the giant golem is powering up. Set the Cantlin shield between it and your base to successfully deflect its attack.
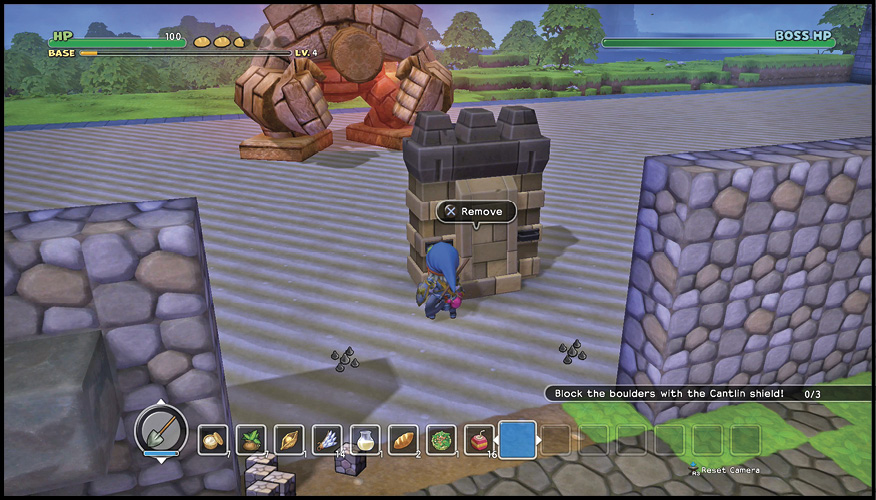
When you stop the number of attacks that appears in the countdown, the giant golem switches to a more direct attack. The giant golem spins toward your base in a straight line. Block it by placing the Cantlin shield again.
Stopping the spinning attack staggers the giant golem momentarily. If you get hit before the shield blocks the attack, the giant golem leaps back and resumes tossing boulders.
With the giant golem in a daze, place a wrecking ball on the outside of its feet in order to knock Cantin’s oppressor to the ground. Place a second wrecking ball directly underneath it toward the knees to inflict damage and send the stone sentry sprawling in shards.
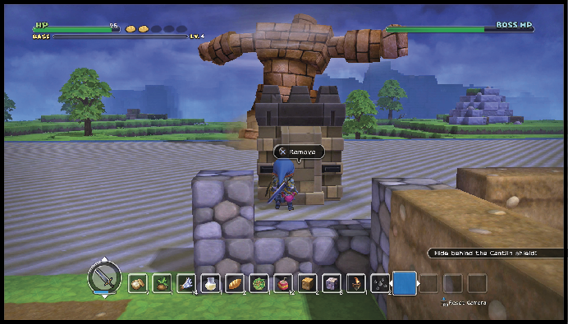
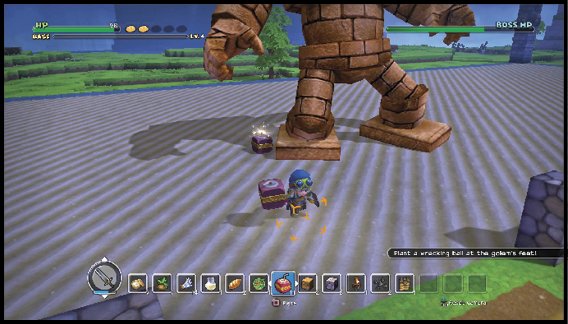
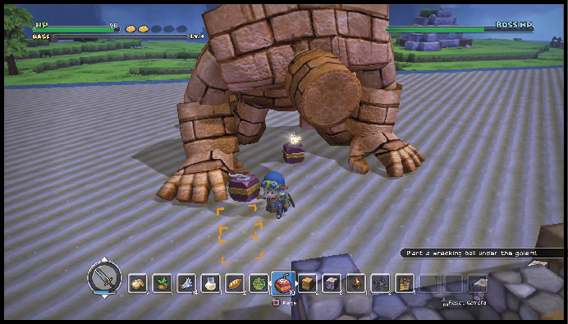
The giant golem then recovers and summons three large hammerhoods to aid its attack. Rush out to meet them, but watch out for the giant golem leaping into the melee. Fortunately, this attack harms the hammerhoods should they be caught under it.
When the hammerhoods are defeated, the giant golem resumes boulder-tossing. Repeat the defense against three more boulders and another spinning frenzy until five large hammerhoods are summoned alongside another volley of giant golem leaps.
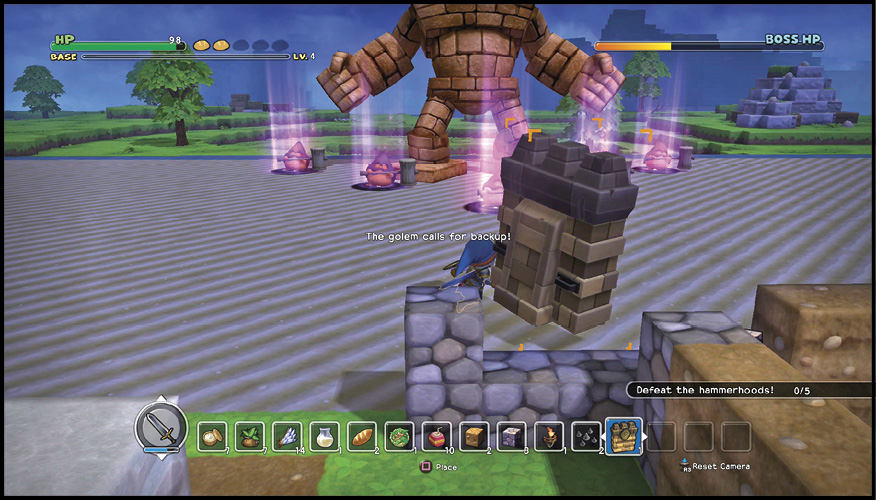
Finally, with the last of the hammerhoods dealt with, the giant golem goes into a desperate spin attack. Use the last two wrecking balls to topple and vanquish your foe, and set Cantlin free.
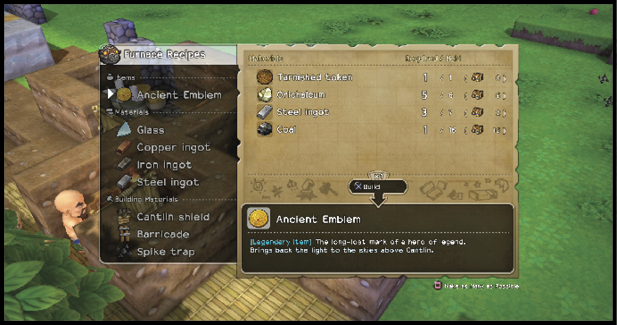
The giant golem drops a tarnished token. You quickly learn how to build an Ancient Emblem. Build the Ancient Emblem, collect medicinal herb (x10) from Rollo, and use the Ancient Emblem near the Banner of Hope. A new location pops up on the compass.