Dragon Quest Builders Guide Alefgard Adventure Chapter 2: Rimuldar
Rimuldar: Holy Sanctum
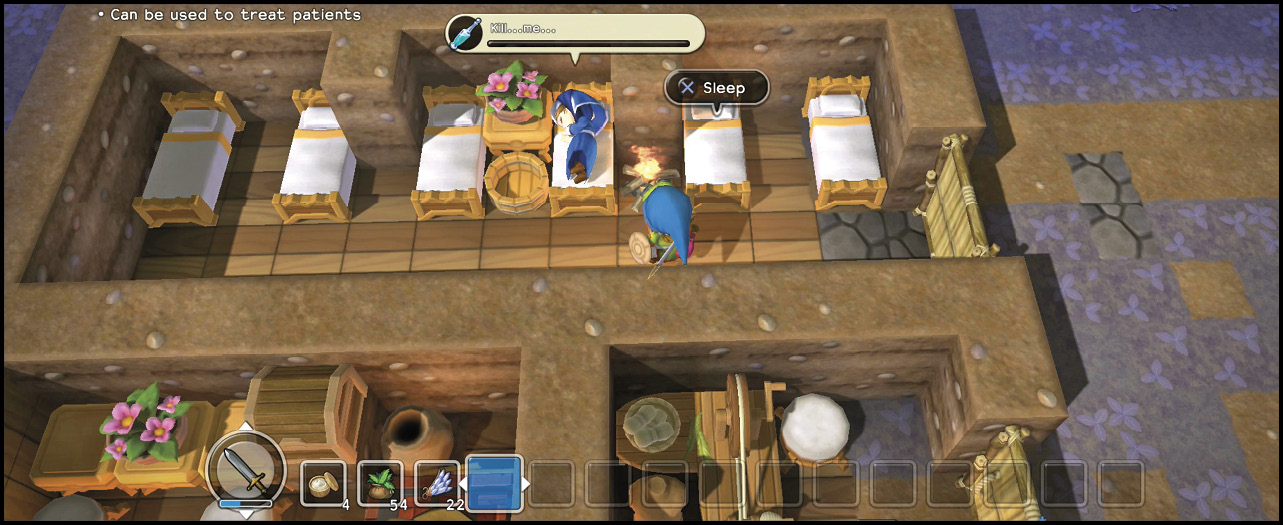
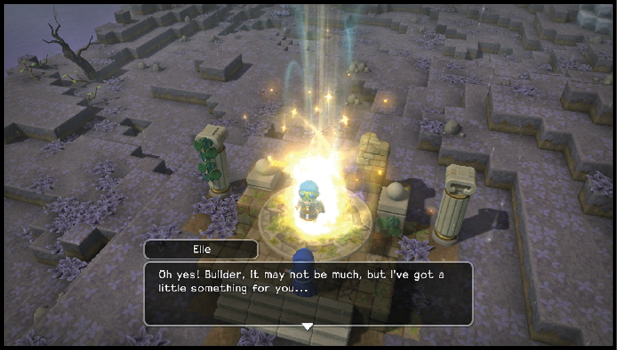
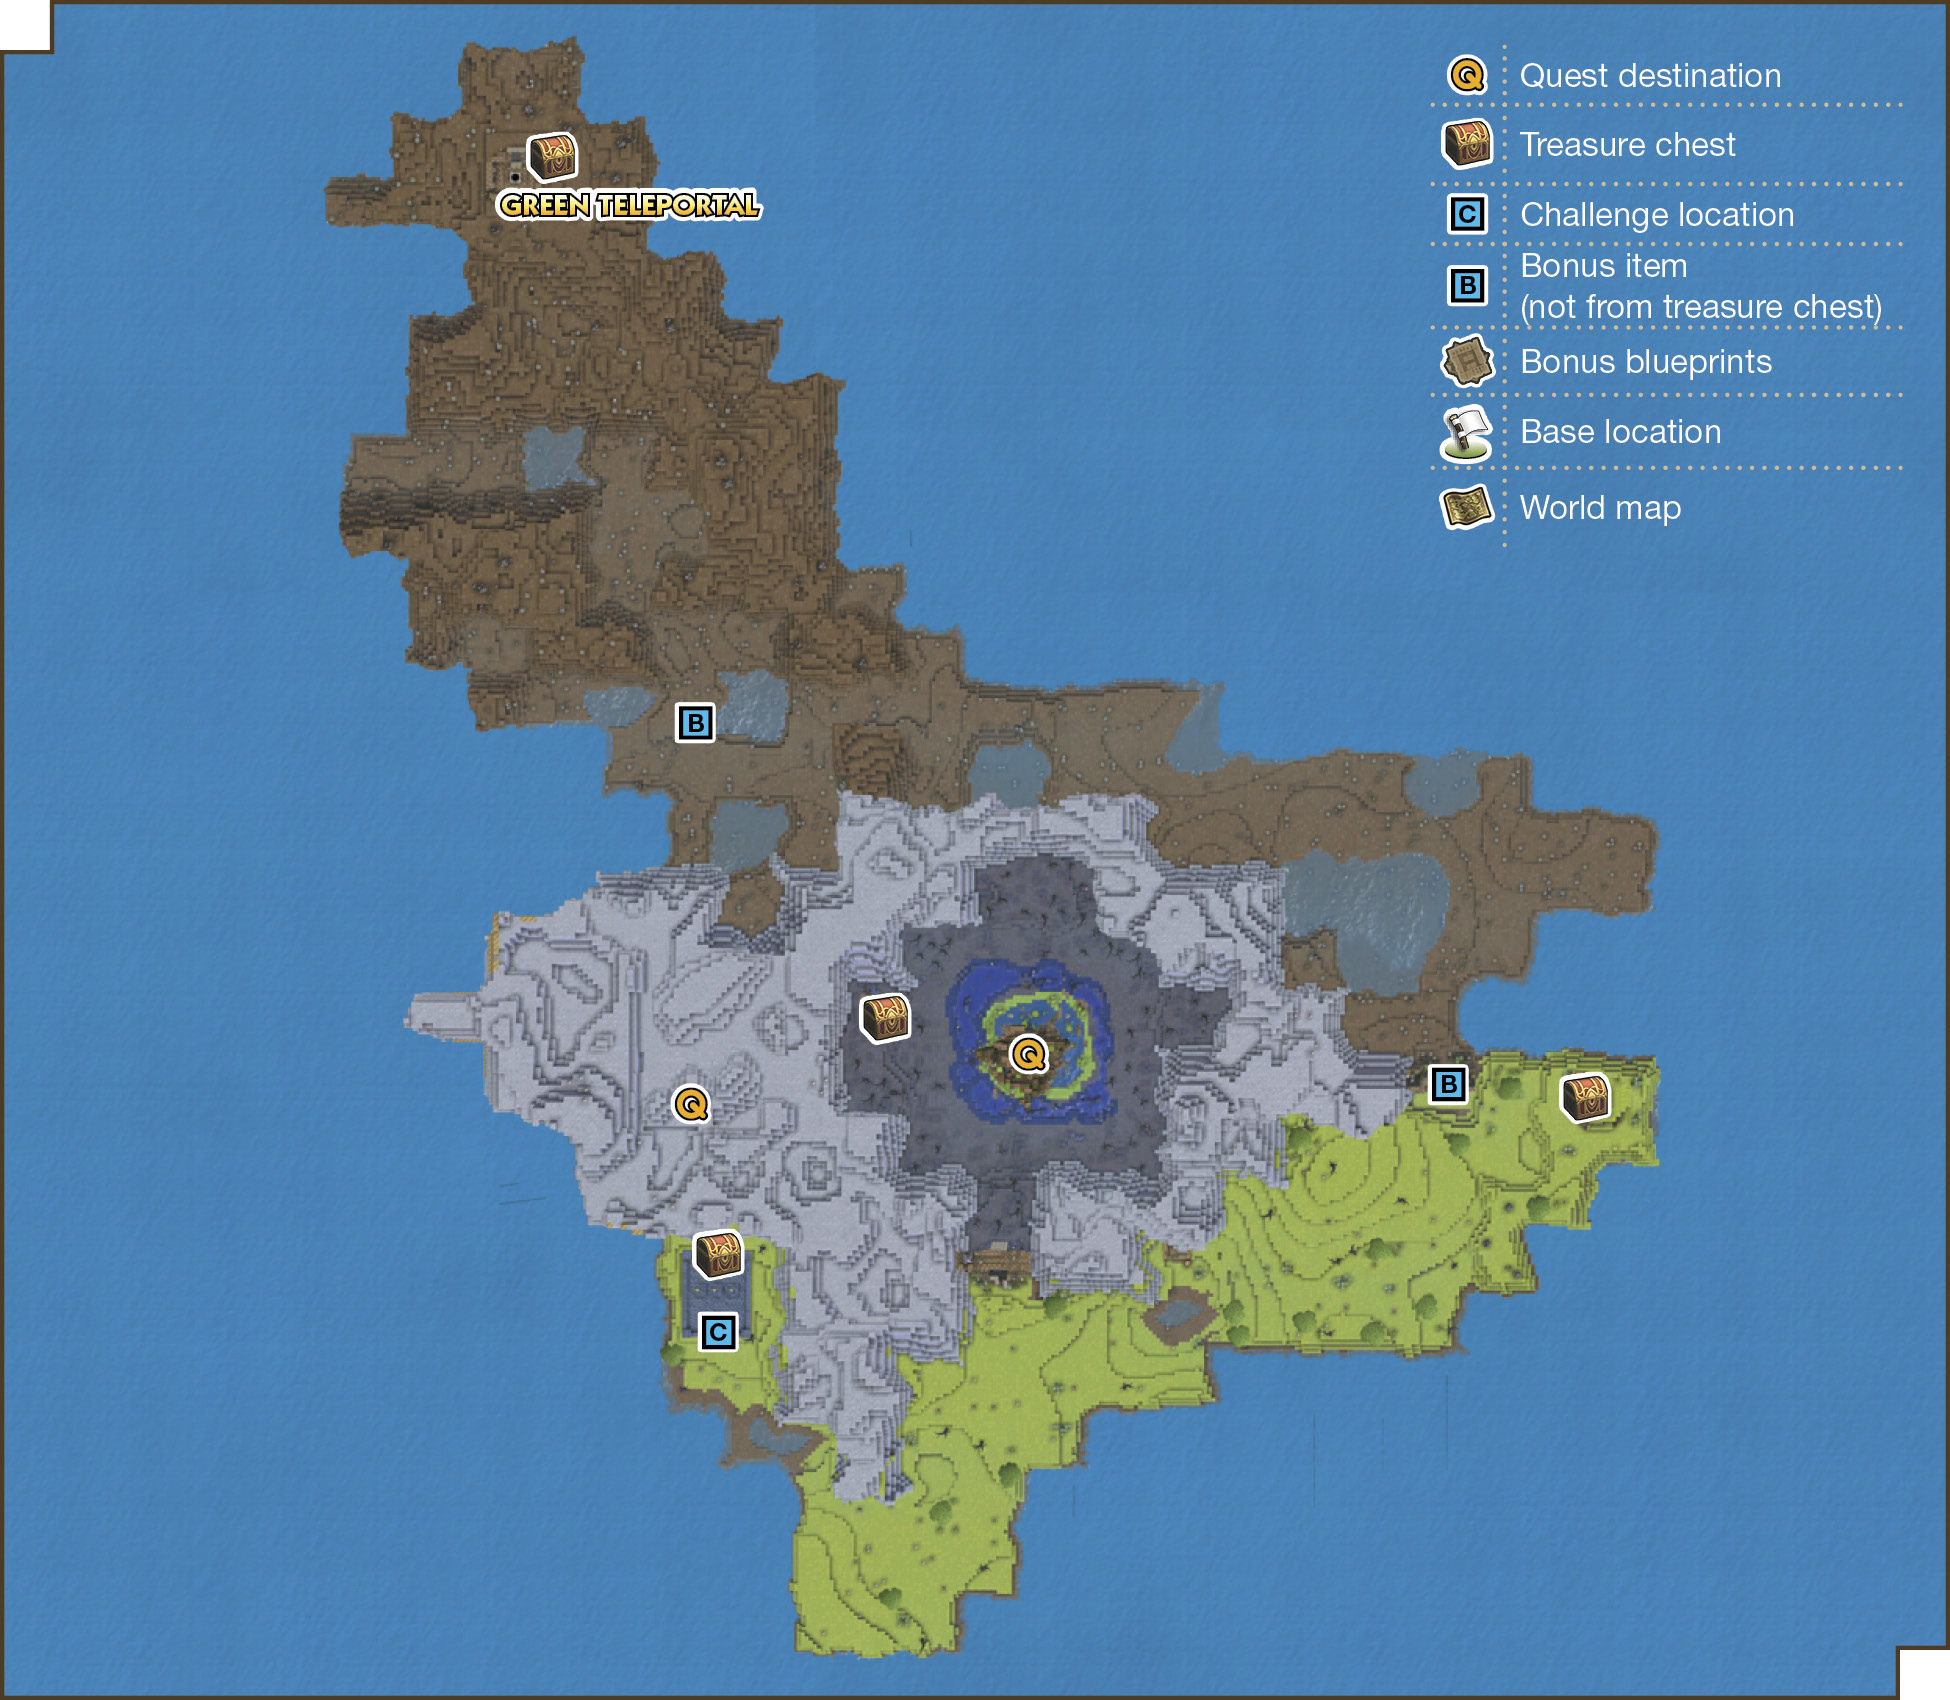
Place the green teleportal. Carry Elle to the sickroom and put her on a bed. The land through the green teleportal is filled with roaming undead creatures and perfectly reflects the mood of the base: bleak.
Available Materials
Icon |
Raw Materials |
 |
Broken branch |
 |
Coal |
 |
Dragon bones |
 |
Frogstool |
 |
Gold |
 |
Grassy leaves |
 |
Heartfruit |
 |
Holyhock |
 |
Ivy |
 |
Medicinal leaf |
 |
Plumberry seedling |
 |
Potato |
 |
Pumice pieces |
 |
Ruby |
 |
Silver |
 |
Stone |
 |
Strong stalks |
 |
White petals |
Icon |
Raw Materials (shovel required) |
 |
Bogwort |
 |
Branch |
 |
Grass |
 |
Medicinal shrub |
 |
Milkblossom |
 |
Stalwort |
 |
Water (bucket required) |
 |
Witchgrass |
Icon |
Building Material and Decorations |
 |
Broken barricade |
 |
Chalk |
 |
Clay |
 |
Dilapidated crate |
 |
Earth |
 |
Metal memorial |
 |
Pebblestone |
 |
Plumberry lumber |
 |
Poisonous peat |
 |
Sand |
Wandering Enemies
| Icon | Name | HP | Drops |
|---|---|---|---|
|
|
Corpse corporal | 72 | Gravestone, lemongrass seed |
|
|
Drackolyte | 24 | Tingleweed bud, limegrass seed |
|
|
Fightgeist (night only) | 56 | Monster egg, chimaera feather |
|
|
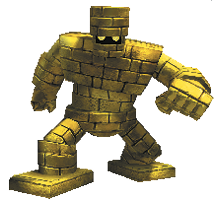
gold golem | 84 | Gold |
|
|
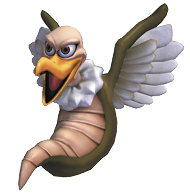
Hocus chimaera | 41 | Chimaera feather, monster egg |
|
|
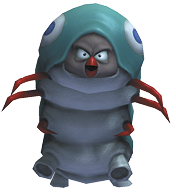
Illerpillar | 70 | Cord (x5), medicinal herb |
|
|
Metal slime | 5 | Silvery sludge |
|
|
Rocky box slime | 27 | Small stones, pumice |
|
|
Rocky box slime (large) | 32 | Bathtub, big rock |
|
|
She-slime | 16 | Orange oil, daffodaisy bud |
|
|
Skeleton soldier | 72 | Rusty nuggets, bones |
|
|
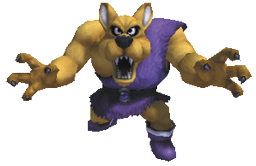
Tearwolf | 80 | Bewarewolf pelt, medicinal herb |
|
|
Walking corpse | 100 | Gravestone, lemongrass seed |








Finding the Keys to Salvation
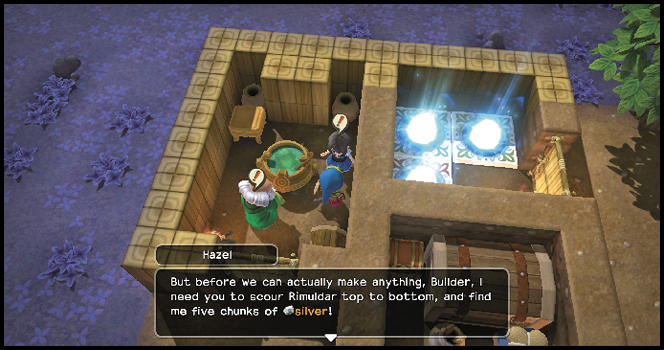
Talk to Hazel, who shares her knowledge of how to create liquid silver after seeing five silver nuggets. If you need any silver, go through the green teleportal and examine the surrounding cliffs. She adds a seed of life to close the deal.
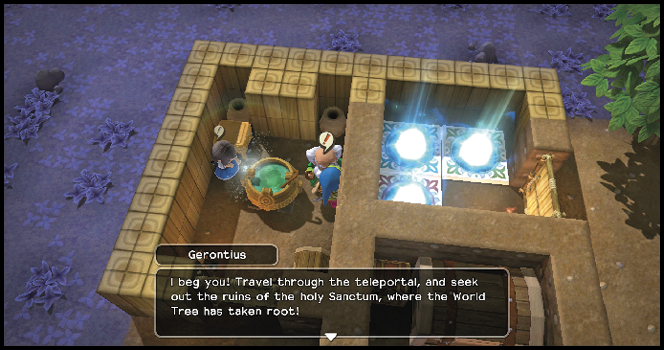
Catch up with Gerontius, who is not handling his granddaughter’s injury very well. He firms his resolve and sends you through the green teleportal in search of the transmutation table, a crafting station capable of producing a cure for Elle’s sickness.
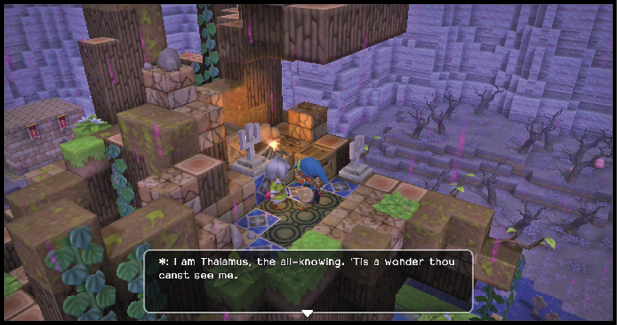
Travel through the green teleportal and follow the quest marker southward. The spirit of Thalamus appears at the top of what’s left of the world tree. He imparts the knowledge you seek—how to build a transmutation table. When you return to Gerontius afterward, your reward is a seed of life. Of course, provided you have a key, there’s nothing stopping you from collecting the holyhock Thalamus mentioned before you head back.
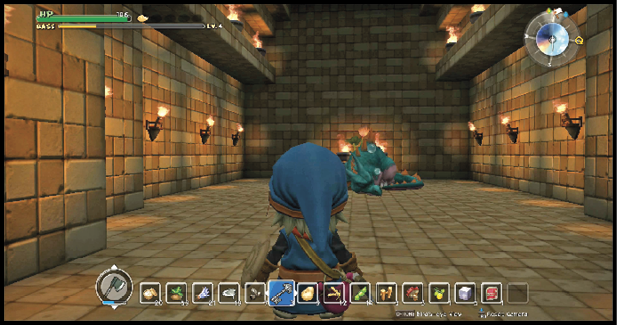
Go west from where you spoke with Thalamus. Climb to the top of the mountains and look for an opening marked by two sconces. If you’re having trouble locating the entrance, going into bird’s-eye view allows you to see a rectangular outline in the mountains where the dungeon below it resides. The mouth of the dungeon is on the south side of the rectangle. Descend the steps and follow the passages to a slumbering dragon.
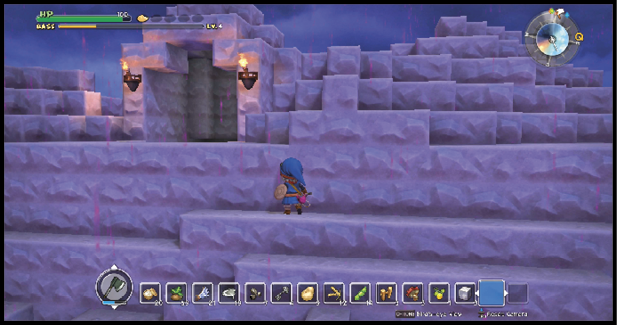
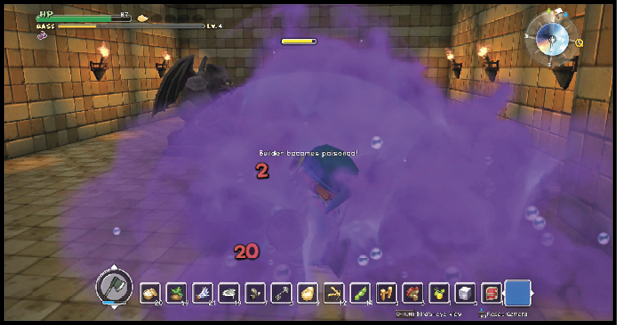
The blue dragon fights similarly to the green creatures you faced in Cantlin, but its breath weapon is a cloud of poison. Stay out of range and use the ballista to take down the dragon, who drops a dragon scale when defeated. Pick up the holyhock from behind the dragon. The reward for showing the holyhock to Gerontius is an additional seed of life.
Save Elle
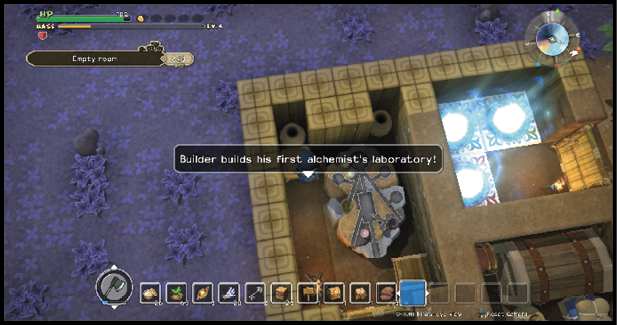
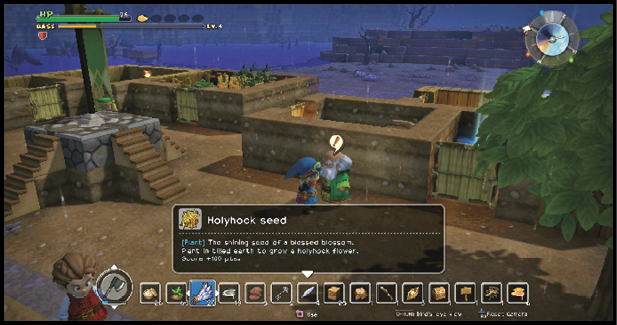
Back at the base, use your current herbalist’s cauldron as material to build a transmutation table. Place the transmutation table in the spot previously occupied by the cauldron to make a new type of room.
To make the divine draught Elle needs, you need five holyhock plants. Talk to Gerontius. Turn the holyhock into two seeds at the transmutation table. Plant the seeds into tilled earth and let them grow for two days. With two days’ growth, you’re able to harvest 10 holyhock plants, five per full-grown plant. Spend the two days gathering any items you haven’t claimed yet.
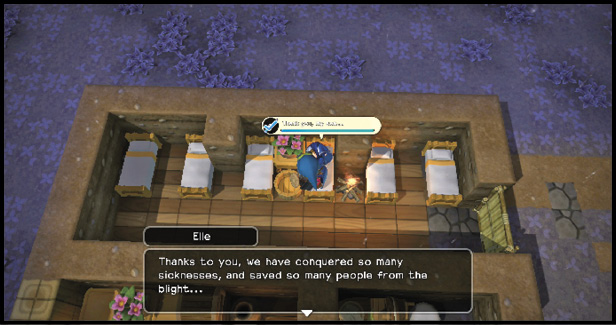
After you create a divine draught, use it on Elle in the sickroom. Talk to Gerontius and receive a seed of life. Save it! You’re back at the point where keeping the seed of life as an emergency full-life restoration is more important than five additional HP.
Final Attacks Before the Big Boss
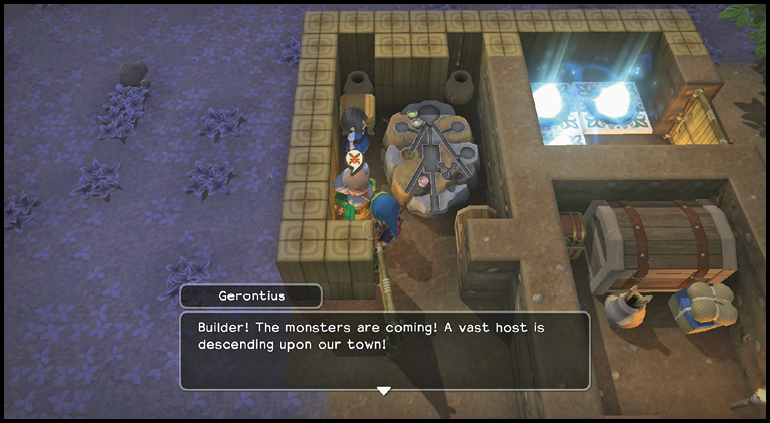
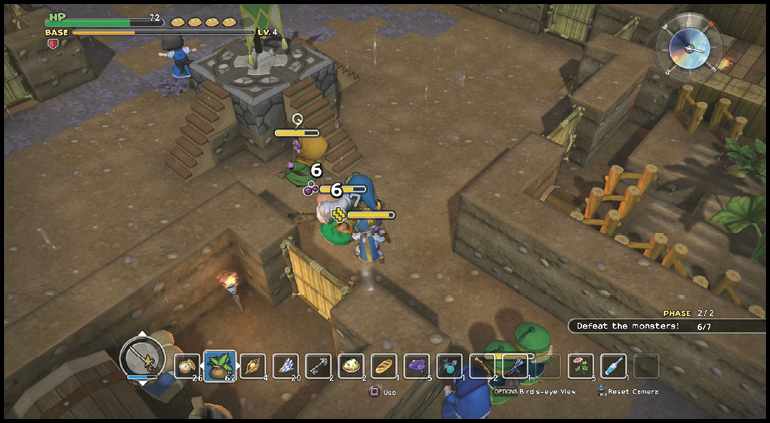
Check your equipment before speaking with Gerontius to start the first of many battles. If you haven’t made a catholicon ring for yourself yet, do so now. It’s the reward for completing the fifth challenge and worth the time spent putting it together. Without the ring, you’ll need to keep at least one status-removal item ready because you’ll be facing every type of negative status in the upcoming fights.
The first battle has two phases, and the reward for turning it back is antidotal herb (x5). First, six drohl drones attack the base in two waves. The second group is two bodkin fletchers, who still love to run away even though they’re the ones attacking, and four walking corpses. The leader is a large bodkin bowyer.
The second battle is beast-heavy and rewards you with Tingle tablet (x5). It kicks off with four killerpillars and two drackolytes. After you’ve eliminated them, phase two is two killerpillars and four walking corpses who initially appear to be human. A king killerpillar is the leader of this group.
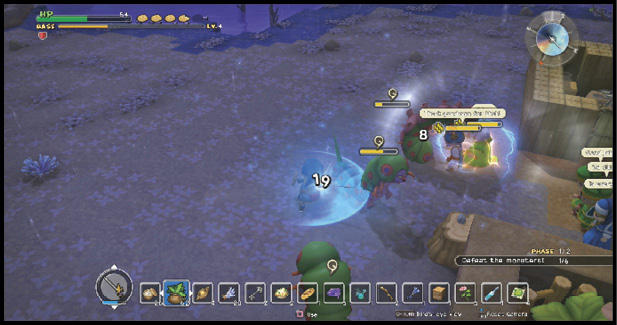
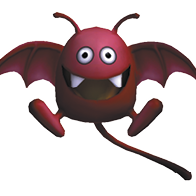
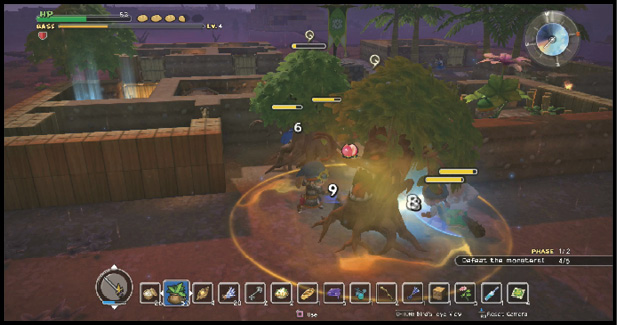
The final group to attack before the arrival of the Hades condor starts off with five treefaces, which drain your hunger meter often. Phase two is a pair of tearwolves and four walking corpses. The leader is a corpse corporal. When the final enemy falls, you get medicinal herb (x5).
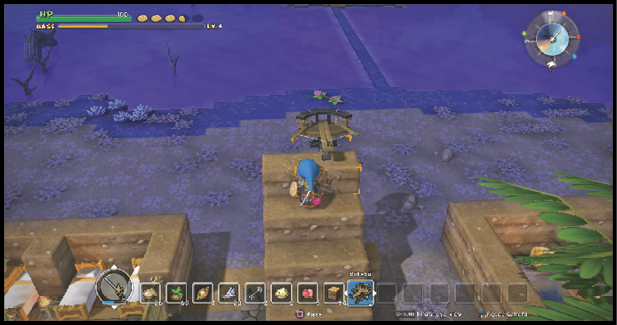
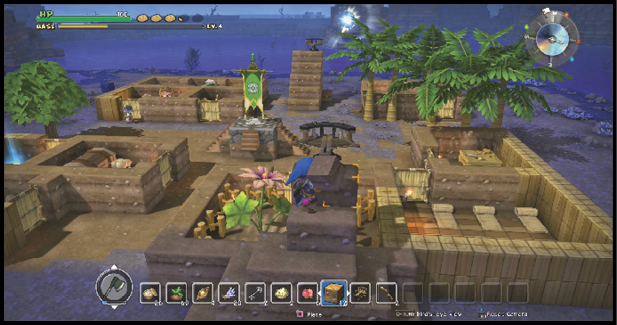
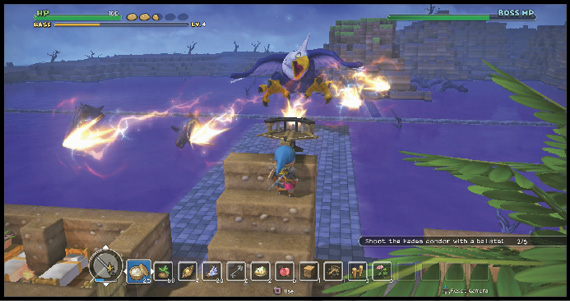
Before you begin the battle against the Hades condor, you need to set up a ballista. It should be at the west end of the base, and it must be inside the boundary of your base. It needs to be elevated with five sturdy blocks (think brick) underneath it, and should have enough room around it that you can stand behind it and fire. Align it with the Banner of Hope in order to hit the Hades condor consistently. Make sure you have vines or ladders placed on one of the sides of the platform for quick access.
A second ballista can be set up on the same or a different platform facing east. However, in order to avoid additional damage during the battle, it is advantageous to drop the Hades condor beyond the west wall and ignore attacking on the east altogether.
When everything is ready, save one last time and then talk to Gerontius again to fight the Hades condor.
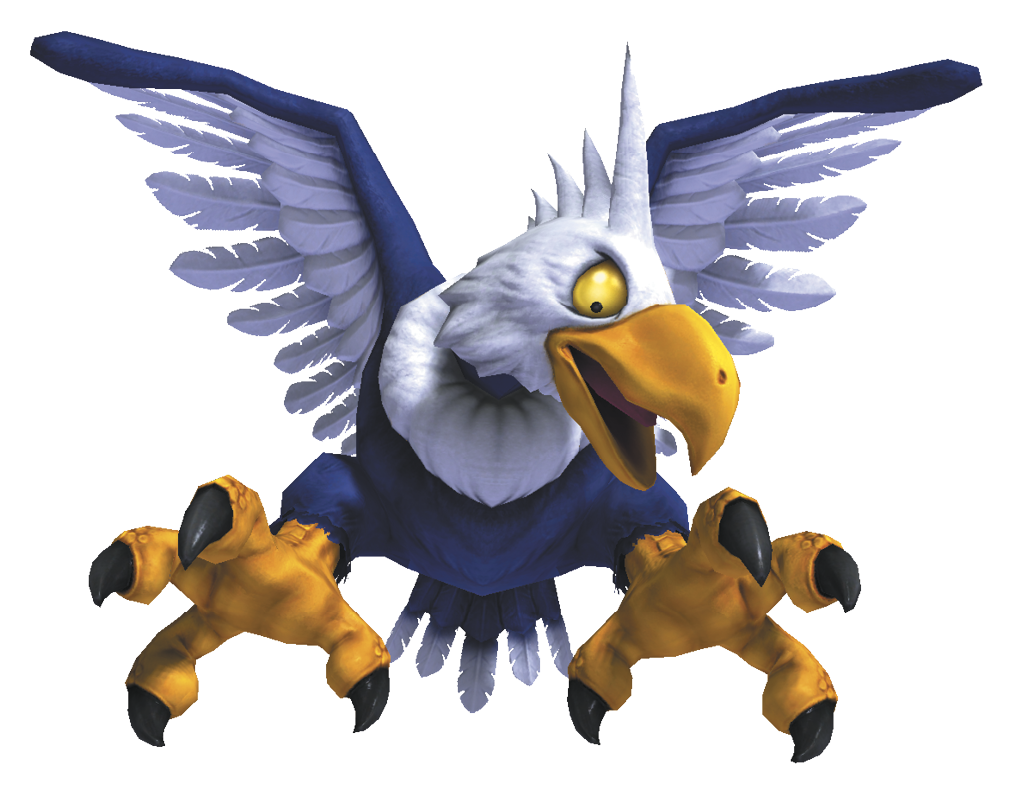
Boss Fight: The Hades Condor
When the fight begins, anything you built outside the base’s borders is gone. A stone walkway appears at the west end of town, with the Hades condor flapping above it. Sneak in a test shot immediately to gauge your aim. You should get a hit as it summons random creatures to attack your base. If you’re too high or low, you should restart. If you’re off to the left or right, pick up the ballista and reset it.
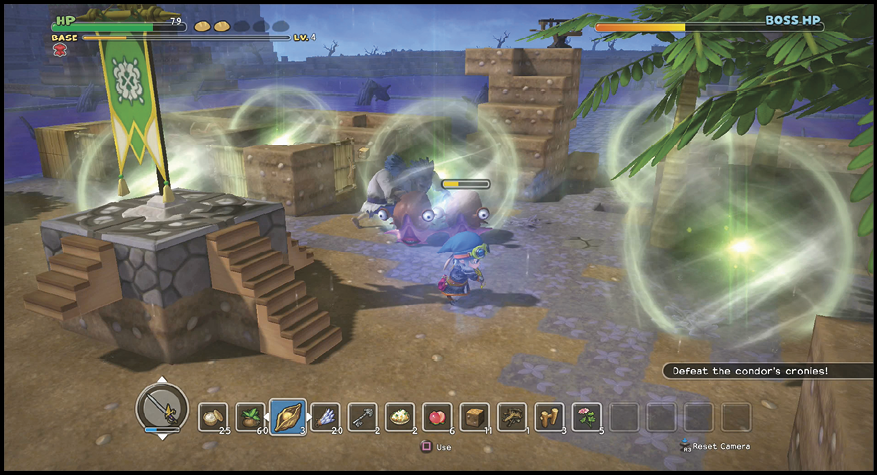
Your base is unimportant during the battle. Ignore the updates that tell you when rooms are destroyed. Continue eliminating any enemies in the base while the Hades condor circles around, since they’ll complicate things later. Avoid the green spheres that appear. They build up a charge and deal damage, but you have a second to escape should one pop up unexpectedly.
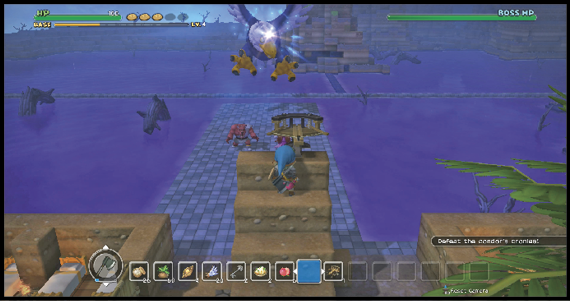
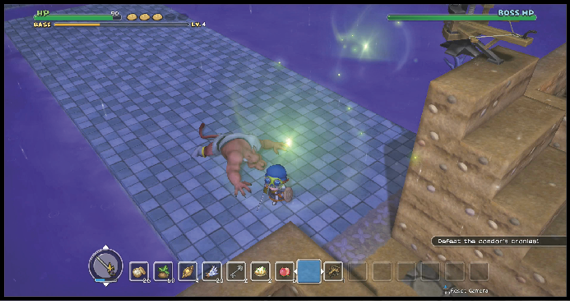
When you see a message about the Hades condor resting its wings, that means the condor is hovering over the stone walkway west of the base and is in prime position to be hit with two ballista bolts. When it’s hit three total times, it falls to the ground. Hurry out to where it rests and inflict as much damage as possible. The walkway is why the west is the best direction to aim your ballistae. Anywhere else the Hades condor falls, it will be in poisonous water.
You must repeat this pattern three times to defeat the Hades condor. Each time it falls, the number of times you must hit it with a ballista to knock it to the ground again increases by two.
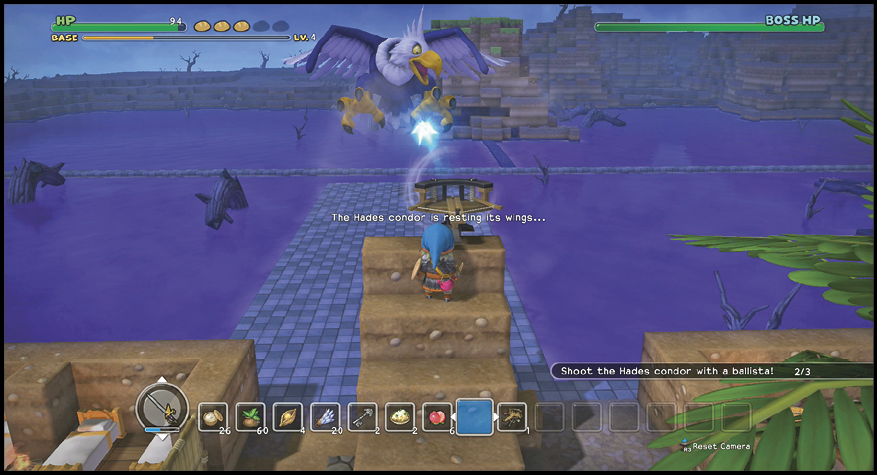
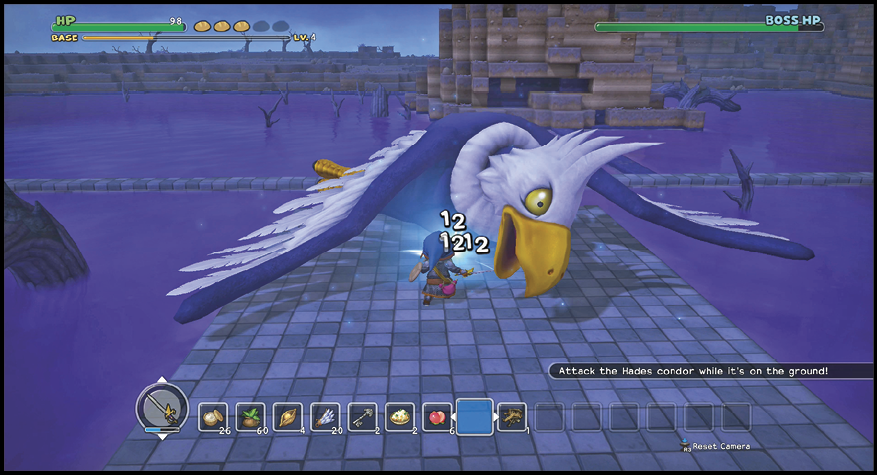
Run back to the base and get ready for more random monsters to be summoned. The two in the front are now joined by enemies attacking the east end of the base. If the base is clear, you can try to hit the condor while it’s on the move, but it’s a tricky shot to make.
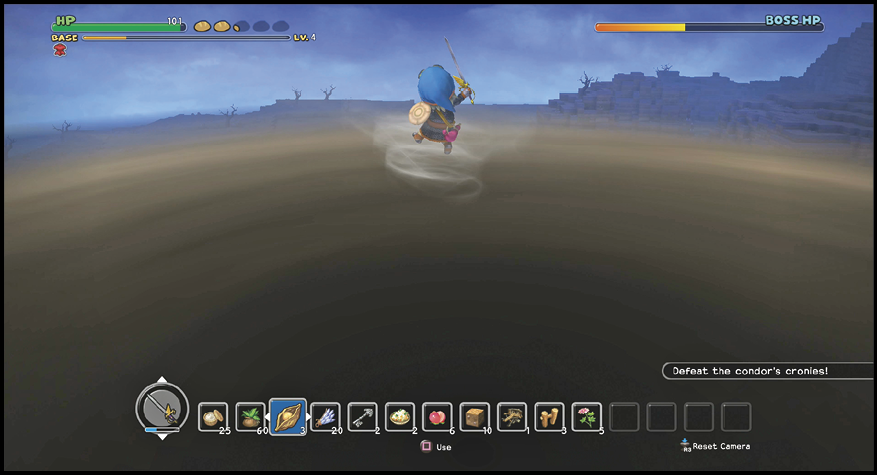
When the Hades condor pauses beyond the west wall this time, it unleashes a whirlwind that you can’t avoid unless you’ve built a structure with a roof to hide in. Otherwise it tosses you outside the base, into the poisonous water. The good news is that the condor should rest its wings soon. The bad news is you likely aren’t close enough to your primary ballista to hit it. Hurry to whichever ballista is closest and fire off a shot or two.
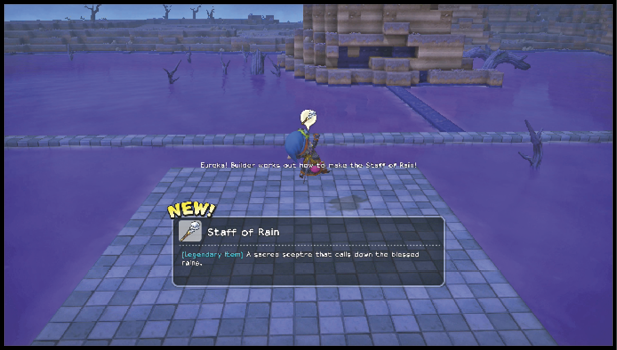
When you defeat it, the Hades condor drops a storm stone. You then learn how to make a Staff of Rain. Build the legendary item and use it near the Banner of Hope. A new location pops up on the compass. Remember to save before you go through the portal to a new land so you can return later and complete any remaining challenges.