Dragon Quest Builders Guide Alefgard Adventure Final Chapter: Tantegel
Tantegel: Land of Ash and Despair
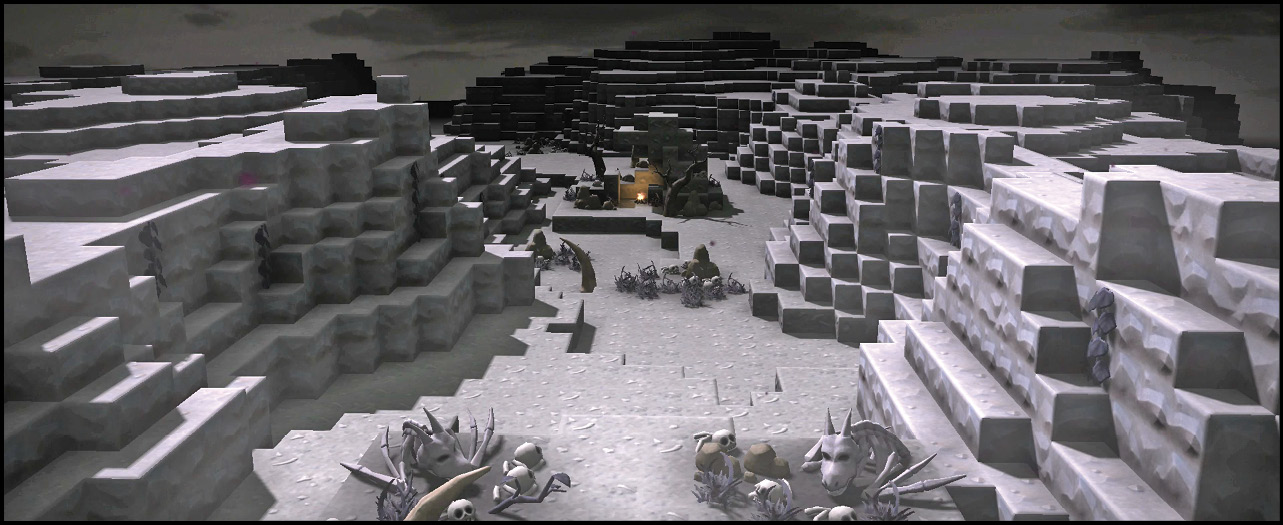
Tantegel is blocked from the sight of Rubiss, and you begin without her guidance. It is an ashen land more dead than alive. Restoring it will be your toughest test.
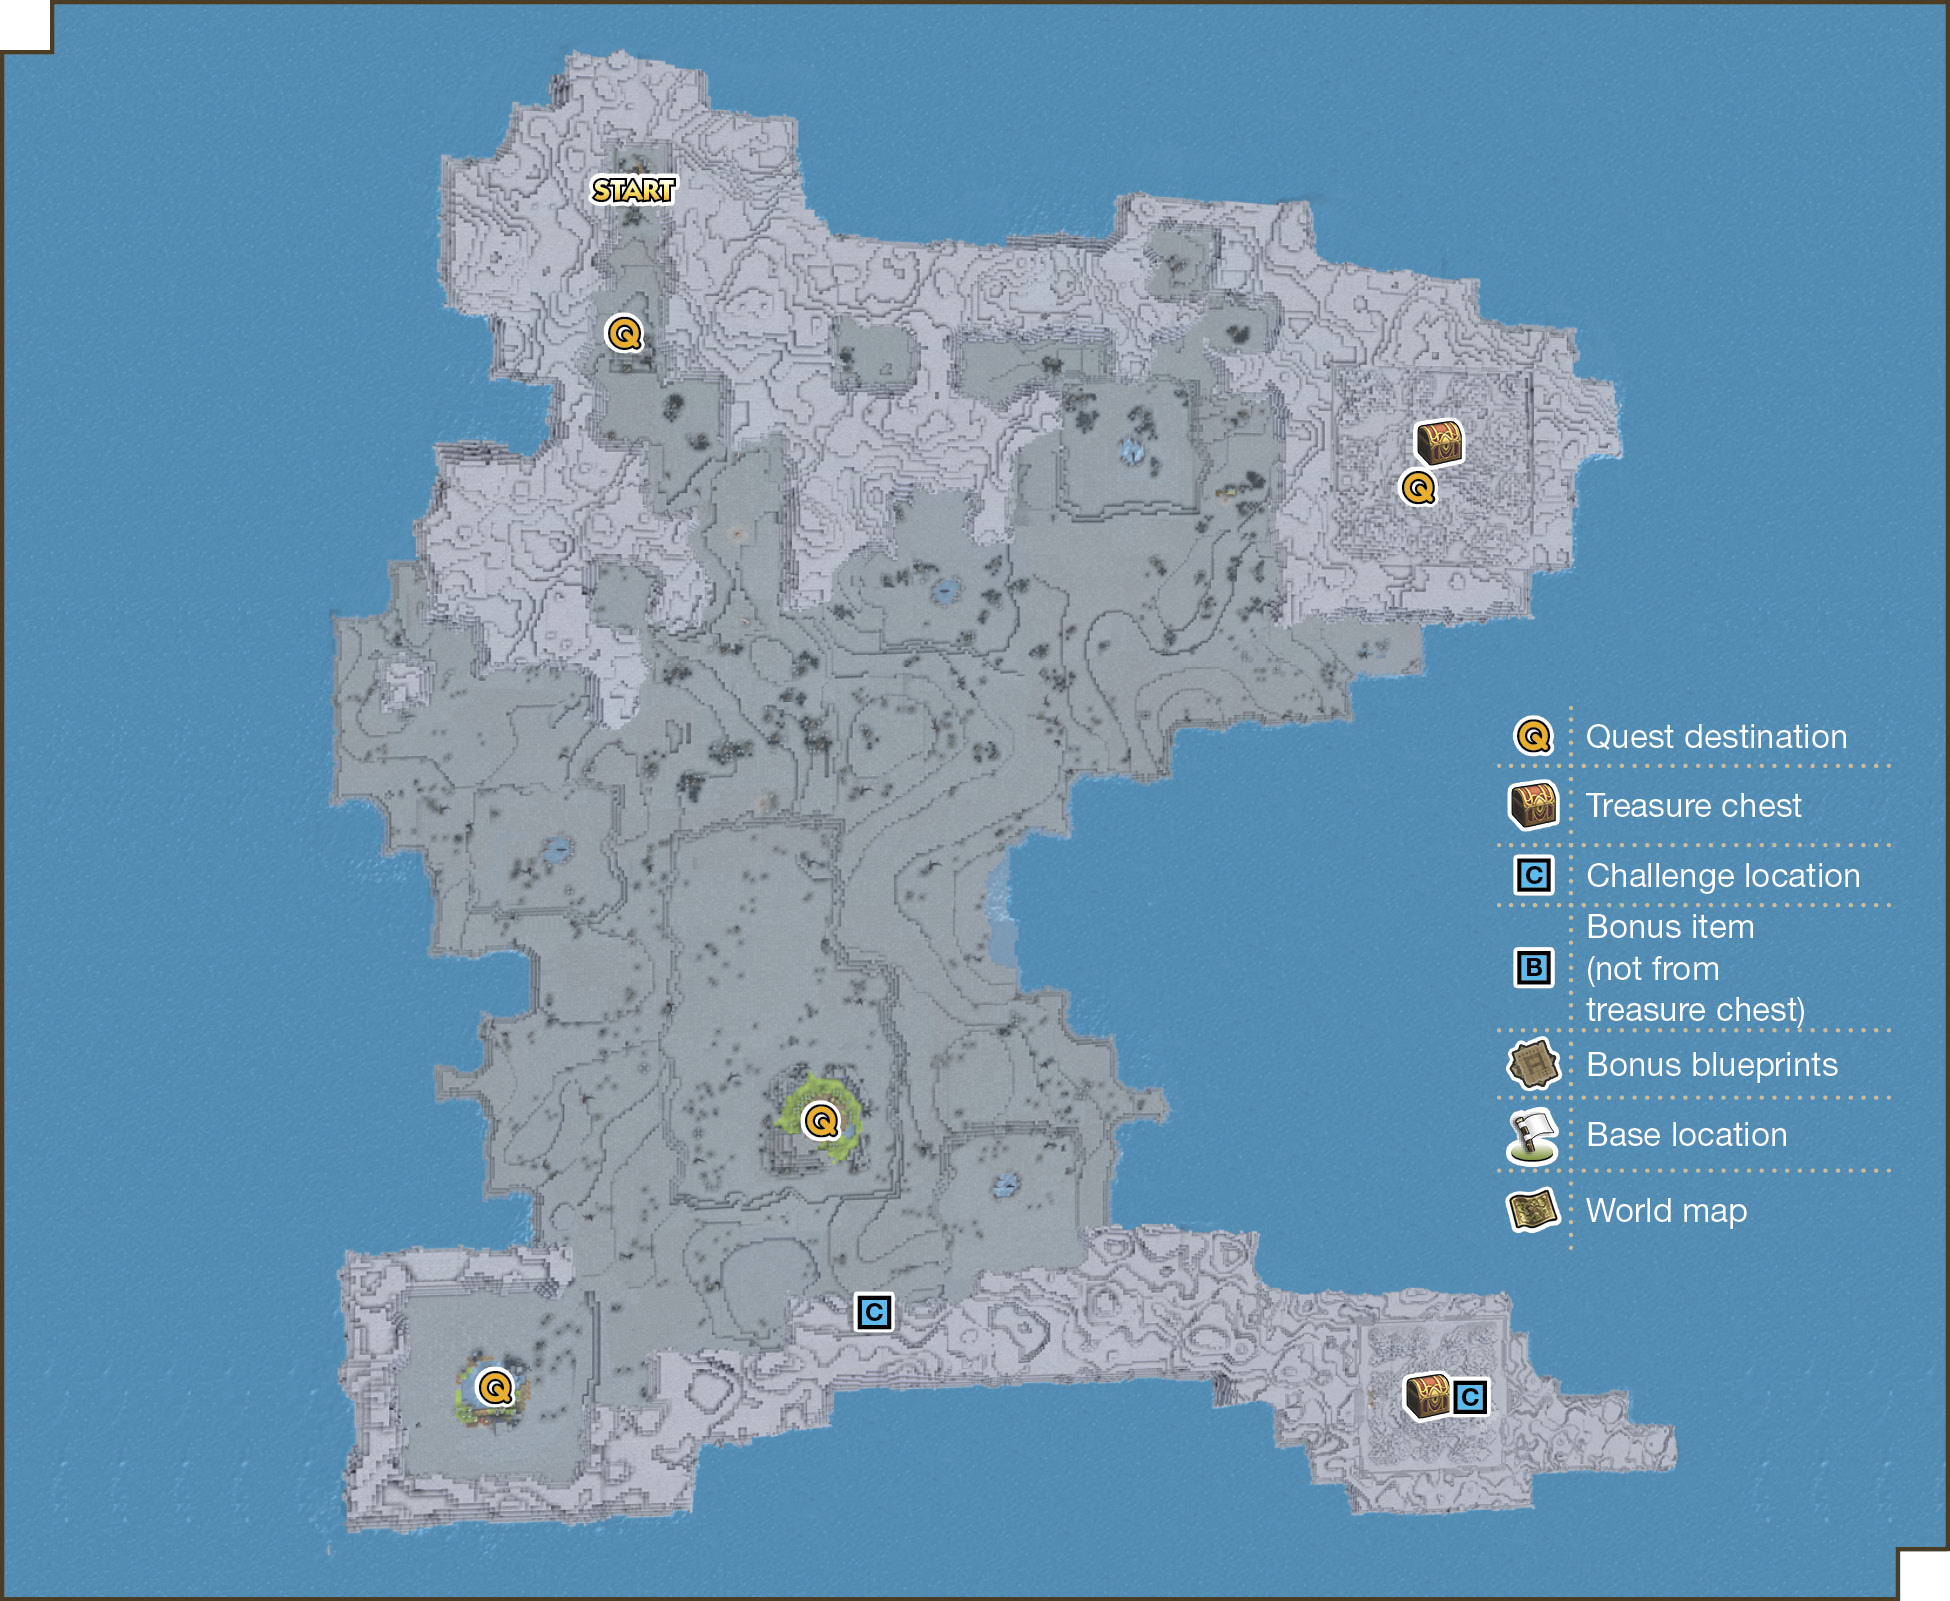
Available Materials
Icon |
Raw Materials |
 |
Broken branch |
 |
Coarse cloth |
 |
Dragon bones |
 |
Huge horn |
 |
Infernal ivy |
 |
Ivy |
 |
Plumberry seedling |
 |
Stone |
 |
White petals |
Icon |
Raw Materials (shovel required) |
 |
Blighted branch |
 |
Branch |
 |
Grass |
 |
Milkblossom |
 |
Shadowgrass |
 |
Stalwort |
 |
Water (bucket required) |
Icon |
Building Material and Decorations |
 |
Ash |
 |
Broken barricade |
 |
Chalk |
 |
Dilapidated crate |
 |
Earth |
 |
Grassy leaves |
 |
Leather sack |
 |
Pebblestone |
 |
Plumberry lumber |
 |
Seal of Erdrick |
 |
Tattered standard |
Wandering Enemies
| Icon | Name | HP | Drops |
|---|---|---|---|
|
|
Dark skeleton | 13 | Coarse cloth, bones |
|
|
Fightgeist (night only) | 75 | Monster egg, chimaera feather |
|
|
Ghost (night only) | 80 | Monster egg, chimaera feather |
|
|
Rockbomb (night only) | 60 | Rockbomb shard |
|
|
Rocky box slime | 11 | Small stones, pumice |
|
|
Skeleton | 30 | Coarse cloth, bones |
|
|
Spitegeist (night only) | 75 | Monster egg, chimaera feather |







Ash, Bones, and Bar-bells
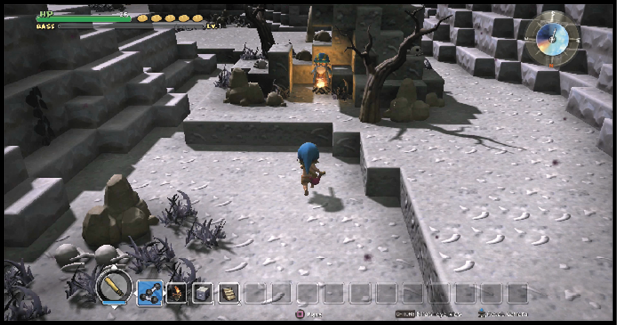
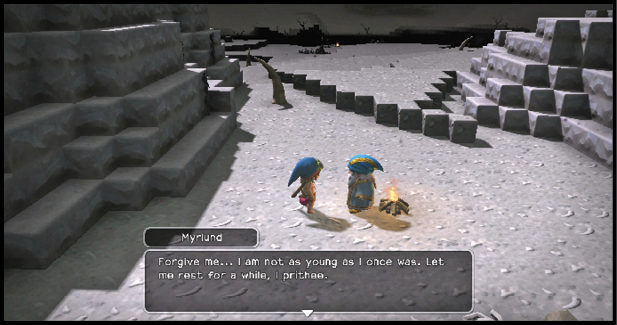
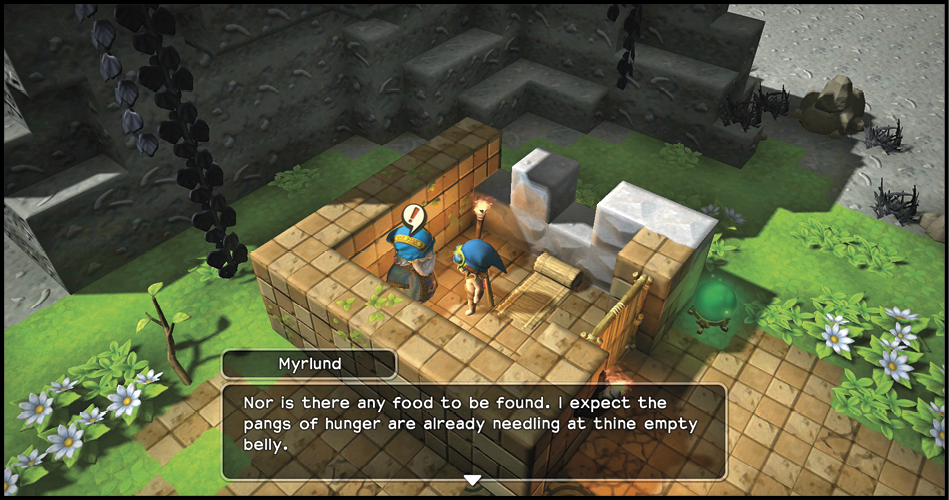
You awaken in Tantegel with less equipment than ever, but at least Glutimus’s gift stayed with you. The land offers up little in the way of materials, so walk toward the bonfire in the distance. Speak with the man at the fire, who introduces himself as Myrlund.
Take the bonfire and follow him across the grey landscape. After each pause, speak with Myrlund to get him moving again. The final destination is a small patch of green around a tattered banner and a statue.
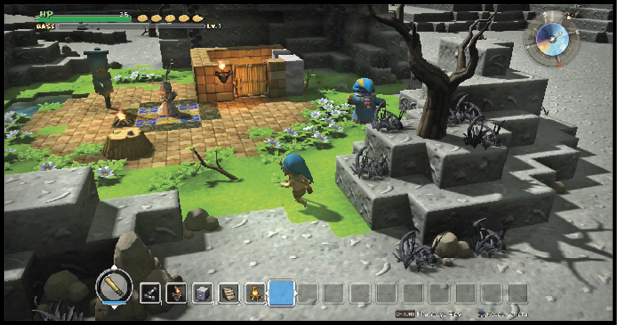
Speak with Myrlund again. Use the green naviglobe to mark the location, since it won’t appear on your compass otherwise. Shore up the walls of Myrlund’s room so you can use it to rest, if necessary. Food isn’t available, but Myrlund restores your hunger meter when you speak with him.
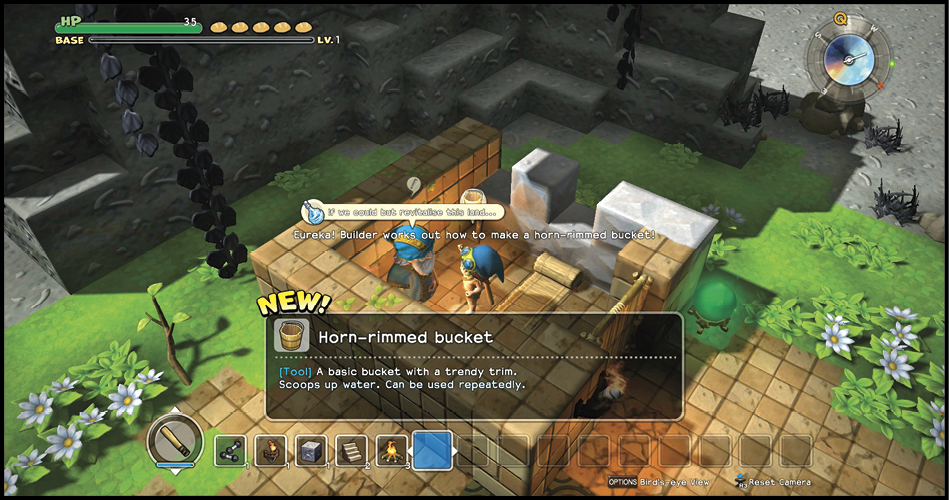
Myrlund’s first request is for you to create holy water. Inspiration strikes and you learn the recipe for a horn-rimmed bucket. Gather white petals from the green area and turn them into healing cream before you venture outside the base.
Exploring an Ashen World
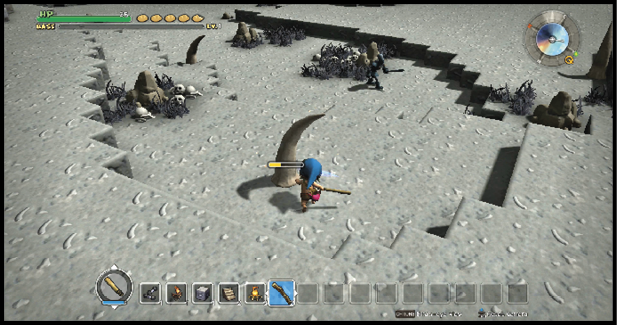
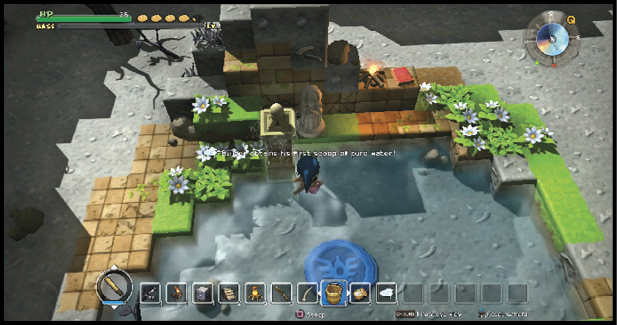
Look for the rare sprout with green leaves outside the base. These branches yield the broken sticks you need. Take the branches, along with a giant horn, to the tree stump to build a bucket.
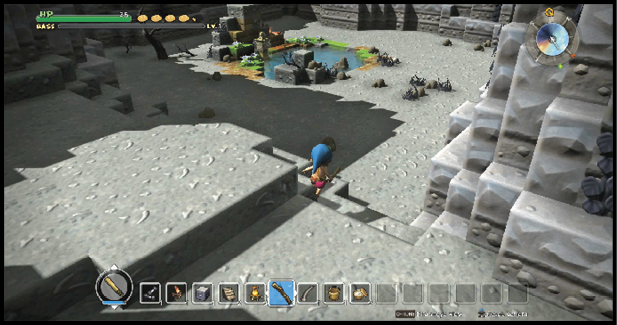
Go southwest to reach the spring marked by Myrlund. Scoop up pure water from next to the fountain (get a few scoops while you’re here). Note the seal of Erdrick in the pool. You can return here once your weapons have been improved and use it as a decoration in your base. Read the book next to the bonfire to move the quest marker to a new location.
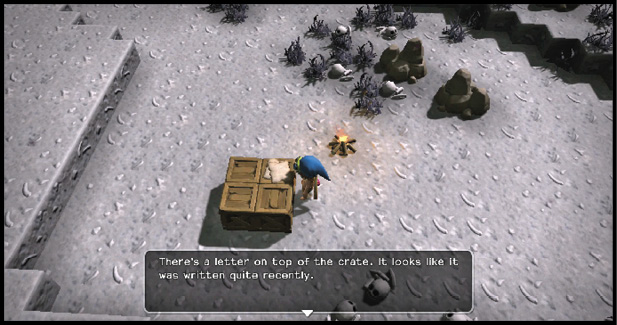
The marker guides you to an abandoned campsite. Read the letter on top of the crate. Go east and move up to the top of the mountain. Continue east until you discover a body. Inspect the body, which provides a hint.
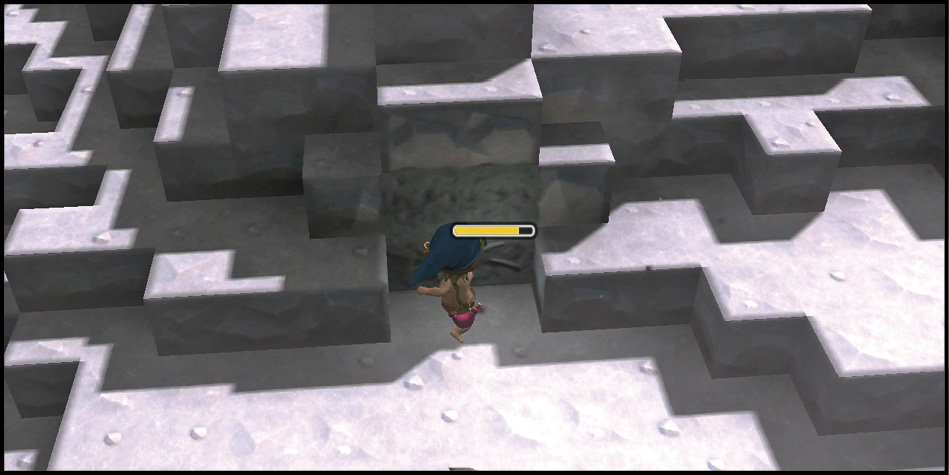
Smash through the blocks directly ahead of the body to uncover a hidden hermitage. Descend the steps and fight off the dark skeletons. Evil idols are another hazard in the hermitage. They’re too strong for your current weapon.
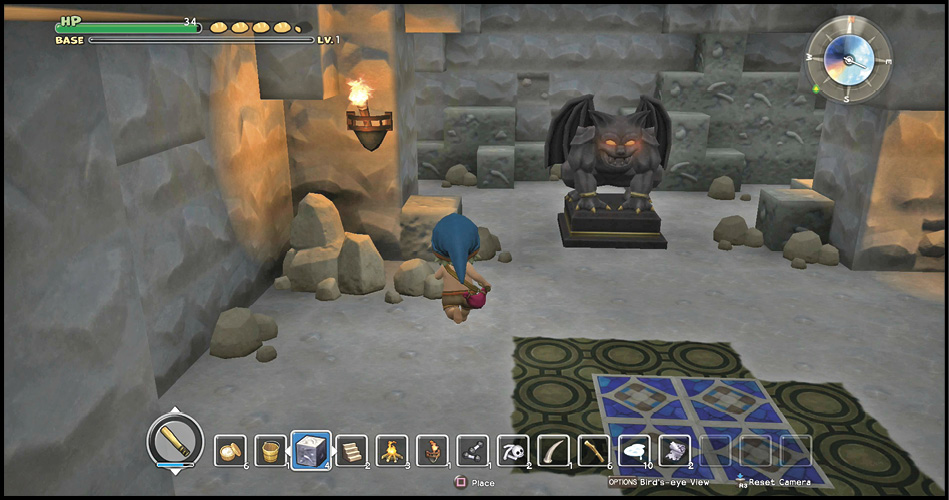
Explore the area thoroughly to uncover all the treasure chests it holds. Follow the blue temple tiles, which lead you to a green dragon guarding a steel door.
While your equipment is meager, it’s up to the task. Whether it’s due to the conditions of the world, or the proximity of the diviner’s altar, the green dragon is severely weakened. Avoid its flame breath and spinning attacks and score hits between its attacks. When it falls, it leaves behind a seed of life.
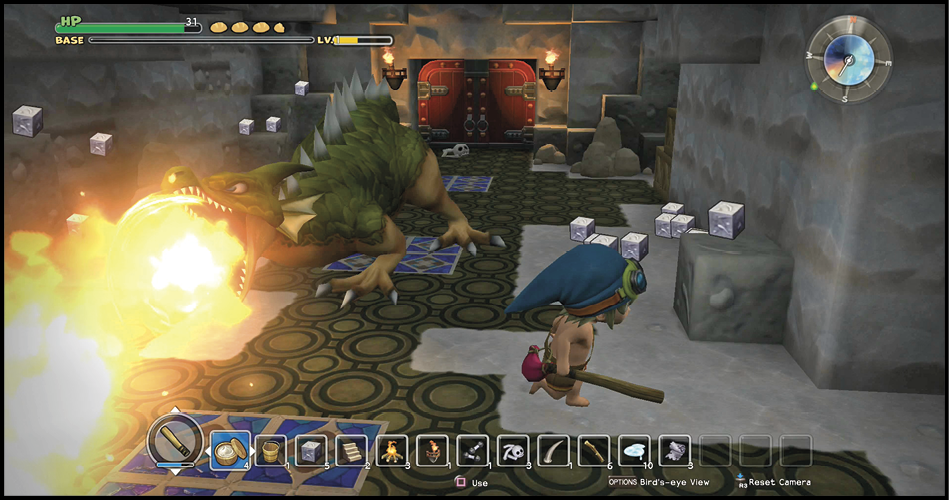
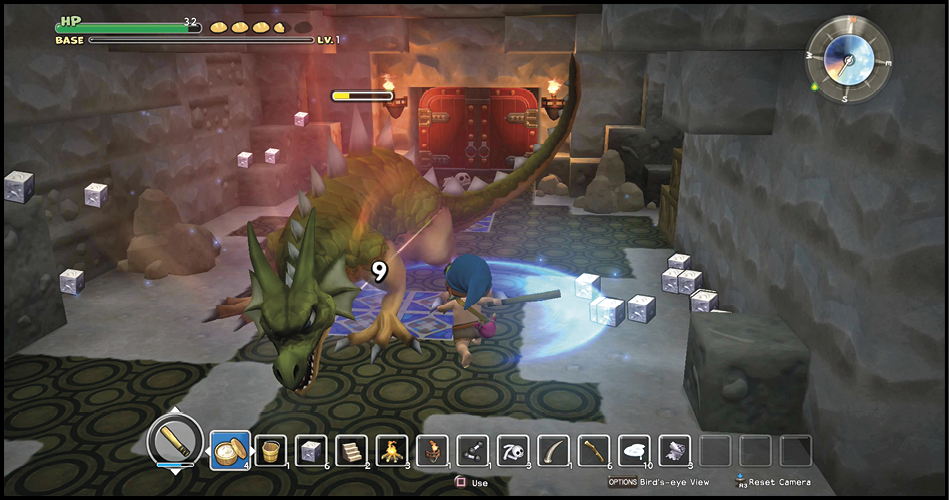
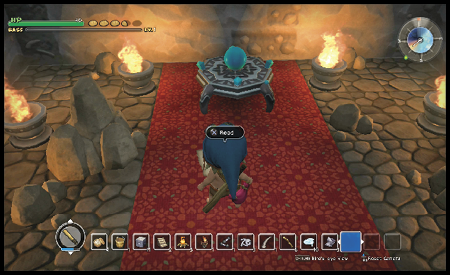
The diviner’s altar is behind the doors, along with a final note. Add the diviner’s altar to your inventory. Hold off on making holy water since it will take up what little inventory space you have left.
Return to Myrlund and set down the diviner’s altar near the water. Use it to create holy water and talk to Myrlund, who rewards your efforts with a seed of life.
The Princess and Dark Skeletons
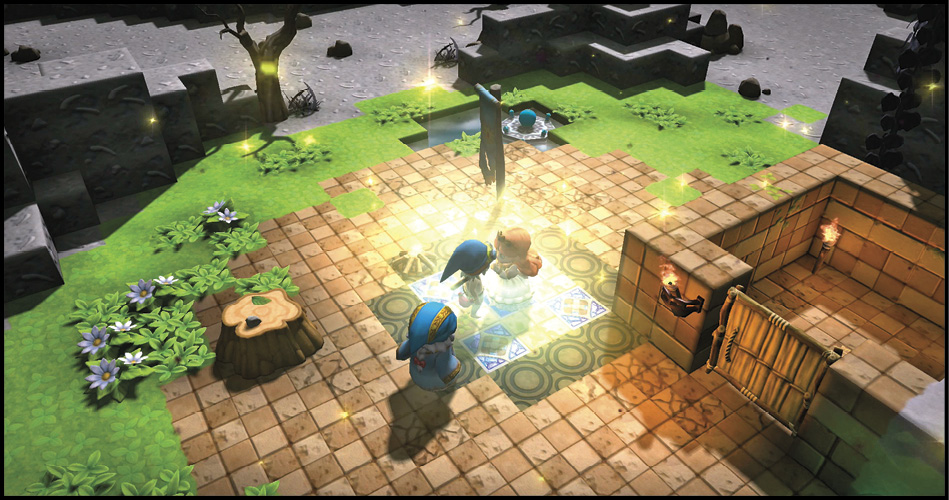
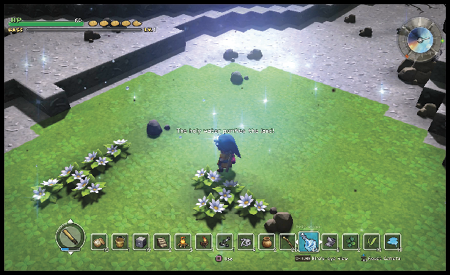
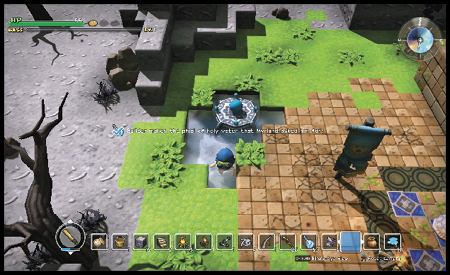
Use holy water on the statue to restore the Princess. Talk to the Princess and Myrlund, who senses great evil approaching. Before you initiate the upcoming battle, test out the holy water’s full capabilities. Move away from the base and use the holy water, which heals the surrounding land. The resources are limited here, but the next area is full of materials to uncover.
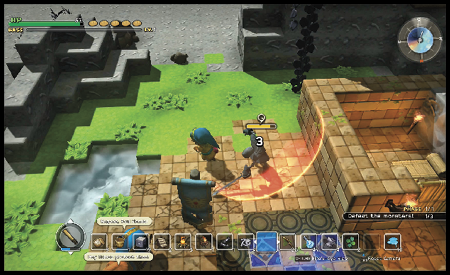
When you speak with Myrlund again, it begins a brief battle against three dark skeletons. Don’t expect any help during the battle; however, the dark skeletons approach individually, so you shouldn’t need help anyway. Driving off the attack earns you the blue teleportal. Sleep to experience a dream, then go through the blue teleportal.