Dragon Quest Builders Guide Alefgard Adventure Final Chapter: Tantegel
Tantegel Moor: The Heart of The Darkness
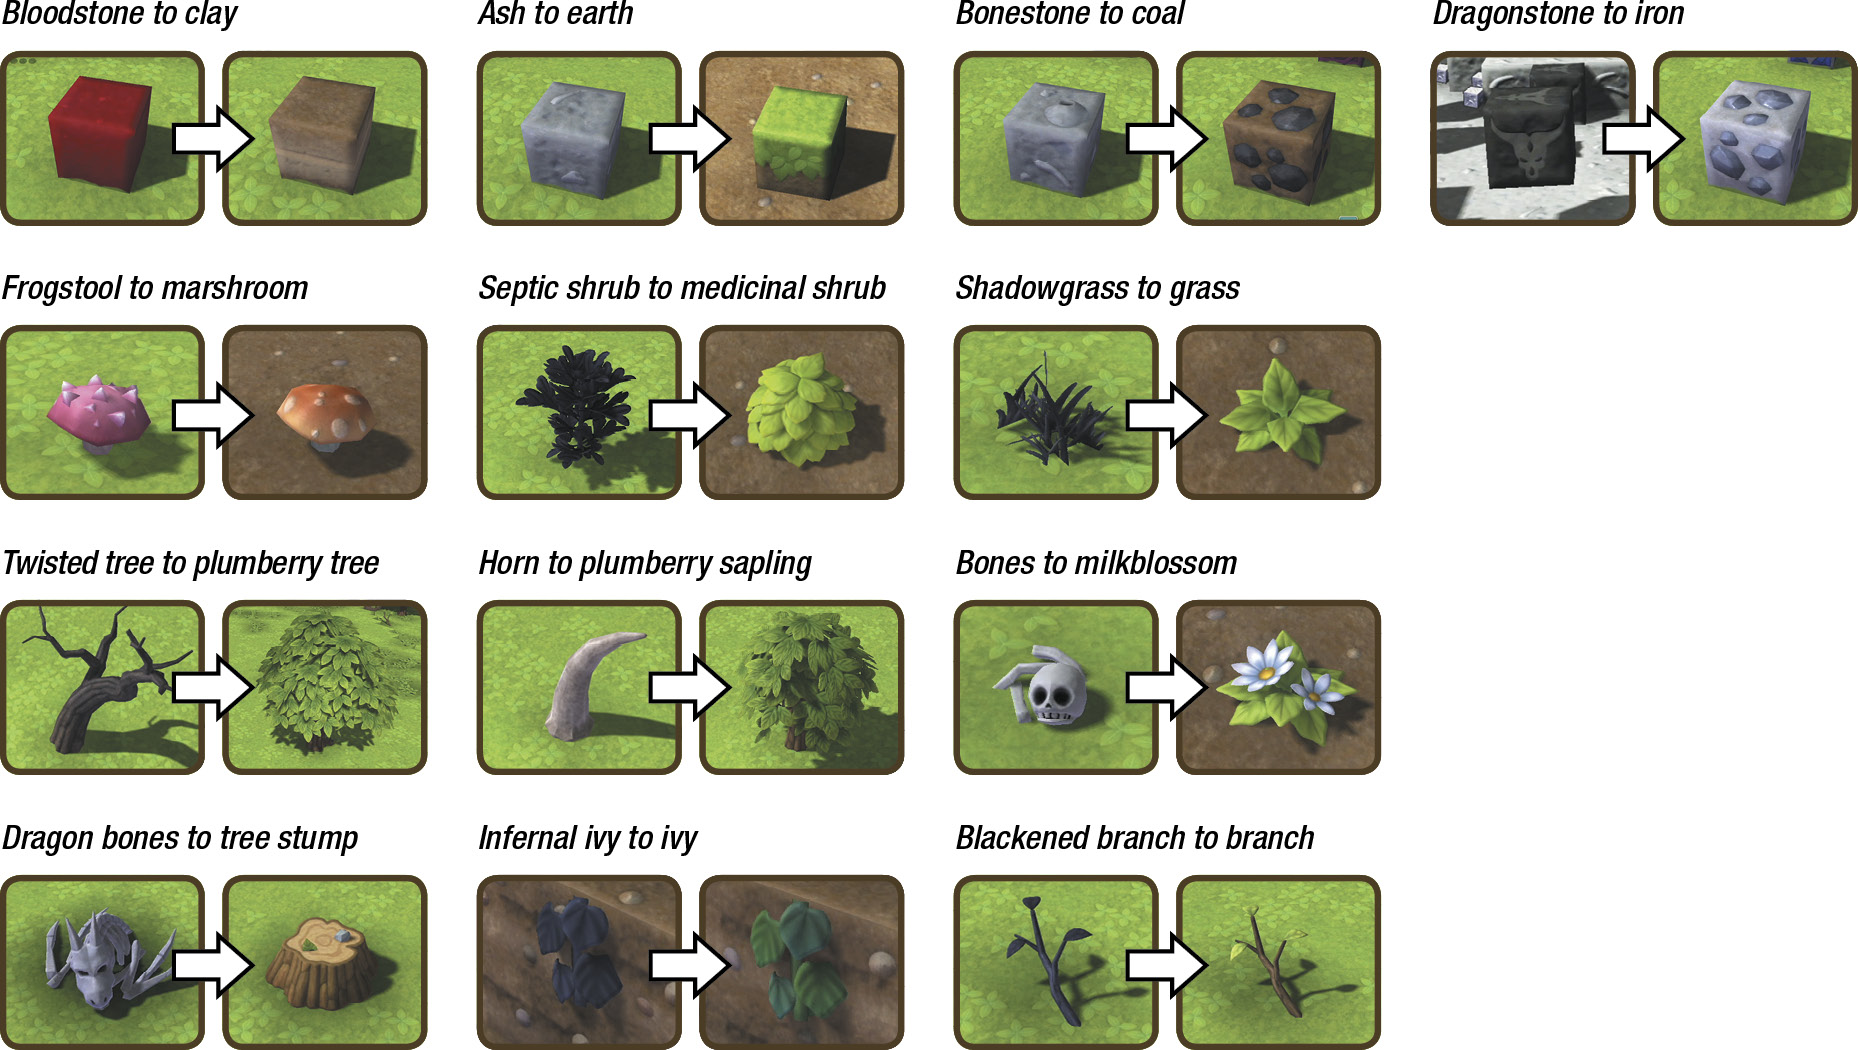
The land through the blue portal is Tantegel Moor. It’s named the Heart of the Darkness, but with your resolve and the power of holy water, you can begin to restore its lush beauty.
Available Materials
Icon |
Raw Materials |
 |
Broken branch |
 |
Coarse cloth |
 |
Dragon bones |
 |
Gold |
 |
Grassy leaves |
 |
Huge horn |
 |
Infernal ivy |
 |
Iron |
 |
Ivy |
 |
Marshroom |
 |
Medicinal leaf |
 |
Plumberry seedling |
 |
Silver |
 |
Stone |
 |
White petals |
Icon |
Raw Materials (shovel required) |
 |
Blighted branch |
 |
Branch |
 |
Grass |
 |
Medicinal shrub |
 |
Milkblossom |
 |
Shadowgrass |
 |
Stalwort |
 |
Water (bucket required) |
Icon |
Building Material and Decorations |
 |
Ash |
 |
Bloodstone |
 |
Bonestone |
 |
Broken barricade |
 |
Chalk |
 |
Clay |
 |
Dilapidated crate |
 |
Earth |
 |
Metal memorial |
 |
Obsidian |
 |
Pebblestone |
 |
Plumberry lumber |
Wandering Enemies
| Icon | Name | HP | Drops |
|---|---|---|---|
|
|
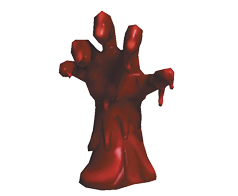
Bloody hand | 51 | Sludgestone |
|
|
Brownie | 26 | Fur |
|
|
Brownie (large) | 30 | Leather sack |
|
|
Chimaera | 28 | Chimaera feather, monster egg |
|
|
Cosmic chimaera | 36 | Monster egg, chimaera feather |
|
|
Dark skeleton | 66 | Coarse cloth, bones |
|
|
Dracky | 25 | Coralily bud, grass seed |
|
|
Fightgeist (night only) | 75 | Monster egg, chimaera feather |
|
|
Ghost (night only) | 80 | Monster egg, chimaera feather |
|
|
Hammerhood | 25 | Fur |
|
|
Legerdeman | 57 | Shot silk |
|
|
Metal slime | 5 | Silvery sludge |
|
|
Rockbomb (night only) | 60 | Rockbomb shard |
|
|
Rocky box slime | 11 | Small stones, pumice |
|
|
She-slime | 11 | Orange oil, daffodaisy bud |
|
|
Slime | 9 | Blue goo, milkblossom bud |
|
|
Spitegeist (night only) | 75 | Monster egg, chimaera feather |















Invasion Preparation
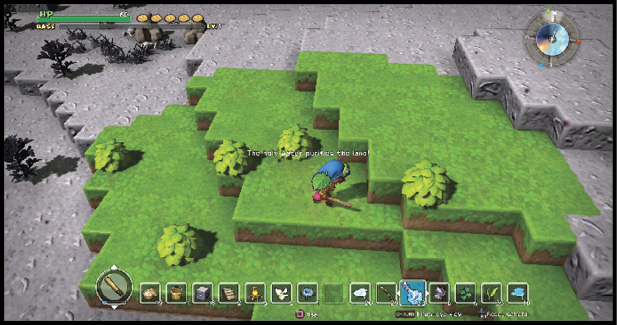
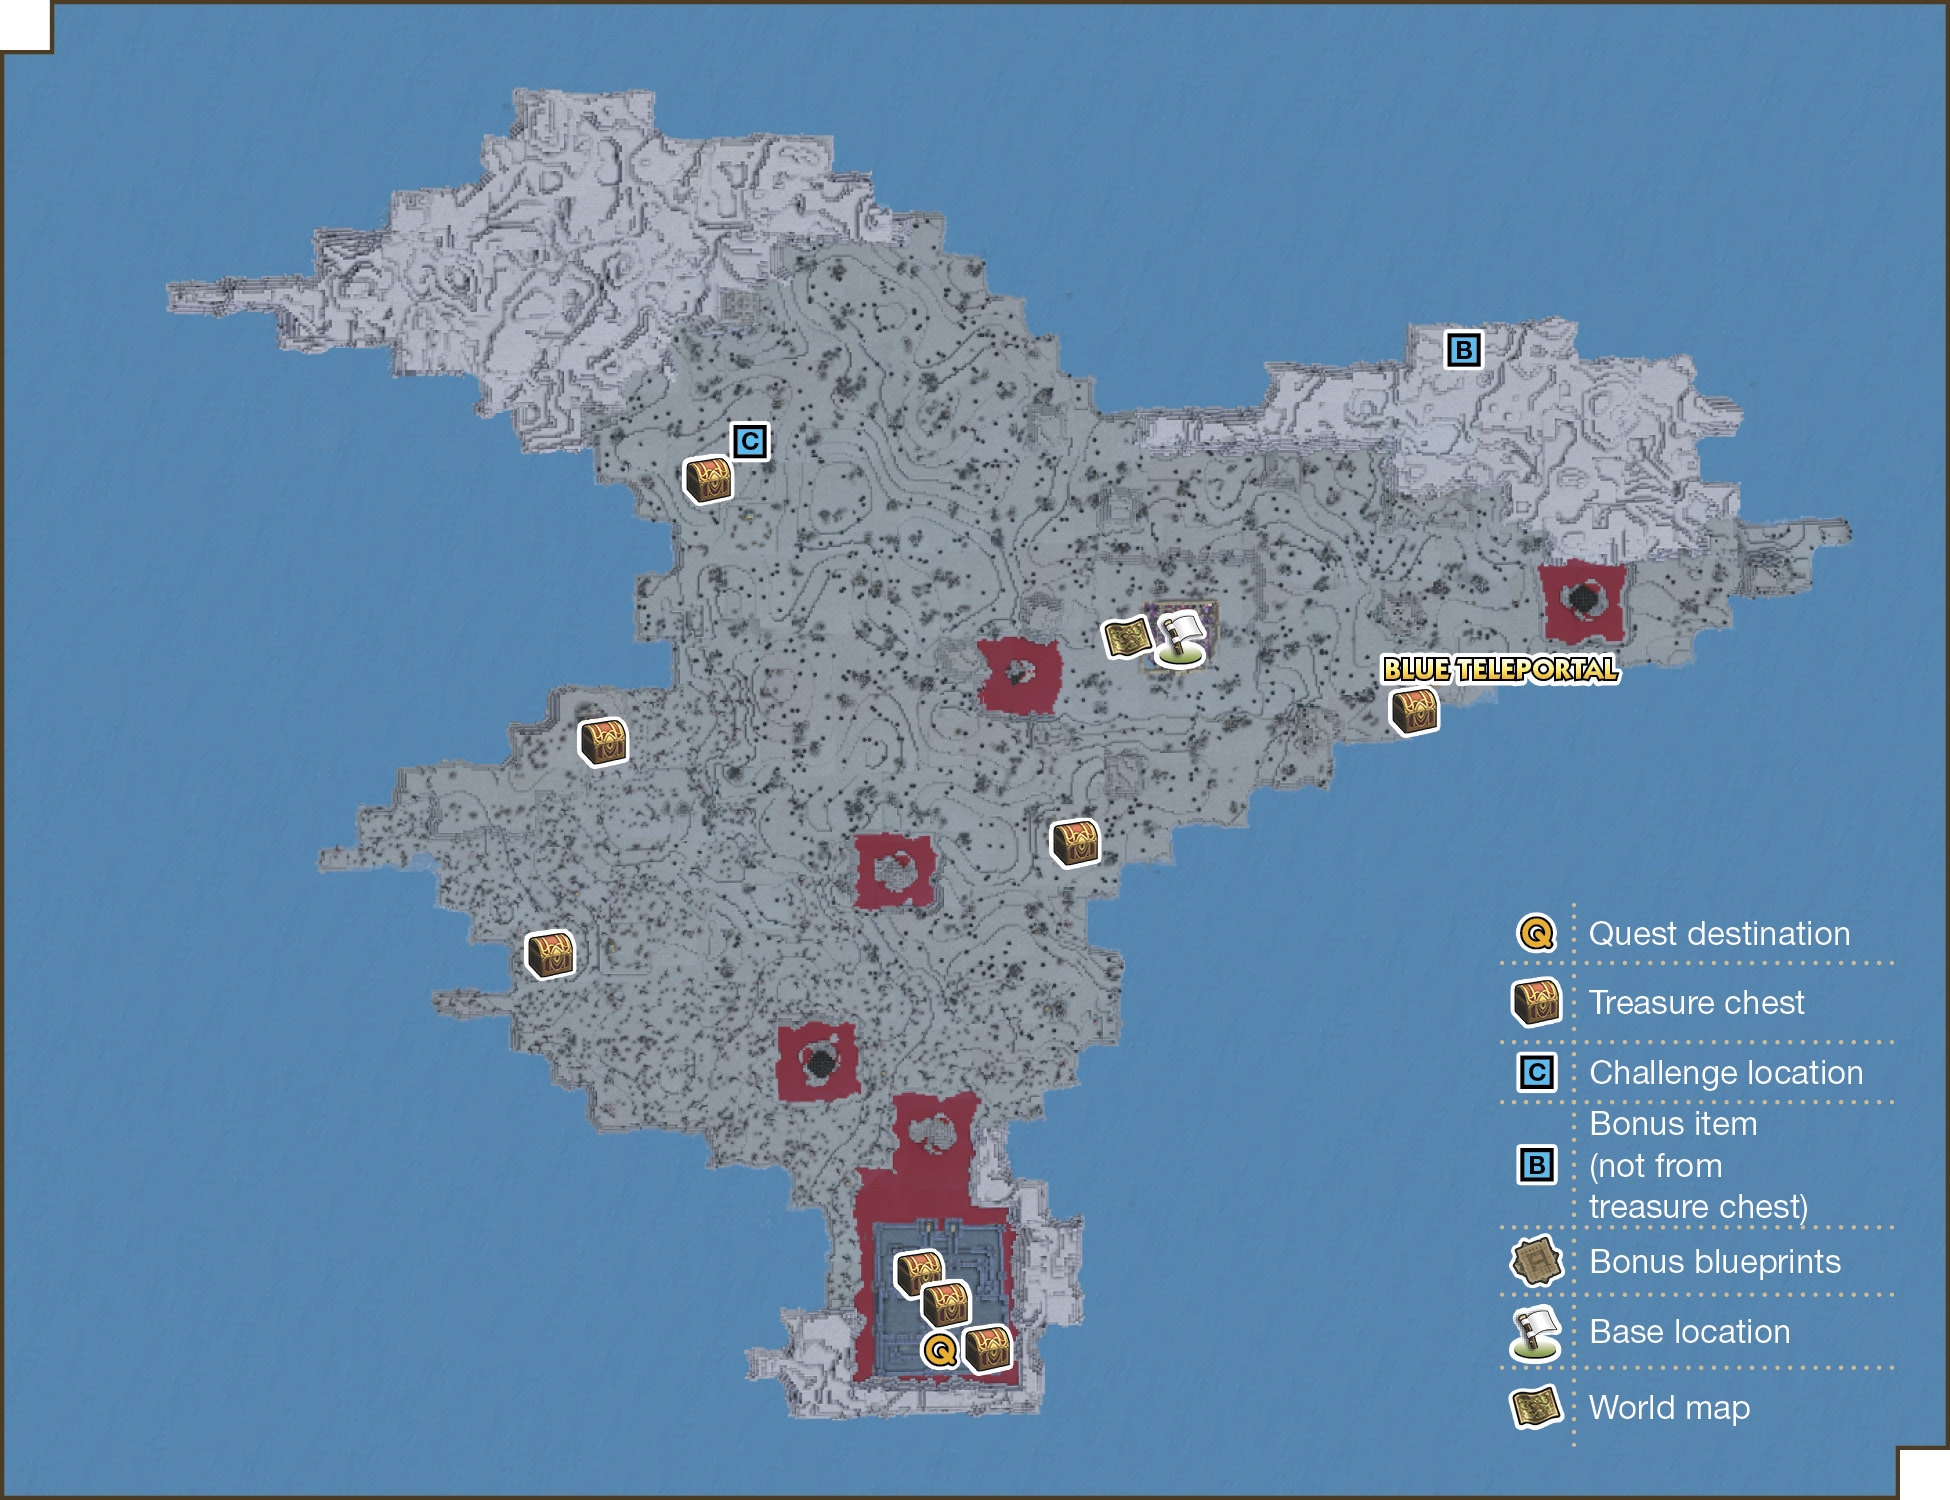
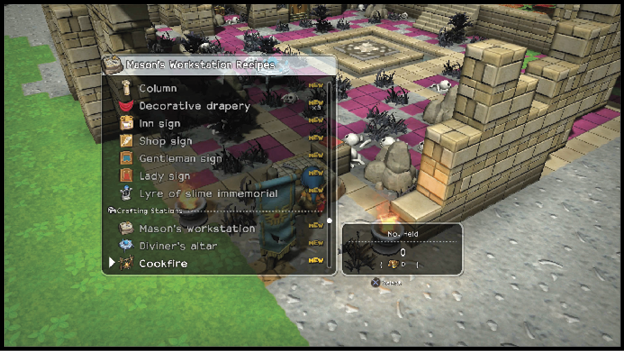
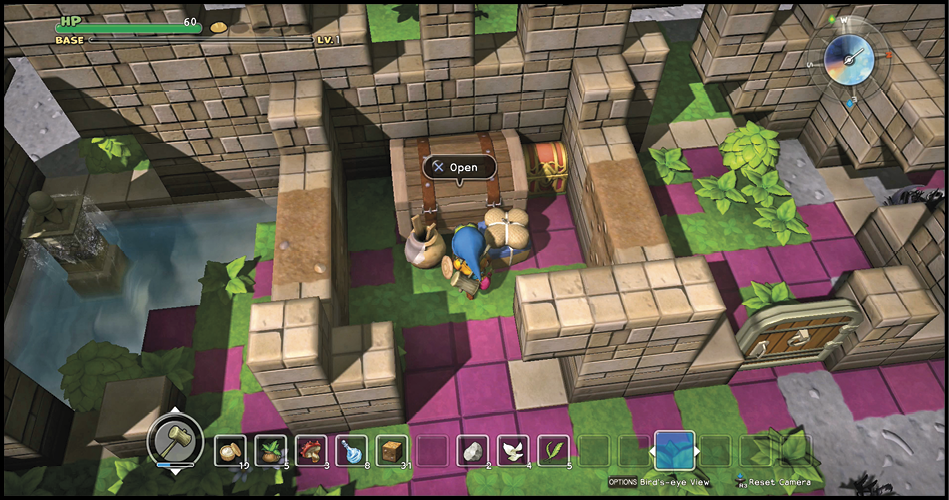
The castle ruins are west of the blue teleportal. Use holy water to restore the land as you travel. Inside the ruins are two chests next to a bed that should be a welcome sight. Make room in your inventory, then visit the mason’s workstation.
Make a giant mallet, which allows for more raw material gathering, then a stone sword to boost your attack, and a cookfire. You can return to Myrlund to replenish your hunger meter but it’s more convenient to carry your own food, which will be mostly fried frogstool and frogs from fishing.
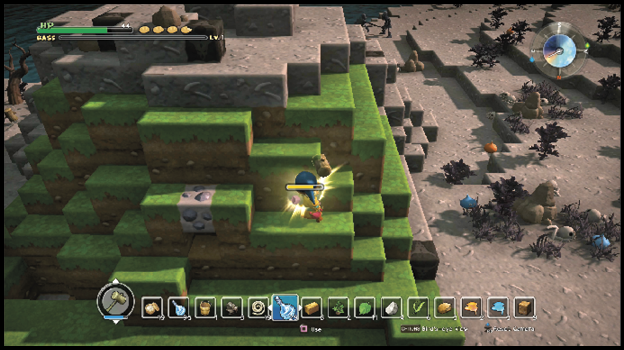
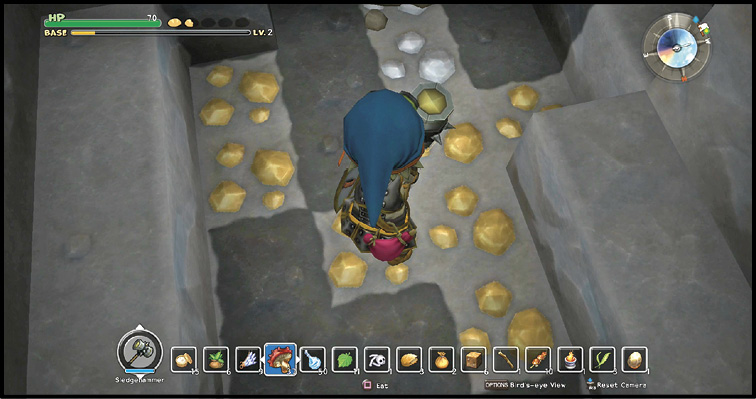
The Banner of Hope is in the stronghold to the south, but you won’t get to it while swinging a stick or club and wearing cloth. Scour the land for coal and iron. Search the caves lining the north shore of Tantegel Moor, where you can find veins of gold and silver.
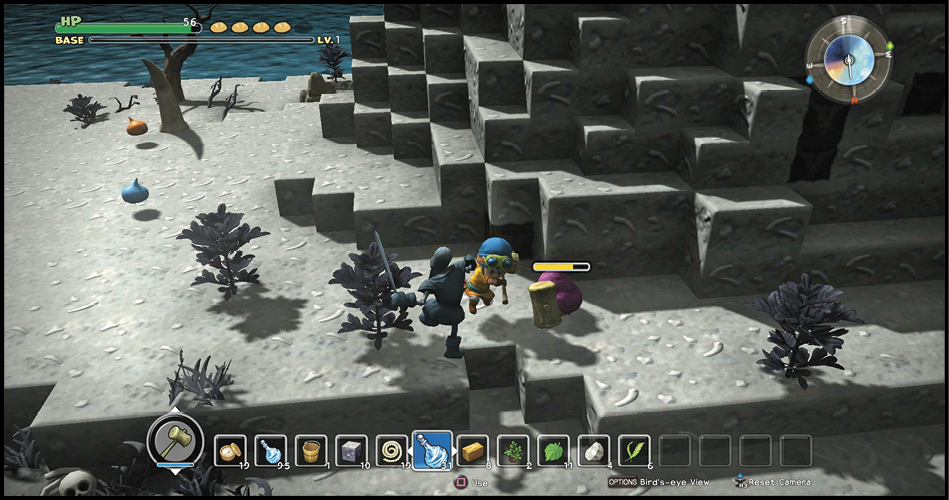
Attack monsters for the remaining raw materials you need. Build a colossal coffer as soon as possible, so you aren’t running back and forth to empty your inventory. With some time and patience, you should be clad in steel from head to toe. To test out your new gear, investigate the nearby monster camps.
Reclaim the Banner of Hope
When you’re confident in your equipment, head south to the stronghold, which the monsters brazenly named New Tantegel Castle. Ignore the warnings and head inside. Never rush ahead when there are still enemies around. You can engage a single enemy, while leaving behind others, if you carefully creep just into its line of sight and duck back quickly.
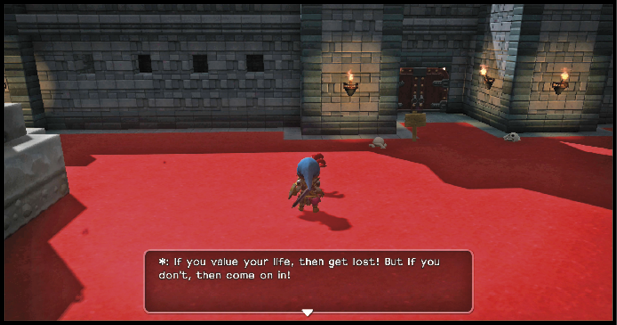
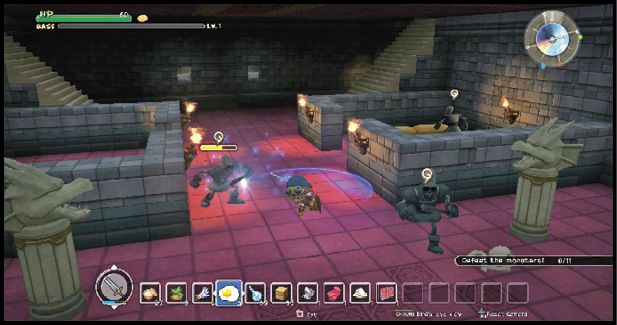
In order to obtain the Banner of Hope, you must defeat eleven total enemies (tracked by a counter on the screen). Three dark skeletons guard the first floor. The second floor has additional dark skeletons and a single knight abhorrent.
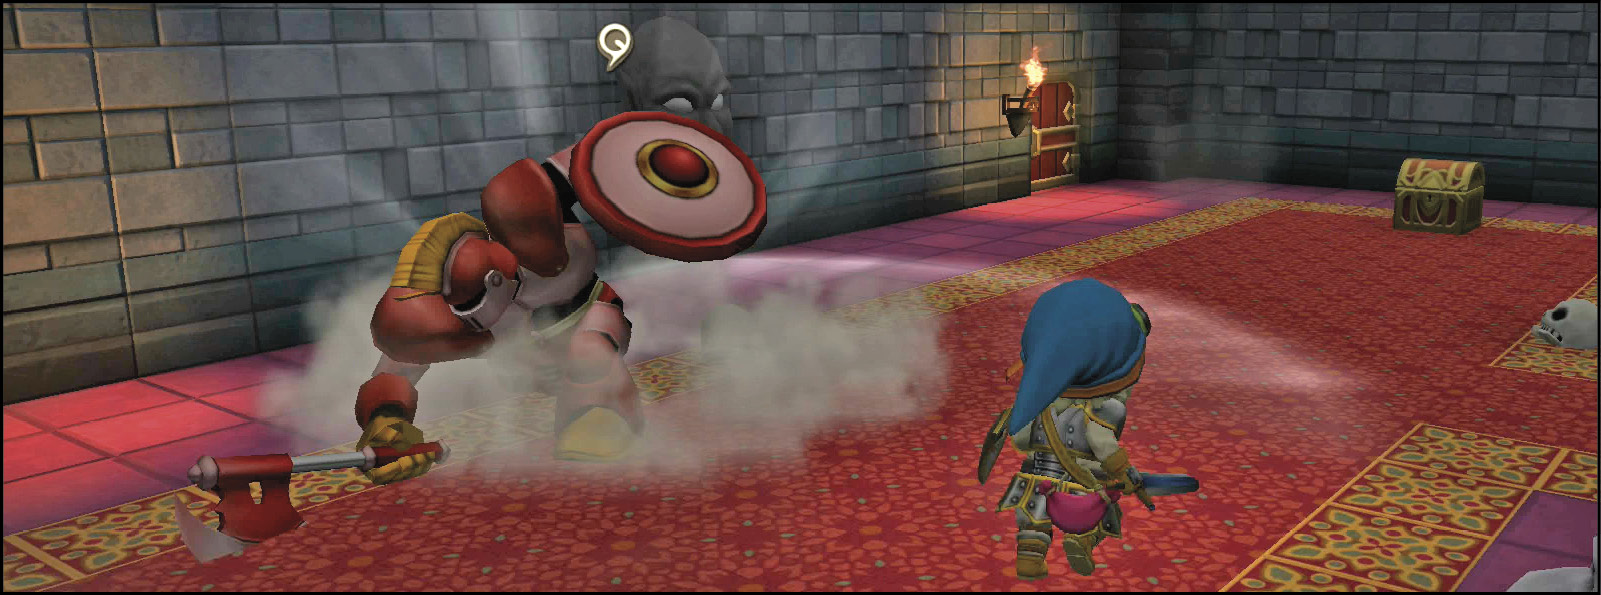
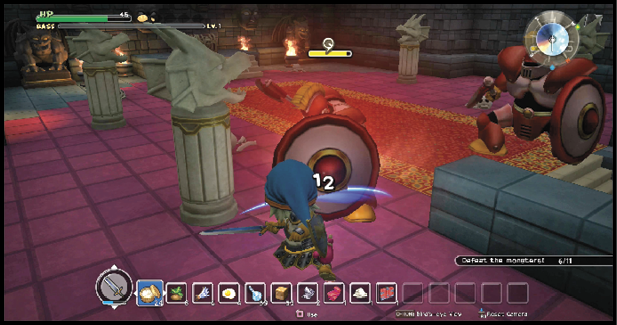
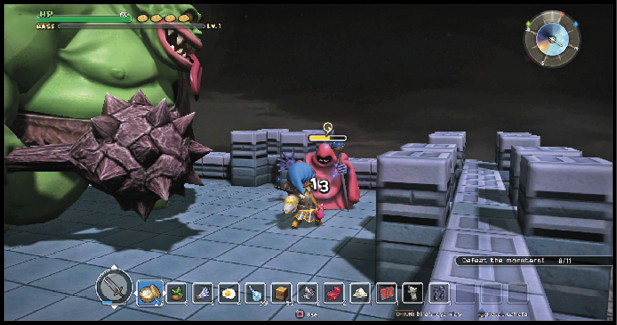
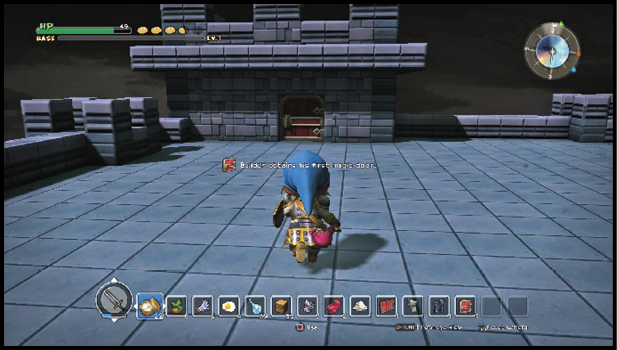
A pair of knights abhorrent guard the treasure chests on the third floor, but the chests won’t open until after every enemy is down. The toughest battle takes place on the roof where two legerdemen support a troll.
Despite the troll’s power, its attacks won’t shatter the roof, so you don’t need to worry about the terrain changing suddenly. Focus first on the legerdemen since they’ll drop much faster than the troll and their attacks come much quicker than the ponderous green monster.
When the final enemy falls, the chests below unlock. Get the Banner of Hope, but don’t be in a rush to leave the stronghold. Take a minute to gather lifetime supplies of magic doors and treasure chests. It’s not like there are any monsters left to complain about larceny.
Rebuild Tantegel Castle
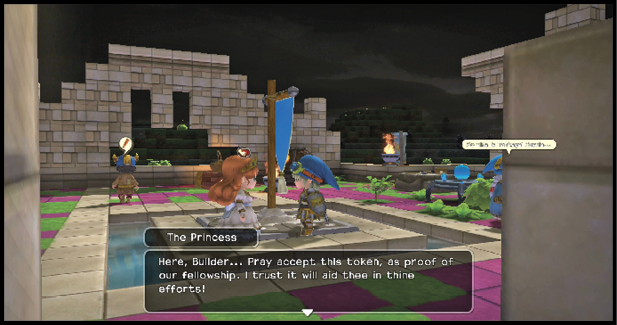
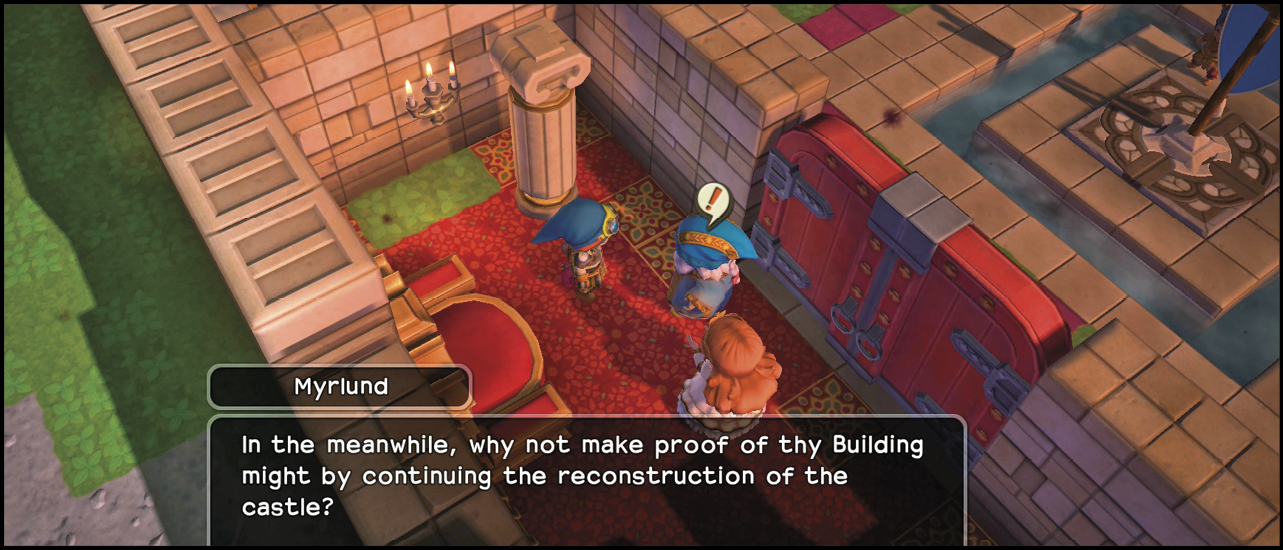
Return to the real Tantegel Castle and place the Banner of Hope. Two familiar faces appear, along with a newcomer named Launce. Speak with each of them and they join the base. The Princess does the others one better by handing over a strength ring.
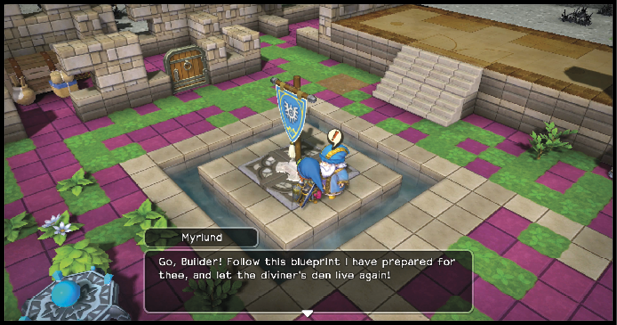
Track down everyone again to learn their first requests for the castle. Myrlund provides a blueprint for a room that will be used to produce the holy water needed to restore the land. The Princess presents blueprints for a throne room that will restore the grandeur of the castle and serve as an inspiration for the people of Tantegel. Launce wants a treasury, to show off cool stuff.
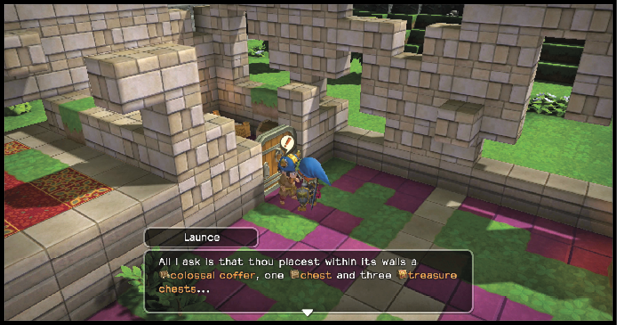
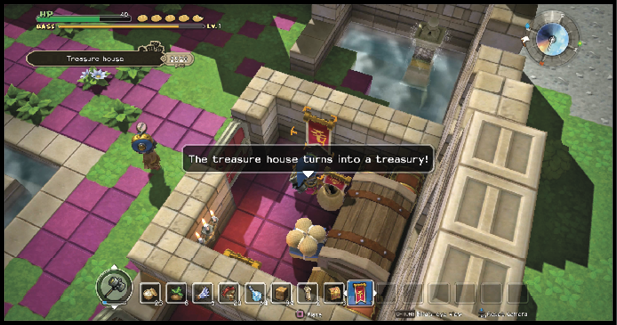
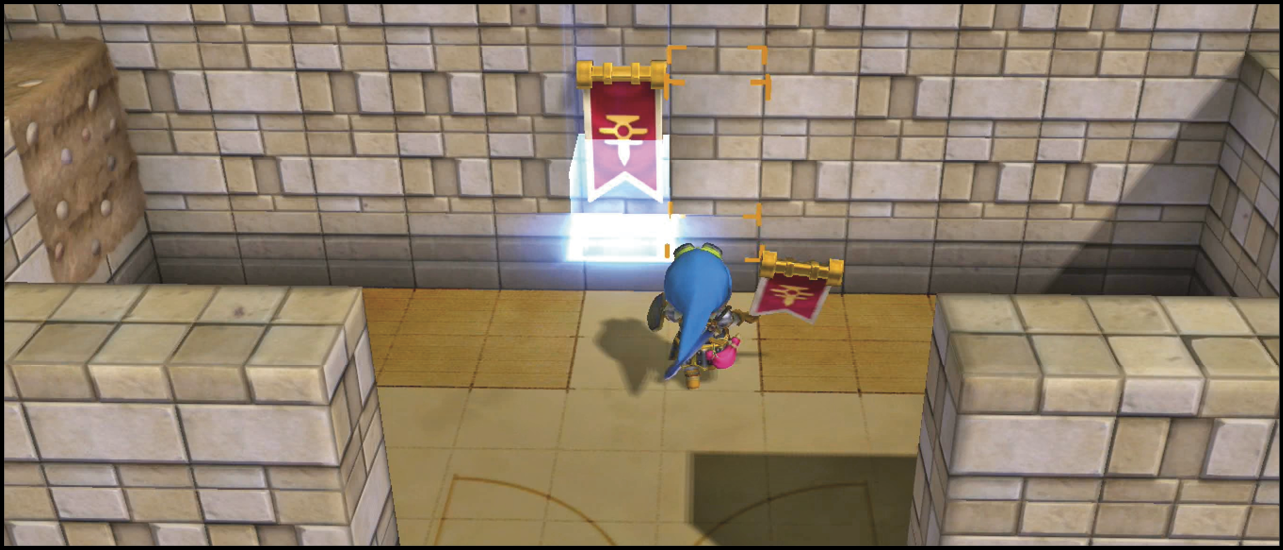
A treasury requires a chest, treasure chests, a colossal coffer, and banners. A colossal coffer should already be in place. Use treasure chests from the monster’s castle, then make banners with shot silk obtained from legerdemen. When the room is complete, Launce rewards you with stone (x10).
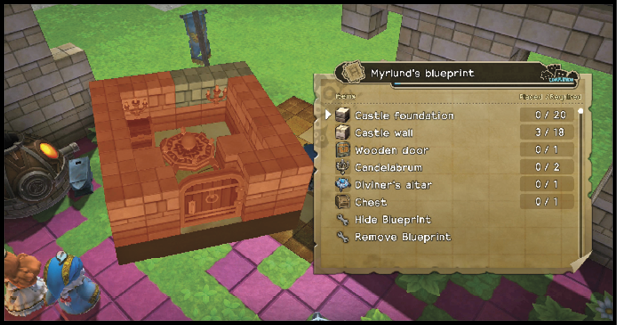
Place Myrlund’s blueprint in the indicated area. If you want to push your base to the edge of the Banner of Hope’s range, knock down the existing foundation and wall blocks first. Myrlund’s reward is chimaera wing (x5).
The throne is the most involved of the rooms that must be built. You need enough gold and shot silk to build thrones and big bold banners. Legerdemen, the only source of shot silk, usually appear near the monster’s stronghold, and to the west of it. Construction of the throne room nets you a seed of life. Completion of these rooms should be enough to satisfy Myrlund’s next quest, which is to raise the base to lv. 2. You get another seed of life afterward.
A New Arrival Heralds an Attack
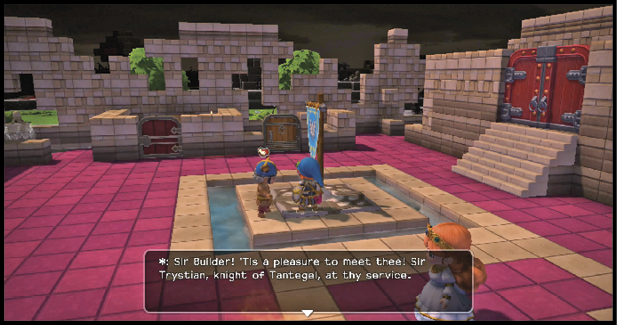
Speak with the freshly arrived Trystian at the Banner of Hope. He shares his tale before joining Launce in guarding the castle. Speak with Myrlund to begin your first defensive action in the castle.
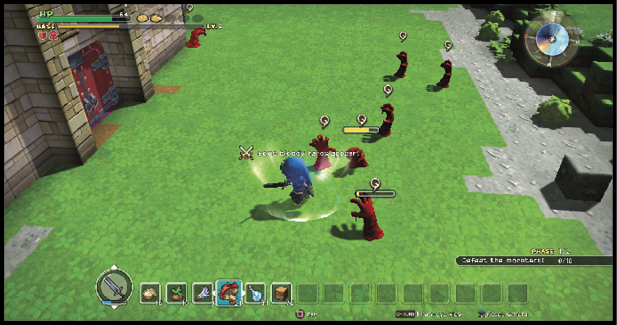
The initial phase is eight bloody hands, followed by a pair of vis magers. Before the second phase begins, the Dragonlord displays his power by removing your access to items temporarily. He then sends two knights abhorrent to attack. When the knights fall, you’re rewarded with the red teleportal.