Dragon Quest Builders Guide Alefgard Adventure Chapter 3: Kol and Galenholm
Kol: The Bleak and Burning Badlands
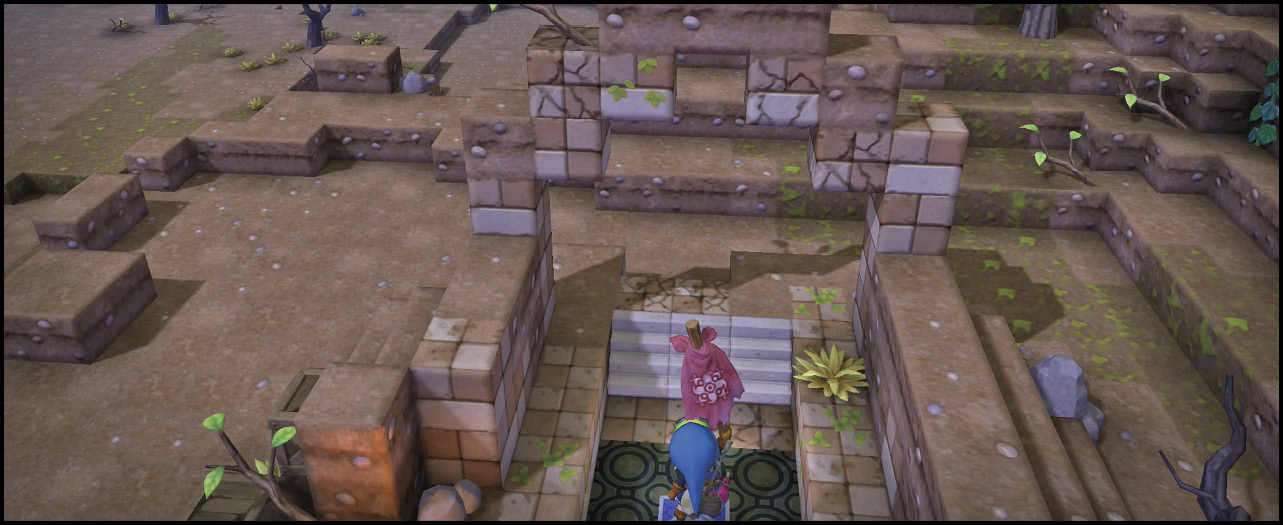
You begin in the land once known as Kol. It is now a stark land where little grows. Take the Banner of Hope, place it in the center of your new base, and begin your work.
Available Materials
| Icon | Raw Materials |
 |
Broken branch |
 |
Cactus cutlet |
 |
Coal |
 |
Copper |
 |
Dragon bones |
 |
Ivy |
 |
Prickly peach |
 |
Pumice pieces |
 |
Ruby |
 |
Sandgrass |
 |
Stone |
 |
Wheat |
 |
White petals |
Icon |
Raw Materials (shovel required) |
 |
Branch |
 |
Cactus crown |
 |
Cactus trunk |
 |
Milkblossom |
 |
Prickly peach cactus |
 |
Sandwort |
 |
Water (bucket required) |
Icon |
Building Material and Decorations |
 |
Broken barricade |
 |
Broken brickwork |
 |
Chalk |
 |
Clay |
 |
Clodstone |
 |
Crumbly clodstone |
 |
Dilapidated crate |
 |
Earth |
 |
Fortress battlement |
 |
Fortress foundation |
 |
Fortress wall |
 |
Lava |
 |
Leather sack |
 |
Pebblestone |
 |
Poisonous peat |
 |
Sand |
 |
Sandstone |
 |
Sandy sandstone |
Wandering Enemies
| Icon | Name | HP | Drops |
|---|---|---|---|
|
|
Brownie | 16 | Fur |
|
|
Brownie (large) | 24 | Leather sack |
|
|
Bunicorn | 21 | Meat, medicinal leaf |
|
|
Chimaera | 20 | Chimaera feather, monster egg |
|
|
Chimaera (large) | 82 | Monster egg, chimaera feather |
|
|
Fightgeist (night only) | 70 | Monster egg, chimaera feather |
|
|
Ghost (night only) | 24 | Monster egg, chimaera feather |
|
|
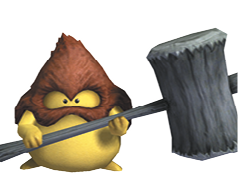
Hammerhood | 16 | Fur, whopping needle |
|
|
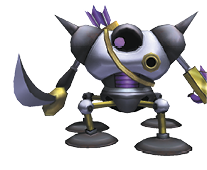
Hunter mech | 200 | Mechrochip |
|
|
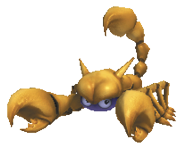
Iron scorpion | 50 | Scorpion horn |
|
|
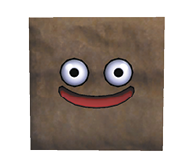
Muddy box slime | 21 | Mossy earth, pot |
|
|
Muddy box slime (large) | 24 | Bottles, crockery |
|
|
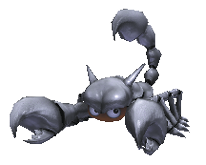
Scorpion | 28 | Chains, medicinal herb |
|
|
She-slime | 15 | Orange oil, daffodaisy bud |
|
|
Slime | 14 | Blue goo, milkblossom bud |
|
|
Spiked hare | 36 | Hareloin steak |








New Places, New Faces
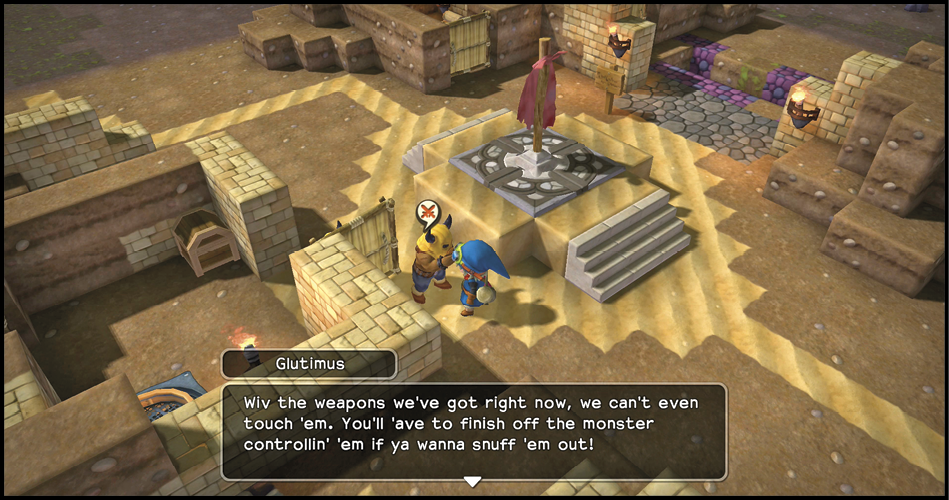
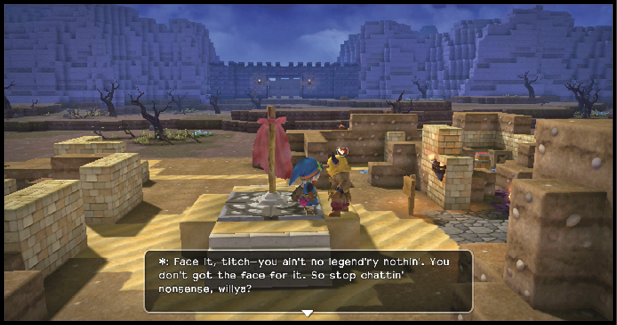
Your new base comes equipped with a miner’s refiner, which is a new crafting station. The first resident is named Glutimus. Brush off his dismissive comments while accepting his request, and start the work of building your base.
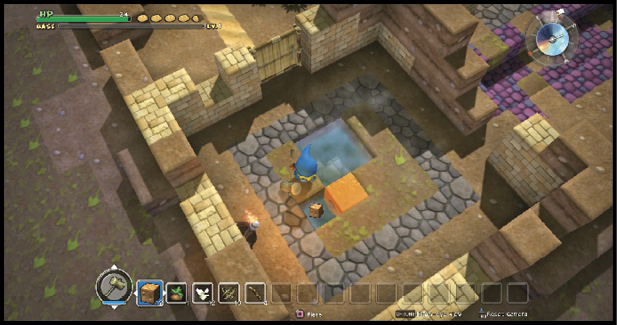
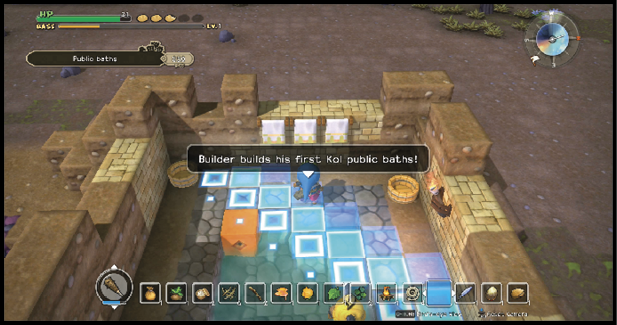
First, clear the earth from the hot water spring in the corner. Patch up the walls to create a public bath. The reward of broken branch (x3) is a material for his next request, but you need to track down additional items.
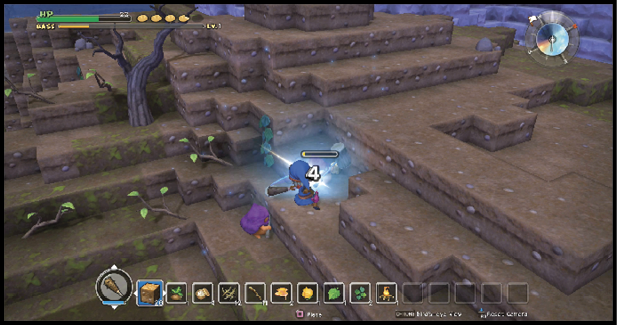
To make towel rails and washtubs, you must find ivy and gather fur. Go east into the hills where ivy grows between ledges. Get to the top of the hills where hammerhoods and brownies patrol. Put the finishing touches on what becomes a Kol public bath to earn white petals (x5) from Glutimus.
Quick Battle and a New Recruit
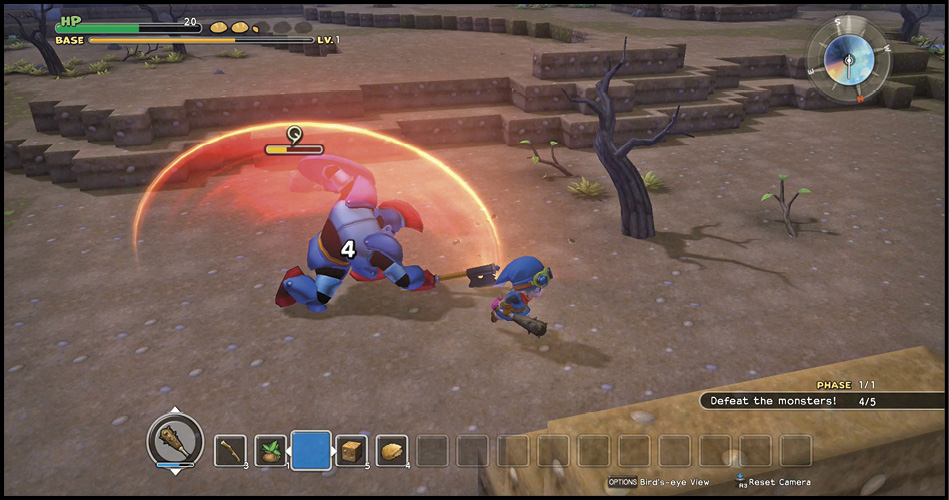
A surprisingly early battle is up next. The battle begins against four brownies and ends against a knight errant. You’re on your own for the battle, so make quick work of the brownies and fight cautiously against the knight errant. When the final enemy falls, you obtain a seed of life.
While Glutimus proves useless in battle (although his excuse-making ability is unrivaled), he does know where some of his bodybuilding buddies are holed up. Before you can get to them, you must defeat a knight errant guarding a gatehouse.
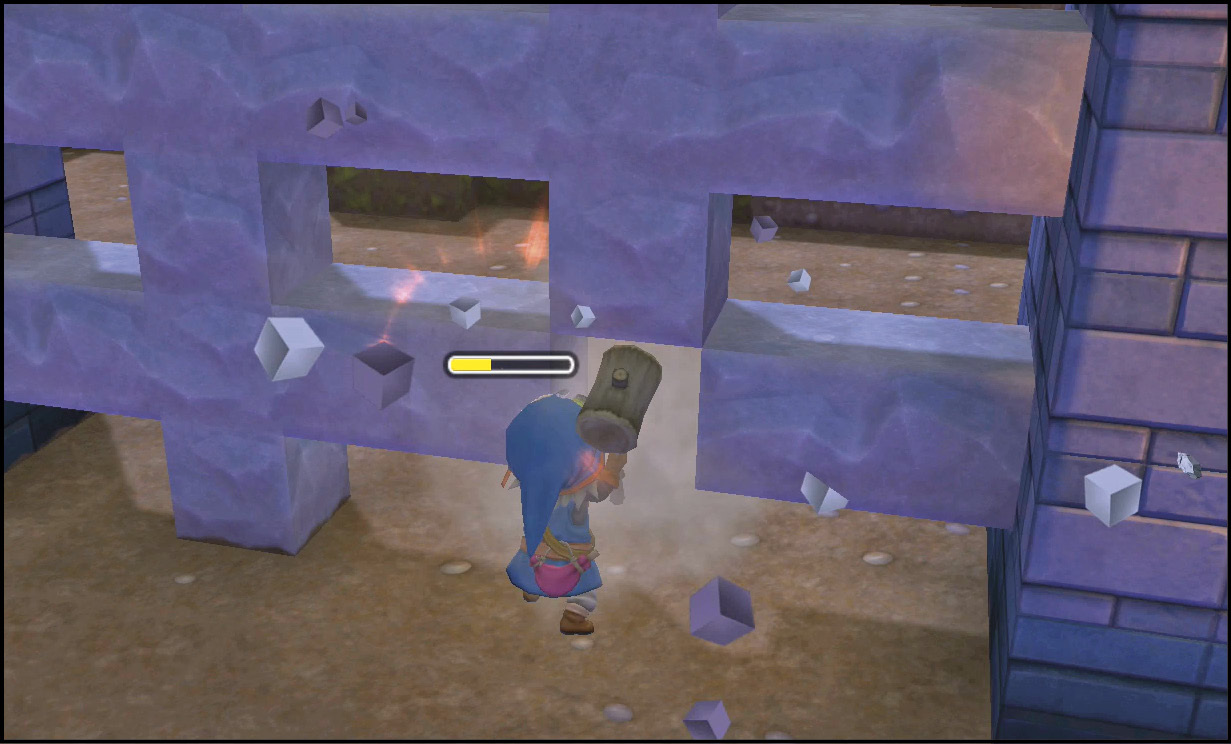
Go south and smash through the gate with your giant mallet, then prepare for a repeat of the fight you just had against the leader of the enemy assault. When the knight errant falls, bust through the opposite gate and collect a rock. You’re coming back through this area soon, but you can return with a better weapon. Back at the base, claim chimaera wing (x3) from Glutimus.
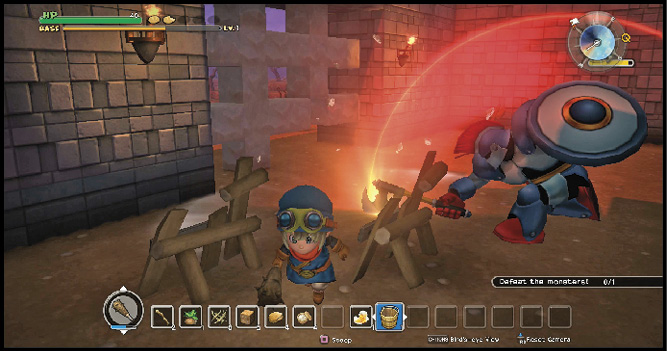
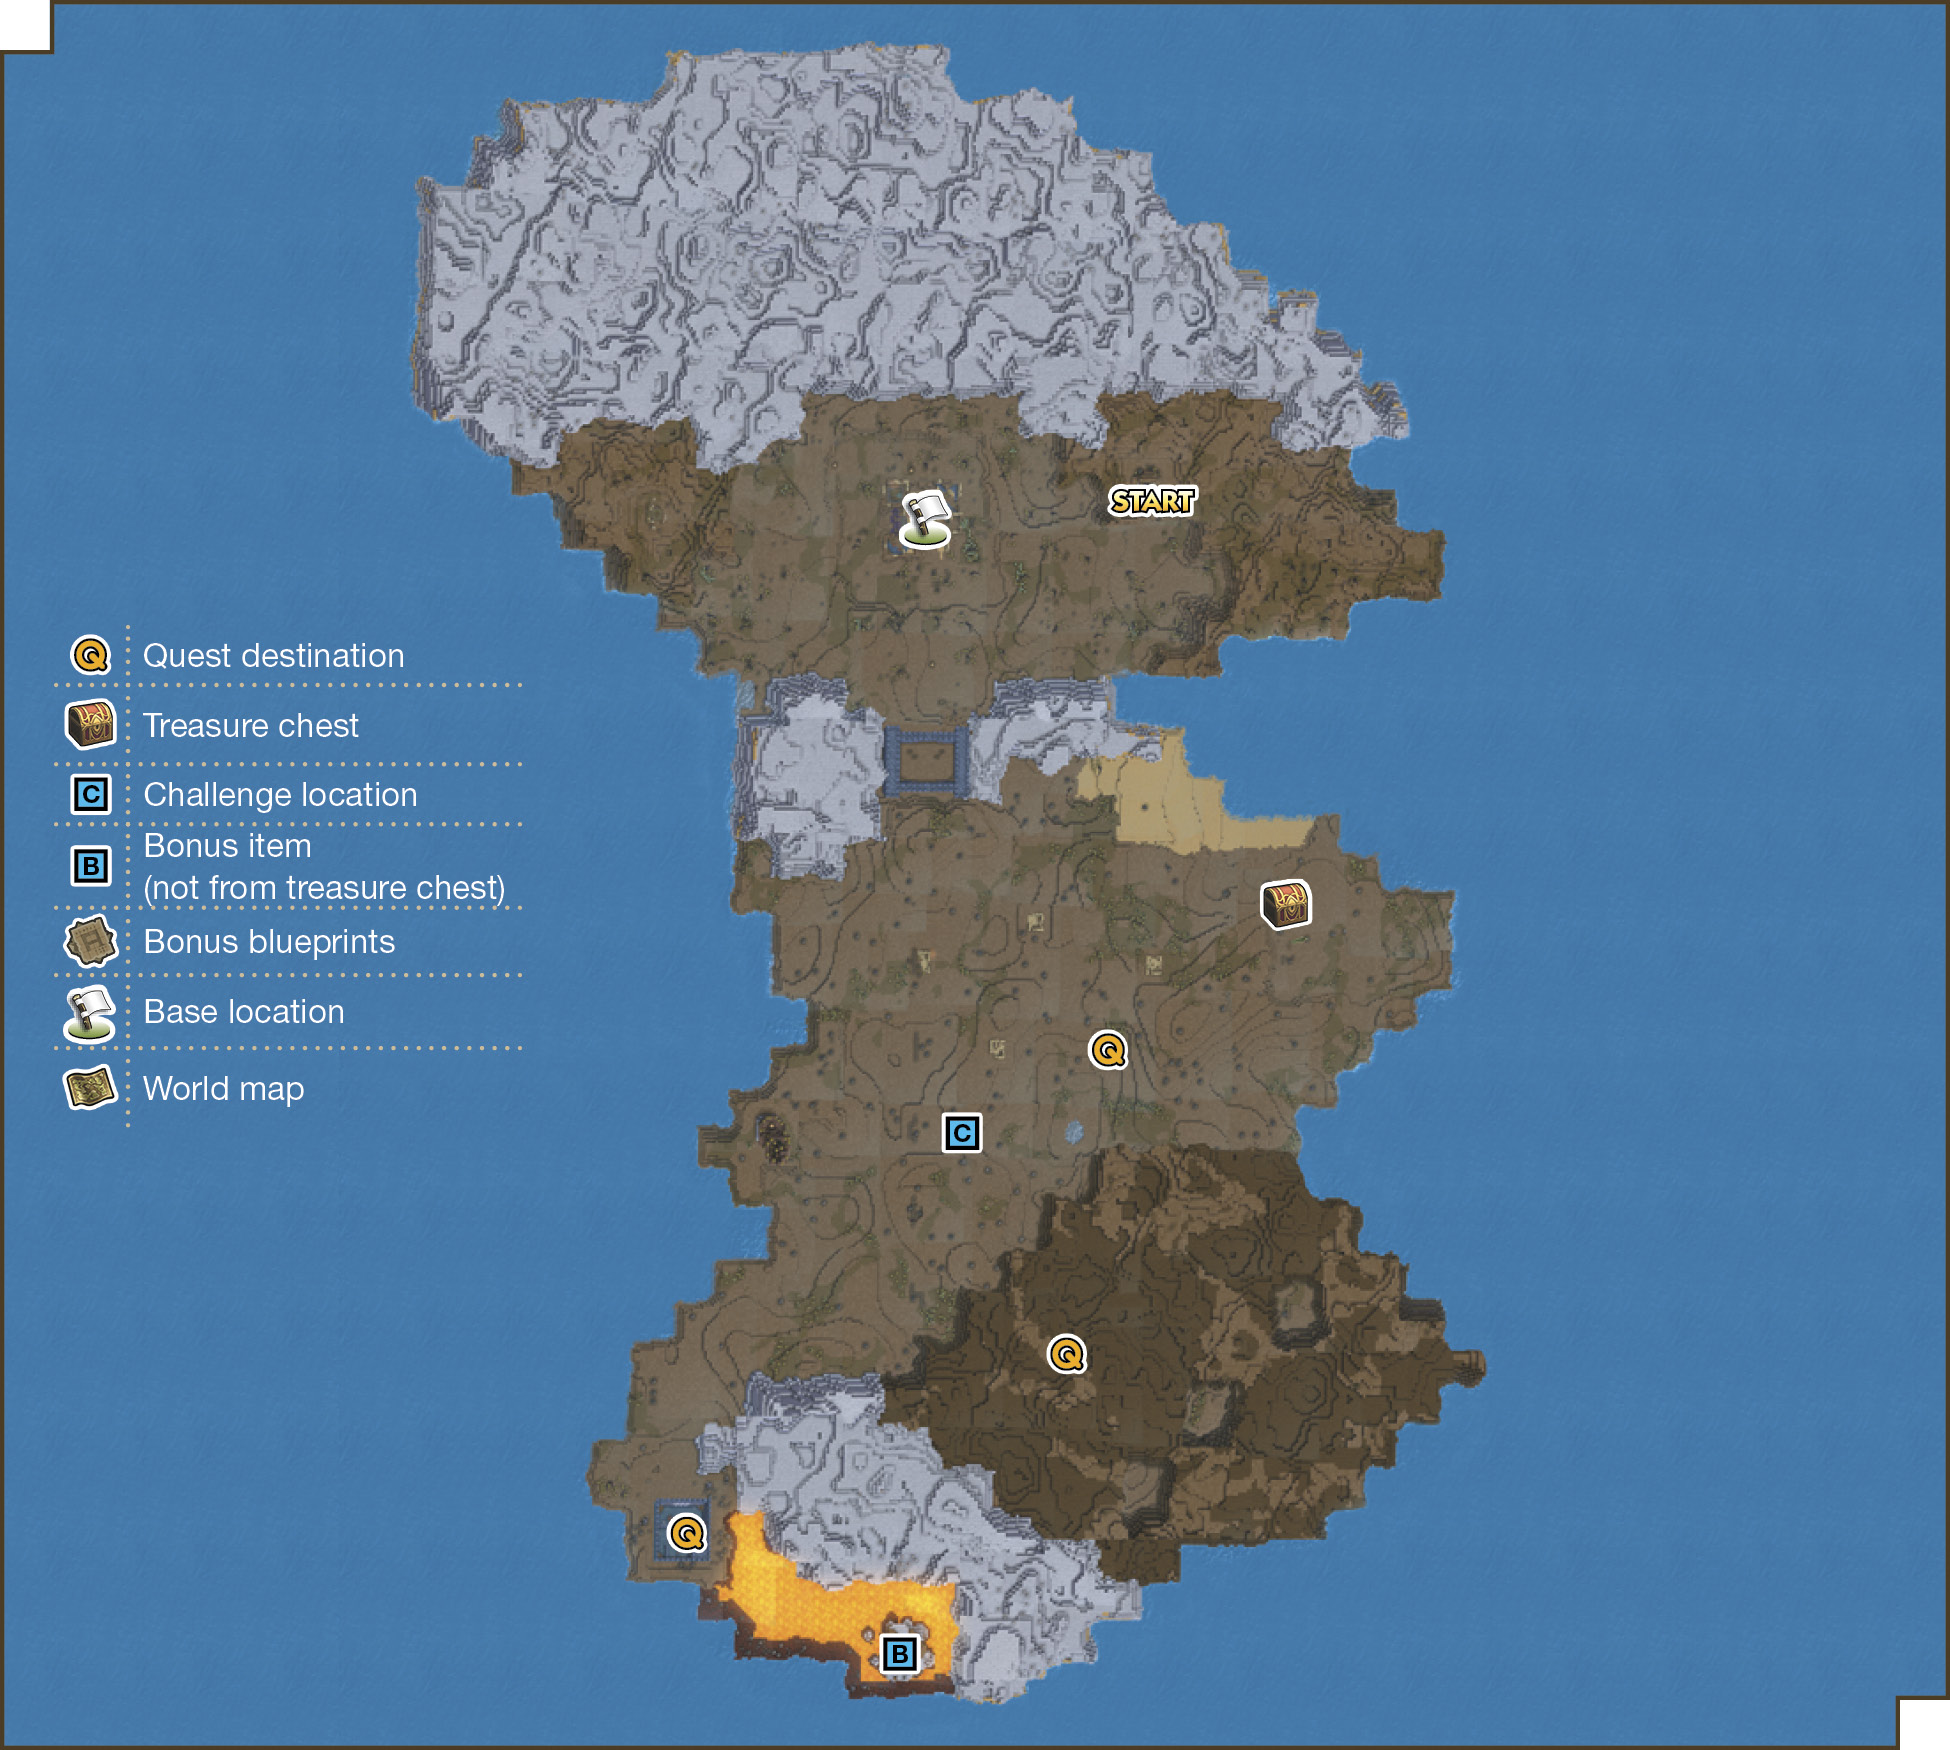
Glutimus marks the location of your first target, Burley. Gather additional stone and look for shorter cacti that have flowers on top. Prickly peach cacti yield a fruit that you can eat if your hunger meter is strained. Just keep one in your inventory for Burley. If you have room in your inventory, harvest cutlets from the taller cacti.
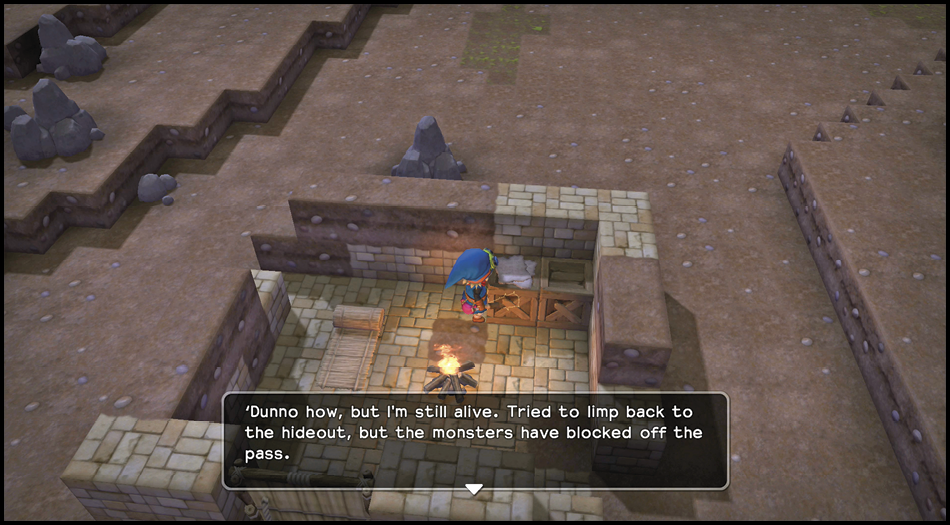
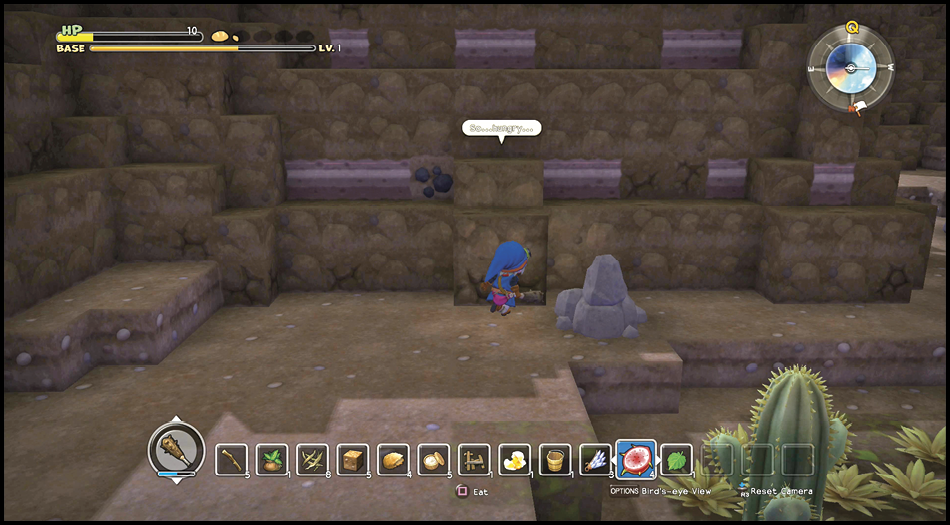
Your first stop is a damaged room with a note atop a crate. Skim the note to move the quest target to a new location. The new marker will lead you to a cavern. The flooring inside gives easily, so keep moving to avoid falling down too deeply. Once far enough in, use Burley’s voice to pinpoint his exact location.
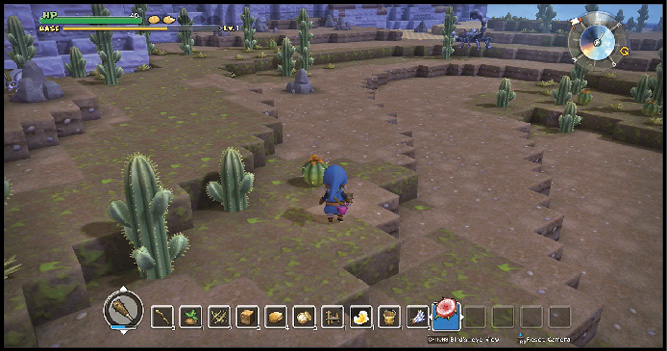
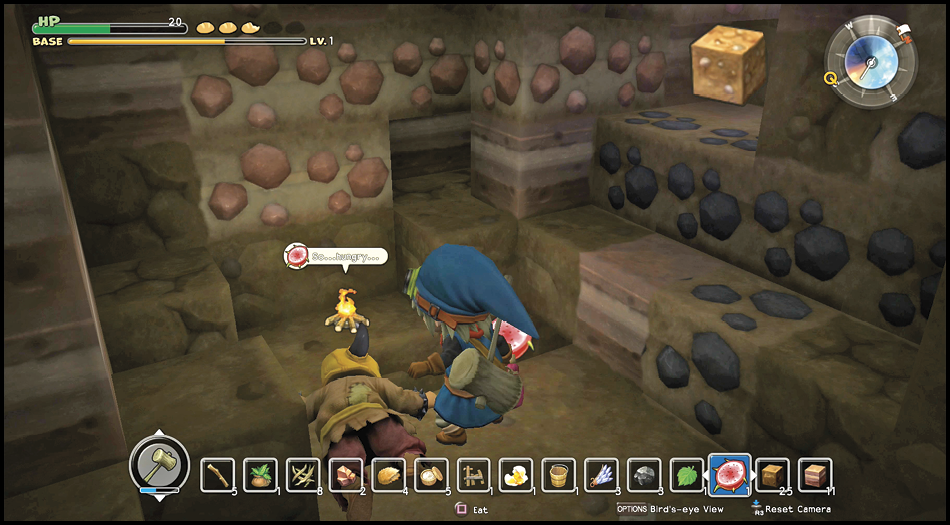
Feed Burley a prickly peach, and harvest some coal and copper from inside the cave. Burley follows you back to your base, where your reward is a seed of life. Burley joins your settlement when you speak with him near the Banner of Hope.
Eat, Fight, Sleep
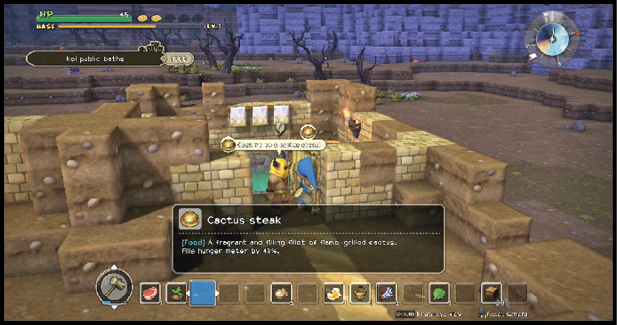
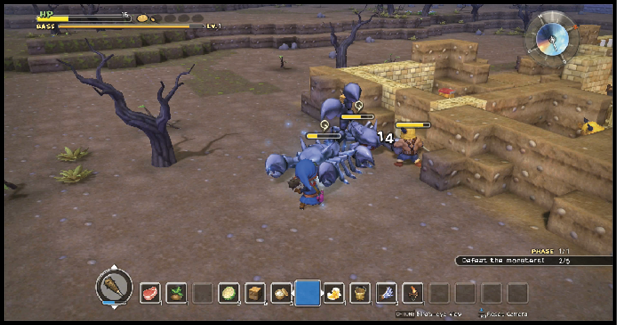
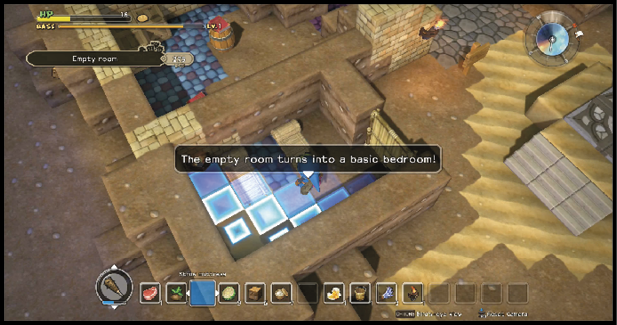
Famished after his ordeal, Burley requests cactus steak after explaining how they’re prepared. He trades coal (x5) to you in exchange for a cactus steak.
A properly fed Burley quickly becomes an asset. Glutimus initiates a defense of the base against two scorpions, two iron scorpions, and a knight errant. Burley joins the fighting, while Glutimus claims to be dealing with another ailment. Defeat the attackers to get healing cream (x3).
Your next task is to build a basic bedroom. When that’s complete, Glutimus hands over a straw mattress, which you can either place in the basic bedroom or use to set up a room of your own.
A Group Outing
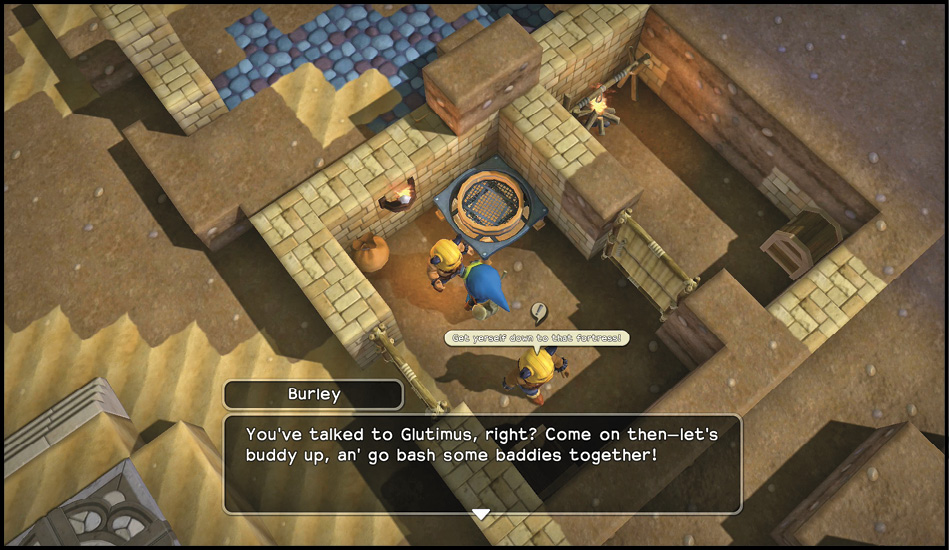
Glutimus marks the location of another bodybuilding buddy and advises you to take Burley with you. Speak with Burley, who tags along to help with any fighting. You can often request help like this from any resident of the base who isn’t named Glutimus, so take advantage of it in the future.
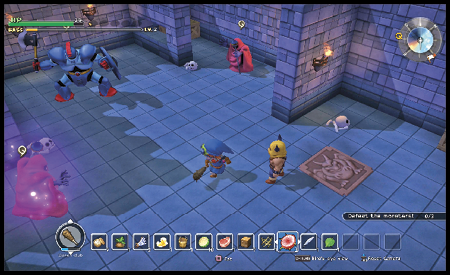
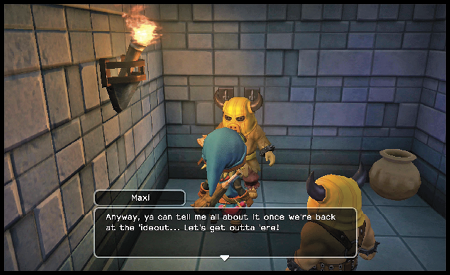
Prepare for a fight against a knight errant and two legerdemen at the marked location not far from where lava and water meet. Go after the legerdemen first, as Burley typically focuses on the knight errant. Once you’ve vanquished all three enemies, a nearby chest unlocks. Use the key from inside the chest to open the cell door (hey, free door!). Maxi joins the party after a quick conversation. Unless you need some extra material from the desert, use a chimaera wing to return to your base, where you get a well-earned seed of life.
Raise the Base to Lv. 2 and Defend It
With the rooms you’ve put together so far, you shouldn’t need to do much more to meet Glutimus’s request to improve the base to lv. 2. Consider enclosing the miner’s refiner and adding a chest, or building a crude kitchen. However you accomplish it, you get meat (x3) when it’s done.
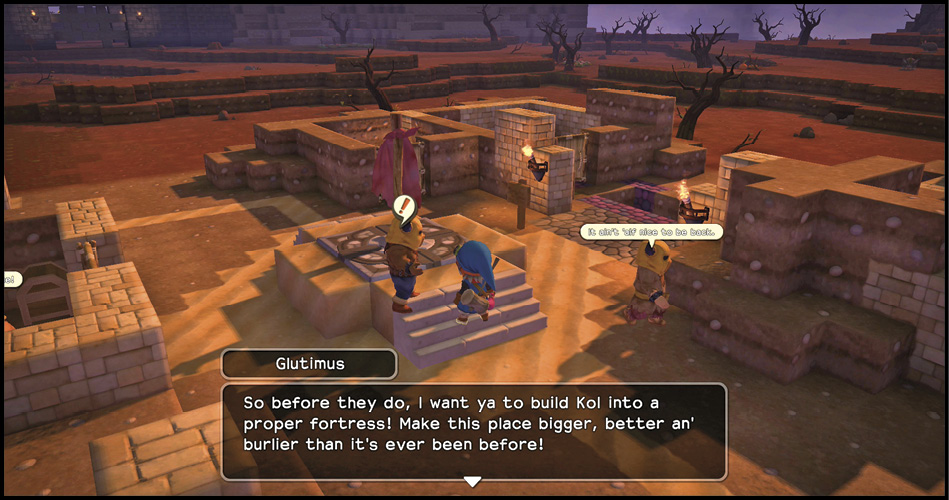
Another enemy attack is imminent. Check your equipment’s durability and boost your supply of healing creams. Maxi and Burley both do their part, and Glutimus finally provides practical support. Unfortunately, it’s only advice that he offers; he’ll still spend the battle running from room to room inside the base.
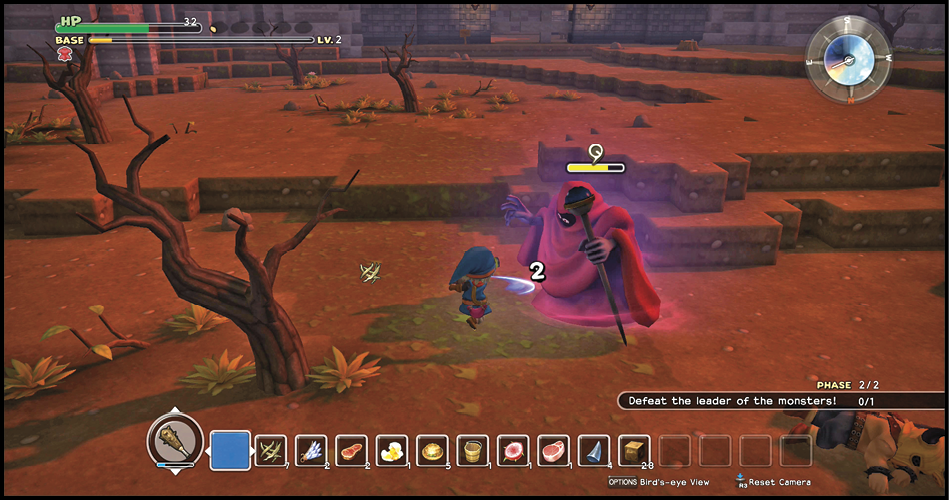
The first phase of the battle consists of two waves of two iron scorpions, followed by a pair of knights errant. Heed Glutimus’s advice during phase two: stay away from the dancing flames. You can’t damage them yet. Instead, move around them and set up outside the west wall, where the legerdeman will appear. When you take down the legerdeman, the dancing flames fizzle out. You earn a blue teleportal from the battle.