
Dragon Quest Builders Guide Alefgard Adventure Chapter 3: Kol and Galenholm
Galenholm: The Ruins
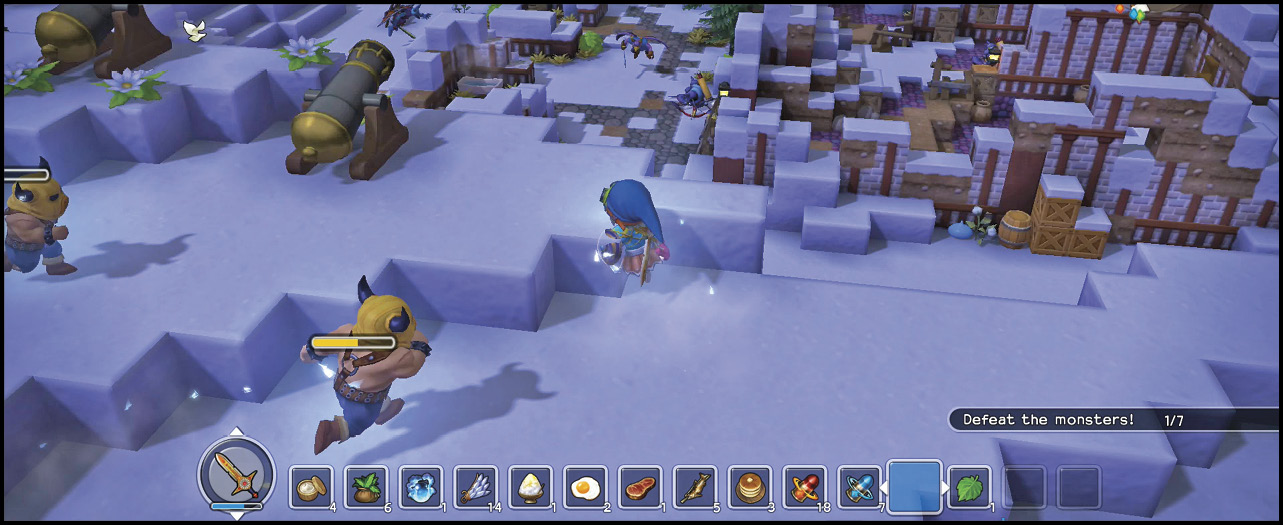
The final teleportal leads to the ruins of Galenholm. The ruins, located west of the green teleportal, hold the key to salvation for the people of Kol and Galenholm.
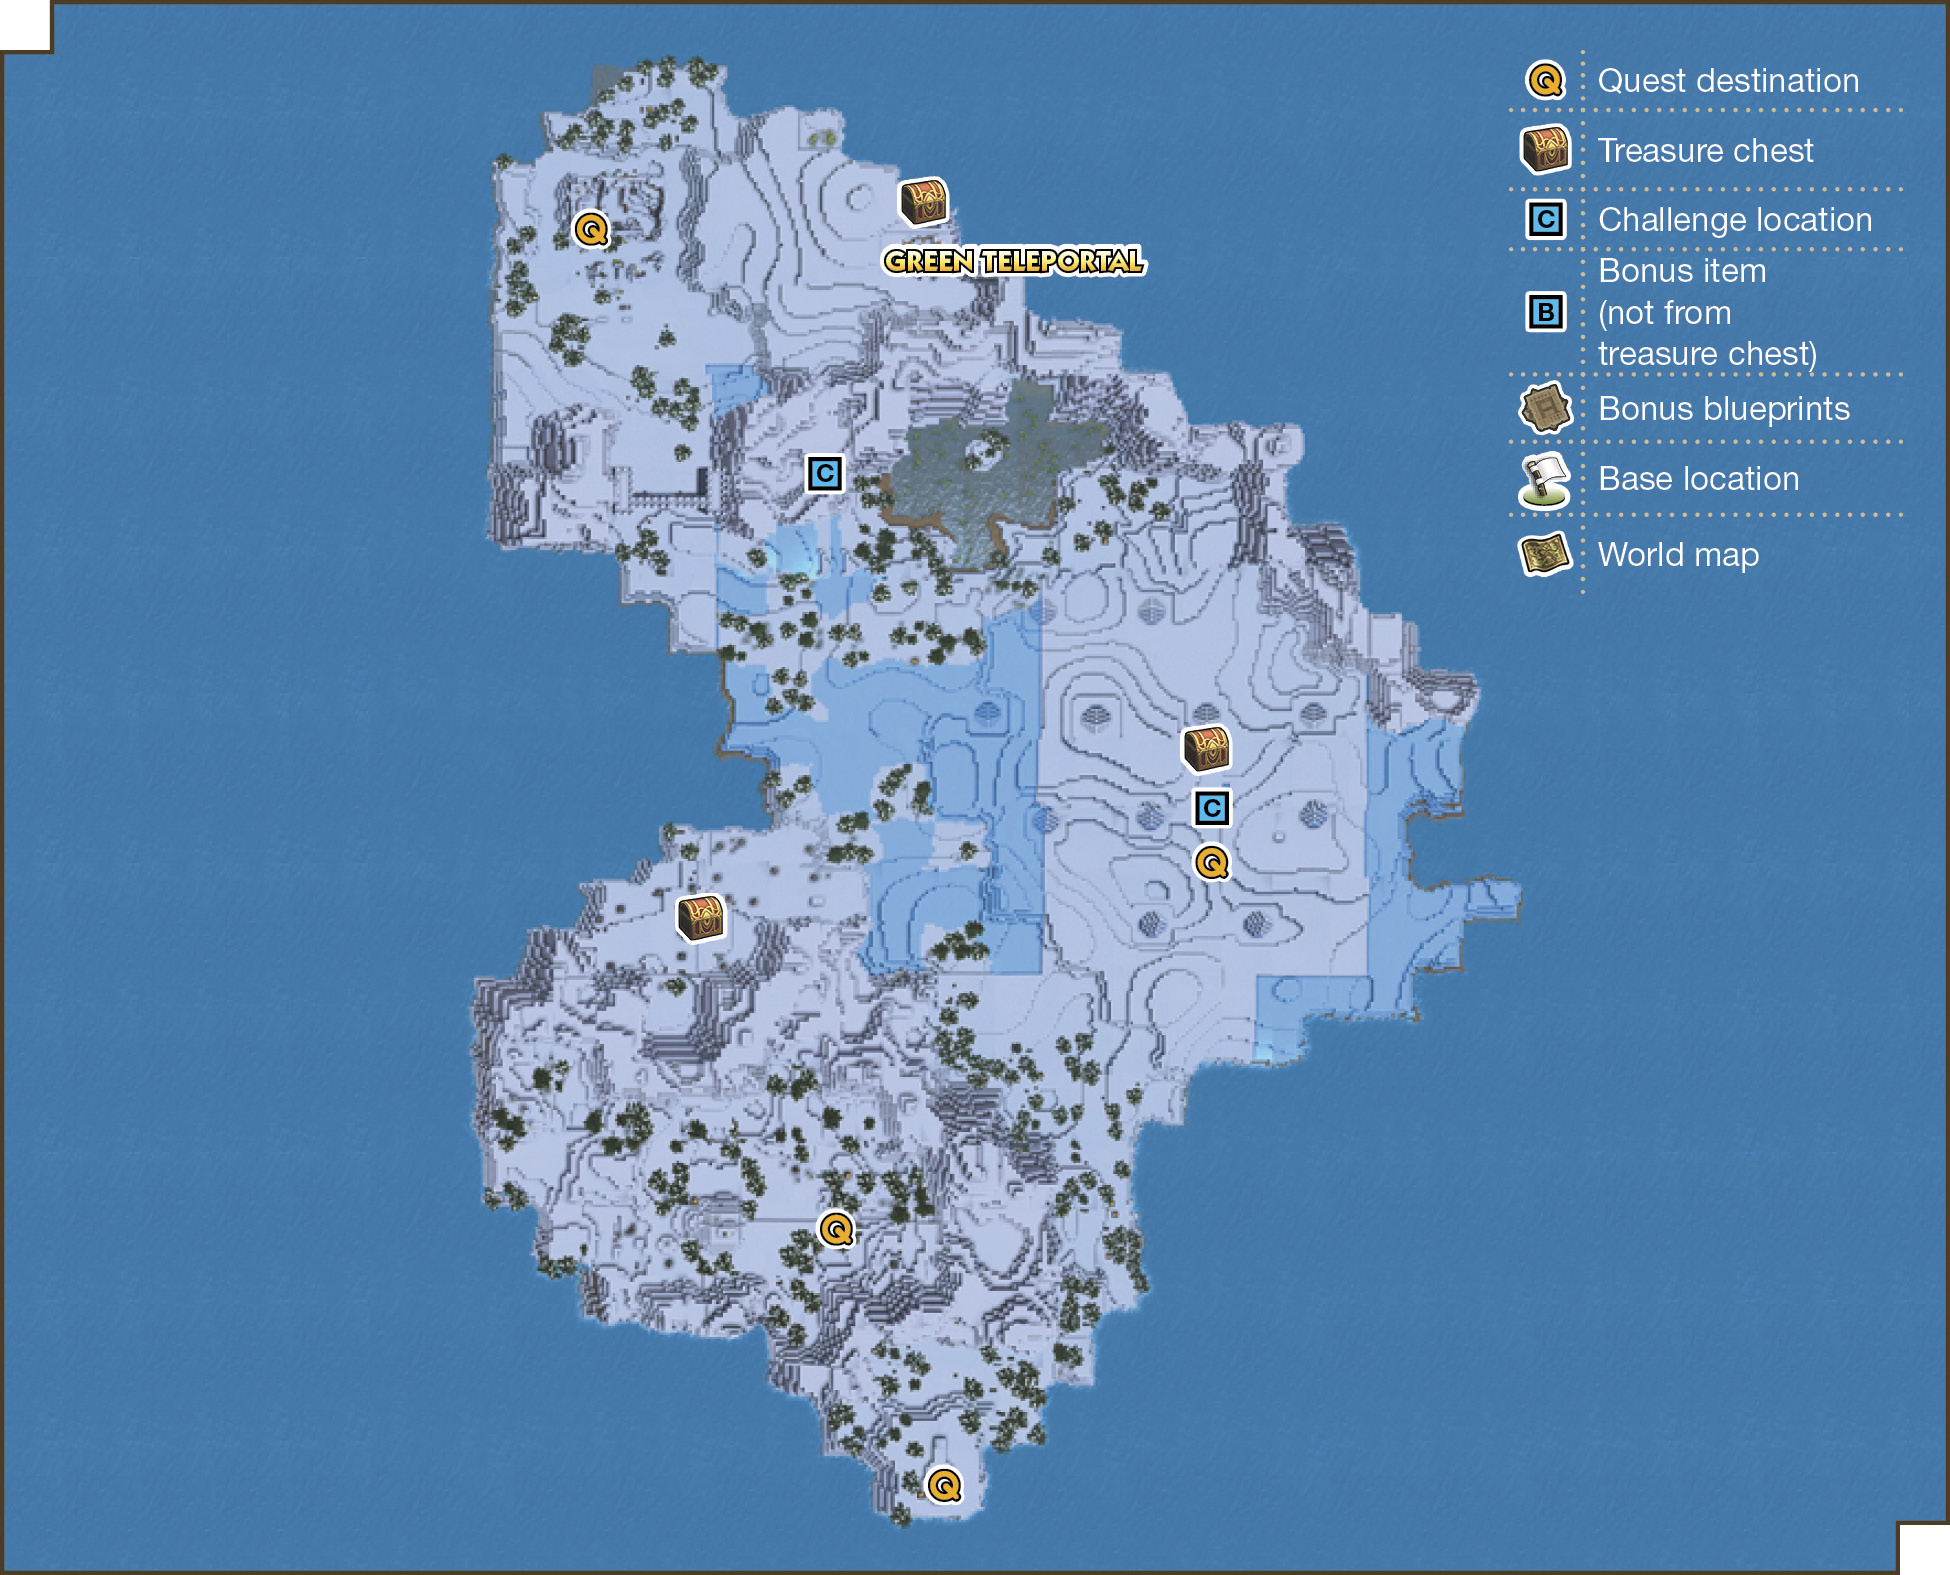
Available Materials
| Icon | Raw Materials |
 |
Broken branch |
 |
Cedar seedling |
 |
Freezia flower |
 |
Gold |
 |
Heartfruit |
 |
Medicinal leaf |
 |
Mythril |
 |
Sandgrass |
 |
Silver |
 |
Stone |
 |
Sugar cane |
 |
White petals |
Icon |
Raw Materials (shovel required) |
 |
Branch |
 |
Freezia |
 |
Medicinal shrub |
 |
Milkblossom |
 |
Sandwort |
 |
Water (bucket required) |
Icon |
Building Material and Decorations |
 |
Broken barricade |
 |
Cedar lumber |
 |
Chalk |
 |
Clay |
 |
Dilapidated crate |
 |
Earth |
 |
Fortress battlement |
 |
Fortress foundation |
 |
Fortress wall |
 |
Ice |
 |
Obsidian |
 |
Pebblestone |
 |
Snow |
Wandering Enemies
| Icon | Name | HP | Drops |
|---|---|---|---|
|
|
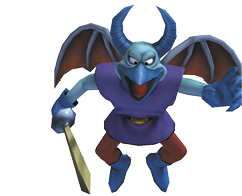
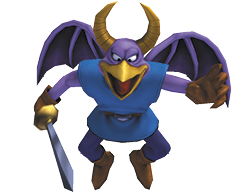
Chimaera | 20 | Chimaera feather, monster egg |
|
|
Chimaera (large) | 82 | Chimaera feather, monster egg |
|
|
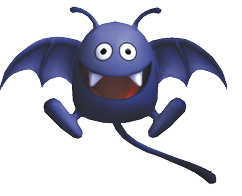
Dracky | 28 | Coralily bud, grass seed |
|
|
Fightgeist (night only) | 70 | Monster egg, chimaera feather |
|
|
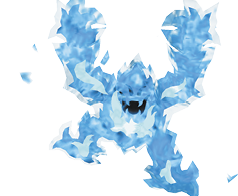
Frostburn | 1 | Frost orb, snow cone |
|
|
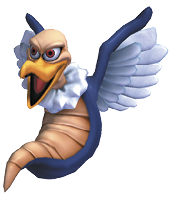
Gargoyle | 130 | Celestial skein |
|
|
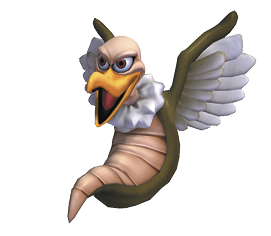
Hawk man | 111 | Bottles, bones |
|
|
Hocus chimaera | 80 | Chimaera feather, monster egg |
|
|
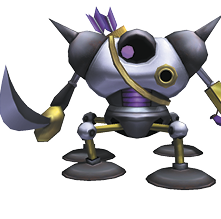
Hunter mech | 180 | Mechrochip |
|
|
Rocky box slime | 35 | Small stones, pumice |
|
|
Rocky box slime (large) | 42 | Bathtub, big rock |
|
|
Slime | 14 | Blue goo, milkblossom bud |




Another Hand Battle
With the green teleportal in place, talk to Barbella, who sends you through it to retrieve important documents. The enemies around the ruins of Galenholm are powerful, so take everyone with you and also pack your magic cannons.
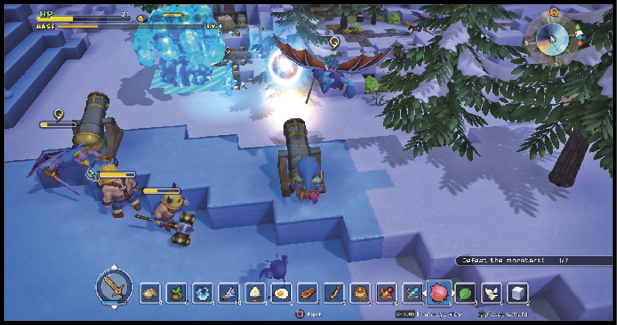
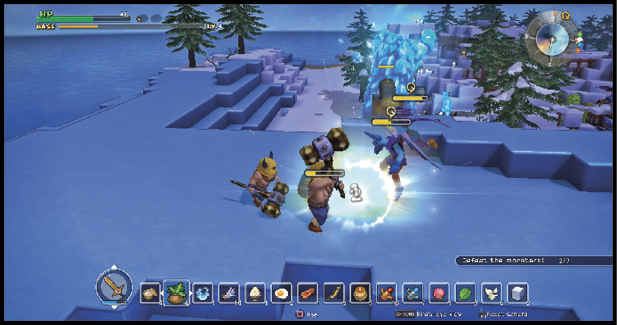
On your approach to the ruins, stop when the music changes and an enemy counter pops up. Six of the seven enemies are gargoyles and frostburns. The seventh enemy is another giant hand, which is your first target. Set up your magic cannons where they will hit the hand when fired. Fire each cannon, then move to safety when the hand lobs ice balls. Some of the monsters from below may come up to attack, but allow your escort to handle them.
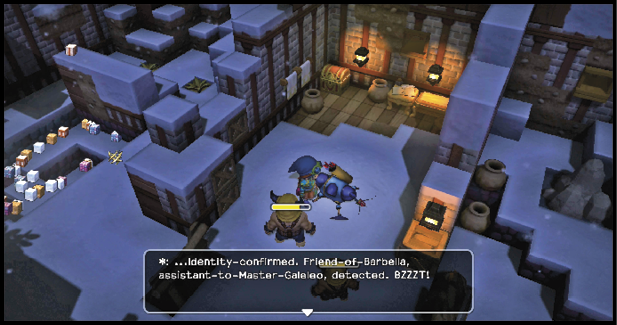
After you destroy the hand, move down to the ruins and mop up the remaining enemies. Don’t tackle too many at once, as the gargoyles are capable of putting people to sleep. Your goal is a killing machine in the ruins. Speak with it to get Galeleo’s research records. Hand over the papers to Barbella to receive magic ingot (x3).
Galeleo’s Musical Interlude
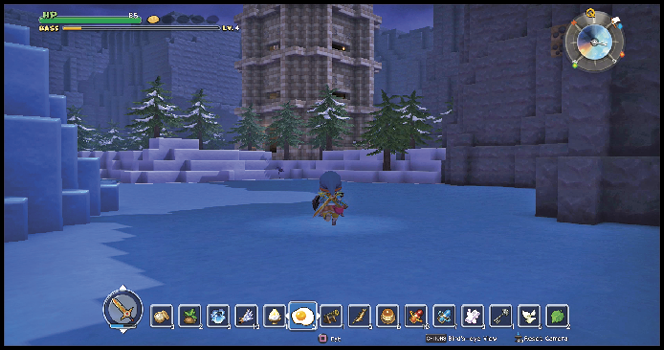
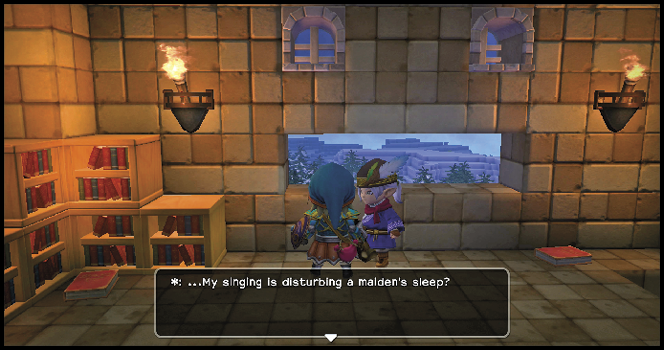
Cecille has been struggling with sleep due to strange singing haunting her dreams. She provides a key and marks a spot through the red teleportal. The location is a tower with a locked door inside. Use the key to open the door, and ascend the ladders to reach the top floor. Speak with Galeleo’s spirit, then return to Cecille. You receive heartfruit (x10), while she can enjoy sleeping better at night.
Glutimus chimes in with a musically themed request. He provides a lyre string and sends you through the green teleportal. If you want to complete this quest more quickly, move a welder’s workbench someplace you can access it out in the world.
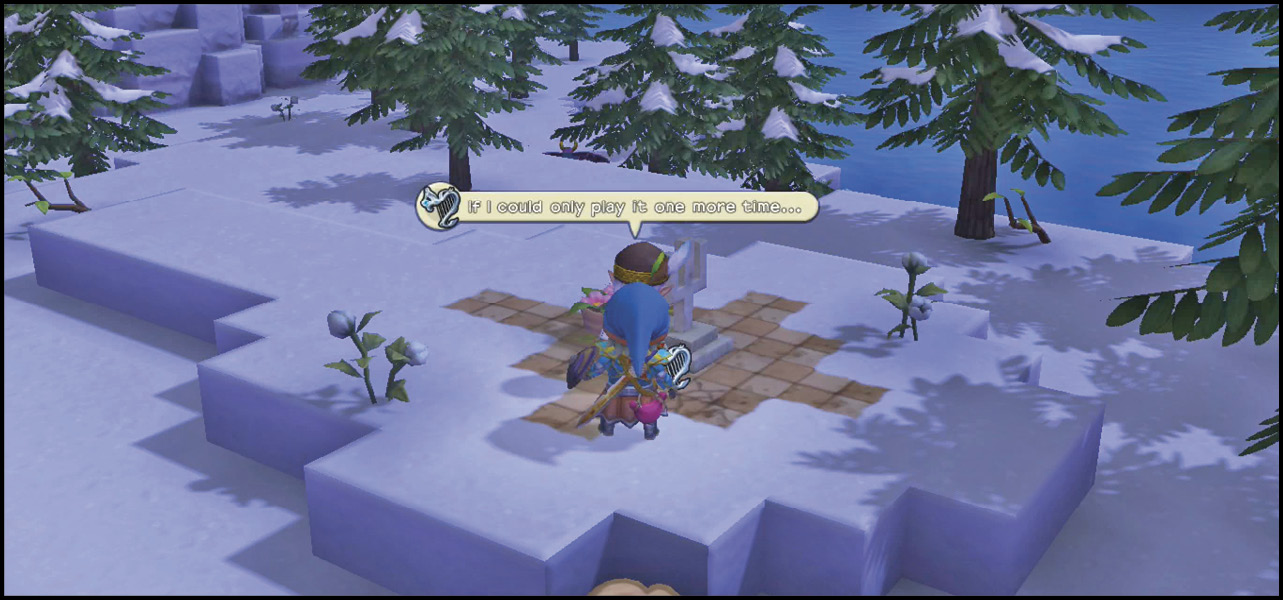
The marked location isn’t a precise point. The Lyre of Ire is in a chest under one of the snow block pyramids. Investigate each pyramid until you find the chest with the Lyre of Ire.
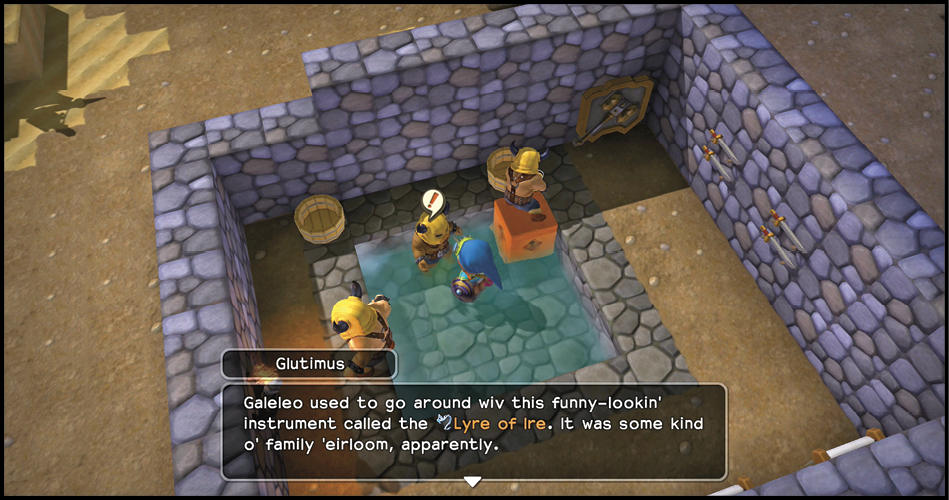
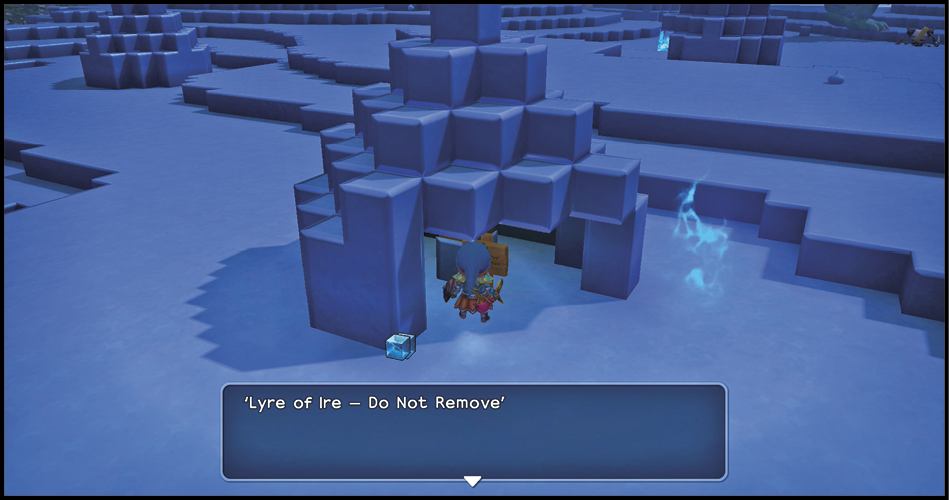
Use silver and the broken string to repair the Lyre of Ire, then carry it to the new location marked on your compass. Use the item on Galeleo and speak with him. You learn the secret of making a blue block (which does not require chalk in this chapter, despite its description). Return to Glutimus and claim your squid-on-a-stick (x2).
Bashing Through the Snow
Build 20 blue blocks, then talk to Barbella. She marks Galeleo’s storeroom on your compass and sends you to retrieve prototype plans. Unless you’re confident in your magic cannon skills, assemble a team and go through the green teleportal.
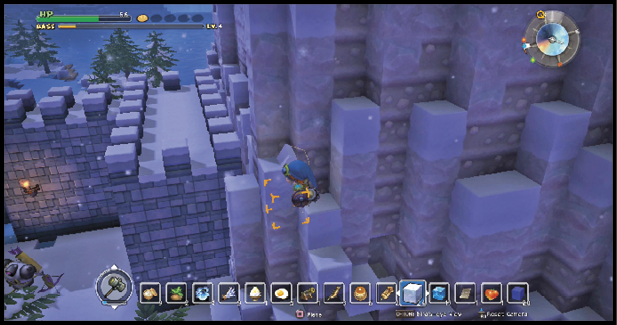
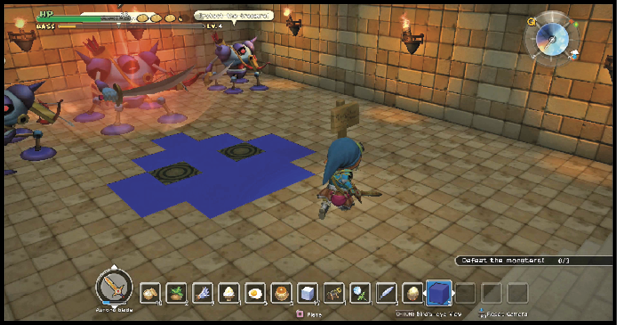
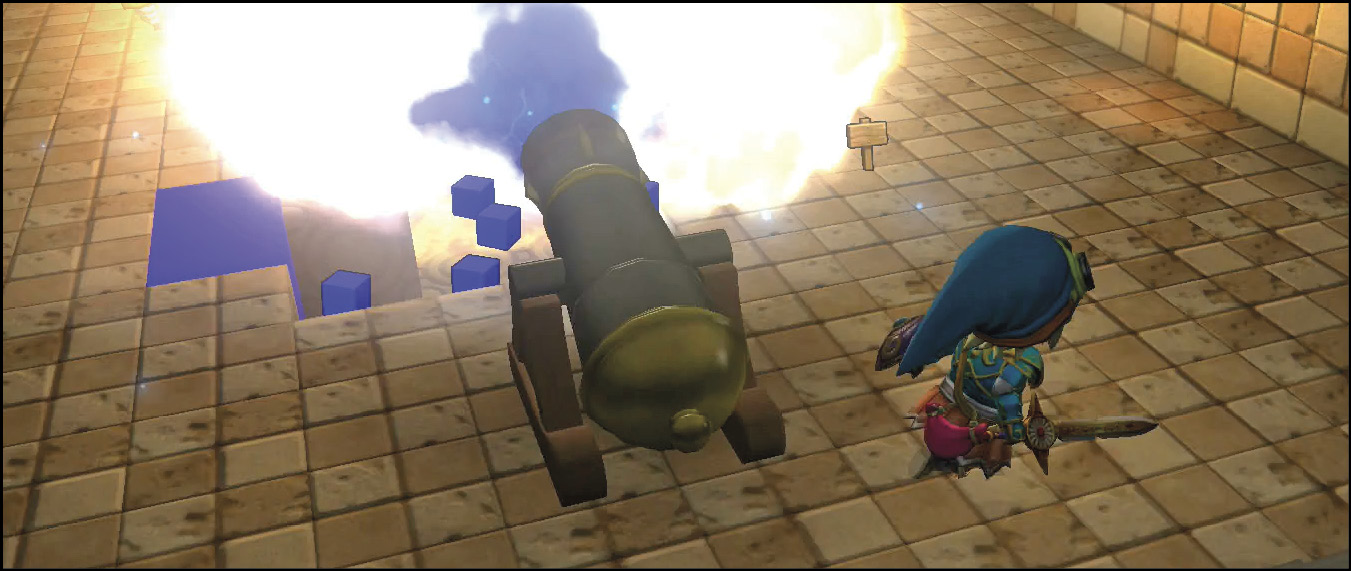
Fight through the guards at the gate, or avoid them by climbing up the mountains. Galeleo’s storeroom is underground, so descend the steps and set up your cannons (if you have them) to fire from the stairs toward the other end of the room. Fill the holes in the floor with blue blocks to summon two hunter mechs and a larger hunter mech.
The larger hunter mech remains in place while the others chase you around. Blast the larger hunter mech with cannonfire until it drops. If you’re there alone, you need to keep moving to avoid the attacks of the other two monsters. When all three are deactivated, retrieve the prototype plans and learn the recipe for vulcovoltaic magimotor. Trade the plans to Barbella for power crystal (x3).
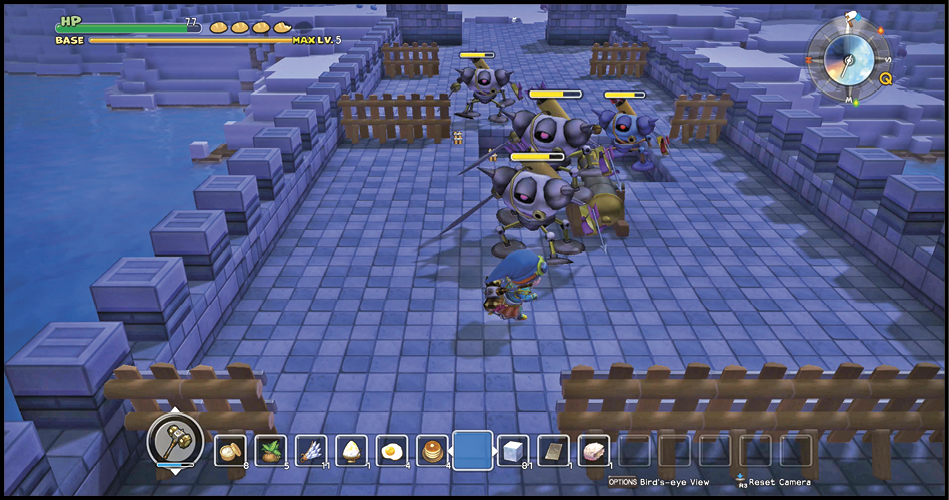
Barbella’s next quest sends you through the red teleportal to a location she marks on your compass. It also inspires you to learn how to build the Bashmobile. Travel west to a bridge that leads to a castle. Killing machines and hunter mechs guard the bridge, so prepare for a series of battles. The machines are tied to the bridge, so if you run through them to the opposite end of the bridge, they return to their starting location.
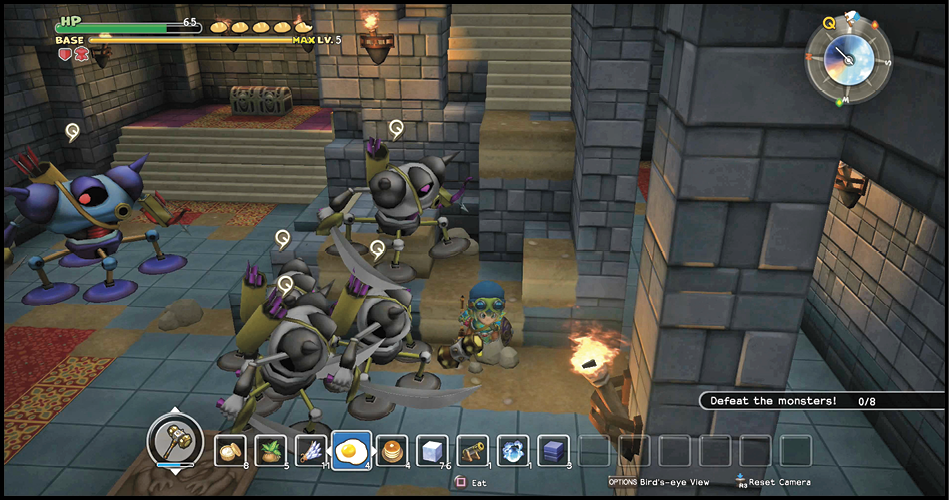
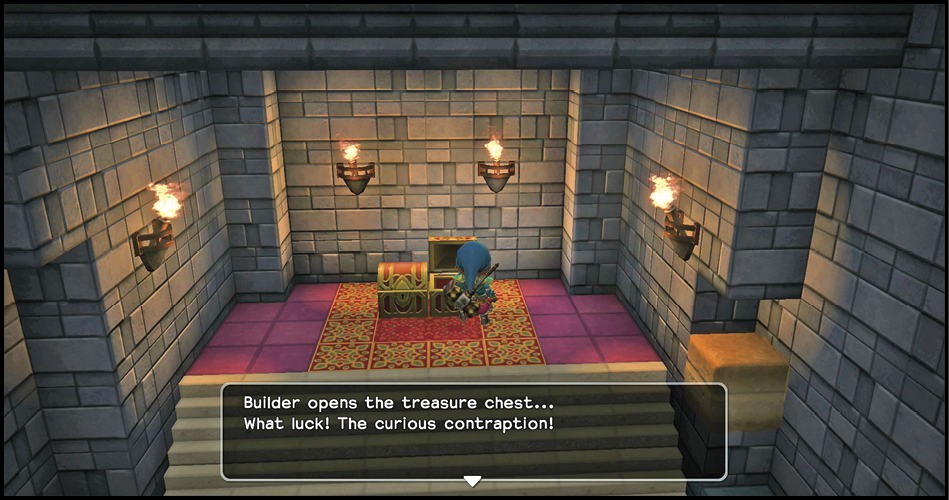
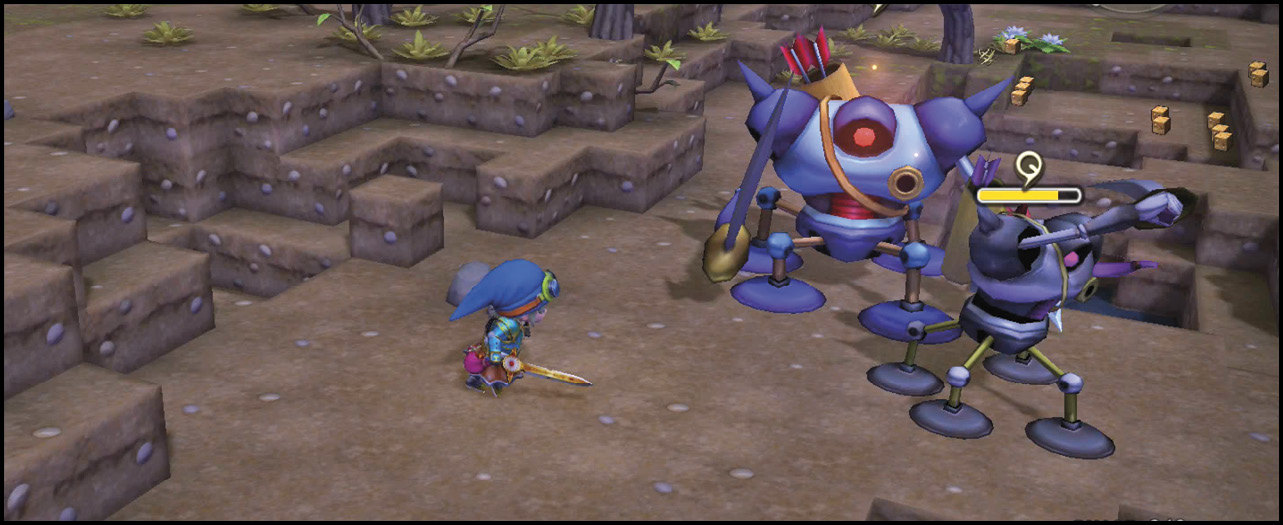
Inside the castle, defeat the eight machines marked with the letter Q over their heads. There are five machines on the ground floor that fight as a group. The three on the balcony can be faced individually. When the last machine falls, the treasure chests unlock. The right-hand chest contains a curious contraption, and the left-hand chest holds a seed of life.
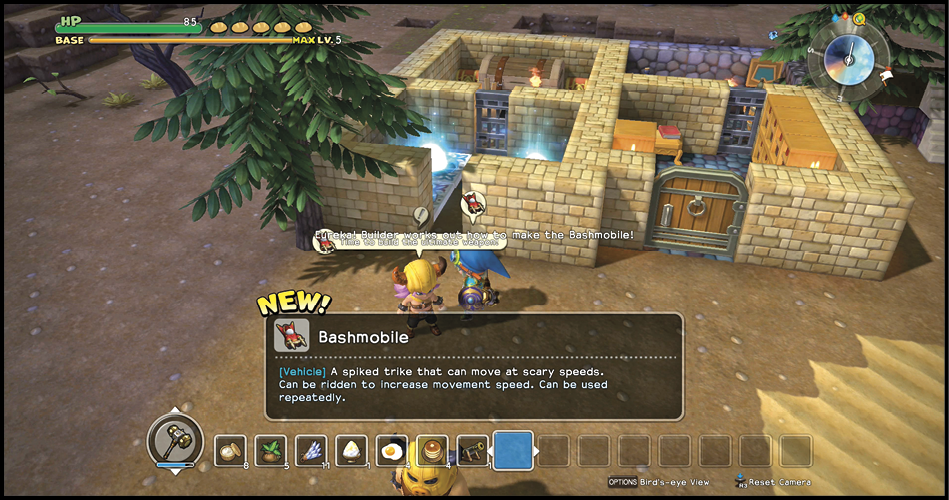
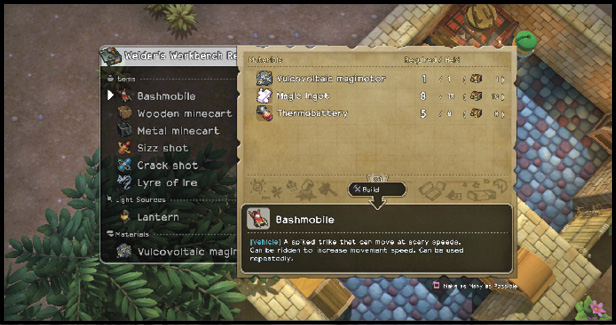
Return to your base. Create a vulcovoltaic magimotor and Bashmobile at the welder’s workbench. Talk to Barbella afterward to get a seed of life.
Bashmobile Test-Drive
Try out the Bashmobile during the upcoming round of attacks. You must use it for the final battle of the chapter, and a little practice goes a long way. The first and second battles both award medicinal herb (x3).
The first battle opens with four dancing flames and two legerdemen. The second phase includes two knights aberrant and two legerdemen. The leader of the attack is a troll.
The second battle begins with four frostburns attacking the base. Two hunter mechs soon join them. When they’re all down, seven frostburns appear and attack. The gigantes leader of the attack will likely destroy parts of your base with its powerful attacks.
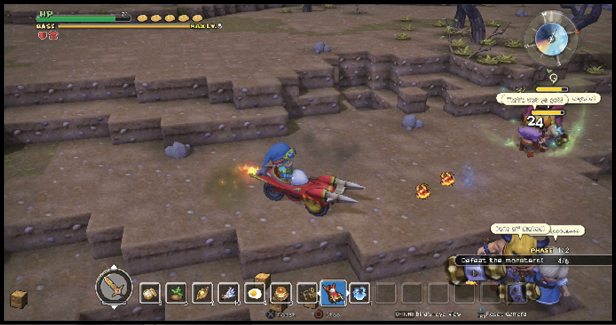
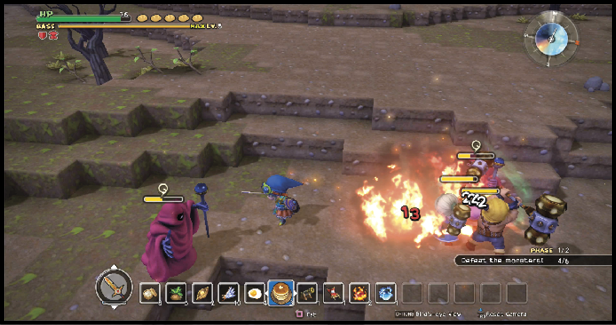
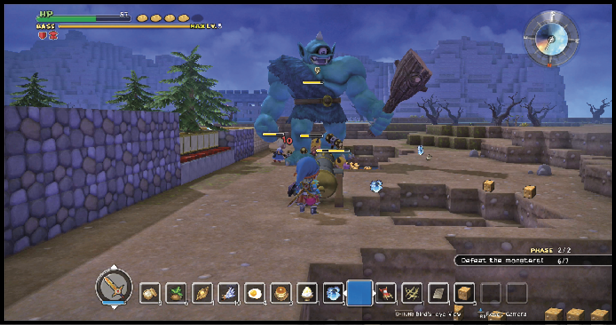
Two knights errant kick off the third battle, soon joined by a knight aberrant. The second phase consists of two hunter mechs and the leader of the attack, a large killing machine. Finish the battle to earn a seed of life.
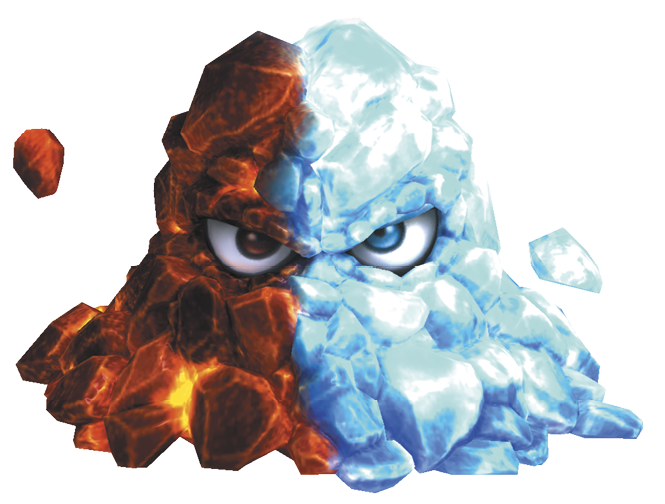
Boss Fight: The Magmalice and the Firn Fiend
Prepare for the battle by placing healing items, the Bashmobile, and some Sizz shots and Crack shots (if you’re accurate with these, they come in handy) in your inventory. A raised area appears around the base, with steps leading up from the base in four places.
The colours of the track are important. Grey areas are safe spaces from the ranged attacks of the two bosses. With any part of the firn fiend active, the light blue areas are dangerous. The red areas are dangerous when any part of the magmalice is active.
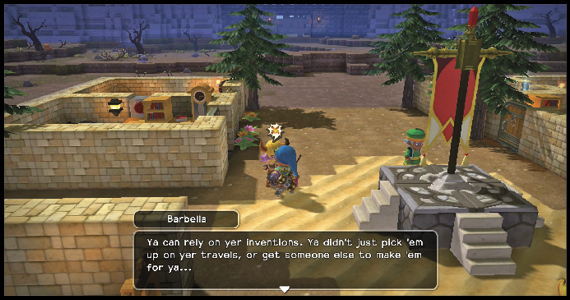
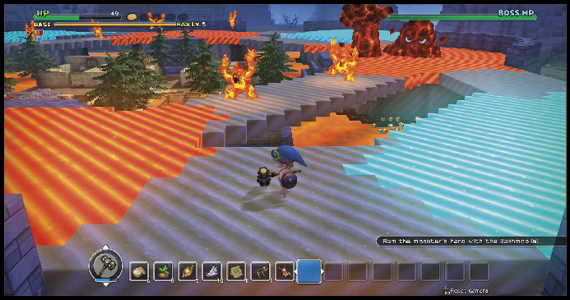
The greater your proficiency with the Bashmobile, the easier this fight becomes. Drive through the dancing flames and frostburns to reach whichever boss is active. Should you be knocked out of the Bashmobile, move to safety before trying to get back inside it.
Your first task is to ram the monster’s hand with the Bashmobile. You don’t need to aim directly at the hand—just drive toward the exposed head and the hand will absorb the crash. You have 120 seconds to reach the now-vulnerable head, which has moved to a new location. Do this first against the magmalice and dancing flames, then the firn fiend and frostburns.
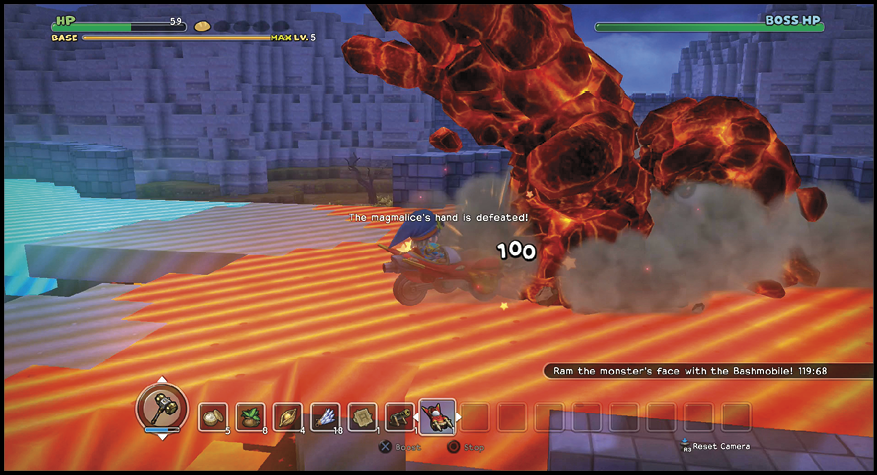
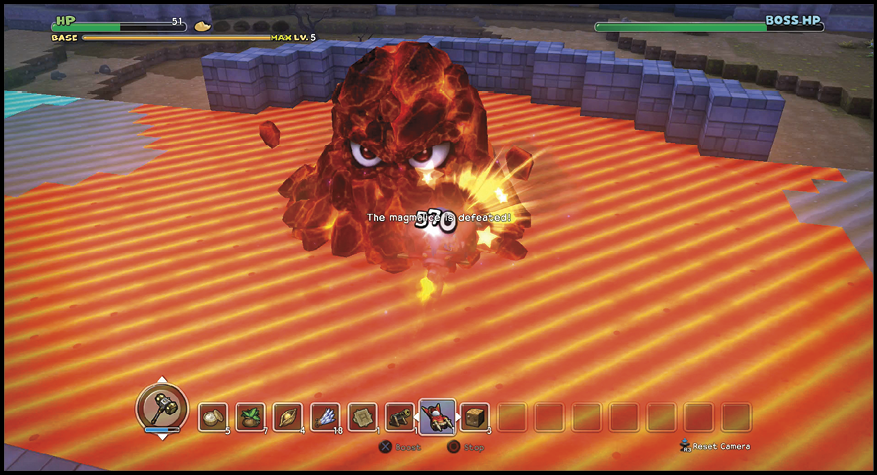
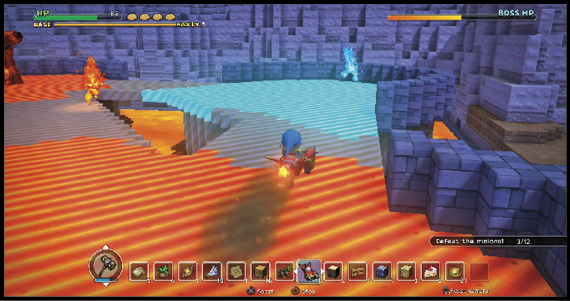
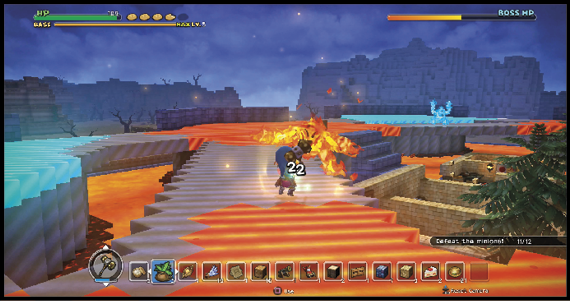
With both heads down, the track becomes covered with five frostburns, five dancing flames, and one hand from the firn fiend and the magmalice. The ranged attacks on the red and blue portions of the track make a return here, so you must keep moving. You can continue to use the Bashmobile for this stage of the fight, but it isn’t required. Ranged attacks and magical weapons work just as well.
When the twelfth enemy falls (watch the counter in the lower part of the screen), the red and blue portions of the track slip together and a hostile merger appears. You begin back at the Banner of Hope, but depending on the extent of the damage to your base, some of the steps may be hard to reach.
Minions fill the track again and make it more difficult to reach the hostile merger, which moves at regular intervals. Aim the Bashmobile at the hostile merger and crash into the giant hands to destroy them. You have 200 seconds to drive the Bashmobile into the hostile merger’s head.
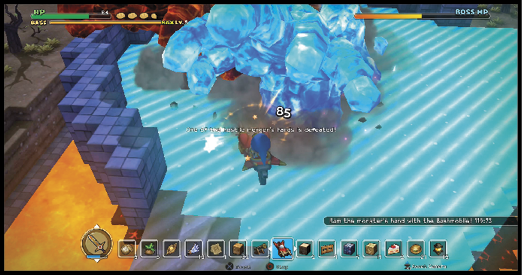
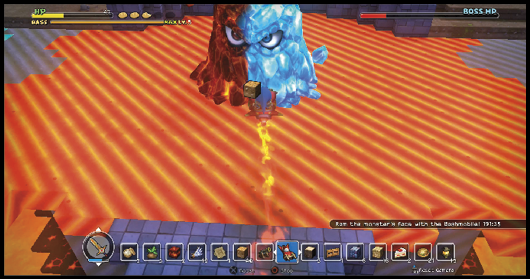
The last go-around begins with the hostile merger’s hands restored. This time, you must bash one hand, then bash the other within 120 seconds. After that, you have 200 seconds to bash the monster’s combined head.
After the battle, the hostile merger drops the cracked crystal. Talk to Barbella, then build the Sunstone from the cracked crystal, three blocks of lava, and a magic ingot. Once you’re finished, show Barbella the final product, and return to the Banner of Hope to use the legendary item. Save before you travel to the new location that appears on the compass. One final chapter to go!