
Dissidia Final Fantasy NT Guide One-Player Modes Story Mode
Fourth Path: Warrior of Light, Cecil, Noctis, Garland
Total memoria cost: 4
Coming from the Same Place
Cost: 1 memoria Type: cutscene
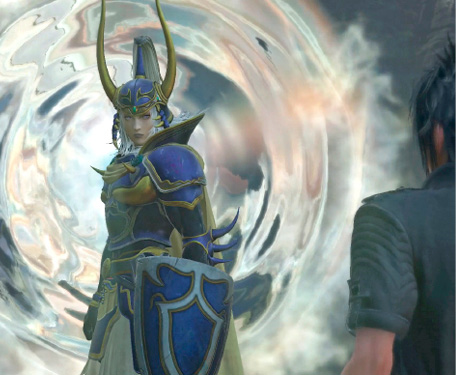
Cecil speaks amicably with Noctis while the Warrior of Light silently looks on.
Although at first glance they seem to have little in common, this unlikely trio is united by one goal: to keep those they hold dear safe from harm.
Mere Imitations
Cost: — Type: battle (Silver)
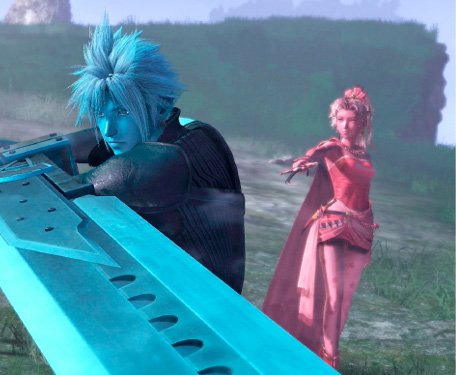
Available champions: Noctis, Cecil, Warrior of LightOpponents: Ethereal Mercenary (manikin Cloud), Fleeting Dream (manikin Tidus), Fey Maiden (manikin Terra)Location: Floating ContinentReward: 600 Gil
As so often happens in this world, replications of the warriors—dubbed manikins—arrive to interfere with their plans.
The Phenomenon
Cost: — Type: cutscene
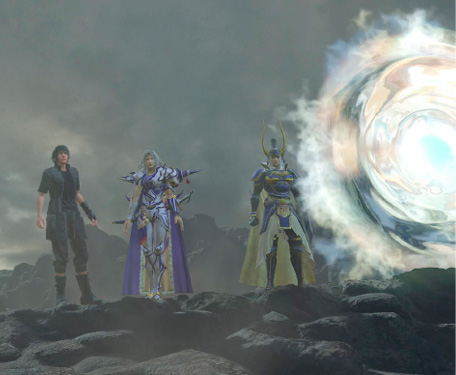
With the fight over, the three are free to emerge from the gateway.
This world feeds and grows on energy born from conflict, a phenomenon which is better understood when seen with one’s own eyes. That is something with which the Warrior of Light is already quite familiar with.
Onward to Spiritus
Cost: 1 memoria Type: battle (Gold)
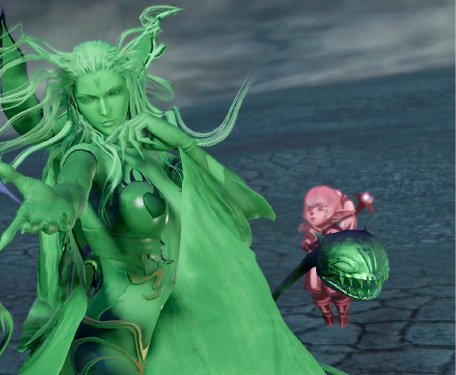
Available champions: Noctis, Cecil, Warrior of LightOpponents: Illusory Apparition (manikin Cloud of Darkness), Reaper’s Caprice (manikin Kuja), Matron of Antiquity (manikin Shantotto)Location: The Promised MeadowReward: 600 Gil
The trio pass through myriad gateways to circumvent precipices and cross rivers. They no longer fear the manikins as they close in on Spiritus.
Power Purloined
Cost: — Type: cutscene
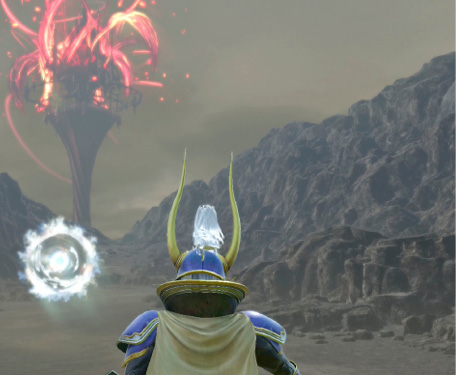
After exiting a gateway, the warriors witness a release of energy…and the arrival of an unwelcome visitor.
A new foe presents itself—one who leeches the planet’s very lifeblood. The selfsame beast plagued warriors in the past, and may prove to be the root of deeper woes in the near future.
Vicious Cycle
Cost: 1 memoria Type: cutscene
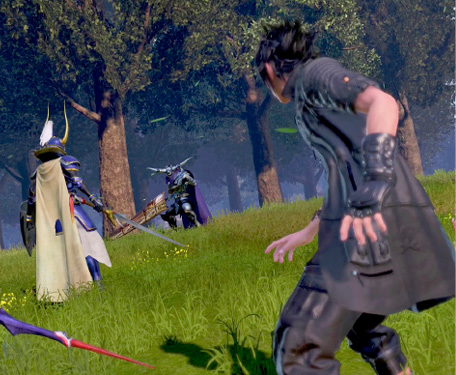
The microcosms inside gateways are worlds formed from warriors’ memories. This particular memory is of a grassland overlooking a lake and a castle.
The sight of the Warrior of Light once again crossing swords with his sworn foe heartens Cecil, and reminds Noctis of the courageous hero from his favorite game.
Skirmish at Cornelia
Cost: — Type: battle (Platinum)
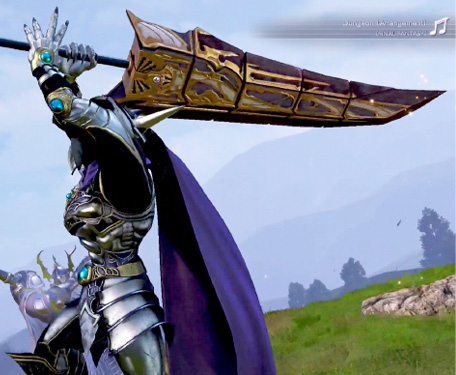
Available champions: Noctis, Cecil, Warrior of LightOpponents: Garland, Flickering Warlock (manikin Golbez), Mirage of a Conjurer (manikin Y’shtola)Location: CorneliaReward: 1000 Gil
As they have fought through millenia, they know the cycle better than anyone. Thus another chapter in their eternal struggle unfolds.
The Truth About Spiritus
Cost: — Type: cutscene
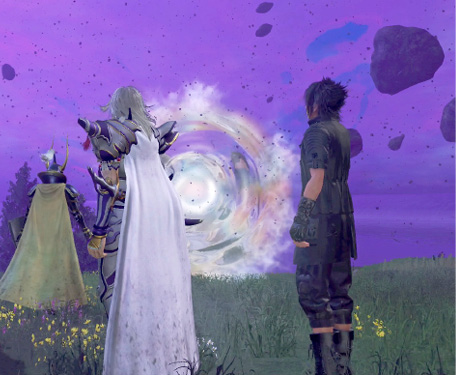
The battle against Garland is over, and his words lead the three to reconsider who their true enemy is.
The warriors depart to tell the twin deities they have a mutual foe to face. It seems even fated enemies find common ground amidst this world’s plight.
Challenging Bahamut
Cost: 1 memoria Type: battle (Boss)
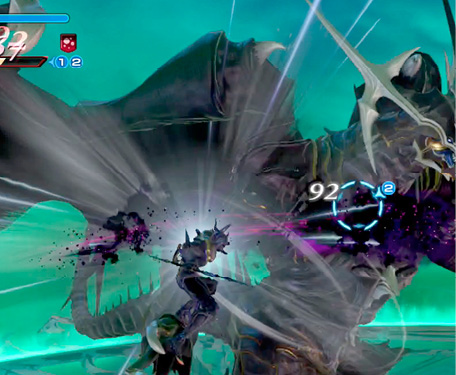
Available champions: Noctis, Garland, Cecil, Warrior of LightOpponents: BahamutLocation: Proving GroundsReward: 2 Treasures
The summons will submit only to those who have proven themselves worthy. Bring this beast to heel by exhibiting your utmost courage.
The king of monsters has an unmatched offense and can target allies from anywhere. Beware of Comet Tail, which is not just a charging attack but also a delayed projectile from above. Although Bahamut’s range is supreme, he declines to attack physically unless he’s charging with Comet Tail or stomping with Roost, so it’s safer than usual to aggressively engage him at double- or triple-jump height. Just stay well up off the ground to avoid the impact of Roost, or be ready to guard if necessary. This changes once he’s enraged at under half remaining health, since his HP attacks become absurdly strong. Concentrate on avoiding incoming beams first and attacking second.
Strictly speaking, the available roster does not feature a marksman, but Garland can use Thundaga and Flare and act as a mid-range caster. Be sure to throw out Flares whenever your allies are targeted by Megaflare. They will usually get hit by it, depleting Bahamut’s Bravery momentarily and leaving him open for an easy break. Capitalize on this to gain huge swings in Bravery. Garland has the added bonus of being a vanguard, and so he requires fewer attacks to take Bahamut out of the skies.
When Bahamut casts Regal Airs, that is your breathing room—your best opportunity for a free action, whether it is to reposition or to score some Bravery damage.
Bahamut’s Arsenal
| Type | Name | Description |
|---|---|---|
|
Bravery |
Roost |
Bahamut floats up slightly, then slams down on the ground with a resounding green shockwave all around. |
|
Bravery |
Wide Berth |
A more powerful version of Roost, causing a larger blue shockwave. |
|
Bravery |
Flare Breath |
A left-to-right stream of scorching breath on the ground before Bahamut. He can keep the stream going, pulling it back and forth twice more. |
|
Bravery |
Comet Tail |
Bahamut charges toward the target while firing holy lasers into the sky, which rain down seconds later. |
|
Bravery |
Corona |
Comet Tail’s laser rain targets all of Bahamut’s adversaries. |
|
Bravery |
Impulse |
Bahamut spits a glob of explosive plasma at the target. |
|
Bravery |
Dynamo |
A much larger, more explosive green projectile. |
|
HP |
Megaflare |
Bahamut tracks a single enemy with a deadly continuous beam of green energy. |
|
HP |
Gigaflare |
Bahamut seeds the ground with laser energy, causing delayed explosions. |
|
HP |
Teraflare |
Bahamut targets all enemies with pink, infinite-range tracking beams, resulting in multiple gigantic explosions. |
|
EX |
Winged Fury |
When Bahamut is badly hurt, he keeps up a continuous laser rain from the sky, forcing challengers to relocate constantly. His Bravery Attacks also become enhanced. |
|
EX |
Regal Airs |
Bahamut briefly powers up his attack and defense. |