
Dissidia Final Fantasy NT Guide Mechanics
Combat Actions and Battle System
DISSIDIA uses an unconventional health and “lives” system. Party health represents how many lives remain on a team, HP is how much health an individual character has, and Bravery is a character’s current power level.
The Bravery System
Bravery is a unique hybrid power/vitality system (not to be confused with a character’s HP value). Successfully attacking your opponent reduces their Bravery value while increasing yours. Characters have multiple Bravery Attacks, each executed with  in some fashion, such as:
while dashing ( + )
+ )
 +
+
 +
+
Additionally, most characters have an entirely separate set of attacks while executing the above commands in mid-air (for instance, during a jump). These may be referred to as “airborne attacks” in this guide. For comprehensive lists of attacks, refer to specific character chapters.
Reducing an enemy’s Bravery below zero rewards you with a “break bonus,” instantly boosting your own power by 1000.
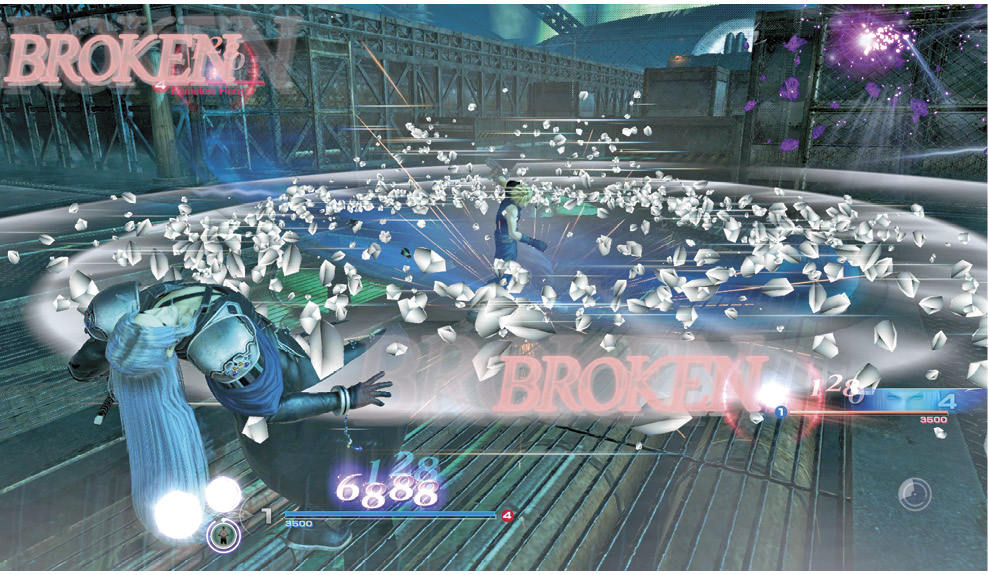
However, to knock out (or “incapacitate”) an opponent, you need to successfully connect with HP Attacks, performed by pressing  . Scoring a successful HP Attack sets your Bravery value to zero, leaving you break-vulnerable for a brief period while your Bravery resets to 1000.
Anyone who scores a knock out will enjoy a 50% Bravery attack power increase for 5 seconds.
Characters have multiple HP Attacks to choose from during the pre-match Battle Set configuration menu. However, only one HP Attack can be assigned per match. Vaan is the only exception, capable of equipping two HP Attacks. At the outset, only one HP Attack is available per character. The rest of the fighter’s HP Attack arsenal is unlocked by leveling up, which is done through combat in any mode.
HP Attacks vary in range and speed and usually have distinct properties, so choose the HP Attack that best suits your planned strategy.
Refer to individual character chapters for comprehensive Bravery and HP Attack listings and descriptions.
Defending
Guarding
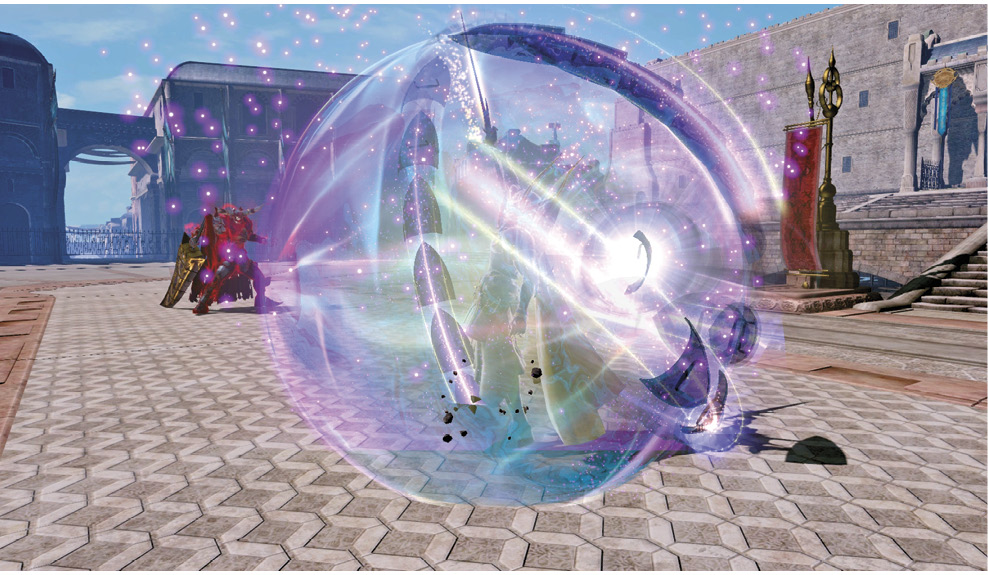
Damage from Bravery Attacks can be nullified with a guard barrier, activated by pressing and holding  .
.
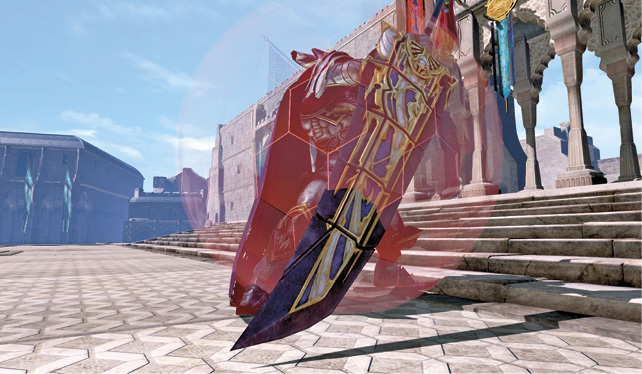
However, you have a limited amount of guard stamina, represented by the color of your barrier.
As you hold your guard, the barrier changes color from green, to yellow, and then to red.
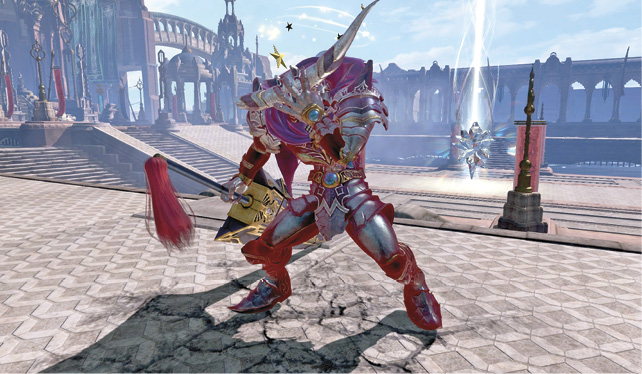
When your guard stamina is completely depleted and your barrier breaks, you’re penalized with a dizzying status effect, leaving you vulnerable to attacks. Note that guard stamina depletes whether you guard attacks or not, so simply keeping up the barrier without blocking an enemy attack can eventually lead to a stunned guard-break.
Sidestepping
Sidestepping can be performed in two ways: by pressing  while moving; or by holding
  to guard, then tapping the left stick in the direction you want to sidestep.
While sidestepping attacks consistently requires practice, it’s an extremely important skill to learn, as it allows you to quickly evade attacks while potentially rewarding you with an opportunity to retaliate against a vulnerable enemy.
After being launched by a Bravery Attack or combo, press  to perform a mid-air recovery “flip,” which allows you to immediately regain control of your character, and to prepare yourself for a potential follow-up attack. Note that you cannot recover from HP Attacks.
Wall Rushes
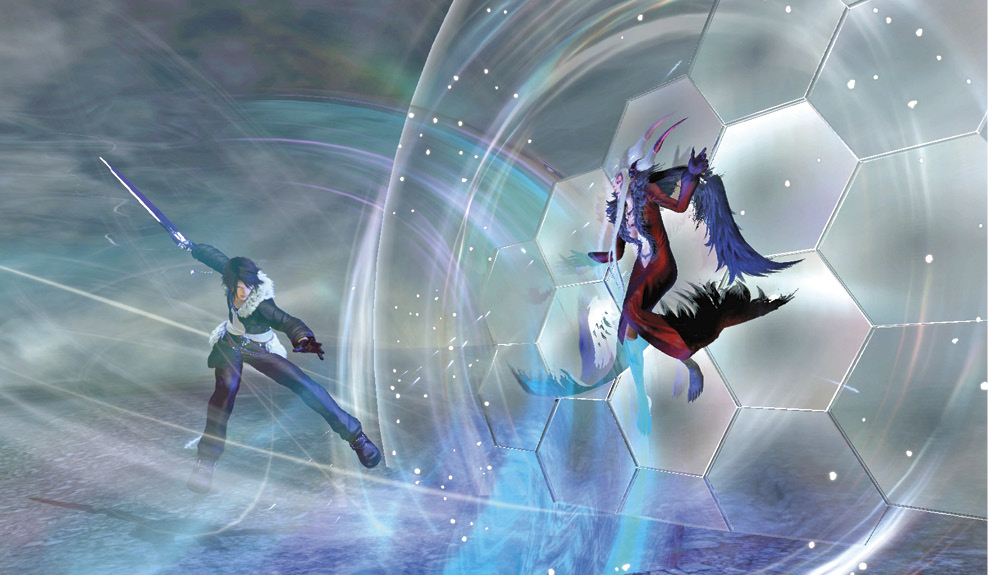
Pinning the enemy to a wall is one of the few ways you can perform true solo combos. In this context, a “true combo” means linking two entirely separate attack series together, such as > > into another > > .
A wall rush, also often referred to as a wall pin or wall hit, occurs when you hit the enemy with a knockback effect while their back is near a structure or blockade. Generally, all melee combos can wall-pin at the end of their series (e.g., the last hit of Cloud’s grounded > > combo, Sonic Break). Most marksman combos and projectiles do not cause a wall pin; however, some ranged attacks may break this rule (like Firion’s Fulminating Strike and Bullseye projectiles, or Exdeath’s Vacuum Wave).
Upon a successful wall pin, you can essentially follow up with guaranteed damage, either with another full Bravery combo or an HP Attack to reduce your target’s HP. You can only take advantage of this guaranteed damage once per sequence, as a subsequent wall pin renders the enemy invincible to prevent “infinite” combos.
Pay attention to your positioning always, especially if you’re on defense. If your back is to a corner, you’re at risk of taking an inordinate amount of damage.
Poise and Interrupting
The poise and interrupt system determines whether your attacks can be interrupted, and whether they can interrupt other attacks. This system is influenced primarily by character classes, with its most important implication being the priority and poise of class attacks in the following order: vanguards > assassins > marksmen. While vanguards are close- and mid-range fighters with generally the slowest movement speed, they have the highest poise and interrupt values, allowing them to blow through assassin and marksman attacks with their own. Poise and interrupt values for specialists vary and are character-specific.
Projectile Priority
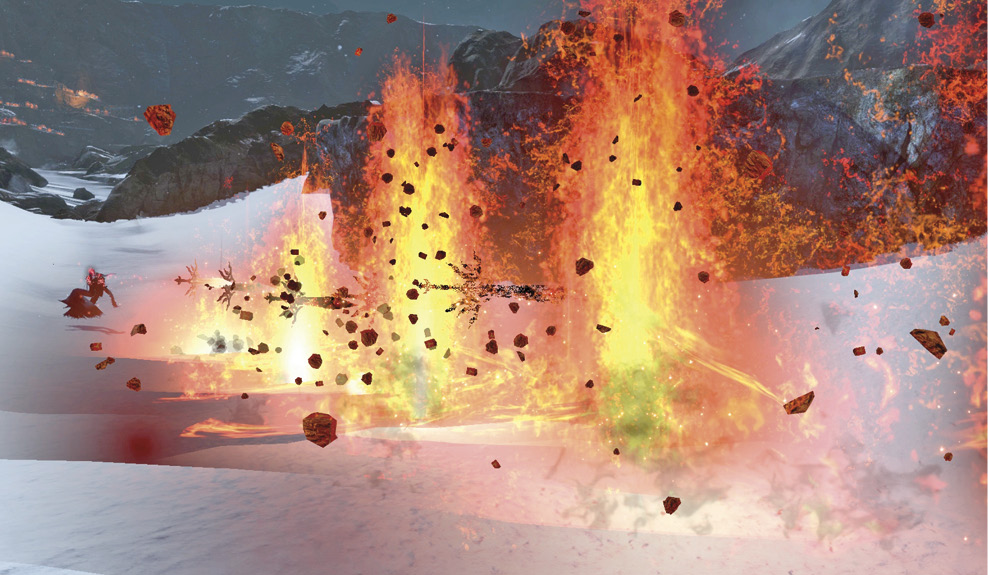
How projectiles interact with each other upon collision varies, depending on the strength of the attack. Most ranged attacks have a projectile strength associated with them. Generally, HP Attack projectiles have the highest priority, nullifying contesting Bravery-based projectiles. Large projectiles like Terra’s charged Fira spell have priority over smaller projectiles like Ultimecia’s Relentless Blades. Some projectiles disregard collision altogether, such as the Emperor’s Blue Soul, simply traveling through all other projectiles.
Hit-Stun Priority
Hit-stun priority affects the target’s hit-stun animation. When a target is hit by an attack, they go into a hit reel where they’re vulnerable to subsequent attacks. This means that in team combo scenarios where multiple players are attacking a single opponent, the attack with the highest hit-stun priority overrides other attacks. For instance, if Sephiroth hits an enemy with > > > and, at the same time, Ultimecia hits the same enemy with her projectiles, Ultimecia will add damage but not apply any kind of hit-stun to the enemy, because Sephiroth’s melee attacks have a higher priority. In this same scenario, if the enemy is hit by an HP-based ranged attack during Sephiroth’s melee combo, they’ll be knocked away in a “hard knockdown” state, since HP Attacks override all Bravery ones.
Generally, HP Attacks have the highest hit-stun priority, with melee attacks in a lower tier, then projectile attacks at the lowest tier. This gives you an idea which attack will “take control” of the victim when several hit at about the same moment.
Canceling Techniques
“Canceling,” in the context of a game’s combat mechanics, refers to any kind of action that interrupts another action, usually in order to minimize downtime and vulnerability. DISSIDIA allows for two distinct types of move-canceling.
Evasion Canceling: Evasion canceling is executed by issuing a sidestep input during the recovery period after whiffing (i.e., missing) or connecting with an attack. For instance, if you lunge at an enemy with Sephiroth’s  + attack and miss (either because the opponent sidestepped it or because you misjudged its range), you can cancel part of the recovery animation with a sidestep to mitigate your vulnerability. To cancel at the earliest point possible, hold direction+
  after your attack.
Guard Canceling: Another defensive canceling option in addition to evasion canceling. Guard canceling ends attacks early, interrupting their recovery animations with a defensive posture. If airborne, your fighter will begin falling back to solid ground too. To automatically guard cancel an attack at the earliest possible moment, hold  during the action.
Since sidestepping has its own weaknesses (remember, sidestepping doesn’t make you invincible), it’s not always ideal to evasion cancel out of a whiffed attack. However, it’s generally good practice to at least guard cancel a whiffed attack to potentially block an incoming Bravery Attack retaliation. Of course, you can always follow up with a sidestep out of the guarding state. Against incoming Bravery Attacks this can be safer than evasion canceling, since there’s no risk of being clipped if the sidestep fails to clear the threat. Against incoming HP Attacks you can’t guard, you must opt to evasion cancel to have a chance of dodging those.
Dash Canceling: Performed similarly to an evasion cancel, most attacks that make contact with an enemy can be canceled with the dash command. This is primarily relevant to melee attacks and allows for smooth transitions between attacks. For example, if you successfully connect with a Bravery combo that launches a foe away, you can cancel the remaining recovery period with a dash, either toward the same target or another target close by, reducing your downtime between actions.
You can also use this to link together multiple melee Bravery combos if the initial Bravery Attack results in a wall hit. A sample sequence potentially resulting in finishing an enemy would be:
Bravery combo >wall pin >dash cancel >HP Attack finisher
You CANNOT dash cancel whiffed melee attacks or ranged attacks. Additionally, most “while dashing” attacks cannot be dash canceled, or they receive little benefit in terms of recovery reduction.
Wave-Dashing: Wave-dashing is a movement technique taking advantage of the ability to cancel a sidestep with dashing and vice versa. A sidestep cannot be canceled with an attack, guard, or another sidestep, but it can be canceled with a dash. This allows for greater and more fluid mobility and, more importantly, dramatically increases the time you can spend airborne.
For instance, you can double-jump (or wall-run), then cycle between sidestepping and dashing, rhythmically inputting direction+  , ,
, ,  ,
,  , repeated until you run out of dash gauge. This greatly extends your flight duration since sidestepping in the air temporarily halts the draining of dash gauge while continuing air mobility. The only downside is that there’s a slight start-up time when dashing, so an enemy can theoretically dash straight toward you to catch you with an attack.
Another way to utilize this dancing maneuver is to smoothly transition a backward sidestep into a retreating dash to create space between you and a potential threat (if you’re a marksman trying to get away from a vanguard, for example). There’s a significant recovery period when using sidestep on its own, so consider dash canceling whenever you sidestep.
Additionally, you can cancel your grounded and airborne dashes anytime with a jump. In the air, you can double/triple-jump to do so.
EX Skills
EX Skills are high-impact abilities that can be used once the corresponding gauge is filled.
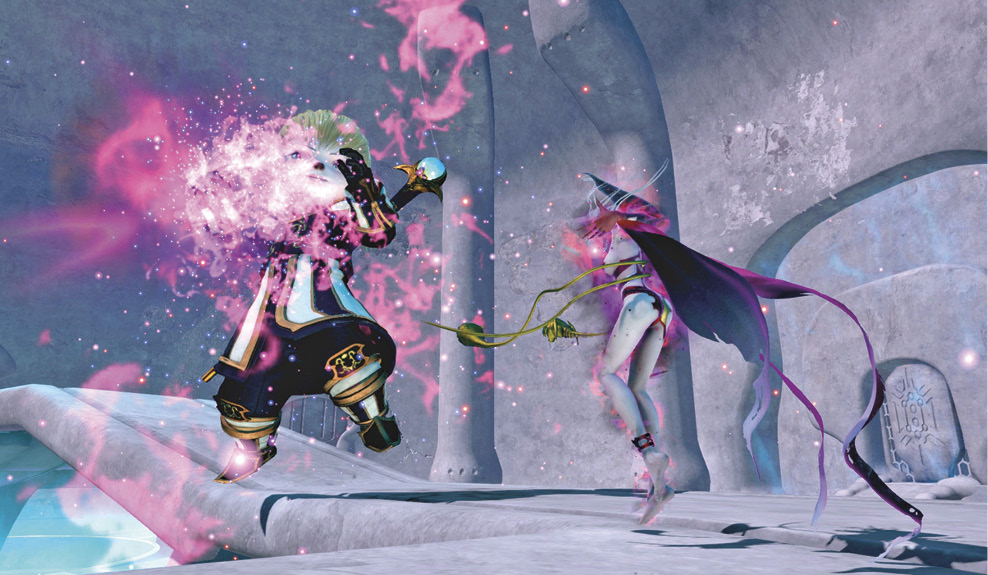
EX gauges are filled over time and have varying regeneration rates, depending on the skill (this total fill time can be considered the “cooldown” of the skill). EX Skill gauge timers range from 10 seconds to over 100, depending on the specific skill. Additionally, EX gauges are slightly boosted upon landing attacks.
Each character has their own unique EX Skill (or several), further differentiating their proficiencies in combat from those of other characters. Unique EX Skills are assigned to  while left stick is neutral.
Two other common EX abilities can be assigned to  +
+  and
and  +
+  in the Customization menu. These support-type buff and debuff skills can be used by any character and should be chosen carefully depending on your team’s battle plan. Each character can have up to 10 sets of EX Skills preset in the Customization menu.
See the “Common EX Skills” section for details and specific cooldown timers. Unique EX Skills are detailed in each character’s chapter.
Summons
Summons provide a boost to your team’s combat prowess, such as increased health or increased Bravery regeneration.
In a standard match, your team’s summon is selected before the match starts, determined by a simple vote system. If two or more of your teammates vote on one particular summon, that summon is chosen. Otherwise, a random one is chosen among the three summons voted on by your team.
A summon’s pre-summoning effect refers to the combat bonus that affects your team for the entire duration of the match, while the post-summoning effect kicks in once your team successfully calls its summon, which then lasts for the remainder of the match.
The in-game post-summoning effect description includes the pre-summoning effect as well as a bonus effect and does not necessarily mean that the pre-summoning effect is further enhanced, only that there’s an additional separate bonus for successfully casting your team’s summon.
Summon gauge is accrued by attacking summoning cores that appear periodically during a match, so pay close attention to the on-screen indicating message. Summoning cores are targeted by holding  /
/ while one is in play, and they take damage from Bravery and HP Attacks. Each attack grants an increment of summon gauge for that player’s team. Summoning cores break after a certain amount of damage, but respawn after a period has passed (default is 25 in-game seconds once destroyed).
Once your team’s summon gauge is completely filled, press and hold the touch pad button to start the conjuring process, accompanied by a progress gauge. Completing the incantation for a single player requires about nine seconds of casting. However, your teammates can join in to expedite the process, filling the progress bar at an enhanced rate. Two fighters summoning together builds progress much faster than one; the entire team summoning at once fills the bar instantly. The progress bar’s speed depends on the percent (not the sheer number) of team members who are casting. If you’re alone on a team, you can summon instantly by yourself. A coordinated team of three summoning at the same time can be difficult to pull off, as your opponents generally won’t stand by to watch it happen, but it can be preferable to leaving a single person vulnerable. Make sure to communicate your summoning plans with your team!