Dissidia Final Fantasy NT Guide Characters
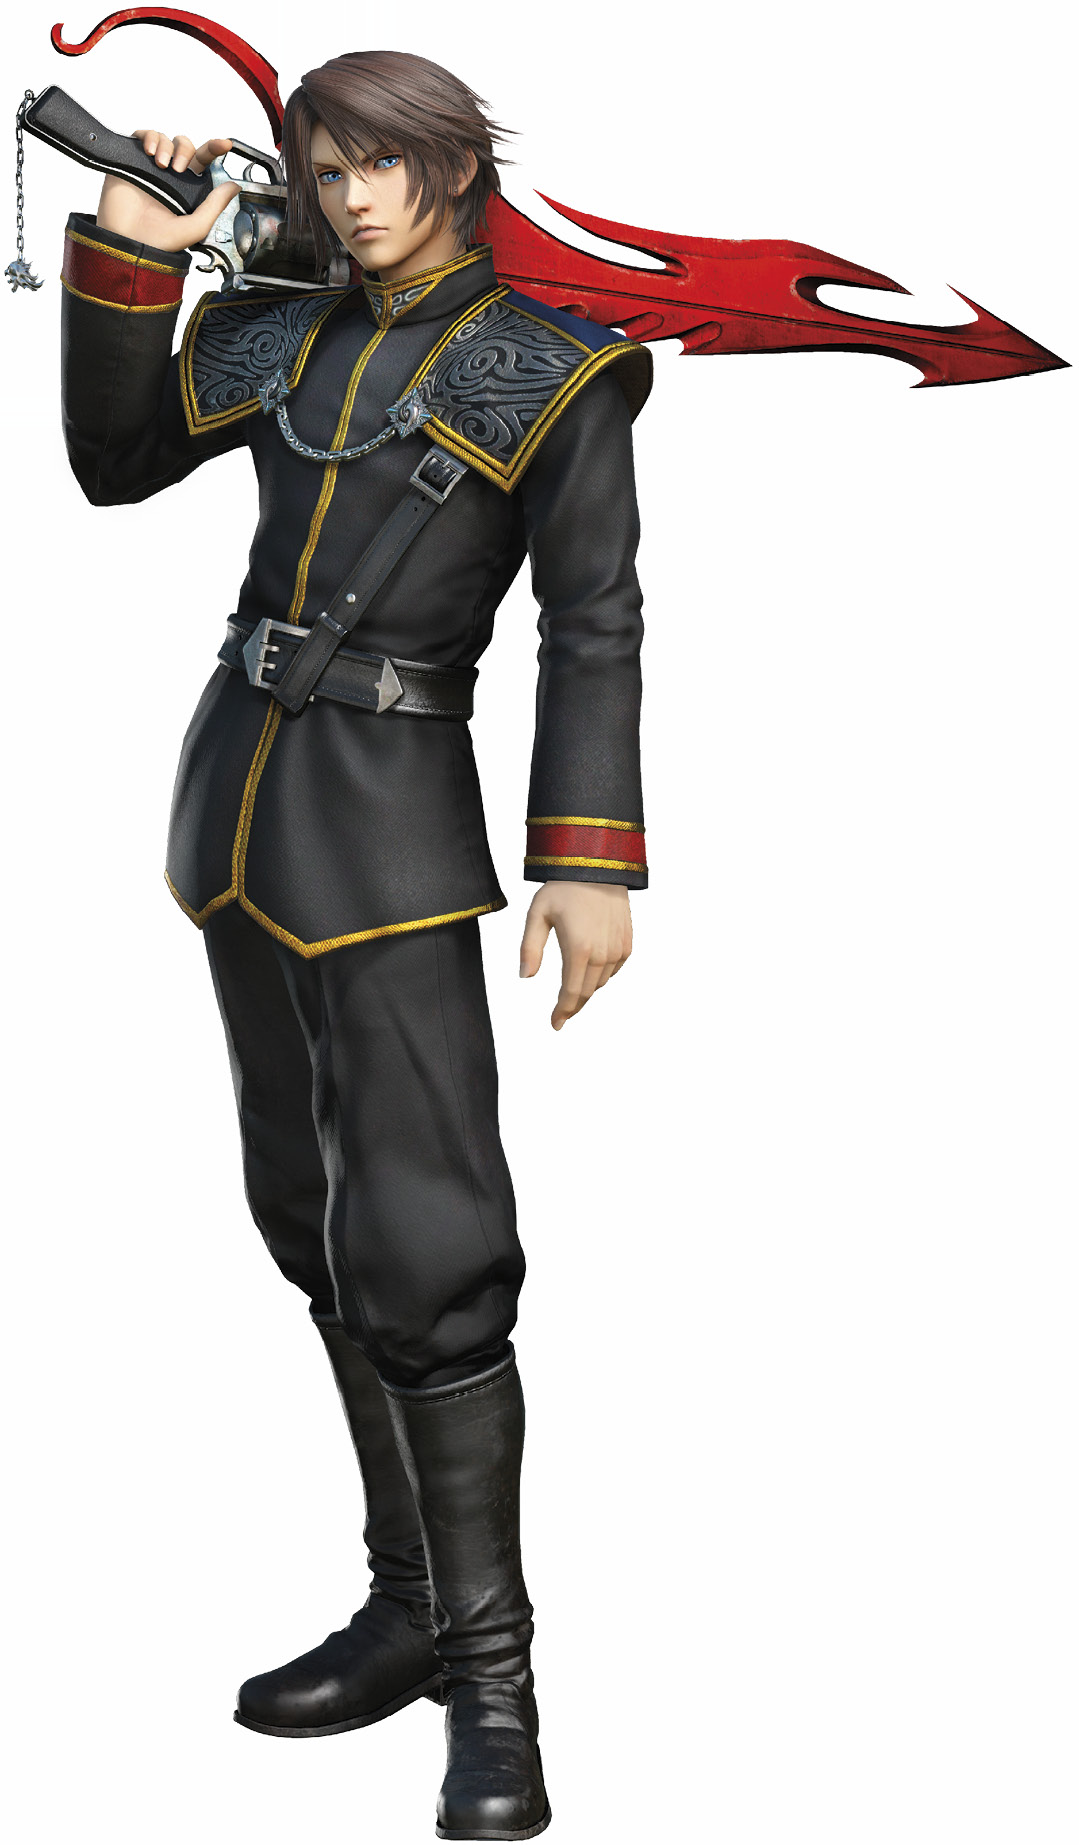
Squall Leonhart
Assassin
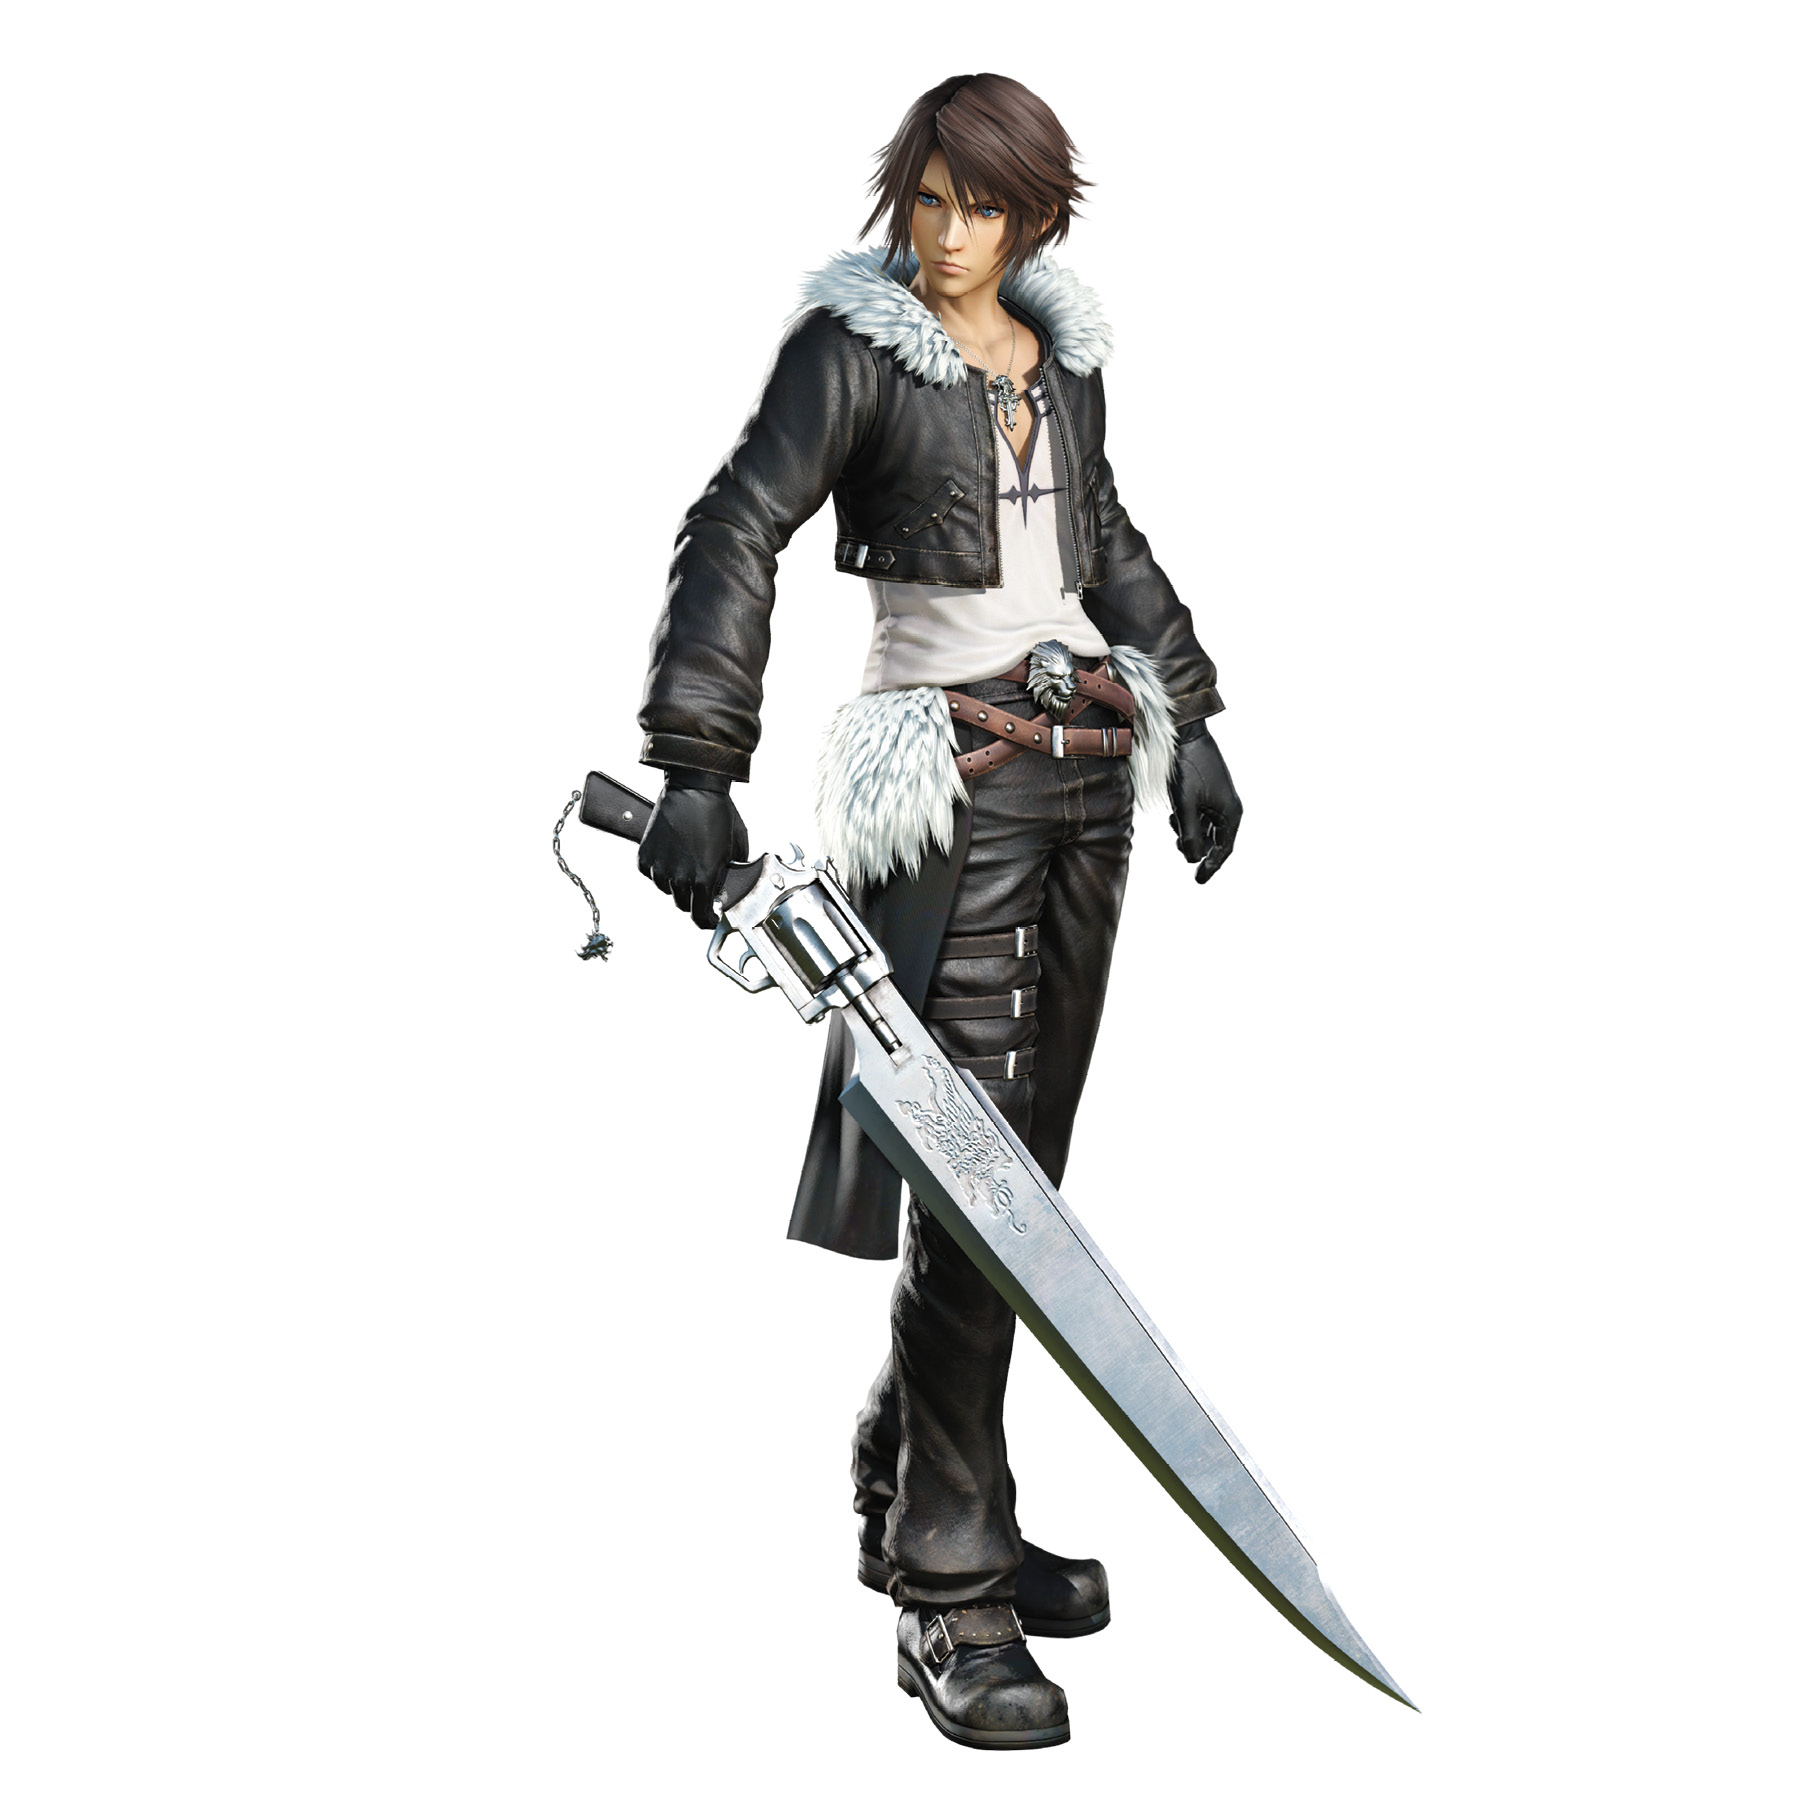
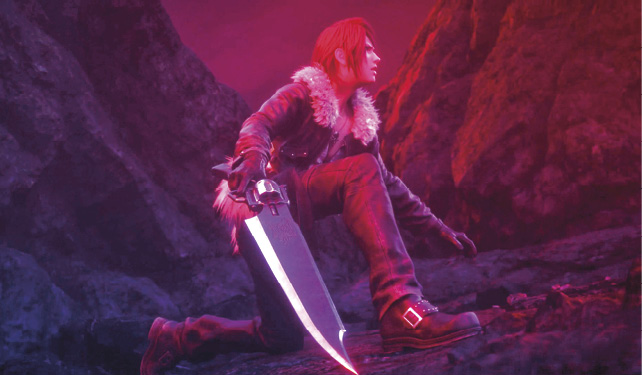
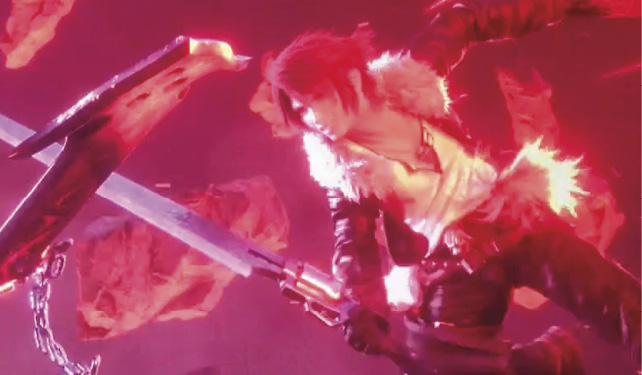
His attitude leaves much to be desired, but his close-quarters gunblade techniques do not. Timing his combos well results in explosive amounts of additional damage, so refine your skills if you wish to lead Squall to victory.
Original Appearance: FINAL FANTASY VIII
Year: 1999
Role: Squall was a cadet at Balamb Garden, a military school whose students graduate into the mercenary organization, SeeD. Raised an orphan, he experienced traumatic childhood events that caused him to develop a defensively cold demeanor.
He eventually graduates into SeeD status along with his schoolmates, Zell and Selphie. During the graduation ceremony, Squall meets a young woman named Rinoa, whose personality provides a stark contrast to his. Their journey together unravels several secrets of the SeeD organization, along with secrets of their own pasts.
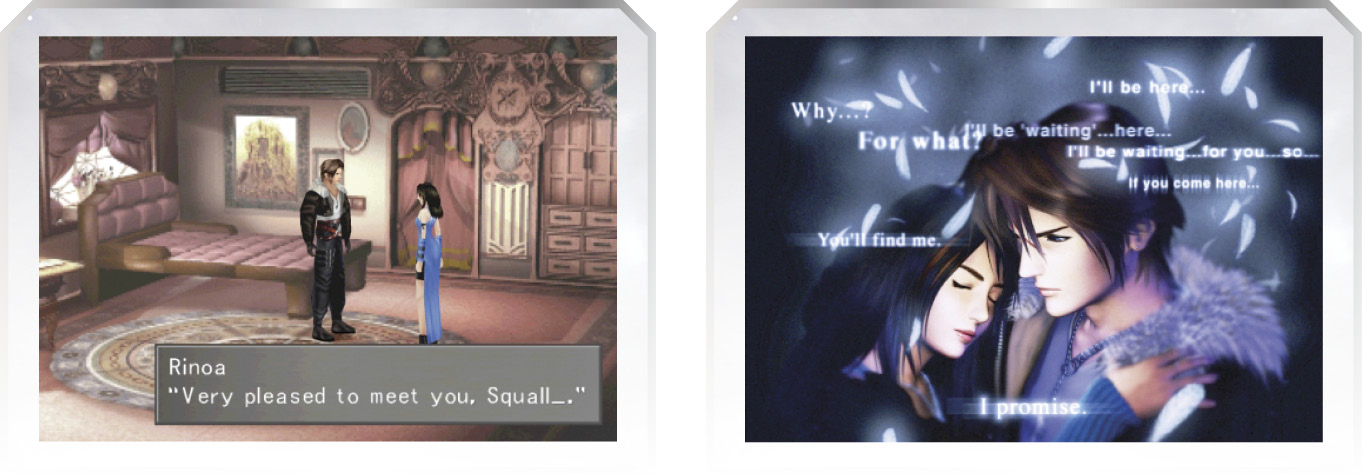
Other Noteworthy Appearances: DISSIDIA FINAL FANTASY (2009), DISSIDIA 012 FINAL FANTASY (2011), Theatrhythm FINAL FANTASY (2012), FINAL FANTASY Explorers (2014), Theatrhythm FINAL FANTASY Curtain Call (2014), WORLD OF FINAL FANTASY (2016), DISSIDIA FINAL FANTASY Opera Omnia (2017)
Arsenal
Bravery Attacks
| Name | State | Command | Bravery Damage | Range | Capsule Description |
|---|---|---|---|---|---|
|
Solid Barrel |
Grounded |
|
64, 48, 48, 32x2+ 144 64, 84, 84, 56x2+ 252 (368~596) |
0.5 |
Cut into foes with quick successive slashes of the gunblade. |
|
Uppercut Blues |
Grounded |
|
64, 80, 48, 128 64, 140, 84, 224 (320~512) |
1.0 |
Lunge forward with an uppercut into an air combo, blasting the enemy away. |
|
Lightning Shot |
Grounded |
|
20x1~6 (20~120) |
1.5 |
Drop a row of lightning strikes emanating from range, pulling in your target for a follow-up attack. |
|
Gnashing Fang |
Airborne |
|
64, 32, 48, 16x6, 128 64, 56, 84, 28x6, 224 (368~596) |
0.5 |
Deliver a double upward slash, followed by a flurry of gunblade blows. |
|
Savage Claw |
Airborne |
|
64, 80, 48, 128 64, 140, 84, 224 (320~512) |
1.0 |
Charge at a foe from the air with four powerful slashes, knocking enemies to mid-range. |
|
Devastating Slug |
Airborne |
|
80 |
1.5 |
Engage your foe from mid-range with a swooping rush attack, then follow up with either Gnashing Fang or Savage Claw. |
|
Keen Edge |
Dashing (Grounded & Airborne) |
|
208, 240 |
1.5 |
Chase your foe with a two-hit sword-sweep-into-overhead-slash combination. |
 +
+  +
+  +
+  +
+ HP Attacks
| Name | State | Command | Bravery Damage | Range | Capsule Description |
|---|---|---|---|---|---|
|
Fated Circle |
Anytime |
|
— |
0.5 |
Cause a sudden explosion. First spin on your side if airborne, or upright if on the ground. |
|
Rough Divide |
Anytime |
|
64 |
1.0 |
Launch foes into the air with an upward strike. |
|
Blasting Zone |
Anytime |
|
— |
2.5 |
Send a massive blade of light hurtling toward foes. |
|
Ultima |
Anytime |
|
— |
3.5 |
Trigger an explosion at the target’s position. Ultima must be drawn before being used. |


EX Skill
| Name | State | Command | Recast Time | Range | Capsule Description |
|---|---|---|---|---|---|
|
Draw & Junction |
Anytime |
|
45 seconds |
Draw Five: 0.0 to 1.5 Draw Three: 1.5 to 3.5 Draw One: 3.5+ |
Enhance your attack, defense, or movement speed, depending on your target’s character type. |

GUNBLADE CRITICAL HITS
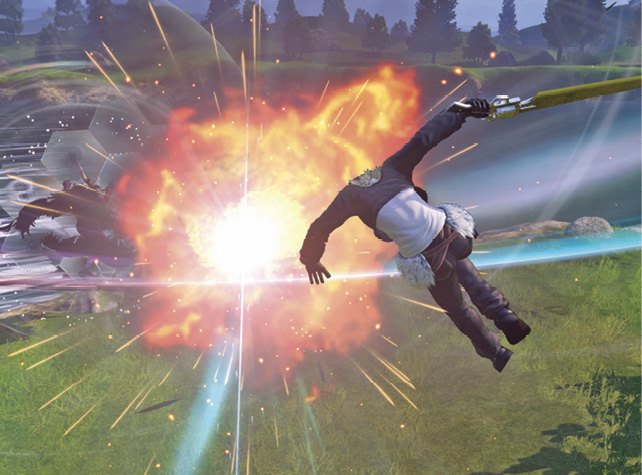
Squall’s gunblade combos can produce critical hits on subsequent (and never the first) attacks, dealing significantly more damage and improving your overall combat effectiveness. While it’s a highly skill-intensive mechanic to master, there’s no reason not to at least try to time your inputs with Squall. There’s no downside or punishment for doing so, since your normal attacks still result in some damage, just much less (significantly so when compared to another character’s attacks of the same type). For reference, a full Solid Barrel combo (neutral  ) deals 368 Bravery damage without critical hits, but deals 596 Bravery damage if all hits are successfully timed, almost doubling its total damage. Most attacks of the same type from other assassins in DISSIDIA deal around 450 Bravery damage total.
Successfully inputting a critical hit produces a visual gunblade explosion. Specifically, the input window is precisely when your blade makes contact with the enemy. For instance, the wait time between the first and second hits of Solid Barrel is much less than the time between the second and third hits. For Uppercut Blues ( + ), the timing is much longer between the first and second inputs, since you have to wait for Squall to dash in.
Rhythm is the name of the game, so mastering each Bravery combo’s timing pattern is key to optimizing your damage potential.
Bravery Attack Breakdown
Solid Barrel
| Command | Bravery Damage | Note |
|---|---|---|
|
Grounded |
64, 48, 48, 32x2+ 144 64, 84, 84, 56x2+ 252 (368~596) |
Damage boosted with perfectly timed inputs. |
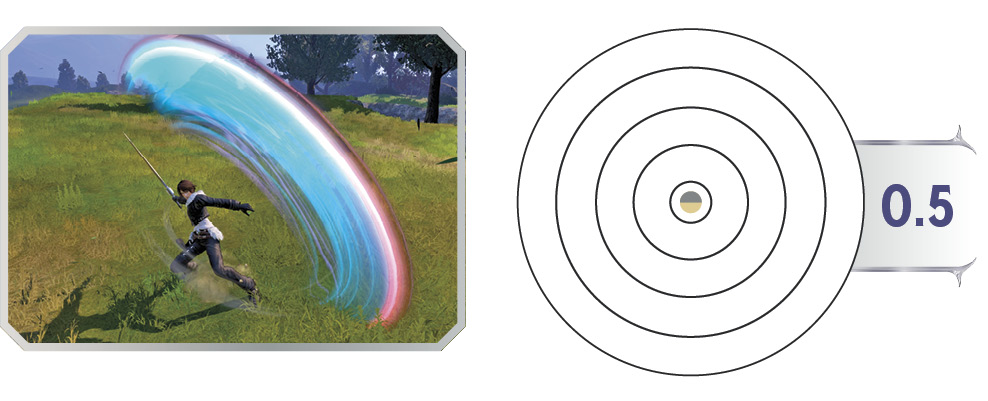
Squall performs an incredibly quick slash, transitioning into potential critical gunblade blasts that send the enemy past mid-range.
Solid Barrel is a swift close-range attack. While both of Squall’s neutral attacks (Solid Barrel and Gnashing Fang) are difficult to use on their own, they can be employed as follow-up cancels to his mid-range  + attacks (Lightning Shot and Devastating Slug).
Otherwise, you’re most likely to use Solid Barrel naturally after a successful wall-pin attack—off of a well-placed dashing (Keen Edge) on a cornered opponent, for instance.
Much of your damage output relies on your neutral attacks, so executing the gunblade “just frame” critical attacks is crucial. Additionally, as with most attacks that have three or more inputs, you can opt to stop the combo after the second or third hit (before the knockback finisher) to give your teammates an opportunity to follow up with attacks of their own.
Uppercut Blues
| Command | Bravery Damage | Note |
|---|---|---|
|
Grounded |
64, 80, 48, 128 64, 140, 84, 224 (320~512) |
Damage boosted with perfectly timed inputs. |
 +
+ 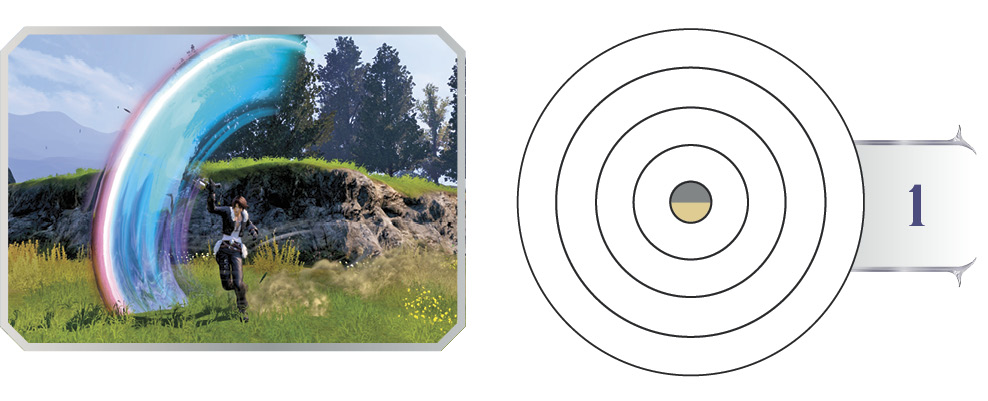
Squall lunges forward with three rising uppercuts, followed by an overhead slash finisher to send the foe to mid-range.
This is your close- to mid-range attack. While it doesn’t deal as much damage as Solid Barrel, it has a sizable range advantage. Additionally, it leaves you airborne after combo completion, allowing for an air-to-ground dash cancel follow-up.
Like grounded and airborne neutral , Uppercut Blues can be used to cancel Lightning Shot and Devastating Slug ( + attacks), although your neutral attacks are usually preferable for these cancel combos since they deal more damage.
Lightning Shot
| Command | Bravery Damage | Note |
|---|---|---|
|
Grounded |
20x1~6 |
On hit, cancelable with neutral |
 +
+  +
+ 
Squall summons a shockwave of successive lightning strikes that start from mid-range at his target, pulling them toward him, priming them for a follow-up Solid Barrel or Uppercut Blues combo.
Lightning Shot is a shockwave-type attack with some verticality. Although it doesn’t track toward airborne enemies, it can hit and pull in foes from around jump height. Additionally, Lightning Shot can be used to negate enemy projectiles.
Its main strengths are its reach and damage potential. On hit, you can cancel the attack with either Solid Barrel or Uppercut Blues, inflicting massive damage, especially if you critically hit with them. A full Lightning Shot into a full Solid Barrel critical combo does nearly 700 points of Bravery damage!
Gnashing Fang
| Command | Bravery Damage | Note |
|---|---|---|
|
Airborne |
64, 32, 48, 16x6, 128 64, 56, 84, 28x6, 224 (368~596) |
Damage boosted with perfectly timed inputs. |
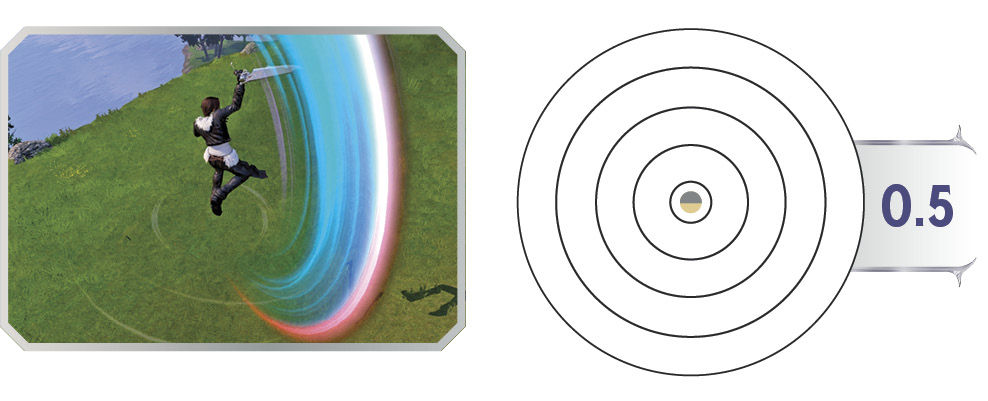
While in the air, Squall picks up the enemy with a double uppercut slash, then riddles them with a barrage of stabs, sending them to mid-range.
Although Gnashing Fang shares several traits with Solid Barrel in terms of speed and range, it differs in its post-combo positioning. Whereas Solid Barrel knocks foes straight ahead, Gnashing Fang switches Squall’s and his target’s positions. This can lead to implications in positioning and your decision-making. For example, against a cornered opponent, if you connect with  + (Devastating Slug), you might opt to use airborne
  + (Savage Claw) instead of Gnashing Fang in order to keep the enemy cornered, whereas Gnashing Fang would swap your positions, giving the enemy a chance to escape.
A scenario in which you might prefer this position-switching property is if you’re peeling an enemy off of your marksman, to give your marksman a position advantage. You can use Gnashing Fang to throw the attacker to the opposite end of the area, away from your marksman.
Savage Claw
| Command | Bravery Damage | Note |
|---|---|---|
|
Airborne |
64, 80, 48, 128 64, 140, 84, 224 (320~512) |
Damage boosted with perfectly timed inputs. |
 +
+ 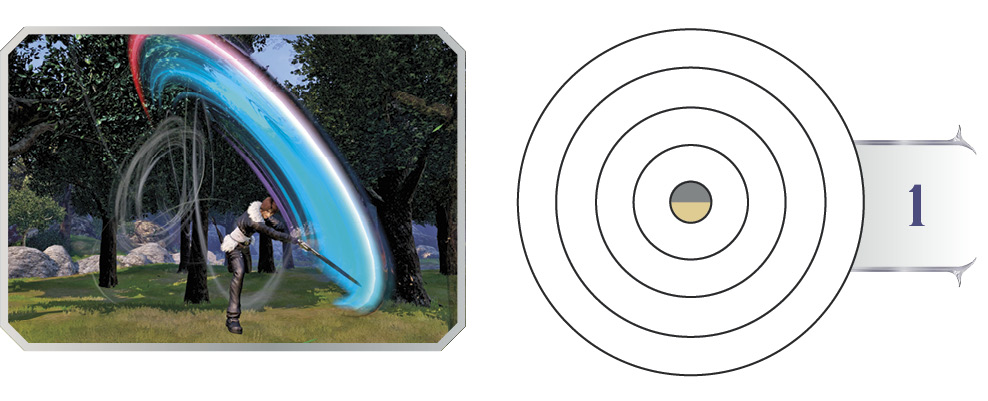
Squall advances toward his foe from the air with a powerful overhead slash, then continues the sequence with two vertical slashes, ending with a sweeping attack that blasts the enemy past mid-range.
Savage Claw is a four-hit lunge combo, identical to Uppercut Blues in terms of damage, range, and positioning. Like Uppercut Blues, Savage Claw is best used as an attack to quickly engage close-range enemies. Its vertical tracking leaves much to be desired, so make sure you’re at an even level with your target before committing.
As a Devastating Slug cancel follow-up, Savage Claw may be preferable over Gnashing Fang for positioning purposes.
Devastating Slug
| Command | Bravery Damage | Note |
|---|---|---|
|
Airborne |
80 |
On hit, cancelable with neutral |
 +
+  +
+ 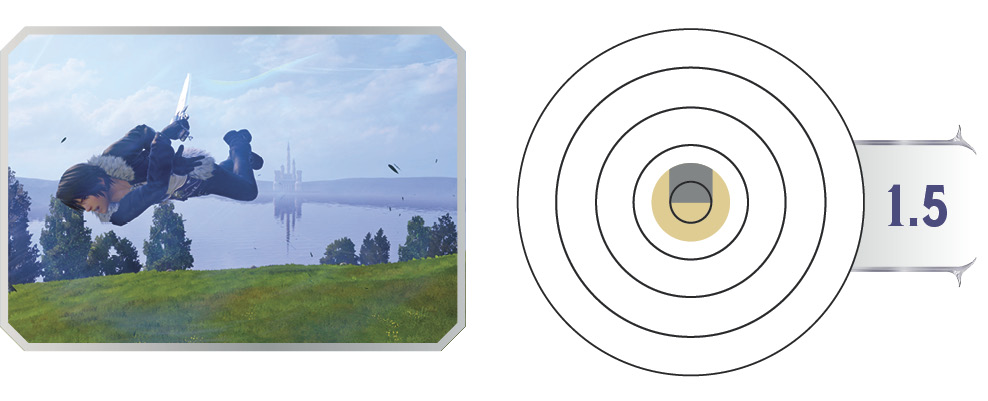
Squall swoops in with a far-reaching dive, plunging his gunblade into the enemy, leaving them stunned and vulnerable to a follow-up attack.
Devastating Slug is one of your most powerful tools. Its properties in terms of range, vertical tracking, and damage potential are unmatched compared to your other melee options.
Unlike Savage Claw, Devastating Slug tracks foes above and below you adequately. At double-jump height, Devastating Slug can hit enemies at ground level, giving you a strong effective range against marksmen who prefer to play from the grounded state.
Like Lightning Shot, you can cancel Devastating Slug into neutral and  + for a high-damage combo, especially if you pull off your gunblade critical hits. One of the most damaging combos you can perform is Devastating Slug into a full critical-hit Gnashing Fang, but it’s also one of the most difficult to execute properly.
Keen Edge
| Command | Bravery Damage | Note |
|---|---|---|
|
Dashing (Grounded & Airborne) |
208, 240 |
Cannot be dash canceled. |
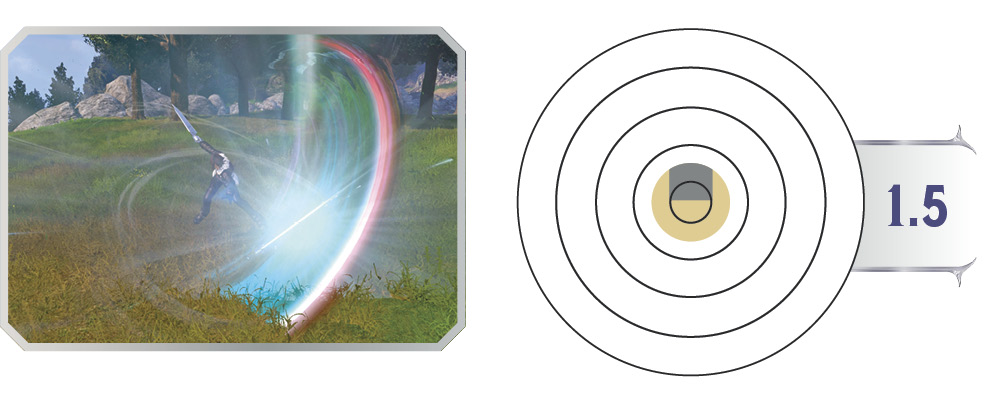
While dashing, Squall performs a double spinning slash at his target, inflicting heavy damage and knocking them past mid-range.
Keen Edge is naturally your primary chase-down tool for catching fleeing foes. Like Devastating Slug, it tracks vertically, giving you excellent reach. Although both attacks fill the same role, Keen Edge has a slight advantage in start-up speed and transitions smoothly from dashing, while Devastating Slug can potentially deal more damage. Another plus is that Keen Edge deals consistent damage without the critical-hit timing requirement, comparable to the dashing attacks of other assassins.
However, Keen Edge is one of the few dashing melee attacks that cannot be dash canceled, so you have to modify your wall-pin combos. For instance, you can Keen Edge an opponent into a wall, then evasion cancel, followed by Devastating Slug into Gnashing Fang.
HP Attack Breakdown
Fated Circle
| Command | Bravery Damage | Note |
|---|---|---|
|
|
— |
While grounded, performs a horizontal area-of-effect attack; while airborne, a vertical attack. Draws in nearby enemies. Draw-in range: 1. |

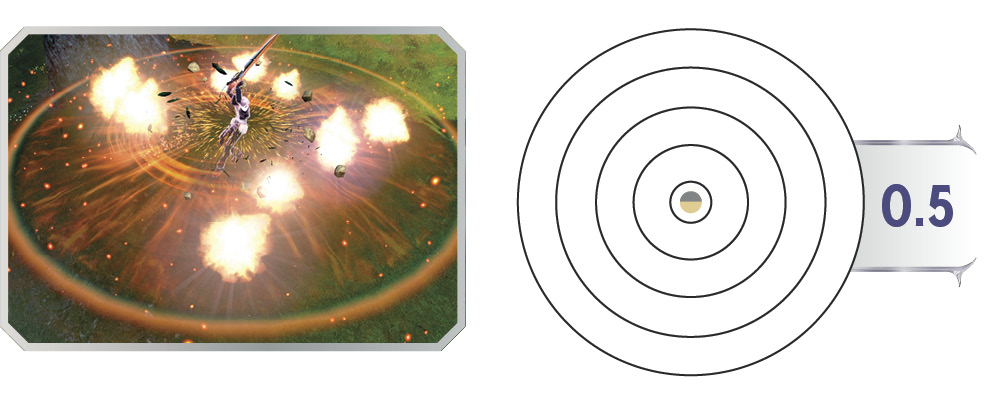
While grounded, Squall swings his gunblade around him, blasting away nearby enemies in all directions. In the air, he performs a similar maneuver perpendicular to the ground, nailing foes above and below him with his gunblade blast.
There are two versions of this HP Attack: one while grounded and one while airborne. This provides flexibility in its function, as the grounded version is used for defense, the airborne for offense. The grounded version hits the area around Squall in a 360-degree angle on the horizontal plane, while the airborne version hits all around him on the vertical plane.
Both attacks have a draw-in effect, pulling nearby foes into the blast radius. The aerial version is ideal for offense, as its vertical area of effect makes it viable as an air-to-ground attack. The grounded version is useful for fending off close-range aggressors.
Rough Divide
| Command | Bravery Damage | Note |
|---|---|---|
|
|
64 |
— |

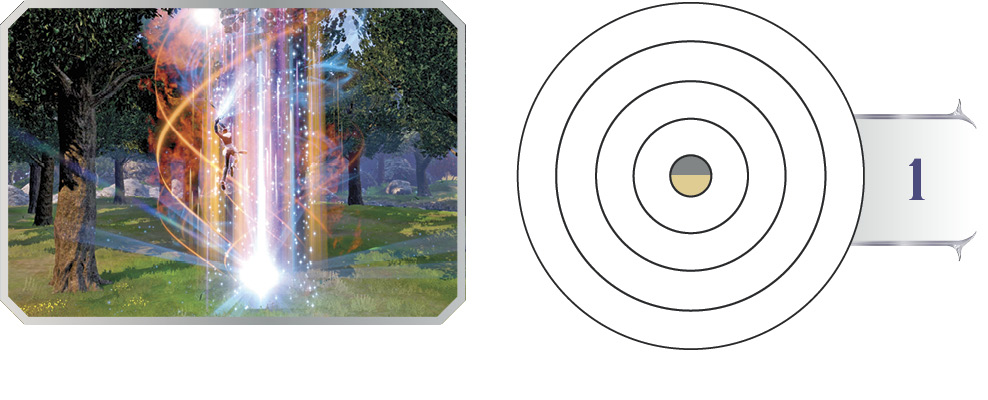
Squall dashes forward, then leaps high into the sky with a brilliant pillar of light bursting from the ground, destroying all enemies in its path.
Rough Divide fills a particular niche as a strict anti-air attack. What it lacks in horizontal range, it makes up for in superior verticality. This HP Attack isn’t the easiest to make use of efficiently due to its limited horizontal range and relatively long start-up time, but it’s exceptionally effective for catching vertically mobile targets like Tidus.
As Squall jumps high into the air with this attack, you can use it to reach higher altitudes than you normally could since you can execute it while airborne. For example, try a sequence of double-jump, then Rough Divide, then evasion cancel into a dash cancel. This gives you a better bird’s-eye view of the battleground and can potentially set up a stronger attack angle for you. You can repeatedly use this technique to climb to essentially any height as long as you have dash gauge available.
Blasting Zone
| Command | Bravery Damage | Note |
|---|---|---|
|
|
— |
Charging increases range. |
 (chargeable)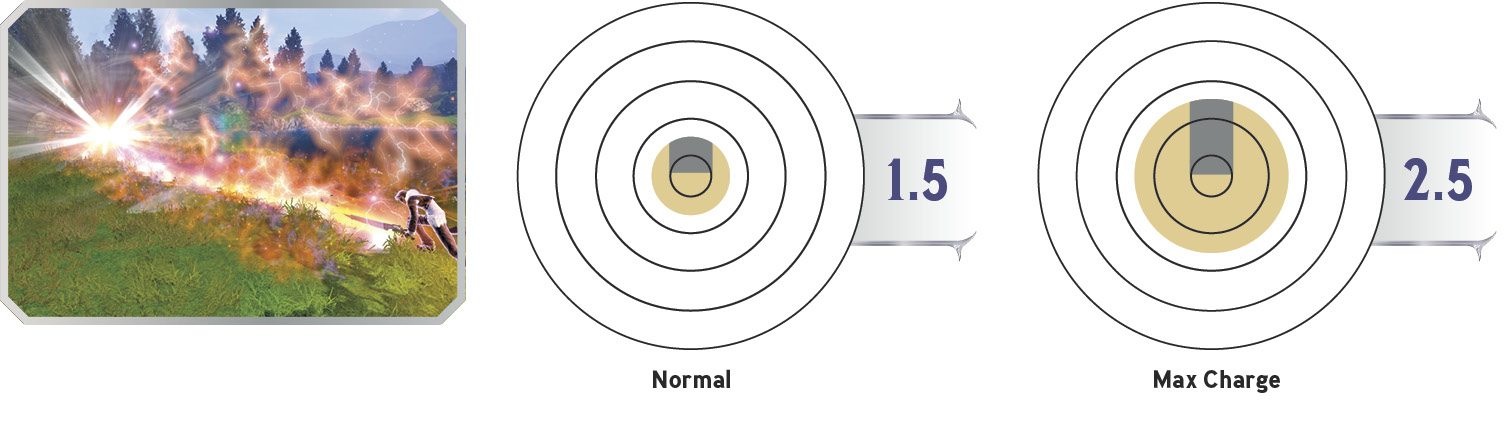
Squall forms a massive blade of energy and slams it down at his target, causing destruction to all foes in its path.
Blasting Zone is a ranged HP Attack that covers a large linear area in front of you. Although it has a slightly lengthy start time, the blade upon release comes down quickly.
Additionally, it has an excellent vertical-tracking property, giving you access to a mid-range unguardable attack that hits enemies above and below you.
Its main drawback is in its cast time. Squall takes a few seconds to prepare the swing, so it’s vulnerable to enemy aggression. However, it’s incredibly powerful in situations where you’re not being targeted. If you can get the jump on a foe, you can deal HP damage from a significantly long range.
Ultima
| Command | Bravery Damage | Note |
|---|---|---|
|
|
— |
First use activates a Draw buff, with duration depending on distance. Use again while under Draw buff effect to cast Ultima. |
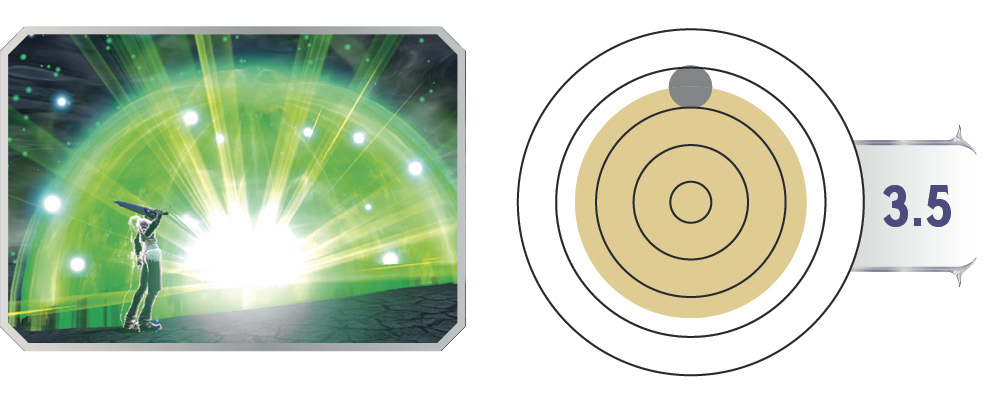
Squall casts the Draw ability, giving him a temporary buff. For the duration of this buff, he can can cast the iconic spell, Ultima, directly on his foe, triggering a magnificent explosion that destroys all enemies in range.
Before you can cast Ultima, you have to gain the Draw effect (Draw is cast the first time you press the HP Attack button). While this buff is active,  casts Ultima on your target.
Ultima is a long-range area-of-effect attack that covers an enormous zone around your target, with the potential to eliminate an entire enemy team. It’s best used against groups of unsuspecting foes. However, its drawback is explicitly clear, as it requires you to first take up valuable time casting the Draw ability. This presents a different type of playstyle, turning Squall from a one-man-army capable of lengthy combos with HP Attack finishers into more of a support caster that must sit back and wait for the perfect timing to land Ultima. Ultima is difficult to get away with against mindful opponents, as the enemy vanguard is likely to focus on you. But if you can pull off a well-placed Ultima, you can easily turn the tides of an otherwise lost match with a multi-kill from a single cast.
Ultima’s Draw ability functions similar to Draw & Junction, with its duration lasting longer the closer you are to the target. At a maximum of 1.5 range, this buff lasts for 20 seconds. At max 3.5 range, it lasts for 12 seconds, and at any range beyond that, Draw lasts for 5 seconds.
Note that the pop-up text has no bearing on the number of casts you get—you can cast Ultima as many times as the Draw buff duration allows, even if the text says “Drew 1 Ultima.”
The primary advantage to Ultima is that it is Squall’s only ranged attack in his entire toolkit. It is the HP Attack of choice when facing against a team of vanguards. With an ideal Ultima Draw, you can drop massive Ultima bombs non-stop for 20 seconds, creating an unparalleled ability to zone opponents out of key engagements, such as a summoning core skirmish.
EX Skill Breakdown
Draw & Junction
| Command | Bravery Damage | Recast Time | Note |
|---|---|---|---|
|
|
— |
45 seconds |
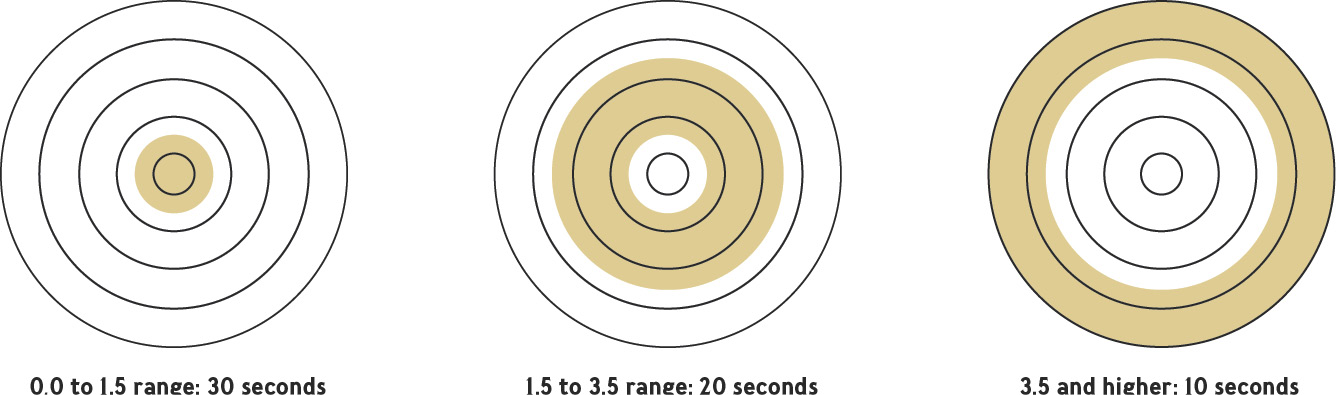
The closer the target, the longer the Junction buff duration. Draw Five: 30 seconds.Draw Three: 20 seconds.Draw One: 10 seconds. |

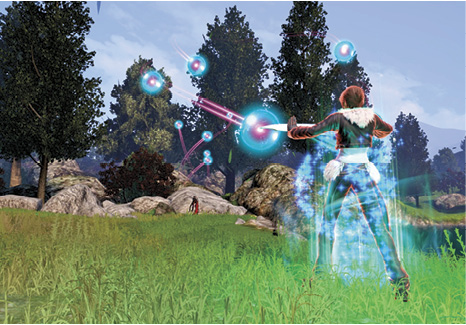
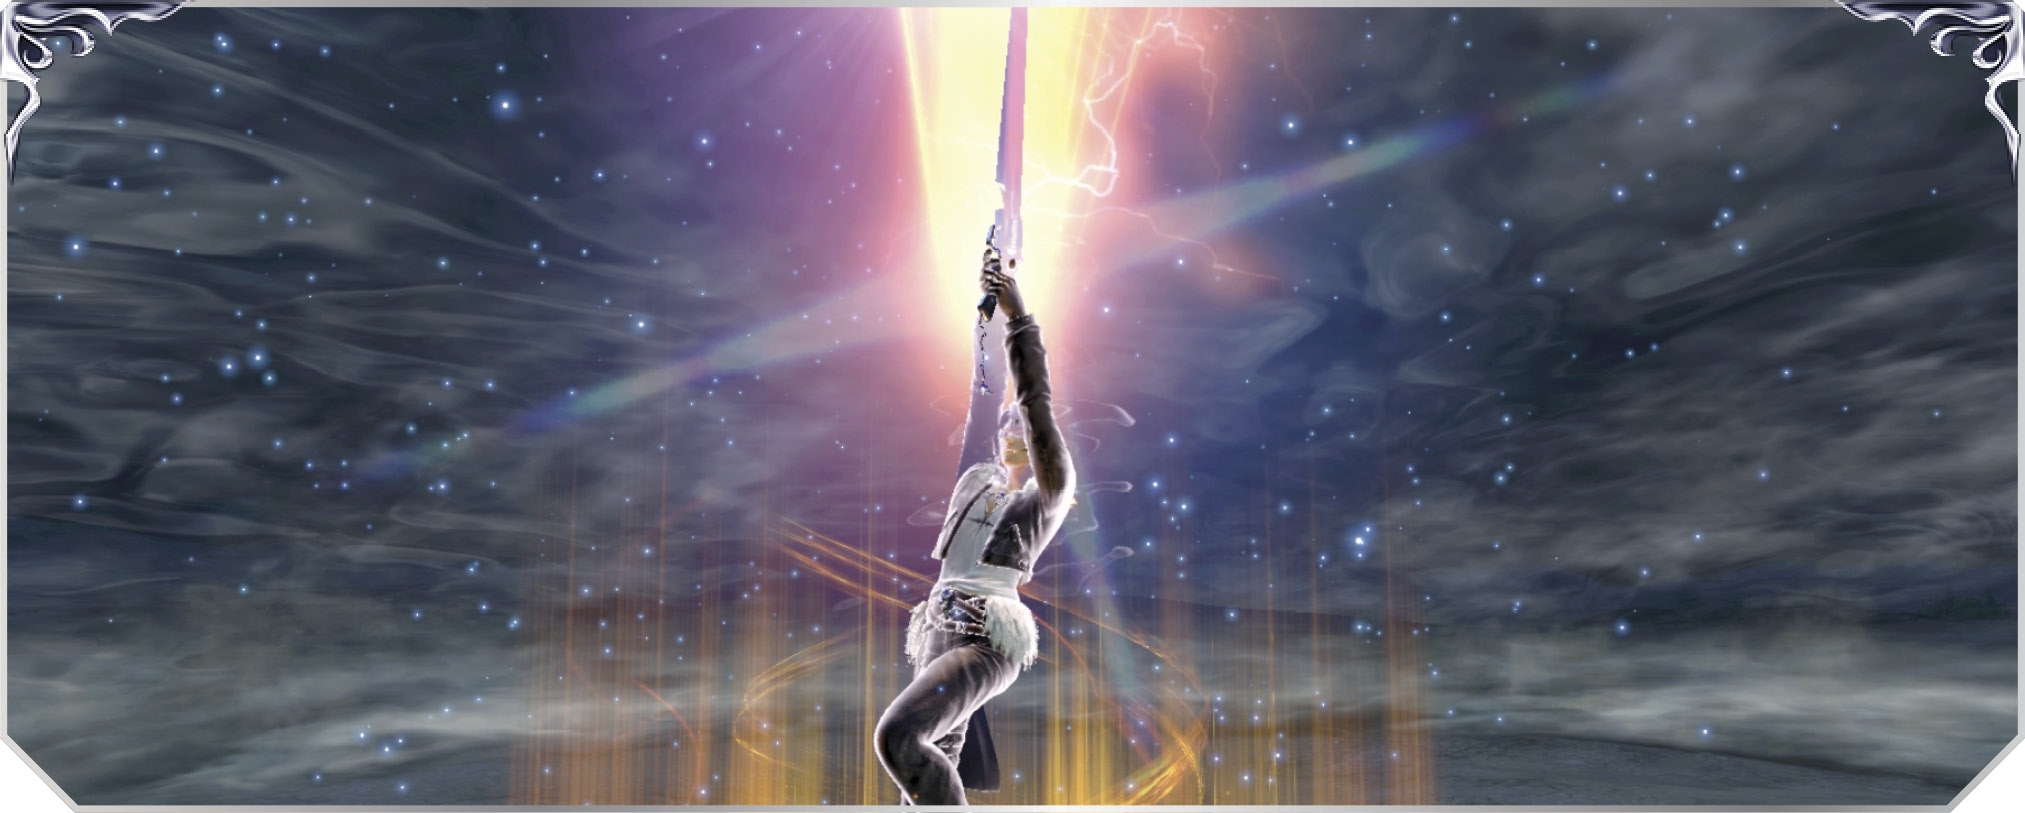
Squall uses the Draw ability to extract magic from his target and immediately Junctions it in order to augment his own attributes.
Squall’s unique EX Skill is a special buff with several variants, depending on your target’s character type (vanguard, assassin, or marksman) and the distance between you and them. With a 45-second recast time and a maximum buff duration of 30 seconds, you can keep this buff on for over half the total match time as long as you’re diligent in casting it within range.
Draw & Junction Buffs
| Vanguards — Junc. to HP | Assassins — Junc. to Speed | Marksmen — Junc. to STR | Specialists — Random |
|---|---|---|---|
|
Draw Arise: +15 HP restored per second. |
Draw Triple: +10% movement speed. |
Draw Meteor: +15 Bravery generated per second. |
— |
|
Squall Leonhart |
|||
|
— |
|||
|
— |
|||
|
— |
|||
|
— |
— |
||
|
— |
— |
— |
|
|
— |
— |
— |
— |
Battle Plan
As an assassin, you’re tasked with using your superior mobility and speed to take down enemy damage dealers, particularly the marksmen.
While he’s classified as an assassin, Squall’s damage potential and far-reaching lunge attacks put him on par with a vanguard. He’s essentially a vanguard/assassin hybrid, with the best of both worlds in terms of reach and speed, although his damage output highly depends on consistently executing critical gunblade hits. Additionally, his attacks have long hit-stun animations, giving your allies ample time to follow up with their own Bravery and HP combos on your stunned victim.
Squall lacks a true projectile attack, so his effectiveness from long range is limited compared to vanguards and assassins who have far-reaching projectiles that allow them to cover their advances. However, Squall’s close- and mid-range game makes up for this weakness. Grounded  + (Lightning Shot), airborne
  + (Devastating Slug), dashing (Keen Edge), and Blasting Zone are all amazing mid-range attacks, so your battle plan with Squall should be focused around getting into this range to apply pressure on your opponents.
While your team is playing from a distance, you should aim to get into a flanking position to isolate and threaten opposing marksmen and assassins. Work with your marksman and look to follow up on their ranged attacks with your own combos. One of the most effective ways to dish out damage is by following up on your teammates’ ranged attacks and vice versa. When your marksman attacks, use the opportunity to dash in with Keen Edge or Devastating Slug.
Squall’s HP Attacks all vary widely in properties and can drastically change the way you approach enemies. For flexibility, Fated Circle is an excellent choice since it comes with two separate attacks: a grounded version and an airborne version. Fated Circle is fast enough to use as a follow-up to a wall pin. Additionally, you can use it to punish foes putting up their guard barrier as you approach. Blasting Zone makes your mid-range game even better, with respectable reach, speed, and vertical tracking. Use Blasting Zone for a more hit-and-run type of assassin play, as it gives you an unguardable threat without the need to commit into melee range. Rough Divide adds a mobility option to your arsenal, thanks to its built-in jump property. With Rough Divide, you can knock enemies high above you out of the air, or you can use it on its own simply to gain altitude. Finally, Ultima is an all-or-nothing long-range HP Attack. If you opt to pick Ultima, you’re banking on enemies giving you enough breathing room to cast its required Draw ability. But if you can get away with it, you can deal massive HP damage over a large area.
Squall’s unique EX Skill, Draw & Junction, can be used at any range and on any opponent to boost your own attributes. Maximize its effect by closing in on your target before casting it. The most attractive buff is likely to be damage increase. If you can pull off a close-range Draw & Junction on a marksman, you gain a significant damage boost for a whopping 30 seconds. Since its recast time is only 45 seconds, you can potentially keep this buff on for a majority of the match, although you have to make the difficult decision of using up valuable time within range.
Squall is a damage-dealing assassin whose strengths lie primarily in his lunge attacks and team combo setup potential. His critical-hit mechanic heavily rewards skillful players. Mastering the various “just frame” timings is crucial for optimizing your damage output. Devastating Slug canceled into critical Gnashing Fang/Savage Claw attacks are particularly important combos to learn.
Gallery
Appearance
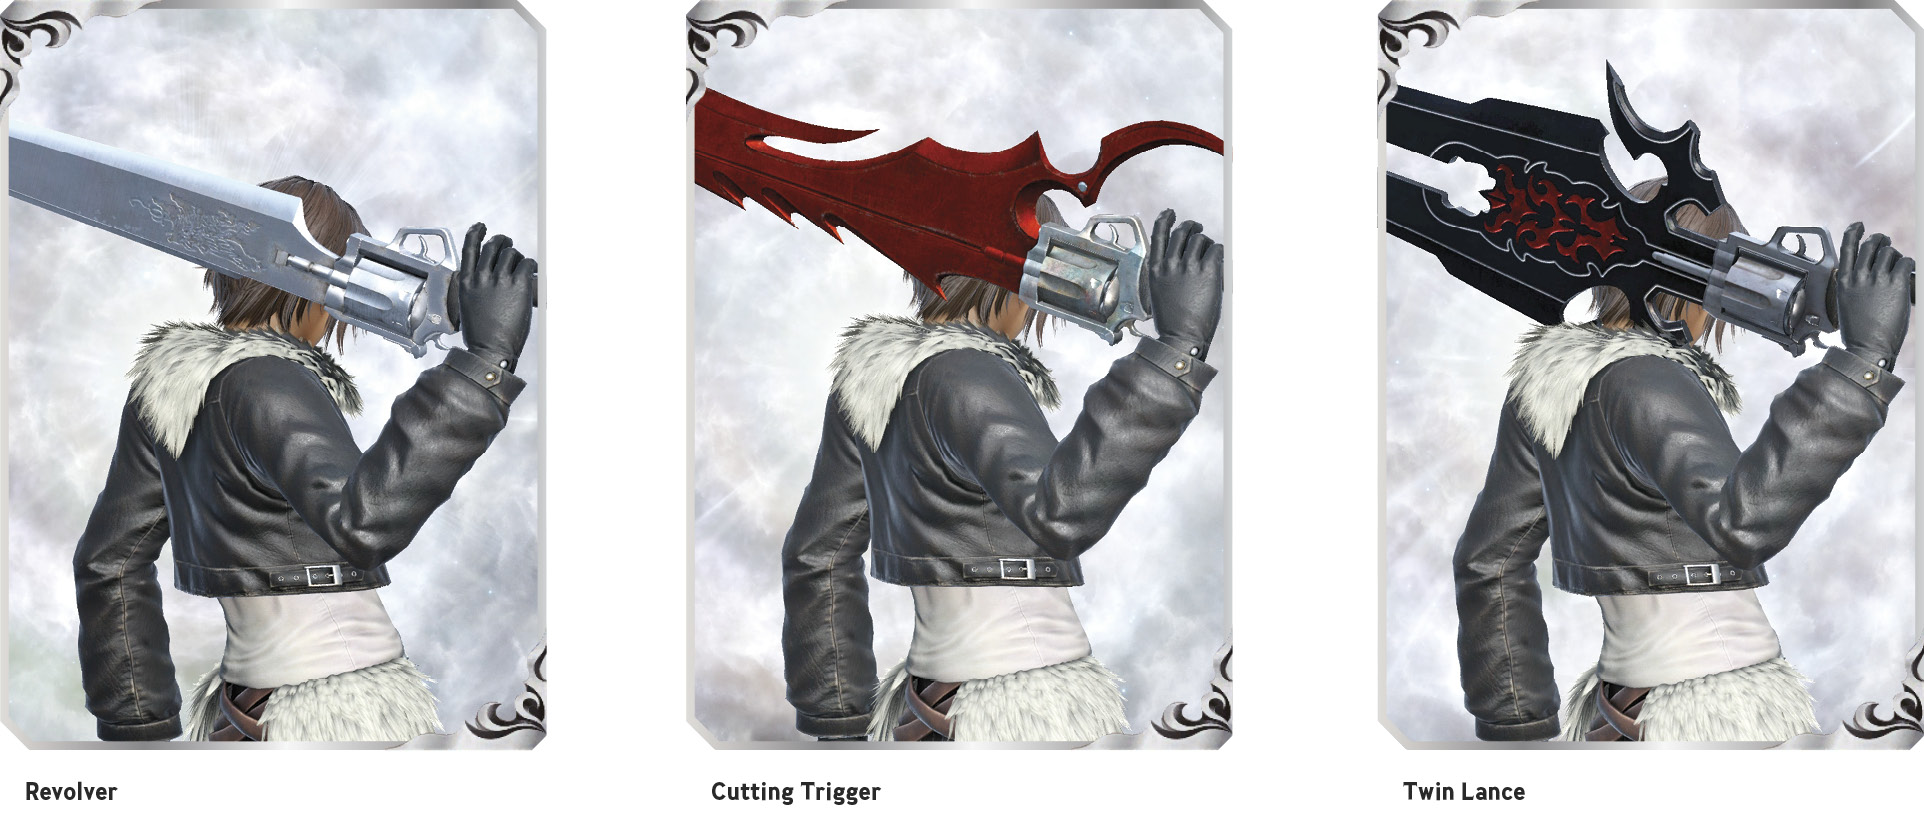
Weapons