Dissidia Final Fantasy NT Guide Characters
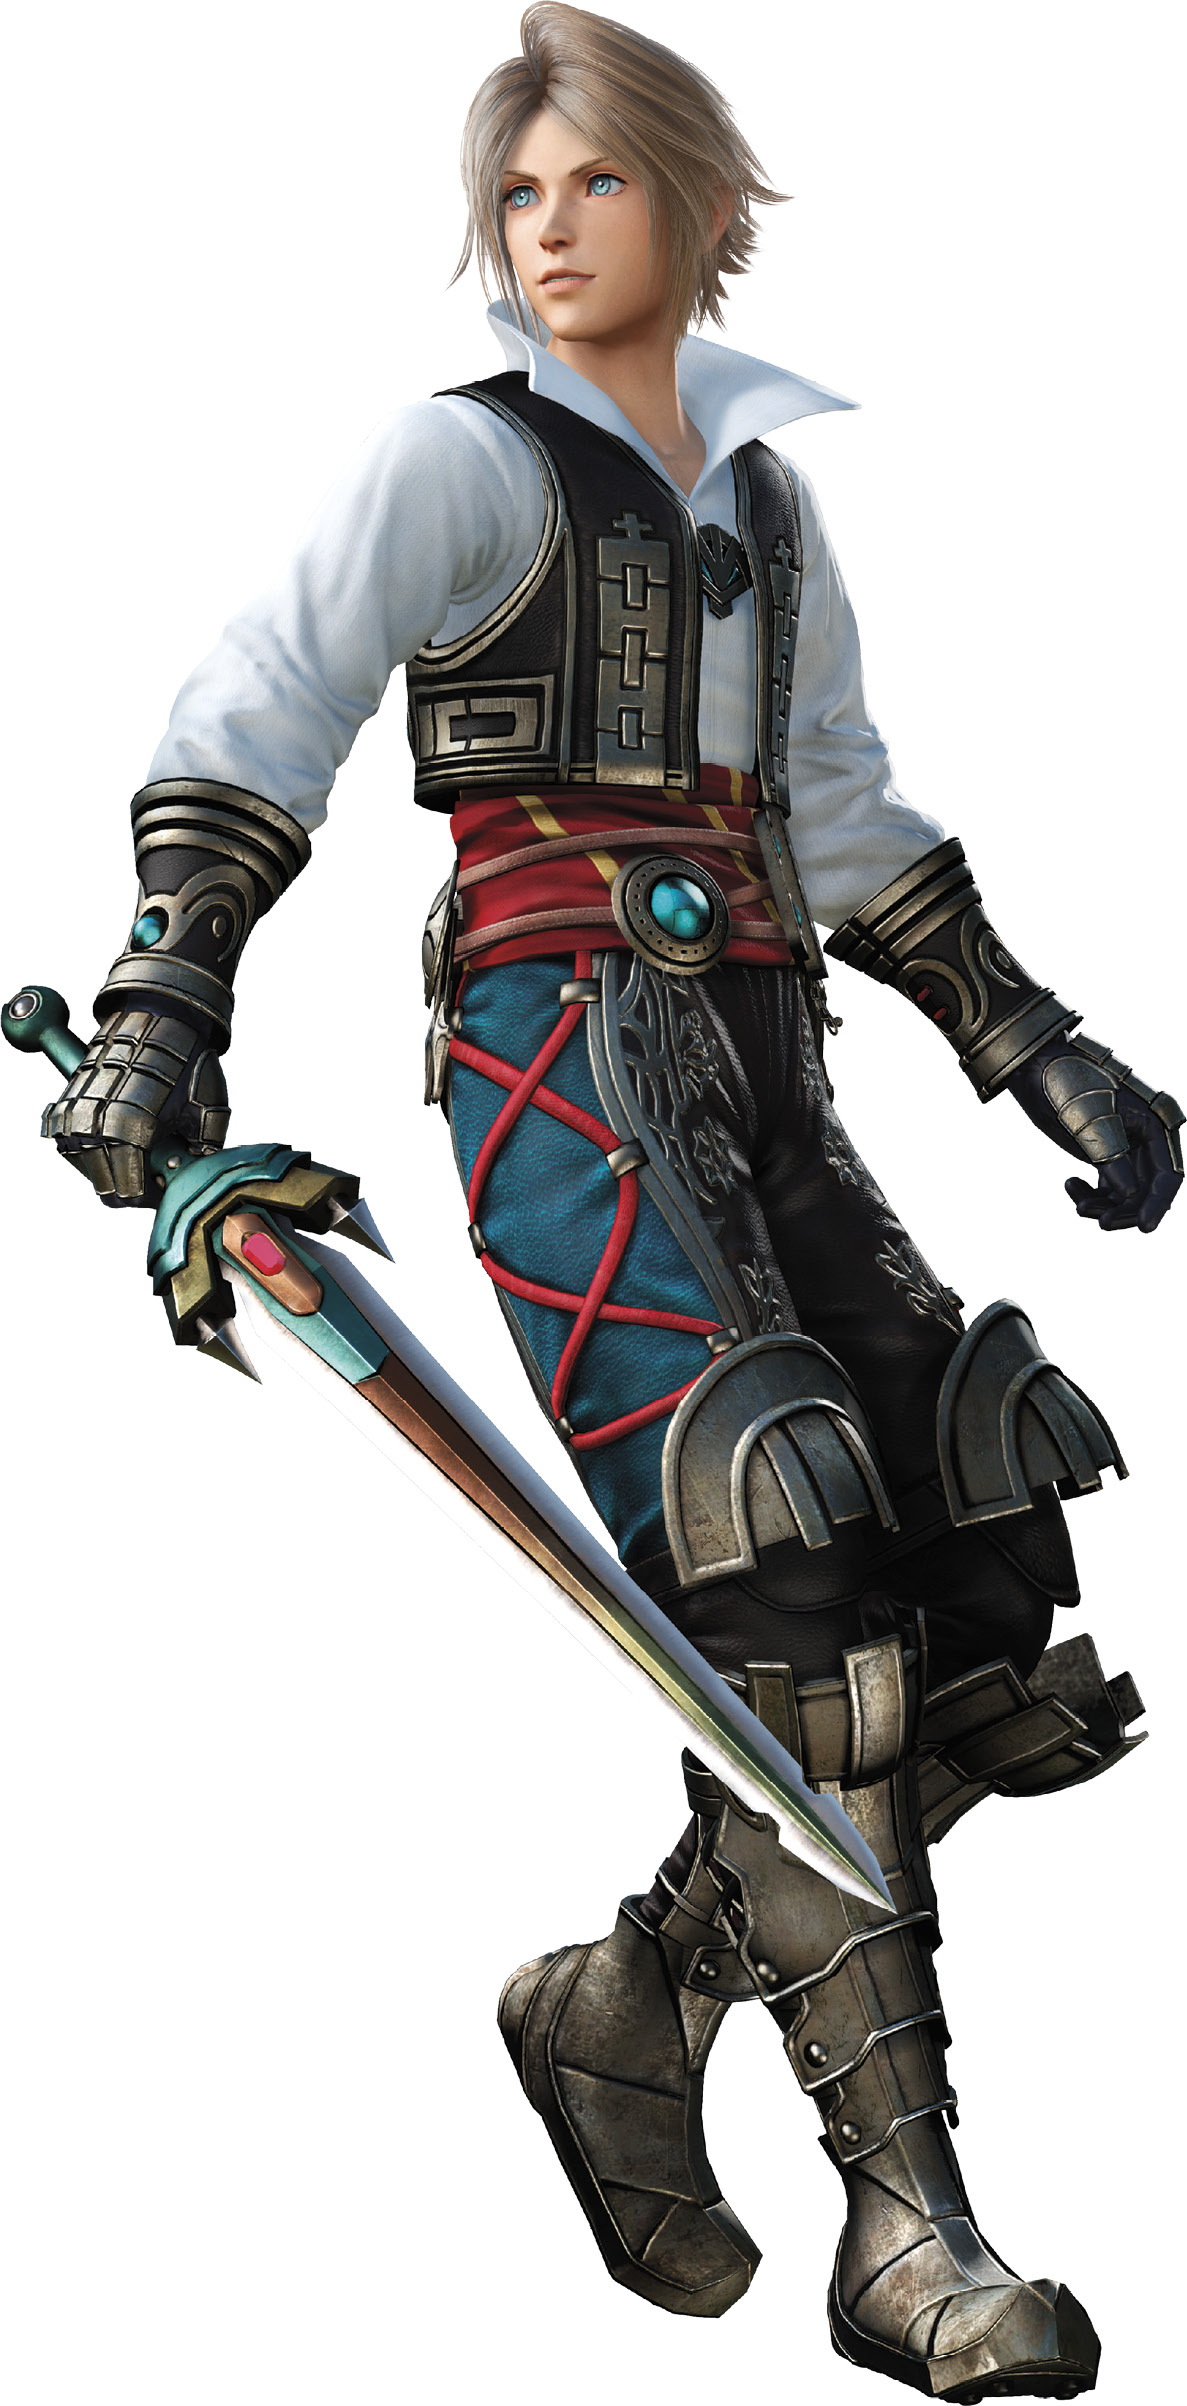
Vaan
Specialist
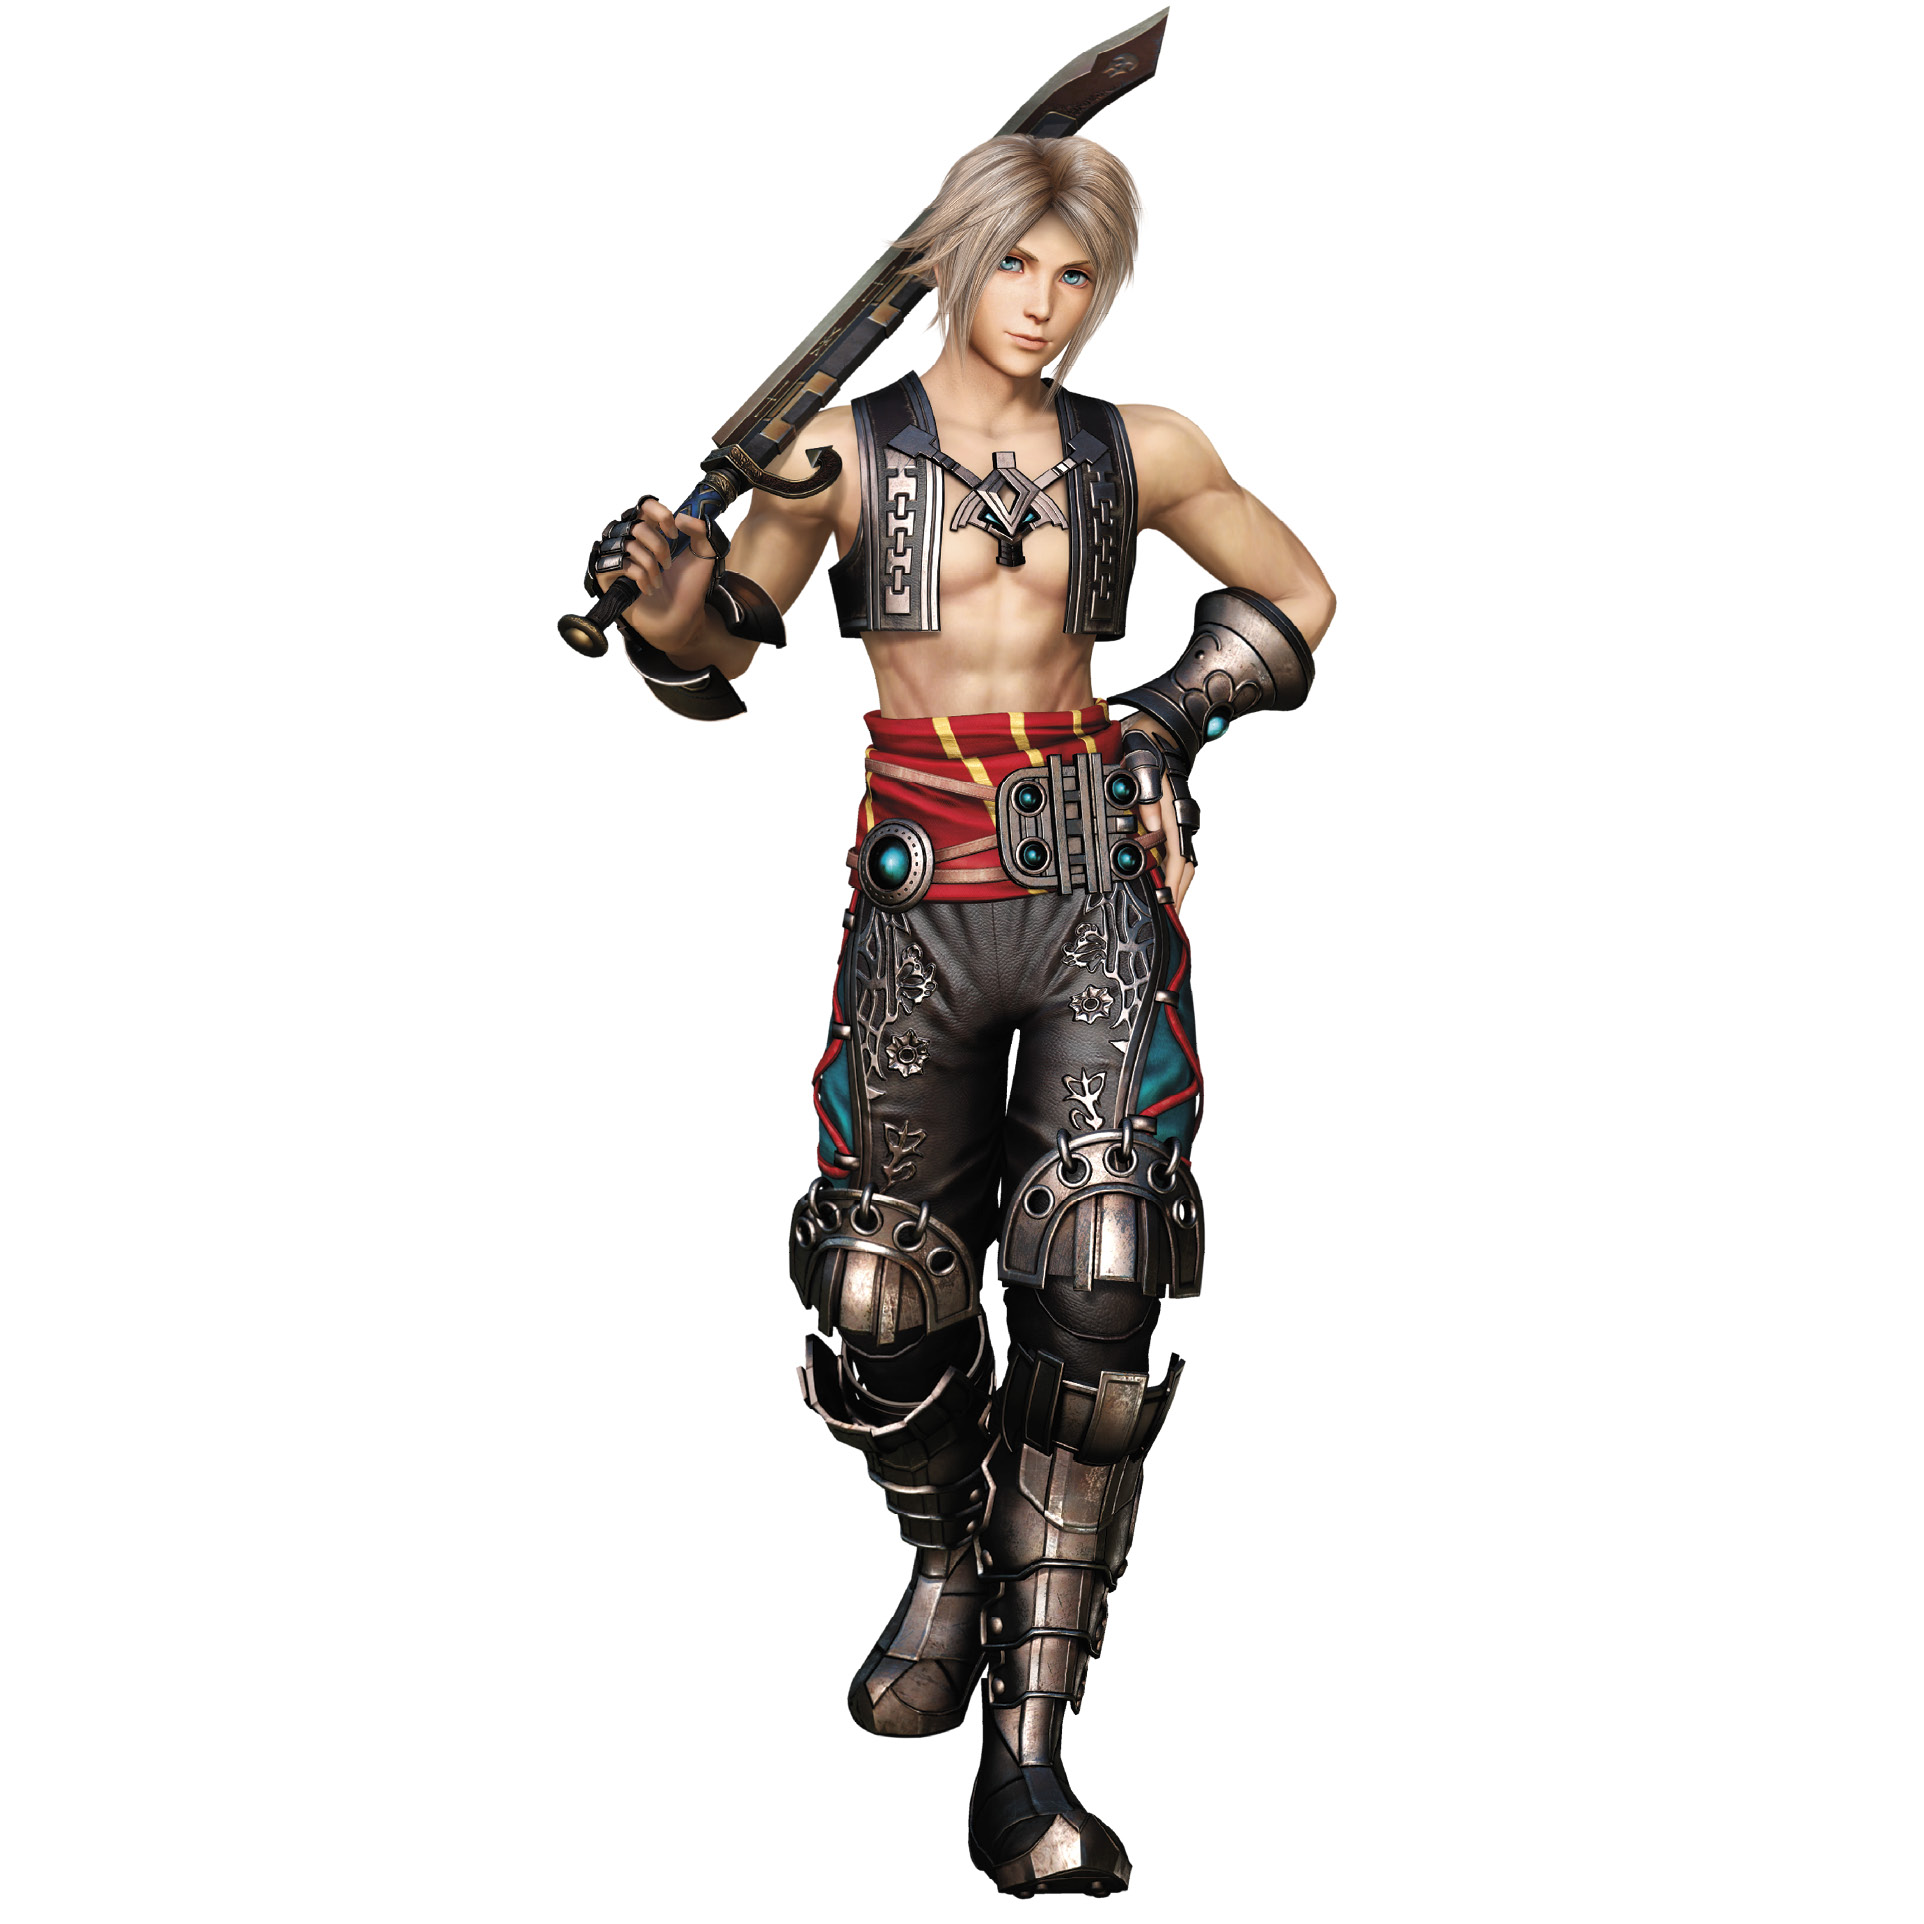

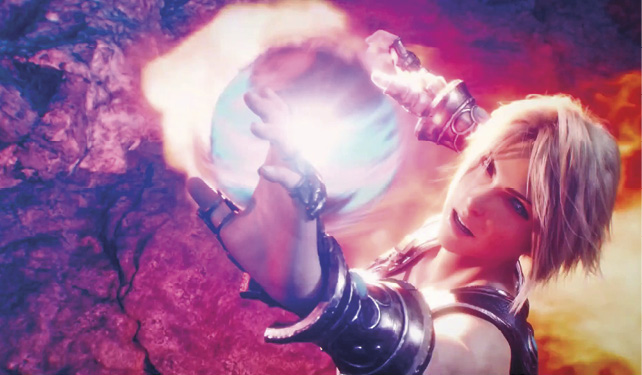
Vaan possesses unique fusion attacks that siphon Bravery from enemies while increasing the damage of his two HP Attacks the more they land. Inundate foes with wave after wave of HP Attacks to keep them from treading water.
Original Appearance: FINAL FANTASY XII
Year: 2006
Role: This petty thief raised in Rabanastre’s slums fancied himself a dashing sky pirate, master of his destiny, but was just a kid trapped in circumstances far bigger than he understood. In the tumultuous times following the end of his homeland’s sovereignty, he and his pal Penelo were a step away from destitution. And yet his self-image came true nonetheless, as fortune swept them up into world-historic events involving real sky pirates and his homeland’s rightful ruler-in-hiding!
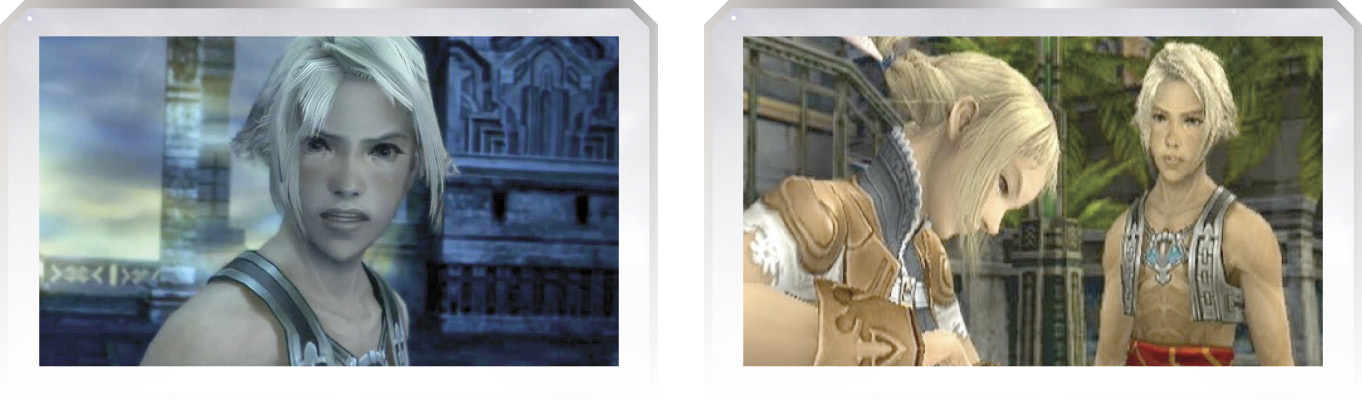
Other Noteworthy Appearances: FINAL FANTASY XII: Revenant Wings (2007), FINAL FANTASY TACTICS A2: Grimoire of the Rift (2008), DISSIDIA 012 FINAL FANTASY (2011)
Arsenal
Bravery Attacks
| Name | State | Command | Bravery Damage | Range | Capsule Description |
|---|---|---|---|---|---|
|
Steel Trinity |
Grounded |
|
80, 96, 176 (352) |
0.5 |
Slash your foe with your sword three times. |
|
Thunder |
Grounded |
|
288 |
3.0 |
Cause a line of lightning bolts to descend in your enemy’s direction. |
|
Steel Triumvirate |
Airborne |
|
80, 96, 176 (352) |
0.5 |
Slash your opponent with your sword three times. |
|
Fire |
Airborne |
|
288 |
3.0 |
Cast a fireball that pursues your foe. |
|
Dervish |
Dashing (Grounded & Airborne) |
|
64, 64, 96, 160 (384) |
1.0 |
Charge in and attack with your sword, then send your opponent flying with a kick. |
 +
+  +
+ HP Attacks
| Name | State | Command | Bravery Damage | Range | Capsule Description |
|---|---|---|---|---|---|
|
Red Spiral |
Anytime |
|
48x3 (144) |
0.5 |
Generate a spiral that engulfs any foes directly in front of you. |
|
White Whorl |
Anytime |
|
— |
1.0 |
Release a tornado that draws in any enemies in its path. |
|
Pyroclasm |
Anytime |
|
128, 64x9 / 144, 64x9 / 160, 64x9 |
2.0 / 2.5 / 3.0 |
Let loose a volatile ball of flame. |
|
Azure Torment |
Anytime |
|
128 |
0.5 |
Freeze enemies with a chilling attack. Reduce attack power and defense on hit. |
|
Calamitous Orb |
Anytime |
|
— |
4.0 |
Release a magic orb that continually attacks as it pursues the target. |
|
Earthen Eruption |
Anytime |
|
— |
1.0 |
Create a barrier, then push the enemy back if it successfully counters a Bravery Attack. |
 /
/ +
+ 
 /
/ +
+ 
 /
/ + I (chargeable)
 /
/ +
+ 
 /
/ +
+ 
 /
/ +
+ 
Bravery Attack Breakdown
Steel Trinity
| Command | Bravery Damage | Note |
|---|---|---|
|
Grounded |
80, 96, 176 (352) |
— |
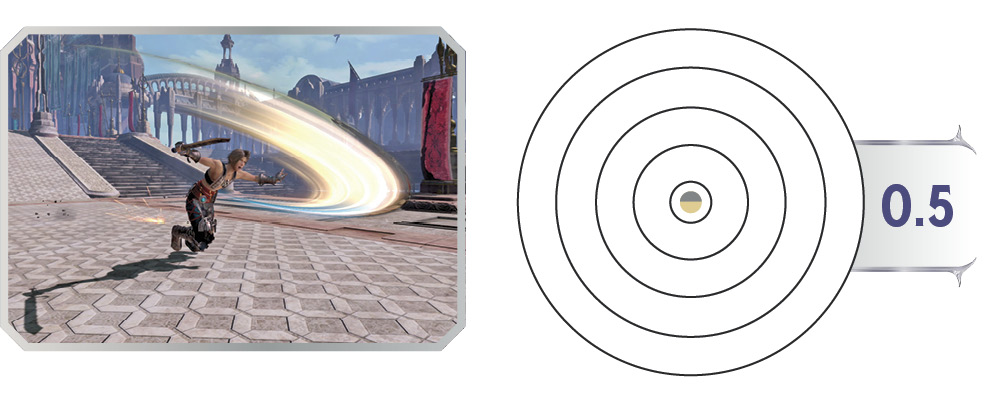
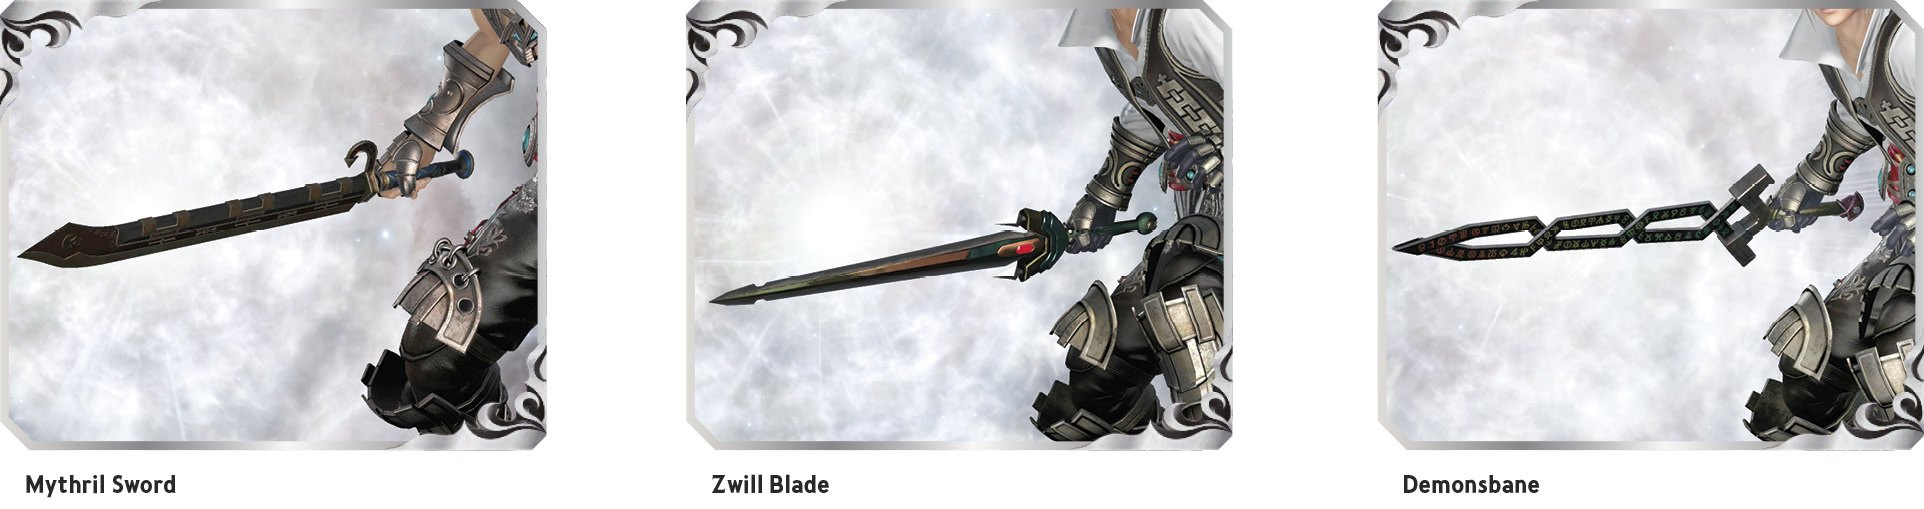
Vaan passes the blade left to right across the front of his body for the first lateral sword slash. If this test swing connects, he can follow up with two more slashes, the last of which knocks the enemy away to mid-range.
Because Vaan’s range and Bravery damage output are lower than average, this sequence isn’t suited for proactive grounded offense while running around. Steel Trinity’s purpose is as a line of defense when adversaries approaching Vaan get inside the range of his Thunder spell, threatening him with their own melee strings. Steel Trinity helps fend off aggressors, along with prudent guarding and sidestepping.
If you use a grounded dash to move in close to enemies on foot, releasing  and then tapping
  to start Steel Trinity is much faster to hit than continuing to hold
  and pressing for Dervish. Dervish is much farther-reaching if you’re not dashing quite so close, but it’s slower and attacks in a straight line, making it easier for enemies to evade.
Vaan’s poise on melee combos is like an assassin’s, so you can expect to overpower marksman attacks, clash with assassins, and be bullied by vanguards. Finishing the full combo to knock the foe away gives Vaan back his breathing room and can score a wall hit. If allies are nearby, carrying out two hits and forgoing the final slam can set them up to continue the combo, if they’re quick. If you’re equipped with the Earthen Eruption HP Attack, you can also try using just one or two hits and intentionally breaking off the combo, baiting the foe to perhaps react with immediate attacks of their own and thus play right into your hands by giving you predictable counter timing.
EX Skills
| Name | State | Command | Bravery Damage | Capsule Description |
|---|---|---|---|---|
|
Dreadnought |
Anytime |
Hold J |
— |
While holding |
|
Luminescence |
4-6 HP Attacks landed |
— |
Varies |
Adds Luminescence effect to successful HP Attacks. |
|
Black Hole |
7+ HP Attacks landed |
— |
Varies |
Adds Black Hole effect to successful HP Attacks. |
 , your Bravery gradually increases. Once you release it, your Bravery stays at that value for a period of time.
Thunder
| Command | Bravery Damage | Note |
|---|---|---|
|
Grounded |
288 |
— |
 +
+ 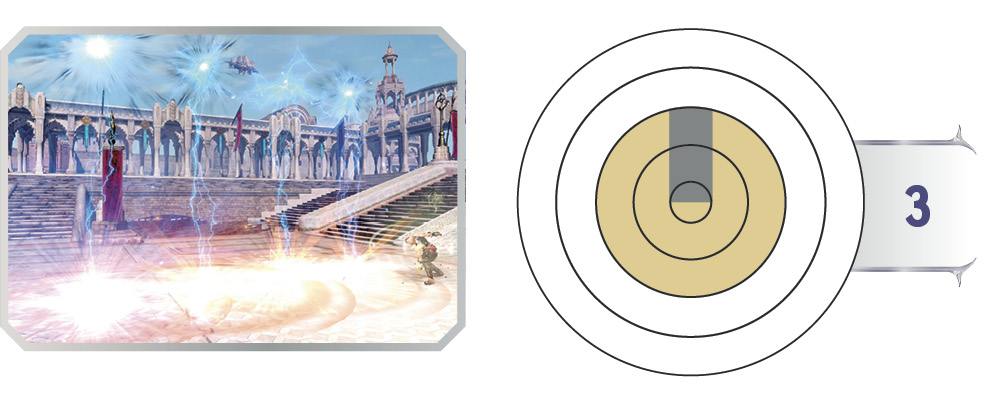
One arm outstretched at the sky, Vaan gathers magick strength before calling down the thunder. Bringing his hand down, Vaan sets off a chain of fast lightning bolts that speed toward the target in a tight vertical corridor.
Bravery Attacks aren’t Vaan’s forte, but this is the best available to him. It has good range, tracking, and speed, allowing him to engage groups and marksmen at mid-range without putting himself at immediate risk. When joining fights in progress, successful Thunder hits will pop enemies helplessly into the air, giving your teammates a brief combo opening. However, beware that Thunder has low projectile durability, and will be overpowered by most marksman attacks. In front of Vaan, it’s only an immediate deterrent to melee assailants.
The Bravery damage output isn’t great, but that’s not the point for Vaan anyway. When there aren’t good openings for HP Attacks, this is Vaan’s best move.
Steel Triumvirate
| Command | Bravery Damage | Note |
|---|---|---|
|
Airborne |
80, 96, 176 (352) |
— |
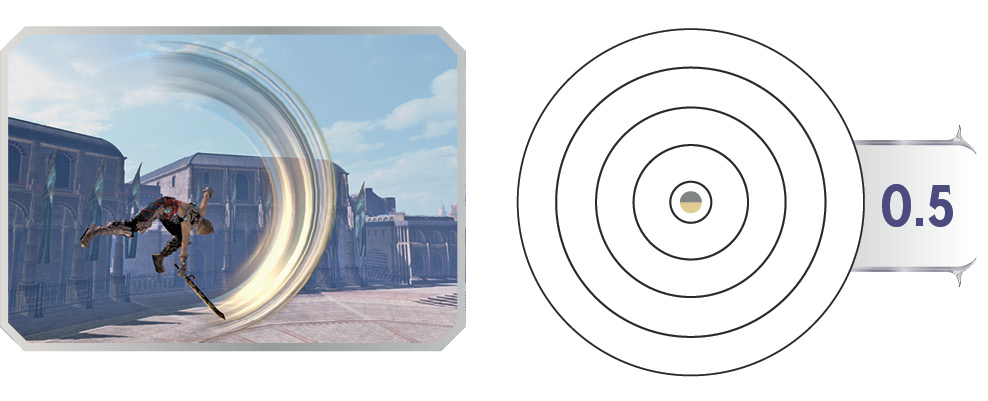
Vaan somersaults forward with a crescent-shaped sword slice that begins with the sword aimed up before falling in front of him, ending pointed straight down. On contact, he swipes the sword back up, setting up the flipping finishing blow that knocks enemies back well into mid-range.
Although the range is unexceptional, Vaan covers the space just above and below him during the first swing. This means he doesn’t have blind spots swordfighting in mid-air, just short reach. Steel Triumvirate is more useful in general than Steel Trinity, foremost because it’s available in mid-air, not merely plodding around on the ground.
When using neutral  to chase dashing or jumping enemies, get in the habit of waiting a split second longer before initiating melee Bravery Attacks compared to other assassin types, who tend to have longer mid-air reach. Release
  before hitting for this combo instead of Dervish, the dashing attack, which is slower to hit.
Fire
| Command | Bravery Damage | Note |
|---|---|---|
|
Airborne |
288 |
— |
 +
+ 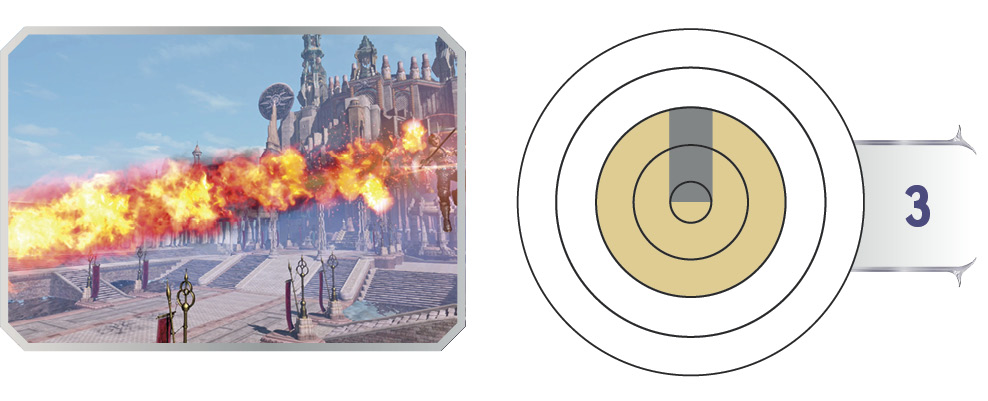
Instead of rushing in headstrong with his sword, Vaan casts a standard Fire spell, launching a fireball at the foe.
Like Thunder, Fire has decent homing ability. The speed and range are good too. Fire is inferior to Thunder in surface area; a single fireball just isn’t as big as a series of lightning pillars, so it’s less likely to score lucky glancing hits. It’s also slightly slower to cast than Thunder. Still, in the air, it’s Vaan’s best stalling ranged option, even if it has low poise against enemy projectiles. It’s great to deter onrushing physical attackers, but it won’t help Vaan against dedicated marksmen.
Dervish
| Command | Bravery Damage | Note |
|---|---|---|
|
Dashing (Grounded & Airborne) |
64, 96, 160 (384) |
Cannot be dash canceled. |
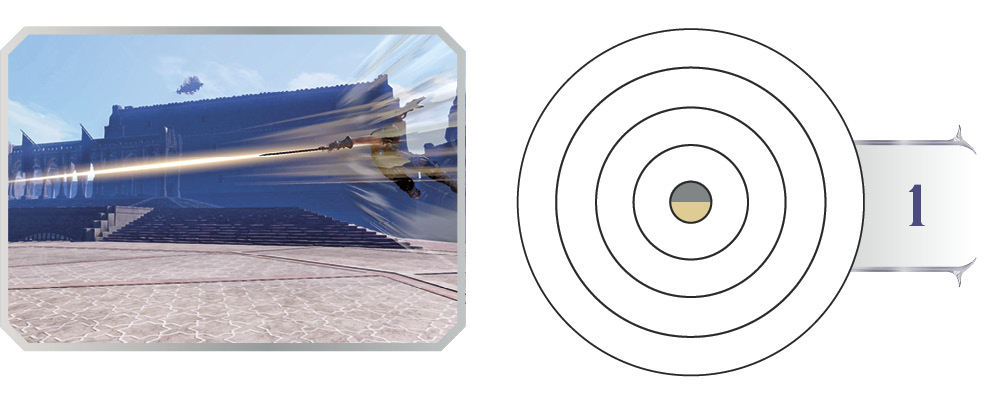
Vaan emerges from a dash with sword arm extended, the blade pointed straight ahead. He slides a good distance like this, fishing for a hit. If the point connects, he automatically transitions into a two-hit follow-up that bashes the recipient away, tumbling.
Of his melee Bravery Attacks, Dervish is the slowest to start up, but it has the longest range by far. It’s a good option for chasing down other fliers high above the ground, and for diving directly into the fray aggressively. It’s easier to sidestep than Steel Trinity/Triumvirate, though, with no lateral swipe at the beginning.
HP Attack Breakdown
Red Spiral
| Command | Bravery Damage | Note |
|---|---|---|
|
|
48x3 (144) |
— |
 /
/ +
+ 
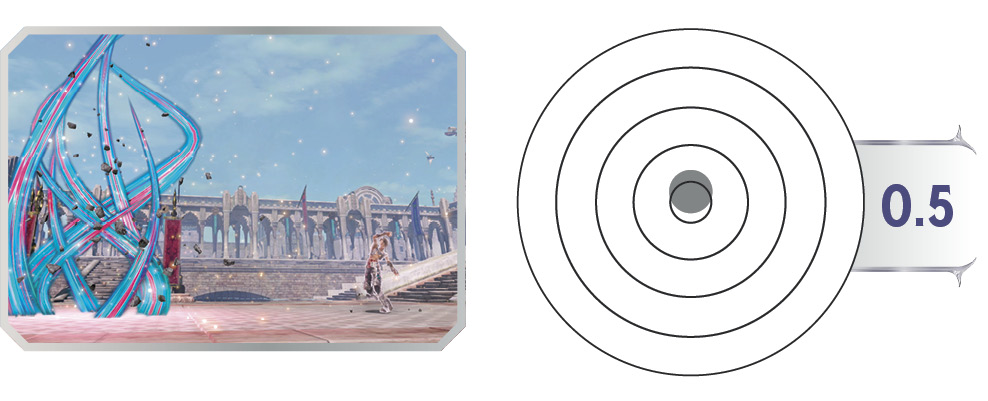
Vaan calls forth a swirling pattern of energy that courses in a tall column in front of him. Opponents caught inside the spinning energy are lacerated several times with minor Bravery damage before being spat out the top violently, HP diminished.
Vaan centers the energy column as far away as halfway to the first minimap circle, to which the pillar’s radius almost extends. Among his close-range attacks, Red Spiral outranges everything except Dervish. The pillar is also tall enough to clip the feet of double-jumpers if used at ground level, giving it better vertical coverage than other attacks. Triple-jumpers can still clear Red Spiral’s energy column, so watch out.
White Whorl
| Command | Bravery Damage | Note |
|---|---|---|
|
|
— |
Draw-in range: 1.5. 7.5 second duration. |
 /
/ +
+ 
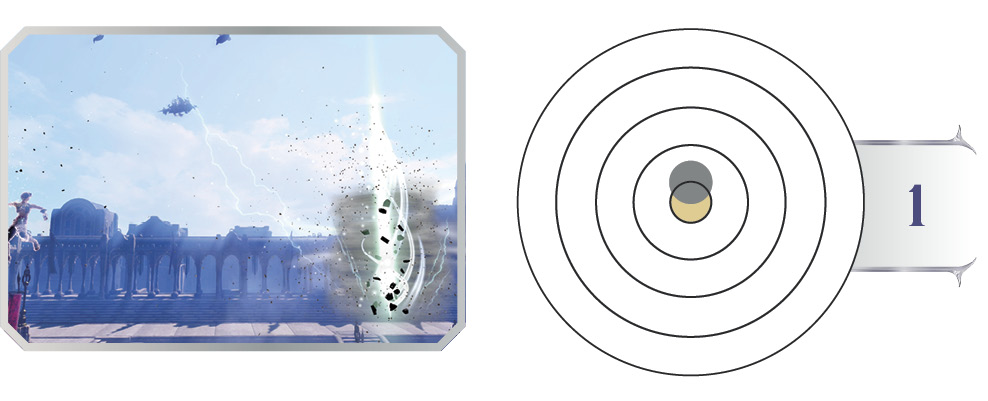
Vaan channels magickal energy to create a fierce local windstorm. The tornado moves away from Vaan a little bit while growing in height, stabilizing in one place after a couple seconds, where it whirls violently till it blows itself out.
White Whorl isn’t fast enough to use as a direct attack, and it doesn’t travel very far. However, it does last a long time, almost seven and a half seconds, and the gale-force winds give it unsurpassed draw-in range. Laying down this HP Attack helps ensure that your team’s position is bolstered. White Whorl is just as much a threat to the two enemies you didn’t target as to the one you did, since anyone might inadvertently dash too close and get pulled in, or get punted into the vortex by another attack from Vaan or his allies.
If you select White Whorl, Vaan’s role becomes defined a little more sharply as a vanguard-lite. Part of your job will be to keep White Whorl active on the field as much as possible, so the team always has a rallying point that’s safe for them and deadly for enemies. White Whorl doesn’t dissipate when it hits foes, so one deployment can potentially hit everyone on the other team. Only one instance of White Whorl can be active at a time.
Pyroclasm
| Command | Bravery Damage (Normal / First Charge / Second Charge) | Note |
|---|---|---|
|
|
128, 64x9 / 144, 64x9 / 160, 64x9 |
Two additional stages, increasing in damage and range the longer it is charged. |
 /
/ +
+ 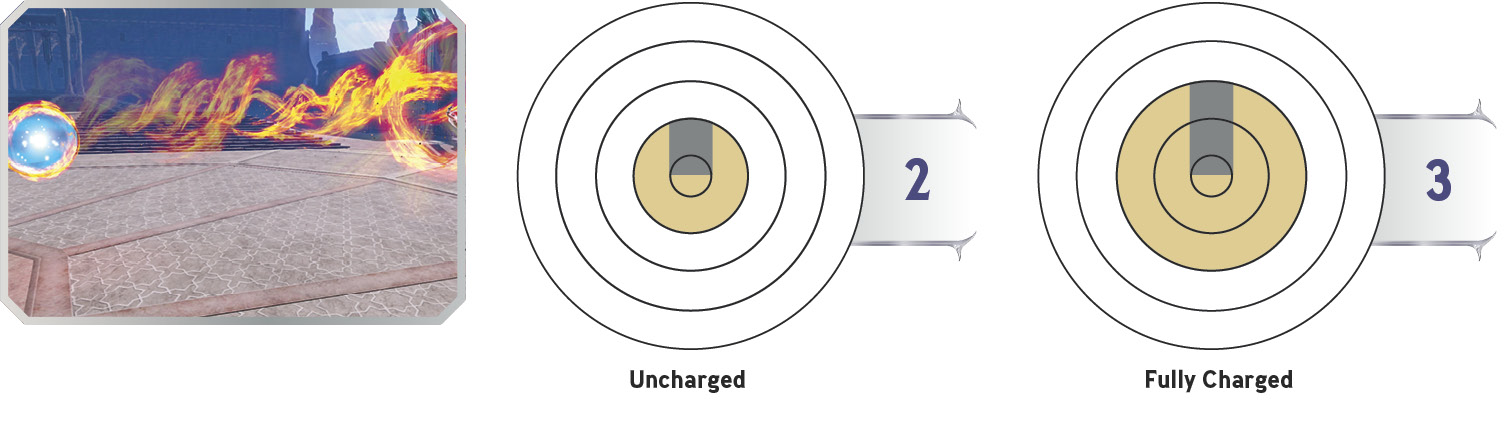
Vaan gathers unstable magickal flames into a ball around one hand, then throws the sphere toward the target. It surges toward them with incredible speed and excellent tracking, exploding on contact with any foe or object.
Pyroclasm is the HP-eroding counterpart to his magick spells, Fire and Thunder, and it’s effective at about the same ranges. It’s better at homing in on targets and travels more quickly, though it must be completely charged to match the full reach of his Bravery nukes. The attack has three range levels—uncharged, charged till one pulse erupts from around Vaan, and fully charged, indicated by two pulses (which only takes a hair longer than a Level 1 charge). The consideration for which to use is simply time-till-toss, since someone hitting Vaan before he hurls the projectile means it’s gone. Tap the command against enemies at close to early-mid-range, and charge it fully when no one is crowding Vaan. A one-pulse half-charge and two-pulse full charge are so close together in terms of how much extra time they take that it’s not worth trying to game-plan for or time out Level 1 charges.
Azure Torment
| Command | Bravery Damage | Note |
|---|---|---|
|
|
128 |
Inflicts 15-second attack/defense debuff. |
 /
/ +
+ 
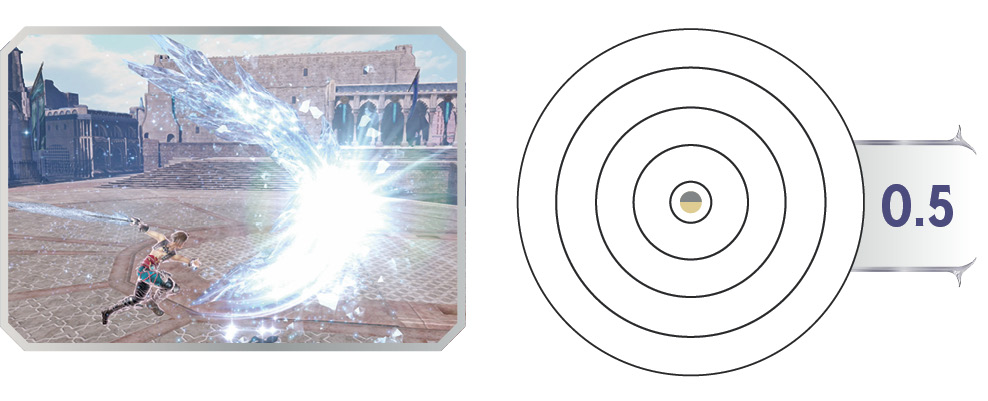
Vaan whips his sword quickly in front of himself from left to right, its blade crusted in glistening ice. On contact, the enemy takes additional Bravery damage from the frigid impact before HP is depleted. For a short time afterward, they’ll also suffer a temporary enfeeble against their physical strength.
This is Vaan’s fastest HP Attack by far, which is somewhat mitigated by the fact that the range is basically within arm’s reach of him. This won’t win any long-distance-poke awards (or even close-distance-poke awards), but the sheer speed for this unblockable attack makes it valuable. There’s also clarity in knowing exactly what this is for—best-in-class point-blank ganking only, no more, no less. It’s great for following up wall hits and friendly combos with a quick capper. In dashing duels, it can be terrific if effectively used, whether with good aim when audaciously dashing into point-blank range of foes, or after sidestepping their attack so you end up right next to them.
For 15 seconds after an enemy eats this icy sword swipe, their Bravery Attack power is reduced by 12.5% and their defense is reduced by about 6%. Every little bit helps, and a debuff is a debuff, but this isn’t a game-changer. By the time they drag themselves up off the ground, their invulnerability wears off, and they make their way back to the fight, the debuff is just about to expire anyway.
Calamitous Orb
| Command | Bravery Damage | Note |
|---|---|---|
|
|
— |
— |
 /
/ +
+ 
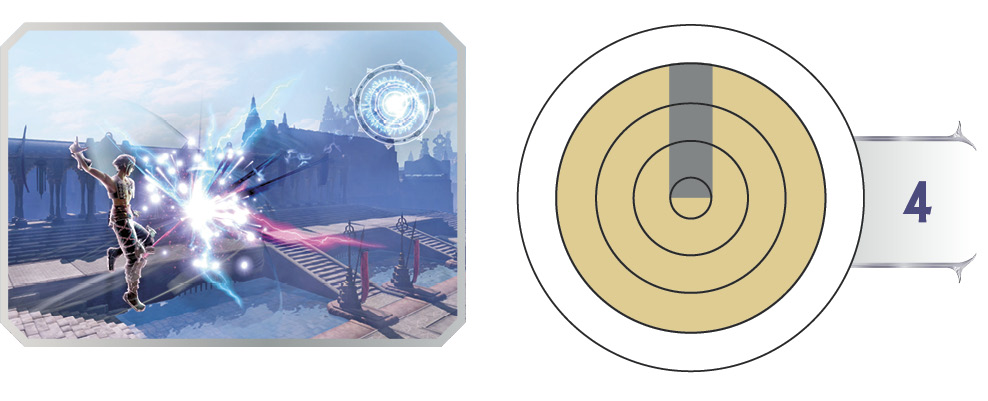
Vaan tosses an ornate, magickal floating glyph, which pursues the target slowly for a surprising amount of time. As the glyph travels, it shoots holy shots at the target, reaching a little ahead of itself. The glyph also counts as a projectile threat, in the unlikely event that it catches up to the enemy (or the much more likely event that someone else runs into it on accident). If the glyph itself hits an enemy, it deals 16 Bravery damage and briefly stuns them. It can disappear prematurely if it runs into a platform or other obstacle.
As with White Whorl, the most useful thing about Calamitous Orb is that it lasts a long time. The glyph glides for six seconds as it draws a bead on the chosen foe. During these six seconds, the glyph takes a random number of holy shots, between five and seven total.
When used against someone far away, Calamitous Orb has the longest range of any Vaan attack, for its last holy shot before it fades away. When used against enemies closer in, or those who close distance quickly and fly right past Calamitous Orb in progress, the glyph’s extremely slow speed means it has a chance to turn completely around and catch them from behind, which they surely won’t expect. Most homing projectiles travel too quickly to make this kind of 180-degree turn against an agile opponent.
Earthen Eruption
| Command | Bravery Damage | Note |
|---|---|---|
|
|
— |
Guards and counters incoming Bravery Attacks with HP damage. |
 /
/ +
+ 
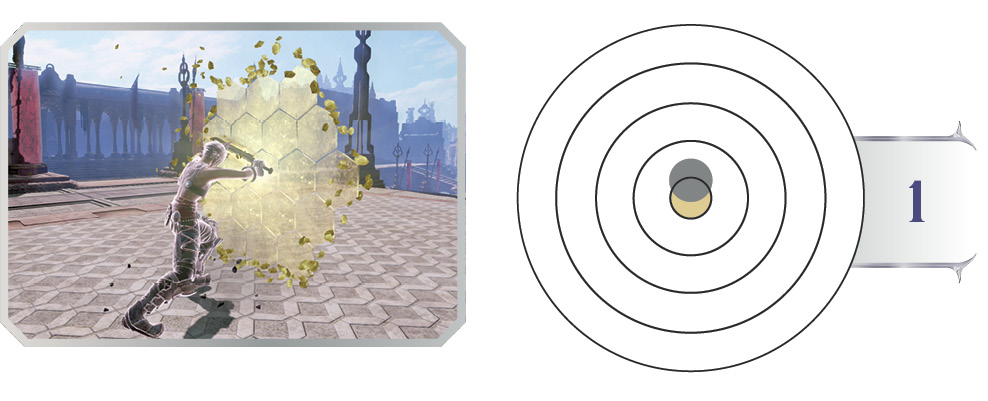
Vaan quickly raises a magickal barrier made of honeycombed sections of flat, strong rock. If anyone tries to tag him with a Bravery Attack while this barrier is up, he retaliates automatically with this HP Attack, rushing briefly at the target to strike them with an area-of-effect explosion.
While traveling after a successful counter, Vaan is invincible. If the enemy is in range, nothing can stop him from getting to them. (There’s not much point in using Earthen Eruption against long-range projectiles that don’t give him anything to realistically shoot at.)
This earth-shield counter isn’t active instantly, so it’s no reversal or get-out-of-jail-free card. You can’t use it consistently under extreme pressure, or against threats already overlapping Vaan; you need at least a little space/notice. It takes about one-fifth of a second for Vaan to raise Earthen Eruption into defensive position—very fast, but not fast enough for the tightest reversal situations. Once it’s up, though, he holds it out for a decent chunk of time, one-third of a second.
Practice the timing against incoming projectiles. Get used to the tiny start-up delay before the general one-third-second counter period, before graduating to trying Earthen Eruption against melee Bravery Attacks. The usefulness one gets out of this HP Attack depends a lot on reflexes, matchup/character knowledge, and playstyle. The bright side is that it’s up to you. If a countermove sounds terrific, here it is. If not, there are five other great HP Attacks to select from.
EX Skill Breakdown
Dreadnought
| Command | Bravery Damage | Note |
|---|---|---|
|
Hold |
— |
90-second cooldown from activation. 20-second Bravery freeze begins when charge is released. |

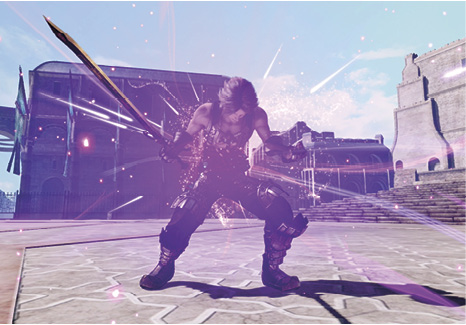
For this unusual buff, Vaan charges up tension if  is held down. While charging, his Bravery increases quickly in increments of 80. There’s nothing stopping Vaan from charging forever, except the enemy. If they touch him while he’s charging, he gets nothing, and the EX Skill is wasted. Whenever the desired Bravery total is reached, or when enemies decide to target Vaan and it’s not safe to charge anymore, release
  to end the charging period and begin a temporary buff. The current Bravery total is locked in for 20 seconds: landing HP Attacks won’t make it budge, and neither will taking Bravery strikes from the enemy. Also, your own Bravery Attacks will no longer increase Bravery. This makes them kind of useless when Dreadnought is active and Bravery is jacked up, unless you can score a wall hit and guarantee an HP Attack follow-up. Quickenings won’t add Bravery during Dreadnought either, but you still get the bonus attack surface area.
Naturally, the point of this EX Skill is to push Bravery abnormally high, as much as possible, then to go in hard, aiming for as many HP Attacks as possible before the timer runs out. In a perfect situation, you’ll build enough Bravery with Dreadnought so that you have a potential one-hit knockout in store for all three opponents. It’s feasible to make enormous swings in just a handful of actions with Vaan, if Bravery is built up and locked in at a high total, then he quickly lands HP Attacks on everyone, or catches more than one at once with single attacks.
Charging from 1000 Bravery all the way to 3500—enough for an instant kill—takes about 16 seconds. No one is going to let you get away with that unless they’re busy answering the front door or something, but this gives you some idea of how long you’re talking about to get meaningful amounts of Bravery from the charging portion.
It’ll be very hard indeed to get any kind of real charge time versus skilled competitors. Against aggressive, perceptive combatants, you’ll probably use this EX Skill more to lock in a solid Bravery amount that you’ve built up organically, rather than swinging for the fences going for maxed-out Bravery.
As a minor note, the cooldown timer for Dreadnought begins the moment this EX Skill is initiated, not after the charge is released. Pop this ability to start a 90-second cooldown; if you charge for 15 seconds, the cooldown is already down to 75. Naturally, since he is worse than others at accumulating Bravery, and since he can freeze his Bravery in place with Dreadnought, his common EX Skills should be related to raising his Bravery, like with Bravery Conduit or Bravery Regen.
Luminescence & Black Hole
| State | Bravery Damage | Note |
|---|---|---|
|
4-6 HP Attacks landed |
Varies |
Increases damage and knockback. Count resets when incapacitated. |
|
7+ HP Attacks landed |
Varies |
Increases damage and knockback. Count resets when incapacitated. |
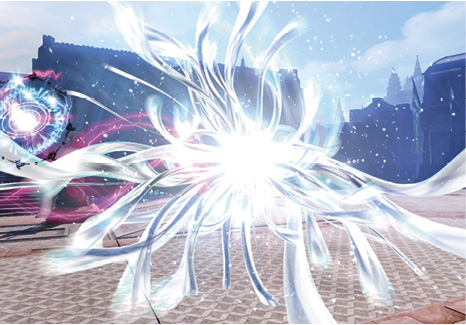
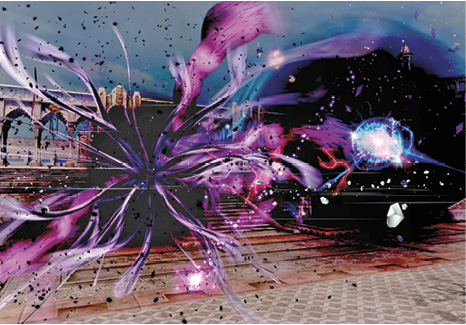
As Vaan takes aim at enemies with HP Attacks, an invisible counter keeps track of how many hits he’s scored. Starting with the fourth successful HP Attack, Vaan begins to trigger synergistic discharges of magick energy called Quickenings. A Quickening occurs on top of a successful HP Attack, strengthening it by building way more Bravery just before the HP-removing final hit.
Whenever Vaan is knocked out, this invisible counter returns to zero. For a maxed Quickening bonus, he needs seven or more HP Attack hits before being incapacitated.
During the fourth, fifth, and sixth HP Attacks Vaan scores, Luminescence occurs, knocking 240 Bravery from the enemy and giving it to Vaan.
Starting with the seventh one, HP Attacks trigger Black Hole on hit. This adds twice as much Bravery right before the finale, dropping 576 into Vaan’s total!
Bonus Bravery from Luminescence or Black Hole is added to any bonus Bravery the HP Attack already granted. Red Spiral (144) and Azure Torment (128) both add even more teeth to Quickening hits.
Quickening effects aren’t just a flashy visuals that animate while a target takes extra damage. If opponents nearby manage to dodge the initial HP Attack, they can still be hit by the Quickening if they’re in the wrong place. Any successfully landed HP Attack basically gains an area-of-effect explosion, potentially scoring extra glancing hits. Enemies who wander into a Quickening in progress will build an extra 96 Bravery in a single hit before HP damage is inflicted.
Battle Plan
Vaan is an offensive specialist character who turns some of the game’s rules on their heads. He has fewer Bravery Attacks than other fighters, but more HP Attacks. He’s also the only fighter who can equip two HP Attacks, one to  and one to
  +
+  .
.
The strategy for Vaan involves generous use of HP Attacks. Whereas other characters have access to elaborate combos or strong nukes for building Bravery, Vaan’s attacks are weaker in comparison, and it takes him longer to generate as much Bravery.
In practice, he’s like an assassin-type fighter, whose ideal approach is to be cautious and take potshots at clusters of opponents from a flank. He doesn’t want to dive right into the fray as the first option; that’s what vanguards are for, with their high poise and wide attacks. He wants to capitalize when things break down a bit, swooping in to pick off stragglers and wreak havoc with his quick, varied HP blows.
Between Vaan’s below-average Bravery building and the fact that using more HP Attacks means resetting to 1000 Bravery more frequently, he’s susceptible to being broken if he gets caught between two enemies or wall-rushed in a combo. His short-range melee attacks and overall style discourage him from dueling head-on with opposing assassins and vanguards.
For picking at the opposing team from relative safety, Thunder and Fire are well-suited. If equipped, the Pyroclasm and Calamitous Orb HP Attacks also have great reach. Calamitous Orb is good for when you’d like to move in, too, since it provides slow forward-moving cover.
When a chance to move in arises, whether allies are paving the way first, or a marksman gets separated from their teammates and you give chase, the most direct way to attack while covering ground is with Dervish, gliding in blade outstretched. If you can afford to dash in a bit farther before attacking, using Steel Trinity/Triumvirate is quicker and more versatile. Getting into the mix up close is when Vaan’s close-range Azure Torment and Red Spiral HP Attacks become relevant, whether in trying to joust enemies in mid-air or cap off combos.
Vaan doesn’t like getting rushed down much himself. Shoring up defenses can be accomplished a few different ways. Depending on your playstyle and reflexes, Earthen Eruption also comes into its own as a unique threat up close, whether on offense or defense. White Whorl is incredible for preventing enemies from coming toward Vaan, if you can preemptively set up the sparking vortex. With its wide draw-in area and the risk of being kicked into it from an unexpected angle even when careful, enemies are likely to steer clear of White Whorl and any of Vaan’s team standing near, which stems off crowd problems ahead of time while giving allies a natural temporary base of operations.
Since Vaan isn’t so concerned about building Bravery, combos are more about setting up HP Attacks, for himself and others. When close to foes, attacking or defending, Steel Trinity and Triumvirate (> > ) and Dervish (dashing ) can all easily set up wall rushes. While the victim is stunned, flat against the vertical surface, Red Spiral and Azure Torment both link in time, if Vaan is close enough. Near walls, after the three-hit combo, simply perform the HP Attack follow-up. If the wall hit starts from a combo a bit farther away, dash cancel the last hit and fly in close enough before unleashing the HP strike.
If a wall isn’t nearby but an ally is, performing > and forgoing the final hit gives them a chance to lead into the attack of their choice. Even if they don’t get there in time, skipping the final attack keeps the victim nearby and allows for immediate continued pressure, or for Earthen Eruption to make them feel foolish when they try to poke back right away. To err on the side of caution and see how inclined an enemy is to mash buttons when they’re in trouble, you can perform > , then wait to guard or sidestep as appropriate, depending on their reaction. If they try to attack as soon as possible when they regain control, you’ll be able to see it coming a mile away, since you’re controlling the situation’s timing. Sidestep or guard the move, then put them right back in the > situation.
Vaan doesn’t just create combo chances by scoring wall hits with full combos, or by holding foes with > to facilitate comrades’ moves. When White Whorl or Calamitous Orb is doing its thing onstage, occupying space, both become hazards you or your allies can bash the enemies into. This makes these HP Attacks strong even if there’s no dogfight currently happening; you never know when you’ll get jumped suddenly. If you can react by sidestepping an opening salvo, then slapping the aggressor right into the long-lasting threat you’ve recently laid down, all the better.
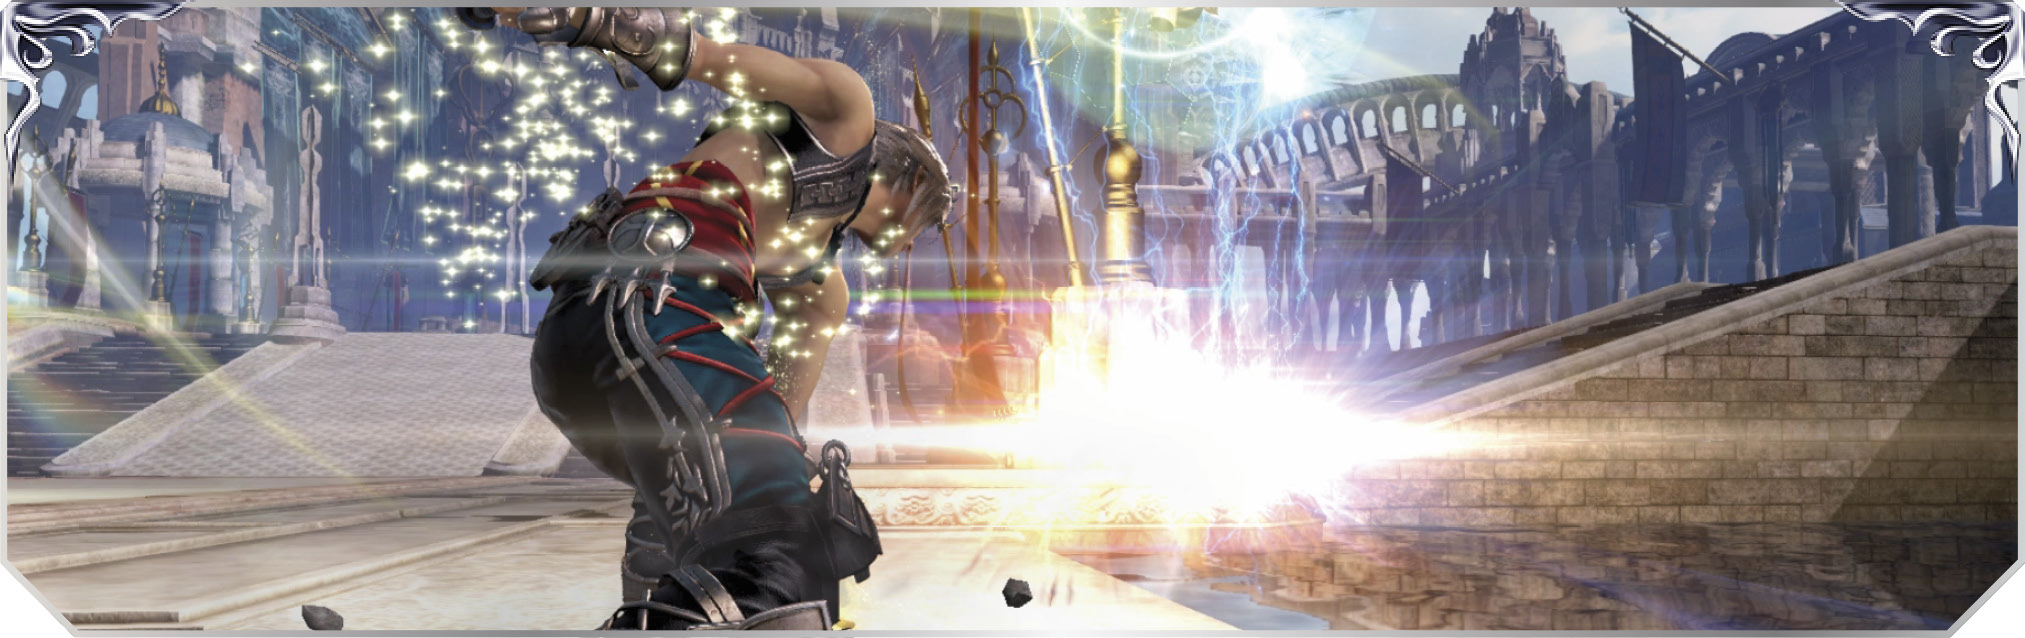
Shiva is unquestionably his summon of choice, as he will constantly be regenerating from 0 Bravery as he lands HP Attacks one after another.
Specialists can be adapted to the unique circumstances of each separate battle, but Vaan still prefers low maps with obstacles so that he can mitigate the disadvantage of using short swords and low-poise projectiles.
Selecting HP Attacks: The speed and combo potentials of Red Spiral/Azure Torment mean you’ll almost surely want to go into battle with one or the other, just for the utility. Picking both is mostly redundant. Red Spiral is slower, but it covers a much bigger area and builds a little more Bravery before the hit. Azure Torment is blindingly fast (especially for something that depletes HP) and inflicts a minor debuff, but it has just about the worst range of any maneuver in DISSIDIA.
White Whorl and Calamitous Orb both place unusual hazards on the field for a surprisingly long time. They assert temporary control of an area and create chances to knock enemies into them. Careless opponents who aren’t targeted by the HP Attack projectile may fly into them. The differences lie in reach and vector: White Whorl is local and omnidirectional, while Calamitous Orb is Vaan’s farthest-reaching attack, tracing a slow, straight line to the target.
Picking one of these is a smart choice too. The most “standard” version of Vaan pairs one of the close-range HP Attacks with one of the long-lasting ones. However, picking both Whorl and Orb while entirely skipping a melee HP Attack isn’t as redundant as Red Spiral plus Azure Torment, because Whorl and Orb cover different areas. Putting both together can make Vaan into a kind of HP-draining marksman, keeping the Whorl and Orb on-screen constantly as impediments to free enemy movement. This gives up combo follow-up utility and close-quarters deterrence, though.
A variation on this theme pairs either Red Spiral/Azure Torment or White Whorl/Calamitous Orb with Pyroclasm. A melee HP Attack plus Pyroclasm keeps Vaan in an aggressive direct-attack mode, effective close or in mid-range. This version of Vaan never wants to be farther away from foes than the range of Fire/Thunder, so they must live in constant fear of sudden unblockable Vaan attacks.
One of the area-control HP Attacks combined with Pyroclasm keeps Vaan in mage-like mode, but able to mix up direct and indirect mid-range spells, rather than simply putting slow projectiles on-screen and hoping for the best (Whorl/Orb together). Vaan can stick near Calamitous Orb or White Whorl and use it as an oasis from which to throw multiple Pyroclasm shots.
No matter the build, a fully charged Pyroclasm from mid-range is an ultrafast curveball unlike any other strike Vaan has access to. The sheer speed will take enemies by surprise, and those who are distracted fighting someone else have basically no chance of dodging charged Pyroclasm.
The matter of Earthen Eruption is up to you. Everyone else has to get by with selecting only one HP Attack at a time. If it suits your style, choose your favorite HP Attack from the other five, consider Earthen Eruption a bonus, and use it to bamboozle enemies with HP-crushing counters on top of a normal game plan. The most aggressive form of Vaan is Azure Torment plus Earthen Eruption, a close-quarters nightmare.
Gallery
Appearance
Weapons