Dissidia Final Fantasy NT Guide Characters
Exdeath
Specialist
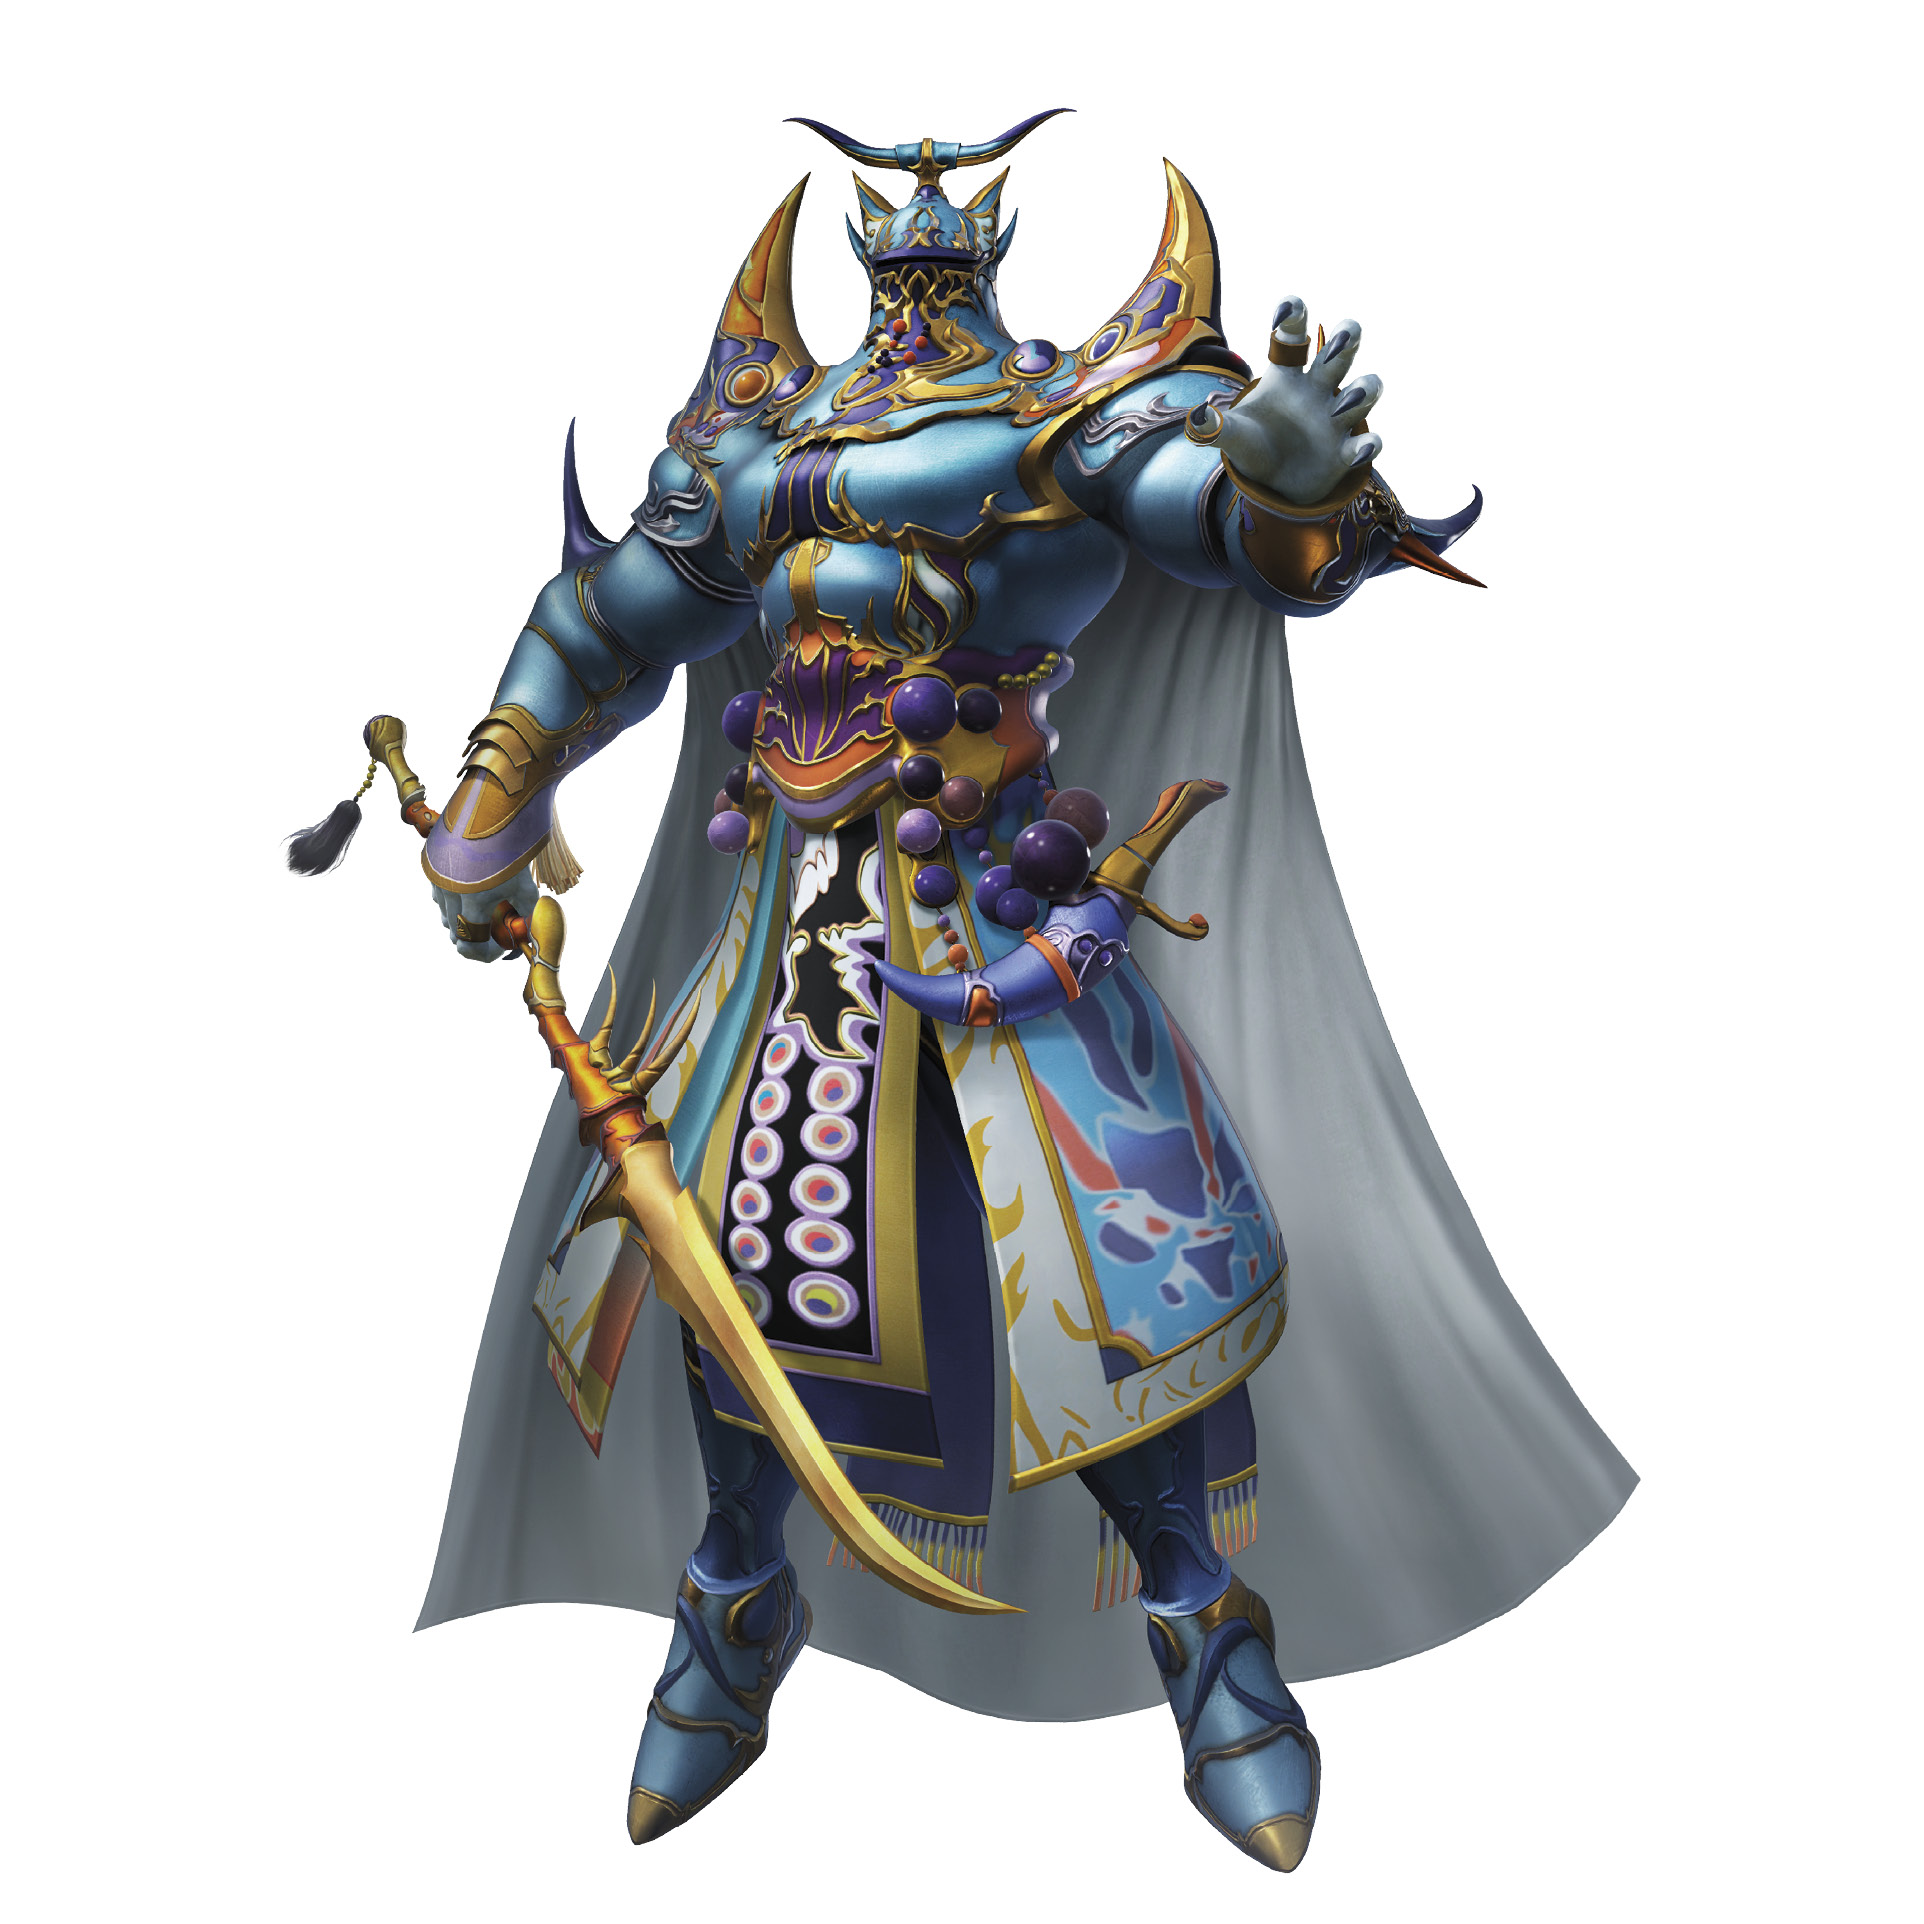
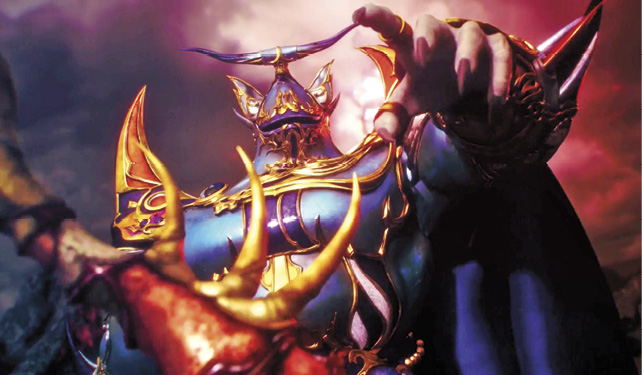
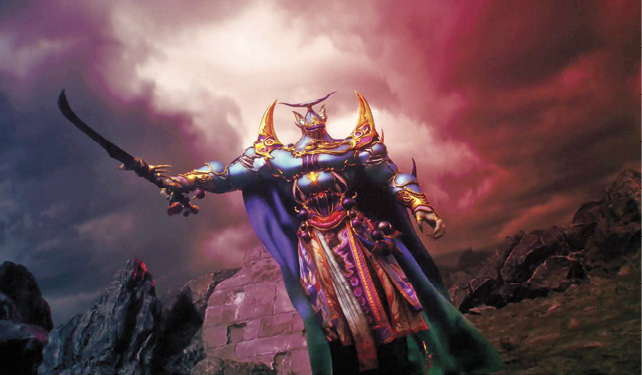
This diabolical mage delights in negating enemies’ faculties with his ternion of powers. Seal away their EX Skills, afflict them with ailments, and answer their attacks from any distance to dominate the battlefield.

Original Appearance: FINAL FANTASY V
Year: 1992
Role: Exdeath is a bizarre entity who must regard humans as strangely as they regard him. Originally an enormous tree within a magical forest, used as a prison for evil spirits, Exdeath gained a dark awareness of himself and the world around him and embarked from the Great Forest of Moore in the form of a heavily armored warlock. He seeks to control the limitless power of the Void.
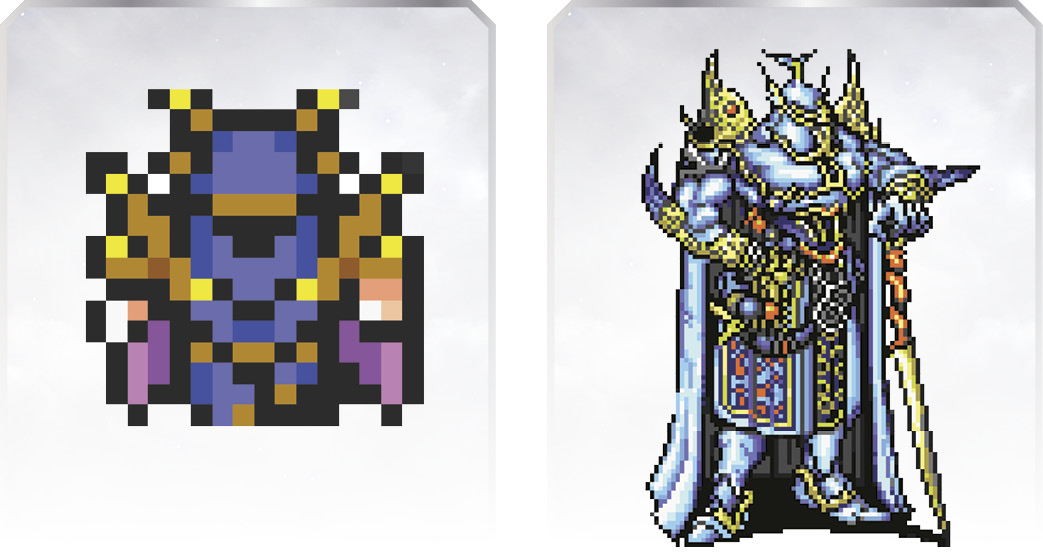
Other Noteworthy Appearances: DISSIDIA FINAL FANTASY (2009), DISSIDIA 012 FINAL FANTASY (2011)
Arsenal
Bravery Attacks
| Name | State | Command | BSK | NFL | HEX | Range | Capsule Description |
|---|---|---|---|---|---|---|---|
|
Sword Dance (Grounded) |
Grounded |
|
144, 144, 224 (512) |
128, 128, 192 (448) |
96, 96, 144 (336) |
0.5 |
Use sorcery to manipulate your sword into performing a series of deft blows. |
|
Vacuum Wave |
Grounded |
|
480 |
416 |
320 |
2.0 |
Send a shockwave rushing toward your opponent. |
|
Earth Shaker |
Grounded |
|
144, 144, 192 (480) |
128, 128, 160 (416) |
96, 96, 128 (320) |
2.5 |
Send your opponent flying with an eruption of rocks from beneath their feet. |
|
Sword Dance (Airborne) |
Airborne |
|
144, 144, 224 (512) |
128, 128, 192 (448) |
96, 96, 144 (336) |
0.5 |
Use sorcery to manipulate your sword into performing a series of deft blows. |
|
Abasing Rush |
Airborne |
|
32x4, 64, 304 (496) |
32x4, 48, 256 (432) |
16x4, 48, 208 (320) |
1.5 |
Position your sword in front of you before charging toward your target. |
|
100 Gs |
Airborne |
|
432 |
368 |
288 |
3.0 |
Send a powerful magic projectile to pursue your opponent. |
|
Reverse Polarity |
Dashing (Grounded & Airborne) |
|
64 |
64 |
64 |
0.5~2.5 |
Teleport to the position indicated by the magic symbol you send forth, and follow up with an attack. If your attack hits, you may cancel it into another Bravery Attack. |
 +
+  +
+  +
+  +
+ HP Attacks
| Name | State | Command | Bravery Damage | Range | Capsule Description |
|---|---|---|---|---|---|
|
Delta Attack |
Anytime |
|
— |
1~1.5 |
Unleash a wave of arcane energy at mid-range. |
|
Maelstrom |
Anytime |
|
— |
2.0 |
Manifest a tornado at your foe’s position that remains for a short period of time. |
|
Almagest |
Anytime |
|
— |
0.5 |
Release the power of the Void on nearby foes. |
|
Omni Block |
Anytime |
|
— |
1.5 |
Erect a barrier that deflects Bravery Attacks (and HP Attacks if charged), creating a window for counterattacks. |


EX Skills
| Name | State | Command | Bravery Damage | Range | Capsule Description |
|---|---|---|---|---|---|
|
Mode Change |
Anytime |
|
— |
— |
Changes modes. |
|
Black Hole |
Berserker Mode |
|
-400/second 16x4, 32 (96) |
0.5 |
Attack your opponent and spawn a black hole on top of them, applying a debuff that rapidly decreases their Bravery. |
|
Power of the Void |
Nullifier Mode |
|
— |
3.0 |
Create an area around yourself, within which EX Skills cannot be used. |
|
White Dwarf |
Hexer Mode |
|
— |
— |
Temporarily increase the effects of debuffs while in hexer mode. Your attacks apply debuffs even when you’re in other modes. |


Bravery Attack Breakdown
Sword Dance (Grounded)
| Command | BSK | NFL | HEX | Note |
|---|---|---|---|---|
|
Grounded |
144, 144, 224 (512) |
128, 128, 192 (448) |
96, 96, 144 (336) |
— |
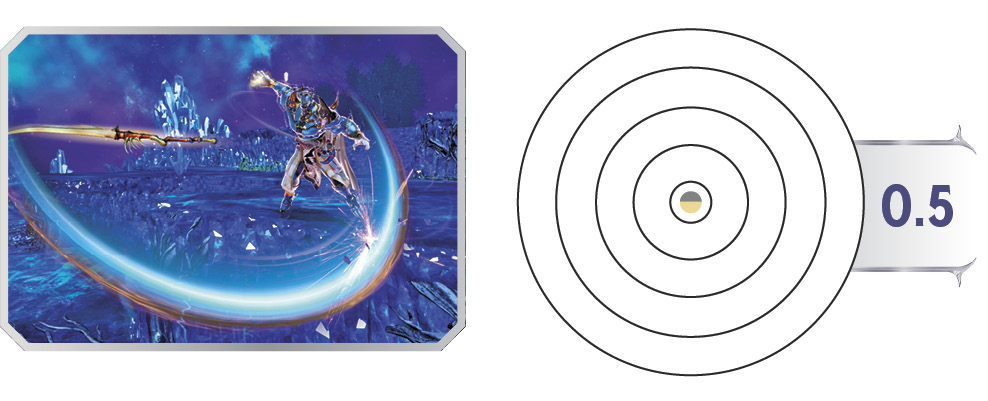
Moving his sword with his telekinetic power, Exdeath opens with a left-to-right lateral slash, brings the sword back across for a follow-up hit, then slashes with a scooping motion to hurl the victim away to mid-range.
This opening poke has decent range for an attack of its type; it doesn’t quite reach to the first minimap circle. This isn’t identical to airborne Sword Dance—grounded Sword Dance is a little better at hitting targets off to the side, while airborne Sword Dance is better suited to slashing at enemies slightly higher or lower than Exdeath.
Be ready to guard or evasion cancel during the recovery of a missed Sword Dance opener. The sequence has higher poise in berserker form, while the final hit inflicts a debuff in nullifier and hexer forms.
Vacuum Wave
| Command | BSK | NFL | HEX | Note |
|---|---|---|---|---|
|
Grounded |
480 |
416 |
320 |
— |
 +
+ 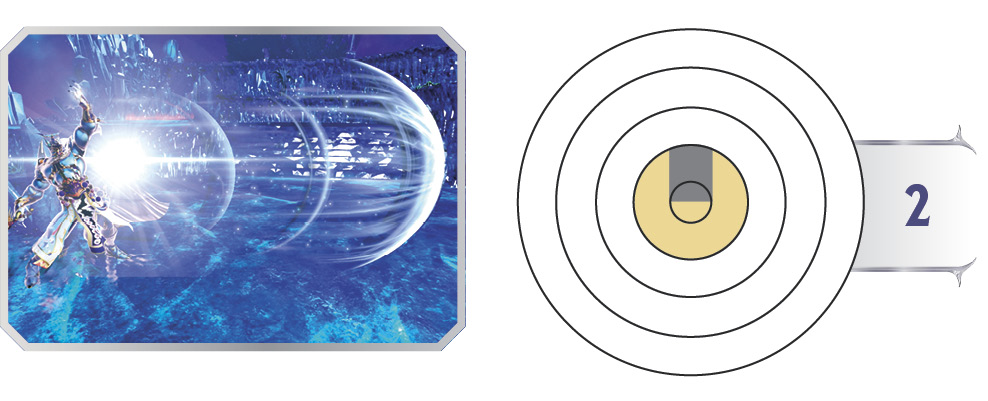
Exdeath hurls forward a blade of telekinetic force, like a single quick, skinny pillar. Anyone in the way sustains a single strong slice while being knocked back hard.
While Vacuum Wave is a less dominating shockwave/pillar-type spell than just about all the rest, not as tall, with shorter range and less homing, it has three distinct advantages. The first is that it can inflict Death Knell or Curse in one quick hit, instead of requiring you to finish out a Bravery combo. Secondly, Vacuum Wave can easily hit multiple foes if they’re lined up. This can build huge amounts of Bravery, as much as 1440 unbuffed for hitting three enemies. Lastly, Vacuum Wave is one of the few projectiles that can cause a wall rush. The wall needs to be pretty close behind the Vacuum Wave victim, but it’s still worth keeping in mind. This is especially powerful in arenas like Midgar, with its hallway-like channels. Throw Vacuum Wave down a channel at the enemy team and you might score several wall hits and build a ton of Bravery at once!
Earth Shaker
| Command | BSK | NFL | HEX | Note |
|---|---|---|---|---|
|
Grounded |
144, 144, 192 (480) |
128, 128, 160 (416) |
96, 96, 128 (320) |
Can move while casting. Only final hit knocks down. |
 +
+ 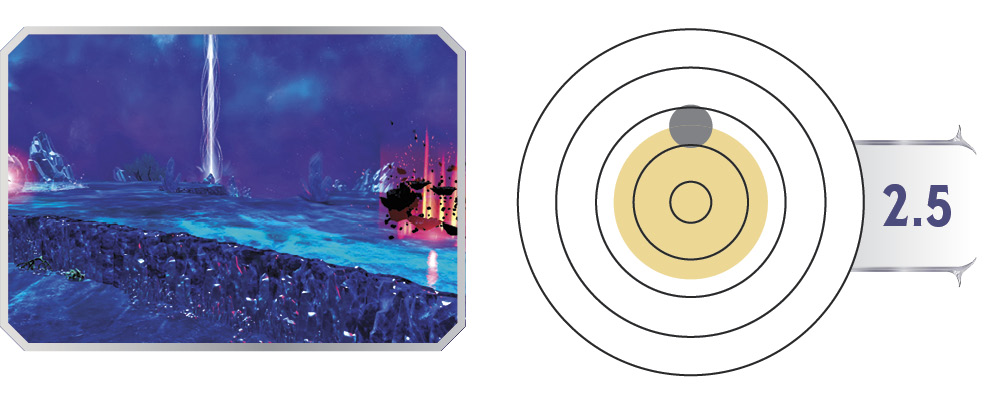
Moving his left hand in a series of swipes, Exdeath conjures up to three explosions of rock right under the foe’s feet, provided they’re in range. Exdeath can keep gliding around during this multi-stage spell, like many marksmen, making him less vulnerable during the casting.
The radius for these rock hits is small, compared to many similar spells. Only the third and final rock smack knocks down anyone it hits (or inflicts debuffs, in nullifier/hexer mode), and they’ll probably only eat that if they ate the first or second one, which would briefly hold them in place for the follow-up rocks to combo.
Anyone who keeps moving in one direction will easily dodge all three casts. This makes it especially foolish to cast Earth Shaker at an enemy who’s actively targeting Exdeath and moving forward. If they see you start this attack, they can simply air-dash directly at Exdeath, no precautions needed.
Instead, this spell combo’s best use is as a mid-range equivalent of unfinished  > combos up close—it’s great for holding a foe who’s engaged with one of your allies, setting your friend up to tack on their own Bravery combo, HP Attack, or EX Skill. The first two hits of Earth Shaker take a long time, giving your melee allies plenty of opportunity to realize you’ve laid out a combo red carpet for them. In short, Earth Shaker is a terrible dueling tool, but great for lending support to someone else’s melee skirmish.
Sword Dance (airborne)
| Command | BSK | NFL | HEX | Note |
|---|---|---|---|---|
|
Airborne |
144, 144, 224 (512) |
128, 128, 192 (448) |
96, 96, 144 (336) |
— |
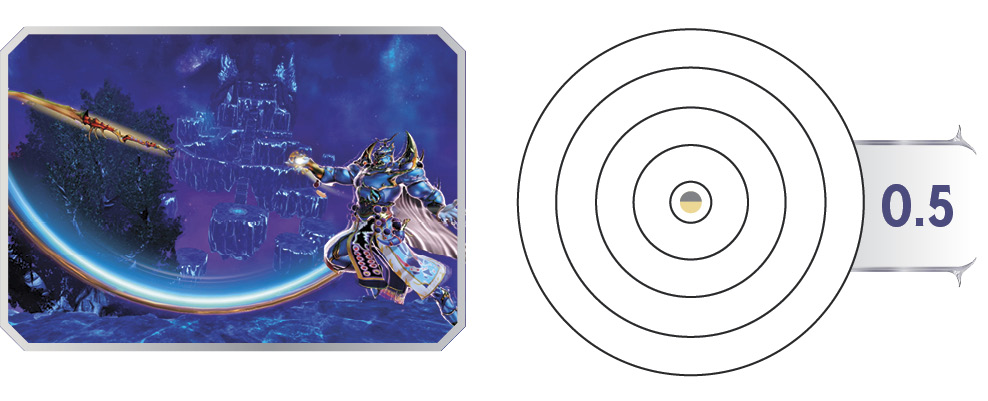
In mid-air, Exdeath sweeps his blade upward from around his right hip to above his left shoulder. After catching prey with this slice, he can follow up with a matching slash in the other direction, before a spearing thrust that bashes them far into mid-range.
Sword Dance hits in the same amount of time on the ground or in the air, but the air version does a better job of tracking up or down a little, though it has slightly shorter reach.
Two hits can be used to harass weaker fighters, and to set them up for more punishment from your teammates, if they’re close. This works especially well in berserker mode when engaging enemy marksmen, or prying enemy assassins off marksmen on your team. Finish off the combo of all three hits for knockback, potential wall rushes, and inflicting nullifier/hexer debuffs.
Abasing Rush
| Command | BSK | NFL | HEX | Note |
|---|---|---|---|---|
|
Airborne |
32x4, 64, 304 (496) |
32x4, 48, 256 (432) |
16x4, 48, 208 (320) |
— |
 +
+ 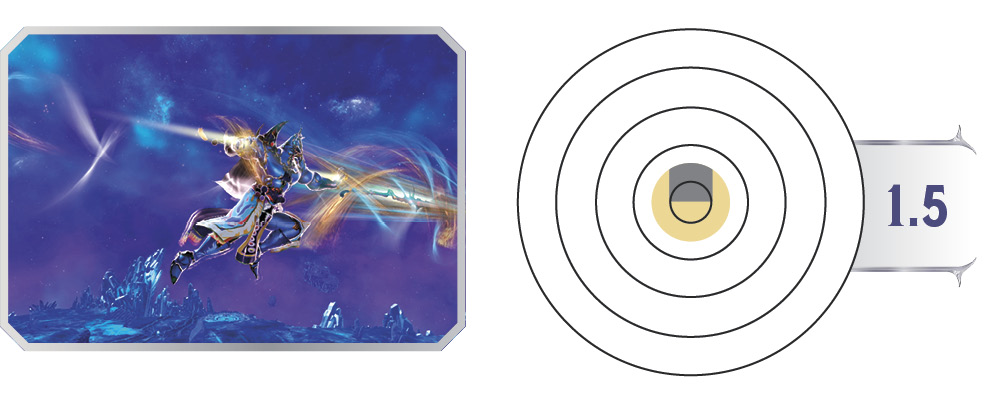
Exdeath lunges forward with his sword floating ahead, clearing the way before him. As he glides through the air, he drags along anyone he catches for several hits. On a successful catch, he can then cross his hands and send the sword forcefully forward, kicking the enemy far away.
The vertical tracking on this lunging attack is decent—you can dive-bomb someone at ground level after a quick double-jump from max range, though this won’t reach from a max-height double-jump. Though airborne Sword Dance’s opening slash has respectable mid-air range, Abasing Rush helps ensure you reach your target when they’re dancing on the border between close- and mid-range.
You’ll have ample chances to choose between airborne Sword Dance and Abasing Rush, getting used to the range difference between them, when targeting foes with Reverse Polarity.
100 Gs
| Command | BSK | NFL | HEX | Note |
|---|---|---|---|---|
|
Airborne |
432 |
368 |
288 |
— |
 +
+ 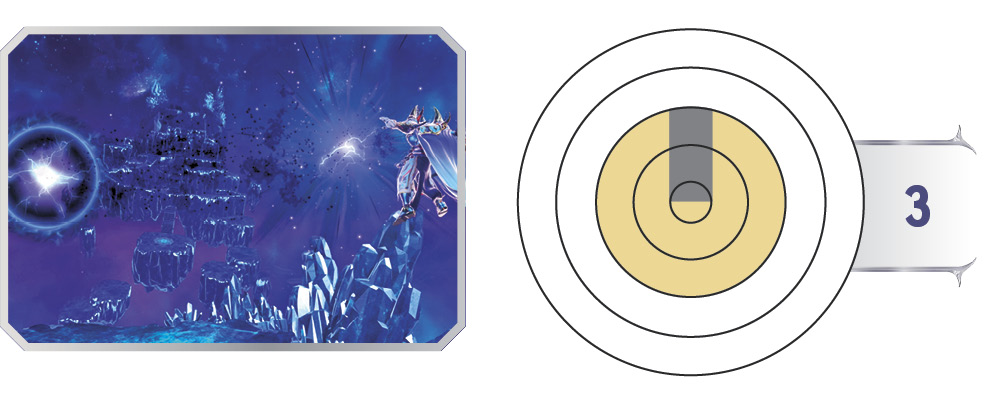
Exdeath sparks a singularity in his left hand, then hurls it toward the enemy. It homes in on them with good range and tracking, dealing a single hard hit on impact.
100 Gs is Exdeath’s most flexible projectile threat, allowing him to do a credible impersonation of a marksman when the situation calls for it. Cut the recovery of the throw short with an evasion or guard cancel, so you can get to your next attack or Mode Change sooner.
When hovering low to the ground, one effective way to inflict both enfeebles on one target, especially when they’re cornered or preoccupied, is to shoot 100 Gs as nullifier or hexer, guard cancel to drop to the ground (using the opportunity while falling to toggle over to the other debuffing mode), then attack with Earth Shaker upon landing, gliding forward while casting the rock spell.
If you’re worried the enemy will avoid the 100 Gs orb and charge in past the rock explosions, follow 100 Gs by evasion canceling forward and casting 100 Gs again, swapping modes as desired to keep debuff-ready 100 Gs orbs in play. When in nullifier mode, a single  press gets you to hexer mode; when in hexer mode, remember to double-click
  to bypass berserker and get back to nullifier quickly.
Reverse Polarity
| Command | Bravery Damage | Note |
|---|---|---|
|
Dashing (Grounded & Airborne) |
64 |
Hold command to charge, increasing range. |
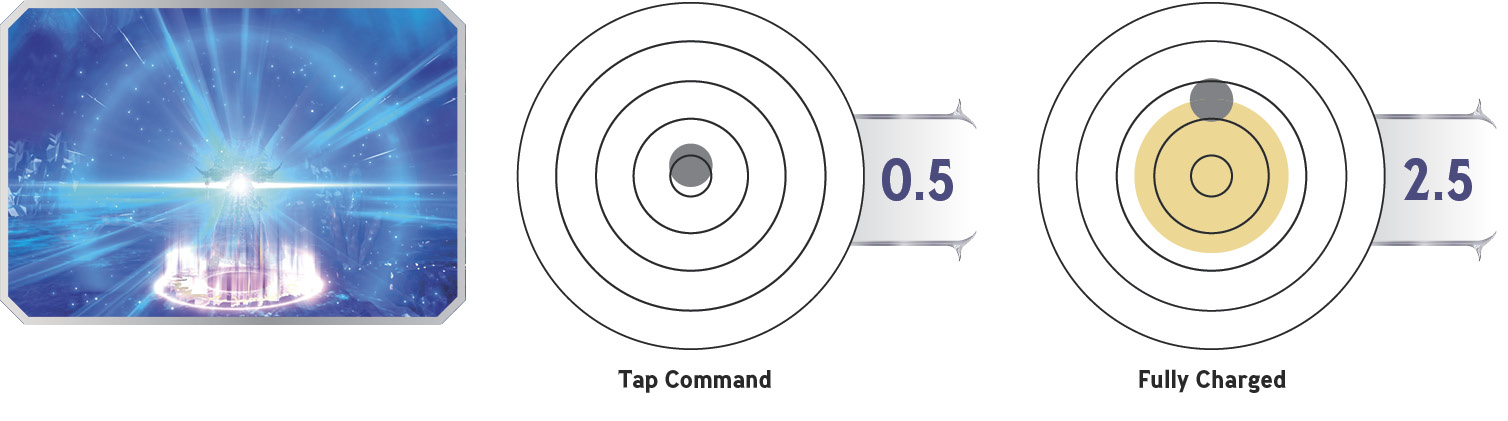
Stopping suddenly after dashing, Exdeath hovers in place, arms crossed, above a rotating magical glyph, as a thin circle quickly skates straight toward the target. As long as Exdeath hovers, charging, the circle keeps moving forward; whenever he releases, he immediately teleports to wherever the circle ends up, skipping through the space in between and emerging with an explosion.
Depending on how long you hold Dashing (Grounded & Airborne) , Exdeath’s warp distance changes. Tap the command and the circle warps Exdeath across only half a minimap circle; continue holding to throw the circle to max distance, and Exdeath warps halfway across the minimap. He’s invincible while warping and attacking; in effect, he’s one of his own best projectiles during this dashing teleport strike!
The recovery for Reverse Polarity can be canceled into Bravery Attacks. This gives Exdeath a combo starter by himself, without the help of an ally or a wall hit. The only caveat is that enemies can easily avoid this by moving, since the skating circle that aims warp doesn’t reorient when they move. It’s easy to end up warping to nobody when using this attack. But when it works, it’s terrific, allowing Exdeath to be more aggressive than expected, to the point of approaching marksmen and assaulting them by warping right through their spells.
The same damage is done in all modes. The only difference between any of them is that berserker mode has the most poise during the attack, as usual.
HP Attack Breakdown
Delta Attack
| Command | Bravery Damage | Note |
|---|---|---|
|
|
— |
Charging increases range slightly. |

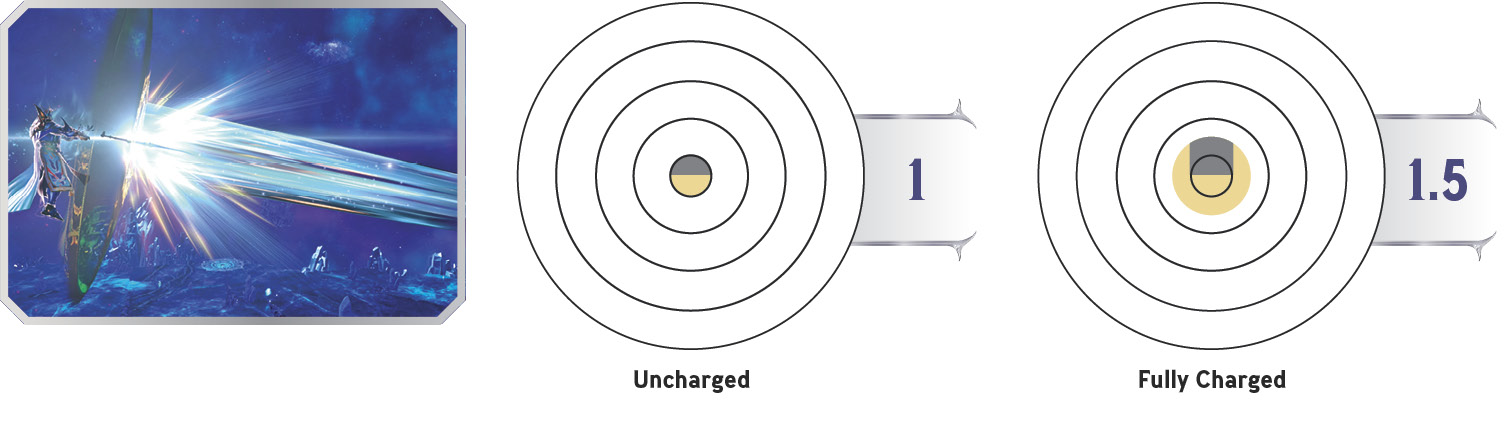
Exdeath rears back with both hands, building strength in his levitating sword, while a circular glyph appears in front of him. He thrusts both hands forward, piercing the glyph with the sword and sending forward a wave of light that instantly crosses close range, searing anyone in the way.
Charging slightly increases the range of Delta Attack. Charging to Level 1, indicated by a single subtle flash on Exdeath, extends the range to almost 1.5 minimap circles; fully charging to Level 2 puts Delta Attack’s reach a bit past 1.5 circles, dipping into mid-range.
Delta Attack is almost identical in all modes. The only difference is that it has slightly more projectile priority in nullifier and hexer modes than in berserker mode. This is only relevant against other HP projectile attacks; it still overpowers Bravery projectiles in any mode.
Maelstrom
| Command | Bravery Damage | Note |
|---|---|---|
|
|
— |
— |

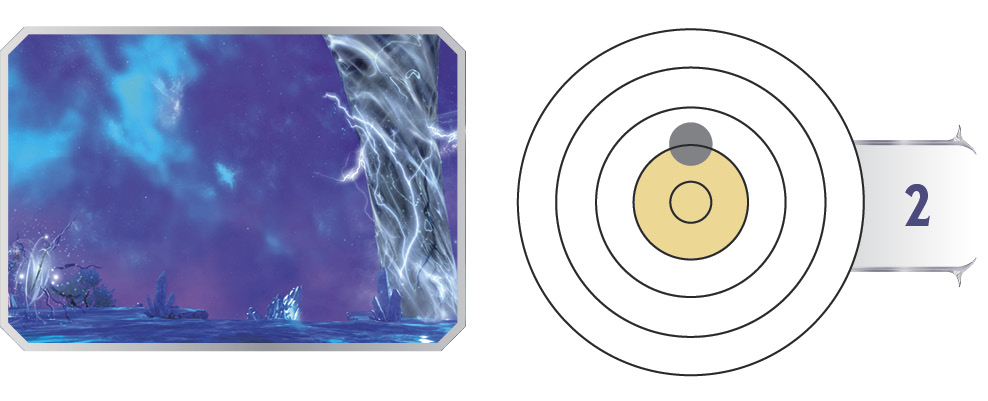
Exdeath calls forth a tall, swirling tornado at the target’s location (or as close to it as possible). This huge twister is too tall for even the nimblest assassins to triple-jump over, and remains in place for quite some time—it’s a threat on-screen for three seconds before it blows out.
The start-up of Maelstrom is lengthy, with Exdeath taking over a second to cast the twister, so it’s not appropriate for quick strikes like uncharged Delta Attack or point-blank Almagest. What it gives you is brief, overwhelming area control. Picking Maelstrom greatly strengthens Exdeath’s power as a pseudo marksman, and gives your team a viable “home base” to rally around, like with Vaan setting down White Whorl twisters, or Kefka laying out Core Decoys. The vertical reach of Maelstrom is about the best tool that Exdeath has to combat fliers, and the HP Attack can also provide a shield for you and your teammates against incoming Bravery projectiles. Pick this HP Attack when facing certain acrobatic assassins or trigger-happy marksmen.
Maelstrom doesn’t have to hit the enemy you aimed at to be useful; any enemy might fly into it accidentally, or get slapped into it by an ally’s combo nearby. Even if they’re careful and don’t get hit, they still must adjust their plans around Maelstrom whenever it’s on-screen. Make things more difficult for dashing enemies by accompanying Maelstrom with 100 Gs and Earth Shaker, or by shifting gears to offense with Reverse Polarity.
Almagest
| Command | Bravery Damage | Note |
|---|---|---|
|
|
— |
Holding down command reduces movement speed of nearby foes. Can move while generating slowdown field. Field effect range: 1.5. |

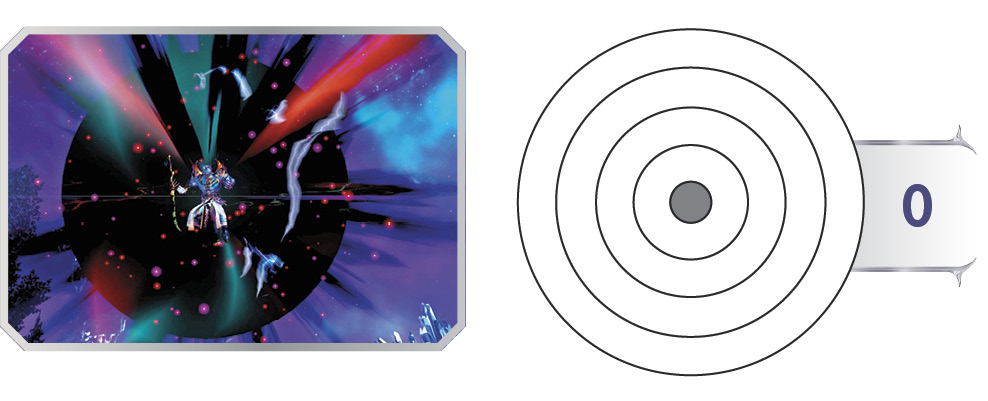
Exdeath quickly builds up and discharges dark energy from the Void in a sphere around him. Although this discharge is the only damaging part of the attack, he can keep discharging dark energy for a few seconds for an interesting effect: any enemies nearby have their movement speeds reduced drastically.
The HP-erasing explosion goes off after a half-second of windup and dissipates in a sixth of a second, so the attack is fairly quick (for an HP strike) and short-lived. It works for combos, wall hits, opportunities where you’ve sidestepped right next to a vulnerable enemy, the usual close-range stuff.
It’s the follow-up that’s interesting here. For about three and a half seconds, you can keep holding  while moving Exdeath around. During this time, he generates a wide field (much, much wider than the blast radius of Almagest itself) that reduces the movement speed of foes within by 50%! This enormous debuff gives allies a tremendous advantage against any foes near Exdeath. It might be brief, but fighters only need a split-second advantage to start up combos or score HP Attack hits.
Holding down  for the wide speed reduction is a way to salvage Almagest casts that miss; it can also be used intentionally as a wide debuff through obstacles on certain stages. There are places in Stellar Fulcrum where Exdeath could potentially stand on one side of a wall, safe from enemies on the other side, yet enfeebling them badly through proximity, even with the impediment between.
Berserker mode has slightly higher poise during the explosion than nullifier or hexer, but that’s only if you tap  for the explosion alone, forgoing the follow-up slowdown field. If you hold down
  until the slowdown field starts (even if you then release it immediately and cancel with guard/evasion), Almagest has unusually high, vanguard-grade poise during the blast, in all modes. No matter the mode, charging till the debuff field appears is the sturdiest way to attack with this move.
Omni Block
| Command | Bravery Damage | Note |
|---|---|---|
|
|
— |
Tap and release for special blocking period. Auto-counter on guard. Charging deflects HP Attacks too. Can move while charging. |

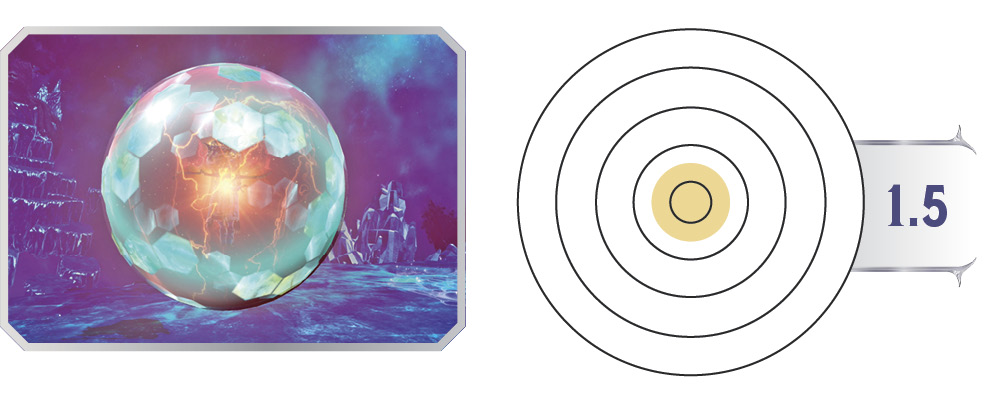
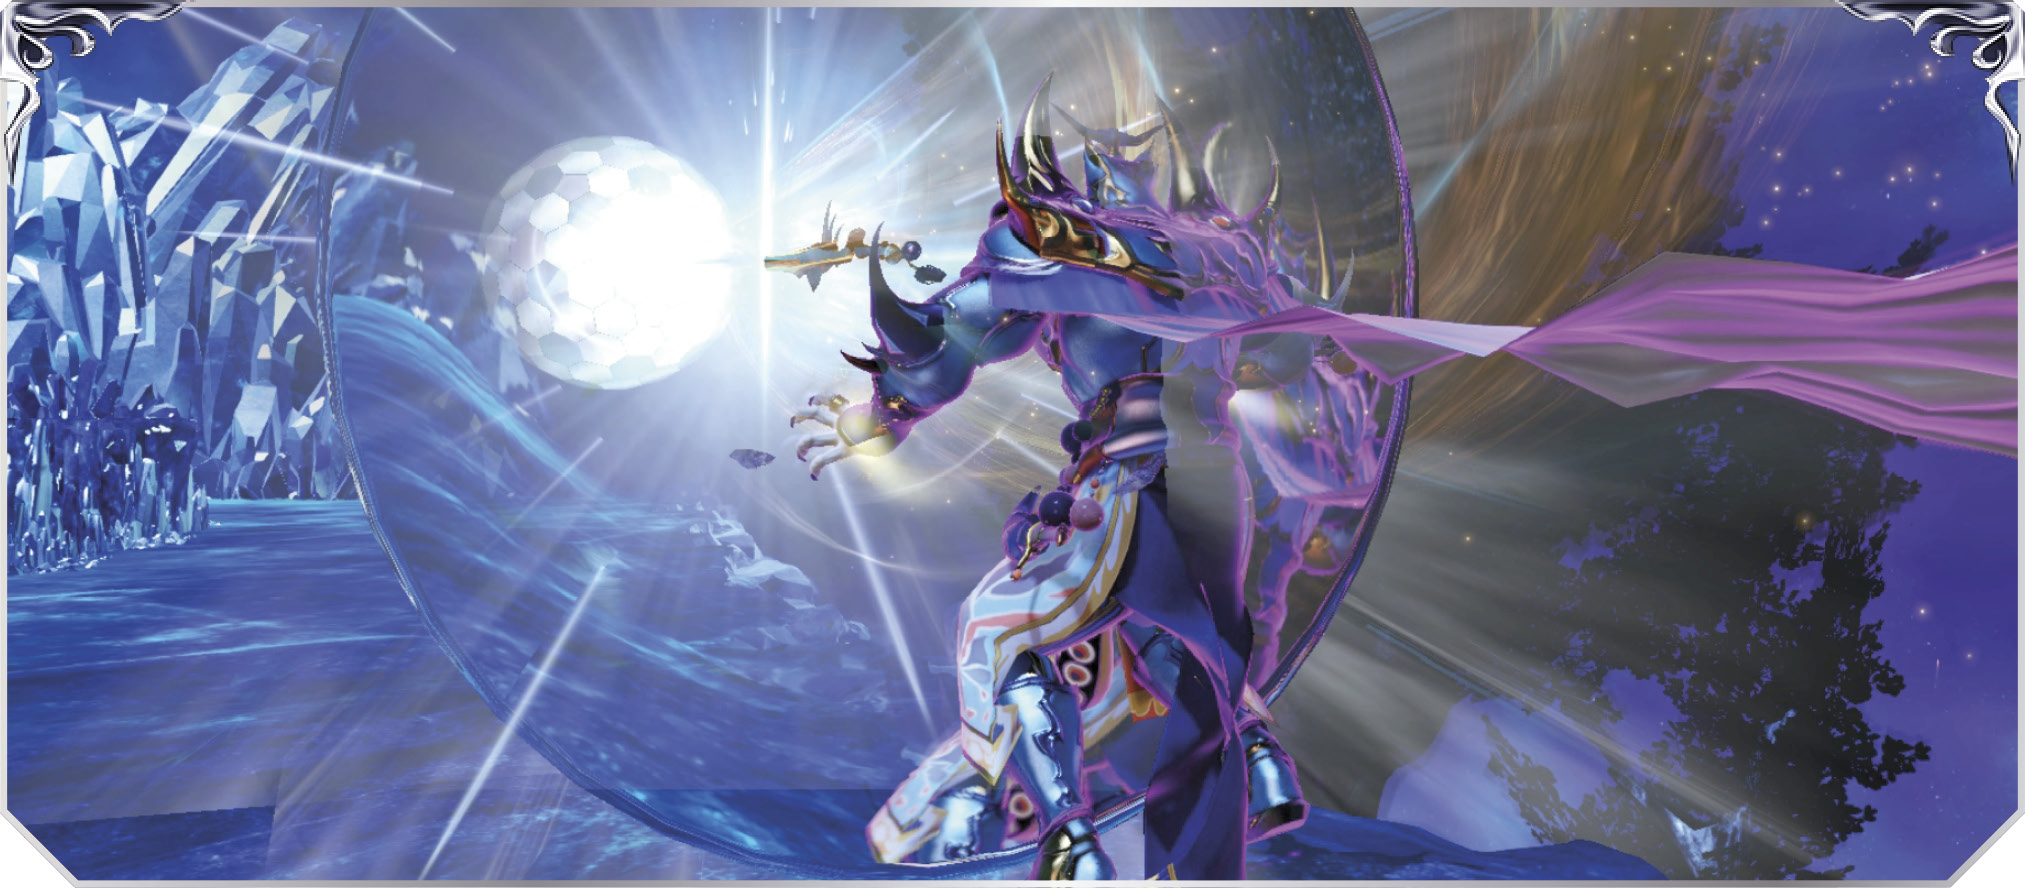
Exdeath’s command of the Void shields him, surrounding him in an impenetrable field. If he deflects incoming attacks with the right timing, he’ll avoid the damage and immediately retaliate with a lightning-quick mid-range thrust, punishing whoever dared hit him.
Tap  and Omni Block takes about a fifth of a second for Exdeath to raise; it’s not a reversal to get out of airtight spots, but it can deflect anything where you have a bit of clearance. Once the shield is up, it’s active for half a second, a generous counter period. Uncharged Omni Block reverses any incoming Bravery Attack, triggering Exdeath’s HP-erasing counter.
But most interesting is that Omni Block can be charged. While charging, Exdeath can continue moving around as needed to get into the ideal spot for the counter portion. Charging Omni Block does two things: it lets you delay the counter period for timing purposes, and it lets you block and counter against HP Attacks. Hold  to charge for half a second, till Exdeath flashes once, and the sphere becomes much larger upon release, ready to reflect ANY kind of incoming attack. Releasing an Omni Block charge raises the shield as quickly as tapping for the Bravery-blocking version: the soonest you can produce an HP-deflecting Omni Block is a half-second of charging followed by a fifth of a second to raise the shield. The longest you can move and charge before being forced to unleash Omni Block is a second and a half.
In other words, it’s an extremely flexible and powerful countermove. Like all countermoves, it isn’t for everyone, but the good thing is you don’t have to pick it if you don’t like it. If you do like it, it greatly strengthens Exdeath’s close- to mid-range attack. Depending on the enemy’s team, it can allow you to turn their strongest tools against them by intentionally putting Exdeath into HP spell paths to absorb them before striking out at nearby foes. An enemy marksman’s biggest, slowest, best-homing spell is usually terrifying, but to Exdeath with Omni Block, it’s easy to counter and take them off the field.
EX Skill Breakdown
Mode Change
| Command | Bravery Damage | Note |
|---|---|---|
|
|
— |
Swap order is berserker, nullifier, hexer. |

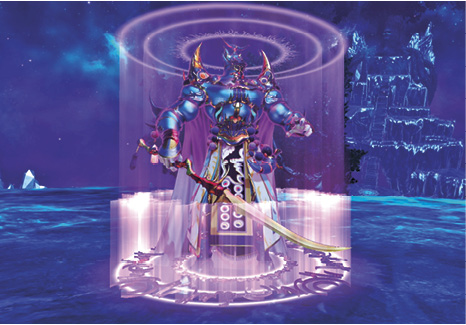
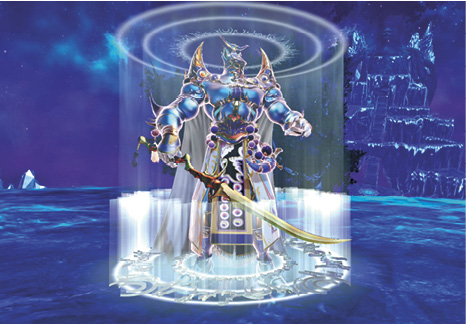
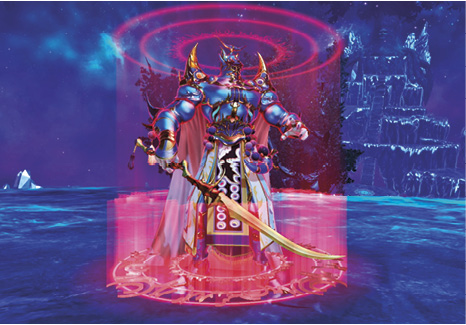
This shapeshifting warlock can instantly alter his form, changing his abilities and focus. This can be done anytime—standing or moving around, while guarding, dashing, or sidestepping. However, Mode Change cannot be carried out while attacking or being hit.
In berserker form, a purple-tinted Exdeath deals heavy Bravery damage, ending combos with knockback clear out to long range. His Bravery Attacks gain a vanguard’s level of poise, allowing him to cleanly beat out incoming attacks from assassins/marksmen. He still can’t quite clash with vanguards—he gains their poise but not their interruption power—but this form gives him the upper hand in melee duels against anyone who isn’t a full-fledged tank. As berserker, his EX Skill is Black Hole.
In nullifier form, Bravery damage and knockback are a little lower than in berserker mode, but still decent. Finishing any Bravery combo (or landing single-hit Bravery Attacks like 100 Gs) inflicts a debuff called Death Knell, which locks out the enemy’s common EX Skills for 15 seconds. The victim can still use their unique EX Skill, but things like Bindga, HP Regen, and Share HP are off-limits till Death Knell wears off (or is removed by one of their teammates, or they’re knocked out). In nullifier mode, Exdeath’s EX Skill is Power of the Void.
In hexer form, Exdeath’s Bravery damage and knockback distance are both weak. Stricken foes are punted out to mid-range, not horribly hurt. Making up for this, the final hit of Bravery combos inflicts Curse. This is a 20-second debuff that reduces attack by 12.5%, defense by 6.25%, and movement speed by 10%. Hexer-mode Exdeath gains access to the White Dwarf EX Skill.
Some forms are better suited to some situations than others, and the key to powerful Exdeath play is juggling between them.
When trying to out-box assassins and marksmen with Sword Dance (> > ) and Abasing Rush (airborne  + > ), berserker mode is the best, thanks to the increased poise.
When fighting at a distance, in standoffs with enemy groups or a pesky ranged attacker, nullifier and hexer forms both have advantages thanks to the debuffs they apply. Fire at foes with Vacuum Wave, Earth Shaker, and 100 Gs from afar, applying Death Knell or Curse as desired.
Normally, it’s best to smack victims with melee combos in berserker mode, if possible, dealing max Bravery damage and reducing the likelihood Exdeath gets interrupted, as mentioned. An exception applies if you happen to have a wall-rush opening against an opponent while in nullifier mode: cause a wall rush (whether catching them with a melee poke, or a Reverse Polarity teleport hit canceled into a combo, whatever), immediately Mode Change to hexer with  , then catch them off the wall with another attack. The output won’t match berserker combos, but you’ll apply both debuffs at the same time, which can be even better. Alternatively, if you slap someone into a wall in hexer mode, swap to berserker mode before tacking on an extra attack on the wall hit. In this case, hexer’s defense debuff immediately benefits berserker’s combo finisher.
Black Hole
| Command | Bravery Damage | Note |
|---|---|---|
|
|
-400/second16x4, 32 (96) |
75-second cooldown. Requires berserker mode. Inflicts 25-second Black Hole debuff. |

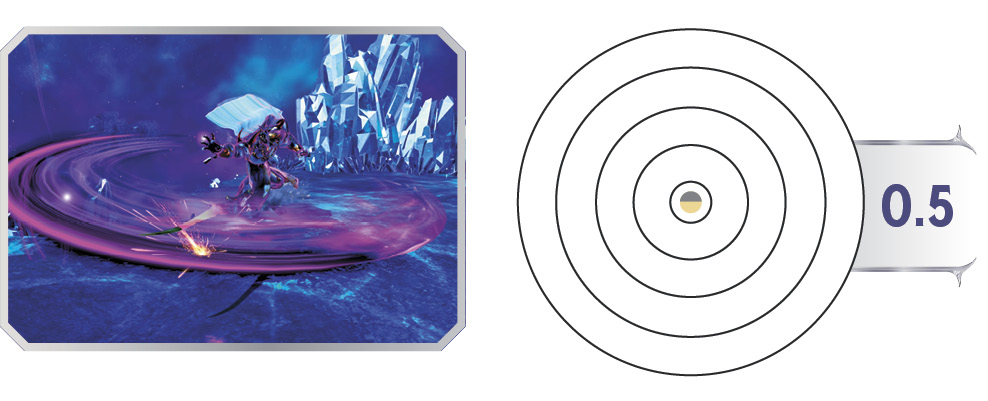
In berserker form, Exdeath steps into a broad horizontal slash with his sword, with underwhelming range but a decent chance to catch sidesteppers.
Black Hole comes just short of swiping to the first minimap circle, making it a close-range-only attack. The Bravery damage is low, but that’s not the point. Black Hole inflicts a unique 25-second debuff that rapidly drains the opponent’s Bravery. How rapidly? It’s perfectly timed so that someone sitting at 9999 Bravery when Black Hole strikes will have zero left just as the debuff expires.
The enemy can remove the debuff early if they tag Exdeath with an attack, so watch out. To really annoy someone with this debuff, strike with Black Hole and then run away. It’ll be hard for the enemy to muster a credible HP threat with the debuff active, and they’ll be prime targets for Bravery-breaking.
Having an ally with Provoke is a great way to combo Black Hole, since the victim won’t be able to target Exdeath. If your ally is Warrior of Light, you can essentially guarantee a target to be drained of 9999 Bravery. You can also Teleport away from someone afflicted with Black Hole, making it much harder for them to remove the debuff before their Bravery is depleted.
Power of the Void
| Command | Bravery Damage | Note |
|---|---|---|
|
|
— |
75-second cooldown. Requires nullifier mode. Prevents any EX Skill use around Exdeath for 12 seconds. |

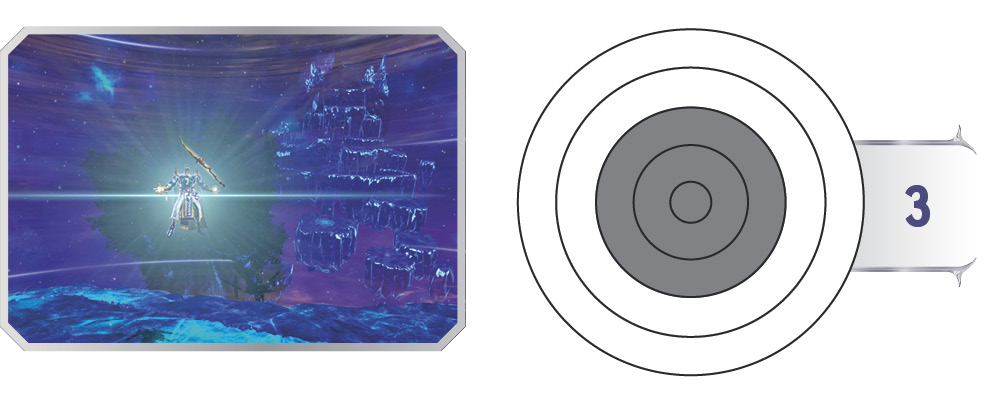
Posing as his sword dances around him seemingly on its own, nullifier-mode Exdeath generates an enormous addling field around himself. Within this region, no enemy EX Skill use is permitted.
This goes a step further than nullifier-mode Death Knell, which disables only common EX Skills. Power of the Void prevents unique EX Skills as well, which are usually extremely important to their users. Someone like Cloud of Darkness or Kuja can turn an entire match around with a well-timed or well-aimed EX Skill; they may only use an EX Skill once in a match, during a crucial point. If you’re there to thwart that with Power of the Void, the moment for them to make their mark may pass, and your team can win before they get another chance.
After activating Power of the Void, it’s time to stop being shy. Swap back to berserker mode with a double-click of  and make yourself familiar to enemy groups, shutting down as many EX Skills as possible for the field’s duration.
White Dwarf
| Command | Bravery Damage | Note |
|---|---|---|
|
|
— |
75-second cooldown. Requires hexer mode. 25-second buff duration. |

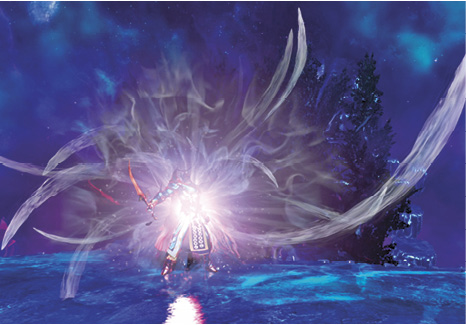
With a flick of his wrist, Exdeath activates his hexer mode’s full potential. White Dwarf is a self-buff that lasts for 25 seconds and enhances Exdeath’s enfeebling ability no matter what form he’s in.
In berserker and nullifier modes, final Bravery hits gain Curse, just like during hexer mode. As berserker, you have Exdeath’s max raw strength, plus the usual debuff potential of hexer. In nullifier mode, you apply Death Knell and Curse together with any completed Bravery sequence.
In hexer mode during White Dwarf, Curse is replaced by Blight. While Curse’s effects are mild, Blight is a tremendous reduction in enemy stats—it reduces their attack, defense, and movement speed by 50%! This is the most impactful application of White Dwarf, so hit as many enemies as possible with Blight during the buff period. Refresh Blight on foes while White Dwarf is dwindling, too. White Dwarf lasts 25 seconds, but if you inflict Blight on someone just as White Dwarf expires, they’ll still be saddled with Blight for the full 20-second duration.
Battle Plan
Exdeath is a complex specialist who can accomplish quite a lot for a team, flexing to fill most roles but requiring lots of judgment calls along the way. He has a great deal of potential, but also a steep learning curve. He’s challenging to learn and play, but has a uniquely tricky toolkit for those ready to embrace the Void.
Pay very close attention to BOTH teams’ EX Skill/HP Attack loadouts and try to discern a friendly strategy to enhance as well as an enemy strategy to counter. Playing Exdeath effectively will truly test the limits of your knowledge on the game and how different skills interact with each other.
For Exdeath, the old adage of “A jack of all trades is a master of none,” holds true, however, do not forget that the idiom ends with “but is oftentimes better than a master of one.”
For starters, his HP Attack selection determines his role to a degree. Delta Attack works best on a melee-focused berserker, as a powerful close- to mid-range poke and combo finisher. Almagest as an attack only hits close-range, also suitable for finishing combos, and the aftereffect synergizes well with hexer’s Curse and Blight. Maelstrom pushes his ranged attack aspect, forsaking a combo option in favor of a dominant area-control tool. Meanwhile, Omni Block is a curveball, a devastating counter capable of deflecting HP Attacks that can potentially paralyze the opposition if used well.
Check out your allies’ setups before the match. As an extremely flexible specialist, you should already begin determining the approach you’ll take here. In a melee-heavy group, Exdeath can provide terrific backline cover, targeting enemies engaged with friendly vanguards, peppering them with 100 Gs, Earth Shaker, and Maelstrom (if equipped). If the team is skewed more toward lighter melees and marksmen, then Exdeath can do a respectable job of leading the battle, thanks to berserker mode and Reverse Polarity, his dashing teleport attack.
Choosing which of Exdeath’s unique EX Skills to use, depending on team role and the needs of the match, also takes thinking on your feet, and some experience. Each of them can be used to turn the tide in different ways. They’re all tied to the same 75-second cooldown, so you only get a shot or two in most matches to really leave a mark.
Black Hole in berserker mode can be a laser-targeted lifesaver if the opposing team has one assassin doing all the KO work, especially if they’re locked and loaded with enough Bravery to one-shot members of your team, and especially if it’s match point. Aggressively dash in and slap them with Black Hole to ruin their killshot potential for a while, and to force them to focus on you, trying to remove the debuff. (In case it needs to be said, don’t do this if you’re the low-HP ally who risks coughing up the match point!) If you have good reflexes and character knowledge, Black Hole pairs deviously well with Omni Block—you give someone a heavy incentive to chase you down, then you punish them dearly for it.
Nullifier mode’s Death Knell debuff, alongside nullifier’s Power of the Void EX Skill, allows Exdeath to shut down much of the opposing team’s EX Skill access. This can have dramatic effects. Coordinated teams will help each other with HP Regen, or shut down mismatches with Bindga, or spread around attack power with Share Bravery, and so on… Death Knell puts a stop to all that, if you keep it up. Power of the Void has the kind of effect that can’t really be measured but might make all the difference in the world. Some unique EX Skills can result in one or two guaranteed knockouts, well-aimed; some unique EX buffs can almost make a loss inevitable, unchecked. Using Power of the Void at the perfect time, when you predict that they’ll want to use their unique EX Skill at the perfect time, can ultimately be just as impactful as a direct, game-winning killshot, if your team capitalizes on the momentary respite and prevents the enemy from getting the perfect EX Skill-use situation they wanted.
The easiest Exdeath EX Skill to apply effectively is White Dwarf, hexer mode’s turbo version. Curse is good, but Blight is obnoxious, reducing enemy effectiveness by half, basically, and for a third of a minute per instance. If you can activate White Dwarf and then somehow score hits on two or three opponents (most likely with casts of 100 Gs (airborne  + ), and Vacuum Wave (grounded
  + ), the enemy team is in bad shape for a while. If you get Blight going against multiple foes, swap to berserker mode and rush in to take advantage. It’s okay that White Dwarf adds Curse to berserker and nullifier, but Curse doesn’t hold a candle to Blight’s effects, so focus on dishing out Blight while it’s available.
Exdeath’s primary disadvantage is his slow movement speed. He can feel cumbersome to control, even with Reverse Polarity available to him, and he is quite vulnerable to enemy ganking, without great options for escape. It is important to keep opponents debuffed with Blight or Curse in order to minimize their damage output against you and your teammates.
As for the combat itself, Exdeath doesn’t excel in any one area. His strength is in being just good enough at everything to fill in cracks as the situation requires. His melee attacks are generally assassin-grade, if a little slower than most, with his average range falling a bit between that of most vanguards and assassins. Sword Dance, on the ground or in the air, is a solid three-hit chain, extra sturdy against enemy assassins in berserker mode, great just after emerging from a well-aimed Reverse Polarity. Abasing Rush (airborne  + ) suffices in most air-to-air situations where would whiff. But since Dashing (Grounded & Airborne) is the unique Reverse Polarity warp attack, these are the only melee options in Exdeath’s arsenal, aside from close-range HP Attacks.
Likewise, 100 Gs (airborne  + ) is a fantastic projectile, especially with a debuff attached to it in nullifier/hexer form, one any fighter would be proud to wield. But Vacuum Wave is limited in range and height, and Earth Shaker is slow and high-commitment, without much splash potential. Maelstrom strengthens Exdeath’s shooting game a lot, and he will spend much of any match aiming ranged attacks, but he can’t completely replace a dedicated marksman.
He doesn’t really have a preference for stage selection, as he is made to adapt and fill. Obstacle-ridden maps don’t bother him as he does not rely on projectiles, but he may become a more tempting target in close-quarters combat situations, so you may find yourself using Omni Block more often on those maps, particularly against melee-heavy teams.
Exdeath also doesn’t really have a preference for summon selection either, as he can make use of all of their summoning effects, whether operating as a frontline attacker or as a backline debuffer. Remember, summons are chosen last when setting up a multiplayer match, so either coordinate with your teammates beforehand, or pick a summon that best supplements the HP Attack/EX Skills that you have already chosen.
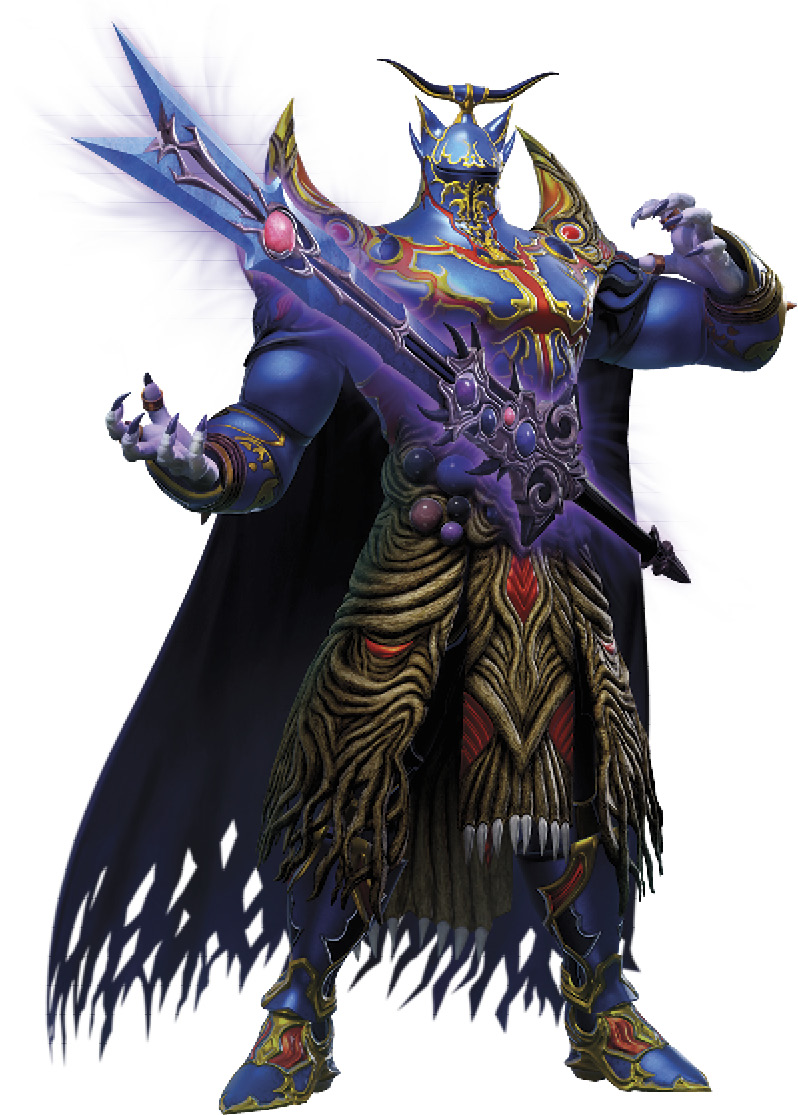
Exdeath must use good situational awareness and his unique toolkit to exert pull over the match in lots of indirect ways, while also taking the offense that comes to him. This magic tree cloaked in armor isn’t good at forcing the issue, but he’s great at capitalizing.
Gallery
Appearance
Weapons