
Dissidia Final Fantasy NT Guide One-Player Modes Story Mode
Fifth Path: Zidane, Squall, Terra, Lightning, Kuja
Total memoria cost: 4
Bait and Switch
Cost: 1 memoria Type: battle (Silver)
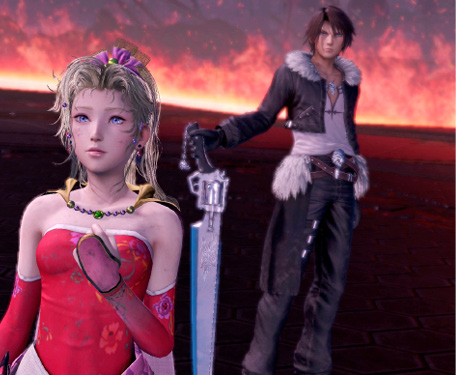
Available champions: Lightning, Zidane, Squall, TerraOpponents: False Hero (manikin Warrior of Light), Echo of a Wanderer (manikin Bartz), Illusory Youth (manikin Onion Knight)Location: Porta DecumanaReward: 600 Gil
Terra, Squall, Lightning, and Zidane enter a gateway in search of a summon. By this point, any manikins that appear are more fodder than foe.
Divide and Conquer
Cost: — Type: cutscene
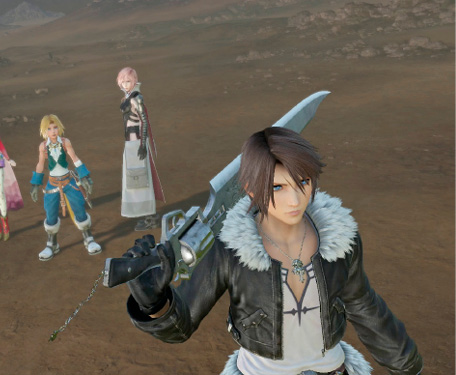
It seems that more than one summon prowls the ruins of this realm.
Zidane is impressed by both Terra and Lightning—the former for becoming more assertive and confident, and the latter for letting her hair down a bit.
Nature of the Enemy
Cost: 1 memoria Type: cutscene
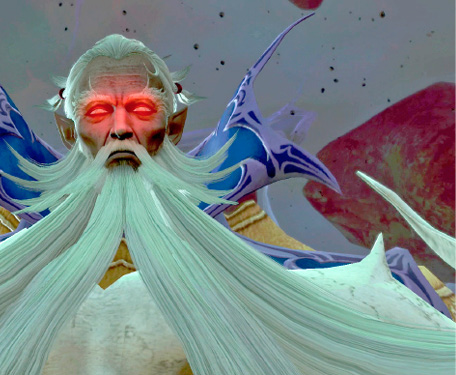
Should a champion but show a mote of gratitude to the moogles who watch over this land, they will lead the combatant to discovery.
Summons and moogles have long been the stewards of this land, and they hope these tests of mettle will imbue the warriors with strength enough to defeat the planesgorgers.
Challenging Ramuh
Cost: — Type: battle (Boss)
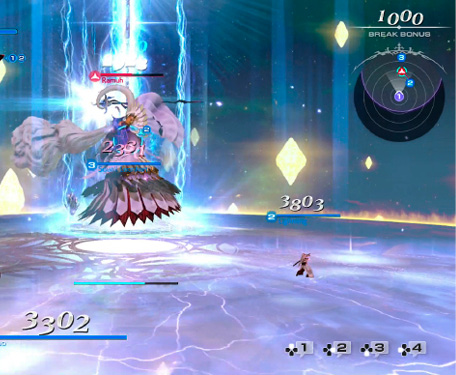
Available champions: Lightning, Zidane, Squall, TerraOpponents: RamuhLocation: Proving GroundsReward: 2 Treasures
The summons will submit only to those who have proven themselves worthy. Impress this scholar by exhibiting unparalleled acumen and avoiding traps.
Ramuh isn’t as mobile or directly aggressive as other summons. He lets the lightning do his work for him, casting it out across huge portions of the arena around him. He telegraphs where he’ll strike, since the ground under his attacks glows with growing static energy. If you’re above a patch of ground that suddenly turns white, dash out of there!
Ramuh is a true test of endurance. The first phase is relatively simple, with spaced out attacks and plenty of time to think and dodge. Oftentimes, it will be better to stand and guard against Ramuh’s Bravery Attacks instead of trying to get away from them. This is especially true for Static Electricity and Prolonged Storm.
Interdimensional Glimmer travels in a counter-clockwise direction and sweeps across the entire radius of the arena. Be sure to stand closer to Ramuh to more easily avoid it, as the closer you are to him, the less distance you will need to travel to outrun the beams.
Voltaic Blast is Ramuh’s other tricky HP Attack. It is a two-part attack where the first part damages anyone directly around Ramuh, and the second part damages anyone away from him. While you can dodge both parts by simply dashing away from him for the entire duration, you can also travel between the two zones to dodge the attacks with much less movement and return to offense sooner.
In Ramuh’s second phase, the shards created by Thunderstorm sow havoc on an already hectic battlefield. Be sure to destroy them as quickly as possible to ensure that the battlefield remains as clear of hazards as possible. Targeting between the shards and Ramuh can be tricky, and the change in camera angle can be deadly if you’re not paying attention. Unfortunately, the shards do not generate any Bravery. The shards will also continually reappear throughout the battle and new ones must be destroyed.
Since no one in the party is a vanguard, this fight will likely last longer than other boss fights, and even longer if you elect to play as the marksman Terra. You will have to survive longer periods of time between vulnerable phases, so your primary focus should be on dodging attacks. Your allies are going to constantly get hit by HP Attacks, so be patient and find the right openings to score that break bonus against Ramuh when they do.
Of the four available characters to choose from, Terra has the clear advantage here, with a toolkit that is seemingly designed for this fight. The nature of her charged attacks allows her to get in a big hit between dashes and sidesteps, while her uncharged attacks also allow her to move while casting. Since Ramuh never moves, attacks that create stationary hazards are perfect here, such as Terra’s Tornado, Flare, and Graviga. Lightning is your only other option for ranged combat, but her choices are much more limited.
Squall and Zidane have to be even more patient when looking for opportunities to strike. They have no true ranged attacks in their arsenal so they only have very small windows between dodging everything on the battlefield where they can actually hit Ramuh. Be wary of stringing any combos together, as you may find yourself shocked and stunned by lightning before you can even finish.
Ramuh’s Arsenal
| Type | Name | Description |
|---|---|---|
|
Bravery |
Flashfall |
With a wave of his staff, Ramuh electrifies and shocks the immediate area around him. |
|
Bravery |
Prolonged Storm |
After Flashfall’s staff wave, Ramuh energizes a much larger slice of the arena around him, electrifying it after several seconds. |
|
Bravery |
Peal of Thunder |
Ramuh raises the staff straight overhead, gathering lightning energy and dispersing it in all directions as a series of arrow-like electric projectiles. |
|
Bravery |
Welkin’s Wail |
A more powerful, longer-lasting version of Peal of Thunder that Ramuh saves till he is enraged. |
|
Bravery |
Static Electricity |
Sparks gather around the bodies of party members, exploding into lightning when Ramuh raises his staff. |
|
HP |
Interdimensional Glimmer |
Ramuh turns slowly while shooting lightning to the arena edge in both directions. |
|
HP |
Charged Pillars |
Ramuh charges a wide circle of ground around him, electrifying it when he brings down his staff. |
|
HP |
Voltaic Blast |
After Charged Pillars erupts around him, Ramuh slams the staff down again, electrifying the arena in an even wider circumference. |
|
HP |
Thundaga |
After charging energy, the god of thunder casts huge waves of lightning out to the arena edge in four directions. |
|
HP |
Judgment Bolt |
Ramuh calls down his ultimate thunder attack, making pillars of lightning converge on each player’s position. |
|
EX |
Roiling Clouds |
As Ramuh passes half HP, the clouds begin churning violently overhead. At this point, random lightning strikes on the stage are possible, in addition to Ramuh’s attacks. |
|
EX |
Thunderstorm |
Ramuh creates summoning core-like rocks that work as conduits for electrical energy, attracting lightning from the stormclouds. |
Challenging Odin
Cost: — Type: battle (Boss)
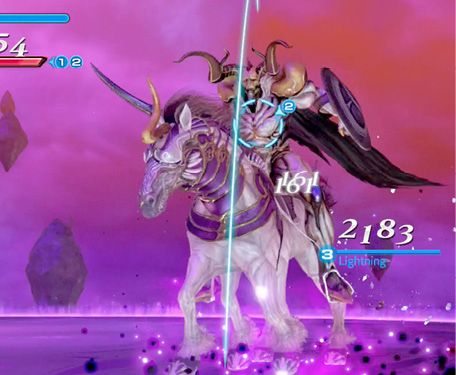
Available champions: Lightning, Zidane, Squall, TerraOpponents: OdinLocation: Proving GroundsReward: 2 Treasures
The summons will submit only to those who have proven themselves worthy. Evince to this knight that you too can overcome any adversity.
The mounted knight is less mobile than you might expect, and tends to stay in one place and attack from there. He’ll either move around through the natural motion of his attacks, or by Spurring Sleipnir to a new staging ground. To avoid getting crowded with this measured approach, he makes liberal use of Sleipnir’s Destrier’s Dance stomp. That doesn’t help him against ranged attacks though, or against cautious advancing with guard at the ready, so Odin tends to be easier to attack directly than other summons.
Odin’s Arsenal
| Type | Name | Description |
|---|---|---|
|
Bravery |
Zwerch |
A wide horizontal slash before Odin. |
|
Bravery |
Oberhau |
During High Guard: Odin adds a vertical slash immediately after Zwerch. |
|
Bravery |
Stoss |
Extending a spear straight ahead, Odin pushes an invisible force out along a straight line. |
|
Bravery |
Duplieren |
During High Guard: the Stoss spear thrust creates a high-energy laser beam. |
|
Bravery |
Destrier’s Dance |
Odin’s steed brings both frontal hooves down thunderously, sending out a powerful omnidirectional shockwave. |
|
Bravery |
Cavalry Charge |
During High Guard: After the steed’s clomping attack, horse and rider ride down anyone still ahead of them with a stampeding strike. |
|
Bravery |
Stucke und Bruch |
Odin raises his trusty shield, ready to counter anyone who hits him while it’s up. |
|
Bravery |
Twinkling Targe |
During High Guard: Odin’s counter is improved with a laser projection. |
|
HP |
Scheitelhau |
A plunging vertical stab. |
|
HP |
Doppelhau |
A plunging vertical stab, following by a horizontal slash. |
|
HP |
Verhawen |
With a swing of his sword, Odin launches a huge oblong energy blade. |
|
HP |
Doppelrundtstreich |
High Guard’s enhanced Verhawen attack accompanies the energy blade with lateral projections. |
|
HP |
Gungnir |
Odin triggers a fatal rain of spears from the heavens. |
|
HP |
Redoubled Efforts |
High Guard’s enhanced version of Gungnir adds more falling spears. |
|
HP |
Zantetsuken |
Odin’s fearsome ultimate attack. A purple dome extends from Odin and after a brief delay, anyone unable to escape its influence will be decimated. |
|
EX |
High Guard |
When his HP is half gone, Odin kicks it up a notch with new, more potent versions of all his attacks. |
|
EX |
Spur |
Odin spurs Sleipnir to relocate. |
A Tail of Two Combatants
Cost: 1 memoria Type: cutscene
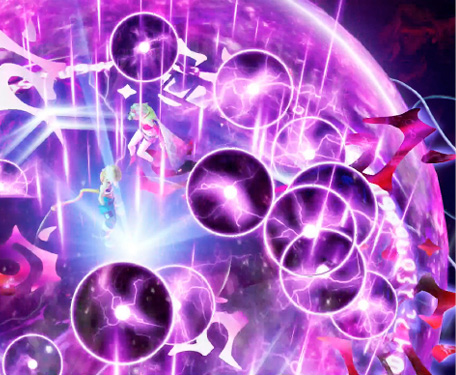
Zidane and Terra enter a gateway in pursuit of another summon.
The Emperor and Sephiroth surprise the two and mean to take the summons’ power for their own. Kuja, however, would see the summons in more selfless hands.
Ensemble Cast
Cost: — Type: battle (Platinum)
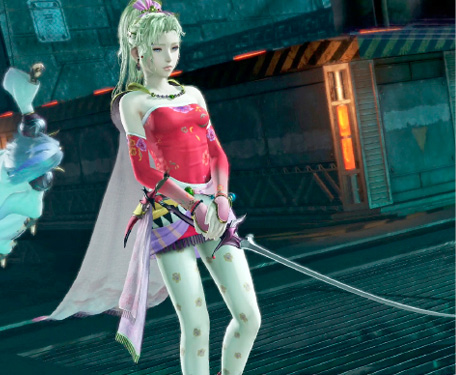
Available champions: Terra, Zidane, KujaOpponents: Sephiroth, The Emperor, Flickering Knight (manikin Cecil)Location: MidgarReward: 1000 Gil
Despite his antagonistic history with Zidane, Kuja lends him and Terra his aid. Together they shall drive away those who would use the summons for ill.
Proper Conversation
Cost: — Type: cutscene
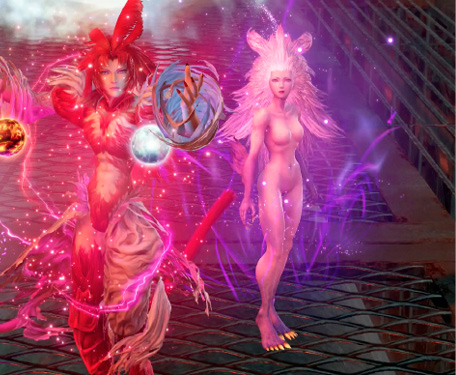
Everyone is forced to flee before the planesgorger, who devours energy wrought from battle, consumes them all.
When last brought to this world, Terra was spellbound by Kefka to invoke destruction. Now she confirms it was none other than Kuja who eventually broke her bonds.
Unruly Adjudicator
Cost: 1 memoria Type: cutscene
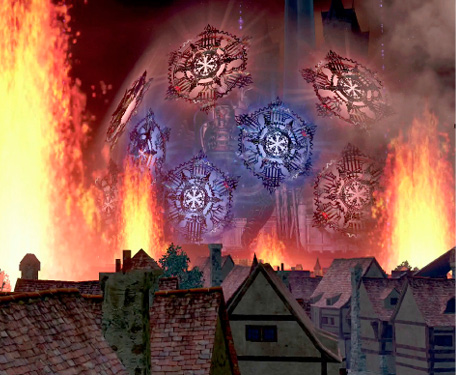
The search for summons continues, while Terra’s unbridled glee at having Kuja along rubs Zidane the wrong way.
Although it may only be a facsimile, the sight of Alexander descending to protect their home fills Zidane and Kuja with a sense of bittersweet nostalgia.
Challenging Alexander
Cost: — Type: battle (Boss)
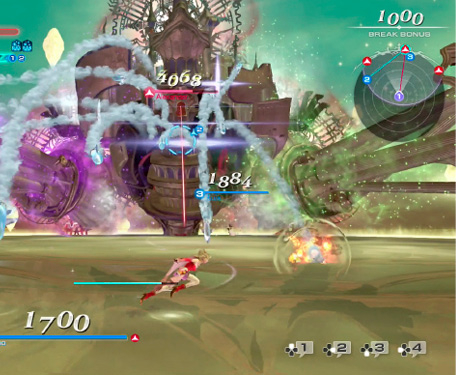
Available champions: Kuja, Zidane, TerraOpponents: AlexanderLocation: Proving GroundsReward: 2 Treasures
The summons will submit only to those who have proven themselves worthy. Present your case that you can stomach the most absurd of twists.
The enormous living castle makes an easy target, but is no slouch defending itself from harm. Like against Ramuh, place a premium over avoiding the gauntlet of attacks rather than overcommitting to offense. Be patient and strike at Alexander in between salvos. The rest of the time, move laterally back and forth in front of him, causing most of his attacks to miss. When Alexander activates his Fortify EX skill as the fight drags on, take extreme care not only to keep dodging Alexander’s attacks, but to also avoid your own allies as well. Once he can hit everyone at once with HP attacks, you don’t just have to worry about dodging his shots against you.
Like the Ramuh fight, your roster here does not feature a vanguard, so prepare for long bouts of dodging between vulnerable phases. However, by comparison, there are fewer hazards in the Alexander fight, and thus more time to think and act. The area under Alexander’s head is relatively safe, particularly in the first phase. Don’t be afraid to stand in melee range, even as Terra. Melee characters are still going to be disadvantaged as their combos have long animations and can cause them to get hit by a fast attack. If you’re going to use a melee character, stick to attacks that have fast animations, avoid using full combos, and elect instead to only do one or two brief hits to ensure that you have ample time to anticipate Alexander’s next move. Again, Terra is going to have a clear advantage here with her deep repertoire of spells and her ability to cast while moving. Be sure to strike Alexander whenever your teammates become incapacitated from one of its HP Attacks so that you can gain the break bonus. It will be essential to be proficient at stockpiling Bravery on this fight due to Alexander’s resilience.
Alexander’s Arsenal
| Type | Name | Description |
|---|---|---|
|
Bravery |
Radiant Sacrament |
Alexander calls for tall pillars of energy, which slowly travel toward his opponents. |
|
Bravery |
Exorcize |
While white glyphs glow on Alexander’s body, a light pillar quickly emerges from under the victim, rocketing upward. |
|
Bravery |
Penance |
White glyphs glow on the body as the ground is lasered straight ahead. After a moment, a huge holy explosion travels along the laser’s path. |
|
Bravery |
Penitence |
White glyphs glow on the body as a laser cuts sideways across the arena. After a moment, as with Penance, a huge explosion travels the path. |
|
Bravery |
Absolution |
Missiles emerge from a glyph before Alexander’s body, homing in on the target. |
|
Bravery |
Retributive Blast |
With a wide glyph on the ground broadcasting the impact zone, a barrage of dozens of missiles is launched to hail down. |
|
HP |
Divine Reckoning |
Holy rings zero in quickly on all targets before pillars of cleansing light pour down from the heavens. |
|
HP |
Gavel of Justice |
Divine Reckoning targeted against all foes at once. |
|
HP |
Sacred Flame |
Giant yellow glyphs herald a big lethal tracking laser, emerging straight from Alexander’s body. |
|
HP |
Exculpation |
An enhanced version of Sacred Flame that uses multiple beams to target all of Alexander’s foes at once. |
|
HP |
Divine Judgment |
Alexander’s ultimate attack blankets the arena in holy light. |
|
EX |
Fortify |
At less than half HP, this god of defense activates Gospel of the Lost and Blessing of the Fallen. Alexander also begins targeting more than one foe at once. |
|
EX |
Gospel of the Lost |
Alexander’s HP gradually recovers. |
|
EX |
Blessing of the Fallen |
Alexander’s Bravery gradually recovers. |
Don’t Be a Stranger
Cost: — Type: cutscene
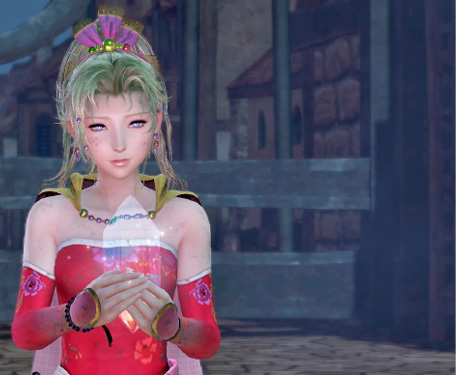
The three survive Alexander’s trial.
His trial complete, Zidane realizes that this strange world serves not only to reunite warriors from distant worlds, but also erstwhile rivals who have long since parted ways.