Dissidia Final Fantasy NT Guide Characters
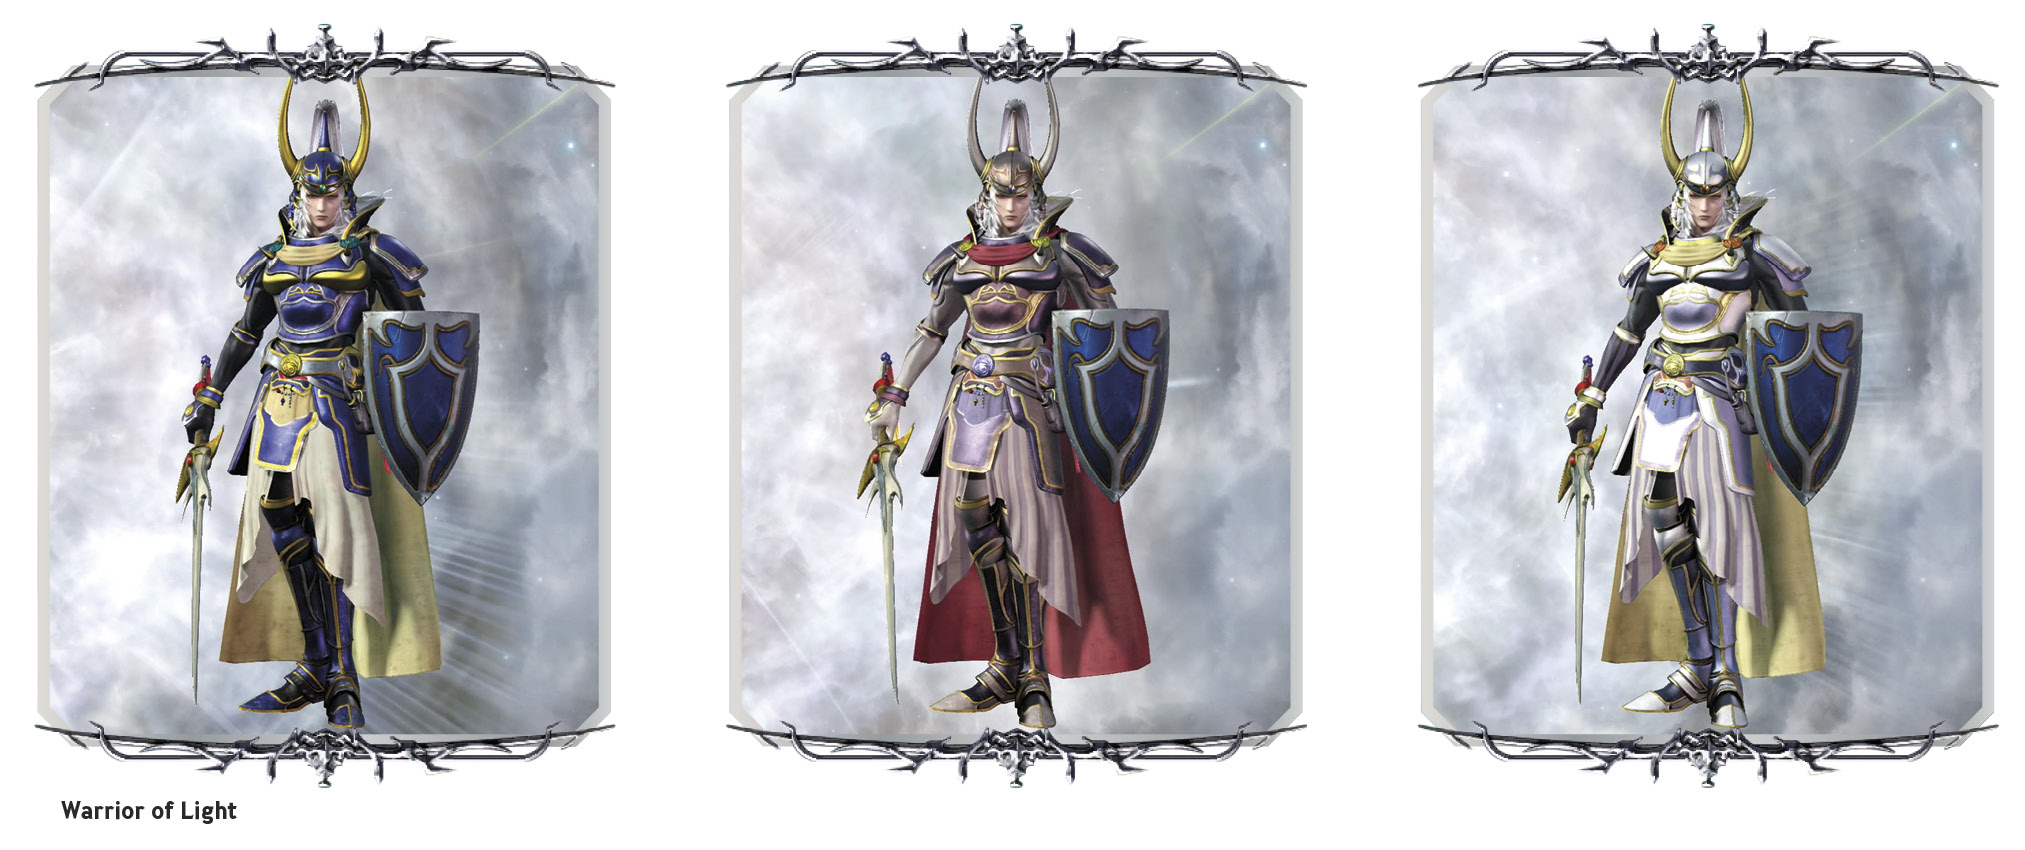
Warrior of Light
Vanguard



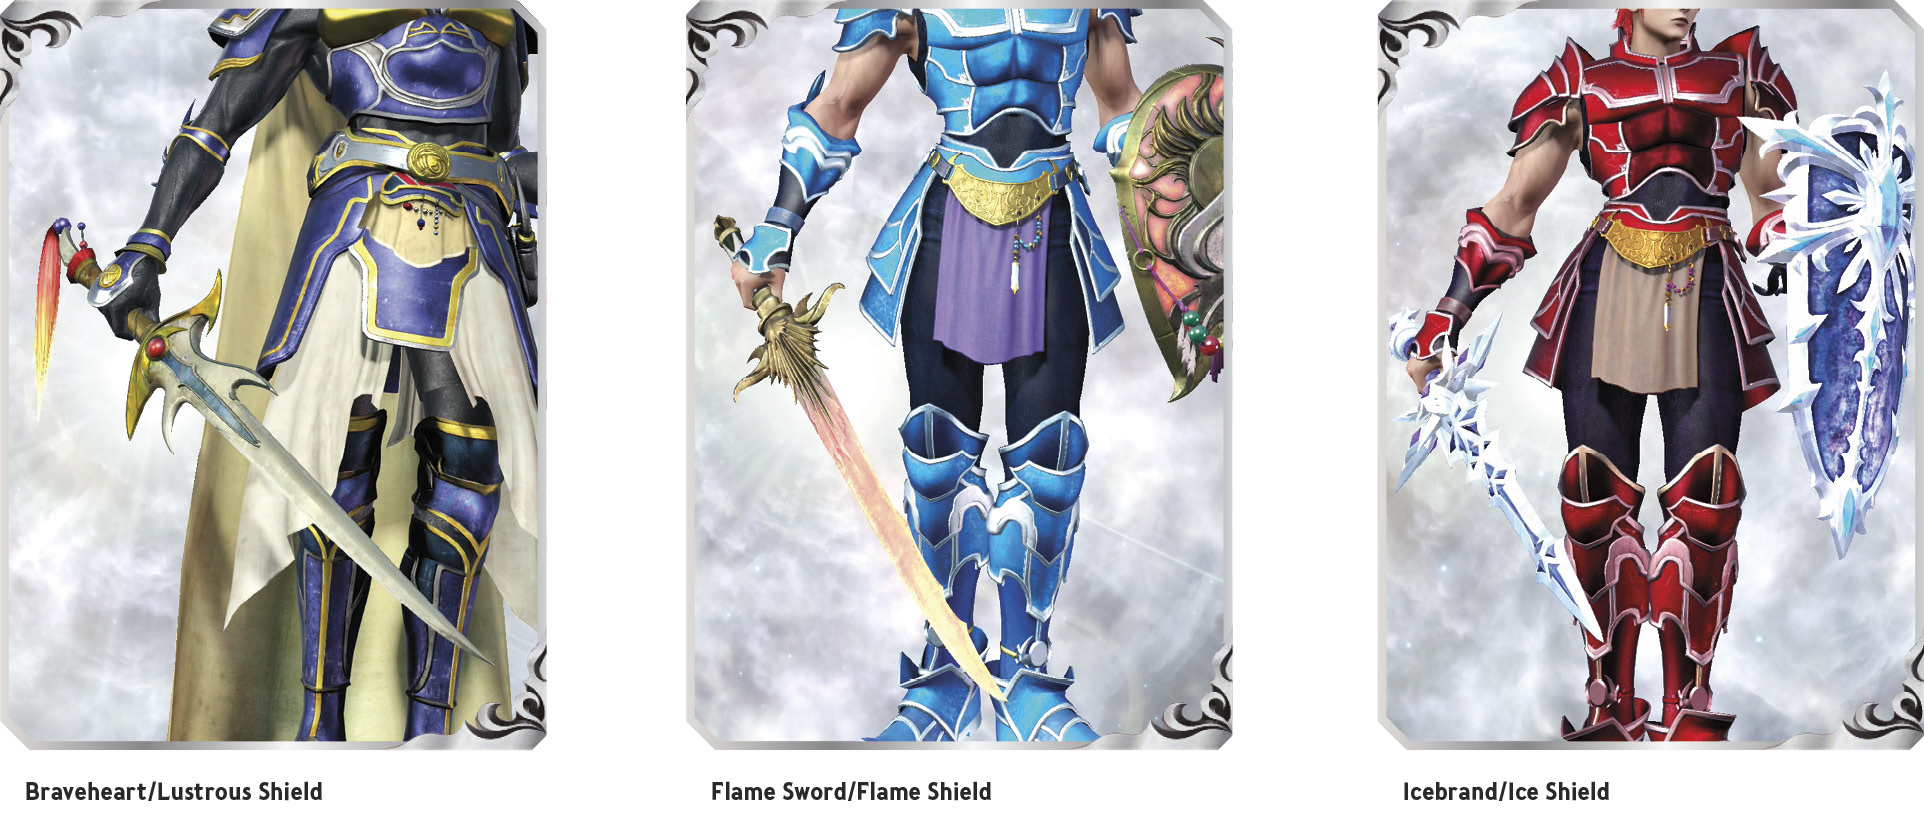
The Warrior of Light is an all-around fighter devoted to protecting his allies. He carries a shield of light and employs techniques with both defensive and offensive capabilities. Said shield can turn others’ attacks to his advantage and can enhance both the party’s defensive prowess and certain skills.

Original Appearance: FINAL FANTASY
Year: 1987
Role: The Warrior of Light is one of four Light Warriors who come together to save the world from grave peril, though the stakes don’t start out seeming quite that high. Initially, the warriors convene to save Princess Sarah of Cornelia from the archfiend Garland, himself a disgraced knight of that kingdom. After, their continued journeys would take them to the four corners of the world, but that wasn’t the last they’d see of Garland…
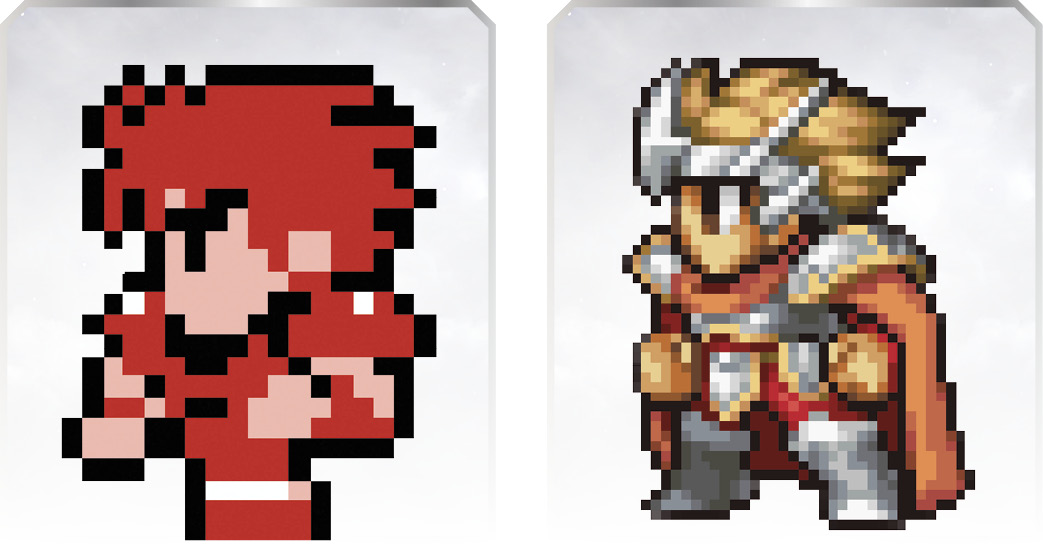
Other Noteworthy Appearances: DISSIDIA FINAL FANTASY (2009), DISSIDIA 012 FINAL FANTASY (2011), WORLD OF FINAL FANTASY (2016)
Arsenal
Bravery Attacks
| Name | State | Command | Bravery Damage | Range | Capsule Description |
|---|---|---|---|---|---|
|
Ascension |
Grounded |
|
64, 96+ 160, 240 (560) |
0.5 |
Lift an opponent with your shield, slice them with your sword, then knock them back. |
|
Sword Thrust |
Grounded |
|
64+ 48x5, 240 (544) |
1.5 |
Throw your shield at your foe and follow up with multiple sword thrusts. |
|
Shield of Light (Flash of Steel) |
Grounded |
|
480 / 512 / 544 |
1.0 |
Manifest a large shield in front of you that blocks Bravery Attacks. Press |
|
Crossover |
Airborne |
|
96x2+ 160, 208 (560) |
1.0 |
Swing your shield around you, then cut into the opponent. |
|
Shield Fling |
Airborne |
|
160, 112, 272 (544) |
1.0 |
Use your shield to reel a distant opponent in, then send them flying with a fierce blow. |
|
Shield of Light (Radiant Sword) |
Airborne |
|
128x3 / 128x5 / 128x7 (384 / 640 / 896) |
3.0 |
Manifest a large shield in front of you that blocks Bravery Attacks. Press |
|
Indomitable Charge |
Dashing (Grounded & Airborne) |
|
400 |
1.0 |
Erect a barrier around you that guards against attacks, then strike with your sword. |
 +
+  +
+  +
+  +
+ HP Attacks
| Name | State | Command | Bravery Damage | Range | Capsule Description |
|---|---|---|---|---|---|
|
Shining Wave |
Anytime |
|
— |
2.0 |
Emit a pulse of light that speeds toward the target from long range. |
|
Coruscant Saber |
Anytime |
|
— |
0.5 / 1.0 |
Send nearby foes reeling with your blade. |
|
Bitter End |
Anytime |
I (chargeable) |
— |
1.0 |
Deliver a piercing strike through a shield barrier, which deflects Bravery Attacks. |
|
Ultimate Shield |
Anytime |
|
32x8, 64 (320) |
2.0 |
Unleash at mid-range to buffet the target with your shield again and again. |


EX Skill
| Name | State | Command | Recast Time | Range | Capsule Description |
|---|---|---|---|---|---|
|
Holy Chain |
Anytime |
|
90 seconds |
2.0 |
All nearby enemies temporarily target you. |

Bravery Attack Breakdown
Ascension
| Command | Bravery Damage | Note |
|---|---|---|
|
Grounded |
64, 96+ 160, 240 (560) |
— |
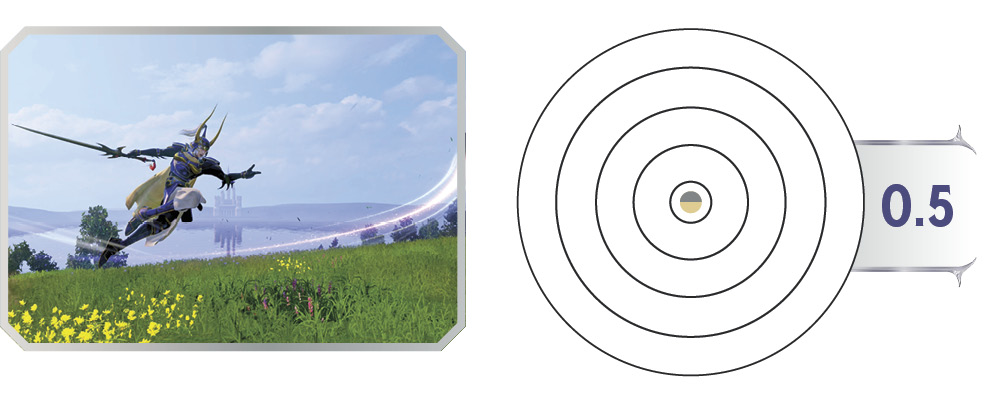
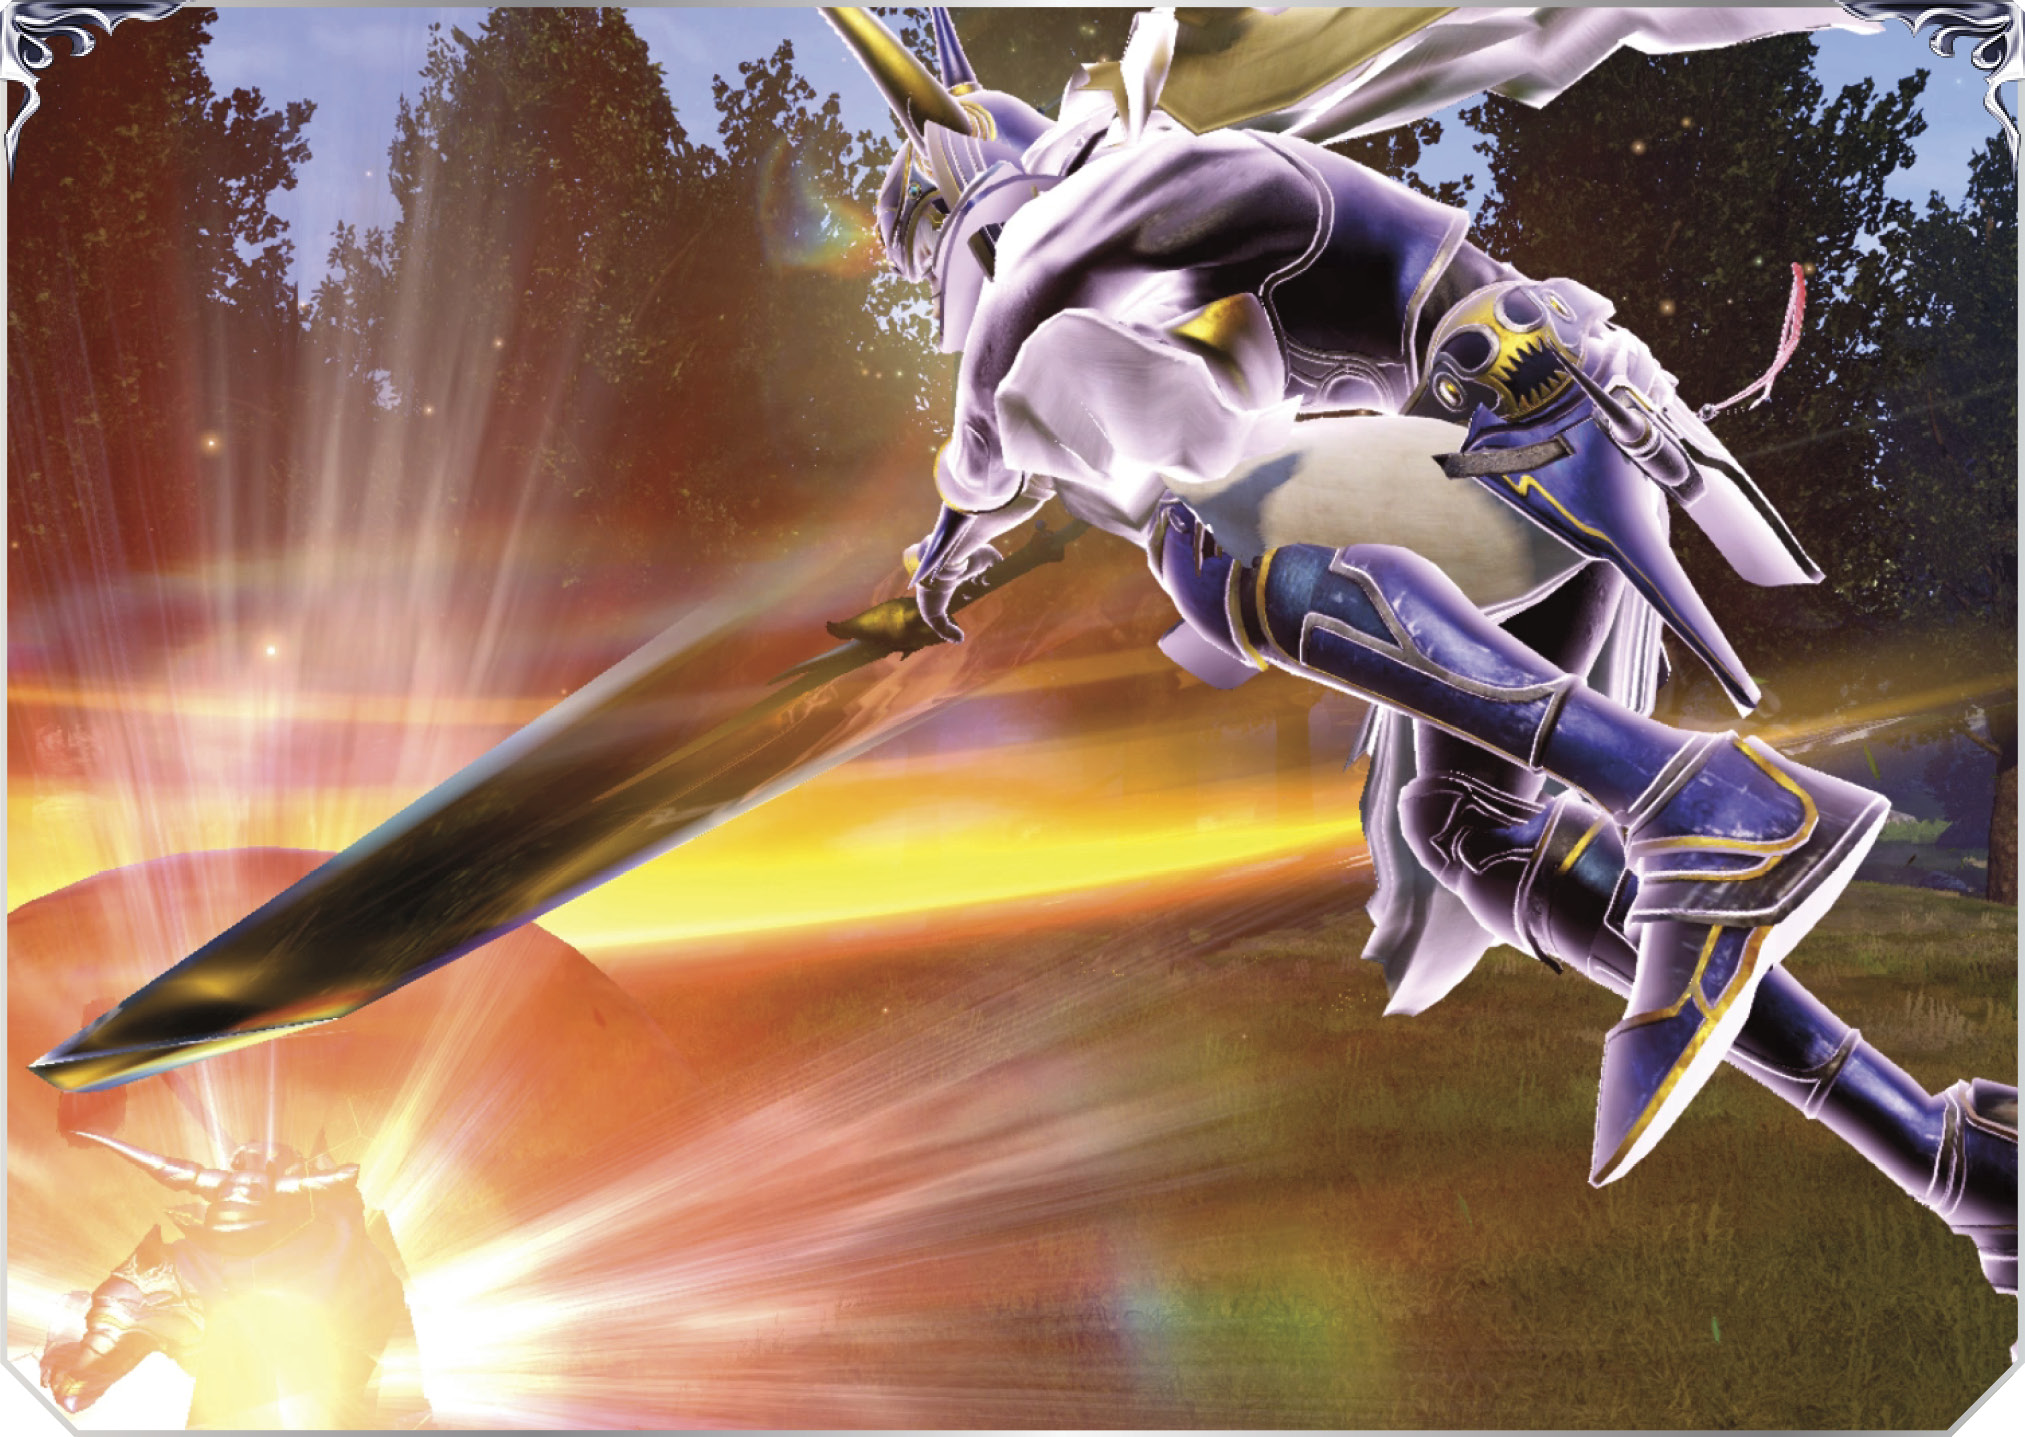
Whether Warrior of Light’s shield is attached to him by a fine lead or merely tethered by his goodness, he can wield it like a boomerang, hurling it out ahead of him only for it to return, often dragging his prey with it. It’s just so with this attack, with the Warrior stepping forward and whirling the shield ahead of him. Hit or guard, he can immediately step forward again while double-slashing with his sword. For the finale, he can thrust forward as his target reels, launching them far away.
When allies are close by, don’t finish Ascension unless there’s a wall right behind the victim. Perform just the first two stages so an ally can rush in and begin their combo off the tail end. The staggered hits without a finisher can also give summon spells a chance to catch opponents. Pretty much all the rest of the Warrior’s attacks reach farther than this, but this is the only three-stage combo that allows him to set up a foe like a T-ball for allies.
If the shield throw at the beginning misses, Warrior of Light is stuck recovering for a moment. Evasion cancel as soon as possible for a little extra safety.
Sword Thrust
| Command | Bravery Damage | Note |
|---|---|---|
|
Grounded |
64+ 48x5, 240 (544) |
— |
 +
+ 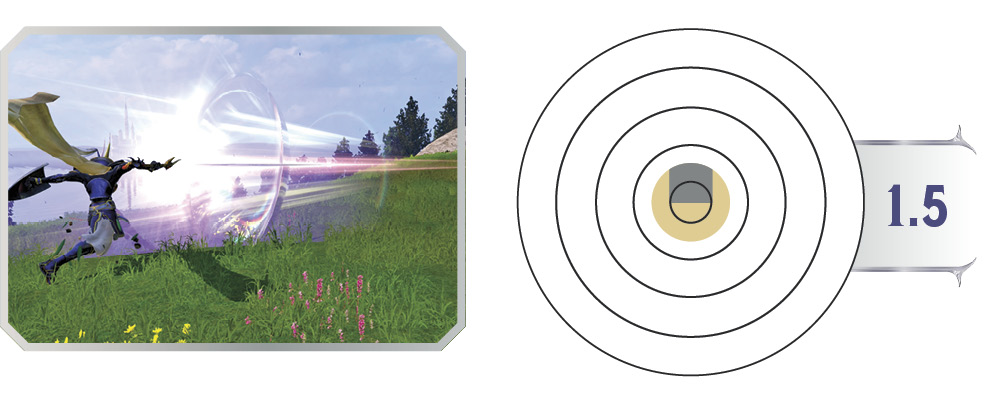
Turning around to whirl it backhanded, the Warrior throws the shield ahead of him over twice as far as with Ascension. He then springs forward and slides toward the shield, sword tip extended ahead. If the shield hits someone, it drags them back a bit. However, the movement here is still mostly the Warrior stabbing forward; the shield is just there to precede him and possibly stagger his prey. If his sword slide hits, he’ll drag them for several stinging hits, ending in a quick final stabbing blow that knocks them far away.
Sword Thrust’s range as a ground poke is deceptively large, especially considering Warrior of Light doesn’t put himself at risk at first, tossing the shield ahead to interrupt lots of stuff that might otherwise trouble him. If it hits and the follow-up blasts the target far away, refocus on your teammates’ targets/harassers unless it scores a wall hit.
Shield of Light (Flash of Steel)
| Command | Bravery Damage | Note |
|---|---|---|
|
Grounded |
480 / 512 / 544 |
Successful guard increases Shield of Light level for 15 seconds, Level 3 max. Buff degrades one level when timer expires. |
 +
+ 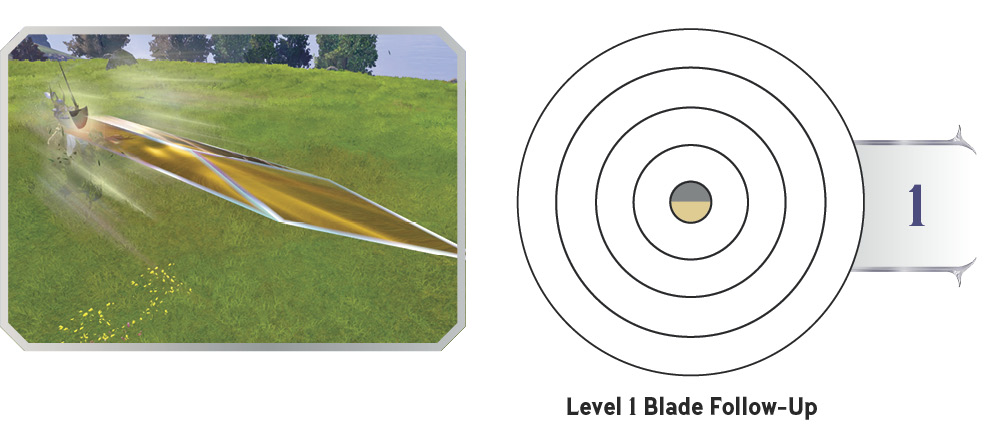
Warrior of Light quickly raises his shield, bracing against incoming Bravery strikes and projectiles. The force of his spirit projects an extra-large mystic shield to complement his kite shield. With this mystic shield aloft, he repels any incoming Bravery Attacks for up to half a second, leaving the would-be assailants wide open.
Anytime during the half-second guarding period, Warrior of Light can cancel his defensive posture into an enormous, flat blade, which juts out suddenly, spearing his target.
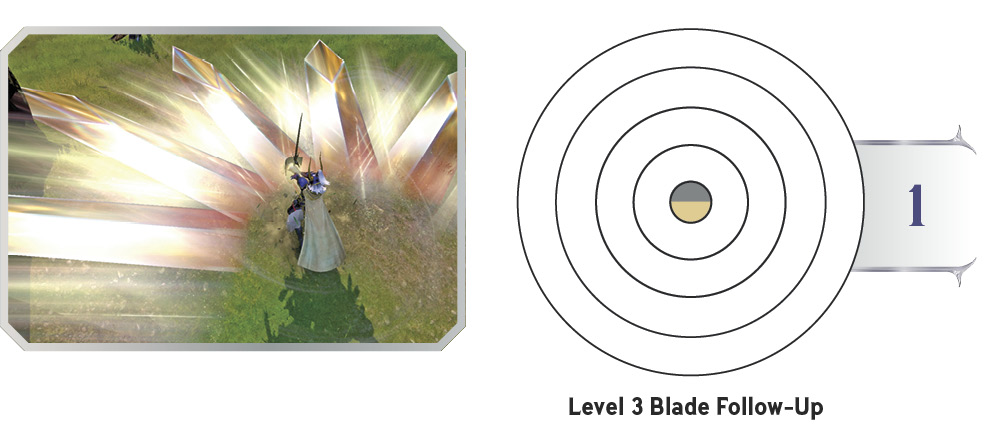
Normally, the Warrior raises one glowing mystic shield when using Shield of Light. This can be thought of as Shield of Light Level 1. Deflecting a Bravery Attack with Shield of Light increases Shield of Light’s level for 15 seconds, indicated by a small icon under the Warrior’s HP gauge. With the icon dwindling and Shield of Light Level 2 available, Warrior of Light guards with three mystic shields instead of one, giving him much more blocking area. Guard against another Bravery Attack with this triple shield to increase Shield of Light to Level 3, max strength. When guarding with Shield of Light Level 3, Warrior of Light raises FIVE energy shields, covering one whole hemisphere of battle! When the timer for Shield of Light Level 3 expires, the buff drops down to Level 2 and a new timer begins. When Level 2 runs out, Shield of Light returns to base level.
Increasing Shield of Light’s level by blocking Bravery Attacks doesn’t just jack up Warrior of Light’s guarding power. It also drastically increases the power of his flat blade follow-up. The damage goes up, and the number of big blades increases to match the shields—three blades jut out with Level 2, and with Level 3 five blades erupt outward, almost covering the full 180 degrees in front of Warrior of Light with cutlery.
Crossover
| Command | Bravery Damage | Note |
|---|---|---|
|
Airborne |
96x2+ 160, 208 (560) |
— |
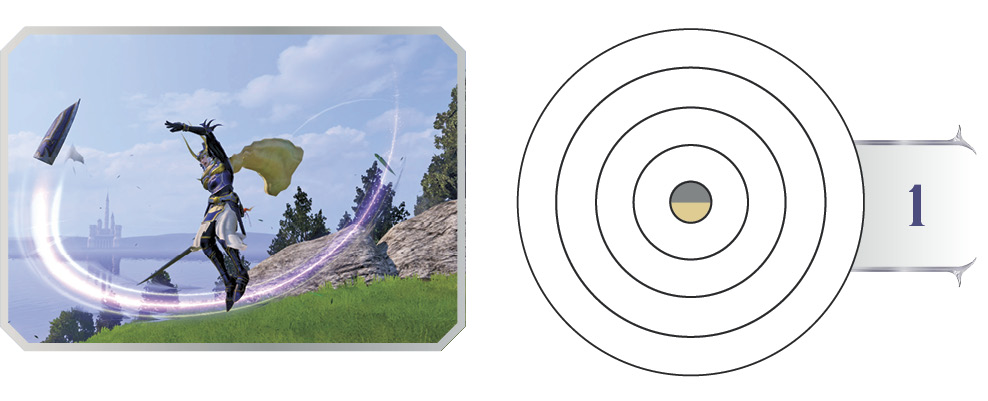
Floating through the air, Warrior of Light drifts forward, whipping the shield in three quick circles. If any of these swipes makes contact, he can finish off with a final sword slam, knocking his opponent off into long range.
This attack’s first stage is active a long time, since it’s really three shield swings. It’s great as an exploratory poke aimed forward or upward, but it’s not good against targets lower in altitude.
Fighting in tandem with allies, use this aerial attack without the follow-up finisher, which knocks the enemy far away. Instead, go for hitting with the three shield swipes, which gives friends plenty of time to line up something juicy.
The lengthy triple swing can also be a threat to the Warrior himself. If it misses badly right away, the Warrior is left with two swings off into space before evasion canceling is possible.
Shield Fling
| Command | Bravery Damage | Note |
|---|---|---|
|
Airborne |
160+ 112, 272 (544) |
Throws enemy behind Warrior of Light. |
 +
+ 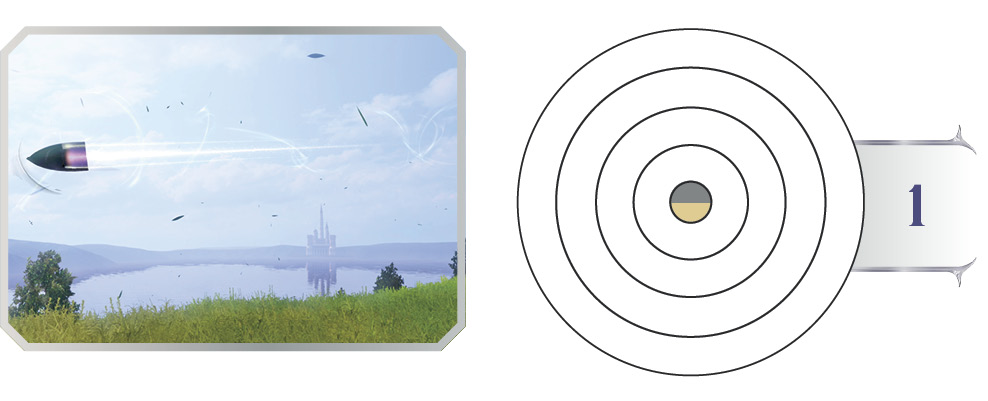
For this shield attack, Warrior of Light sends out the shield on a quick find-and-return path—it reels in enemies it snags to the other side of the Warrior. From here, a heavy swipe of his sword sends them flying off behind him.
Like his other attacks, the range on this is very good, and it’s lower-risk in mid-air than Crossover. What makes this attack unique is that, when it works, it flips the victim from in front of the Warrior to behind him. It’s easy to get wall rushes by slamming enemies backward with just about every other combo, but this one allows Warrior of Light to do it when he himself seems to be in the defensive position, backed into a corner. Most characters naturally hate fighting with their backs to the wall, for the obvious and lethal combo chances it gives up to the other team. It’s simply a bad place to be. But Warrior of Light is more comfortable than most, thanks to his versatile blocking with Shield of Light and the threat of Shield Fling to wall-hit foes when they thought they had superior positioning. Even if they guard the shield, they’ll still get dragged in and put into a defensive position with their backs now against the wall.
Shield of Light (Radiant Sword)
| Command | Bravery Damage | Note |
|---|---|---|
|
Airborne |
128x3 / 128x5 / 128x7 (384 / 640 / 896) |
Successful guard increases Shield of Light level for 15 seconds, Level 3 max. Buff degrades one level when timer expires. |
 +
+ 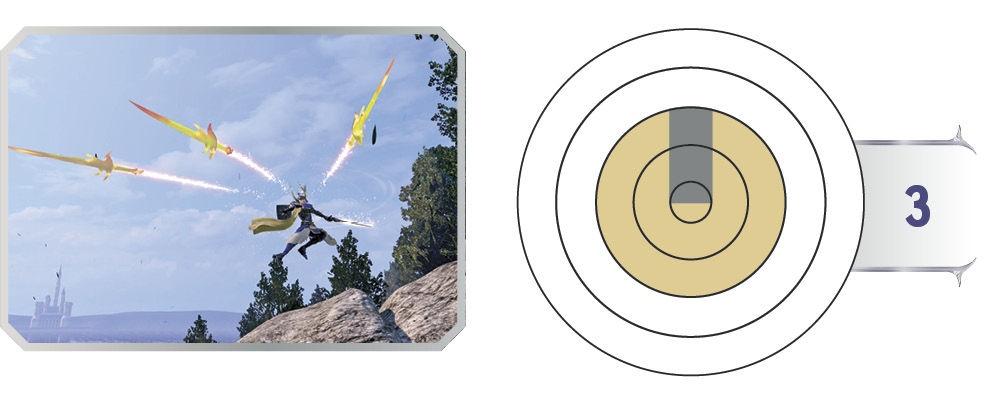
Warrior of Light swiftly brings up his shield and holds it steadfastly before him. His fighting spirit imbues the shield with extra defensive poise, creating a big shield image in the air over it. He wards Bravery Attacks for up to half a second like this; any incoming Bravery strikes from overzealous foes bounce off harmlessly, leaving them exposed.
Anytime during the guarding period, Warrior of Light can drop his shield and launch his only long-range Bravery Attack, a cluster of mystic swords that zoom off in pursuit of the target.
Like with grounded Shield of Light (Flash of Steel), aerial Shield of Light (Radiant Sword) has three power levels. Level 1 is normal gameplay, with Warrior of Light blocking with one mystic shield and tossing three mystic swords upon follow-up. At Level 2, he blocks with three shields and hurls five swords. And at Level 3, he blocks with five shields, covering one whole side, and he throws seven swords, generating an enormous amount of Bravery if most of them make contact.
Performing airborne  +
+  > as fast as possible from long range, where the shield isn’t relevant anyway, makes for a decent long-range annoyance option (or a terrific one, with five or seven swords to send at a time). It’s also a low-commitment way to pick at summoning stones, or foes who aren’t your primary target.
Indomitable Charge
| Command | Bravery Damage | Note |
|---|---|---|
|
Dashing (Grounded & Airborne) |
400 |
— |
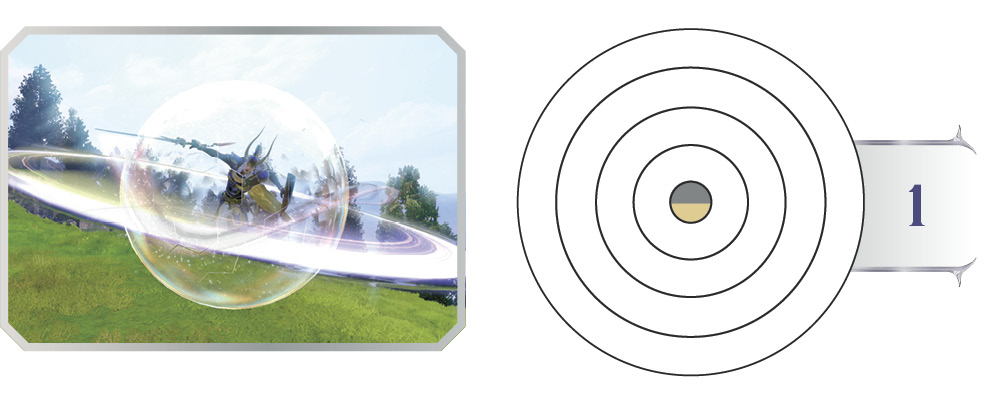
While dashing, Warrior of Light begins winding up a punishing sword backhand, surrounded by a glowing ring of light. Bravery Attacks that strike him during this period are deflected harmlessly. Then Warrior of Light brings his sword arm around, coming out of his defensive shell with a single powerful slash.
The merits of an armored period that auto-guards Bravery Attacks are obvious. The sword slash on the end is as good as it looks too; Warrior of Light begins slashing left to right and spins all the way around, clockwise, the blade active the whole time.
This should be used rushing in at marksmen, to swipe at groups ganging up on allies, and to pressure enemies who are recovering after you’ve slapped them away with a combo, then dash canceled to fly in after them.
HP Attack Breakdown
Shining Wave
| Command | Bravery Damage | Note |
|---|---|---|
|
|
— |
— |

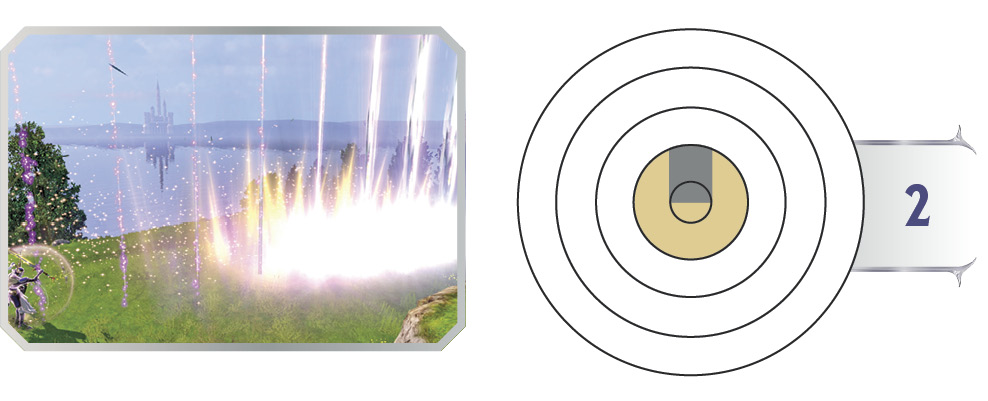
Warrior of Light crouches, bringing his sword hand near the soil while gathering tension, then flings his arm upward, sparking a rapid series of enormous explosive pillars that roar away from him. Ten pillars in all erupt in sequence in a line toward the target, well into mid-range. There’s no additional Bravery damage dealt in the flames, but anyone contacted naturally eats the balance of Warrior of Light’s Bravery in HP damage. After Warrior of Light winds this attack up, the release is very fast. It’s very hard to dodge for anyone who wasn’t already focused on Warrior of Light.
This powerful shockwave projectile is similar to several others, and is easy to understand and apply. It gives Warrior of Light a strong projectile option where he’s otherwise lacking, reliant on the floating swords of Shield of Light (Radiant Sword).
Coruscant Saber
| Command | Bravery Damage | Note |
|---|---|---|
|
|
— |
Powering Shield of Light increases range. |

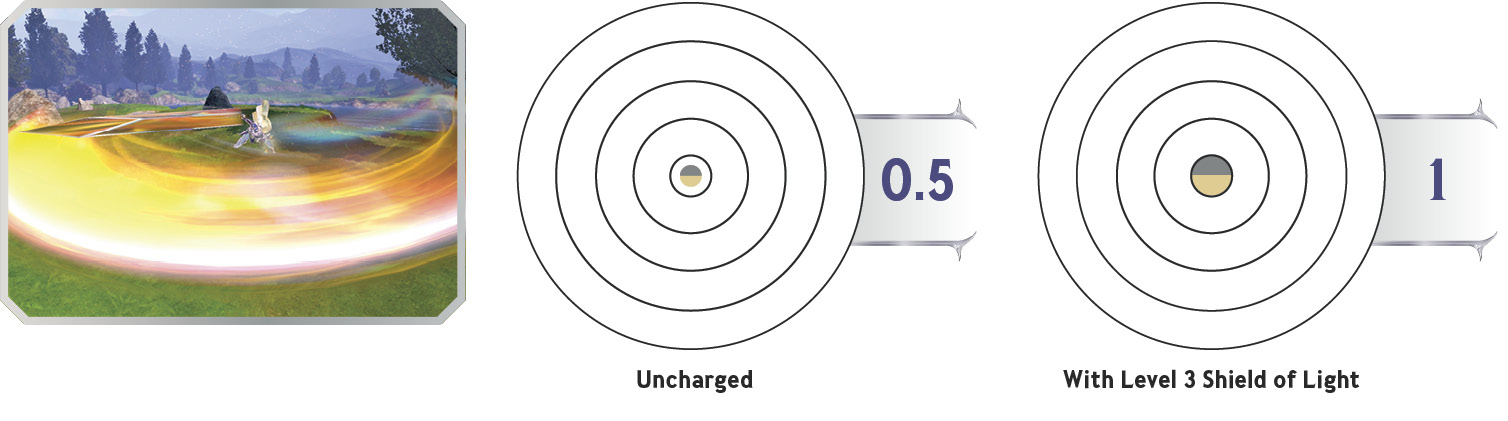
The Warrior of Light holds the sword pointed up at the heavens, and the blade blooms with holy energy. He lowers the sword and whirls in a clockwise circle, using the spin to power a horizontal frontal swing of this giant holy blade. The swing cuts quickly left to right before him, covering 180 degrees in the direction he’s facing.
When Shield of Light is powered up, so is Coruscant Saber. Normally, it has about the same reach as close-range swings, like the Warrior’s Ascension starter (grounded ). With Level 2 Shield of Light, the length of the blade is increased by 25%. With Level 3 Shield of Light, the blade is 50% longer!
Coruscant Saber is Warrior of Light’s most direct HP Attack. If you’re guarding regularly with Shield of Light, it’s easy to recommend. If you’re not blocking often, another HP Attack might be more to your liking. (Note, though, that if you’re not using Shield of Light often, you’re not playing as effectively as possible.)
Bitter End
| Command | Bravery Damage | Note |
|---|---|---|
|
I (chargeable) |
— |
Charge to increase duration. |
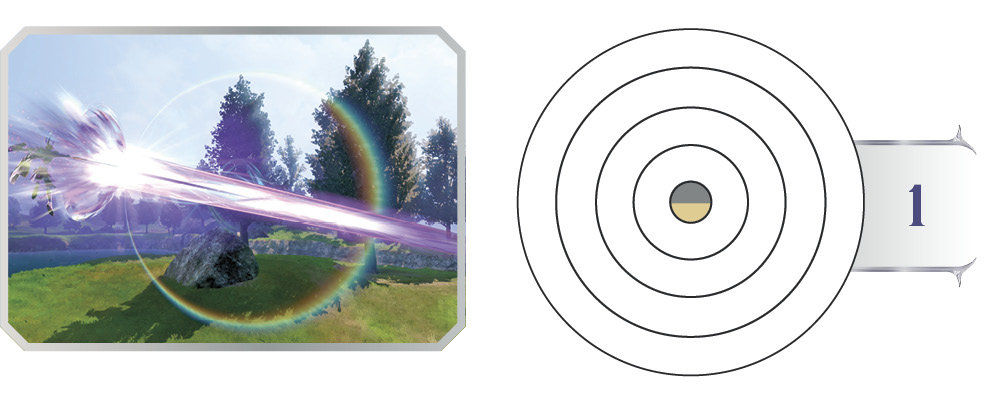
In Warrior of Light’s ultimate defensive maneuver, he cocoons himself in shielding defensive light for a moment, before exploding out of it with a harpooning, HP-erasing stab. One block, one hit, one knockout.
Bitter End is like a motionless, lethal version of Indomitable Charge. They’re both single-hit attacks preceded by a period where he brushes off Bravery Attacks harmlessly.
Bitter End provides yet another hesitancy-creating option to use alongside Shield of Light, Indomitable Charge, and good old-fashioned guarding and sidestepping, to make enemies second-guess their usual Bravery Attack plans against the Warrior’s team.
Ultimate Shield
| Command | Bravery Damage | Note |
|---|---|---|
|
|
32x8, 64 (320) |
— |

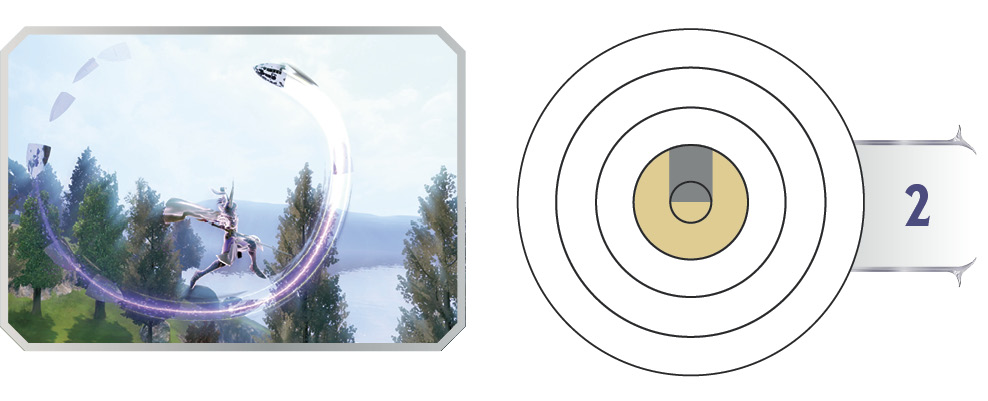
Warrior of Light surges up and forward with a dizzying series of shield slashes, whirling the trusty kite shield up and around nine times in all, before sticking the enemy with an HP damage stab almost as an afterthought.
This outrageous combo sequence has obvious potential after wall hits or to follow up from an ally’s setup. It’s a turbocharged version of Crossover (airborne > ), and can shoot down fliers above in the same way if needed. All the shield slaps add up Bravery before the finish, powering up the HP hit, something the Warrior’s other HP Attacks don’t do.
The only caveat is that a nine-swing shield combo takes time, so this is an especially painful attack to attempt but miss.
EX Skill Breakdown
Holy Chain
| Command | Bravery Damage | Note |
|---|---|---|
|
|
— |
90-second cooldown. Forces nearby foes to target Warrior of Light for 12 seconds. |

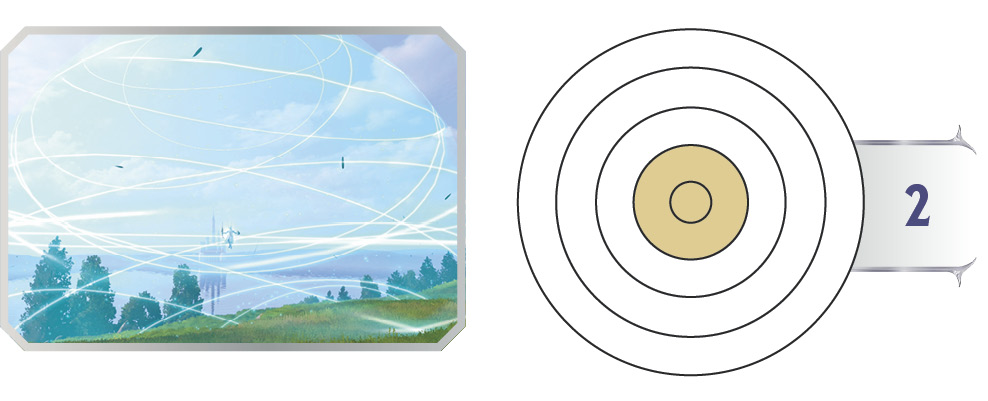
Warrior of Light beckons all adversaries around him, and a pulse of light expands outward. Enemies caught in this radius are forced to target the Warrior for 12 seconds—an eternity in match time. They can’t switch target to anyone else, nor to a summoning core!
Holy Chain’s recast time is a minute and a half, so it won’t be ready for a bit. But it can turn the tides of a whole battle, judiciously used. Snare two or even all three of the opposing team with Holy Chain, and Warrior of Light can disrupt their plans several different ways. The most common opportunities to snare multiple targets in Holy Chain are when they’re ganging up to combo a friend, or running after a summoning core. (If enemies are already ganging up on the Warrior, there’s no point to spending Holy Chain. Wait till it can disorient foes and muck up their plans.)
Holy Chain stops victims from attacking the Warrior’s allies, and it can even interrupt their combos in progress. Enemies who can only face Warrior of Light can also no longer get a good visual on what his teammates are doing, especially if friends attack from behind or from high above. Additionally, enemies stuck to the Warrior can’t chase down summoning cores, leaving allies free to smash them and finish a summon. Should foes decide to go after the Warrior, they can play right into his hands, thanks to Shield of Light ( + , ground or air).
It’s not an accident that Shield of Light boosted up to Level 2 or Level 3 is much better at covering 180 degrees all in front of Warrior of Light, just like his sweeping Coruscant Saber HP Attack. The more Warrior of Light blocks, the better he gets at confronting an entire team forced to face him down.
Battle Plan
The Warrior of Light is a master of defense, and the most stereotypical tank in the game. He’s a vanguard through and through—the most vanguard, by design. He’s the team’s front line, here to serve as the tip of the spear against enemy teams. With his presence, the Warrior is tasked with breaking apart their team cohesion, discouraging their direct attacks, and protecting his teammates, knocking foes off them when they squeak through the Warrior’s defenses.
When approaching and prodding enemy groups, Shield of Light (Radiant Sword) is the only distant harassment tool. Up closer, pick at the fringes with Shield Fling and Sword Thrust, or plow right into the middle (with backup) with Indomitable Charge.
Many of the Warrior’s attacks and tactics are almost directed at a whole side of his body, rather than a specific target. During Indomitable Charge and both Shield of Light attacks (Radiant Sword and Flash of Steel), an attack that can potentially hit several enemies close together is preceded by a blocking period, giving self-cover.
These attacks cover a lot of horizontal territory, but there’s a blind spot for these attacks above Warrior of Light. Fliers and dive-bombers can be shot down in mid-air with Crossover (airborne > ), but standing on his feet, the Warrior has no immediately available attacks that aim upward. To get around this, tap neutral  for a sudden air-dash, then release
  and press , which starts Crossover right off the ground.
When Holy Chain is ready, rushing in on groups and forcing them all to pay attention to the Warrior can turn the tides of an entire fight, if your teammates capitalize. They can attack freely during this time, easily collect summoning cores, or even complete a summon ritual without fear of interruption.
Opposing teams may think twice about engaging the Warrior or sending Bravery projectiles his way, which give him an easy means of powering up Shield of Light. They may elect to fight on the fringes around him, chasing down his assassin and marksman teammates. It’s up to Warrior of Light to help chase enemies down and to keep tabs on his teammates when enemies split up, but his great chase-down moves are up to the task (mainly Radiant Sword, Indomitable Charge, Shield Fling, and Sword Thrust). Almost all the Warrior’s attacks have good range.
His bread and butter is picking at enemies with these lengthy swipes, using prudent spacing, while mixing in defensive options to make enemies skittish about trying to turn the tide. The key to really discouraging opposing fighters is Shield of Light. With his Shield of Light Bravery moves, Warrior of Light can guard unlike anyone else and turn successful defense into amped-up offense.
When using air or ground Shield of Light, you should have three different mental approaches, which depend on the situation. When far away from enemies and not immediately targeted by anyone, the shield part is unimportant, and you’ll want the follow-ups as soon as possible. In this case, they’re just attacks, so rush the  + > command quickly. This is most relevant when you want Radiant Sword as a ranged air attack, or Flash of Steel as a ground poke from max range.
The second mental approach is for a delayed execution: perform  + , pause to let most of the half-second of blocking elapse, then hit for the follow-up as late as possible (not too long; once the mystic shields vanish, it’s too late). Here, you’re still planning to do the attack anyway, but you’re giving the enemy a chance to let you block something, powering up the Warrior’s shield. This is appropriate when you’re in the middle of a scrum, with lots of characters engaging relatively close, but you’re not necessarily under immediate attack (i.e. no red target lines are pointed right at Warrior of Light, but he’s still in the thick of things).
The last, and most important, mental approach is to deploy the shield(s) with  + , then watch and see what happens. If the enemy pokes into the shield and bounces off, or slips up in some other way, like with a poorly timed sidestep, only then do you perform the follow-up. This use case is for point-blank range, whether dancing with opposing vanguards, seeing who blinks first, or setting foes up for bad reactions on purpose, like by catching them with the first two stages of Ascension (ground > ), then intentionally dropping them from the combo and putting up Shield of Light. If their instinct is to mash out of the situation with a quick attack, they’ll play into your hands and give you something to react to. If not, the shield recovers naturally, and you can return to dancing up close with them. You can even evasion cancel from an undisturbed Shield of Light for finer positioning and a slightly quicker follow-up.

Gallery
Appearance
Weapons