Dissidia Final Fantasy NT Guide Characters
Y’shtola
Marksman



This maven of magic revels in debuffing and trapping enemies. She can minimize the time between each of her attacks, thus enabling her to stand in one spot and become aetheric artillery. Just be ready to read your foes’ moves and anticipate their actions.

Original Appearance: FINAL FANTASY XIV
Year: 2010
Role: Y’shtola is a prominent member of the Scions of the Seventh Dawn, an organization dedicated to defending Eorzea from an oppressive Garlean Empire. She has a storied and highly regarded history of being one of the saviors of the realm, dating long before the Calamity.
Other Noteworthy Appearances: FINAL FANTASY XIV: A Realm Reborn (2013), FINAL FANTASY XIV: Heavensward (2015), FINAL FANTASY XIV: Stormblood (2017)
Arsenal
Bravery Attacks
| Name | State | Command | Bravery Damage | Range | Capsule Description |
|---|---|---|---|---|---|
|
Stone |
Grounded |
|
128, 128, 176 (432) |
4.0 |
Fire three stone shards at your enemy from a distance. |
|
Virus |
Grounded |
|
432 |
4.0 |
Hurl a virulent sphere at your foe from a distance. |
|
Blizzara |
Grounded |
|
448 |
0.5 |
Summon an eruption of ice before you, leaving behind a binding field of cold. |
|
Stonera |
Dashing (Grounded) |
|
16, 448 (464) |
0.5 |
Place an earth trap nearby that knocks away enemies caught in it with a violent force. |
|
Ruin |
Airborne |
|
128, 128, 176 (432) |
4.0 |
Shoot a trio of speedy non-elemental magic bullets at your target. |
|
Aero |
Airborne |
|
304, + 200 (504) |
4.0 |
Launch a homing orb of strength-sapping wind at your foe. |
|
Fluid Aura |
Airborne |
|
160 |
1.5 |
Unleash a swift blast of water that blows away your foe and roots them in place. |
|
Aerora |
Dashing (Airborne) |
|
16x7, 192, (+ 200) (504) |
0.5 |
Summon a powerful wind trap that engulfs enemies in a vortex, causing lasting damage. |
 +
+  +
+  +
+  +
+ HP Attacks
| Name | State | Command | Bravery Damage | Range | Capsule Description |
|---|---|---|---|---|---|
|
Holy |
Anytime |
|
— |
1.0 |
Emit a burst of holy light above you that stuns enemies who get too close. |
|
Vivifying Lance |
Anytime |
|
— |
1.5 |
Fire a lance of light to pierce foes directly ahead. Heals your party on hit. |
|
Holy Snare |
Anytime |
|
32, 48x5 (272) |
0.5 |
Lay a magic trap that detonates when touched. Decreases speed if it hits. |
|
Spiritual Ray |
Anytime |
|
— |
4.5 |
Cast a spell of earth, water, and wind around a foe, drawing in nearby enemies and exploding. |


EX Skill
| Name | State | Command | Recast Time | Range | Capsule Description |
|---|---|---|---|---|---|
|
Aetherial Pulse |
Anytime |
Hold |
60 seconds |
2.0 |
Continuously emit a regenerating aura, healing nearby allies and strengthening their resolve. |

Bravery Attack Breakdown
Stone
| Command | Bravery Damage | Note |
|---|---|---|
|
Grounded |
128, 128, 176 (432) |
Inflicts slow for five seconds. |
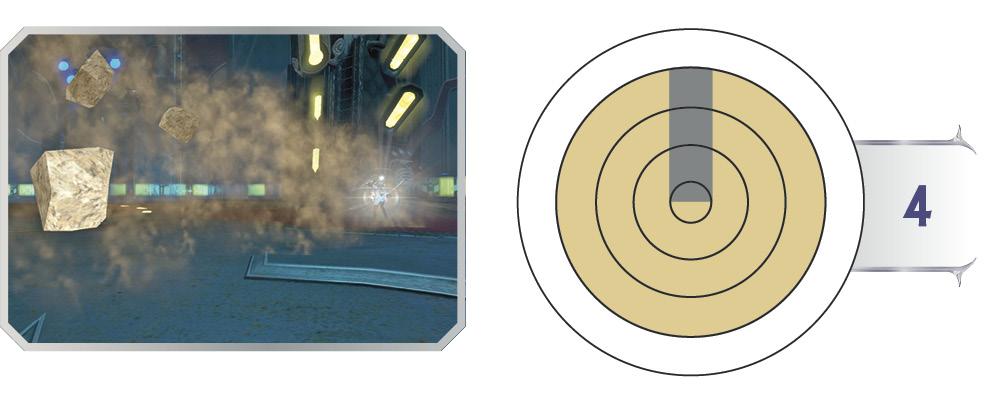
Y’shtola fires three stone shards that quickly dart at her target, afflicting lethargy on foes failing to evade them.
Stone is a fast-traveling set of projectiles with a quick cast time, ideal for tagging foes at long range while minimizing your own vulnerability.
This magic attack is excellent for slowing down high-priority enemies, making it easier for your team to collapse on the enfeebled target. The first cast of Stone has a low projectile priority. However, you can cast an upgraded version by immediately casting another, indicated by a gold glow around your projectiles.
Virus
| Command | Bravery Damage | Note |
|---|---|---|
|
Grounded |
432 |
Inflicts virus effect (lowers attack and defense for 15 seconds). + 6.25% damage taken. Tracking projectile. |
 +
+ 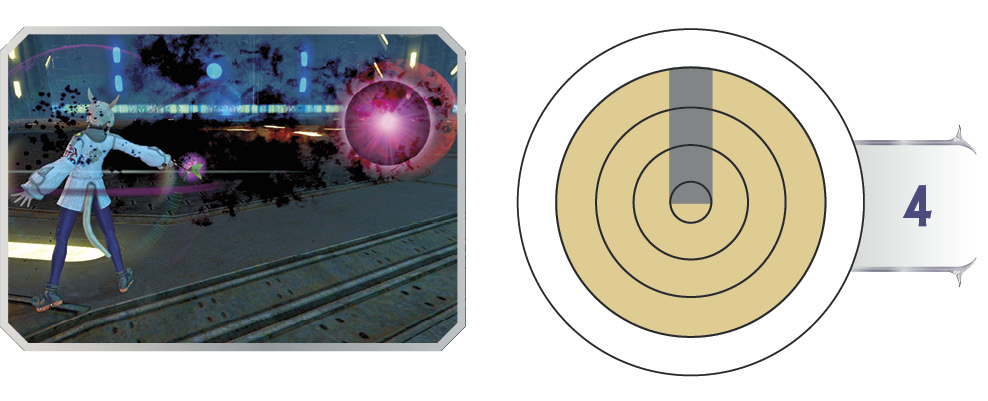
Y’shtola sends out a virulent orb that actively seeks her target. On impact, the spell weakens her victim.
Virus is a long-range, slow-moving homing projectile. While it doesn’t fly as quickly as Stone, the orb tracks its target, capable of connecting with enemies still on the move. Additionally, targets afflicted with Virus have both their attack and defense slightly lowered for 15 seconds. Virus doesn’t increase in damage when cast on a target already afflicted with virus.
The secondary effect isn’t particularly significant, but the tracking property as well as its on-screen duration make Virus a handy attack to toss out to deter enemies and is a great follow-up attack after setting up a Blizzara trap.
Blizzara
| Command | Bravery Damage | Note |
|---|---|---|
|
Grounded |
448 |
Trap lasts for 15 seconds. Two traps maximum. Inflicts bind for five seconds. |
 +
+ 
Icy stalagmites erupt from below as Y’shtola lays down a binding field of cold in a field in front of her.
Blizzara is one of several of Y’shtola’s magical traps. However, it exhibits a unique trait with its initial burst attack, making it a useful on-demand attack against enemies directly in front of you.
Its secondary effect is incredibly powerful. Foes caught in the trap are bound and unable to move for five seconds—plenty of time for a subsequent Stone or HP Attack follow-up.
Unlike the other trap attacks, evasion canceling this powerful enfeebling spell hardly mitigates its recovery period. However, you can have two Blizzara traps out at any time, while her other traps have a limit of one. For instance, you can use a three-step sequence of Blizzara > evasion cancel away > Blizzara to set up a defensive fortress of ice.
Stonera
| Command | Bravery Damage | Note |
|---|---|---|
|
Dashing (Grounded) |
16, 448 (464) |
Trap lasts for 30 seconds. One trap maximum. |
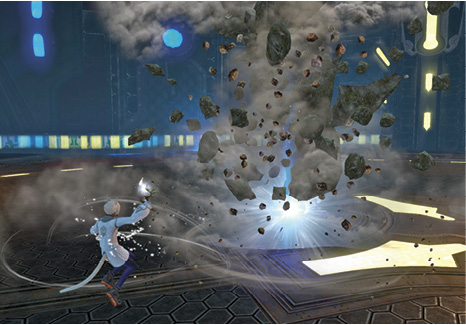
Y’shtola lays down a magical earth trap. Enemies who wander into its range are met with the collapse of a massive boulder attack, then flung away helplessly.
Stonera is an exceptionally powerful trap. It deals high damage and launches foes far into orbit, keeping you safe and giving you a large swing in Bravery.
A strong trap sequence to set up Stonera is: Blizzara > evasion cancel > dash > Stonera. So your inputs would be  +
+  >
>  +
+  >
>  +
+  (Hold) > .
Ruin
| Command | Bravery Damage | Note |
|---|---|---|
|
Airborne |
128, 128, 176 (432) |
— |
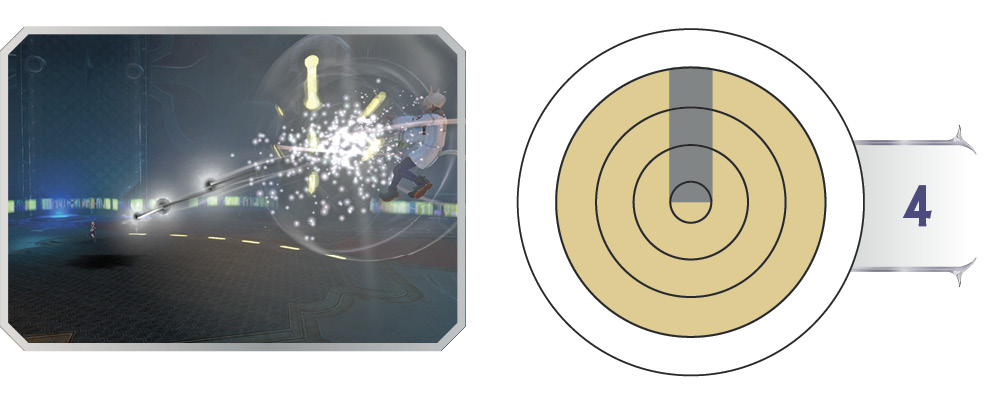
From the air, Y’shtola sends a trio of non-elemental magic bolts flying at her target.
Ruin is an excellent attack to use after setting up your traps. You can pester enemies at long range, deterring aggressors and forcing them to move or evade as they approach you.
Although the projectiles don’t track as well as Aero or Virus, they move much more quickly, giving foes less time to react in spots where you don’t have time to throw out an Aero or set up an Aerora trap.
Like Stone, Ruin has an “upgraded” version. Casting Ruin again immediately after a previous one (without moving or doing anything else), results in a golden Ruin cast, allowing it to plow through other projectiles.
Aero
| Command | Bravery Damage | Note |
|---|---|---|
|
Airborne |
304, + 200 (504) |
Inflicts aero (200 Bravery damage over 10 seconds). Tracking projectile. |
 +
+ 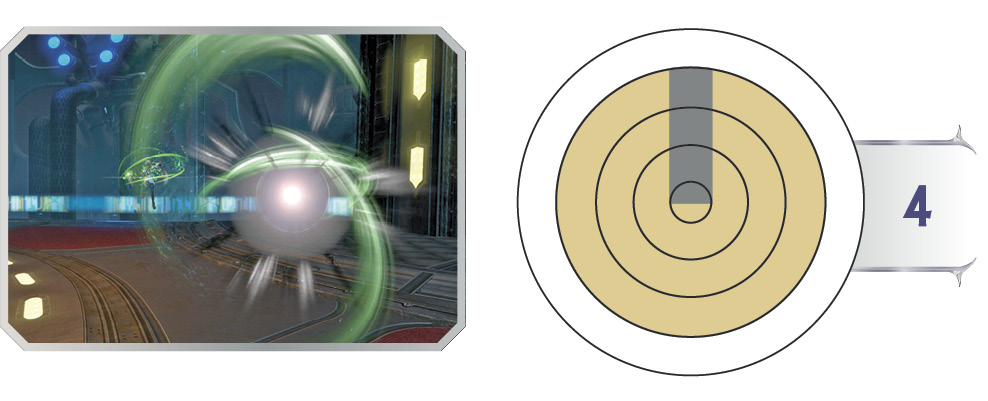
Aero is essentially an aerial version of Virus, but with a different secondary effect. On hit, Aero saps 200 Bravery over 10 seconds from the afflicted target.
Since Aero is an airborne attack, it edges out Virus in functionality (you generally want to stay airborne as Y’shtola).
Throw out Aero after setting up Aerora to compel movement from your targets while deterring melee-based fighters from engaging.
While the projectile isn’t as fast as Ruin, its tracking property makes it a major annoyance for the two non-marksman classes.
Fluid Aura
| Command | Bravery Damage | Note |
|---|---|---|
|
Airborne |
160 |
Inflicts bind for two seconds. |
 +
+ 
Y’shtola expels a burst of water, repelling a nearby enemy with extreme force. The victim then suffers a brief rooting effect upon landing from the blast.
Fluid Aura should be used purely as a reactionary defensive tool to quickly eject your aggressor from the vicinity. Its windup time is relatively short and it is difficult to avoid. Take advantage of the binding effect that kicks in after your opponent hits the floor either by following with a dash-in Aerora or by simply attacking from range with Stone or Ruin.
Aerora
| Command | Bravery Damage | Note |
|---|---|---|
|
Dashing (Airborne) |
16x7, 192, (+ 200) (504) |
Trap lasts for 30 seconds. One trap maximum. Inflicts aero. |

As a master conjurer, Y’shtola assembles a trap of elemental air in front of her, engulfing enemies caught inside a vortex. Foes entangled by the trap have their power sapped.
The Aerora trap is one of many that Y’shtola can lay down. It’s a wind-based spell that deals a total of roughly 500 Bravery damage—a portion up-front during its vortex with the remaining damage as a damage-over-time effect (damage dealt this way does not add to your own Bravery count).
Although Aerora is a trap, you can and should use it as a quick close-range attack in certain situations. Since it wraps up and technically “stuns” the enemy during its hit animation, you can use Aerora to help your teammates combo their attacks if you’re able to collapse and single out a target. And because it’s your “while dashing” Bravery Attack, you can transition seamlessly into casting it if you’re dash-chasing a foe.
HP Attack Breakdown
Holy
| Command | Bravery Damage | Note |
|---|---|---|
|
|
— |
Draw-in range: 0.5 on nearby enemies before the burst. Inflicts stun effect for six seconds. |

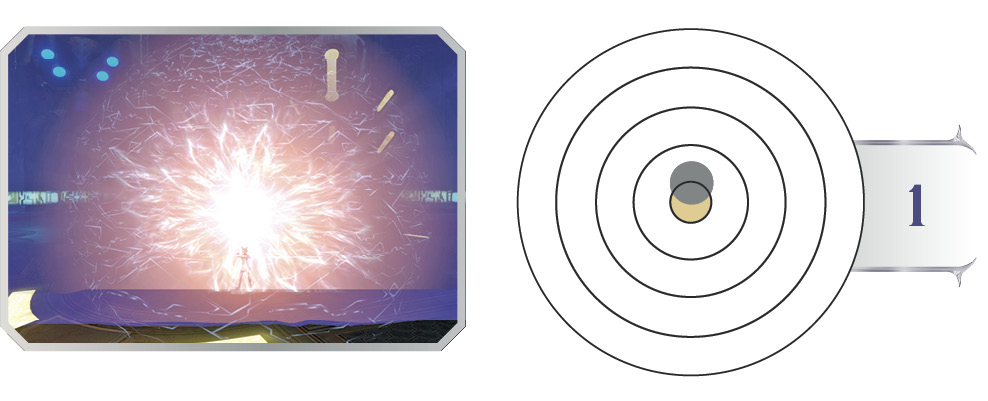
Drawing from her expertise in white magic, Y’shtola summons an orb above her that draws in enemies before erupting with a blinding burst.
Holy is a close-range, area-of-effect HP Attack. Immediately upon casting and before dealing its damage, the spell pulls in nearby enemies with a vacuum effect that reaches up to 1.5 range. Additionally, enemies expelled with Holy are stunned for a short time after.
Since it’s a limited close-range attack, using Holy to finish off an opponent’s HP may seem counterintuitive for a marksman. However, it shines as an effective defensive option and should be used as such, especially for dealing with multiple close-combat aggressors at once. Since its effective area is a large radius around Y’shtola, you can use it to punish enemies behind you without cycling through targets.
Vivifying Lance
| Command | Bravery Damage | Note |
|---|---|---|
|
|
— |
Heals each teammate for 500 HP. |


Y’shtola charges up and fires a fast-traveling magic bullet at her target. As it pierces the enemy, Y’shtola and her allies have their wounds healed.
Vivifying Lance is a versatile mid-range HP Attack. It can be used to reliably finish off targets just outside of melee range, but its main strength is its healing effect. Regardless of HP damage dealt, Vivifying Lance restores 500 HP to all members of the team.
Generally, Y’shtola can only heal allies when Aetherial Pulse is ready (essentially, once every 60 seconds). However, if you can reliably nail targets with Vivifying Lance, you can burst-heal your allies’ HP at an incredible rate.
While its healing effect is extraordinary, Vivifying Lance can be difficult to land. It has a longer windup time than her Bravery Attacks while not covering as much range as they do. However, if you stick by your team, you can capitalize on a teammate’s Bravery combos with a follow-up lance.
Holy Snare
| Command | Bravery Damage | Note |
|---|---|---|
|
|
32, 48x5 (272) |
Inflicts slow for 20 seconds. Trap lasts for 30 seconds. Four traps maximum. |


Y’shtola sets a magical snare that inflicts its ensnared victim with an extreme lethargy.
Holy Snare, like Blizzara and Stonera, is a magical trap. Up to four instances of the trap can be placed at a time, and foes caught by the trap take some up-front Bravery damage before a final HP-damaging hit.
If Holy Snare doesn’t finish off the enemy, they’re left with an incredibly powerful slow debuff that persists for 20 seconds. Holy Snare is highly recommended for controlling specific areas, such as cores. In conjunction with her plethora of Bravery-damaging traps, Y’shtola can effectively keep vast amounts of area off-limits for the enemy team.
Note that it’s possible to have up to four Holy Snares active at once—by casting two instances of it while airborne and two while grounded.
Spiritual Ray
| Command | Bravery Damage | Note |
|---|---|---|
|
|
— |
Draw-in range: 0.5. One spell maximum. Five-second start-up. |


Calling upon the elements of Conjury, Y’shtola summons a ring around her target that generates a gravitic pull, drawing in all other enemies before finally unleashing an elemental explosion on foes in the vicinity.
In addition to its vacuum effect, this HP Attack boasts superior range to most attacks in the game, with a range of 4.5 and a large damage radius. However, the detonation timer is extremely long—it takes around five seconds after placing the ring before it’s detonated. While there’s a draw-in effect, most enemies near the ring can easily escape it by dashing away since they have plenty of time to do so.
Even though Spiritual Ray is avoidable in most cases, it shines in certain situations where you need to control a particular area. For instance, if a summoning core spawns, you can target the core from 4.5 distance, then place a Spiritual Ray on it to deter melee-based enemies from engaging it. This affords some time for your team to collapse on the important objective.
EX Skill Breakdown
Aetherial Pulse
| Command | Recast Time | Note |
|---|---|---|
|
Hold J |
60 seconds |
Generates 75 HP/Bravery every 0.5 seconds. Cannot be interrupted by Bravery Attacks. |
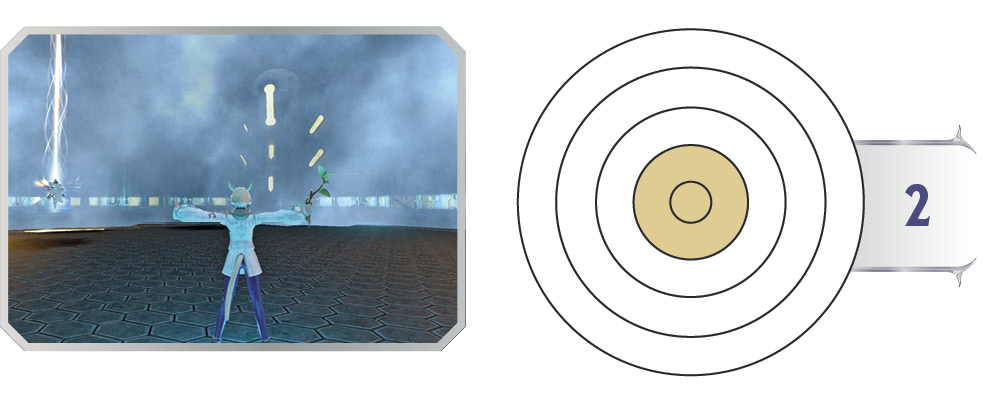
Y’shtola surrounds herself with a torrent of regenerative rain that empowers allies and tends to their wounds.
Y’shtola’s unique EX Skill restores HP and generates Bravery for herself and allies in range for as long as it’s channeled (hold  to channel; restores 150 HP and 150 Bravery per second). Additionally, only HP Attacks can interrupt Aetherial Pulse casting.
Although she can’t be interrupted by Bravery attacks, she becomes an easy target for HP Attacks since she can’t move or perform other actions.
It’s recommended that you coordinate with your team before casting Aetherial Pulse to extract the most out of its restorative effects.
Note that Aetherial Pulse’s recast time begins as soon as you begin channeling the ability.
Battle Plan
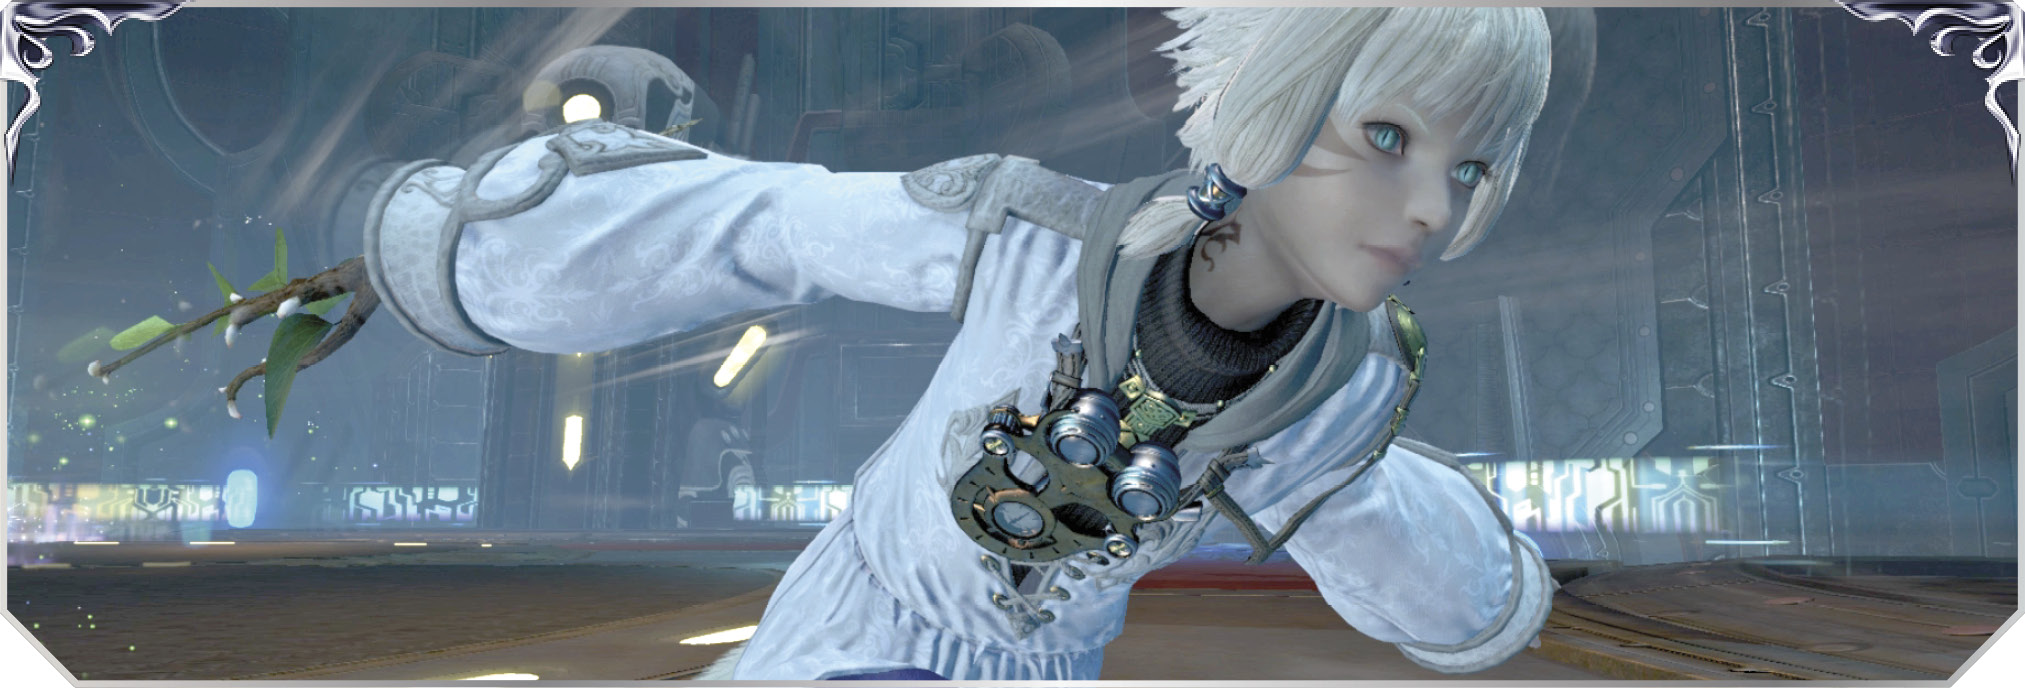
Although there isn’t an official “support” role, Y’shtola comes the closest to fitting the bill in DISSIDIA. Her traps are well suited for controlling map objectives such as summoning cores, and her various HP/Bravery-restoring skills afford her teammates extra survivability.
As a supportive marksman, your battle plan should largely consist of staying close to your teammates and playing around summoning cores. You can set up traps around specific areas and objectives (like spawning summoning cores), to fortify a position where you can act as long-range artillery with your various projectile spells.
A trap-based playstyle can be enhanced even further by equipping the HP Attack Holy Snare. You can potentially have up to four Holy Snares, two instances of  + (Blizzara), a Dashing (Grounded) (Stonera), and one instance of Dashing (Airborne) (Aerora) all up at once on the battlefield (not that you’d likely get a chance in a real match to set them all up at one time). Learning how and when to set up your traps efficiently is vital. Remember to evasion cancel your trap placements, minimizing your vulnerability and keeping you mobile. Also be mindful of the types of traps you can place depending on your character state (e.g., while grounded, you have Blizzara and Stonera, and while airborne, you have Aerora).
Generally, in a regular match, you can create enough space to safely cast at least one or two traps before aggressors engage you (unless you’re being heavily focused by multiple assassins/marksmen). Ideally, you can create enough room to place either a Stonera or a Blizzara down so that you have a safe zone to deter enemies from approaching you from certain angles.
Even though Y’shtola leans more toward a supportive character than an offensive marksman, she can hold her own in most long-range skirmishes as long as she has breathing room. Her ranged threats include grounded (Stone), airborne (Ruin), grounded  + (Virus), and airborne
  + (Aero)—all adequate to make her a viable threat on the battlefield. Use fast-traveling projectiles like Stone and Ruin to pester and slow enemies, and be sure to utilize the upgraded versions of these attacks by casting them back-to-back (for instance, Stone > Stone and Ruin > Ruin) if you’re facing off against other marksmen (although preferably, you have assassins on your team to do that for you). If you’re not in immediate danger and have room to go on the offensive, you can use the slow-traveling, tracking projectiles, Virus and Aero, to control and disrupt enemies, providing cover for your team to go on the offensive as well. And although Aerora is a trap attack, you can use it offensively in combo scenarios. When the opportunity arises, use Aerora to capitalize on your teammates’ openings, which further opens up extra combo opportunities thanks to Aerora’s high-hit-count damage animation.
Y’shtola’s unique EX Skill is a channeled heal, and while channeling it, you’re immune to interruption by Bravery Attacks. However, you’re still vulnerable to HP Attacks, so use this ability wisely, preferably when you have the cover of other teammates. Vivifying Lance is another strong healing tool you can equip to complement a healing role. It’s an HP Attack with a long start-up time, but if you can coordinate attacks with your more aggressive teammates, you can find spots to deal HP damage while healing up your party with its team-wide HP restoration on-hit effect. Additionally, you can equip HP Regen as one of your common EX Skills to further enhance your support capabilities, giving you an extra source of HP healing while the Aetherial Pulse gauge is still regenerating (which has a 60-second recast time).
Y’shtola is an incredible asset on most team compositions as long as you carry out a methodic match strategy with priorities such as: setting traps around objectives (making sure to weave in evasion cancel and dashing), playing around and supporting your teammates with Aetherial Pulse/Vivifying Lance, and using your various ranged projectiles to disrupt enemy movement and defenses, providing cover for your allies.

Gallery
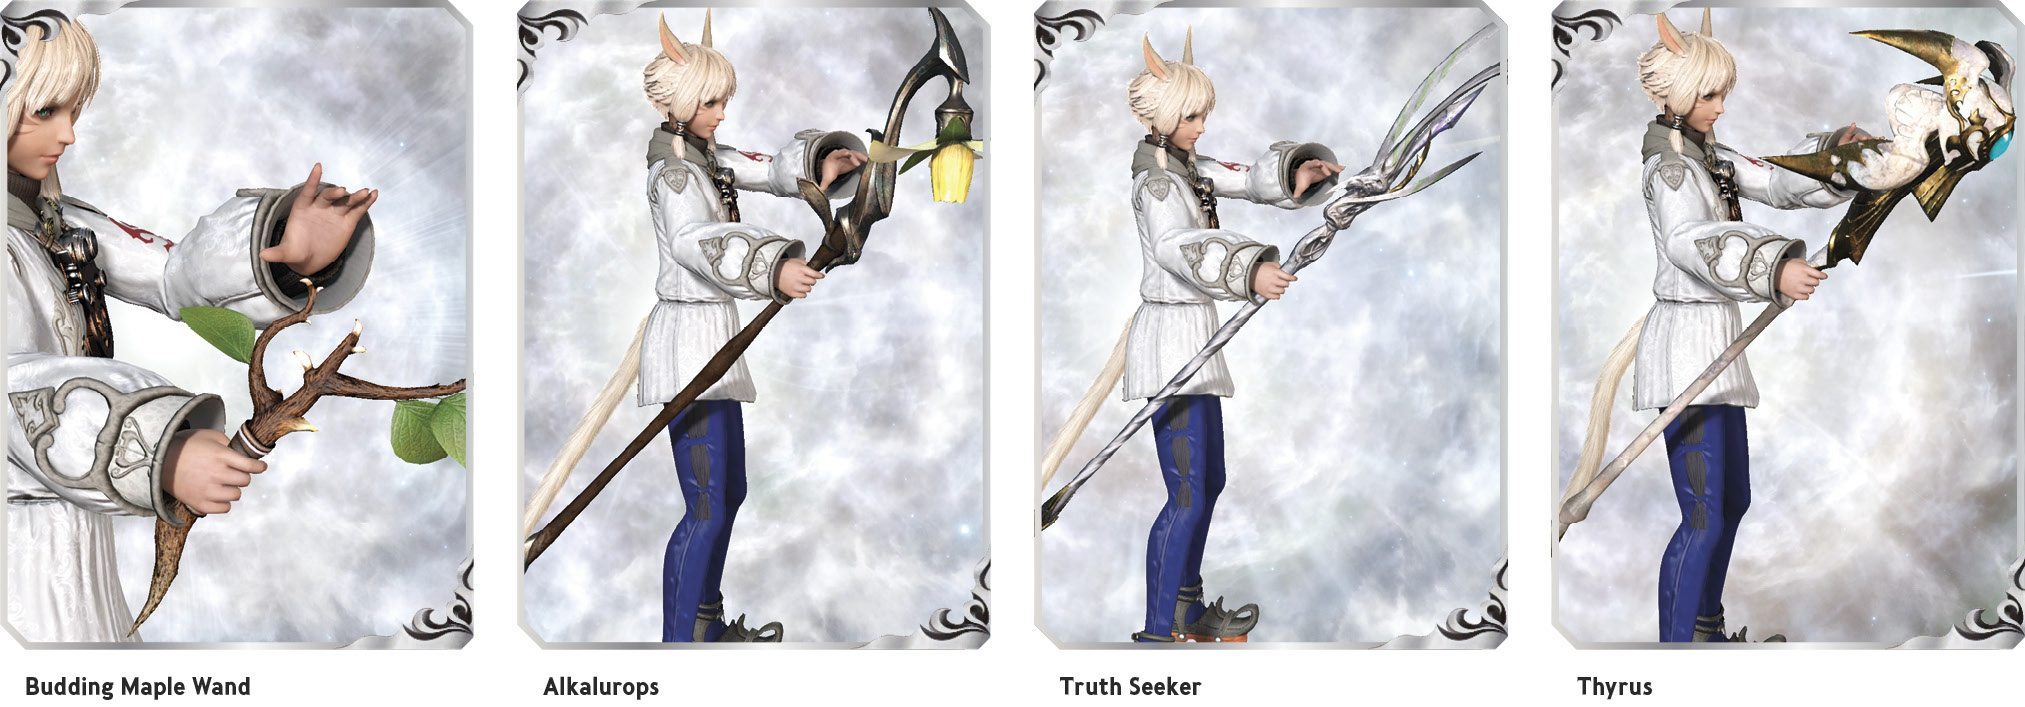
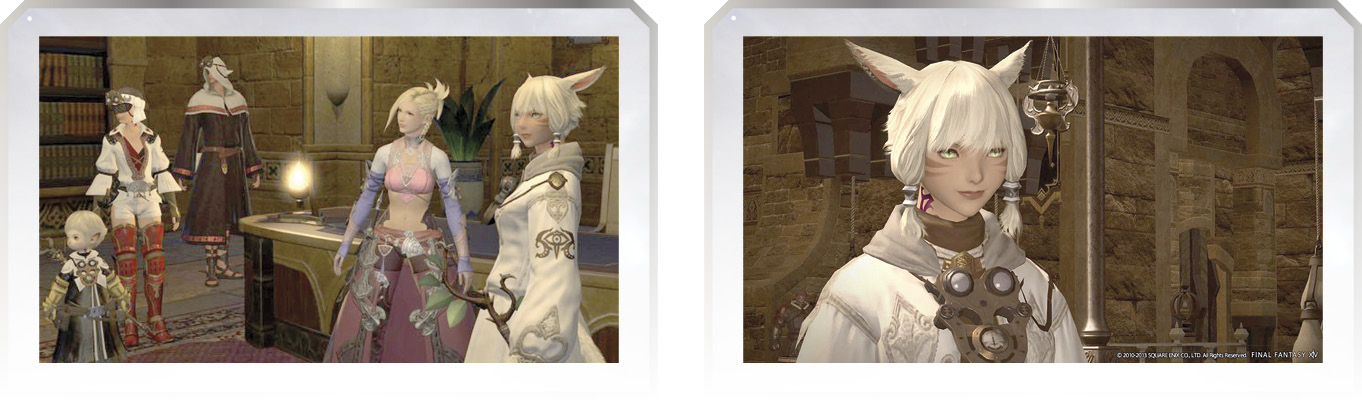
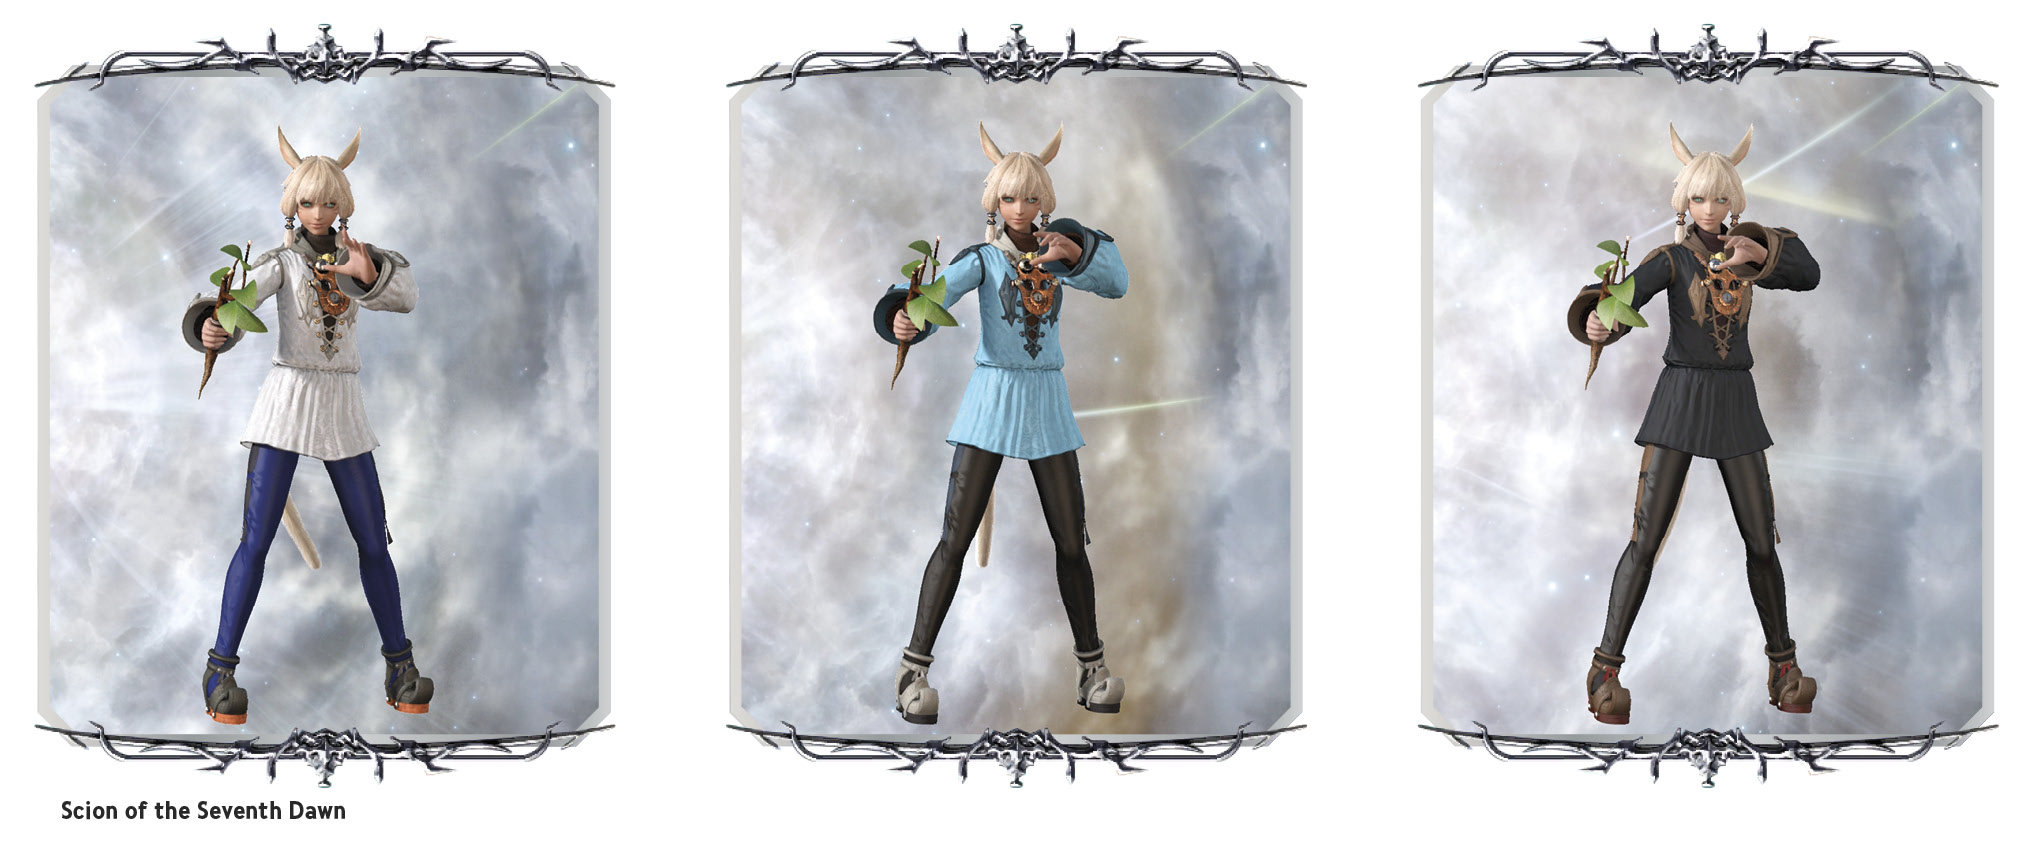
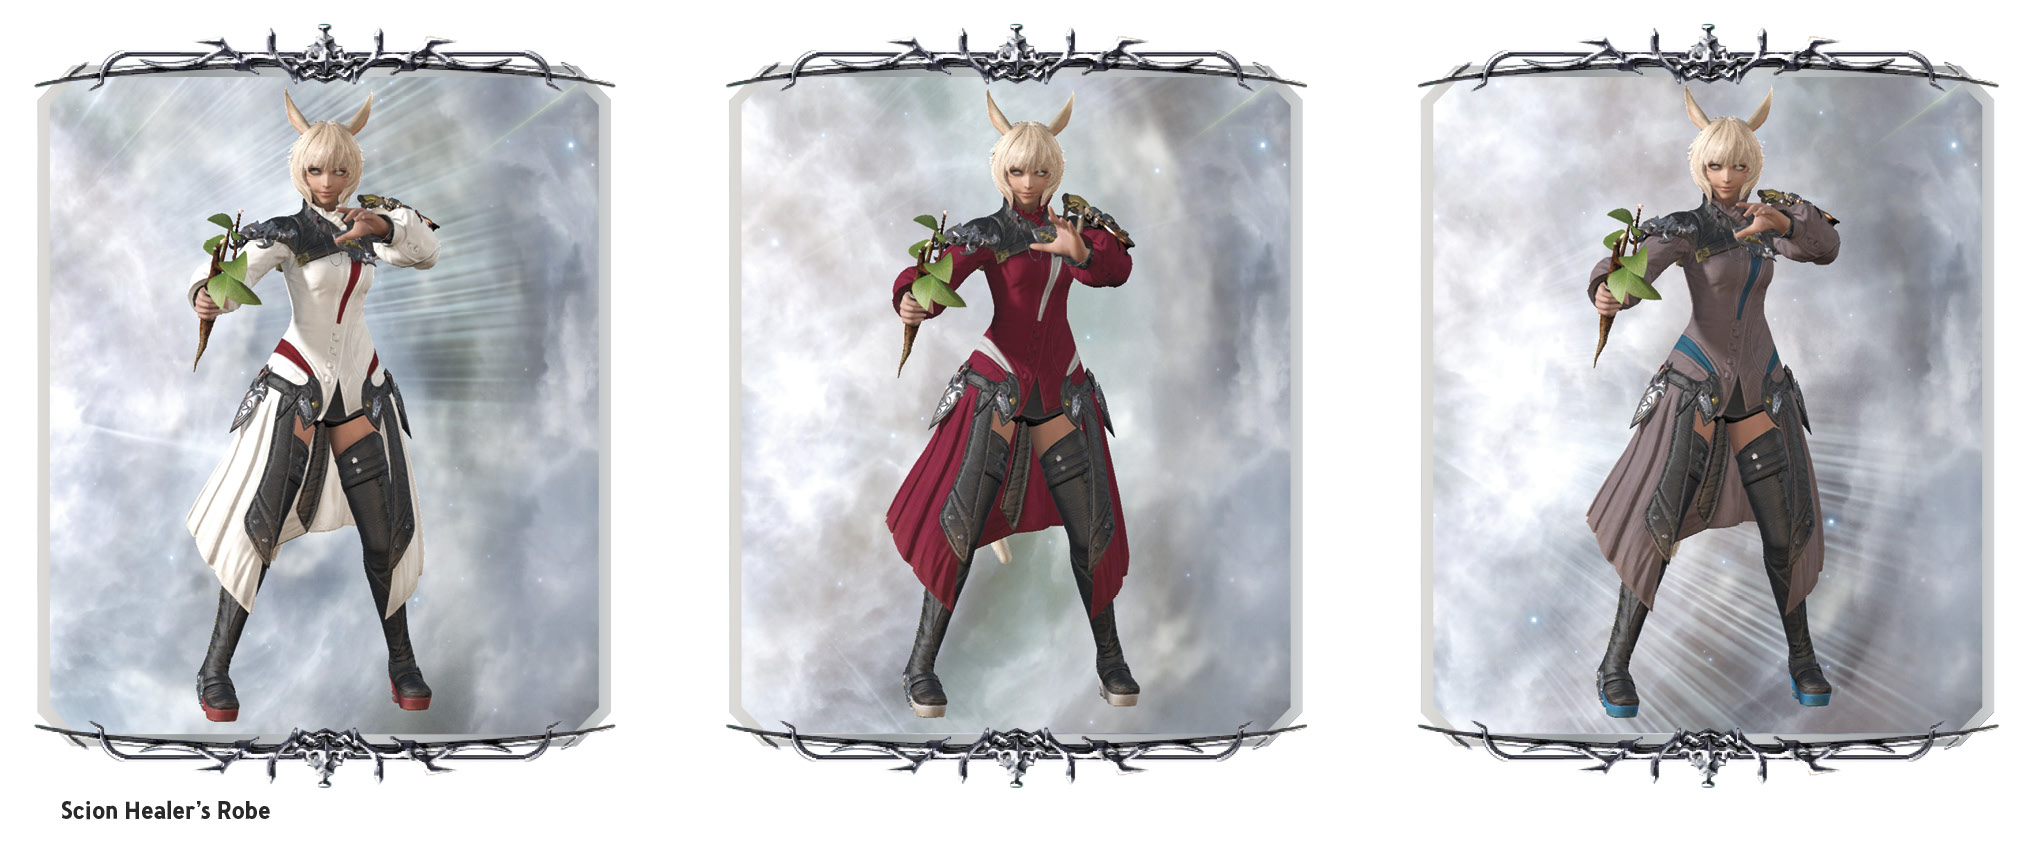
Appearance
Weapons