
Syndicate Guide Walkthrough The Co-Op Game
New England
/Intel
Location:
Boston, New England, 2069
Codename:
Anarchy
Suggested Number of Agents:
4
/Executive
Agents, the time has come to strike at the heart of EuroCorp. I want you to go in and secure their highly praised Leonardo Device.
If it remains in EuroCorp hands, they will be able to produce high-quality Agents at an alarming rate. We must deny them this advantage and claim it for ourselves.
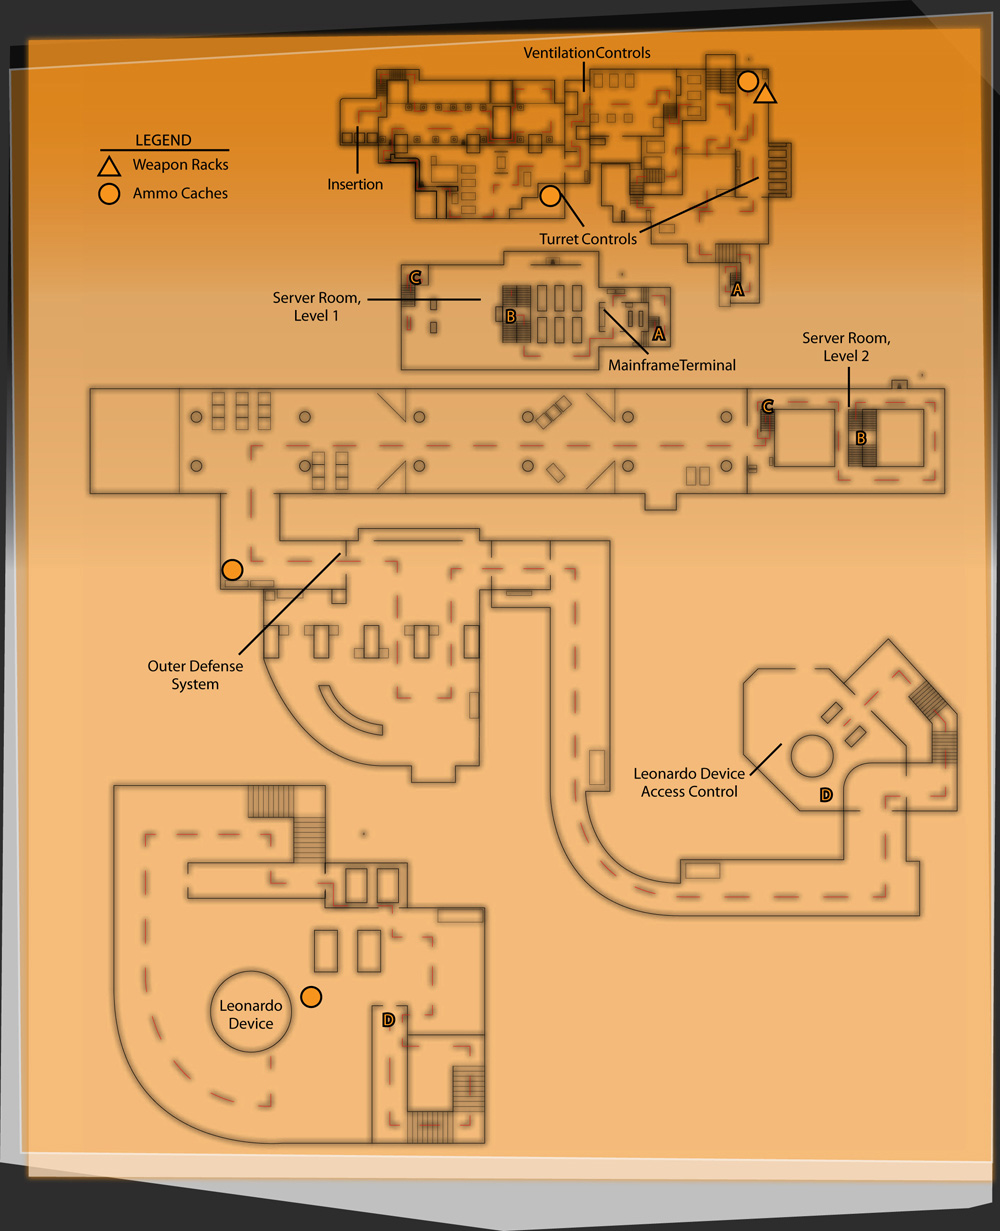
Override Turret Control
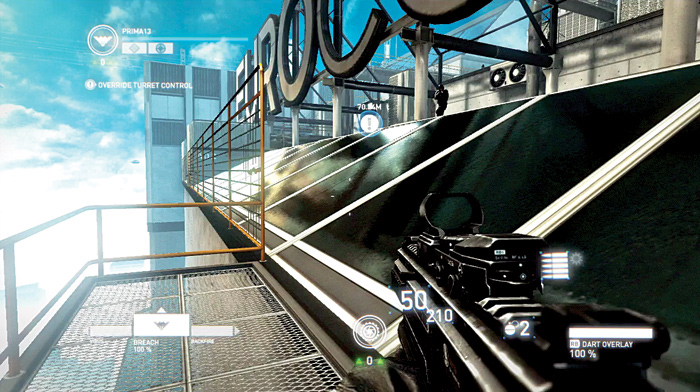
Your dropship lands on a landing pad and the team disembarks. Head up the stairs to the rooftop. You can walk across the solar panels to get up to the flat part of the roof. Be ready for a fight.
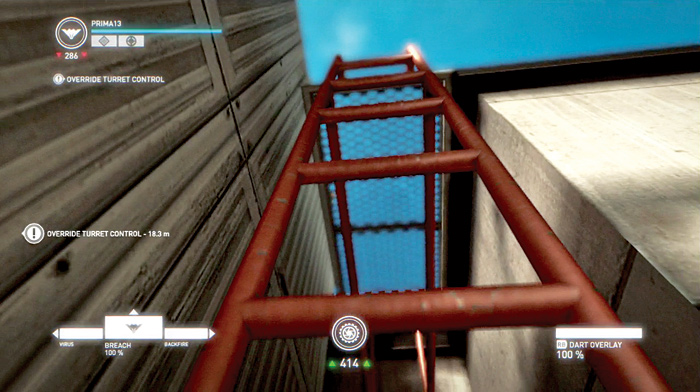
Climb up ladders located along the back wall to get up to the higher portion of the roof where enemies are positioned as they fire down on you below.
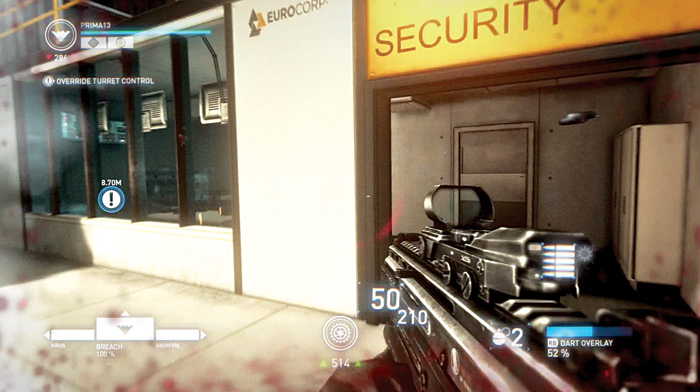
Take cover immediately. In addition to lots of enemies, a turret is covering the door leading into the facility. Clear away the hostiles first, then one of the offensive players must rush in to the security office to breach the controls and override the turret.
The other offensive player, or another teammate, should be healing the first as he or she rushes for the office. Another tactic is for two players to rush to the office; the turret can only fire at one player at a time.
Open Ventilation Panels
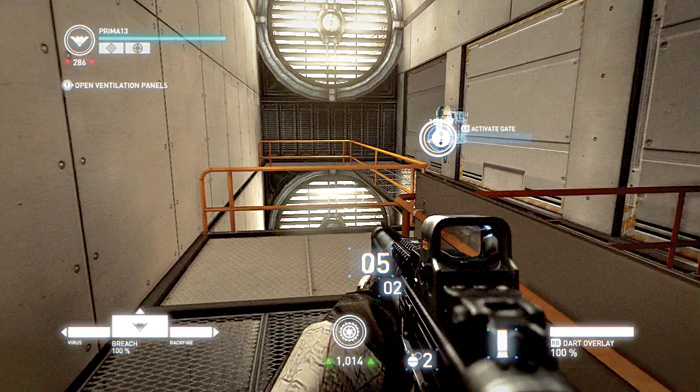
Once the turret is deactivated and other enemies have been neutralized, advance into the building and follow catwalks around to the controls for the ventilation panels. Breach them to continue once the entire team is together.
Override Turret Control
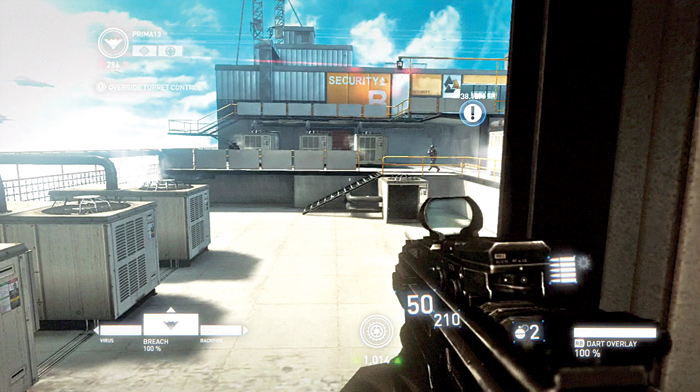
As you move through the opening, take cover. You are back out on the rooftop. However, there is a second security office with a turret and lots of enemies.
Locate the ECM unit, which is easier to detect in DART overlay mode, and kill him first. Then you can use your breach apps.
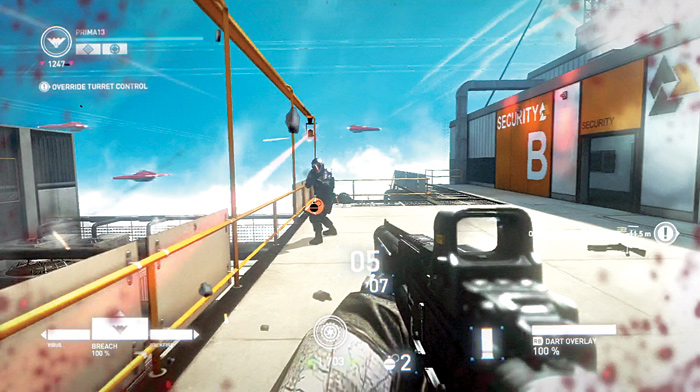
While the defensive and support players provide covering fire and engage the enemies on the walkways, the offensive players should drop down onto the rooftop and take cover.
Before rushing to the next cover, heal each other and then rush at the same time. Move up the steps quickly, using the Shielding app or other apps that keep you alive as you rush through enemy fire, and clear away enemies as you move to the security office.
Get into the office and override the turret controls before finishing off any other enemies in the area. There are ammo caches and a weapon rack in the security office, so restock before continuing.
Breach Mainframe Terminal
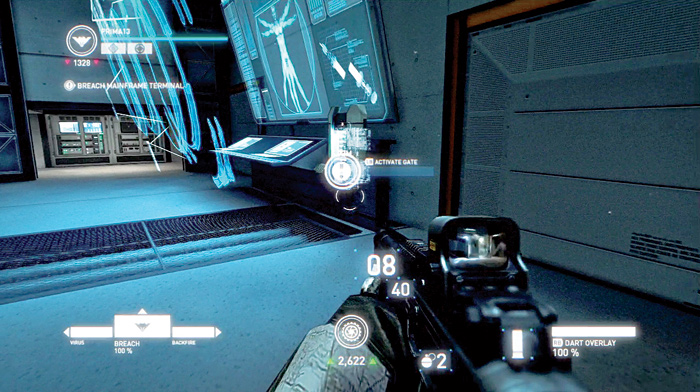
As you override the turret, a door opens to the side of the security office and more enemies emerge to attack. Finish them off and then, as a team, advance down some stairs and into the mainframe room.
There is more ammo in this room. Locate the terminal and breach it to open doors to the server room once the team is all together.
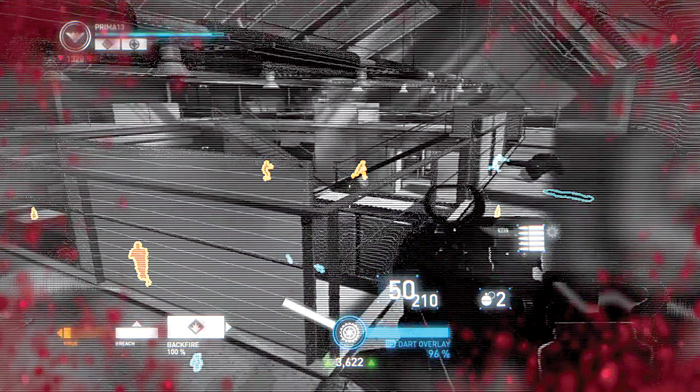
As the door opens, stay in the mainframe room for a bit and kill enemies out in the server room before advancing. A couple of players should make their way to the right side and climb up a ladder located in an alcove to get to the walkway on the second level of the room. The ladder is safer than taking the stairs.
Take cover behind the railing shields and fire down on enemies below. While two players are on top, the other two can move through the maze of servers on level 1 and clear out hostiles as they go. More enemies arrive from elevators and exit onto level 2.
Kill as many of them as you can before they get down to the first level and take cover among the servers.
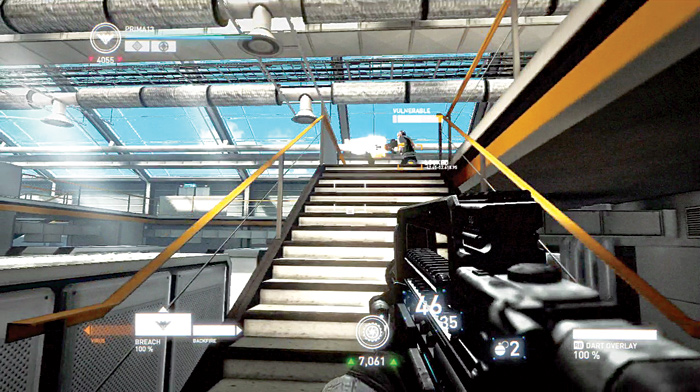
Eventually, the enemy arrivals slow down. However, that means an officer in reactive armor and carrying a minigun is entering the server room on level 2.
Players on the first level can breach his armor from behind cover while those on level 2 can fire at him from different angles. After he goes down, rip his chip and take the minigun.
Override Outer Defense System
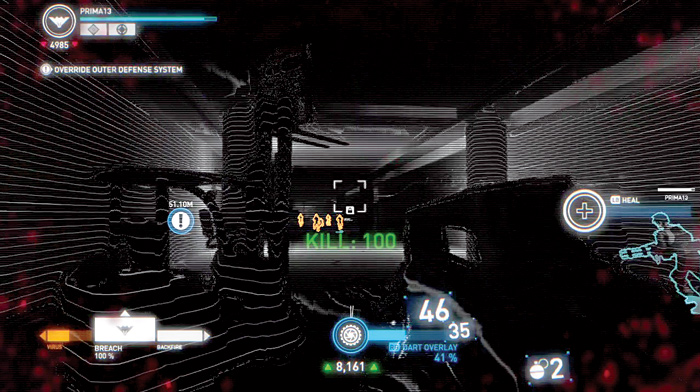
A door opens at the far end of the server room on level 2. Get the team together, then advance into a long corridor. Enemies appear at the far end. Kill as many as you can with long range fire.
Offensive players can advance to get in close. Watch for more enemies to emerge from doors along the sides of the corridor. After clearing out all of the enemies, move through an opening at the far end of the corridor on the left.
Pick up some ammo and then breach a control panel to override the outer defense system. Once the team is assembled together, a door opens and you can continue.
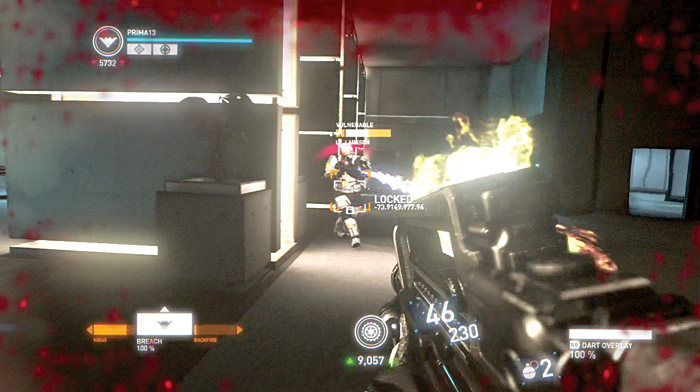
As you enter the next room, an officer in reactive armor attacks you using a thermite gun. The team must spread out and keep moving. Breach the armor and fire at the officer. Be sure to heal whichever player takes the brunt of his attack.
This is a good time to use the Virus app if someone has one. After you destroy the officer’s first layer of armor, more enemies rush in to help him.
Keep moving and working on the officer while also killing the enemies. Once he goes down, rip his chip and have a player pick up the thermite gun.
Override Leonardo Device Access
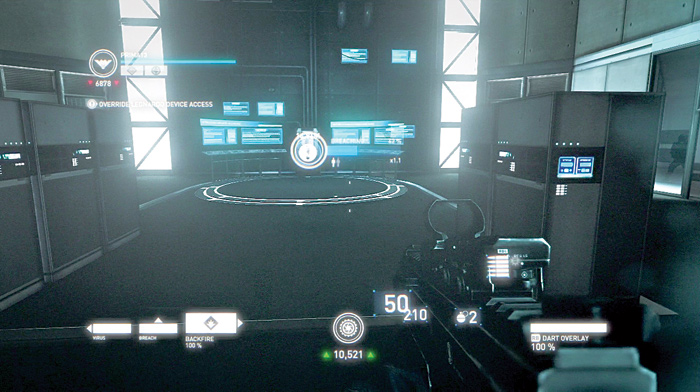
Kill the enemies that arrive when the officer dies, then head out through the doorway through which they entered. Move along a corridor as a team and then descend some stairs into a control room.
Breach the control panel to open a door to get into the room with the Leonardo Device. Once the team is assembled, the door opens. Kill the enemies on the other side and advance.
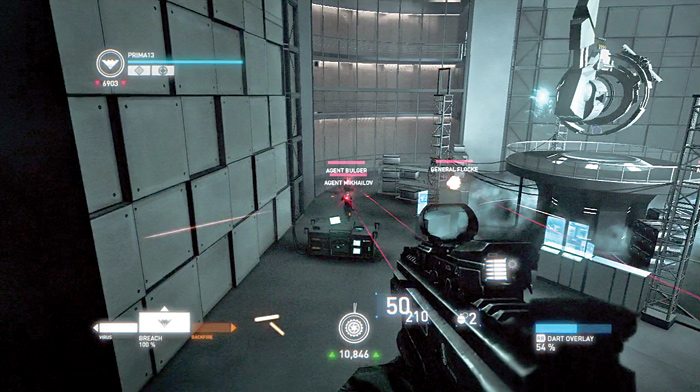
As you move onto a walkway overlooking the Leonardo Device, you see three Agents and a general down below. The support and defensive players should stay up on the walkway while the offensive players head down the stairs to the main floor of the area.
The Agents are healing one another, so focus the team’s fire on a single Agent. Don’t try for a chip rip or you will get killed. Instead, breach the chip to make it self-destruct so that the Agent can’t be rebooted. The offensive players need to get close enough to do this.
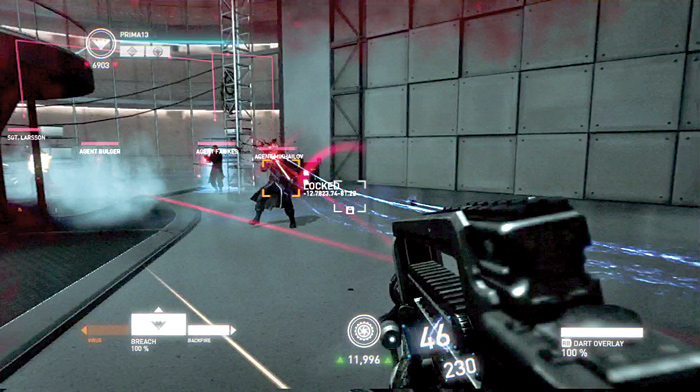
The players down on the floor take most of the heat. Be sure to heal them as needed and use apps that affect the entire team. Grenades work great against the enemy Agents since they tend to bunch up.
Use the ammo cache next to the Leonardo Device to restock your ammo and grenades. The general is armed with a minigun, so if you can take her out early on, the Agents are easier to kill. Then pick up the minigun for some heavy firepower.
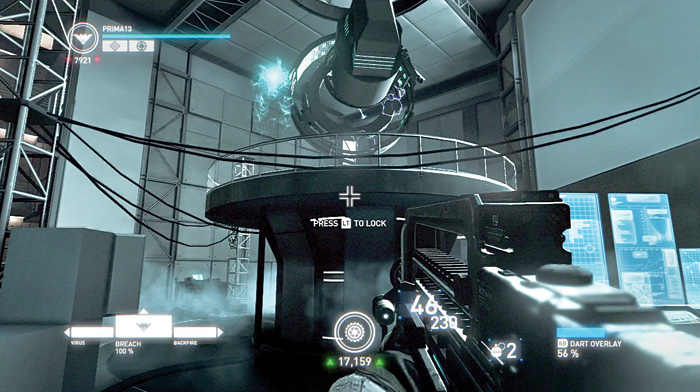
Once all the enemies are dead, the Leonardo Device is yours and the mission is a complete success.
Tips from the Testers
- You are after one of EuroCorp’s most prized possessions, and resistance will be accordingly fierce. Sticking together as a team and having a good mix of supportive and beneficial applications ready is of great benefit.
- It really pays off to have an Agent with a sniper rifle along for this mission.
- There are several paths up to the first security checkpoint, some of them are quicker and more direct; they do, however, lead into the midst of enemy positions.
- In the area approaching the first security checkpoint you can find ladders that lead to some elevated positions that give ideal coverage of the battle zone.
- Turrets are shielded and will not take damage from weapons.
- It might be tempting to split up and hunt down individual enemies in the server room, but this can result in an Agent being alone and surrounded by several opponents at the same time.
- Remember that Agents do not take damage after jumping from great height and be aware that there are several paths between the two floors in the server room. This gives you a great advantage when flanking enemies, or provides avenues for a temporary retreat to regroup.
- When facing an enemy with reactive armor and a Thermite gun, it is advisable to split up the team to avoid several Agents getting hit at once. Healing and fast movement is essential.