Prima Games eGuides
primagames.com Browse Redeem a code Help
Syndicate eGuide
Sign in My Guides

Sign in or create an account

We'll email you a link. No password needed, and if you don't have an account yet, the link makes one.

By creating an account or signing in, you agree to our Terms of Service and Privacy Policy.

Have a password?

Had an account on the old eGuides site, or a code from a printed guide? Help and troubleshooting

Sign in with a password

By signing in, you agree to our Terms of Service and Privacy Policy.

Check your email

A sign-in link is on its way. It works once and expires in 15 minutes. Open it and you're in, with an account if you didn't already have one.

Contents

  • Essentials
    • Achievements and Trophies
      • Xbox 360 Achievements
      • Playstation 3 Trophies
    • Art Gallery
      • Art
    • Behind the Scenes
      • Behind the Scenes
  • Walkthrough
    • Campaign Walkthrough
      • Milestone 01: Wake Up Call
      • Milestone T1: Suicide
      • Milestone 2: Assault on Aspari
      • Milestone T2: Backfire
      • Milestone 3: Aspari Extraction
      • Milestone 04: A Train to Catch
      • Milestone 05: Escape from LA
      • Milestone 06: Eurocorp
      • Milestone T2: Persuade
      • Milestone 07: Voyeur Central
      • Milestone 08: Cayman Global
      • Milestone 09: The Floating City
      • Milestone 10: Behind the Scenes
      • Milestone 11: Ramon
      • Milestone 12: Downzone
      • Milestone 13: Betrayed
      • Milestone 14: The Wall
      • Milestone 15: Kris
      • Milestone 16: Human Resources
      • Milestone 17: Corporate War
      • Milestone 18: Spire Access
      • Milestone 19: Burning Tower
      • Milestone 20: Jack Denham
    • The Co-Op Game
      • Getting Started
      • Agents
      • Weapons
      • Applications
      • Challenges, Contracts, Stats and Leaderboards
      • Playing a Mission
      • Western Europe
      • Mozambique
      • Atlantic Accelerator
      • Colorado
      • China
      • Scandinavia
      • Northern Territories
      • Argentina
      • New England

Syndicate Guide › Walkthrough › Campaign Walkthrough

Milestone 17: Corporate War

Reach the Spire Access

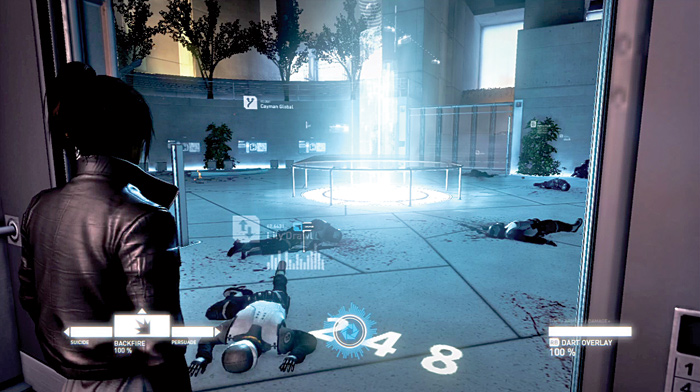
Lily and you are riding up an elevator to the top of the spire when EuroCorp comes under attack by Cayman Global. It looks like you are going to have to fight two armies instead of just one.

When the elevator reaches the appropriate floor, the doors open to reveal a lobby with dead soldiers and civilians all over.

New Location Intel

NEW YORK: EUROCORP SPIRE

/ LOCAL TARGET

Target type: The Spire, EC Manhattan Complex (building)
Affiliation: EuroCorp
Function: R&D/Intel Gathering/Agent Operations/ Consumer Relations

INTEL FEED

The EuroCorp Manhattan Complex, commonly referred to as the EuroCorp Spire, is perhaps the most dominant feature in the skyline of modern New York. Standing 830 meters above sea level it is described by Cybertecture Today magazine as the most intelligent building in mainland America, the third most intelligent on planet Earth.

Built to celebrate the passing of the Syndicate Liberalisation Act in 2039, its AI system and self-regulating datacores went live on July 4th 2041. The Spire is the nerve centre of EuroCorp operations in the Americas market, governing all dataflow within that space and meshing directly with EuroCorp Geneva for strategic global context. In compliance with EuroCorp operational protocols, the building operates a full executive segregation barrier at floor 47. Levels below the demarcation are home to the prestigious Consumer Product Research wing and provide office and work space for 3,327 employees. Upper levels, beyond the barrier, house classified research and development for military and security contracts, an access hangar and landing platform, and the executive command suite. The upper level floors house 518 employees, with a dedicated command suite staff of 27.

All Agent operations are handled from the command suite, with direct access through the human resources bio-engineering shaft, coordinated via the datacores and strategic AI governor. All Spire defences are military grade.

/ end of entry

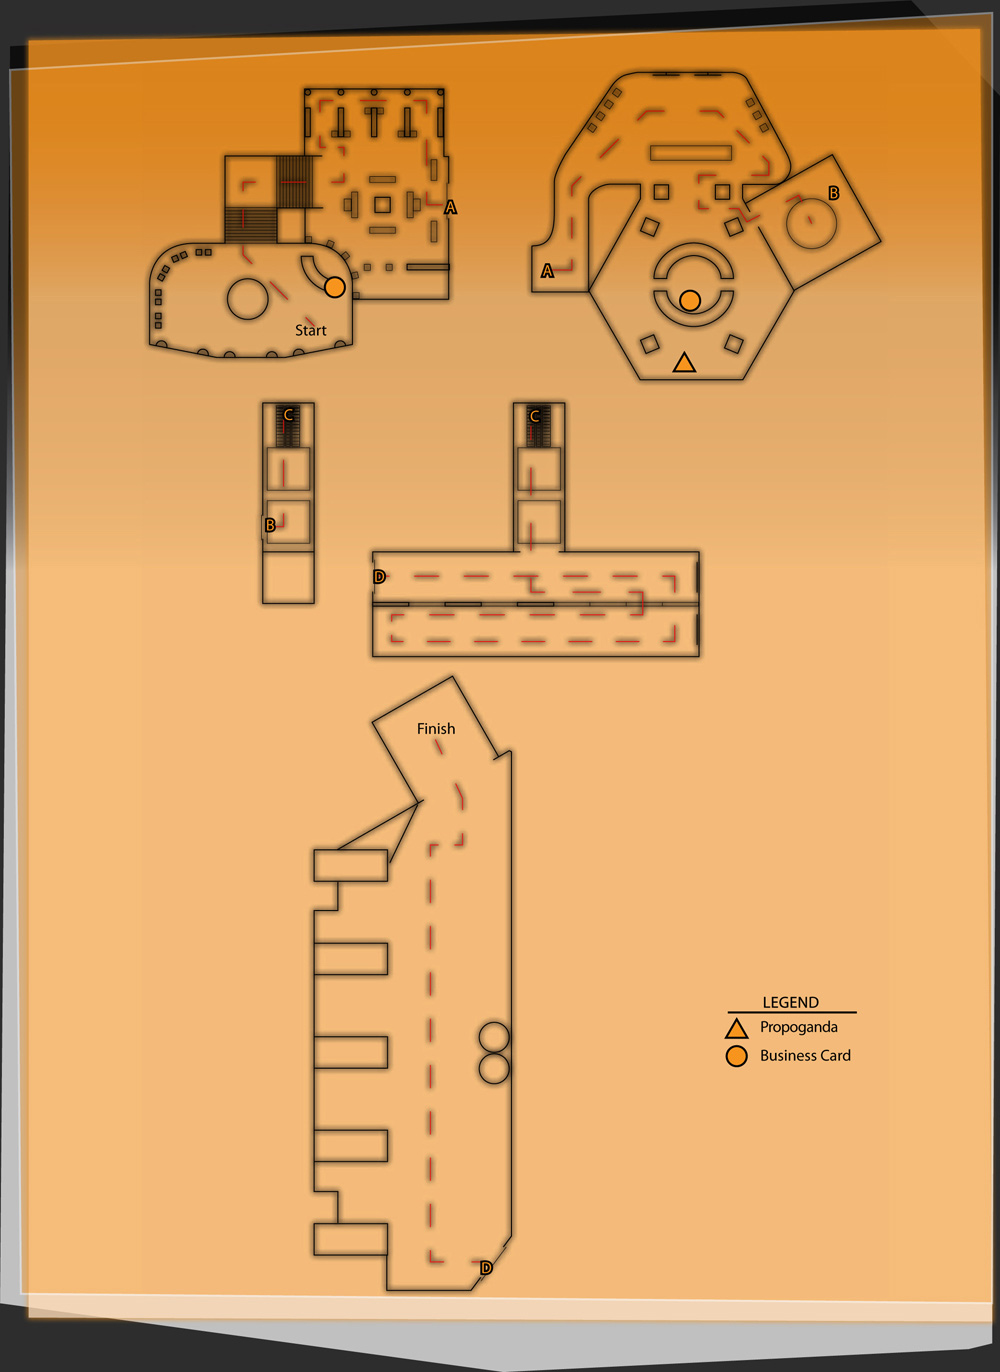
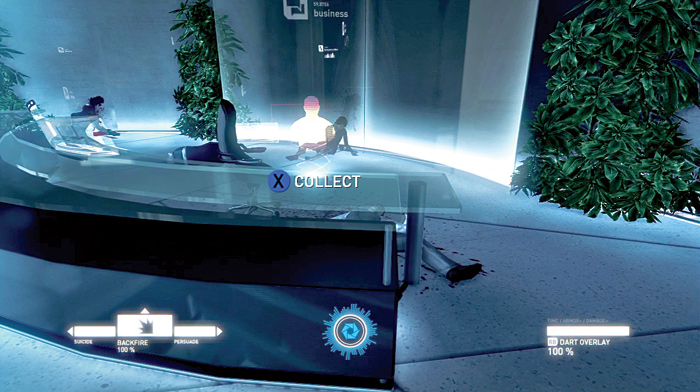
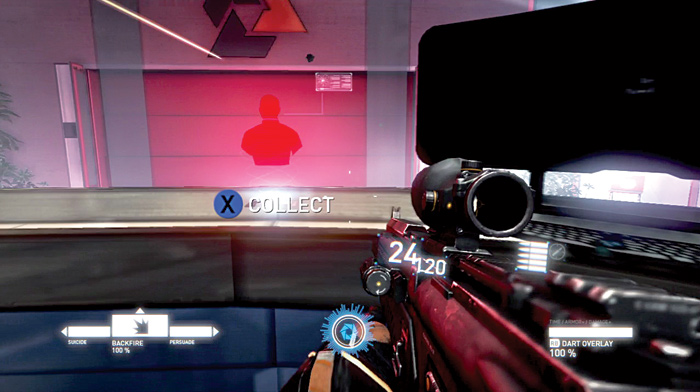
Since you have no weapons, pick up some from the bodies. Then walk over to the counter on the right side to collect a business card.

New Personnel Log

MARY SINCLAIR

/ PROFILE ENTRY

Name: Mary Sinclair
Age: 45
Position: Accounting
Affiliation: EuroCorp
Clearance: Grade 10

LOGGED ENTRY

/ EC_sec.wiretap: ID156674-D4

I know exactly what you mean. I was thinking the same thing when Leonard dragged me off to my first meeting ... but they really made me open my eyes. There’s another world out there, Christine, waiting to be built. A world that isn’t made up of corrupt and faceless governments and morally bankrupt mega-corporations. The Church of the New Epoch is that future, and I want to share it with as many people as I can. Come with me to the meeting tomorrow, and you’ll see. I promise you won’t be sorry...

/ end of entry

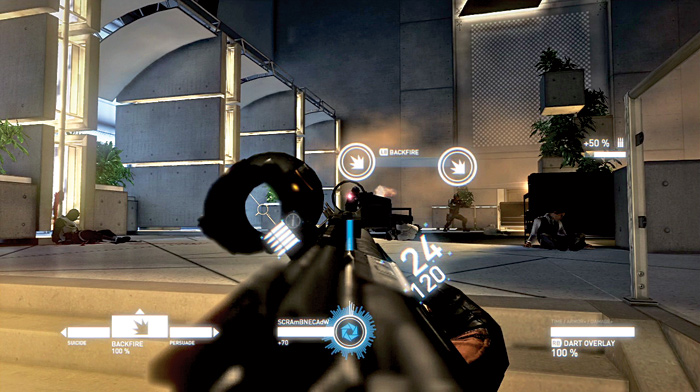
Once you have an assault rifle and all the ammo you can get, head up the stairs to find a firefight taking place. Euro- Corp soldiers are firing from behind cover at Cayman Global troops disembarking from a dropship.

They are at a stalemate, so take out the EuroCorp soldiers first, then get ready to take on the other troops.

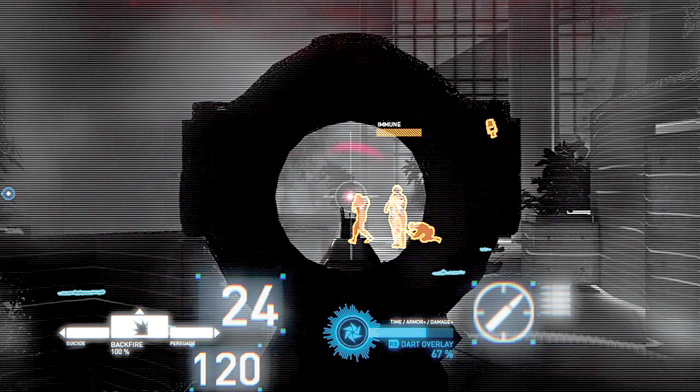
The dropship unloads a liquid soldier, a jammer, and regular enemies. Take aim through the scope of the assault rifle and kill the jammer first so that you can then breach the liquid armor.

After crystallizing the armor, switch to full auto firing mode and blast away at the liquid soldier.

He does not hide behind cover, so he’s an easy target. Withdraw if you must but keep him at a distance so that his shotgun is not as effective against you.

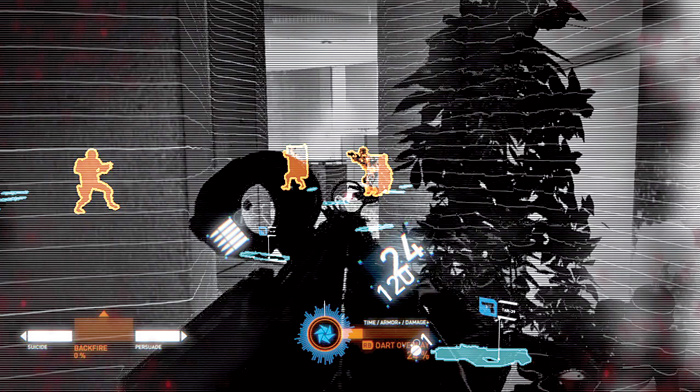
Just as you defeat the first wave, more soldiers rappel in on the left side of the area. Since more enemies are coming, use the Persuade app on one of them and then let him help you fight.

When combat slows down a bit, move around to pick up ammo. Also get either a TAR-39 or a gauss gun to use along with your assault rifle.

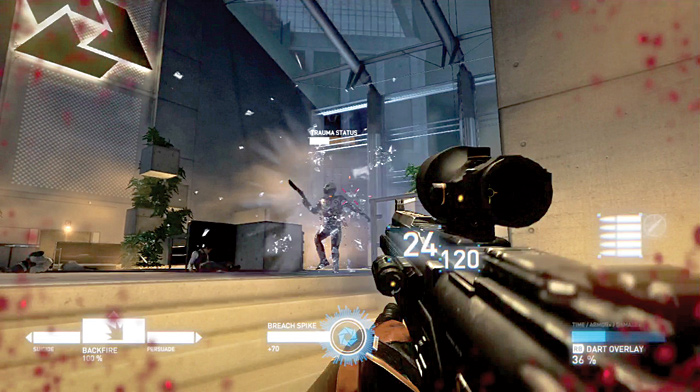
A new enemy arrives now. The electro-armor soldier is one tough nut to crack. He is armed with a laser rifle and is invulnerable until you breach his armor to short-circuit it. This is when a gauss gun comes in handy. Target this soldier and fire at him from behind cover.

After inflicting damage, the electroarmor’s backup comes online. You need to breach it again. Then keep hitting him until he goes down. The armor gives off electrical arcs when it is destroyed that are fatal to nearby enemies.

Therefore, when you see an electro-armor soldier, concentrate on killing him first and then using the resulting electrical arcs to kill other enemies.

New Threat Profile

THREAT: ELECTRO-ARMOR

/ THREAT ANALYSIS

Type: Electro-Armor Soldier
Feature: Electromagnetic reactive armor
Manufacturer: NRT Systems AG (EuroCorp

TACTICAL SUMMARY

Vaporizes solid-type projectiles up to 20 mm range.

Breaching dumps stored capacitive charge, making armor vulnerable.

Enough physical damage to the conductive plates will remove its capacitive abilities, rendering it useless. Backup conductive plates will take over if primary system is destroyed.

Deadly capacitive discharge occurs when armor is destroyed.

INTEL FEED

Developed in 2067 by NRT Systems AG, a subsidiary of EuroCorp. To limit the chance of this design falling into the hands of other Syndicates, deployment has been limited to executive bodyguard service and defensive actions on EuroCorp territory.

Offensive deployment into enemy Syndicate territory requires director-level signoff from Geneva.

A suit of electromagnetic reactive armor protects its wearer by having overlapping conductive plates that act as powerful capacitors. These capacitors dump a high amount of energy into the penetrating projectile, turning it into plasma and negating the attack. An advanced ceramic mesh dissipates thermal attacks.

A massive electrical charge runs through the armor, normally safely stored in the conductive plates. If the armor sustains heavy damage, its storage ability becomes highly unstable, and the remaining charge will be dumped, generating fatal electric arcs.

/ end of entry

Coil

/ PRODUCT SUMMARY

Model: COIL
Manufacturer: Accelle-Sys Industries, A.E.A. Division (EuroCorp)
Projectile: H.I. laser (cont)
Weight: 30.2 lb (13.7 kg)

TACTICAL SUMMARY

Primary Fire: Hold to fire continuous beam (2 sec).
Secondary Fire: Single shot pulse beam (0.05 sec), burning through low grade covers
Additional: Weapon overheats after maximum use. This will activate the automatic heat-dissipation mode.

INTEL FEED

The COIL is a long-range combat laser rifle developed by Accelle-Sys Industries’ Advanced Energy Armament Division in 2067. It was primarily designed for mechanized military infantry. The COIL uses an advanced infrared laser system.

When fired, the COIL creates a high-intensity, continuous laser beam that was originally intended as a portable missile defense system.

The COIL’s alternate fire mode focuses the priming of the laser beam during a 0.05 second period for a maximum damage one-shot pulse energy projectile discharge.

The pulse energy projectile instantly vaporizes unprotected enemies and will penetrate most barriers. This firing mode causes immediate overheating.

/ end of entry

Once you defeat this last wave, the area is quiet. Pick up ammo and decided what weapons you want to carry.

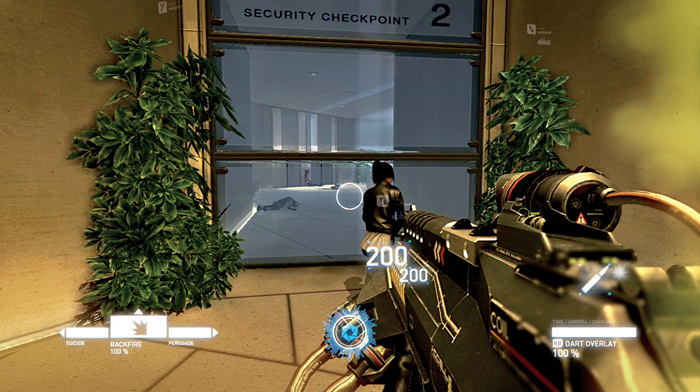
You can try the COIL laser rifle, but it can be difficult to use—especially in the close-quarters combat found inside buildings. When you are ready, move to the door to security checkpoint 2 and wait for Lily to open it for you.

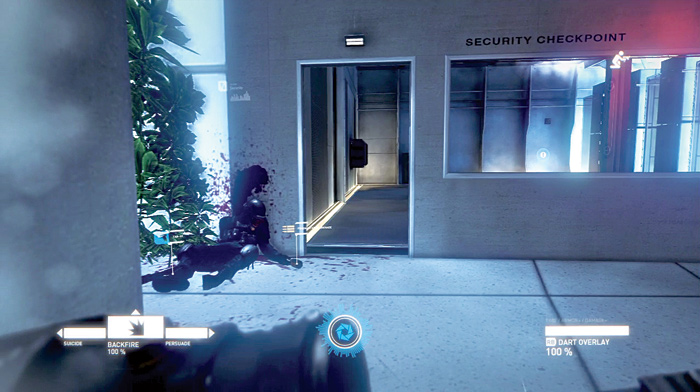
There are a few enemies behind the security checkpoint counters. Take cover and pick them off. You may have to rush forward to try to flank them.

As soon as they are dead, take cover behind the counter since a lot more enemies are headed your way.

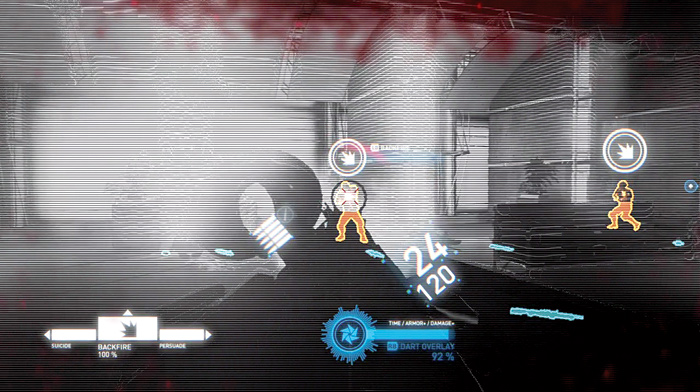
The next wave comes from the elevators near where you entered the area. They have a UAV drone with them. Overload its chip with a breach and then shoot it down. This is also a good time to use the Persuade app one of the enemies.

The second wave, which also includes a UAV drone, comes in right after you finish the first. Be sure to breach the grenades and then pick them up to throw back at the enemies. They are quite effective against bunched-together targets.

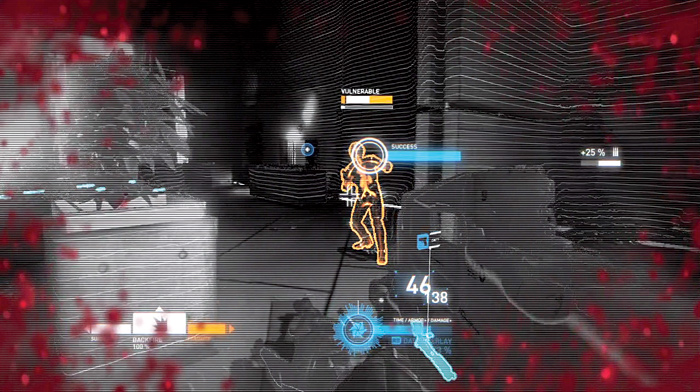
The third wave is quite large and includes enemies with riot shields. Use the Suicide app on one of the shield enemies and Persuade on another if it is charged up by now.

After defeating the waves of enemies, pick up the business card on the counter and add it to your collection. Scrounge around for weapons and ammo, too.

New Personnel Log

TERRANCE LYNCH

/ PROFILE ENTRY

Name: Terrance Lynch
Age: 58
Position: Extraction Operative
Affiliation: EuroCorp
Clearance: Grade 14

LOGGED ENTRY

/ EC_careerDebriefing: employee 780999231

... I don’t know. I guess there is one episode that stands out a bit. About fifteen years back, I was asked to lead the search for a missing patrol in one of the Pravitel-controlled Moscow’s Downzone districts.

We went through the usual routine—apartment sweeps, random interrogations, anything we could think of that might provide a lead.

As soon as the raid started, most of the Downzoners made themselves scarce, but there was one middleaged woman who walked right up to me with three nervous-looking kids in tow. Triplets from the looks of it, malnourished. It was hard to tell their exact age, but maybe around eight. The woman introduced them as “Dmitry,” “Maksim” and “Vasily” and tried to get whoever was listening to adopt them and give them a better life.

We all laughed and joked about it at the time, but later I heard someone from Command Section had actually adopted one of the whelps. Another ended up in an Aspari adoption program for the “Exceptionally Gifted” and the third went to South America and a Cayman-sponsored youth-treatment center. Those little runts probably make more than me now.

The missing patrol? We found them impaled, to a man, on a metal fence overlooking the Moskva river. Some were still alive, though not for long. I logged it as a complete asset loss and scheduled a retaliation purge of the entire district. I think I later saw that mother among the dead. Good thing for those kids they got out when they did.

/ end of entry

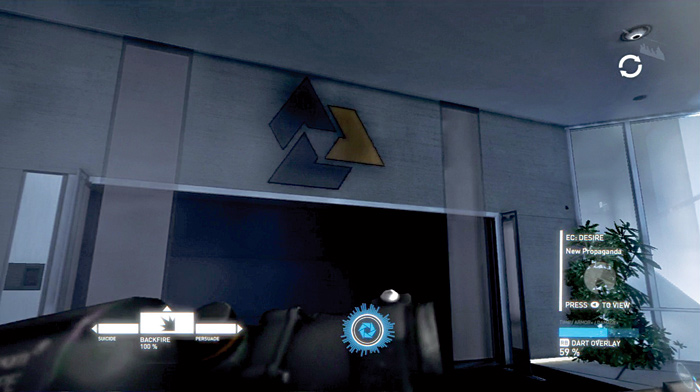
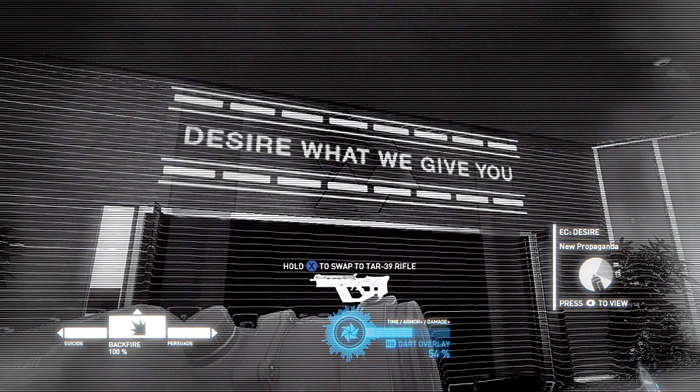
Also take a look at the EuroCorp logo on the wall behind the counter. View it with the DART overlay activated to see the hidden propaganda. You can also look for a bullhammer revolver, pick it up to add it to your database, then swap it for something else.

New Propaganda

EC: DESIRE

“DESIRE WHAT WE GIVE YOU.”

—EuroCorp

Bullhammer

/ PRODUCT SUMMARY

Model: Bullhammer
Manufacturer: Accelle-Sys Industries (EuroCorp)
Projectile: .600 (double-action), 6-round cylinder
Weight: 62 oz (1750 g)

TACTICAL SUMMARY

Primary Fire: Single shot
Secondary Fire: N/A
Additional: Heavy-damage impact

INTEL FEED

Developed by Accelle-Sys in 2065 to provide EuroCorp law enforcement division and security forces with a sidearm powerful enough to stop augmented or shielded targets.

The Bullhammer is a fire-shot double-action revolver. Chambered for the powerful .600 cartridge, the Bullhammer packs quite a punch, but comes with quite a kick as well.

Even if it is fairly popular, it has been Accelle-Sys’s only foray into revolver design.

/ end of entry

Lily needs your help to get past the lock control. Move into the security checkpoint room that she has opened.

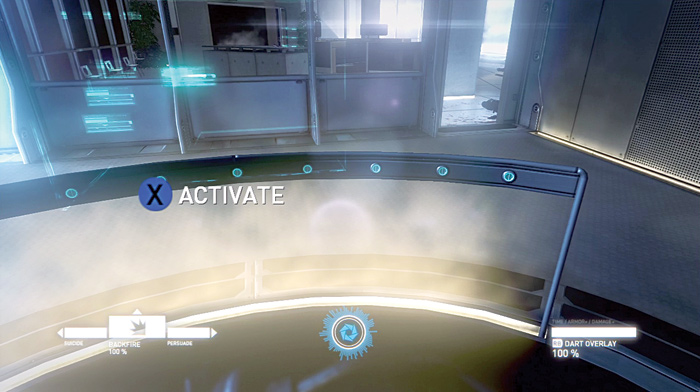
As a virtual console rises up in the middle of the room. Walk up to it and activate it. However, instead of letting Lily unlock doors, you have triggered a security lockdown.

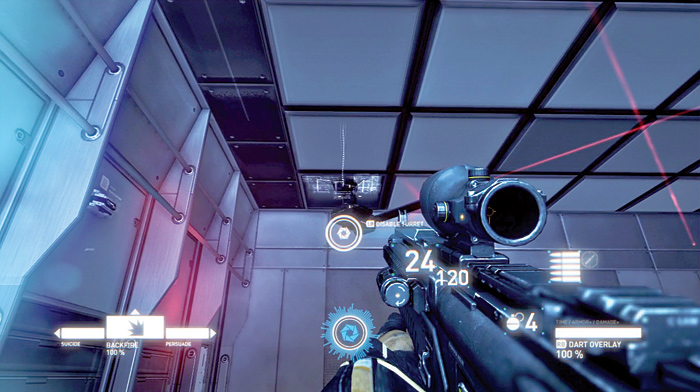
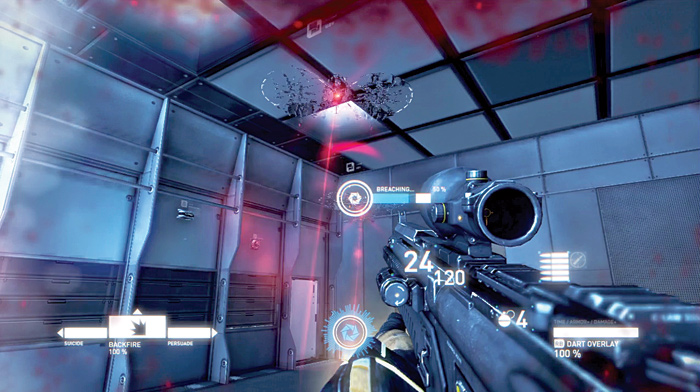
Metal shutters drop down over the windows and a couple of turrets drop down from the ceiling. Quickly breach each turret to disable them before they can hurt you.

Next, a couple of UAV drones appear. There is no cover in this room, so you have to act quick. Breach the drones to overload their chips to disable their armor and then shoot them down.

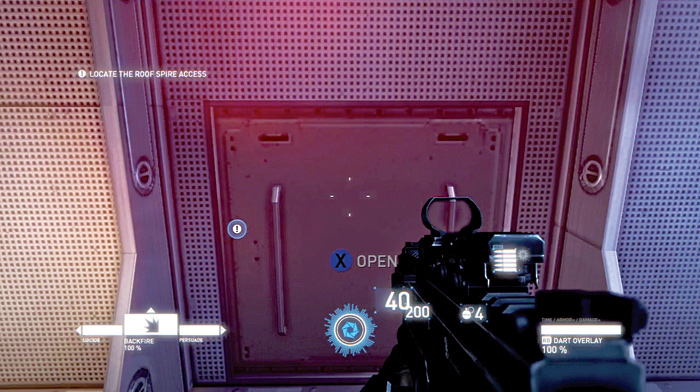
Locate the Roof Spire Access

There is a TAR-39 rack on the wall in this room. It is a good idea to pick one up. Ammo is usually plentiful since you can pick it up from dead enemies.

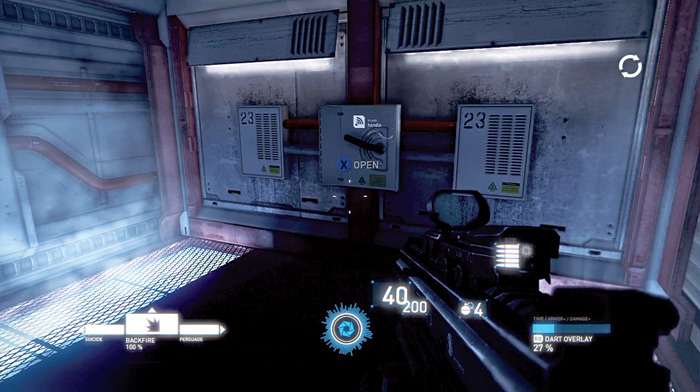
Plus, its grenade launcher can come in handy. Open up the access hatch by pressing the action button repeatedly.

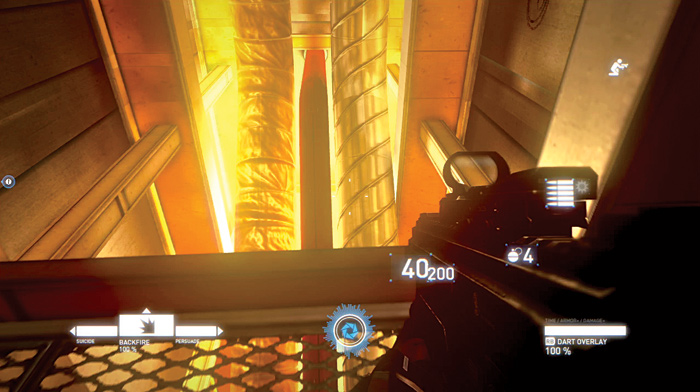
Move into the maintenance access area and head to the left. Drop down onto some pipes and then follow them down to a walkway.

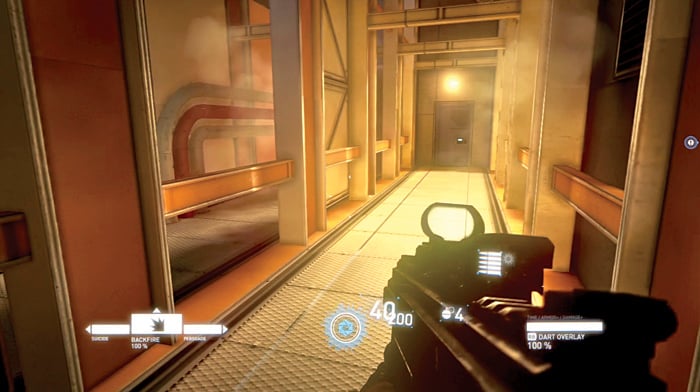
Take a right at the intersection and follow the walkway all the way to a door. Continue through the doorway.

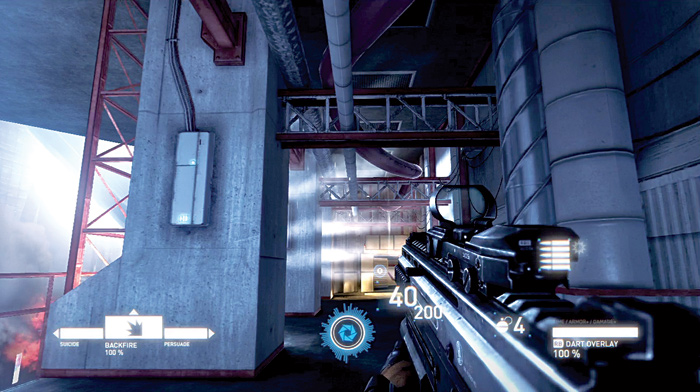
You find yourself outside on the edge of the building. There is nothing out here, so keep moving to the door at the end of the walkway.

After the door opens, enter an elevator and pull the handle to end the milestone.

Keep reading with a free account

The first 3 sections of Syndicate are open to everyone. An account opens the rest of it, and every other guide in the archive. It's free, and there's nothing to buy.

Bought guides on the old Prima Games site? Your account and every guide you own moved here, so there's nothing to buy again. Sign in.

Create a free account Or browse our free guides

PreviousMilestone 16: Human Resources NextMilestone 18: Spire Access