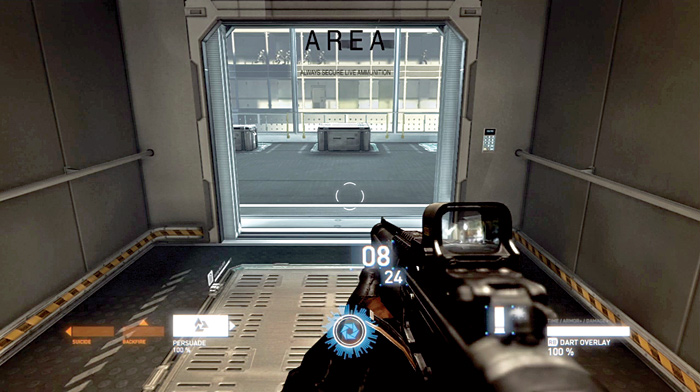
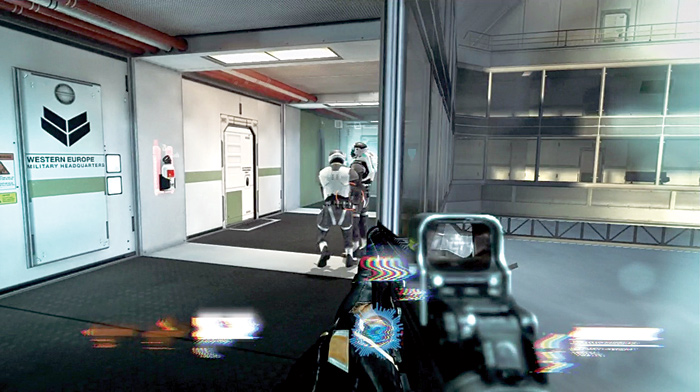
The elevator carries you up into a secure area. The agent has taken Lily Drawl here and now you need to get her back.
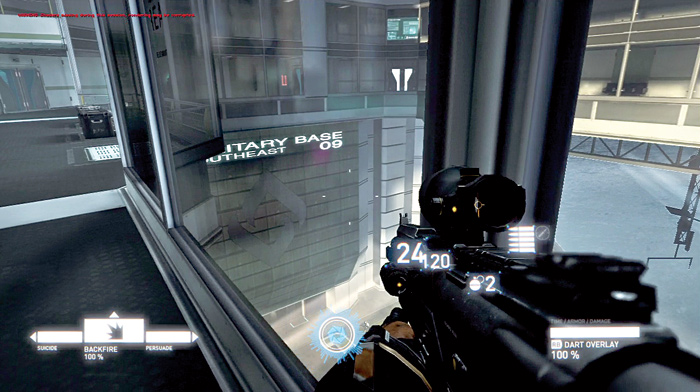
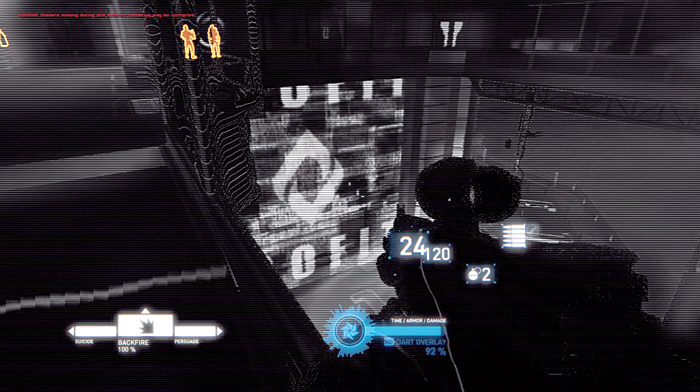
As soon as you get off the elevator, look out the window and then down and to the left to locate the Cayman Global logo. Switch on your DART overlay to see the hidden propaganda.
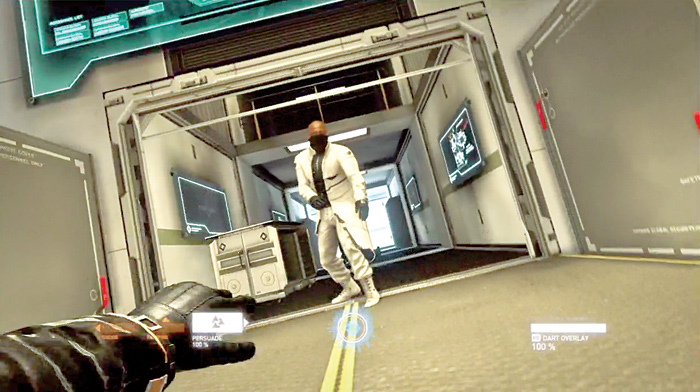
Follow the corridor to the left. There are two enemies around a corner—one of them is a jammer soldier, so you can’t use your apps against them. Instead, just move in and kill them both.
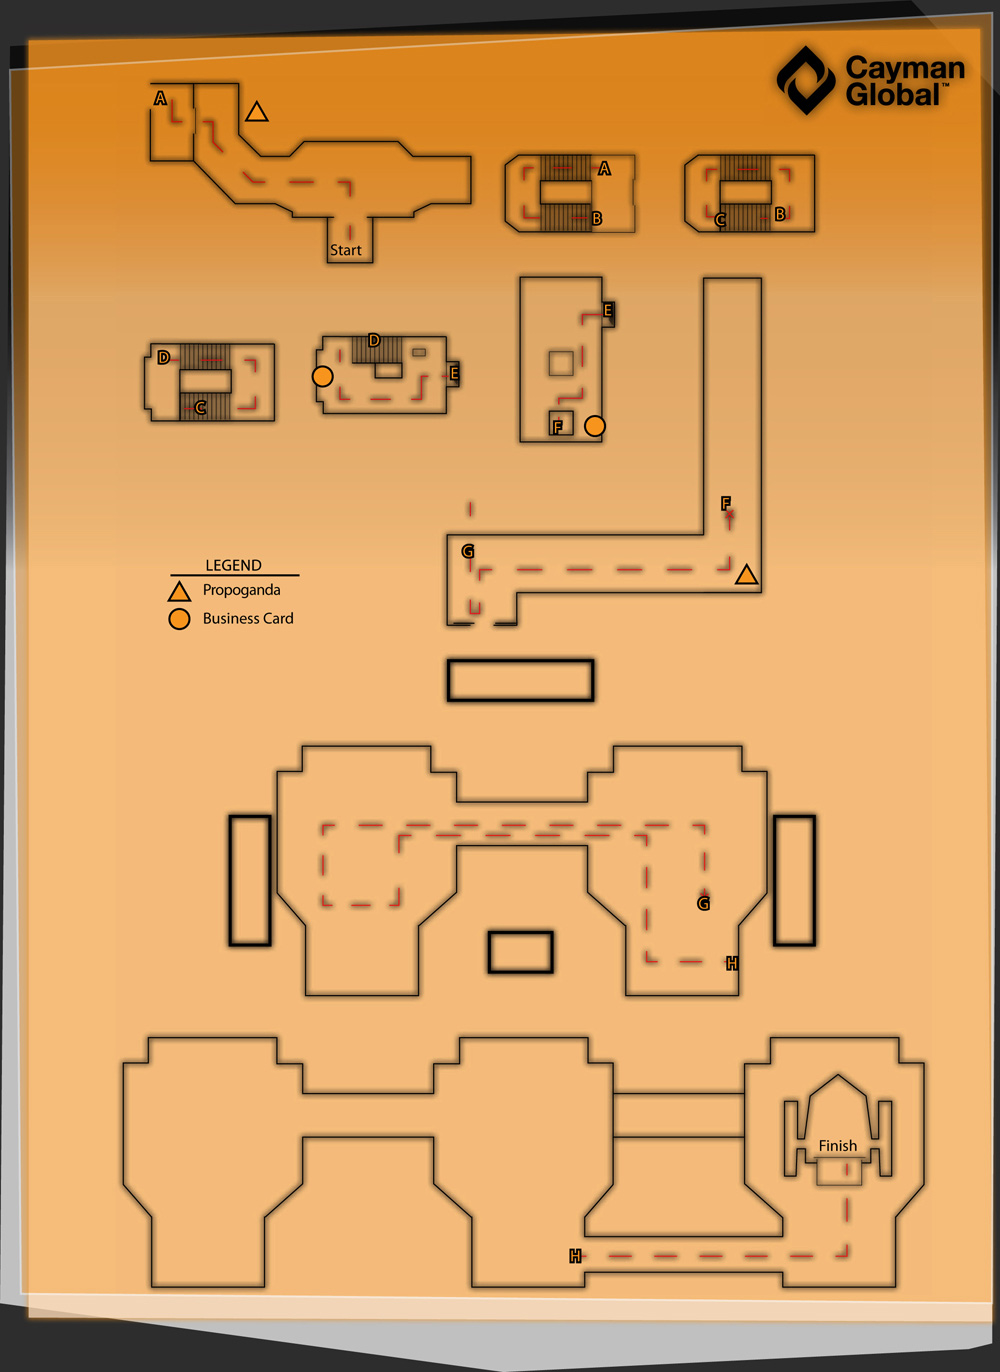
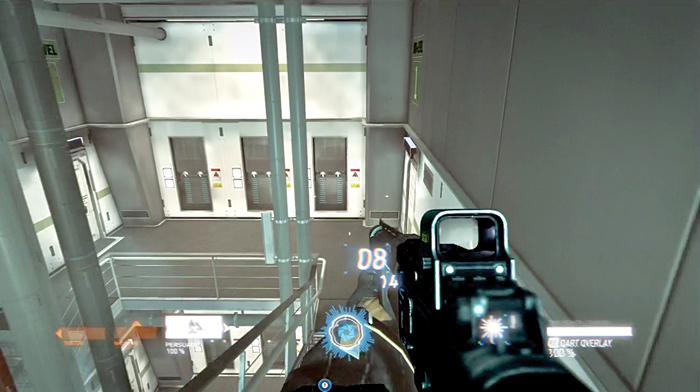
Continue through an small open door into a stairwell. Descend several flights of stairs to get down to the bottom.
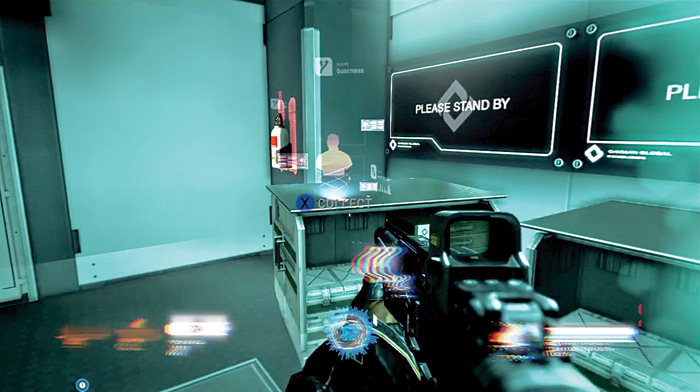
At the bottom, pick up a business card on a cart to add it to your collection.
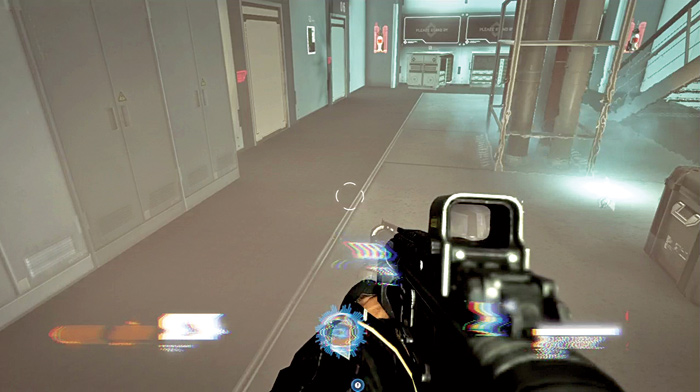
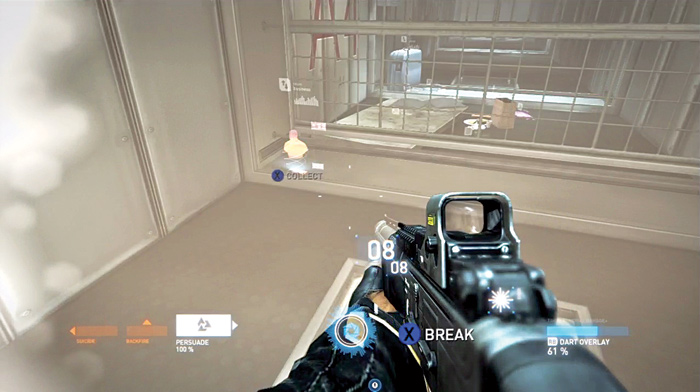
To get out of the stairwell, you must first break the jamming grenade. It is located on the floor and is brightly lit. Walk over to it and press the action button to step on it and halt the jamming.
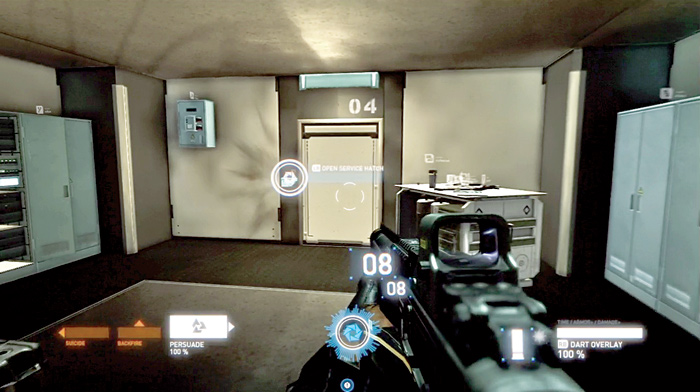
Breach the controls to open service hatch 1 so you can get some intel. Next open service hatch 4 and move through the hatch to climb down the ladder inside.
At the bottom, follow a maintenance corridor to the end where you can find another business card. Pick it up and then break the hatch in the floor and drop down onto a catwalk below.
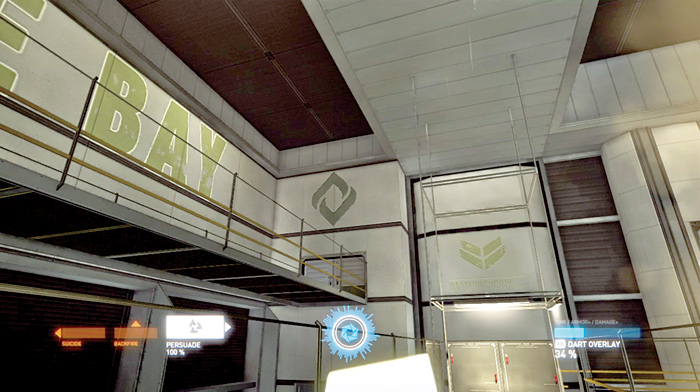
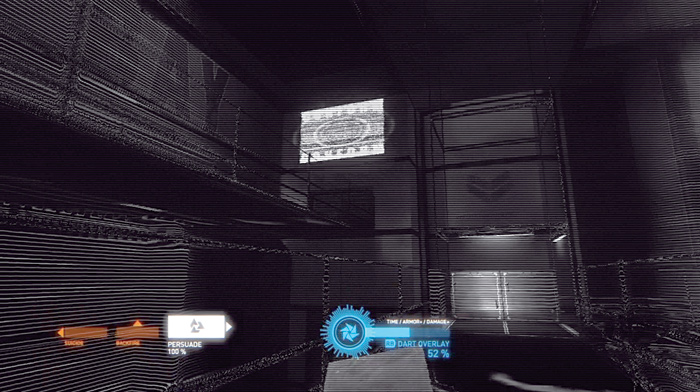
As you walk along the catwalk, look up and to the left to see a Cayman Global logo above you. Activate the DART overlay to then see the invisible message of propaganda.
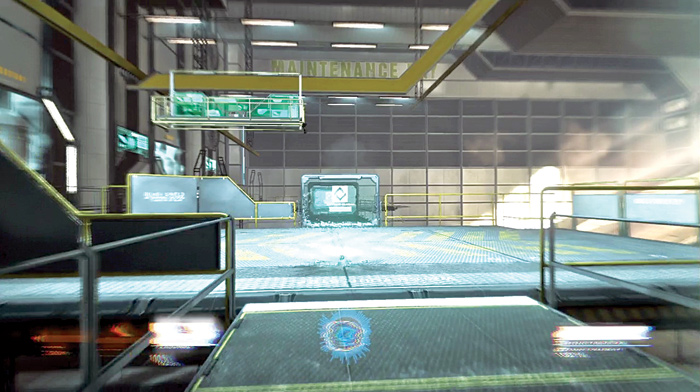
Continue all the way to the end of the catwalk and go through the doors. However, as you do, the enemy Agent drops down and kicks you to the ground.
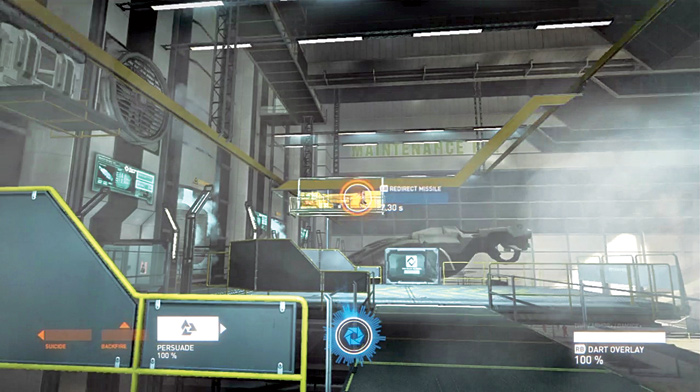
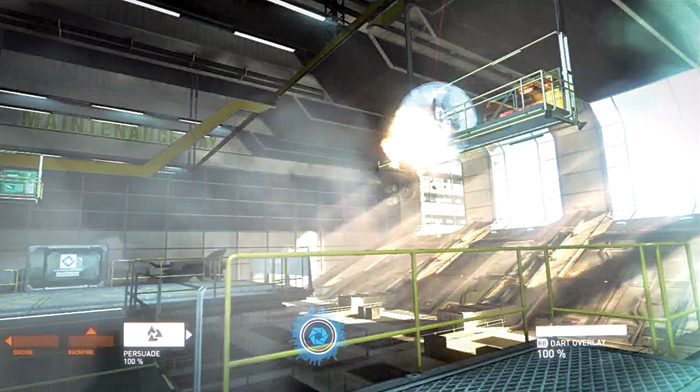
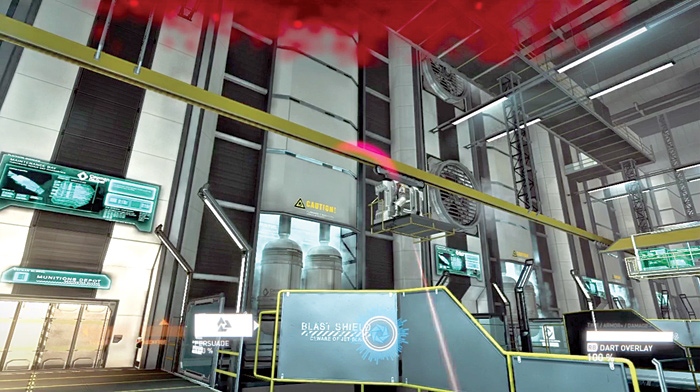
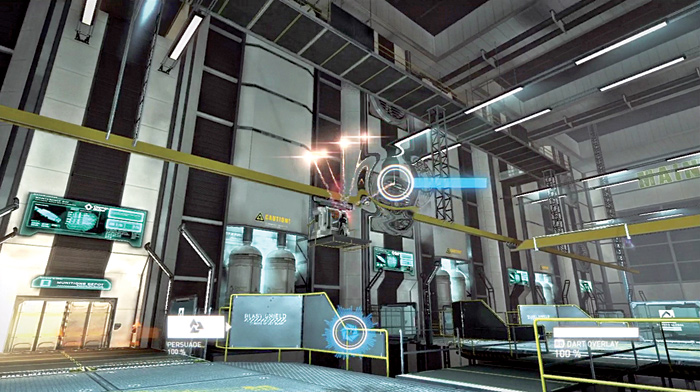
Agent Ramón is armed with a SWARM missile launcher. His armor makes him invulnerable to your weapons so you have to use your head—and your chip. Try to move away from him. Then when he fires missiles, breach them in midair to send them back at Ramón.
The missile launcher can fire volleys of up to five missiles, so you have to breach them quickly to avoid getting hit and to also inflict damage on the platforms on which Ramón is standing.
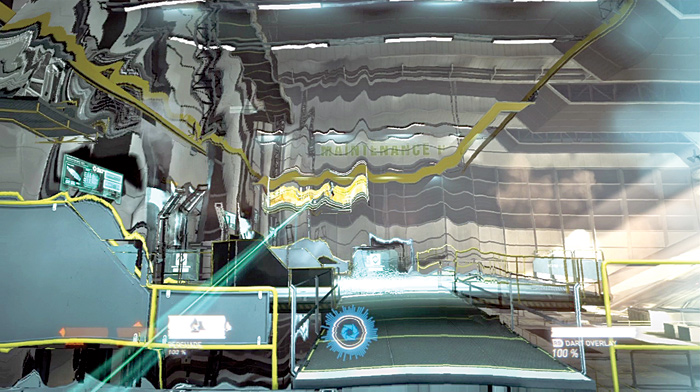
After damaging some of the platforms, Ramón, drops a jamming grenade. This prevents you from breaching the missiles. Take cover as they come at you.
Rush forward and press the action button while near the grenade to break it. You can also sprint and slide into the grenade to destroy it. Now you can breach the missiles again to send them back at the Agent. As the missiles damage the platforms from which he launches his missiles you limit where he can jump.
Take cover when Ramón jumps to the small platform next to the wall. He can fire an assault rifle at you from here as well as launch missiles.
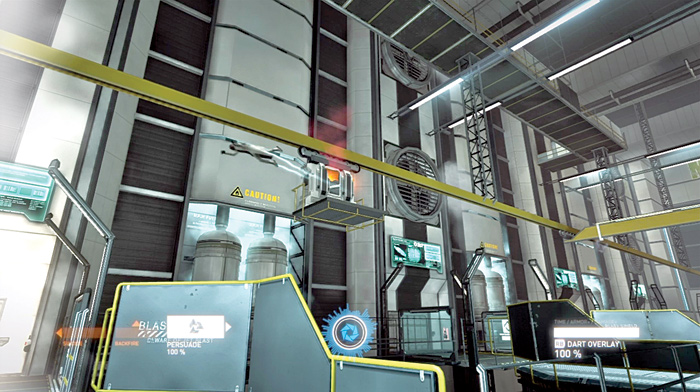
Eventually the three hanging platforms are destroyed and Ramón is stuck on the small platform by the wall. While the missiles do not damage the platform, they cause damage to the power supply behind him. Keep redirecting those missiles back.
Eventually the power supply is seriously damage. Breach the generator to overload it. The resulting electrical charge affects Ramón’s legs and causes him to crash down to the catwalk.
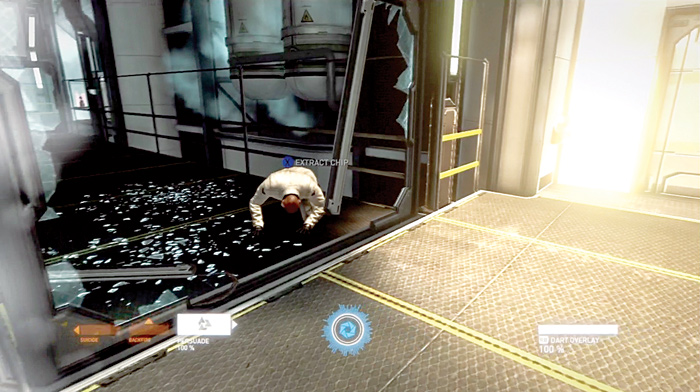
Now that Ramón is down, move in to extract his chip.
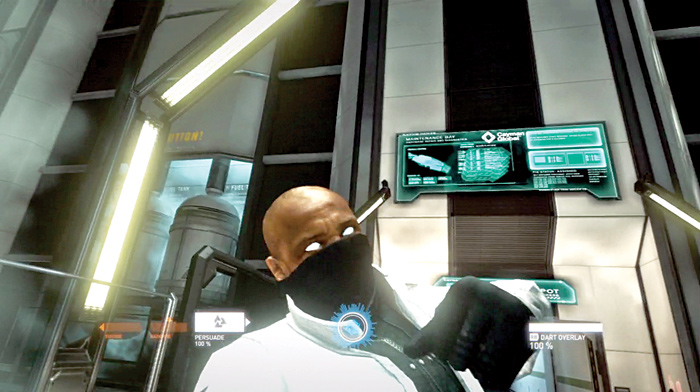
As you approach, Ramón gets up and attack. He is not yet dead.
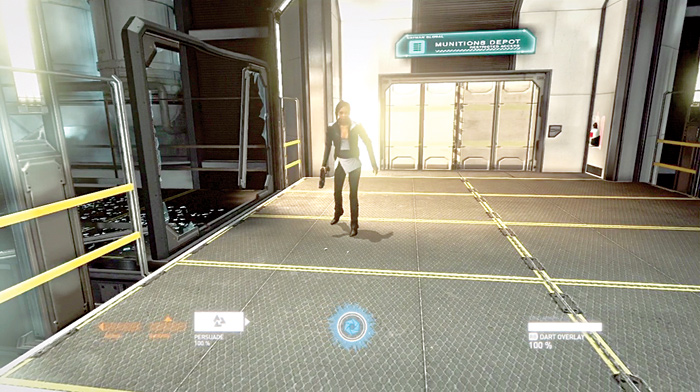
However, Lily is there to finish the job. Now you can extract the chip and add an upgrade to your own chip.
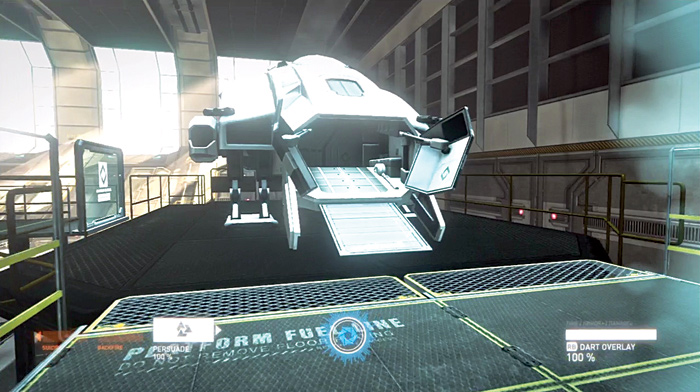
Finally, follow Lily to a dropship and climb aboard to make your extraction from La Ballena.