
Syndicate Guide Walkthrough Campaign Walkthrough
Milestone 18: Spire Access
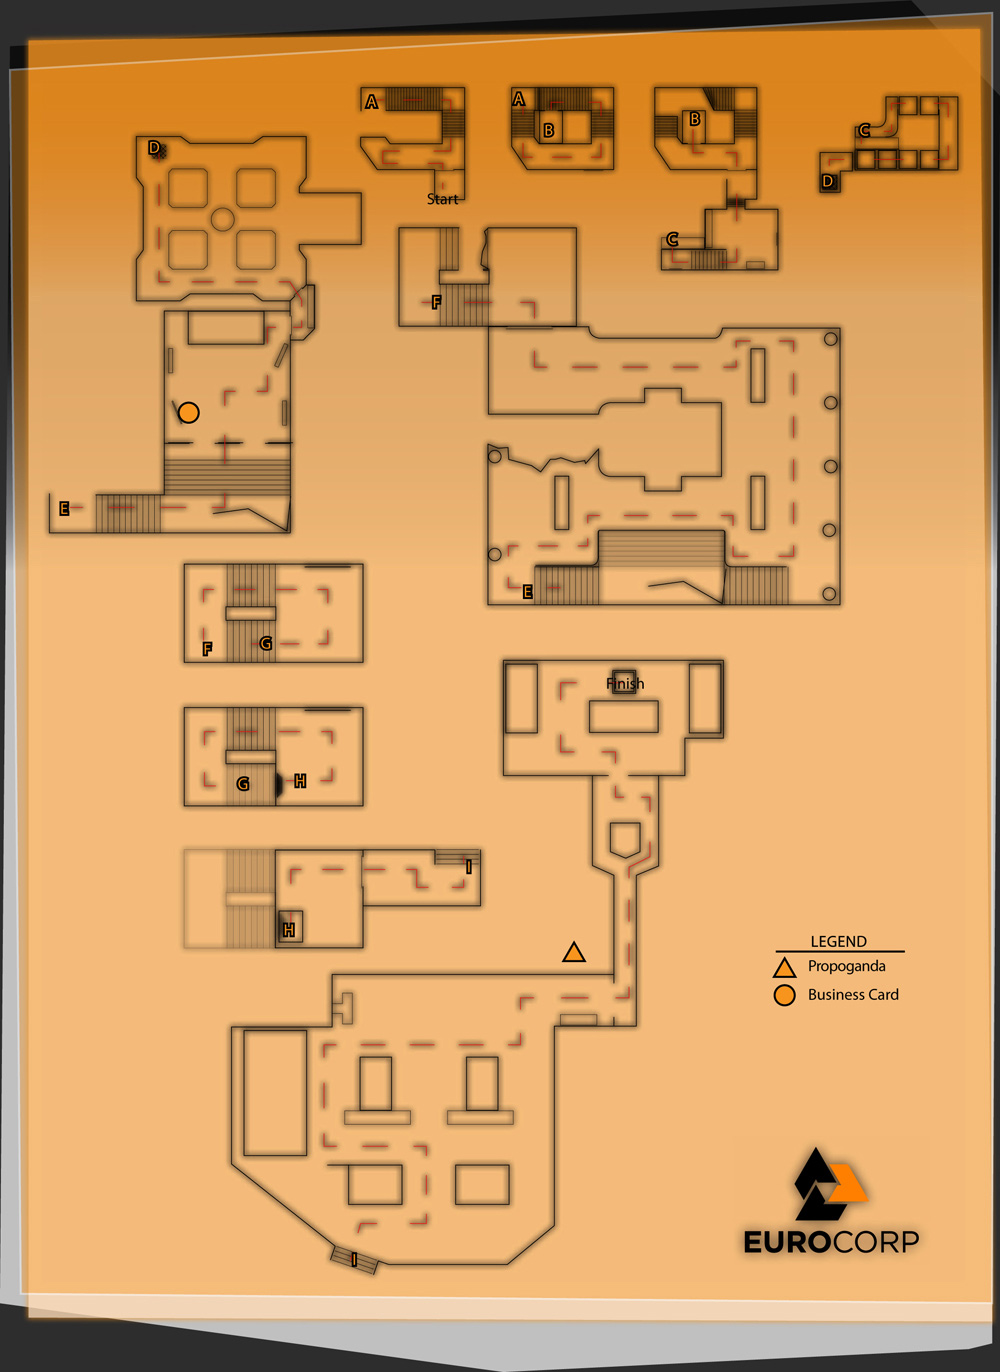
Locate the Roof Spire Access
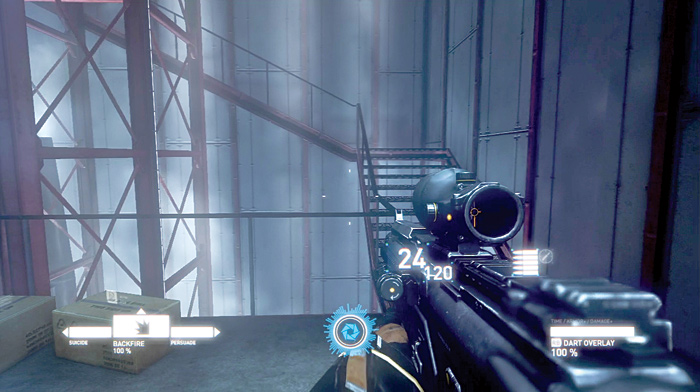
Once the elevator stops, exit and move into a large stairwell. Climb up the stairs as far as you can until flames and damage block your path.
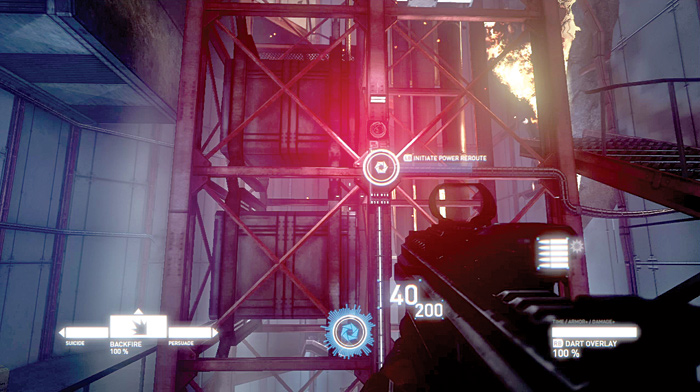
The Cayman Global assault has causes a lot of damage. In order to get farther up the stairwell, you need to reroute power to the elevator.
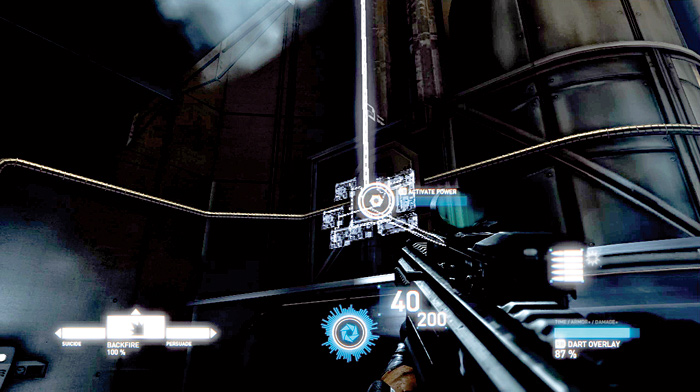
This is like a puzzle in that you have to breach different switches in the correct order in a short amount of time. Start off by initiating the power reroute by breaching the control on the elevator structure.
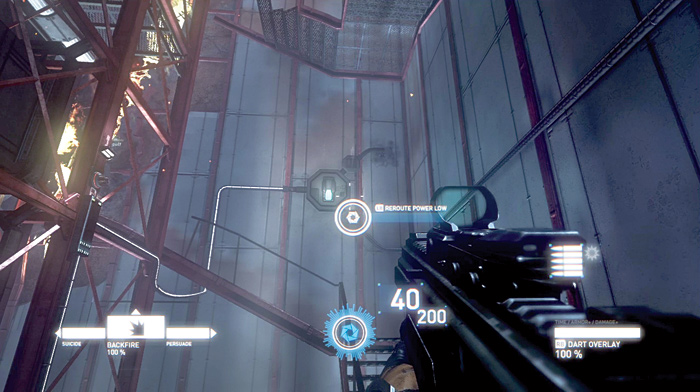
Follow the lit power line to the next junction box and reroute the power low.
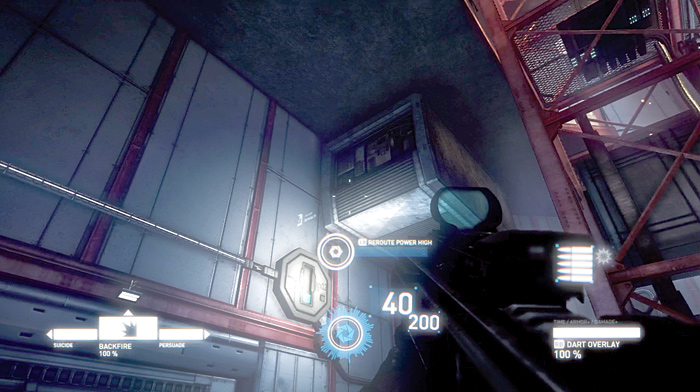
Turn and follow the power line to the next junction box and reroute the power high.
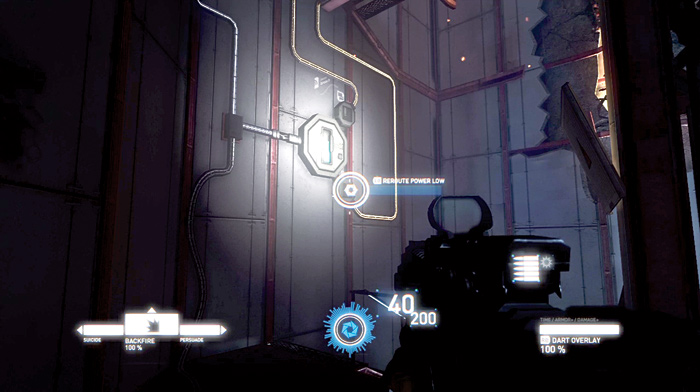
Continue tracing the power line to the last junction box and reroute the power low to get it to the elevator. If you do it correctly and in time, power is restored to the elevator.
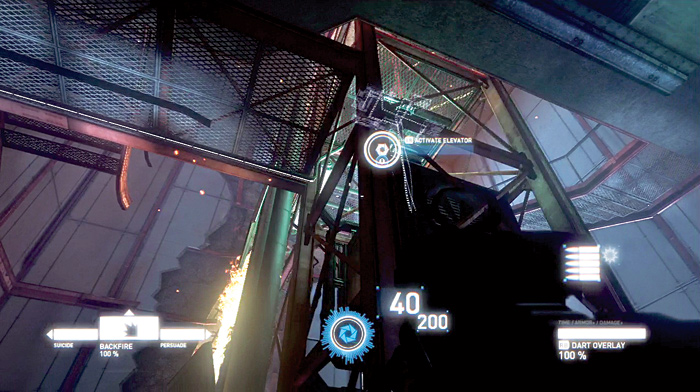
Now look up at the elevator structure and breach the switch to activate the elevator.
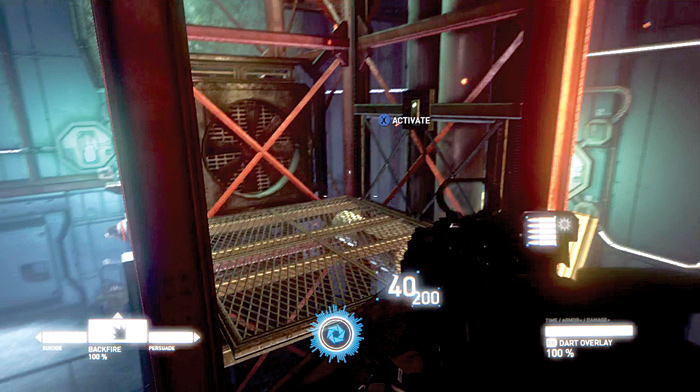
Walk up the stairs and climb into the elevator. Press the switch and the elevator takes you up past the damaged stairway to the next floor. Once the elevator comes to a stop, exit and move through the open doorway.
Move towards a civilian. Either kill him or scare him away so you can access the terminal to download some date. Then head up some steps.
You now have another power puzzle to solve in order to continue. Start off by locating a switch on the wall and breach it to activate the power.
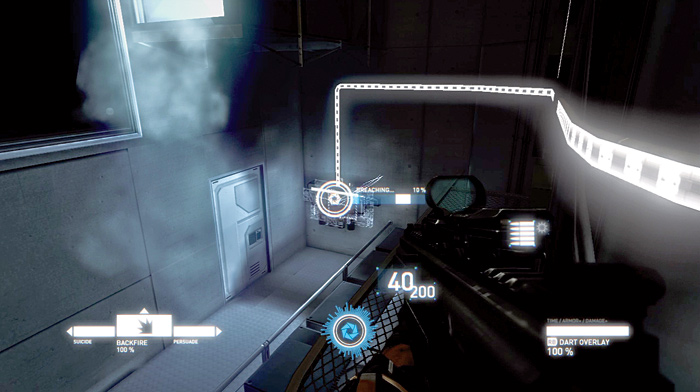
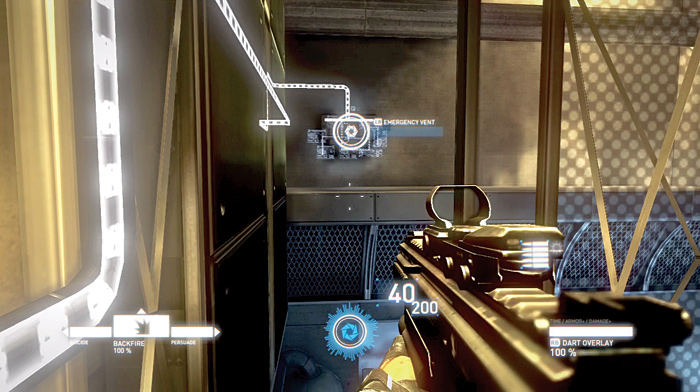
Jump up onto the equipment by the switch. Breach another switch for the emergency vent to the left of the power switch, then follow the power line around to the right. Breach another emergency vent switch and two vents open and act as platforms. Jump onto the vents to get to a platform next to the second vent switch.
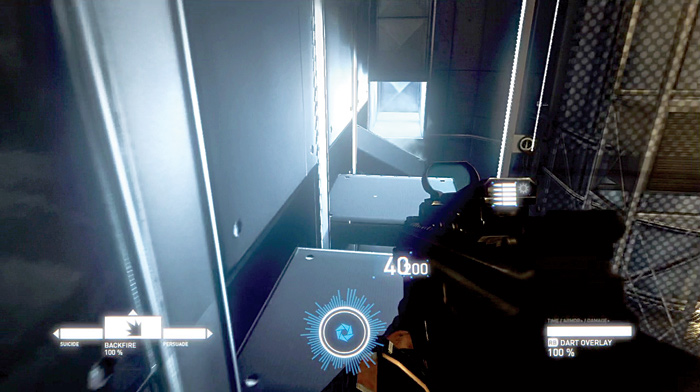
Walk to the end of the platform, and breach both vent switches again. Quickly jump across the three open vent platforms and then crouch down to enter an air duct. Follow the duct around a corner and then break a grate to drop down into a computer server room.
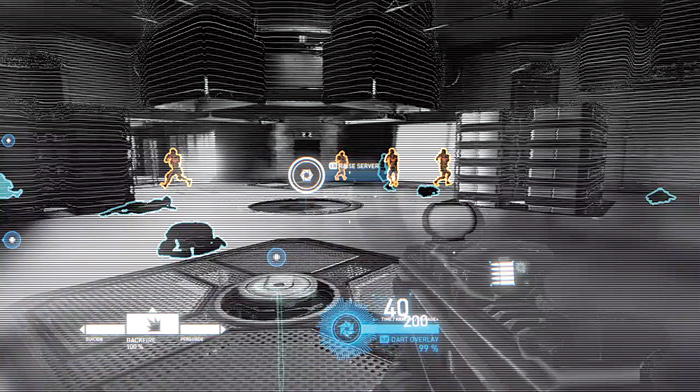
You can breach controls in the room to raise servers so you have some cover while fighting against severalenemies. The DART overlay helps you see through the cover so you can plan your attacks.
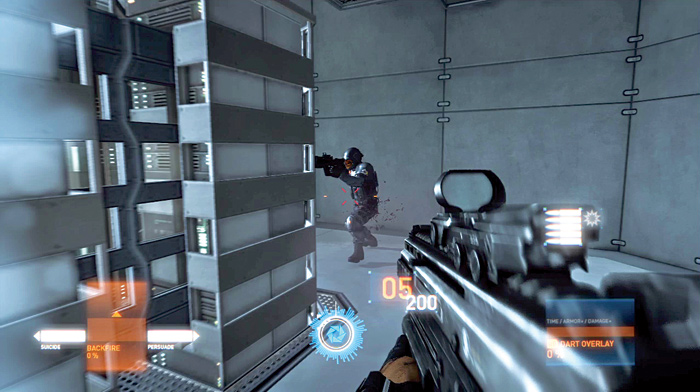
Keep moving around the room from cover to cover and neutralize all the enemies.
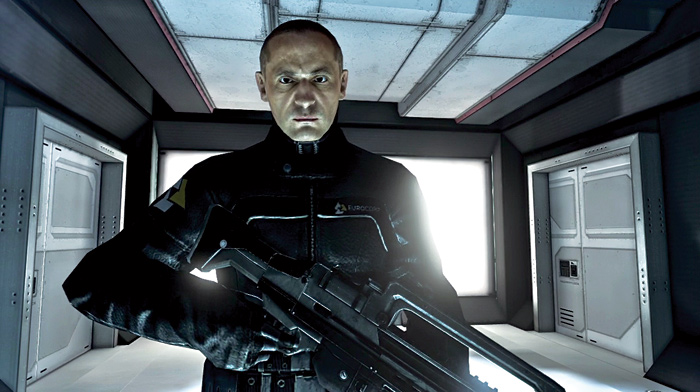
When they are all killed, you now have to face Agent Crane and a couple more enemies.
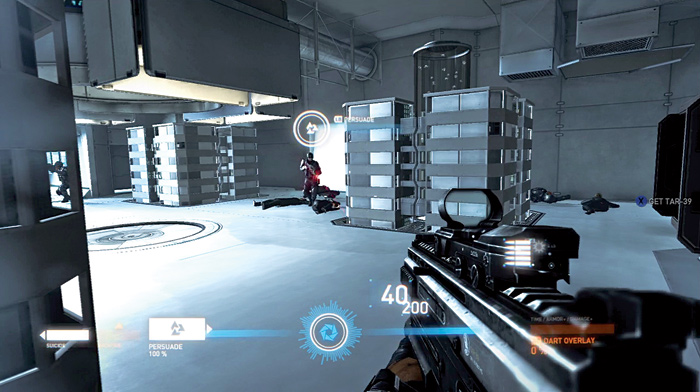
As soon as he appears, raise servers for cover and use the Persuade app on one of the other enemies. You definitely could use some help here.
Agent Crane can take a lot of damage since he can recover health quickly. So you need to be ready to inflict a lot of hurt on him.
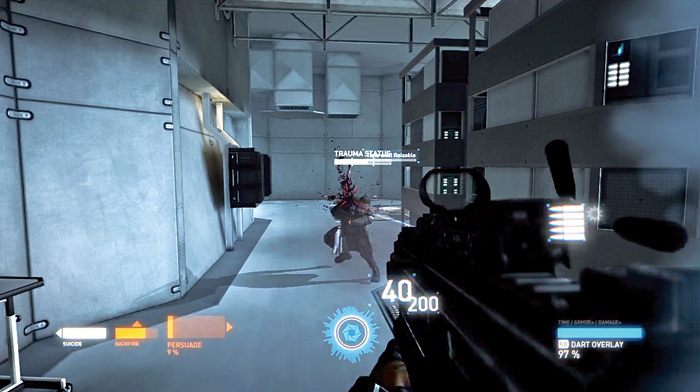
Crane is armed with a gauss gun, so you need to make sure when you take cover, you get in close to the servers.
The TAR-39 is a weapon of choice for this battle due to its high rate of fire and grenade launcher.
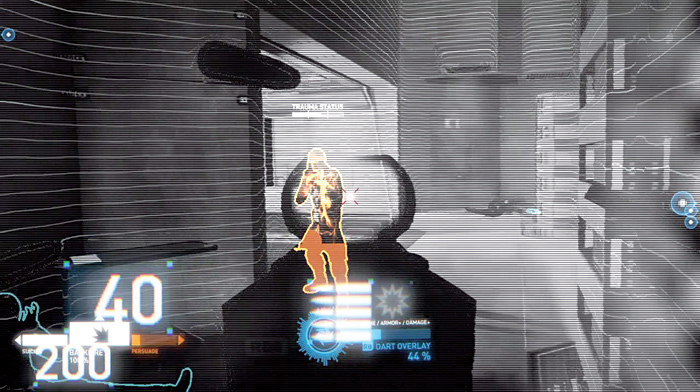
When you move out from cover to engage Crane, activate your DART overlay so you can slow down time a bit and get in more hits.
If you have upgraded your chip to increase damage while in the overlay, your attacks are even more effective.
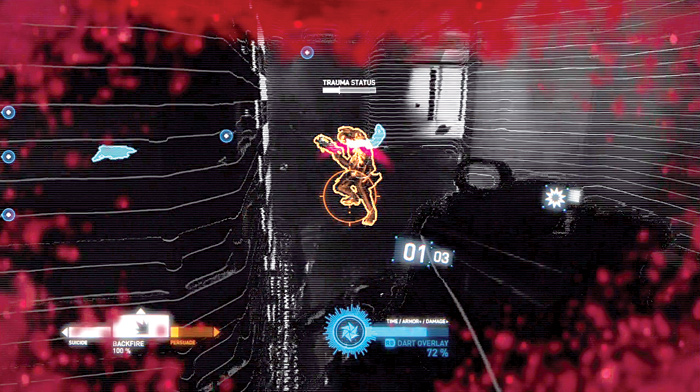
Crane’s trauma status bar is divided into three segments. When you are attacking, it is important to drop his health into the next segment.
Otherwise, Crane can restore his health for the current segment. Get his health about halfway down in one segment, then launch a grenade to drop him down to the next segment.
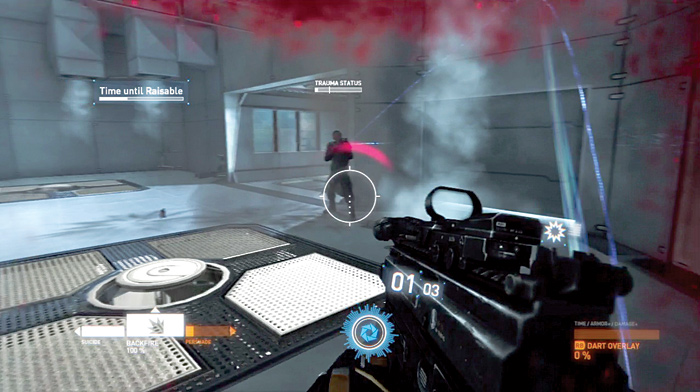
Agent Crane breaches the servers to lower them, so you have to keep raising them or you lose your cover.
As you get near the end, let Crane have it with grenades and automatic fire to finish him off before he can recover health.
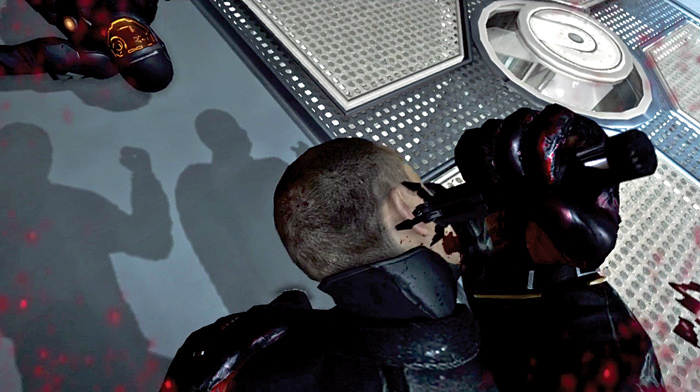
Once you have killed Crane, move in and extract his chip to upgrade your own chip with a new ability.
If you have not already purchased the Protective Shielding ability, it is a good choice since you will soon face a lot of tough battles.
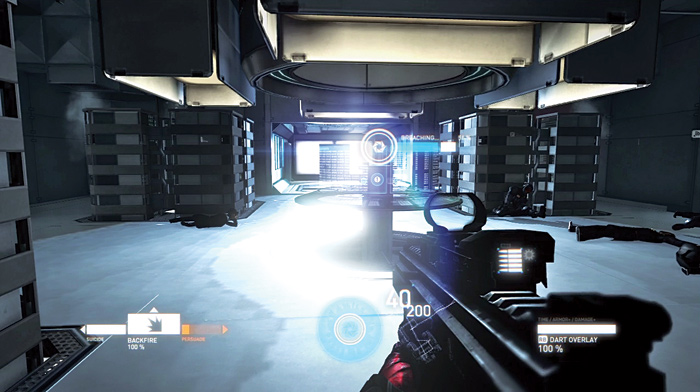
A console rises up in the middle of the server room. Breach the controls to override the exit door.
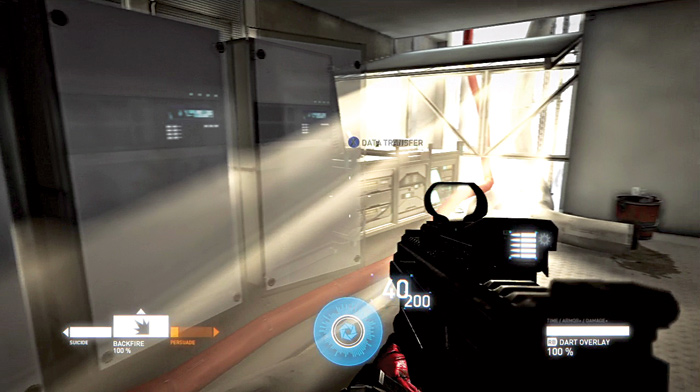
After exiting the server room, stop by a terminal and transfer some data to your chip. Then head through the door to the right.
New Syndicate Profile
SYNDICATE: PRAVITEL
/ ORGANIZATION PROFILE
Name:
Pravitel
Type:
Global Syndicate
Center of Power:
Moscow
EXECUTIVE BOARD
> Vladimir Nesselman (CEO, Moscow)
> Yuri Goncharova (Operations Officer, Moscow)
> Anna Aitova (International Strategy Manager)
> Patrik Tyne> Galina Belova (CEO, Novosibirsk
> Viktor Firsov (Operations Officer, Novosibirsk)
> Mikhail Vetrov
> Tun Sao
INTEL FEED
/ CG_strategic.Command: Business Analysis
The Pravoil Conglomerate made strategic investments in nuclear power and oil resources to counter the increased political mistrust of nuclear power in Europe.
Funded by Scandinavian and German investors, Pravoil increased the uranium mining in Siberia and between 2015 and 2021 they developed the “Ten Finger” Nuclear Ridge at the Sayano Shushenskoye mountain range.
Threatened by EuroCorp’s increased influence, Pravoil exported power to Europe and northern China, funding a fundamental reconstruction in 2028.
The company merged with the eight leading conglomerates in Russia, removed the Prime Minister and the state Duma, forming the Pravitel Syndicate.
To strengthen the capital borders and consumer-base against EuroCorp influences, Pravitel launched a hostile meldware virus against the populace of Belarus, October 2031.
In 13 days, contracted mercenaries had obliterated the unchipped resistance and all major corporations merged with the Pravitel corporate sphere.
/ CG_strategic.Command: Intelligence
Reports indicate that Pravitel has financed hostile takeovers in South America, the Pacific island states and Australia.
Meldware viruses have destabilized all areas and military strategies seem to involve quarantining target areas using subsurface naval fortresses.
/ end of entry
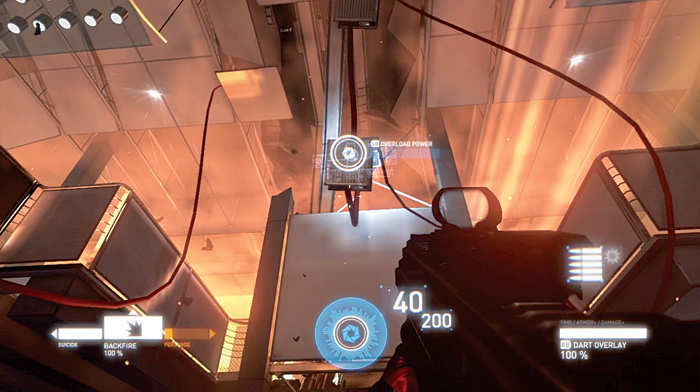
As you enter a foyer area, it appears there is no way to continue on. However, look up toward the ceiling in the middle of the room and breach the controls to overload the power.
This opens a barrier so that you can advance up a short flight of stairs.
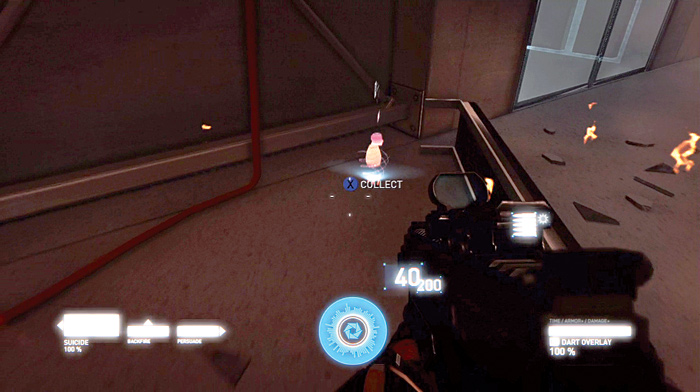
Look for a business card on the ground in the foyer area and pick it up before heading up the stairs.
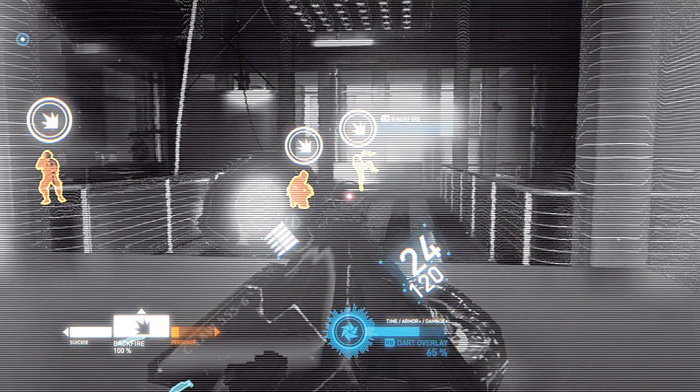
When you get to the top, take cover. Lots of enemies are headed your way. Breach the same power control in order to electrify the two bridges.
If you time it just right, you can kill several enemies as they are moving toward you.
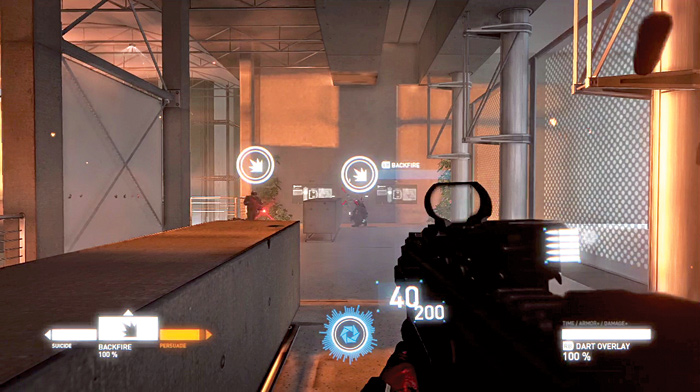
Once you have cleared enemies away, move across the first bridge and take cover as you prepare for the next wave of enemies.
Electrify the bridge as several enemies move across it and then finish off the rest.
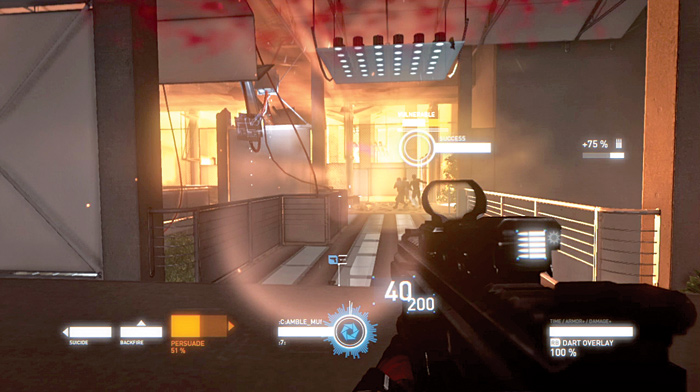
Get behind cover in front of the second bridge and get ready for the third wave.
This includes an electro-armor soldier. As soon as you see him, breach his armor to short-circuit it. Then lay into him with automatic fire.
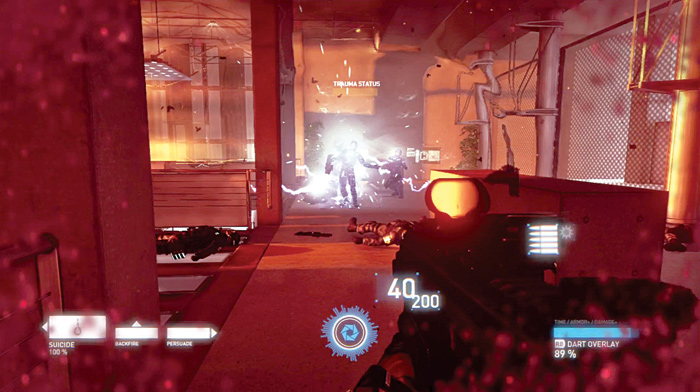
Overload the power as he walks across the bridge and use Persuade on one of the other soldiers near the electro soldier to help you with this fight.
If necessary, pull back and stay behind cover so that you are not toasted by the COIL laser rifle the electro-armor soldier carries. Keep firing until he is dead.
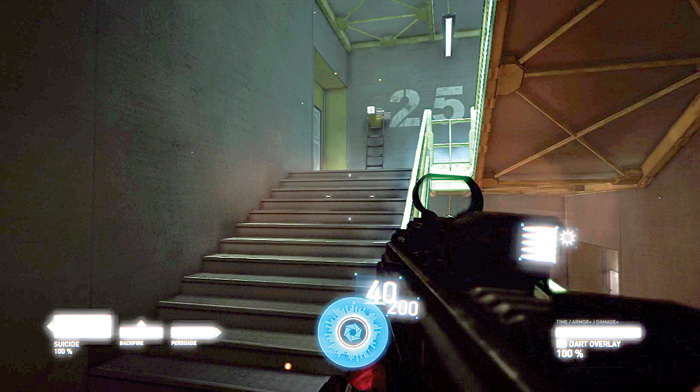
Cross over the second bridge and enter a stairwell.
Move up the stairs to the top and then climb up a ladder. Follow a catwalk to a door and then go through it to get to the roof.
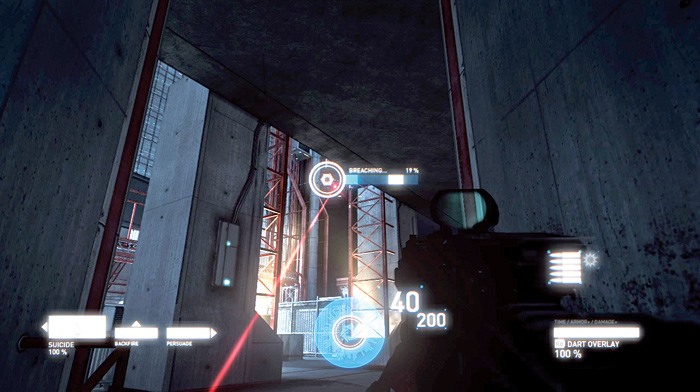
Stay near the doorway leading out to the roof and use it for cover.
Breach the UAV drones to overload their circuits so that you can disable their armor and shoot them down.
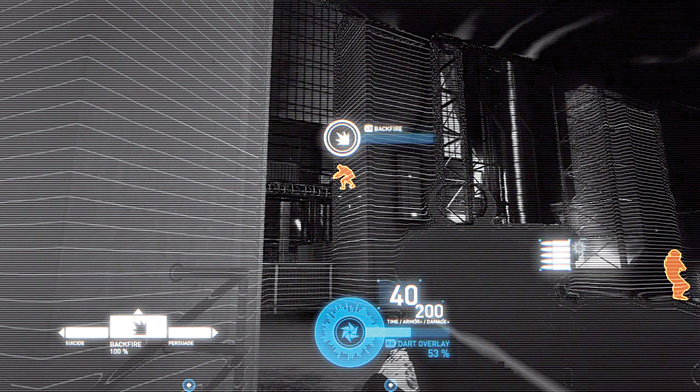
Stay in your position and attack the many enemies that come after you. Use the DART overlay as much as possible.
It helps you detect enemies that try to sneak up on you and get in close for attacks.
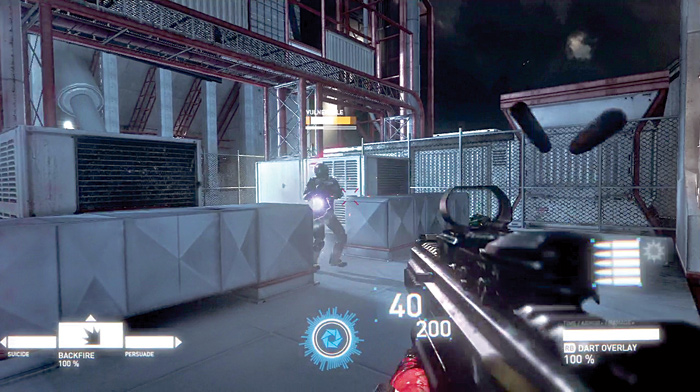
After you defeat the first wave of enemies, the second arrives with another electro soldier.
Short-circuit his armor and fire away while moving to cover. Once he is down, go after the other enemies in the area.
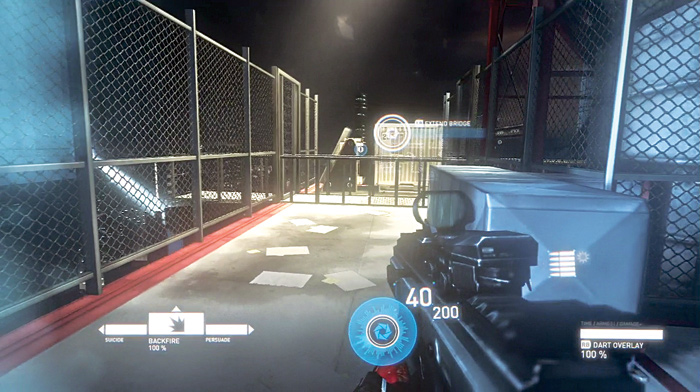
Once the rooftop is clear, move to the far right corner and breach the controls to extend the bridge across to the Spire.
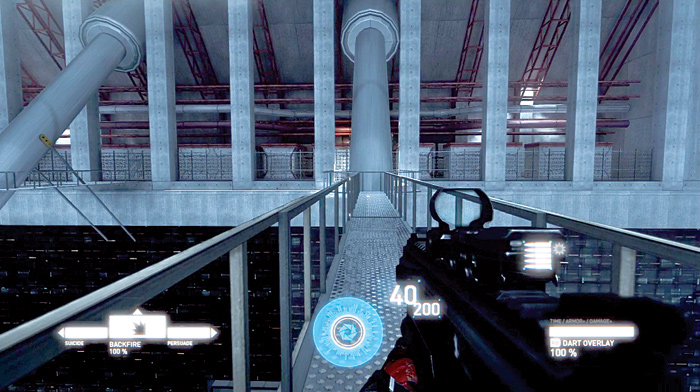
Move out onto the bridge and head across to the Spire.
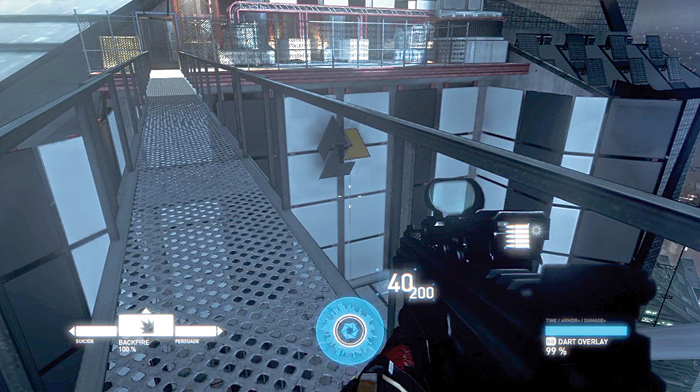
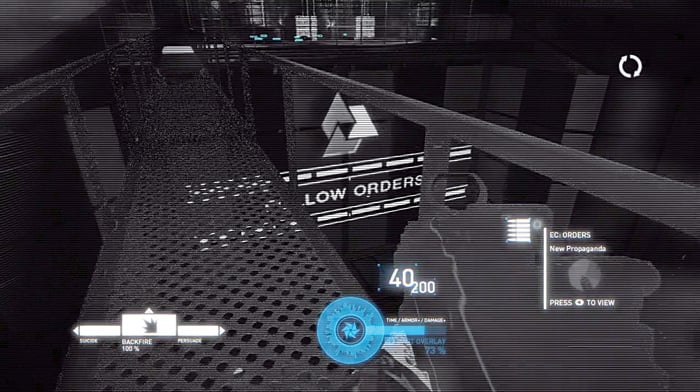
As you are moving across the bridge, turn around and look down at the building you just left to see a EuroCorp logo.
Activate the DART overlay to see the hidden propaganda.
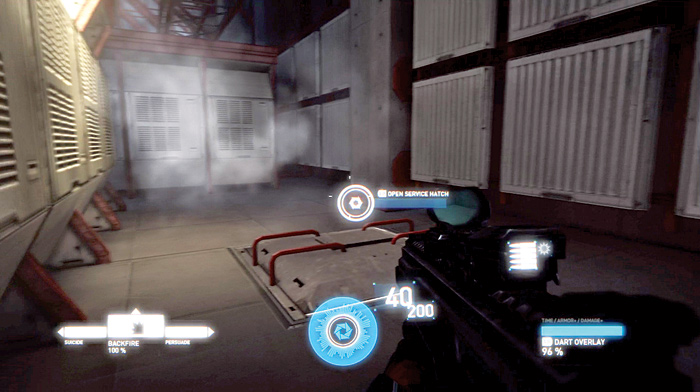
Continue across the bridge to the Spire. Then move around some equipment to find a service hatch. Breach the hatch to open it and then drop down into the shaft to complete this milestone.