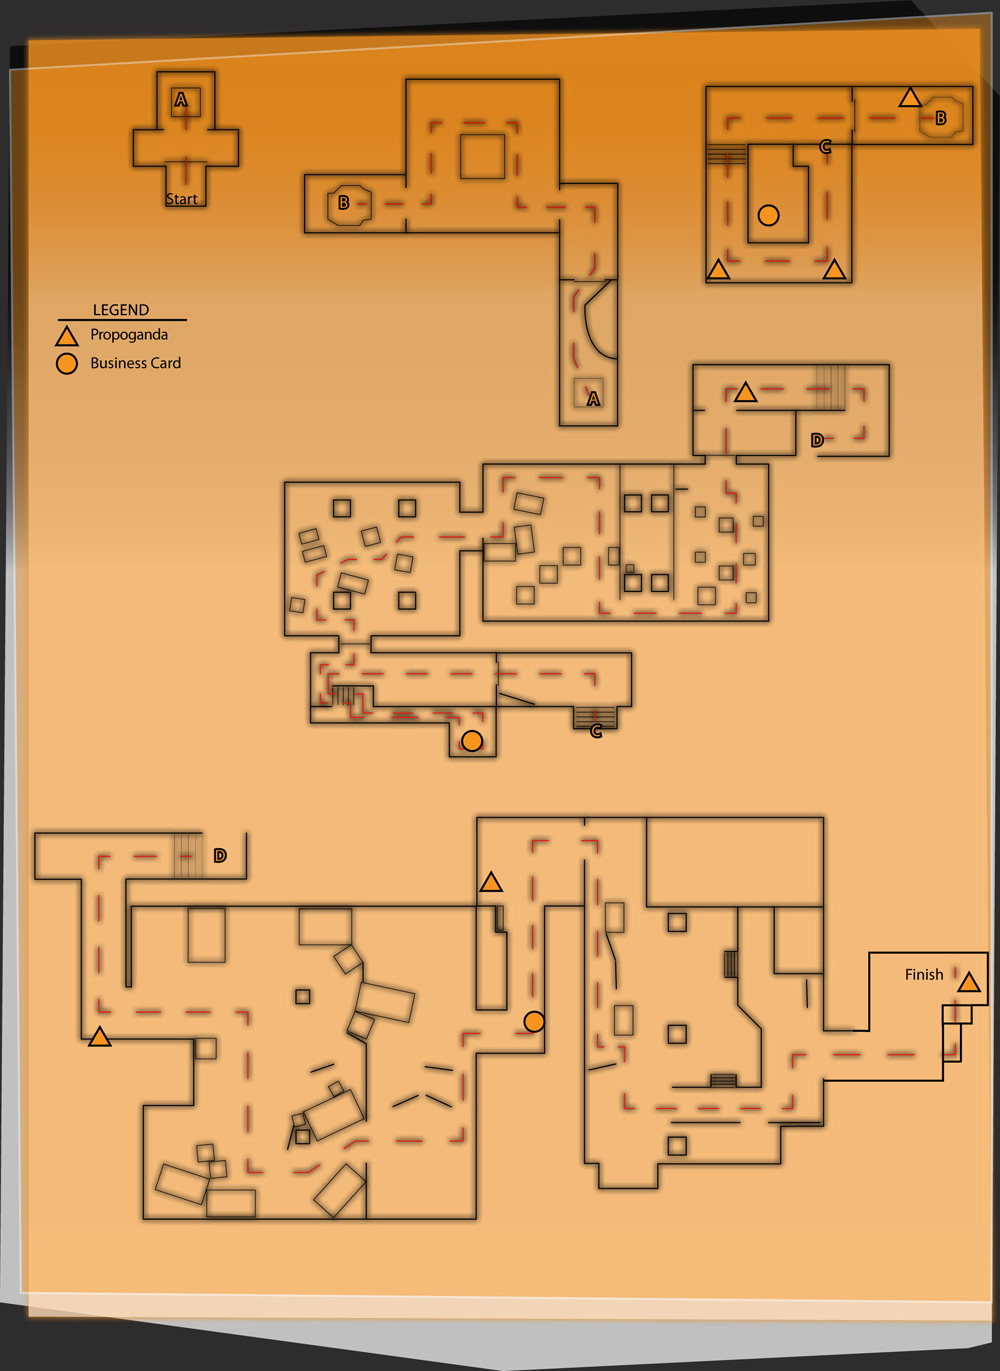
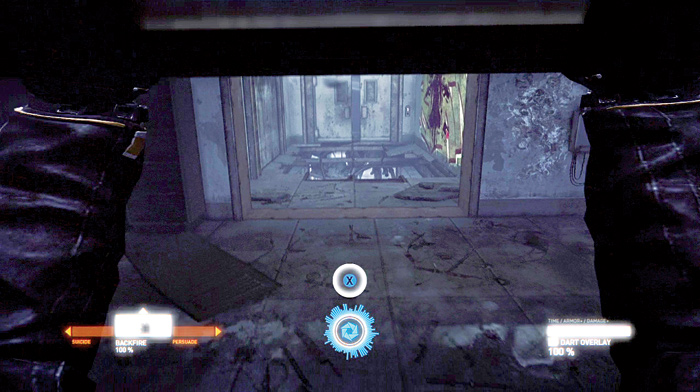
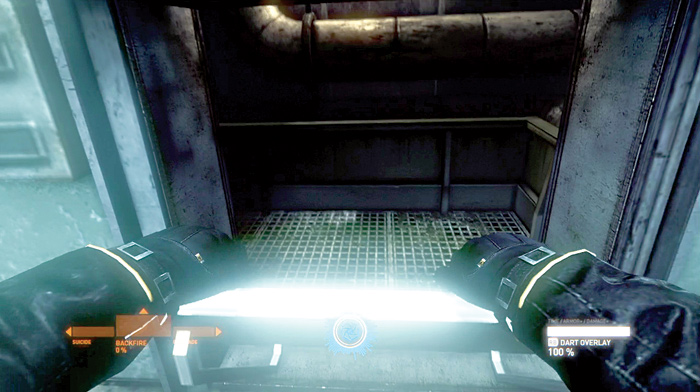
As the elevator comes to a stop, you must physically open the doors by repeatedly pressing the action button. Then move forward and drop down through the hole in the floor.
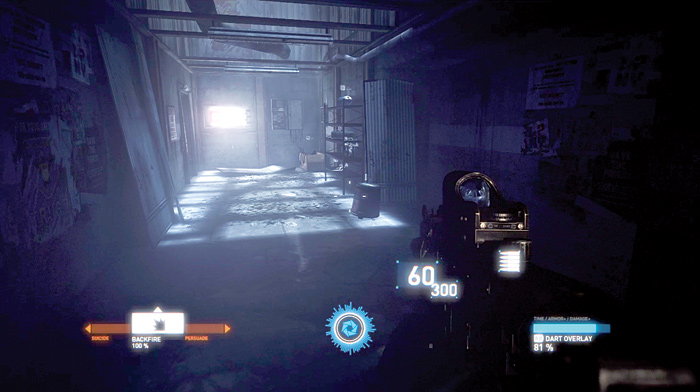
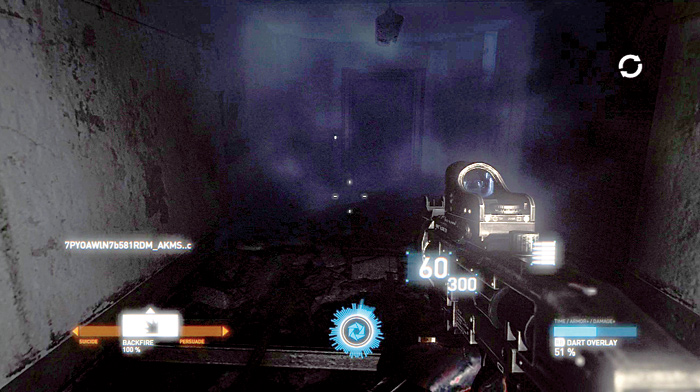
Move through the rubble, through some double doors, and then along a corridor. Go through a door on the left side and into a control room.
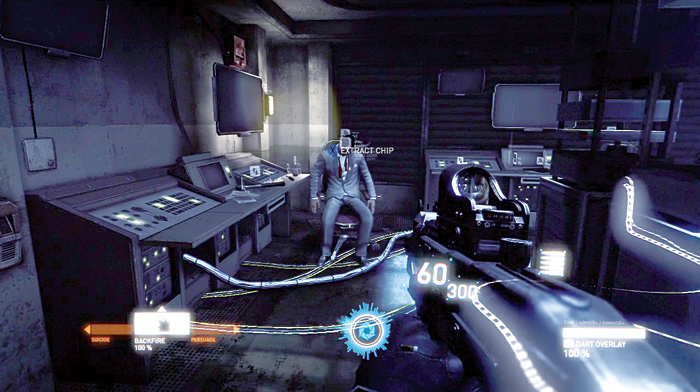
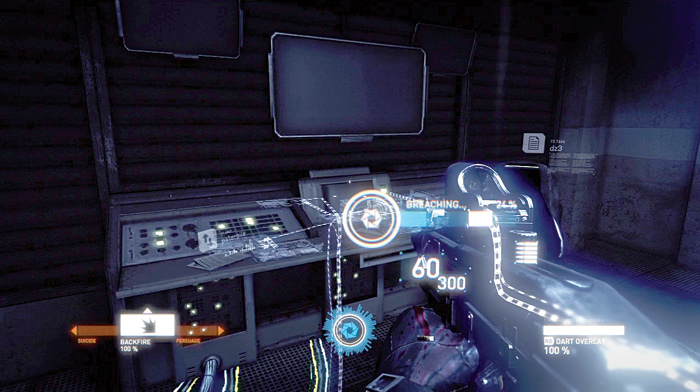
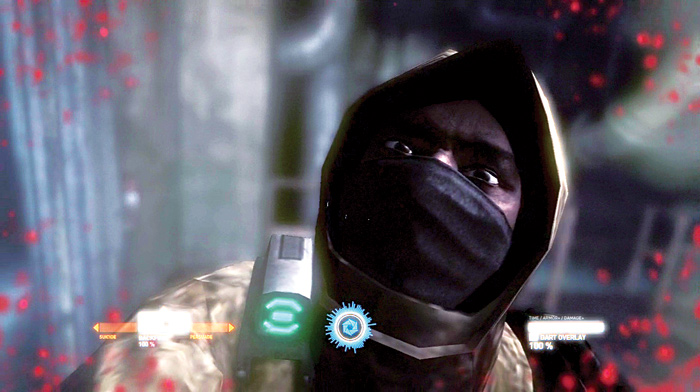
Press the action button to turn on the power. Then approach a captured Aspari agent and extract his chip so that you can upgrade your own chip.
Finally, breach the console to reboot the system. Exit this room through the small door on the side and then drop down through a hole in the floor of the hallway.
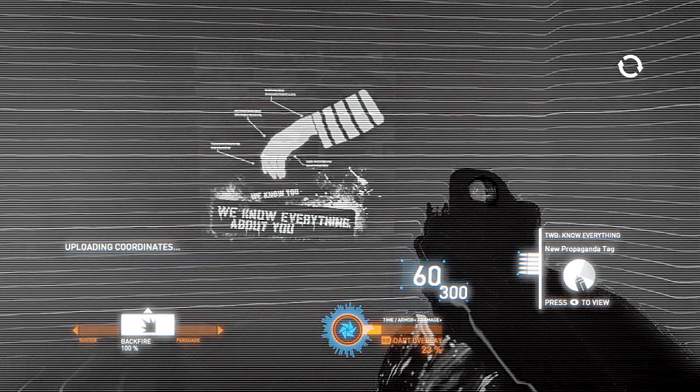
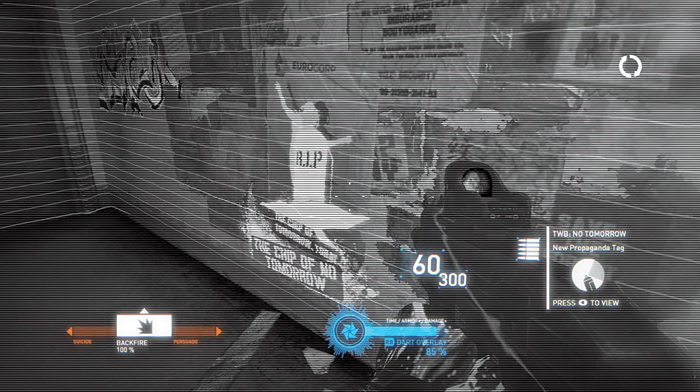
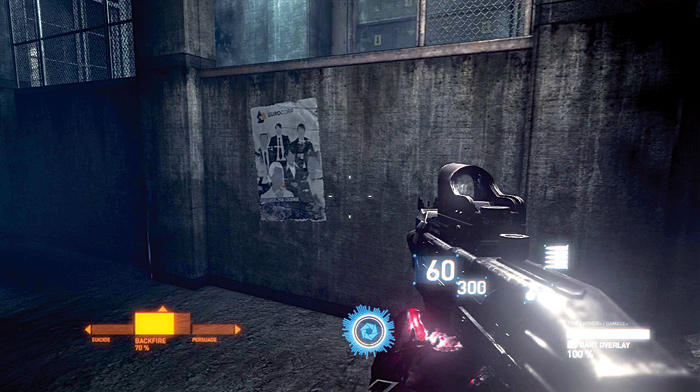
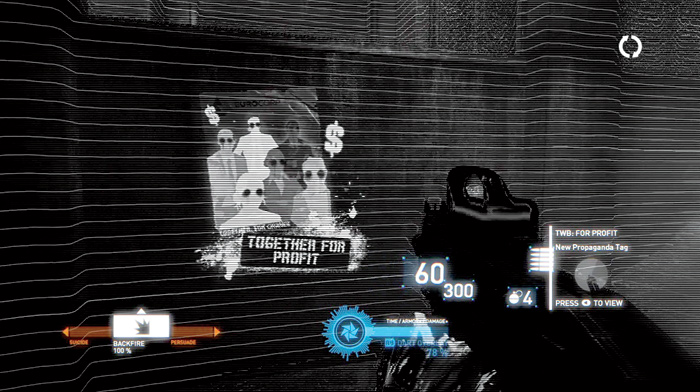
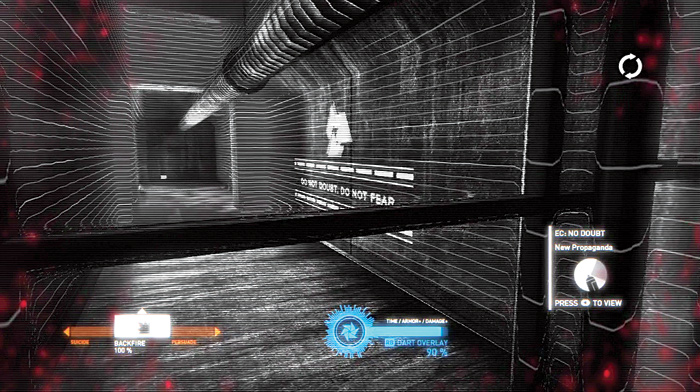
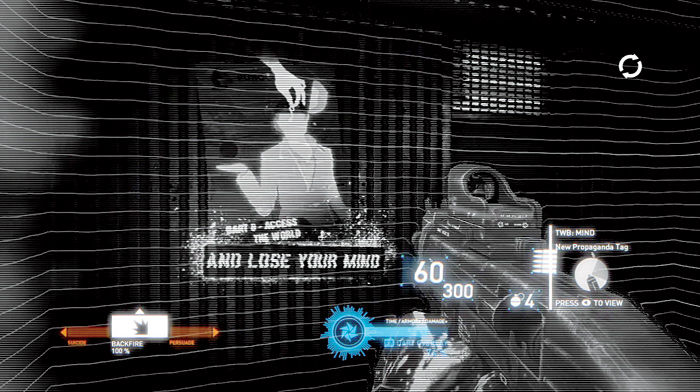
After dropping down through the hole, turn around and look for a poster in the dark area. Activate the DART overlay to see the hidden propaganda.
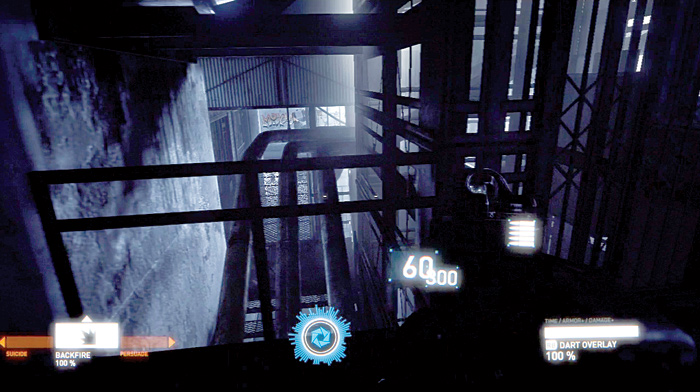
Move through the door at the end of the corridor and you find yourself in a maintenance access area. Jump over the railing on the left side and land on a series of pipes.
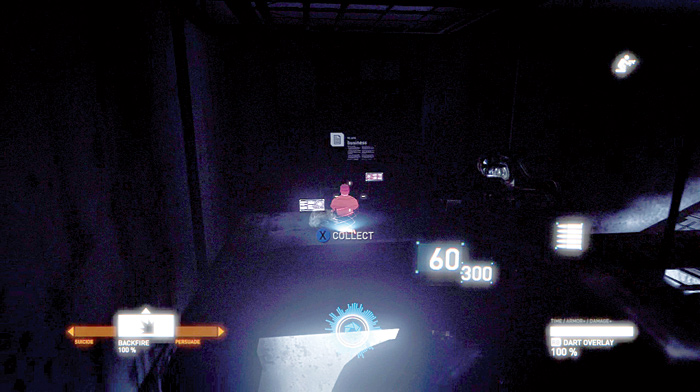
Follow the pipes around to find a business card to add to your collection. Once you have it, get back to the catwalk.
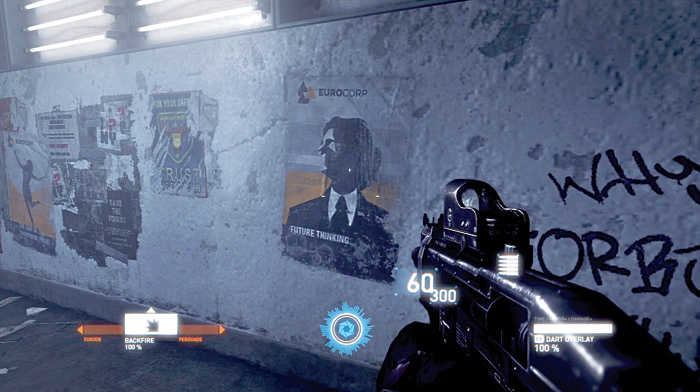
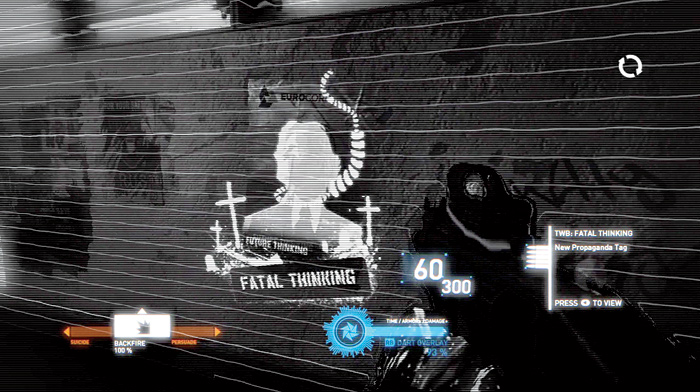
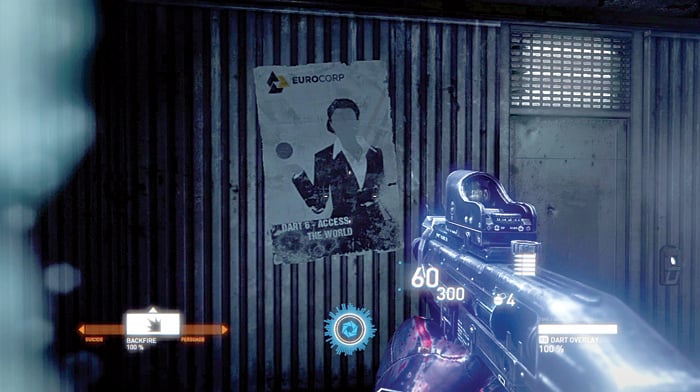
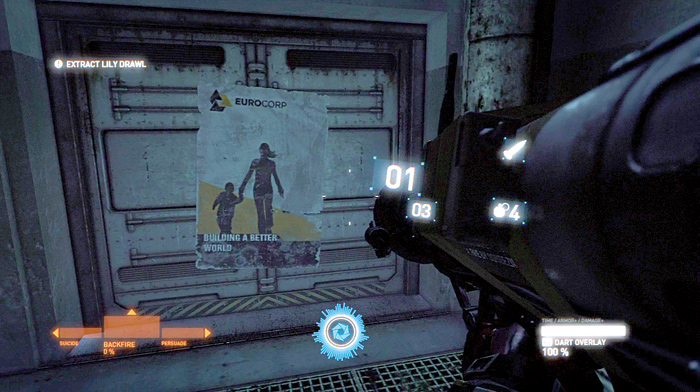
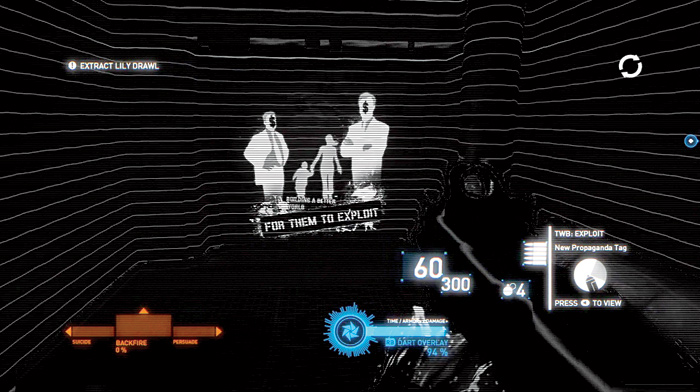
Follow the catwalk down some steps and then on to a wall with a number of posters on it. Locate a EuroCorp poster and view it with the DART overlay.
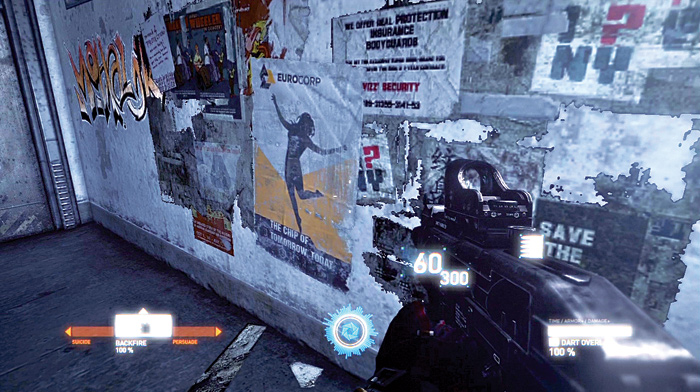
Once you have the poster scanned, look for another Eurocorp poster on the same wall, just to the left of the first. View it with the overlay to see the hidden propaganda.
Now continue along the catwalk, down some steps, and keep going until you come to a door. As you move through the door, a subverter appears out of nowhere, hits you and issues a threat, then disappears.
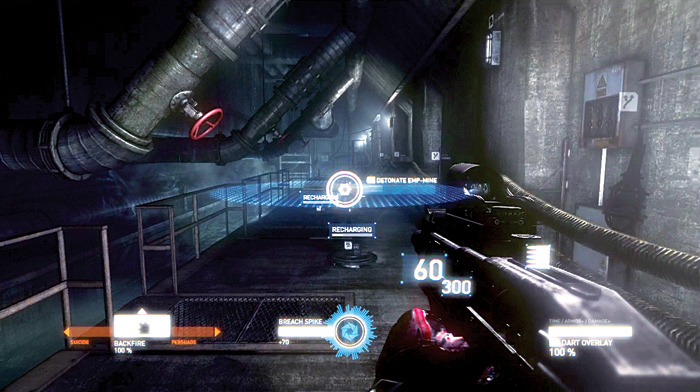
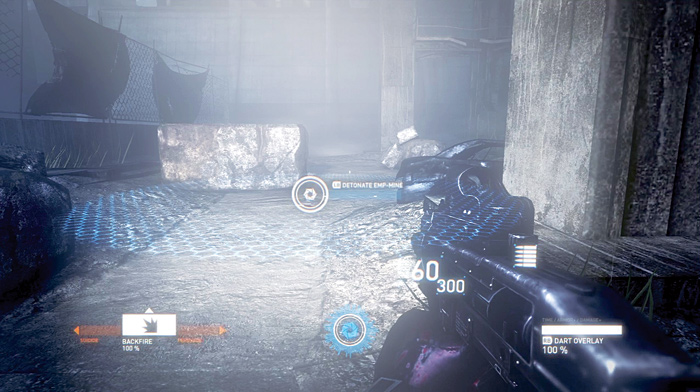
Don’t move forward after the encounter. There are three EMP mines in your path. If you step near them, they release an electromagnetic pulse that temporarily disables your DART.
However, you can set them off from a distance by breaching each mine to detonate it. Then quickly move past them while they are recharging. You can’t destroy them and once they are recharged, must be detonated again if you need to get past them.
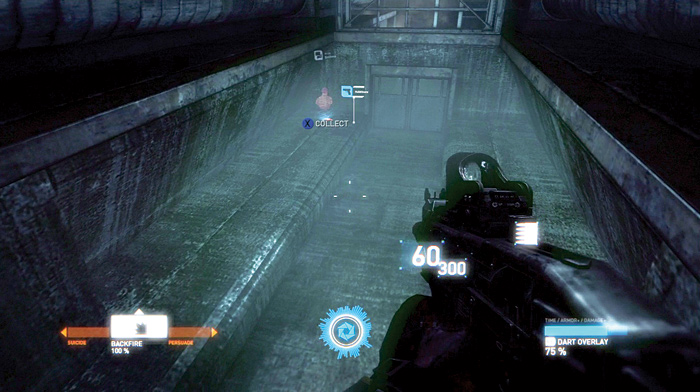
Once you get past the mines, head down some steps into a small drainage canal and walk along it back in the direction from which you came. Turn right where the canal splits and pick up a business card to add to your collection.
Return to the steps and climb out of the canal. Then walk across to a door to exit the building. There are many EMP mines on the ground outside as well as enemies that start firing at you. Disable mines as you make your way around the edge of this yard, going to the left and on around in a clock-wise direction.
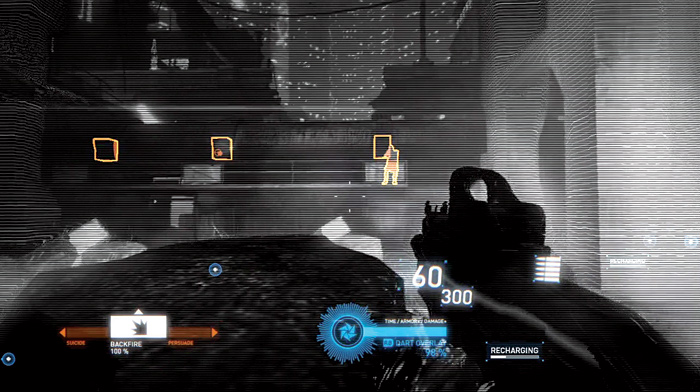
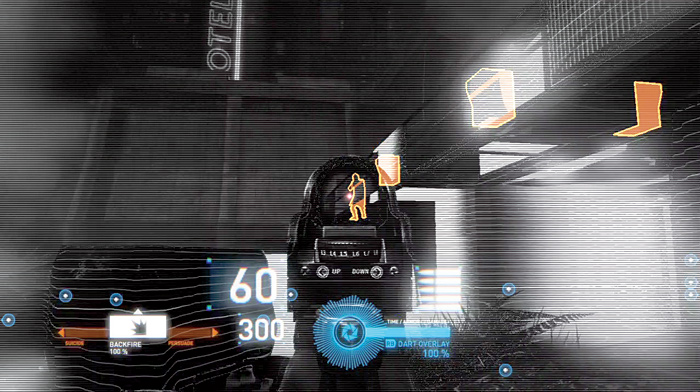
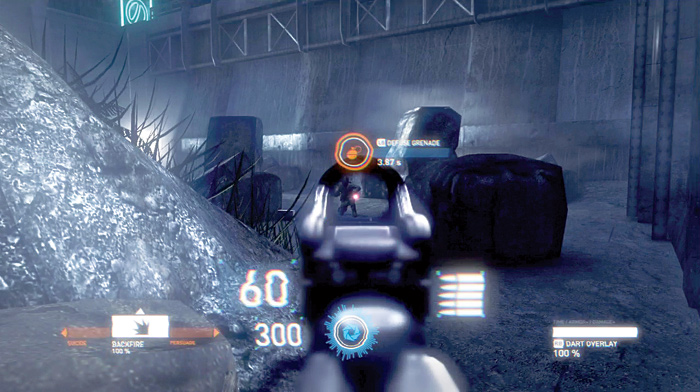
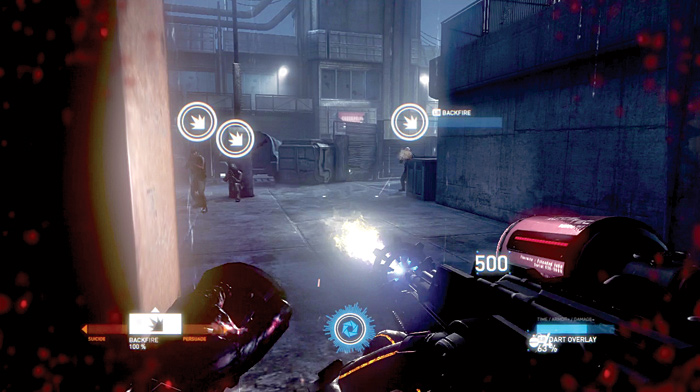
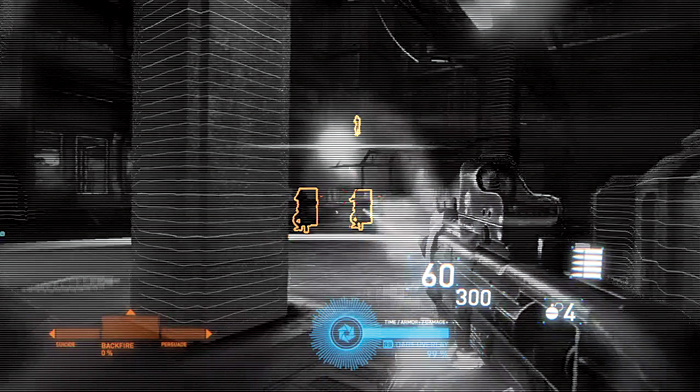
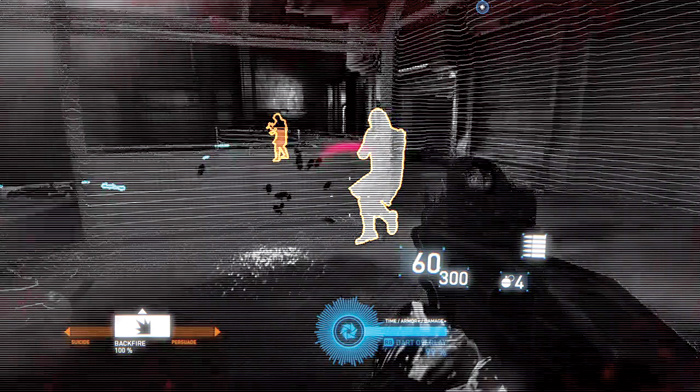
Once you have detonated a mine in front of you, sprint to the next form of cover and begin engaging the enemy. The DART overlay helps you see them in the darkness. Try targeting the valves on the large pipe, which show as orange squares in the overlay. Hitting them causes an explosion that can kill nearby enemies.
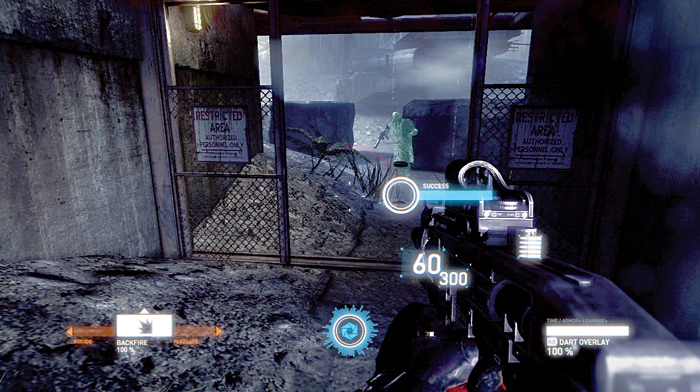
After the enemies in the yard are cleared away, move through the gate underneath the large pipe. Watch for specters as you go. Detonating an EMP mine near them deactivates their cloaking ability temporarily, allowing you to see and shoot them.
Move into a second yard and take cover. You can see the specters temporarily with the DART overlay. However, they disappear after a couple seconds as their cloaking readjusts to your scans. However, keep shooting at the same spot to kill them since the cloaking does not stop bullets. Make your way through this yard, advancing toward the building. Then follow a narrow alley to the left.
As you get to the end of the alley, you enter another yard. Shoot enemies as you move behind some cover. Watch out for EMP grenades that the enemies throw at you. They will shut down your DART if they detonate near you.
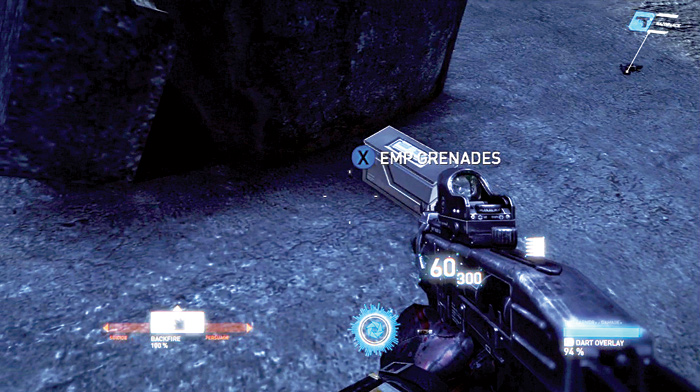
Look for a box of EMP grenades by one of the large concrete blocks. Pick them up. There are no EMP mines in this last yard, so use the grenades to disable the specters’ cloaking ability.
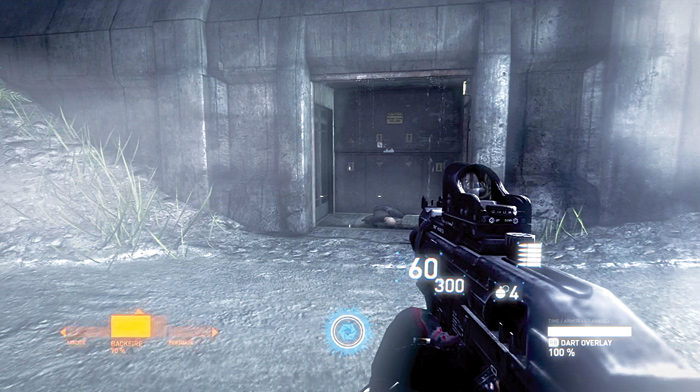
More enemies emerge from a door at the end of the yard. Kill them and then move forward. Open the door by repeatedly pressing the action button.
Once inside, drop down to a lower walkway and turn around to find a poster. Activate the DART overlay to see the invisible propaganda.
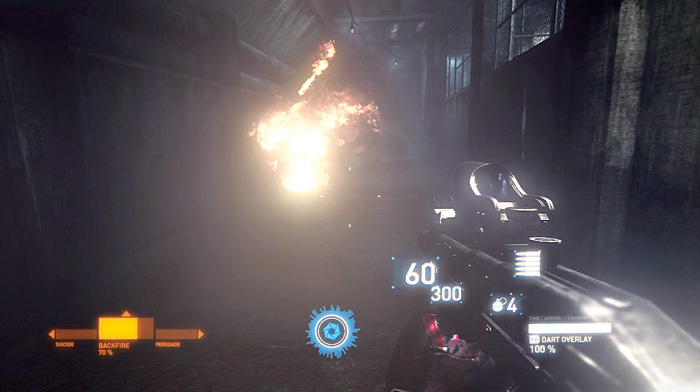
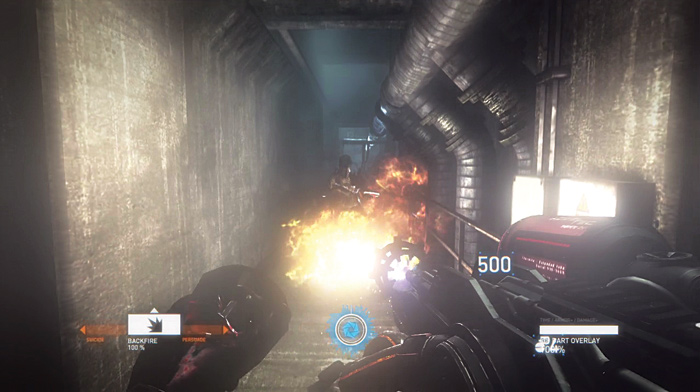
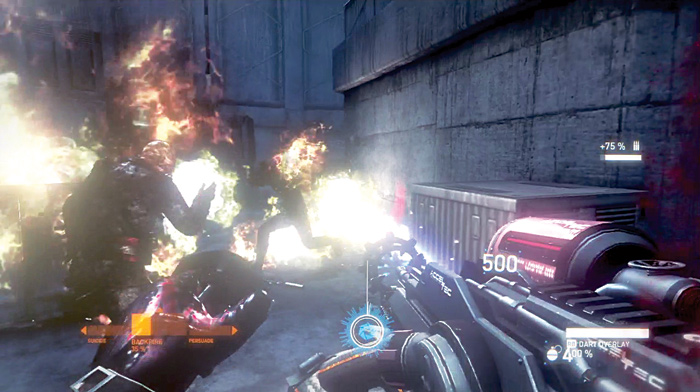
Don’t spend too much time looking at the poster. Look down the walkway and start shooting at the flames coming toward you. An enemy with a thermite gun is moving toward you to try to make an Agent flambé. Once he is dead, pick up the thermite gun. You don’t have to drop anything. However, because it is such a large weapon, you drop it when you switch to another weapon.
Advance up the ramp and follow the walkway around. Roast any enemies you encounter along the way. Fire the thermite gun in short bursts. Once the flames hit an enemy, they continue to burn until the enemy is dead. Therefore, you don’t need to use long blasts and can instead save ammo. Once the ammo is gone, you can’t reload the thermite gun.
When you get to the end of the walkway, before heading through the doorway on the left, look straight ahead past the barrier to see a EuroCorp logo painted on the wall. Use the DART overlay to see the hidden message.
As you move through the door, several enemies attack. Since you can’t move quickly while carrying the thermite gun, use the Backfire app to stop their attacks and then flame them while you move to cover.
Advance through this area, flaming all enemies that come across your path. With all the killing, your Backfire app recharges quickly, so you can use it again—especially against those enemies hiding behind cover.
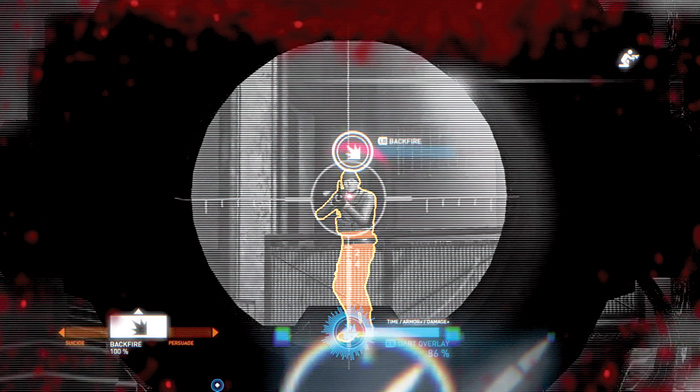
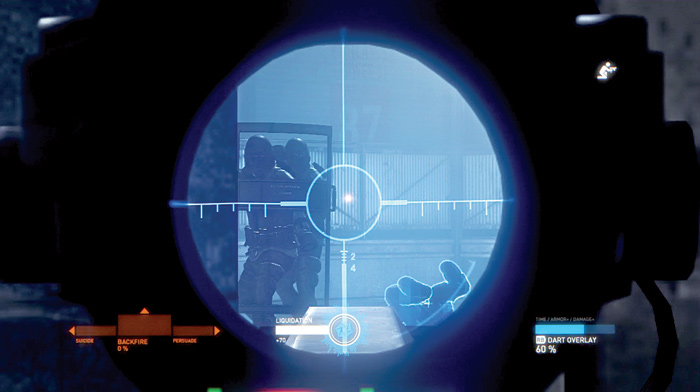
When you get to the corner where you have to turn to the left, snipers up on a catwalk start firing at you. Drop the thermite gun and use your sniper rifle to kill them. If you still have ammo in the thermite gun, you can pick it up and continue. Otherwise, switch back to your UMK submachine gun and move out.
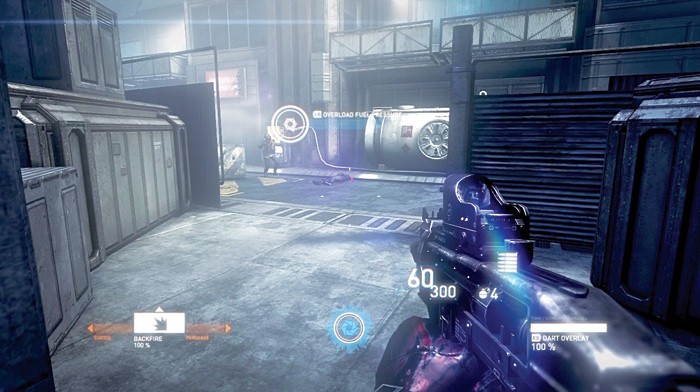
Continue toward the area where the snipers were located. As soon as you can see the controls to a fuel tank, breach it to overload the fuel pressure and cause the tank to explode and kill some enemies.
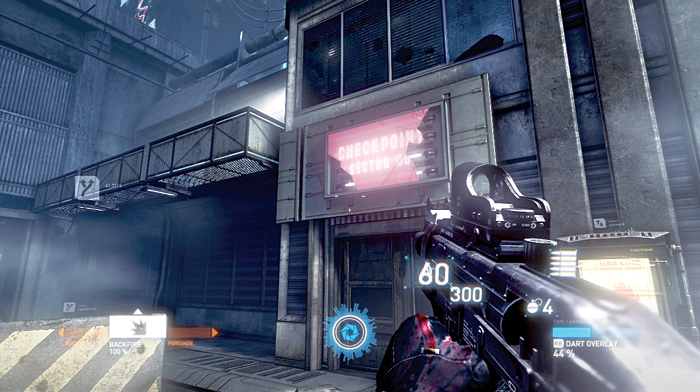
Move in to clear out any remaining enemies. However, the blast is quite effective and there should be little mopping up required—if any. Then walk through the doors underneath the checkpoint sign.
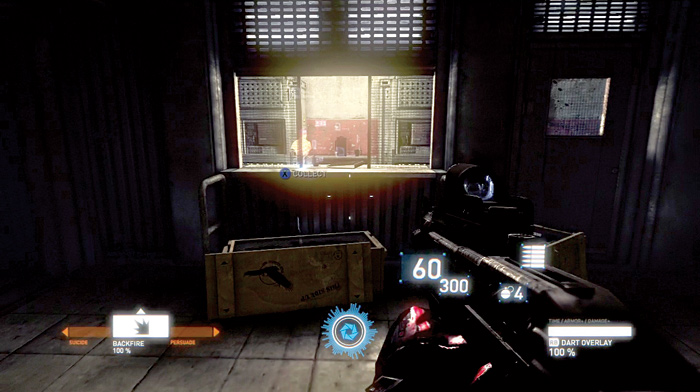
As soon as you are inside, pick up a business card located on a counter near the door and add it to your collection.
Advance down the hallway to the end. Look on the wall on the left side to find a poster with some hidden graffiti on it.
Go through the door at the end of the hallway to enter a large room with lots of enemies. These include some with riot shields as well as snipers up on catwalks. If that were not enough, there are also enemies with rocket launchers. Take cover and start returning fire. Also breach the controls to overload the pressure.
Your sniper rifle works great here. However, ammo is usually limited by this time. The sniper round goes right through the riot shields and kills the enemy behind it with one shot—it can even penetrate that enemy and kill one directly behind the first enemy.
Take out the snipers and the rocket launcher with your sniper rifle, then move around the edges of the area in a counter-clockwise direction. Sprint from cover to cover so you can get in close and finish off the enemies. Watch out for specters and use any EMP grenades you might have left to disable their cloaking. Once they are all dead, collect ammo and pick up the rocket launcher. This is another large weapon you carry without having to drop one of your two weapons.
Go through the doorway and follow the corridor all the way to the end to find a poster. Activate the DART overlay to see the propaganda.
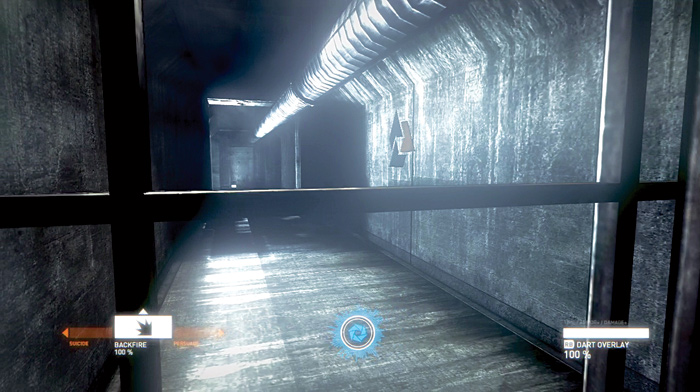
Finally, backtrack down the corridor and press the action button repeatedly in order to open an access hatch. Crouch down and move through the hatch. Climb a ladder and continue through the passageway to complete the milestone.