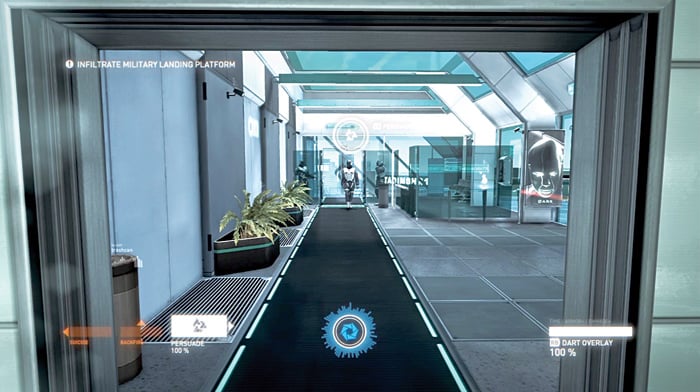
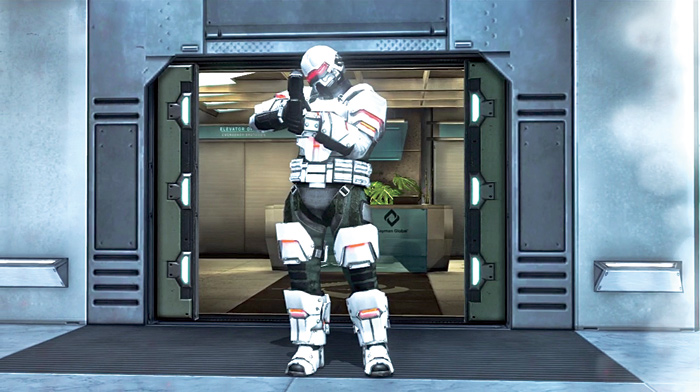
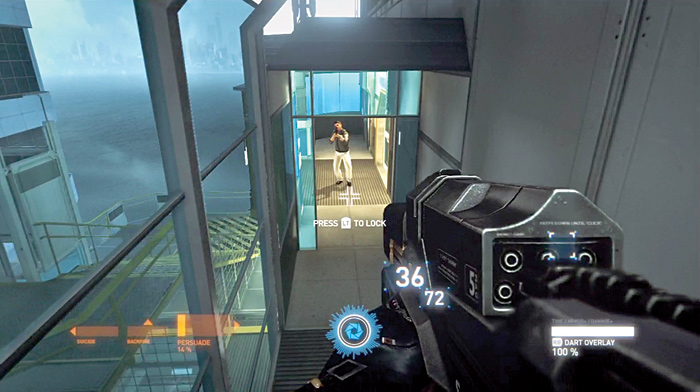
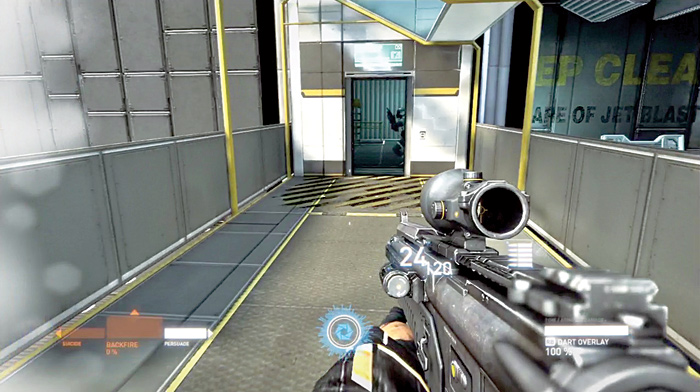
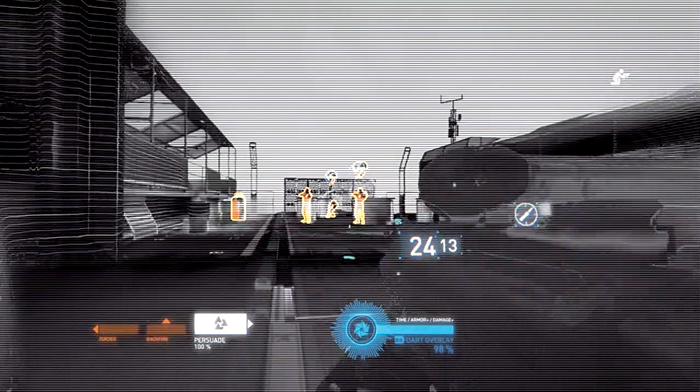
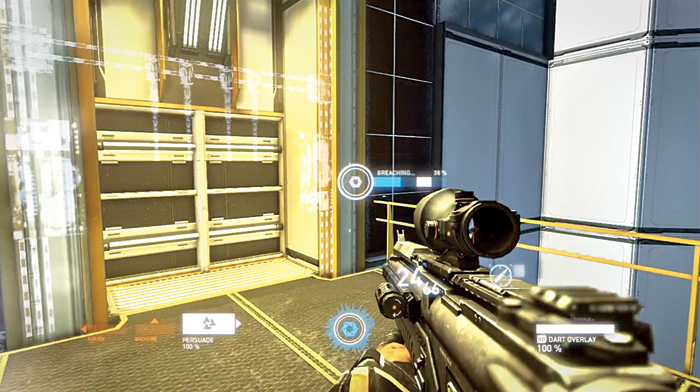
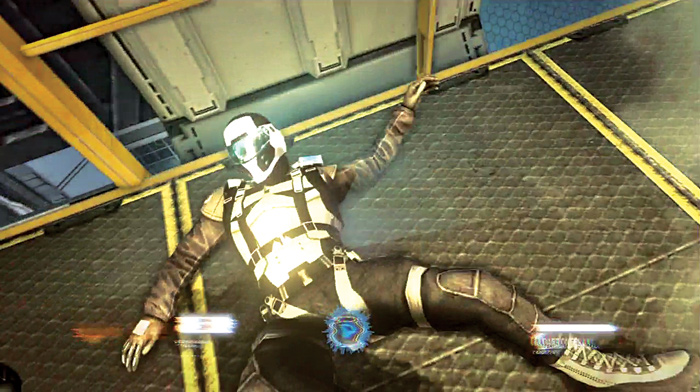
As the door to the elevator opens, you see several enemies up ahead. However, you have no weapons. Use the Breach app on the enemy walking toward you. He will kill the other enemies and then himself.
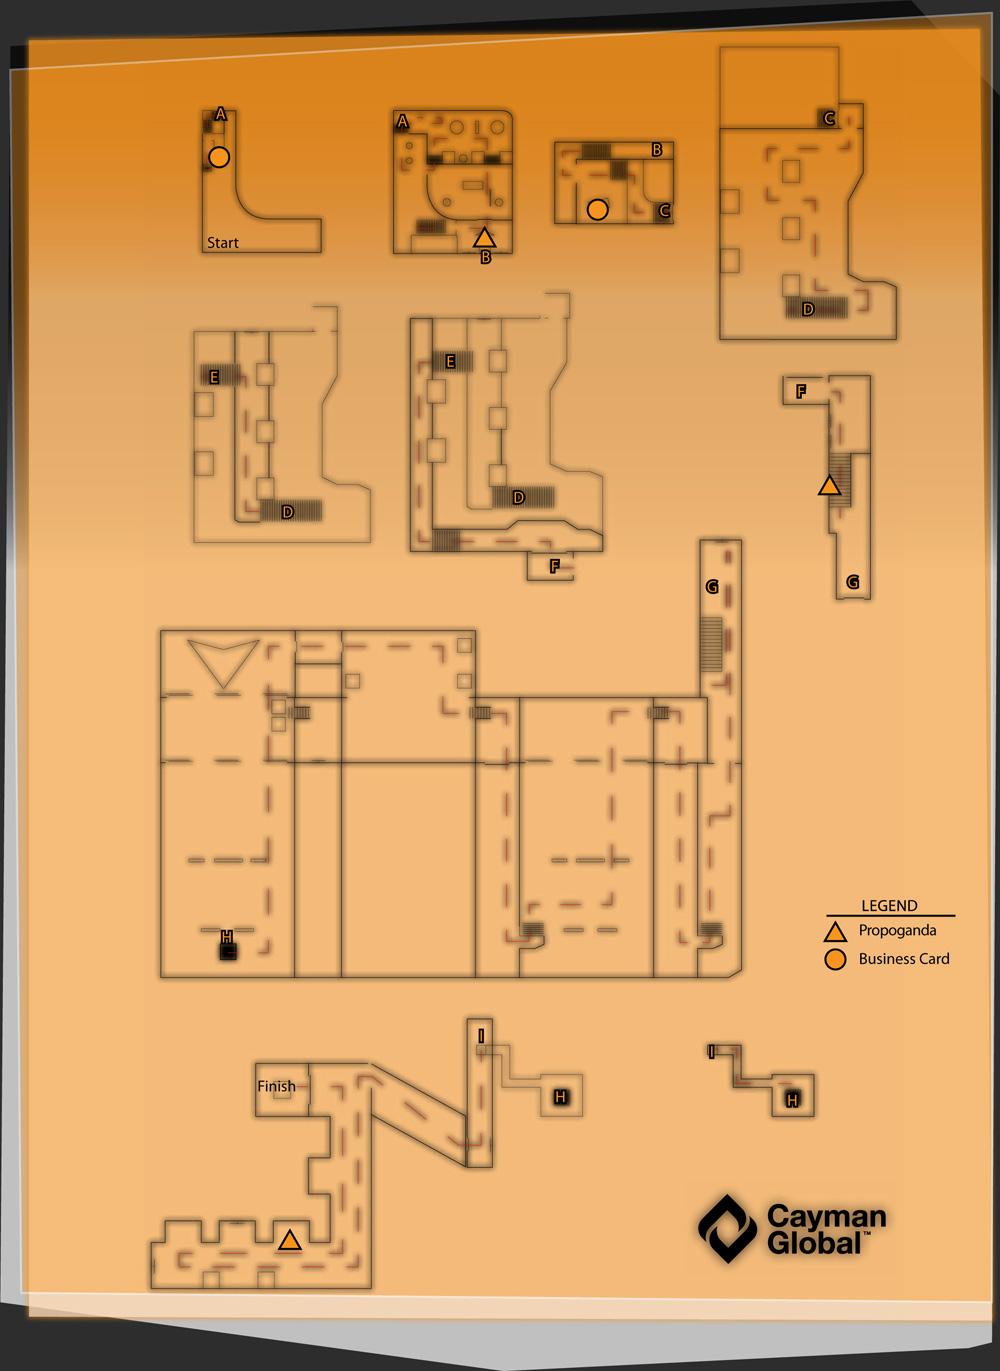
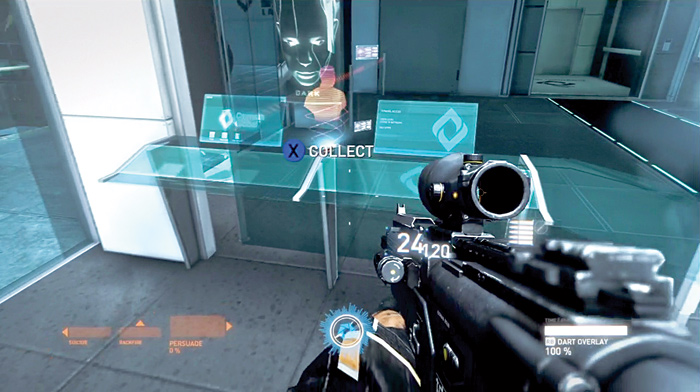
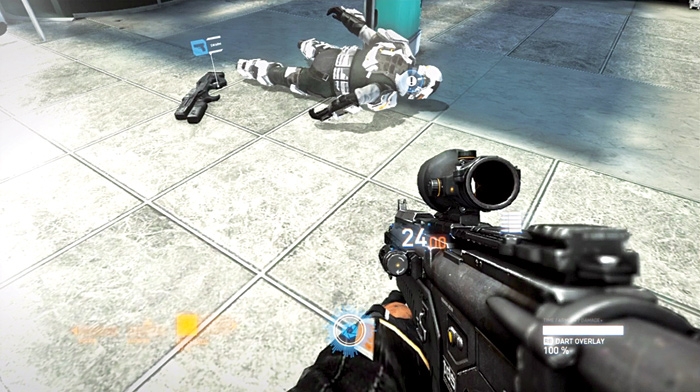
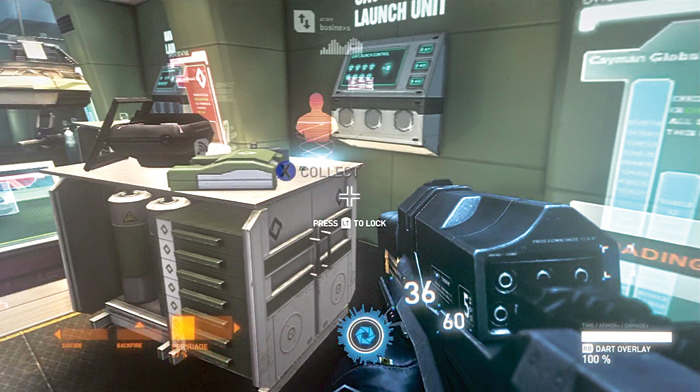
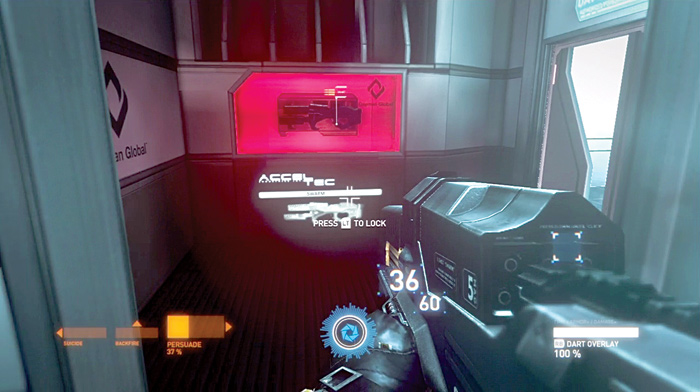
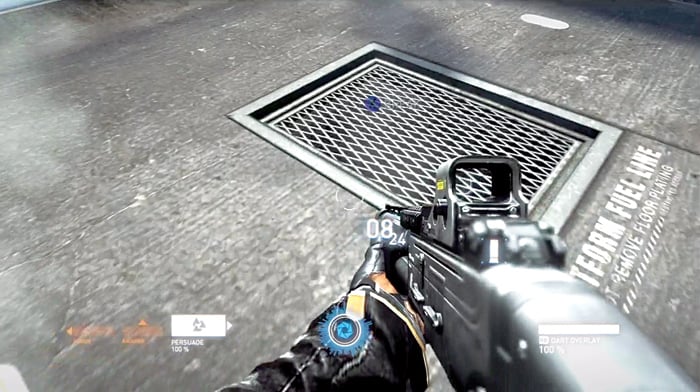
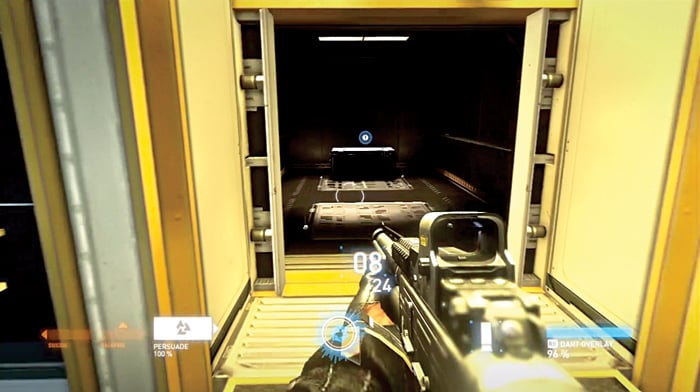
Move forward and pick up some weapons from the dead enemies. There is also a rifle rack on the wall to the right where you can fill up ammo for the assault rifle. Be sure to collect a business card on a table near the rifle rack.
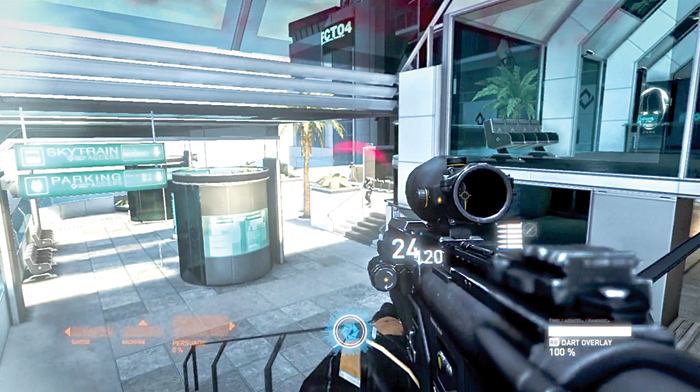
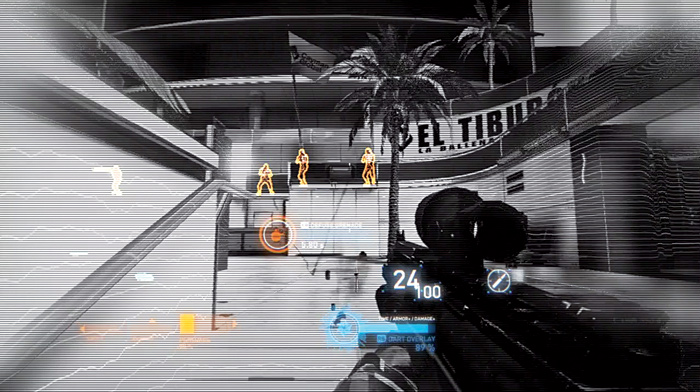
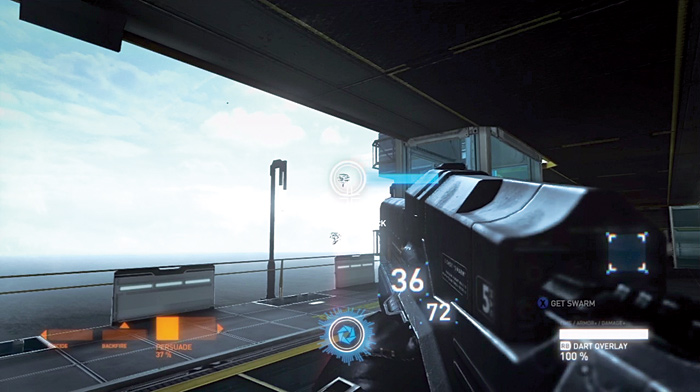
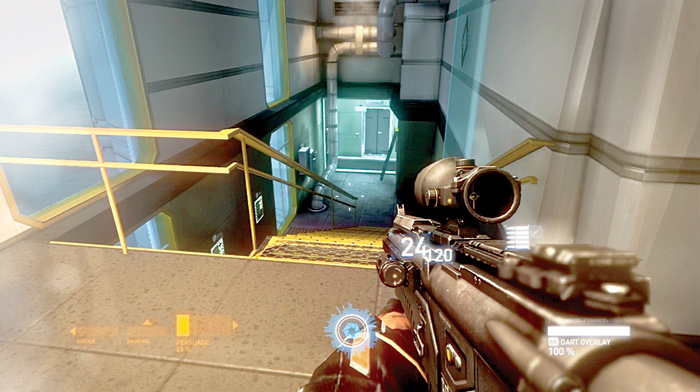
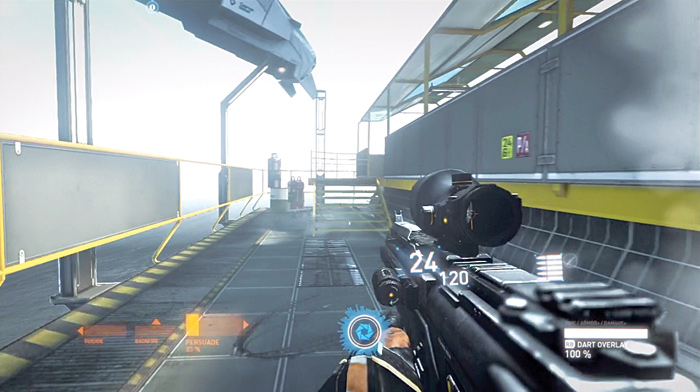
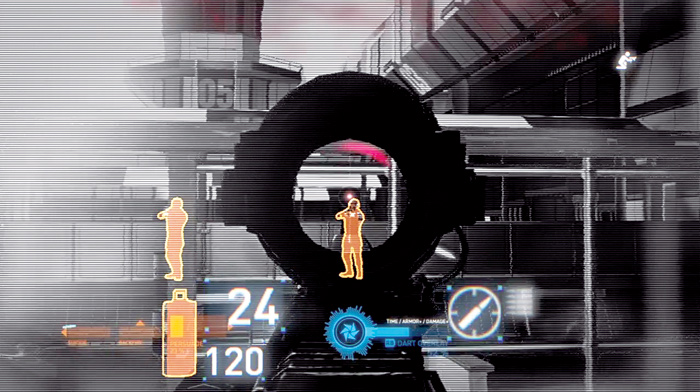
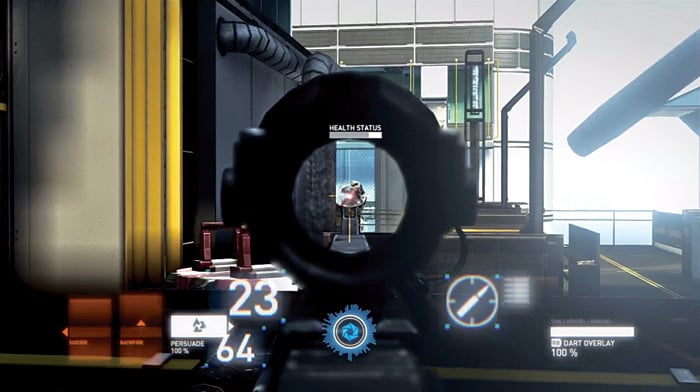
Exit the room and head down the stairs. There are lots of enemies in the outdoor courtyard. Pick off some with long range fire from your rifle.
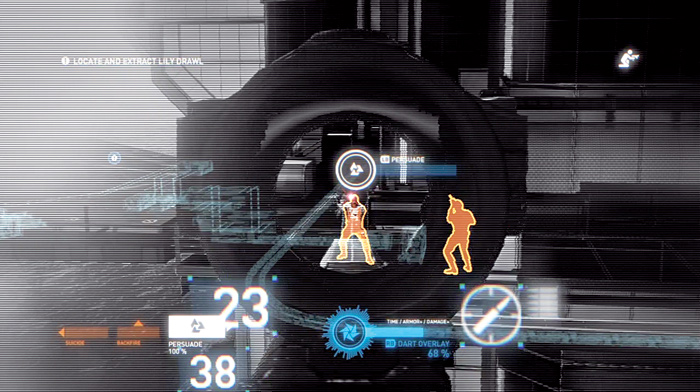
Once you have cleared out the enemies, advance into the courtyard. More enemies arrive and attack. Watch out for the grenades as you take cover and return fire. Once you have killed enough to recharge the Persuade app, use it to turn one of the enemies to your side and let him do some of your killing for you.
After all of the second wave of enemies have been destroyed, a reactive soldier appears. He is armed with a SWARM missile launcher that can lock on to you, so be sure to rush for some cover.
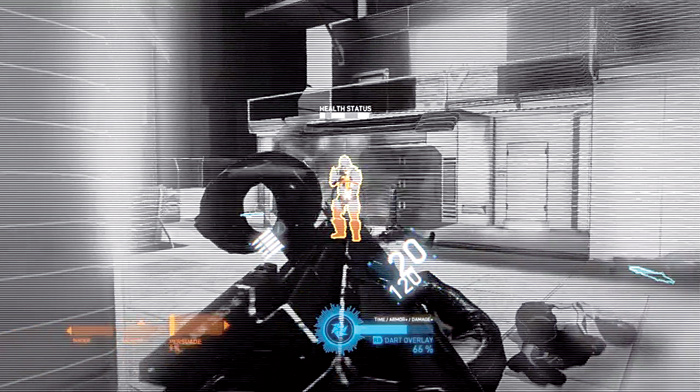
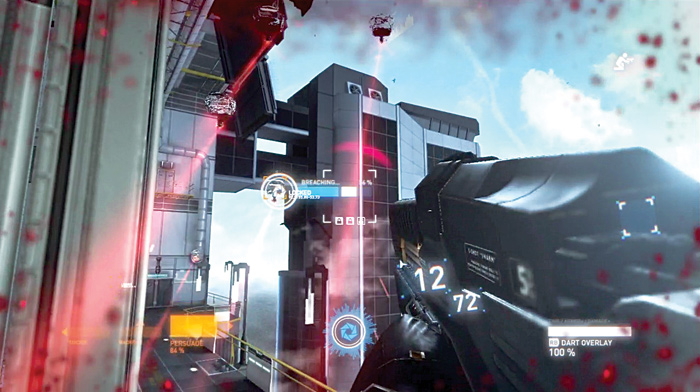
Breach the reactive armor and fire a clip of assault rifle ammo at the soldier, then run for new cover. The reactive soldier is quick and follows you around. Keep breaching the armor as needed and inflicting damage. After each breach, the soldier is momentarily stunned, which makes for a good opportunity to get in some hits.
Once the reactive soldier is dead, you need to pick up the SWARM missile launcher he was carrying since you need it to continue. Also walk around and pick up ammo for your assault rifle.
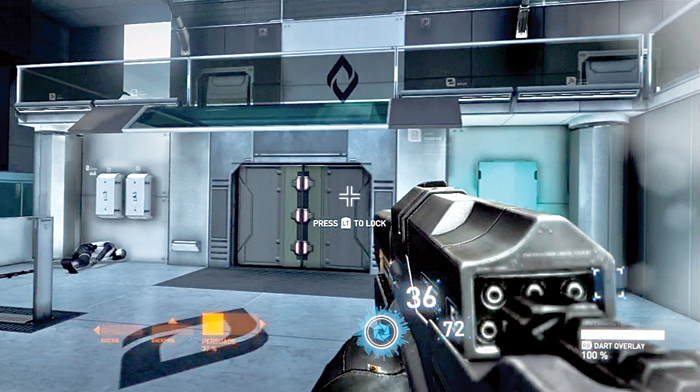
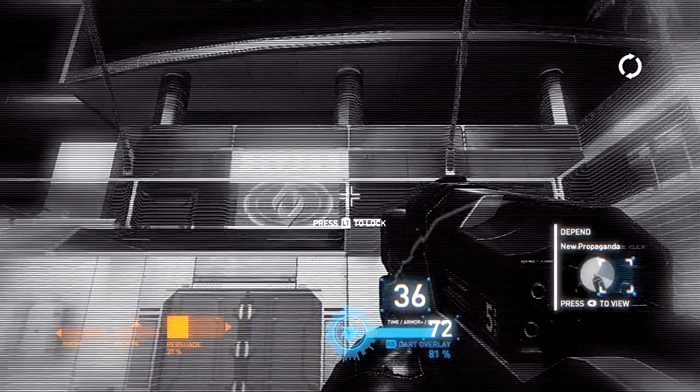
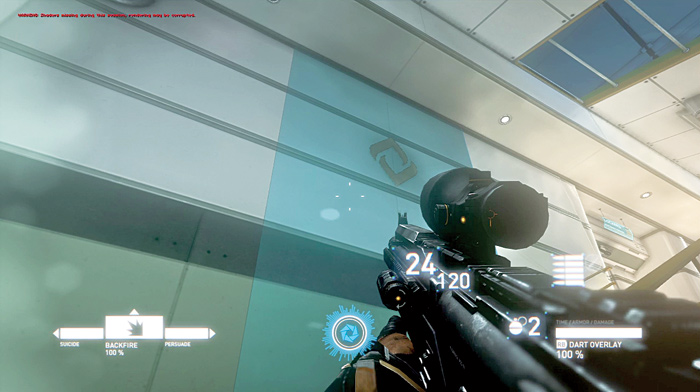
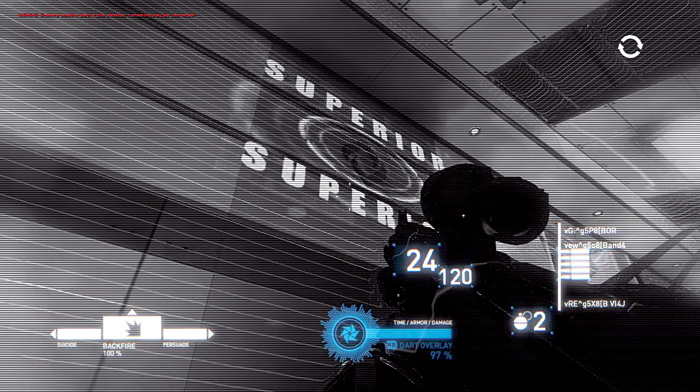
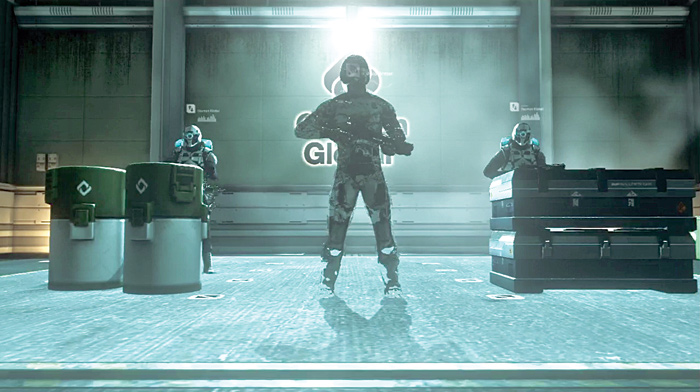
Now that you have the SWARM, head to the door from which the reactive soldier came out. Look at the Cayman Global icon above the door and activate the DART overlay to see the invisible propaganda.
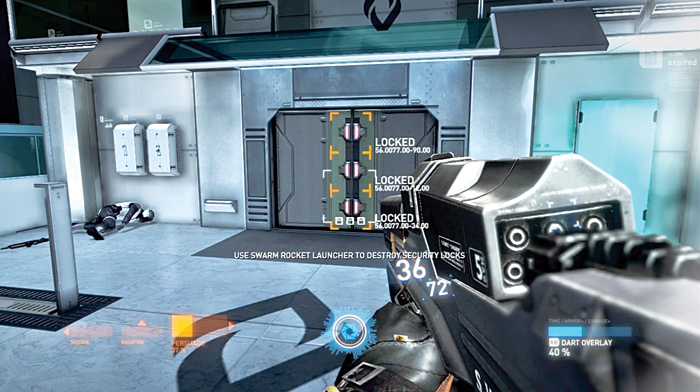
In order to open the door, you need to blast its security measures. Lock onto the door with the SWARM by pressing the aim button. Then fire the weapon to launch rockets to blast open the door.
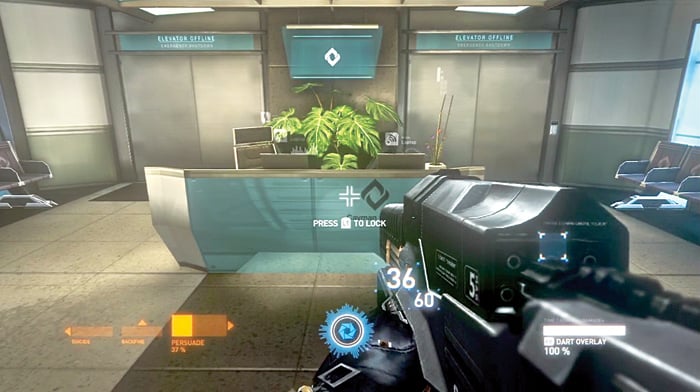
Enter the building and check the laptops on the desk for information to add to your database.
After gathering intel, move through the door and down some stairs to get into the drone maintenance room. There, access some data from a computer terminal and then pick up a business card.
Head up the steps. There is a SWARM launcher in a rack at the top. Pick it up if you dropped yours or get more ammo for the one you are carrying. Then head out in the UAV launch area.
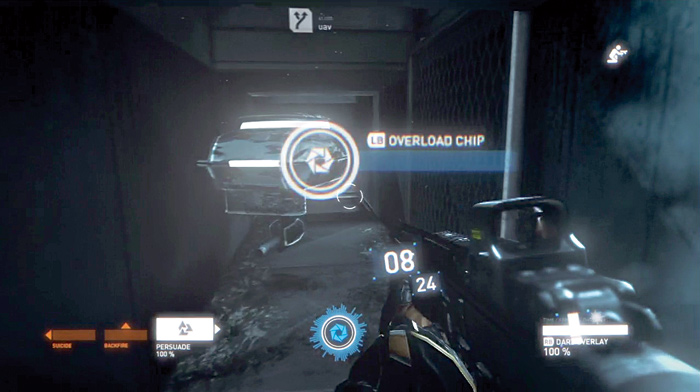
As you move through the launch area, stay to the right and take cover behind the pillars. UAVs are being launched and they attack you. Before you can destroy them, you must breach them to overload the chip for their armor. Then lock on to up to three UAVs at one time and fire your SWARM to defeat them.
Make your way to the far side of the launch area, picking up ammo, and then head up the stairs. More UAVs are launched. Take cover and target them as you move along the catwalk back toward the side where you entered the launch area. Also watch for enemies that appear on the catwalk above you. They can be targeted just like the UAVs with the SWARM.
Head up another short flight of stairs to get to the top catwalk. While you can finish off the UAVs, you can also sprint across the catwalk and then move into the UAV control room. Kill the technician as you enter. Then use the control terminal to shut down the remaining UAVs.
Check in your SWARM at the weapon rack in order to open the door to the barracks area. Follow the corridor to the right and head down the stairs.
As you head down the stairs, look at the Cayman Global icon on the wall to the right. Activate your DART overlay to reveal the hidden propaganda. Also be sure to check out the terminals where you can download some intel.
Move through the door to exit to the runways. Advance up the steps onto a platform and get ready for a fight.
Take cover behind the low metal barriers and activate your DART overlay. Pick off enemies on the opposite platform, then move through the door to the right to enter a hangar.
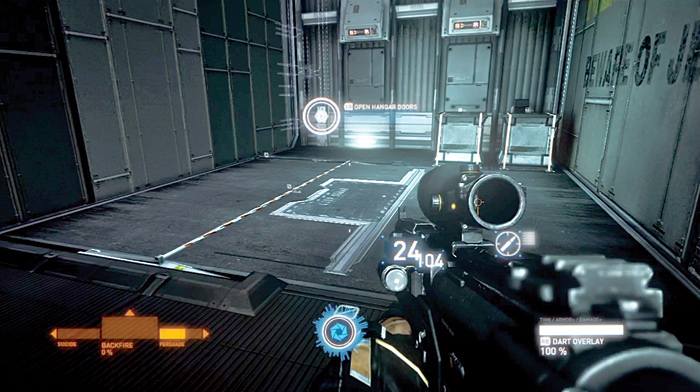
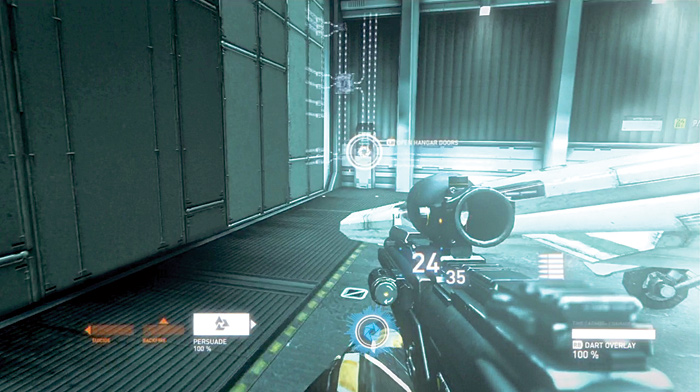
Once inside the hangar, breach the controls to open the hangar doors. This also raises a blast shield which you can use for cover.
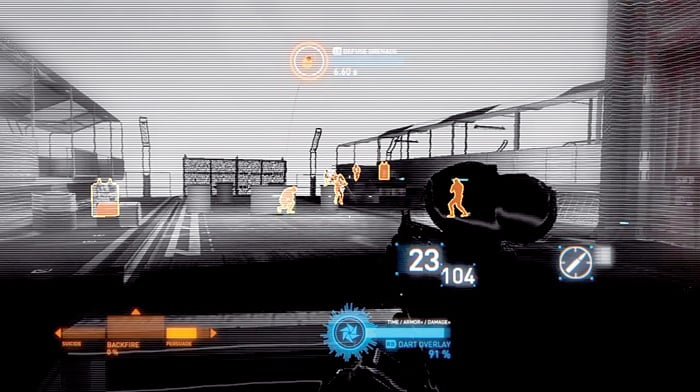
Engage more enemies while staying behind cover. Breach grenades, then pick them up to use them against the enemies. Once they are all dead, gather ammo and head up the steps to the next platform on the right.
Quickly move along the platform to enter the next hangar. However, there is an enemy by the door. Kill him and then move inside.
When you breach the controls to open the hangar door, an elevator platform rises up instead. It carries a liquid soldier along with a couple jammer soldiers.
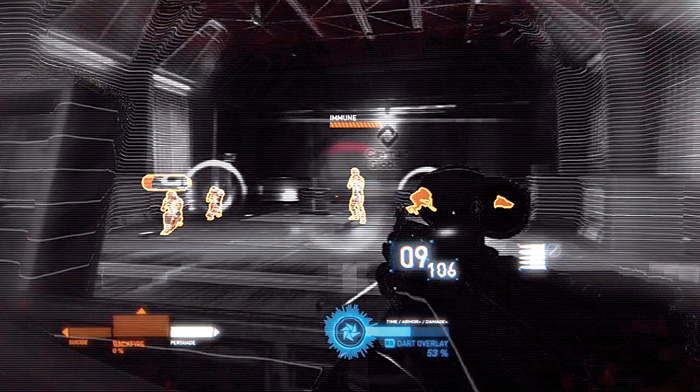
Activate the DART overlay. The jammer soldiers appear with a white halo around them. While the liquid soldier stays near them, you can’t breach his armor. Therefore, those jammers have to go. Take cover and target the jammer soldiers first. If you still have a frag grenade, use it or shoot at explosive containers. Once both jammers are down, breach the liquid armor and kill that soldier. Clear out any remaining enemies in the hangar. Also swap out your pistol for the liquid soldier’s shotgun.
Exit through a small door on the far side of the hangar and continue through a short hallway into another hangar. Breach the controls to open the hangar door. Move into yet another hangar and breach the controls. This time, a blast shield rises as the doors open, so get ready for a fight.
This time you face UAVs as well as soldiers. What makes this tough is that the UAVs have liquid armor. So you can’t destroy them until you breach their armor. However, there are some jammers preventing this from happening. Therefore, locate and kill the jammers first. Then breach the UAVs and finally destroy all enemies. The enemy throws a lot of grenades at you. A good strategy is to breach them, pick them up, and throw them back—especially while you are trying to get those jammer soldiers.
After all enemies have been neutralized, move out onto the runway and break open a hatch so that you can drop down into an access duct.
Crouch down and move through the ducts. Use your DART overlay to locate a UAV in the ducts before you crawl into its ambush. Quickly breach its armor and then blast it. Continue to the end of the duct and drop down onto the landing observation deck.
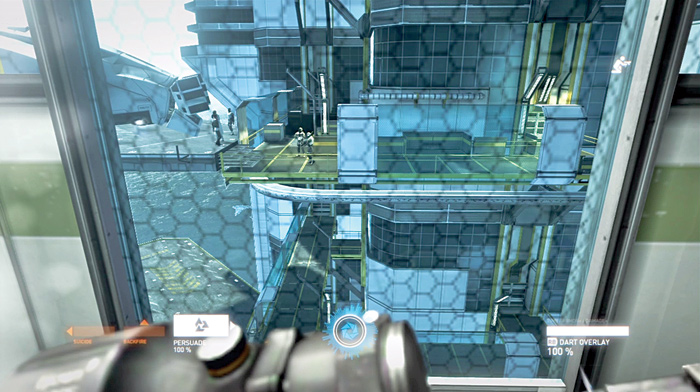
The deck is on lockdown while the dropship unloads Lily and the enemy agent. As you watch them walk into the building, there is nothing you can do but note the locations of the enemies left behind to guard the platform.
Locate and Extract Lily Drawl
Once the landing sequence is complete, the lockdown is raised and the door opens. Don’t exit the observation platform just yet or you will fall to your death. Instead, clear off all of the enemies on the platform.
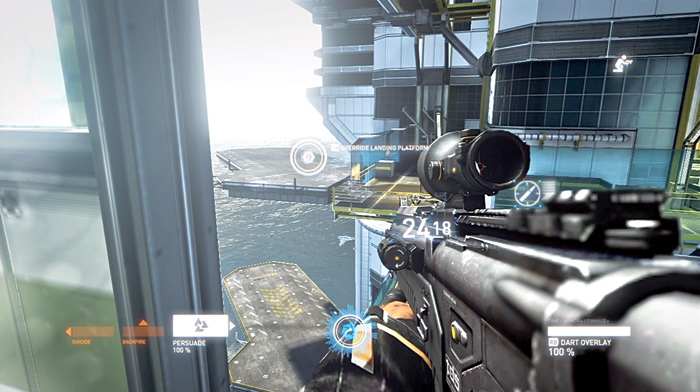
Breach the controls on the left side of the platform to override the landing platform and cause it to swing over toward you so that you can use it to get to the other side of the gap. Then drop down onto the platform and walk across to where the dead enemies are lying. Pick up any ammo from them.
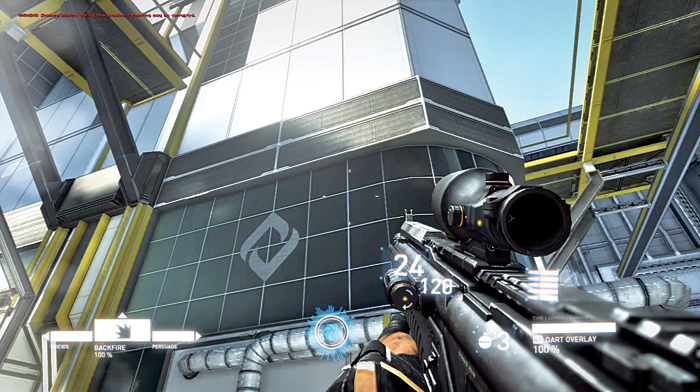
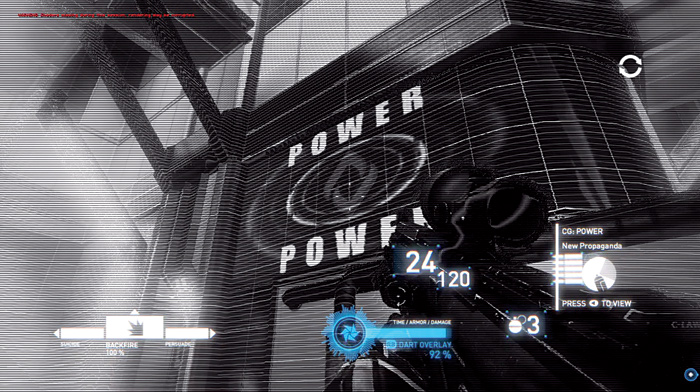
Follow the walkway to the left and then around a corner to the right. Look up at the Cayman Global logo and activate your DART overlay to see the propaganda.
Now move to the door and breach the controls to override the door lock. Unfortunately, while the door is unlocked, you have to wait for the elevator and more enemies are coming along the walkway.
A liquid soldier and a couple of jammer soldiers are headed your way. Try to shoot the jammers first if possible before the liquid soldier gets in close. If not, rush past him and execute a jammer with a melee attack.
Kill the second jammer and take cover along the walkway. Then breach the liquid soldier’s armor and blast away until he is dead.
Finally move back to the elevator which has arrived. Enter it to complete this milestone...