Prima Games eGuides
primagames.com Browse Redeem a code Help
Syndicate eGuide
Sign in My Guides

Sign in or create an account

We'll email you a link. No password needed, and if you don't have an account yet, the link makes one.

By creating an account or signing in, you agree to our Terms of Service and Privacy Policy.

Have a password?

Had an account on the old eGuides site, or a code from a printed guide? Help and troubleshooting

Sign in with a password

By signing in, you agree to our Terms of Service and Privacy Policy.

Check your email

A sign-in link is on its way. It works once and expires in 15 minutes. Open it and you're in, with an account if you didn't already have one.

Contents

  • Essentials
    • Achievements and Trophies
      • Xbox 360 Achievements
      • Playstation 3 Trophies
    • Art Gallery
      • Art
    • Behind the Scenes
      • Behind the Scenes
  • Walkthrough
    • Campaign Walkthrough
      • Milestone 01: Wake Up Call
      • Milestone T1: Suicide
      • Milestone 2: Assault on Aspari
      • Milestone T2: Backfire
      • Milestone 3: Aspari Extraction
      • Milestone 04: A Train to Catch
      • Milestone 05: Escape from LA
      • Milestone 06: Eurocorp
      • Milestone T2: Persuade
      • Milestone 07: Voyeur Central
      • Milestone 08: Cayman Global
      • Milestone 09: The Floating City
      • Milestone 10: Behind the Scenes
      • Milestone 11: Ramon
      • Milestone 12: Downzone
      • Milestone 13: Betrayed
      • Milestone 14: The Wall
      • Milestone 15: Kris
      • Milestone 16: Human Resources
      • Milestone 17: Corporate War
      • Milestone 18: Spire Access
      • Milestone 19: Burning Tower
      • Milestone 20: Jack Denham
    • The Co-Op Game
      • Getting Started
      • Agents
      • Weapons
      • Applications
      • Challenges, Contracts, Stats and Leaderboards
      • Playing a Mission
      • Western Europe
      • Mozambique
      • Atlantic Accelerator
      • Colorado
      • China
      • Scandinavia
      • Northern Territories
      • Argentina
      • New England

Syndicate Guide › Walkthrough › Campaign Walkthrough

Milestone 13: Betrayed
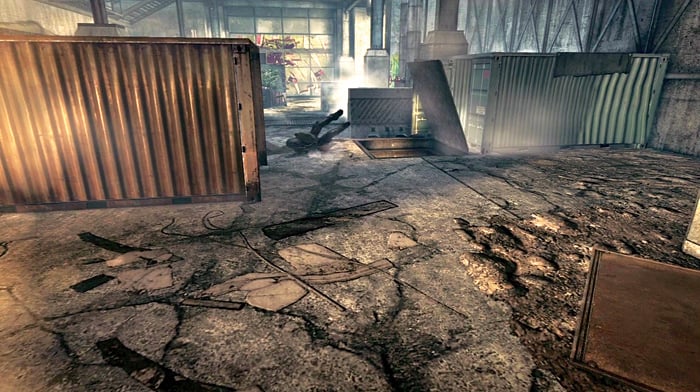
As you recover from your fall, an enemy pops up out of a hatch in the floor and starts firing. Move forward to take cover behind the container on the left.
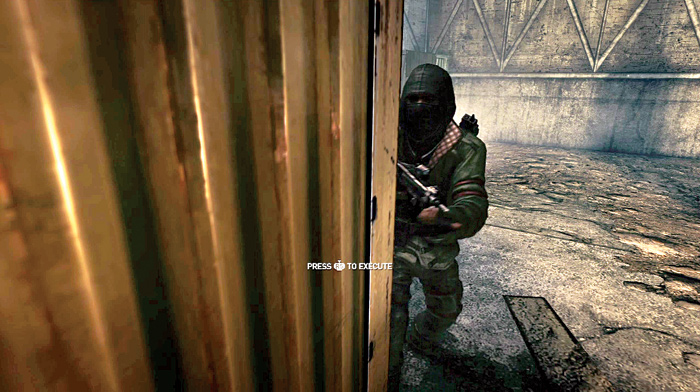
Be ready to execute the enemy with a melee attack as he comes around the corner. Quickly pick up the submachine gun so you have some firepower.
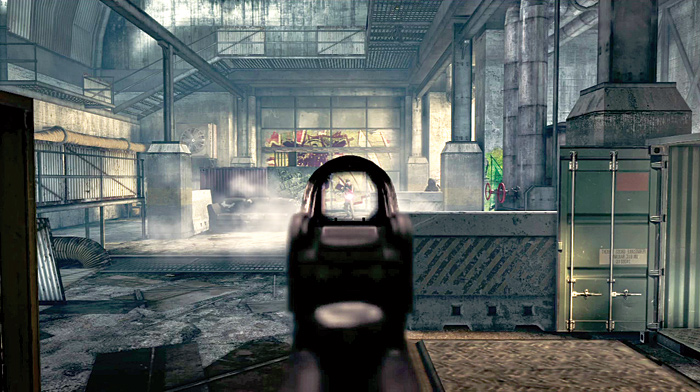
UMK

/ PRODUCT SUMMARY

Model: UMK Mk IV
Manufacturer: Deimling Industrien / Saxe-Deimling (license owner, non-aligned)
Projectile: .223 (auto), 60-round clip
Weight: 70.5 oz (2000 g)

TACTICAL SUMMARY

Primary Fire: Automatic fire primary mode
Secondary Fire: Suppressed automatic fire secondary mode

INTEL FEED

When it was released in 2021 by independent weapon manufacturer Deimling Industrien, the first UMK model was marketed as a personal defense weapon.

In 2032, only months after the Johannesburg assassination of President Hector Van Niekerk, changes in export/import laws facilitated a merger with Saxe SIT, creating the international weapon manufacturer Saxe-Deimling.

Production during 2033 introduced a revolutionary muzzle-climb compensation technology, increasing the UMK’s popularity within elite military and Syndicate assault forces.

The standard UMK-Mark IV model is an open bolt blowback-operated submachine gun that fires .223 SDE caliber ammunition.

The UMK is the more prominent submachine gun on the Downzone black market and alleged campaigns to stop its rapid spread are often mocked as some of the most obvious political stunts in the corporate sphere.

/ end of entry

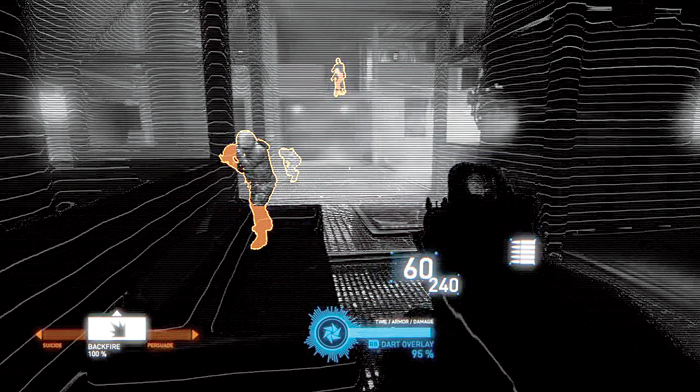
Your DART is out as a result of the explosions and the fall; however, you can use it for short periods. Activate the DART overlay to quickly locate enemies before it goes out again, then do your best to eliminate them. Look for enemies up on catwalks as well as hiding behind containers.
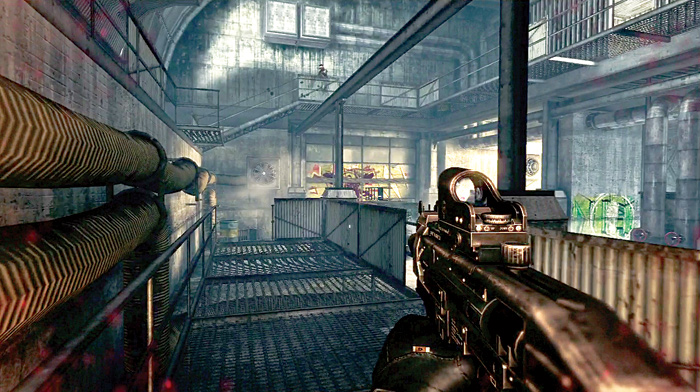
Advance along the walkway on the left side of the area since it provides cover against fire from the right. Work your way to the end of the walkway, clearing enemies as you go. Be sure to pick up a razorback pistol off of a dead enemy to add to your collection.
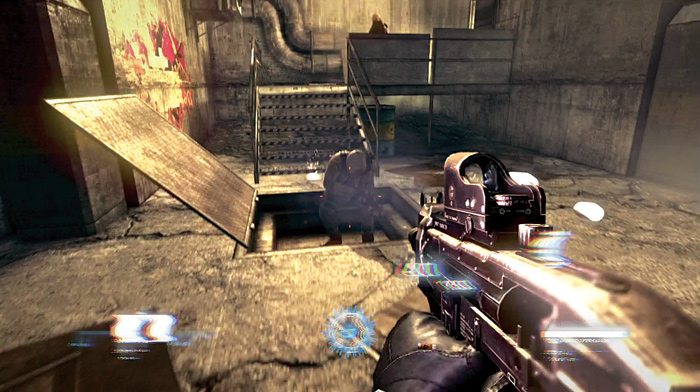
RAZORBACK

/ PRODUCT SUMMARY

Model: Razorback
Manufacturer: Saxe-Deimling (license owner, non-aligned)
Projectile: .44 (semi), 10-round cylinder
Weight: 53 oz (1500 g)

TACTICAL SUMMARY

Primary Fire: Single shot
Secondary Fire: N/A

INTEL FEED

Licensed production in North America and Europe since 2049, with extensive field testing during the New York food riots of 2052.

With a reliable construction and handling, this sidearm was the #3 preferred weapon for home owners and sports enthusiasts along the North American east coast, up until it was decommissioned in 2058. Due to its wide use, the .44 bullets are still in high circulation among consumers.

Modified Razorback models have recently appeared on black markets in the Downzone areas of New York, Baltimore and Chicago.

/ end of entry

As you advance toward the stairs leading out of this area, two more enemies pop out at you. Quickly take them out. The one by the door throws fire bombs, so kill him fast or be sure to get out of the way.
Tip

Before you leave this area, search around for a sniper rifle dropped by one of the snipers. Swap the pistol for it.

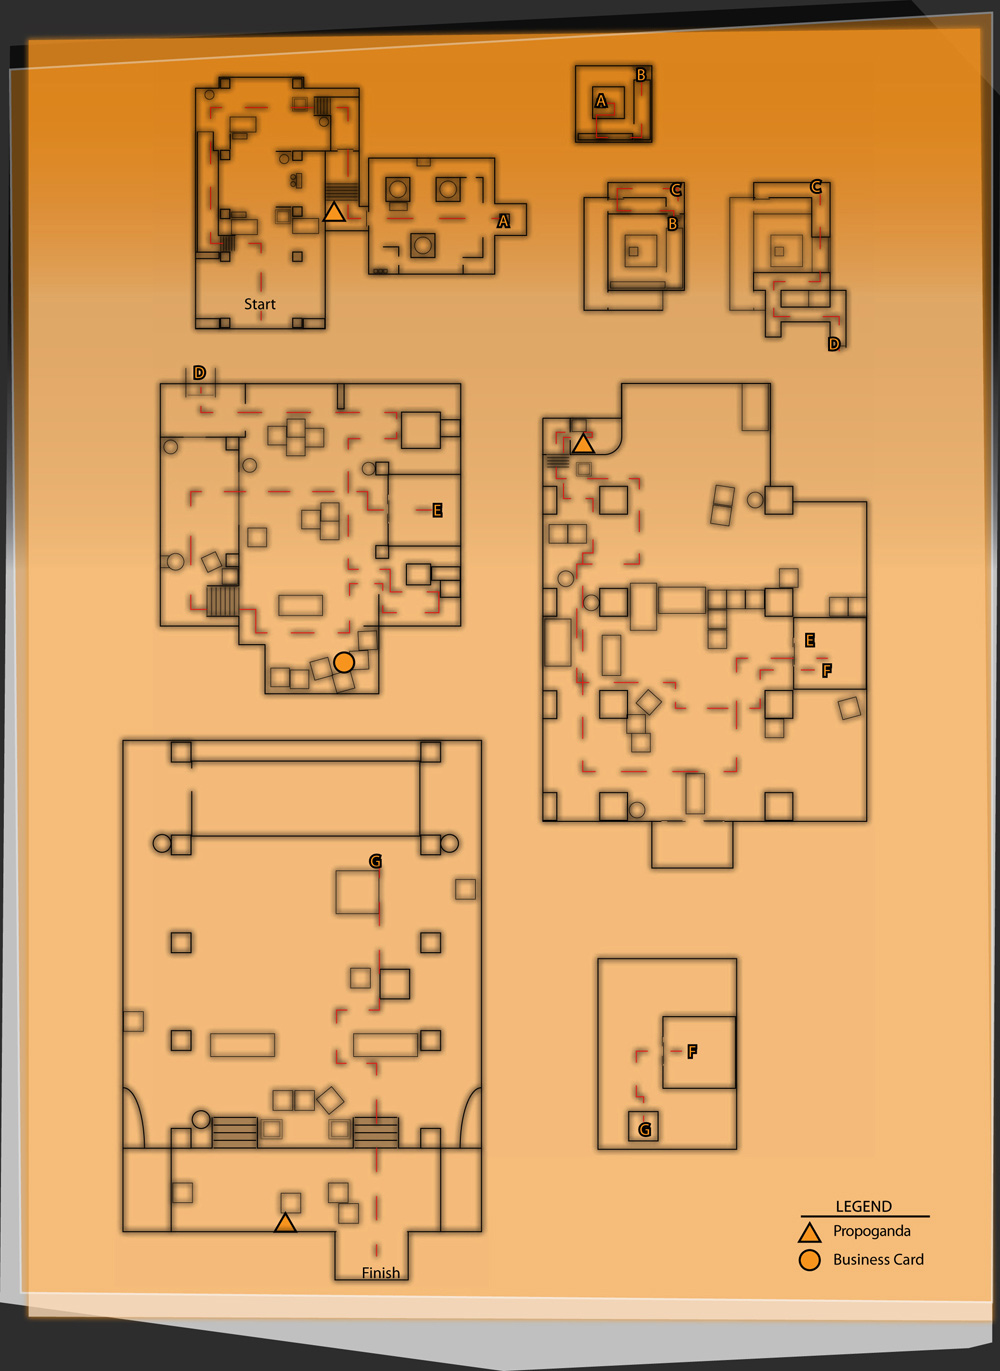
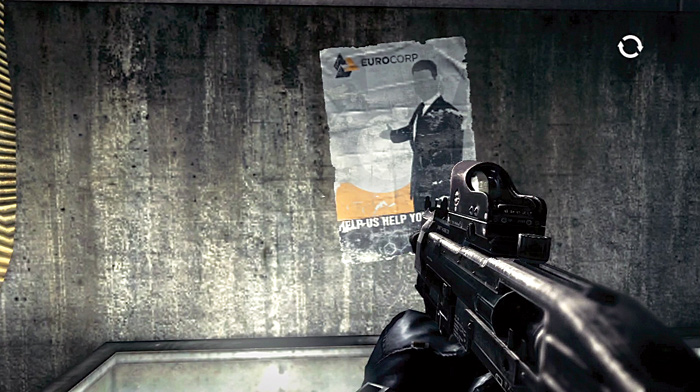
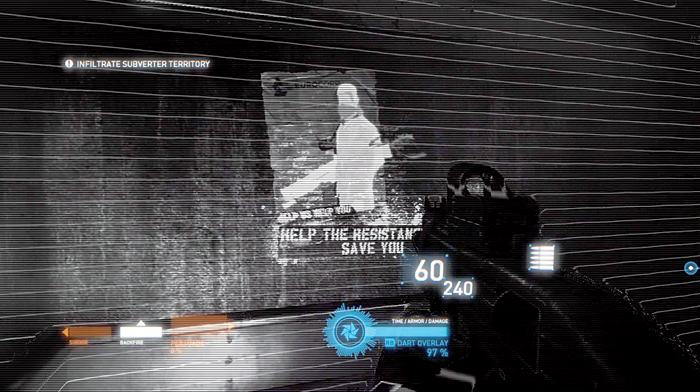
Exit through the door. It is stuck, so you need to repeatedly press the action button to open it. Follow a corridor and check out the poster on the right side wall. By now, your chip has reset itself so you can activate the DART overlay to see the propaganda.

New Propaganda Tag

TWB: HELP

“Help Us Help You”

“HELP THE RESISTANCE SAVE YOU”

—Resistance graffiti

New Agent Feature

DART CHIP: EMP RESET

/ AGENT OPERATIONS MANUAL

Entry: Chip mechanics (system reset)
Type: Chip system

FUNCTIONALITY

System: When experiencing an electromagnetic pulse, DART chip systems will automatically shut down and reboot, to avoid permanent damage.

INTEL FEED

/ Database log entry: R_90225

The DART 6 chip structure is protected by EM dampeners and the latest SSMD system.

The dampeners detect and redirect part of the initial E1 and E2 pulses, while the solid state memory drive protects current data from the slower E3 pulse, storing IPA for up to 10 seconds, enabling the DART chip to perform a fast reboot after the EMP charge has dissipated.

/ end of entry

Infiltrate Subverter Territory

There is a larger room at the end of the corridor. An elevated walkway overlooks the room and here you have to take on lots of enemies. Luckily you have your chip functioning again. Breach the controls to overload the pressure valve in the middle of the room to release steam to hurt enemies or keep them from moving through parts of the room.

In addition to the DART overlay, you can also use the Backfire app. The other apps do not work since none of your enemies have chips in their heads.
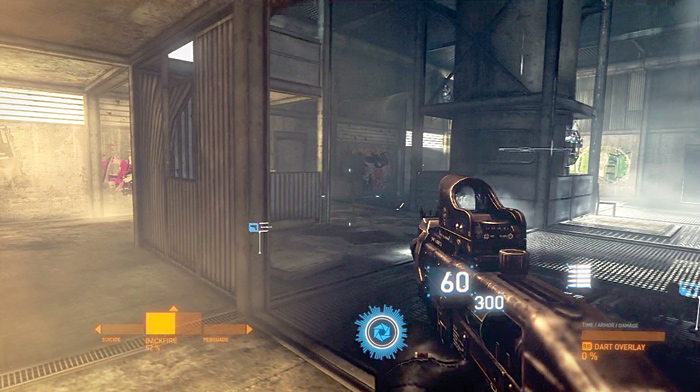
Move to the far side of the room so you have more cover from the snipers on the elevated walkway. However, as the number of enemies begins to decrease, move out to finish them off. When the lights at this end the room start flashing prior to an elevator arriving, return to the other side of the room where you first entered.
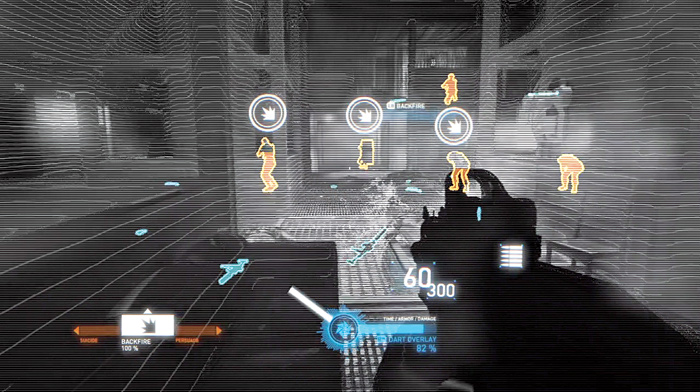
This next group of enemies includes a couple with riot shields. Clear out a few of the regular enemies, then use the Backfire app on the one with the riot shield. As soon as he moves his shield as a result of the app, kill him.
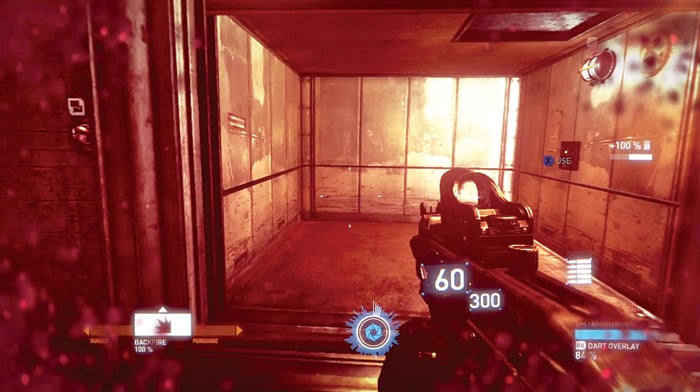
Finish off all the enemies, then head into the elevator and press the button to head to the next level.
Character Profile Update

PROFILE: LILY DRAWL

/ PROFILE ENTRY

Name: Lilian Drawl (female)
Age: 30
Position: Lead Biotech Engineer
Affiliation: EuroCorp
Clearance: (revoked) Grade 15, Biotech Group Manager

BACKGROUND

Born to Downzone parents. Excelled in Downzone educational system and identified by EuroCorp intellectual talent scouts at the age of 16. Attended New Columbia Medical on scholarship. Distanced herself from family, particularly her brothers who demonstrated early corporate dissension and Downzone anarchist traits.

INTEL FEED

Regularly channels money to Lower Manhattan Downzone address. Residential log indicates her parents as last known tenants.

/ Intel Report: Investigation in progress

Communication between Lilian Drawl and Aspari asset Gary Chang has been intercepted and decrypted. Content suggests previous interaction and possible exchange of classified information.

/ Intel Report: Security Risk Update [Very High]

Documented cross-Syndicate communication and association with known terrorist Kris Delaney. EuroCorp research and security data have been shared with terrorist organizations and competing Syndicate networks.

// Tactical Update

Global security alert. Terminate soft asset on sight.

/ end of entry

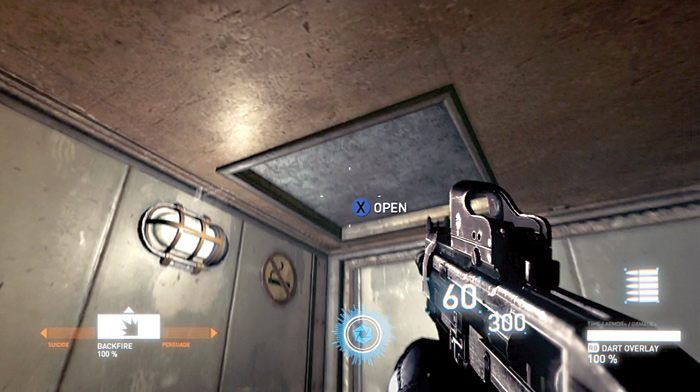
When the elevator comes to a stop, look up and open the roof hatch. Climb up onto the roof of the elevator, then jump over to an air duct and walk up it to a catwalk.
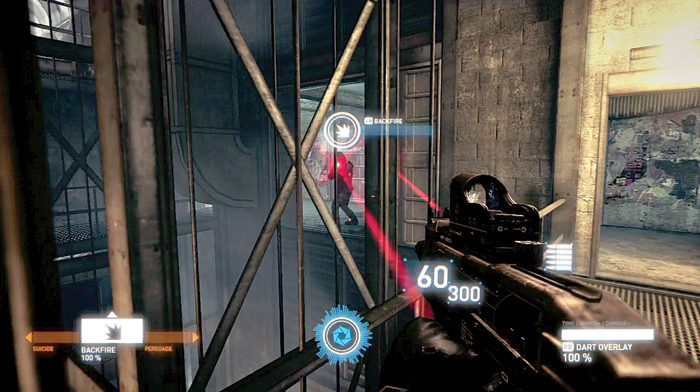
Watch out for a couple of enemies in an alcove. Kill them before they see you, then climb a ladder up to another catwalk.
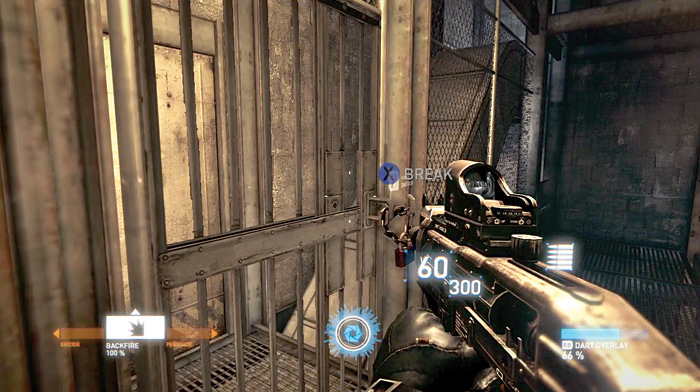
Break a lock so you can open a gate and then walk up another air duct to a higher catwalk. You must then jump across a gap to get to the tunnel entrance.
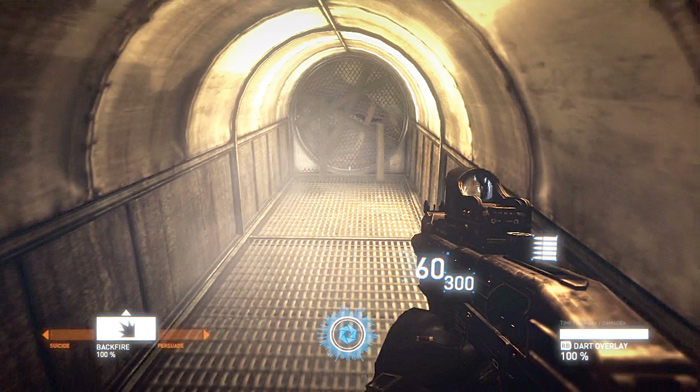
Enter the tunnel and move through it. When you come to a dead end where debris covers a vent, sprint into it to break through.
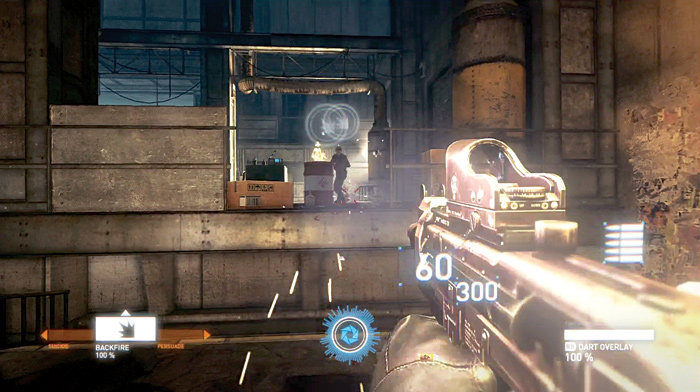
You land at the edge of a room filled with enemies. Start shooting as you begin to move for cover.
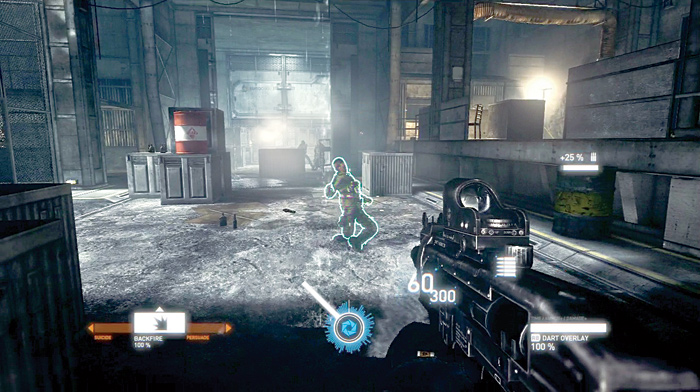
An enemy with a riot shield is at the far end of the room, so clear away enemies and then use the Backfire app to give you a shot at the one with the shield. Look for explosive barrels you can also use for killing enemies.
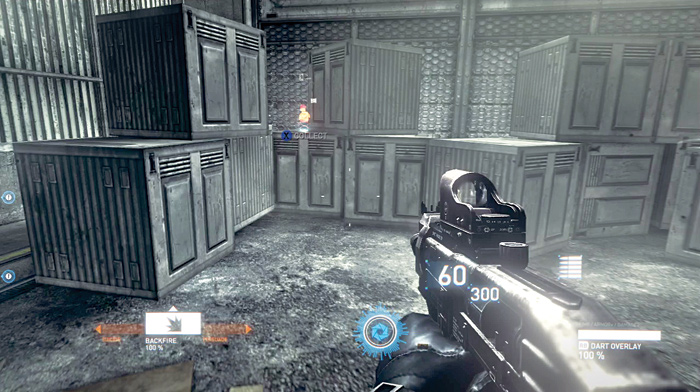
Continue to the far side of the room to find a business card on one of the crates. Pick it up and add it to your collection.
New Personnel Log

DONALD GILCHRIST

/ PROFILE ENTRY

Name: Donald Gilchrist
Age: 52
Position: M.D., Medical Observer, Downzone Street Team 42
Affiliation: EuroCorp
Clearance: Grade 13

LOGGED ENTRY

/ Personal.Journal_Entry: ID78-Z

They hauled in another stiff this morning with a hole drilled into the upper skull. Third one this week. As with the others, this appears to have been yet another clumsy and futile attempt to forcefully remove the DART chip from the cerebral cortex.

I’m told that it’s mostly spoiled Upzone brats rebelling against their parents and society as a whole, who pay Downzone “clinics” to dig into their heads and yank out their chips. It’s a scam, of course.

Only qualified EuroCorp technicians can remove or adjust the chips without setting off the tampering alarms and causing massive traumatic brain injury. Of course, that won’t stop those poor fools from trying.…

/ end of entry

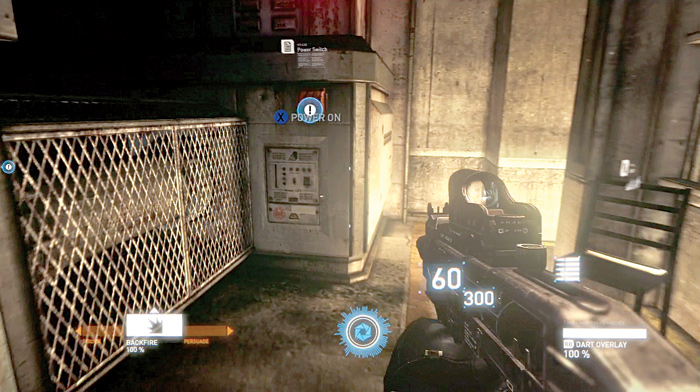
In order to get the elevator moving, you need to turn the power back on. Locate power switches on either side of the elevator shaft. Press the action button while standing next to each switch to activate them.
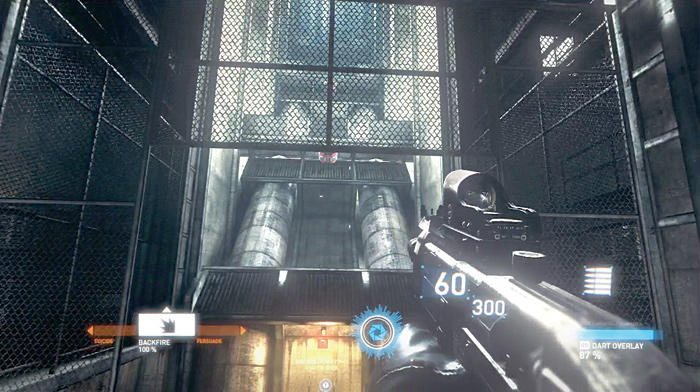
Now approach the elevator shaft. The gate opens so you can drop down and activate the power to bring the elevator down to your level.
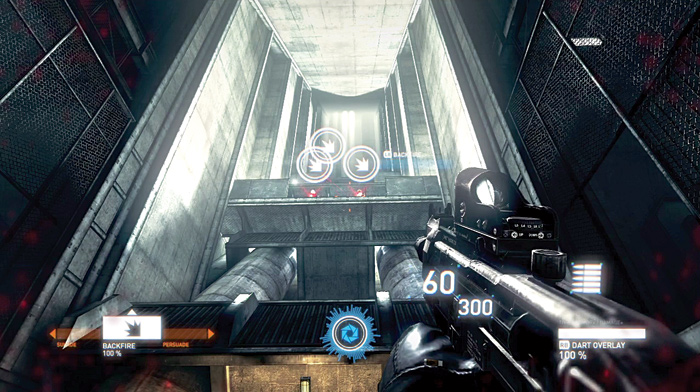
While you are waiting for the elevator, enemies appear above you in the shaft. Shoot at the explosive containers to kill them.
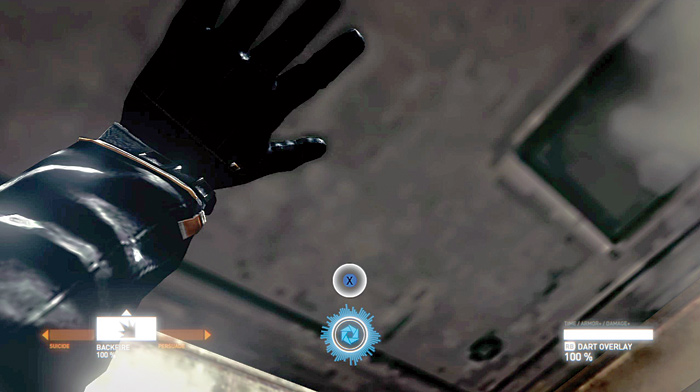
Once the elevator drops into position, use the action button to open the floor hatch and climb up into the elevator. Press one of the buttons by the elevator door to get it moving.
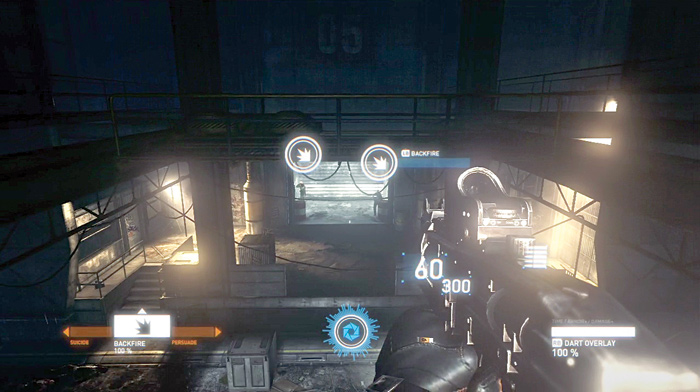
More enemies appear as the elevator rises up. You can either shoot at them or move away from the door to avoid being hit by hostile fire.
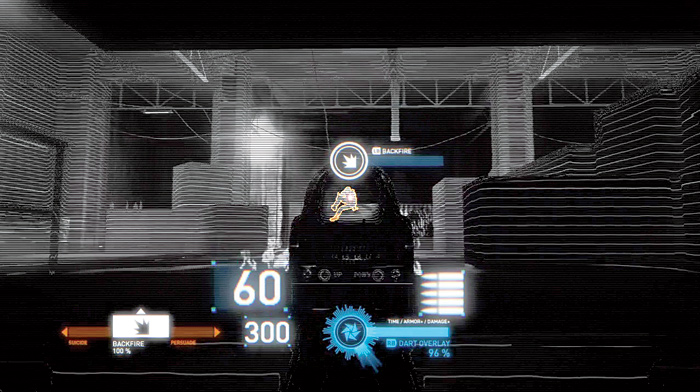
The elevator comes to a halt as the power is shut down again. Shoot at any enemies that begin attacking you.
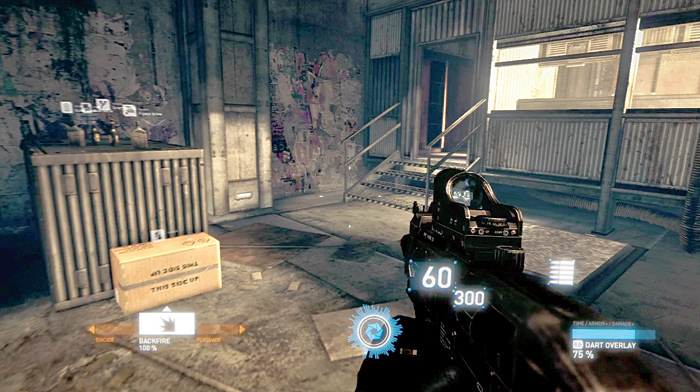
Once it is clear, climb up out of the elevator and move to the control room in the far right corner of the area.
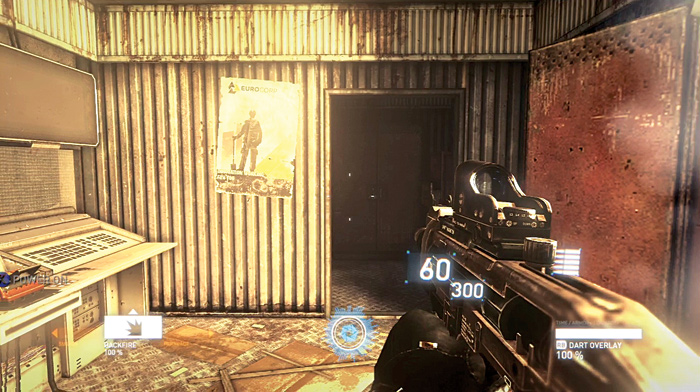
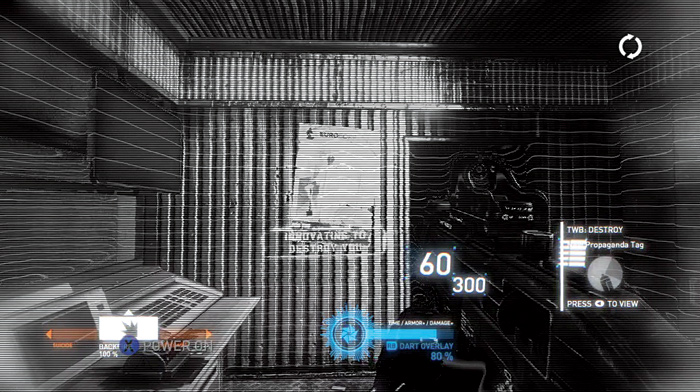
Turn on the power switch and then look at the poster near the door. Use the DART overlay to see the invisible propaganda.
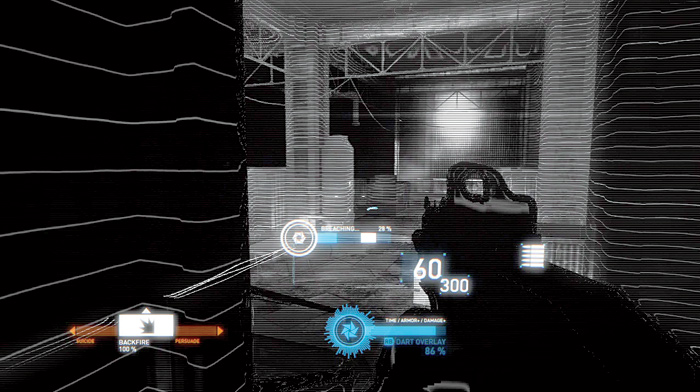
New Propaganda Tag

TWB: DESTROY

“Innovation Working for You”

“INNOVATING TO DESTROY YOU”

—Resistance graffiti

Once the power is on, you need to activate some power modules that carry the power to the elevator. Breach the modules to accomplish this. However, to complicate the process, more enemies have arrived.
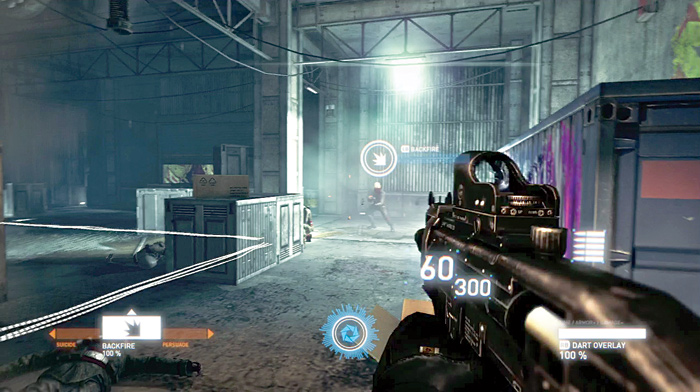
Move out of the control room, rushing from cover to cover, as you engage enemies who are trying to stop you. Follow the power to a switch that you can breach to activate the elevator.
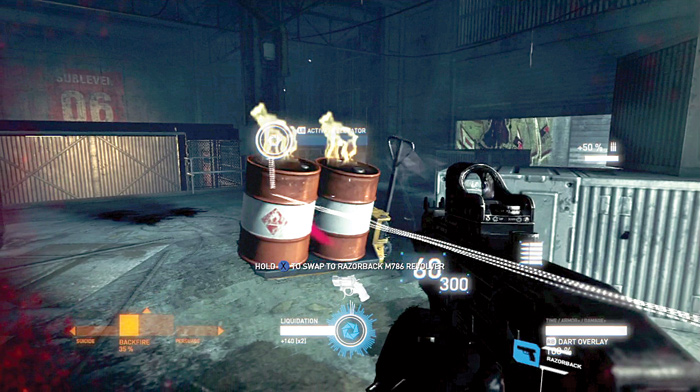
Watch out for flaming barrels as they come rolling toward you. Back away or you will get hurt in the explosion.
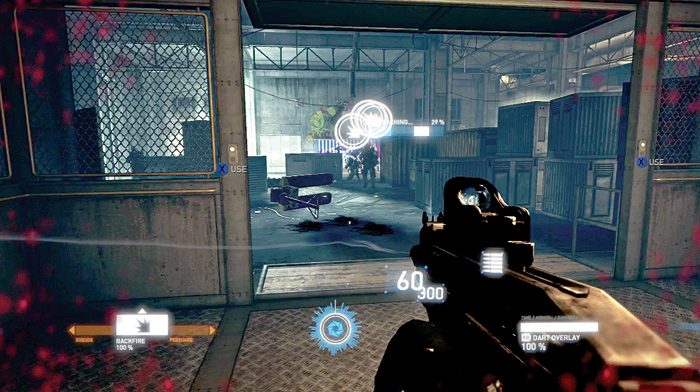
Sprint for the elevator once you get the power restored. Take cover to one side of the door and press the button. Keep firing at the enemies until you are away from their bullets.
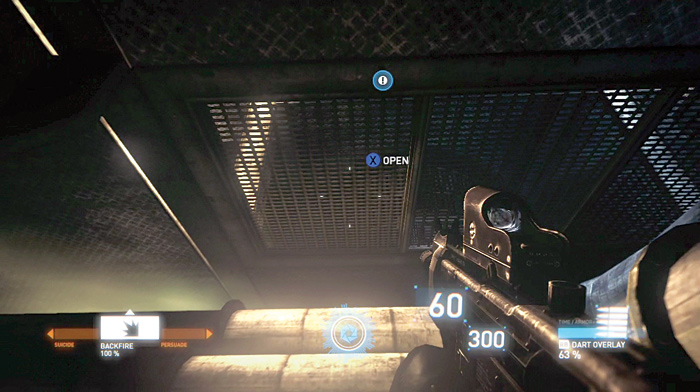
Once again the elevator comes to a stop. Crouch down and climb out. Move to the left and open a grate to climb up to the next floor of the structure.
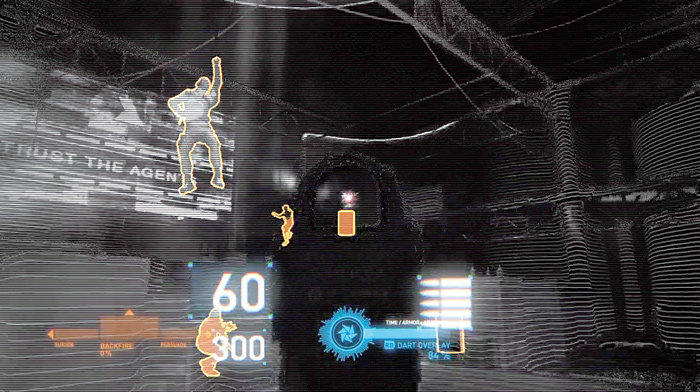
As soon as you emerge, enemies move in to attack. Find some cover and start firing back.
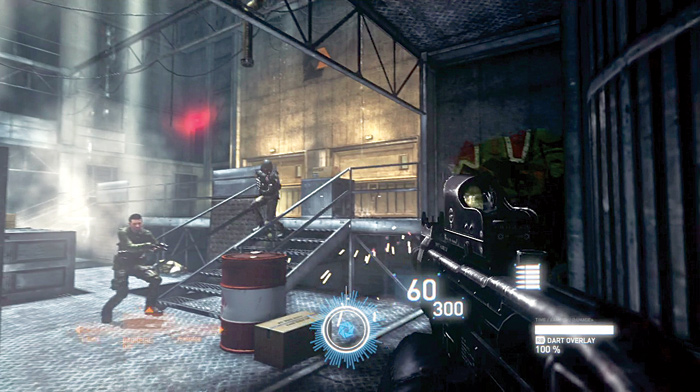
Keep moving, using the cover to protect you, while at the same time maneuvering to flank the enemies so that you can attack them while they have no cover.
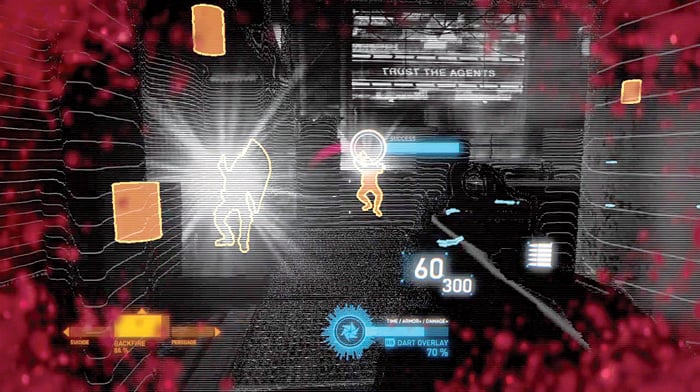
A lot of enemies are coming at you from all angles. If you start taking damage, get into cover and stay put. Use Backfire to slow down their attacks and give you a chance to quickly kill enemies while they are vulnerable.
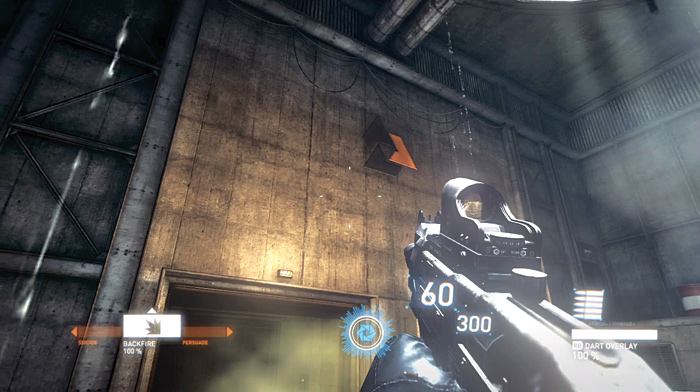
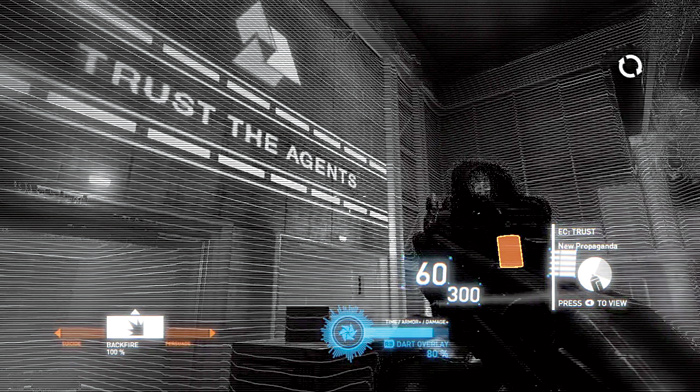
After the enemies have been neutralized, take some time to look up at the EuroCorp logo on the back wall. Use the DART overlay to see the hidden message. Then move into the elevator below the logo and press the button to complete this milestone.

New Propaganda

EC: TRUST

“TRUST THE AGENTS.”

—EuroCorp

Keep reading with a free account

The first 3 sections of Syndicate are open to everyone. An account opens the rest of it, and every other guide in the archive. It's free, and there's nothing to buy.

Bought guides on the old Prima Games site? Your account and every guide you own moved here, so there's nothing to buy again. Sign in.

Create a free account Or browse our free guides

PreviousMilestone 12: Downzone NextMilestone 14: The Wall