
Plants vs Zombies Garden Warfare Guide Team Vanquish Team Vanquish Maps
Sharkbite Shores
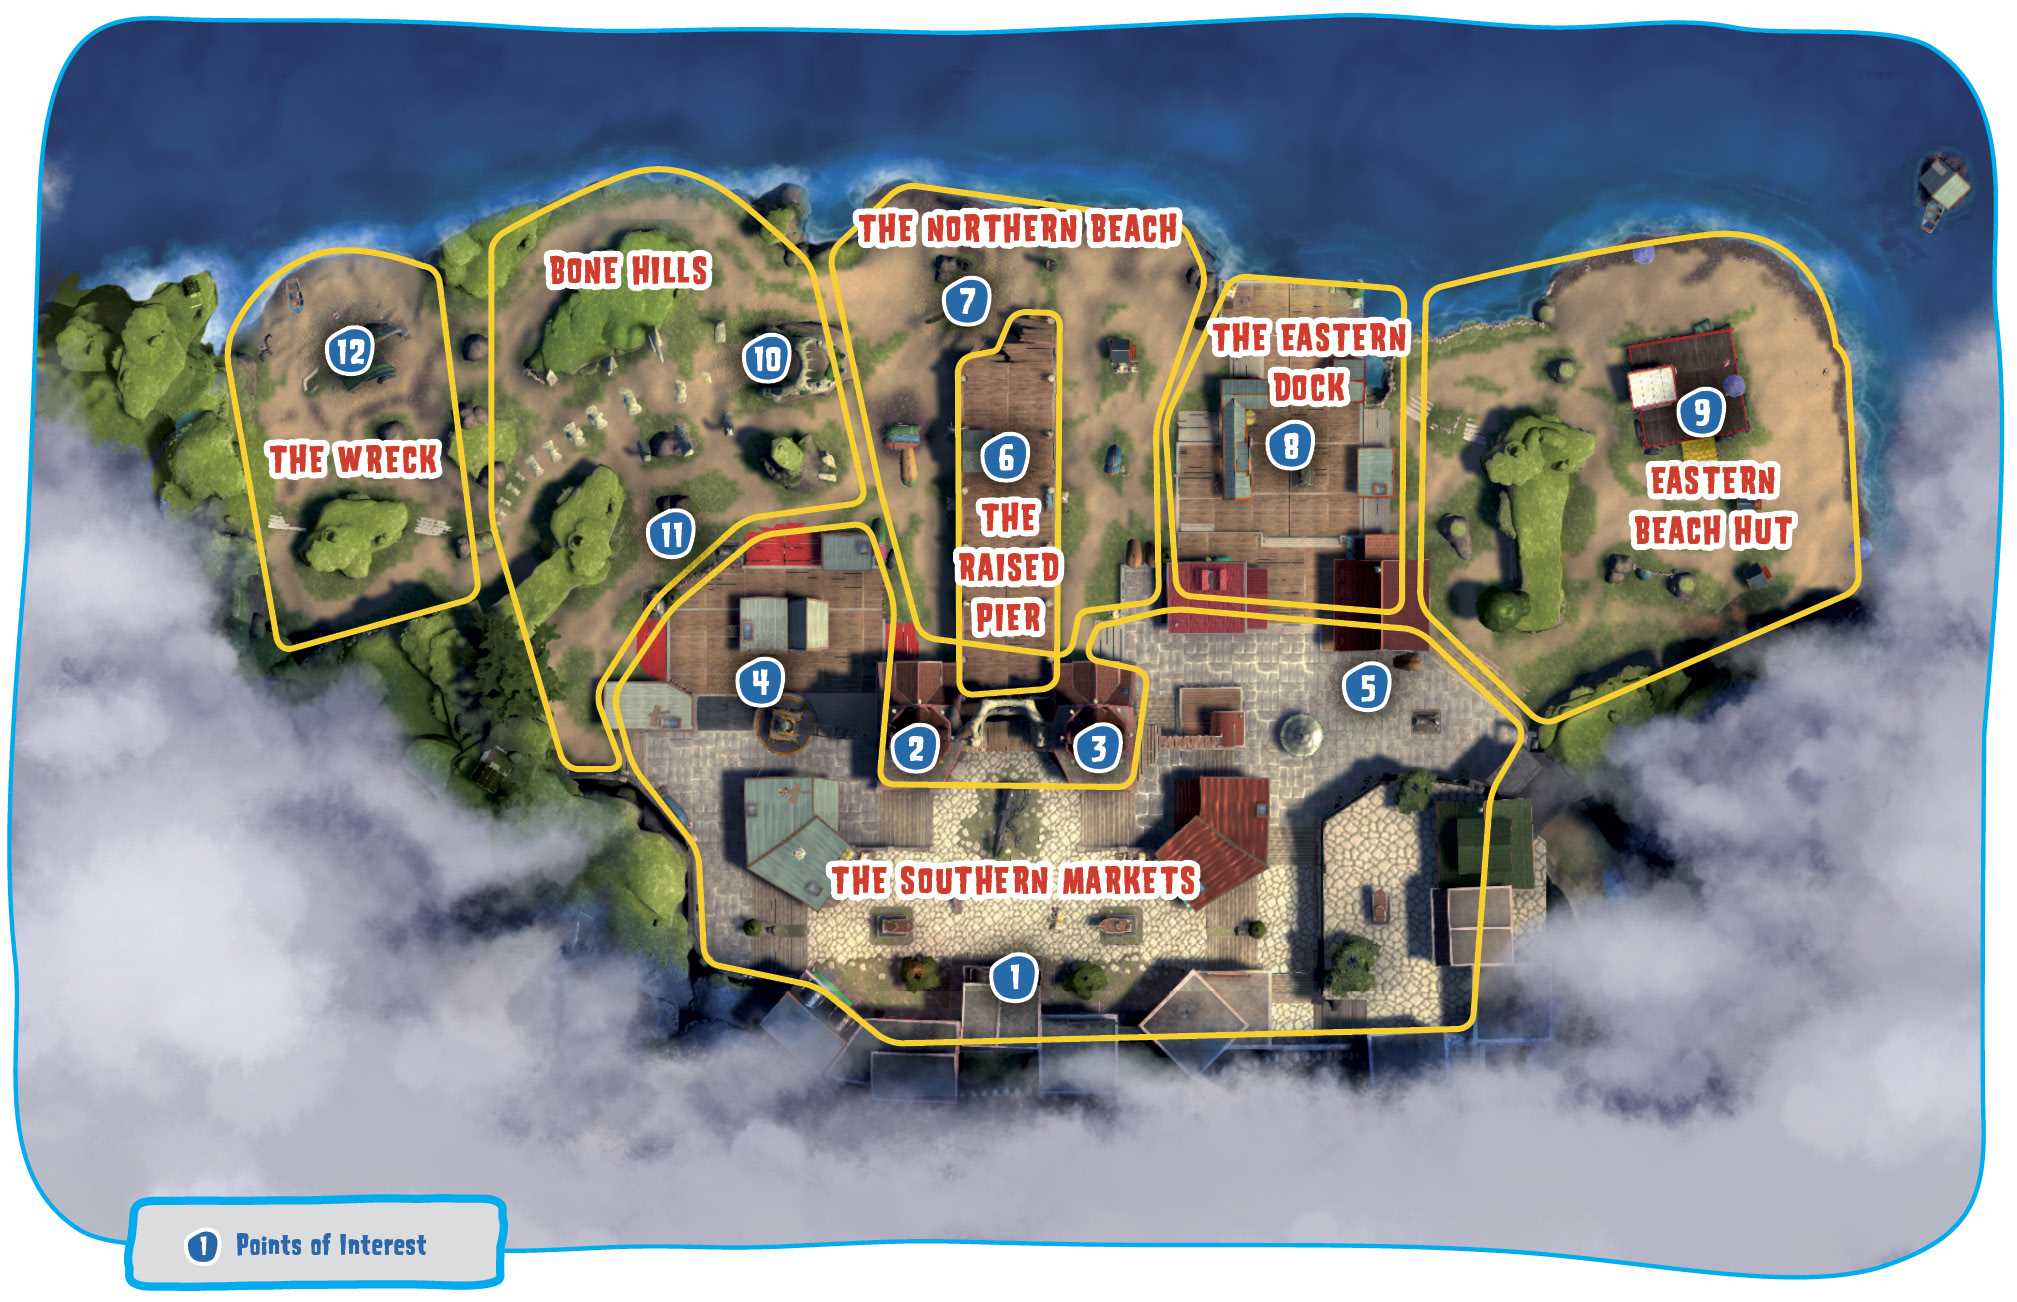
The beachfront properties of Sharkbite Shores have managed to retain some of their value despite the endless struggles between plant and zombie. Clever combatants can use the myriad of buildings at the center of this battlefield to strike at enemies on the lower levels, while the extensive beach in the north is filled with enough natural and unnatural cover to hide ambushes in nearly every direction.
Points of Interest
The Southern Markets
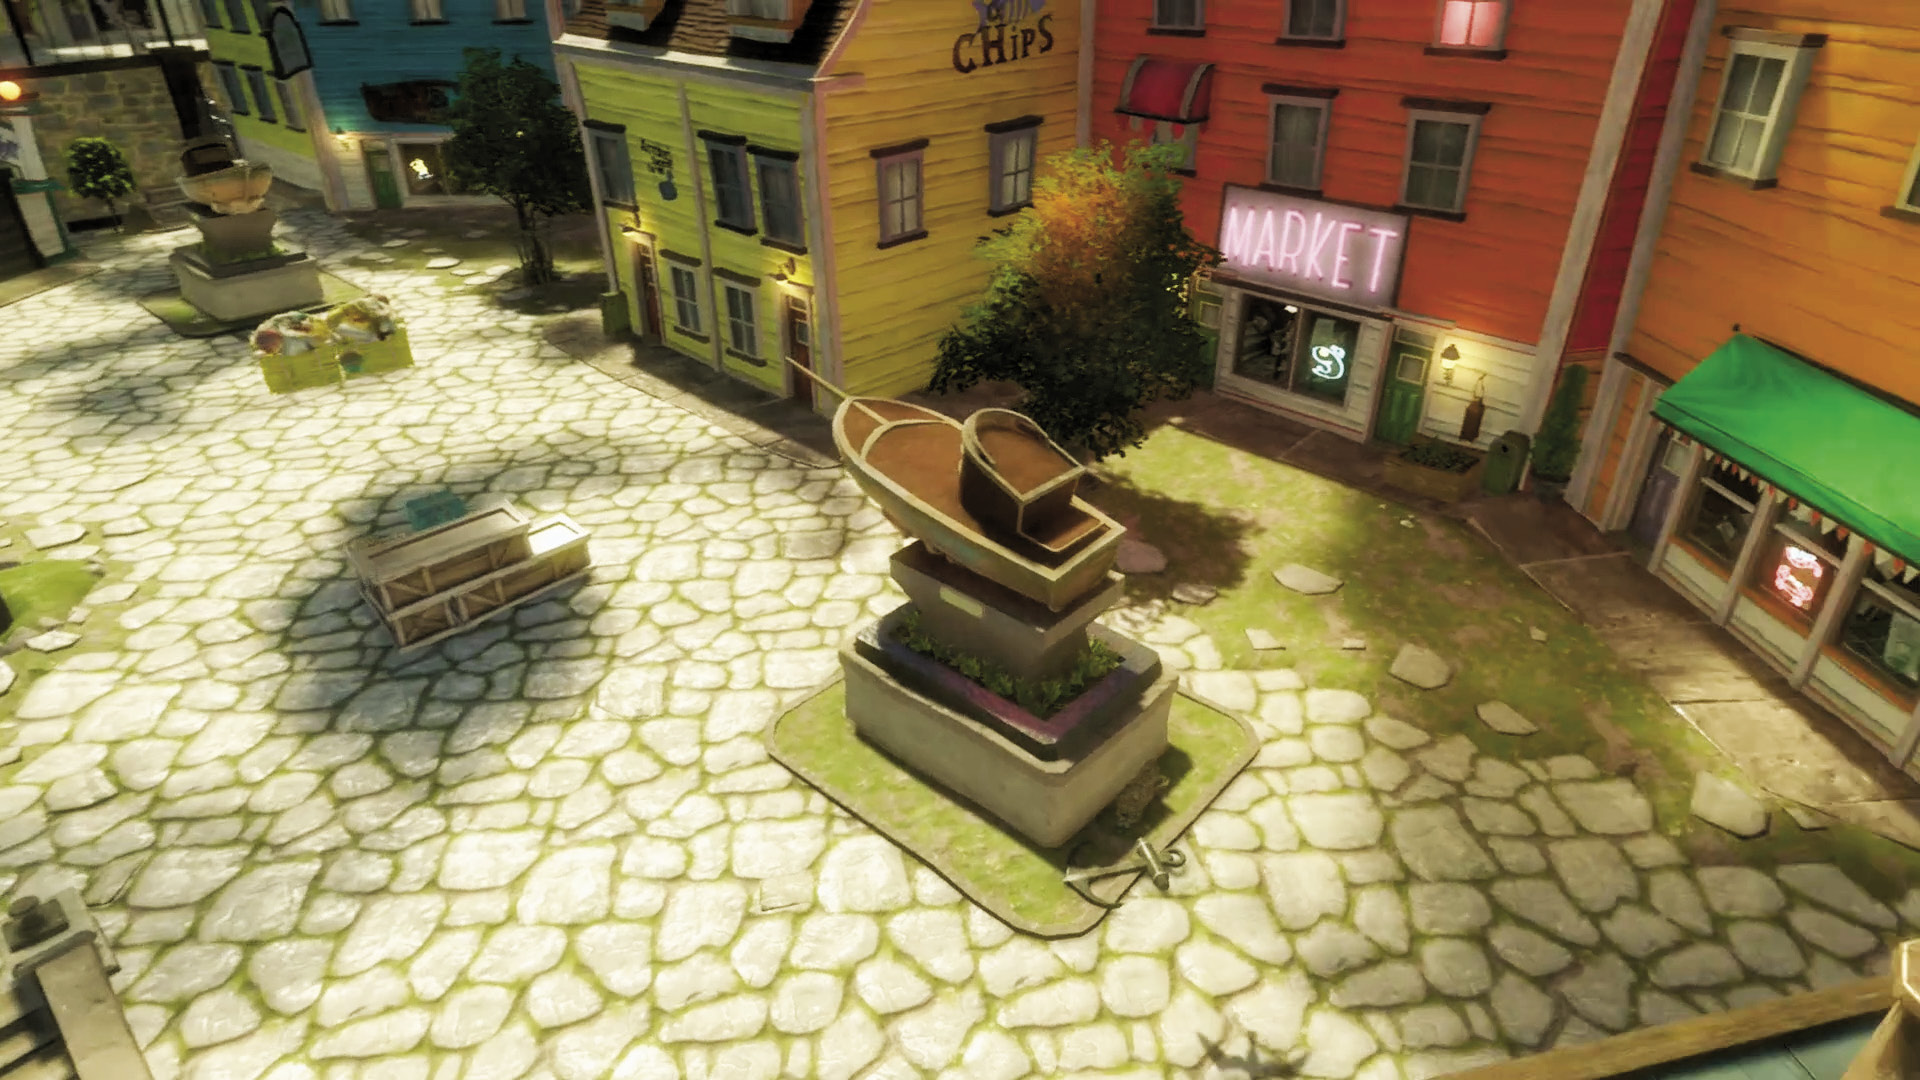
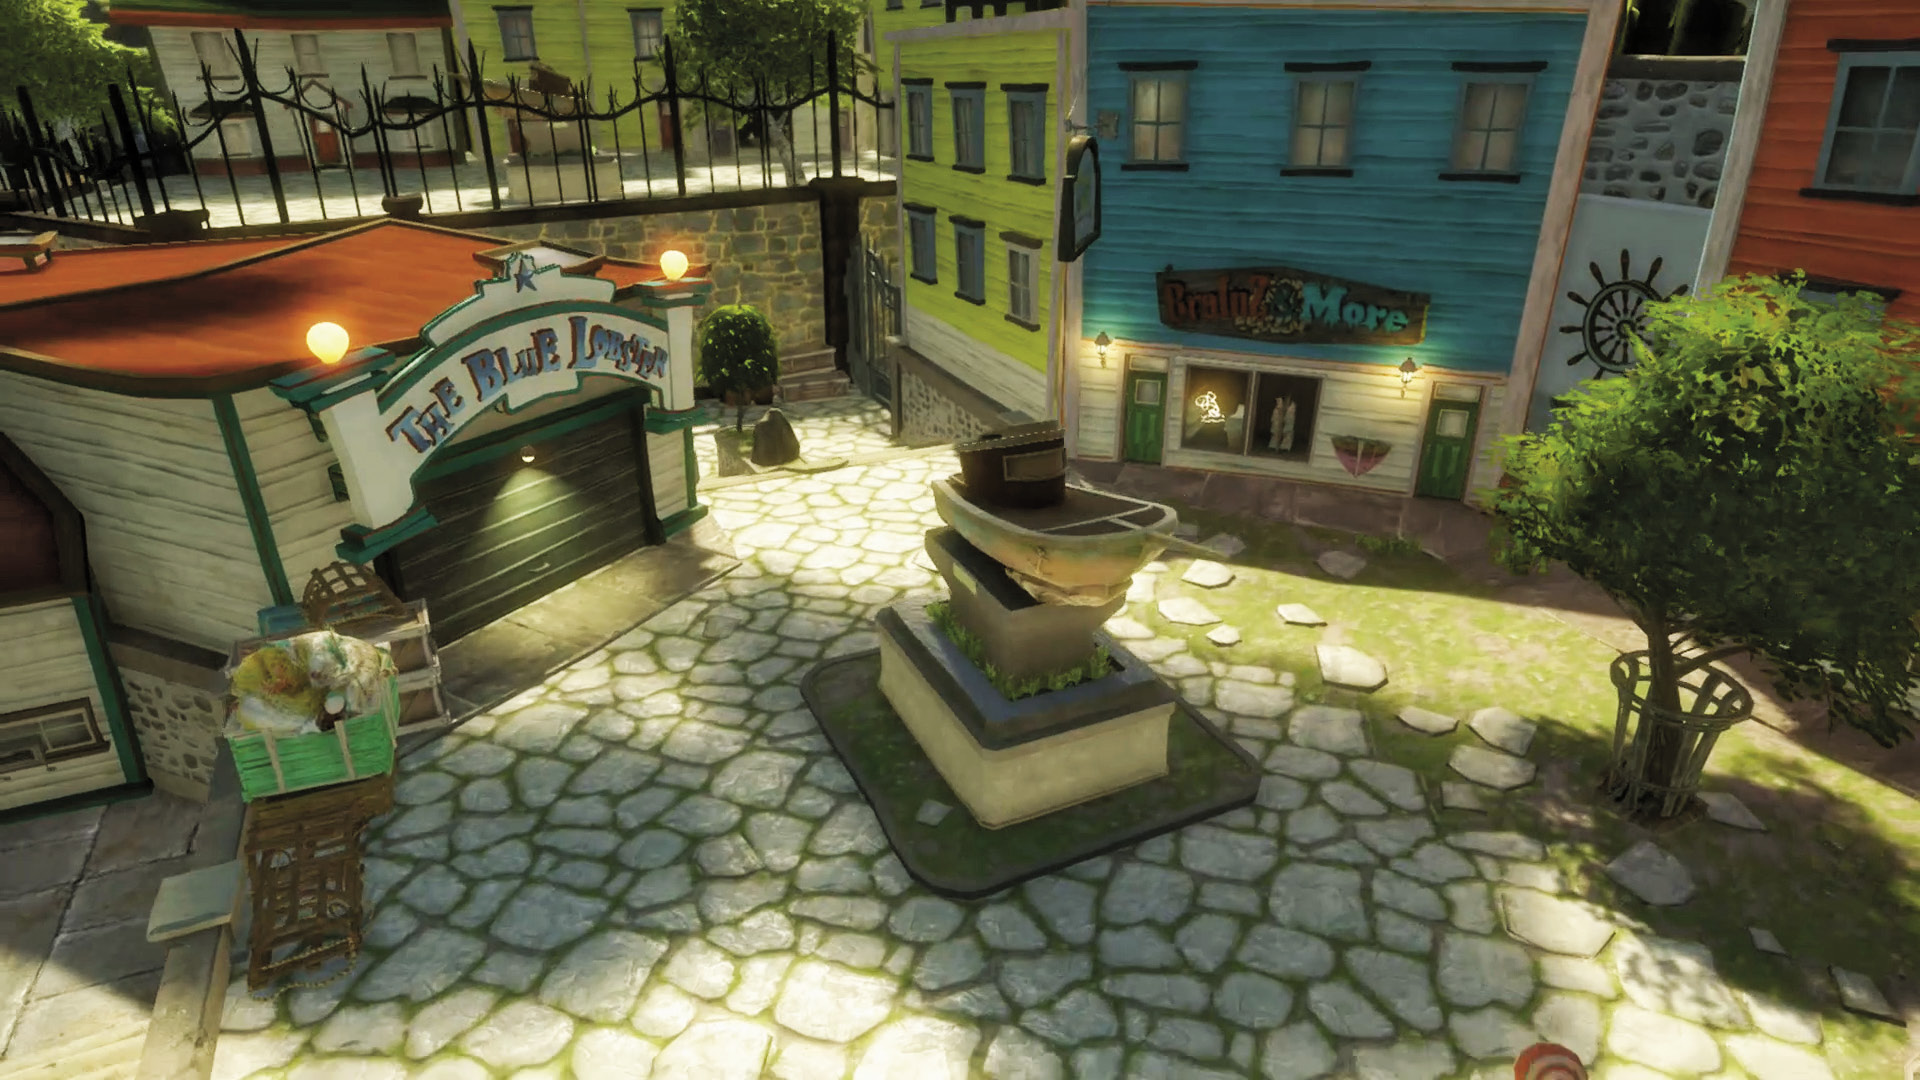
The mass of structures on the southern edge of the map can be collectively referred to as the southern markets [1]. It is likely to be one of the most heavily contested places on the map. It connects directly to almost every other location on the map, and as such, will be a high-traffic area.
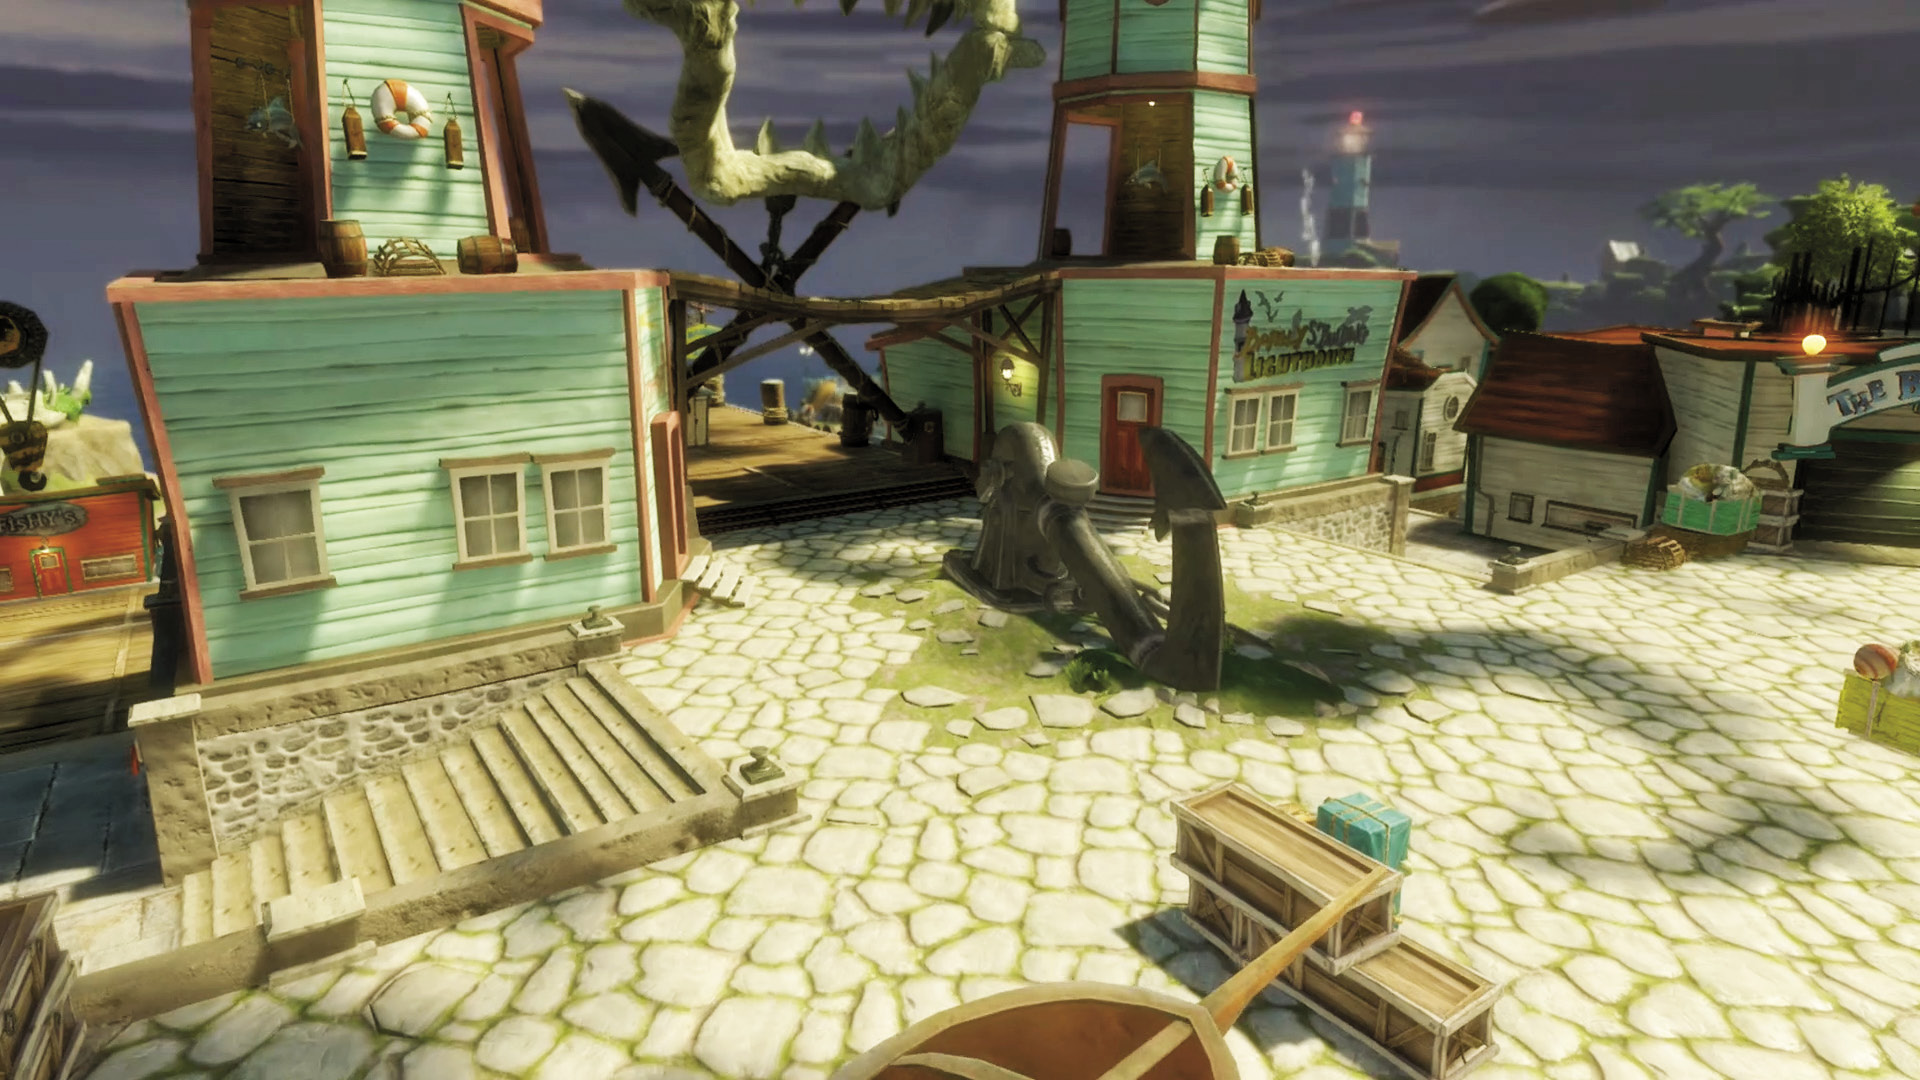
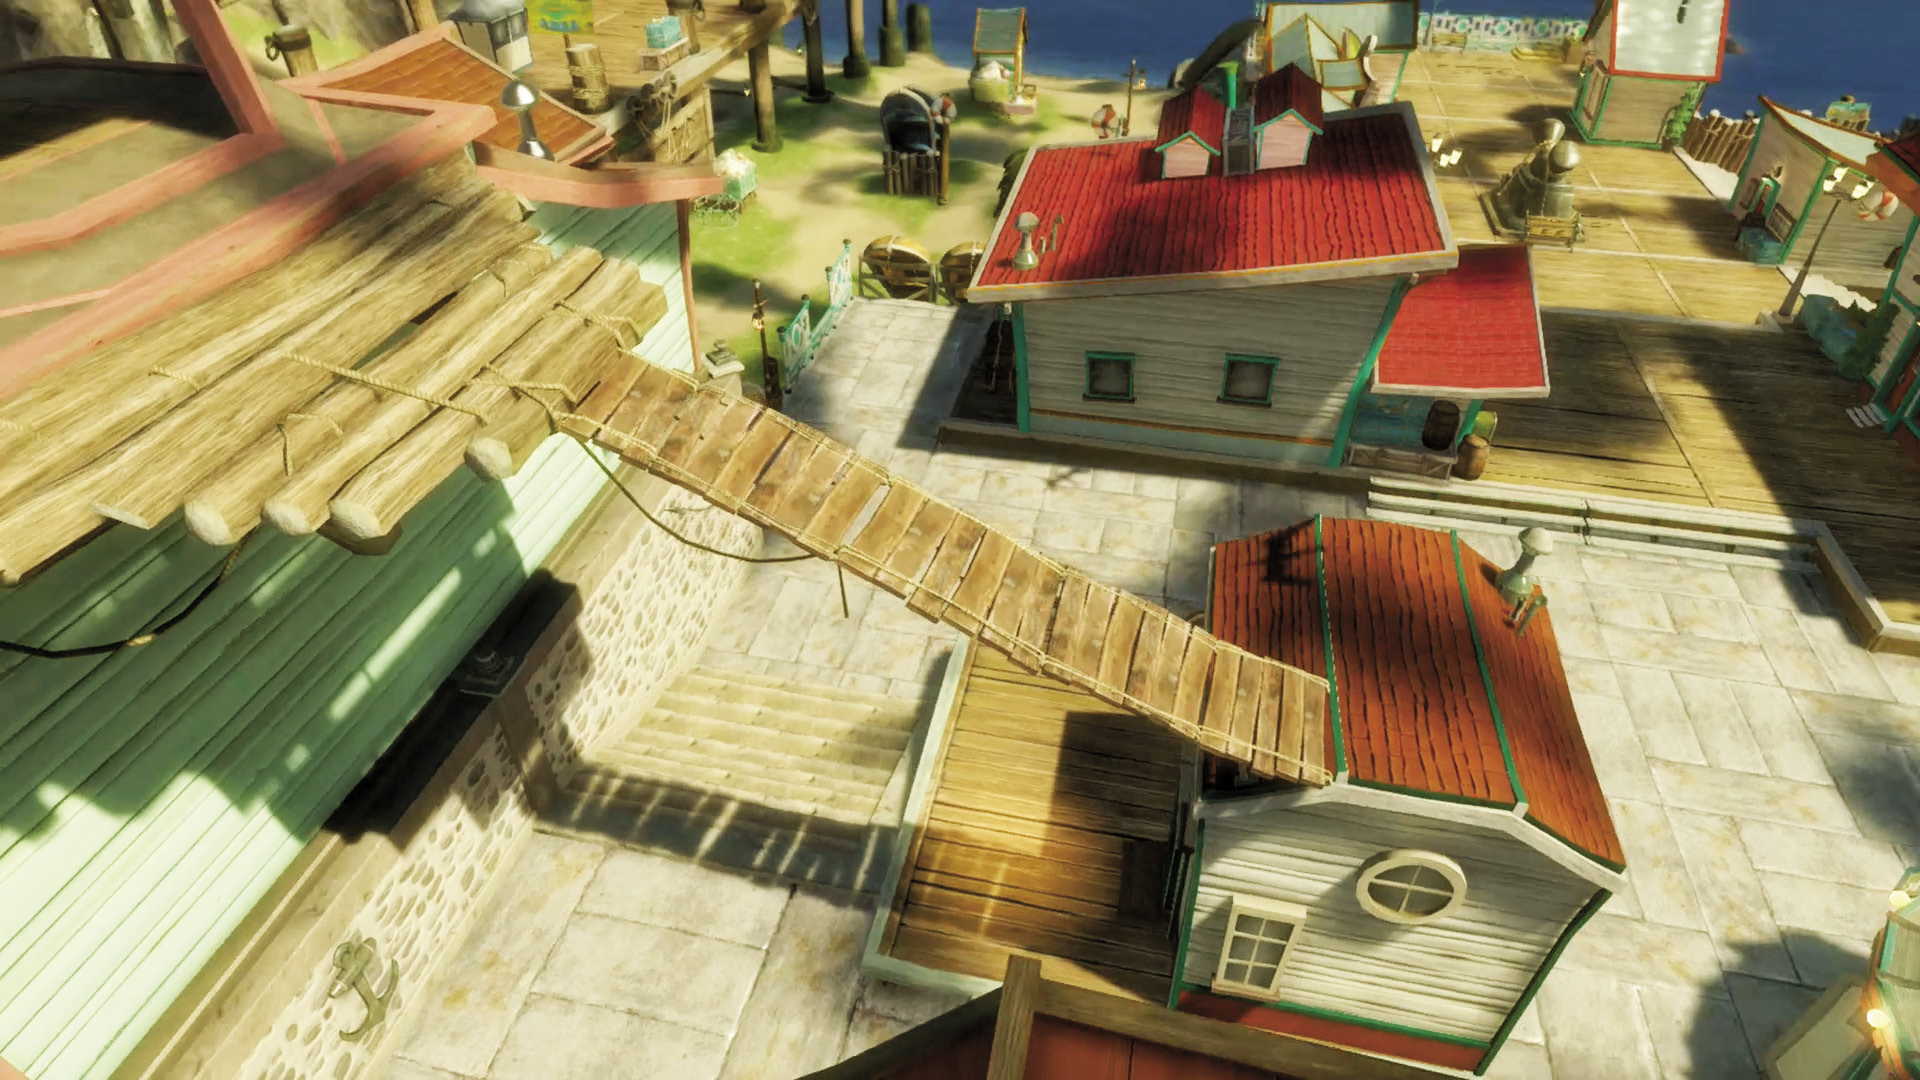
[2] [3] The entrance of the raised pier has two tall towers that can be reached via improvised bridges on the eastern and western sides of the markets. Players interested in sniping can make very good use of these positions as long as they pay attention to enemies trying to reach them.
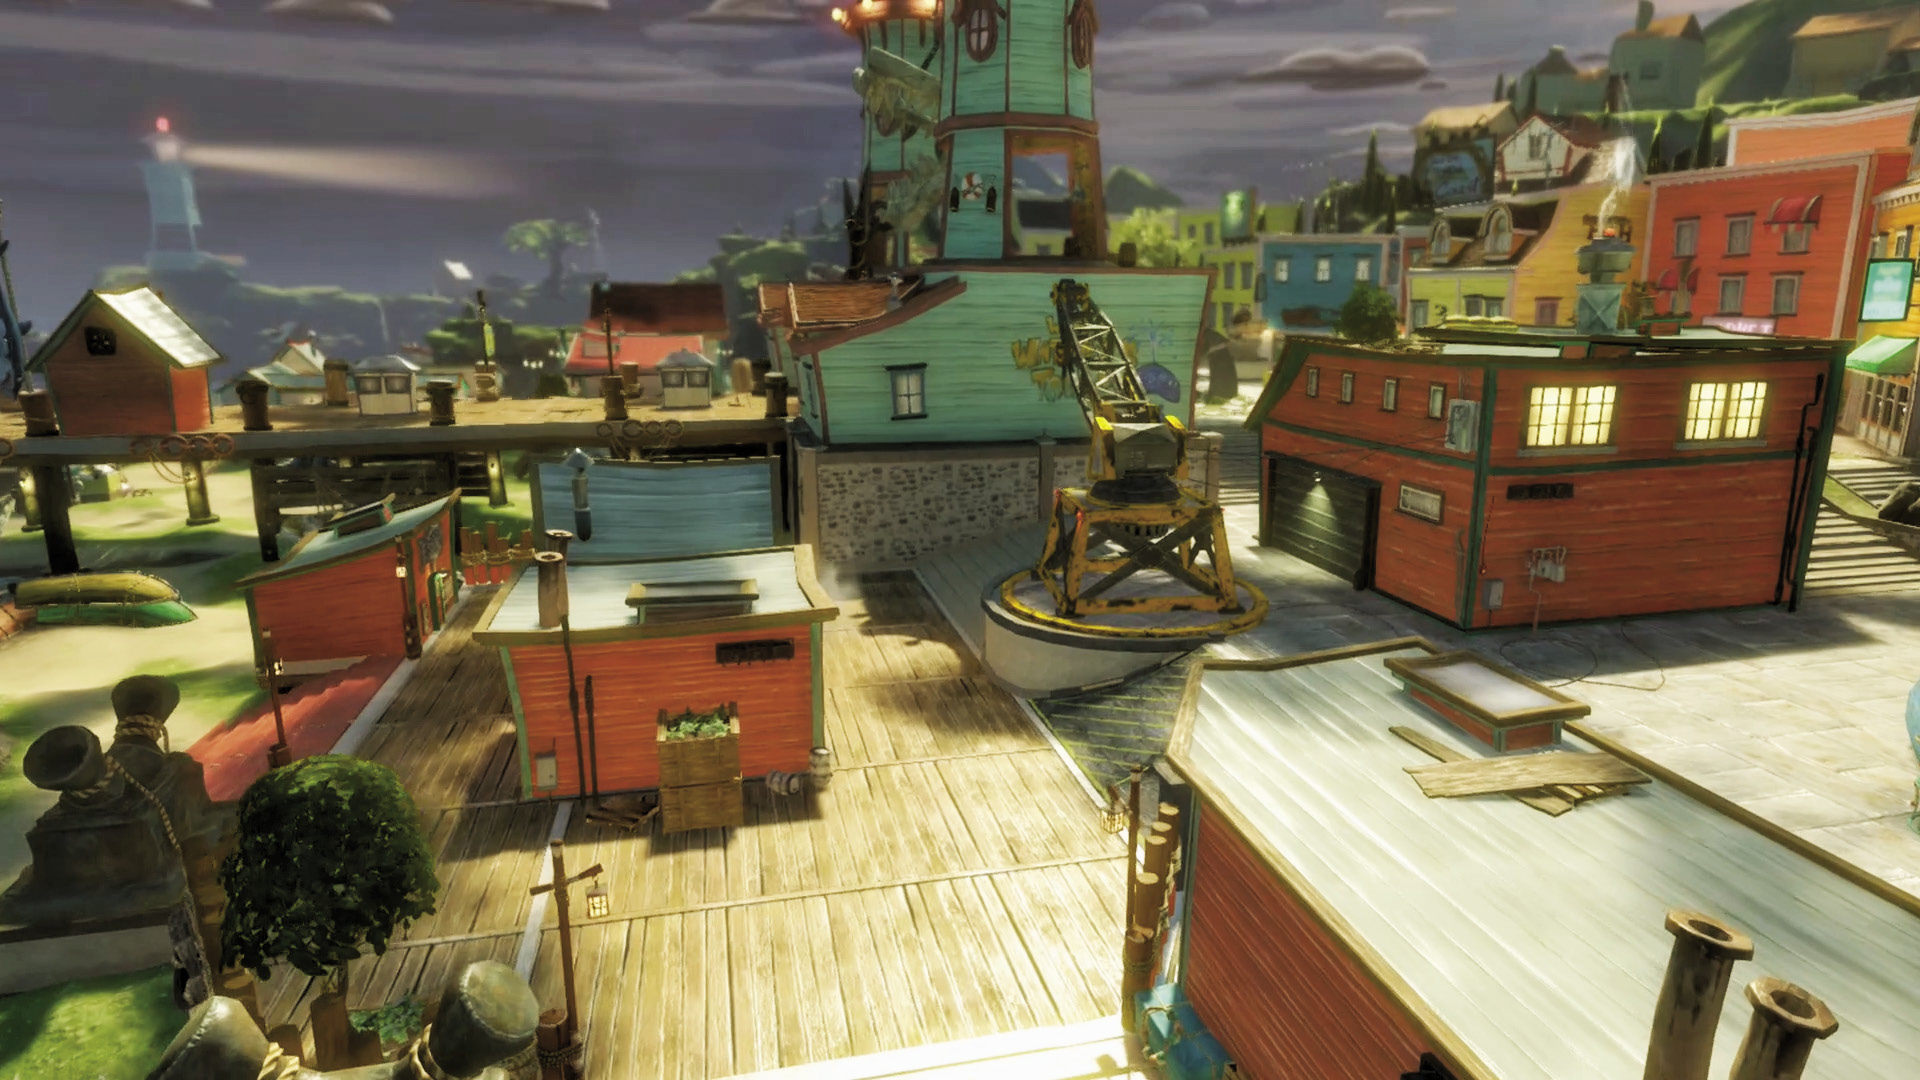
[4] [5] The western and eastern portions of the markets sit at a lower elevation from the central area, closer to the beach. There’s lots of cover to use against players approaching from less-protected beach paths.
The Raised Pier
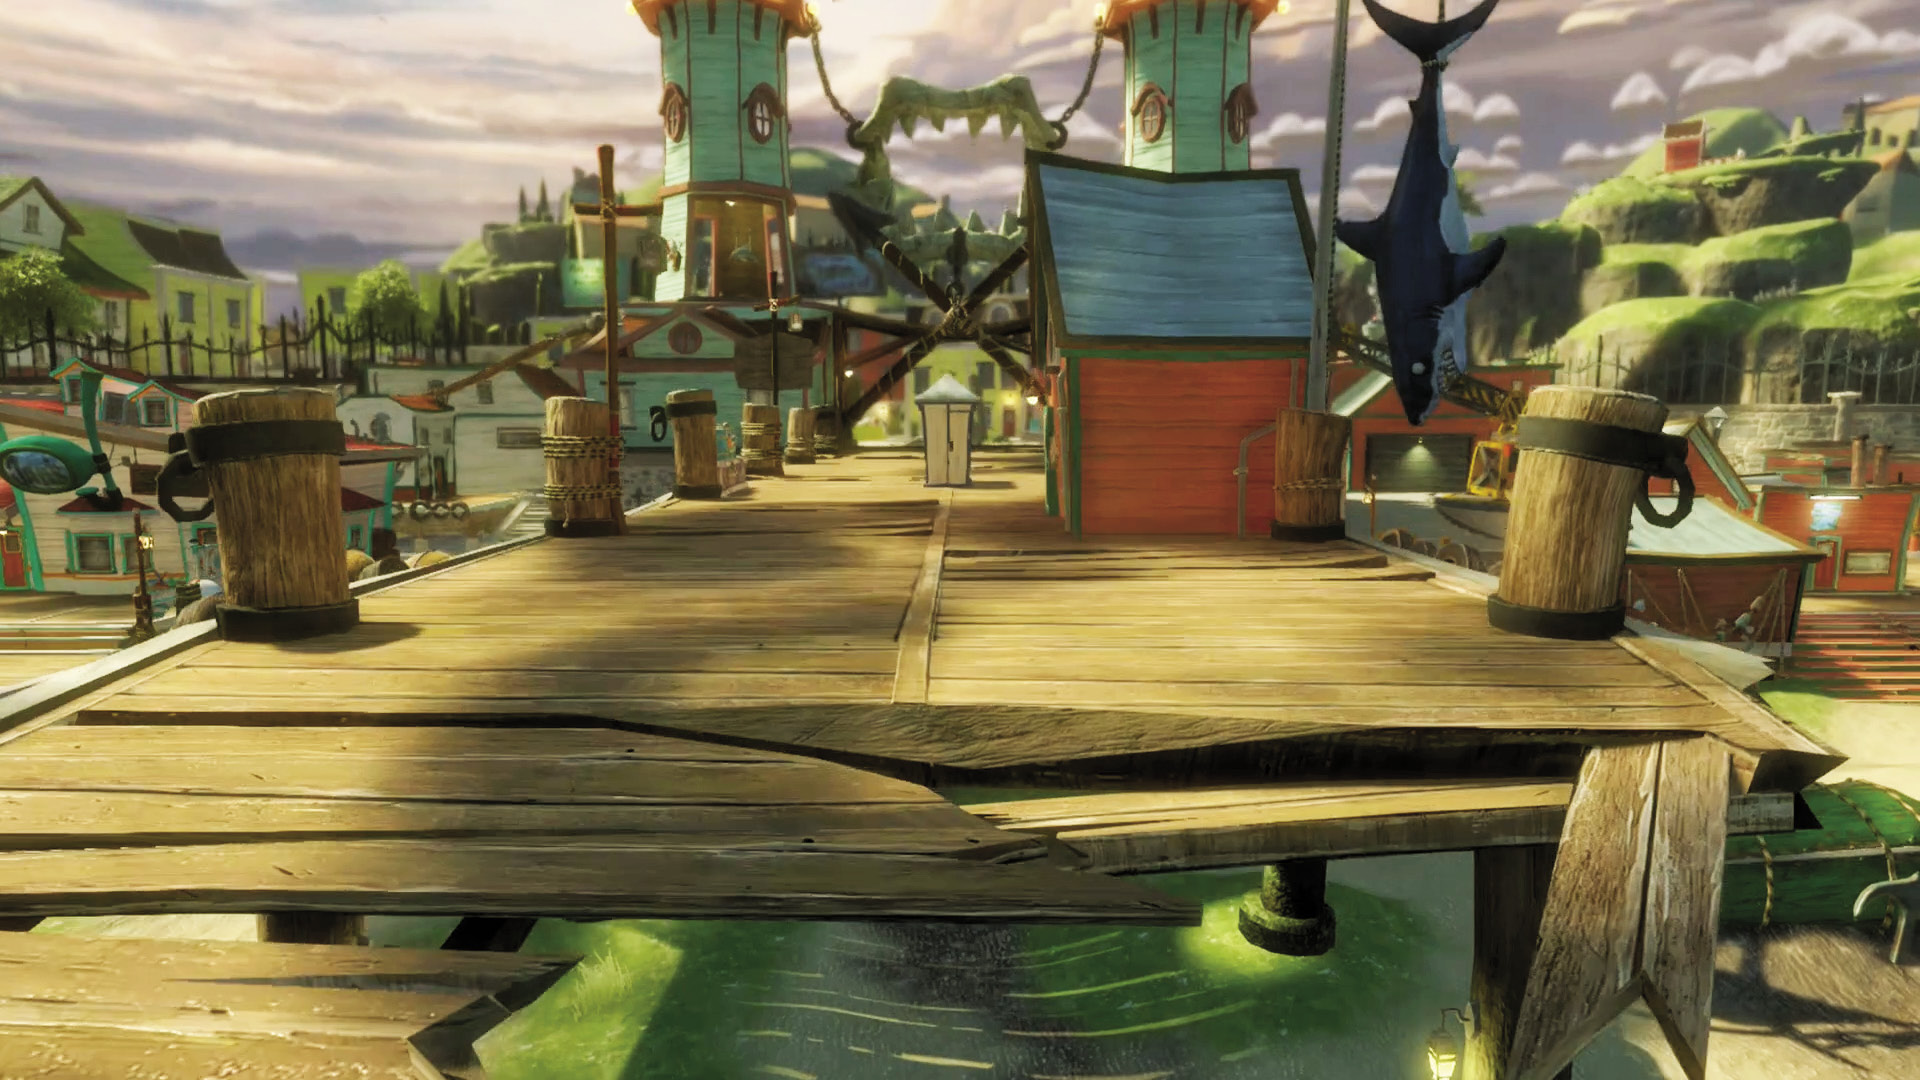
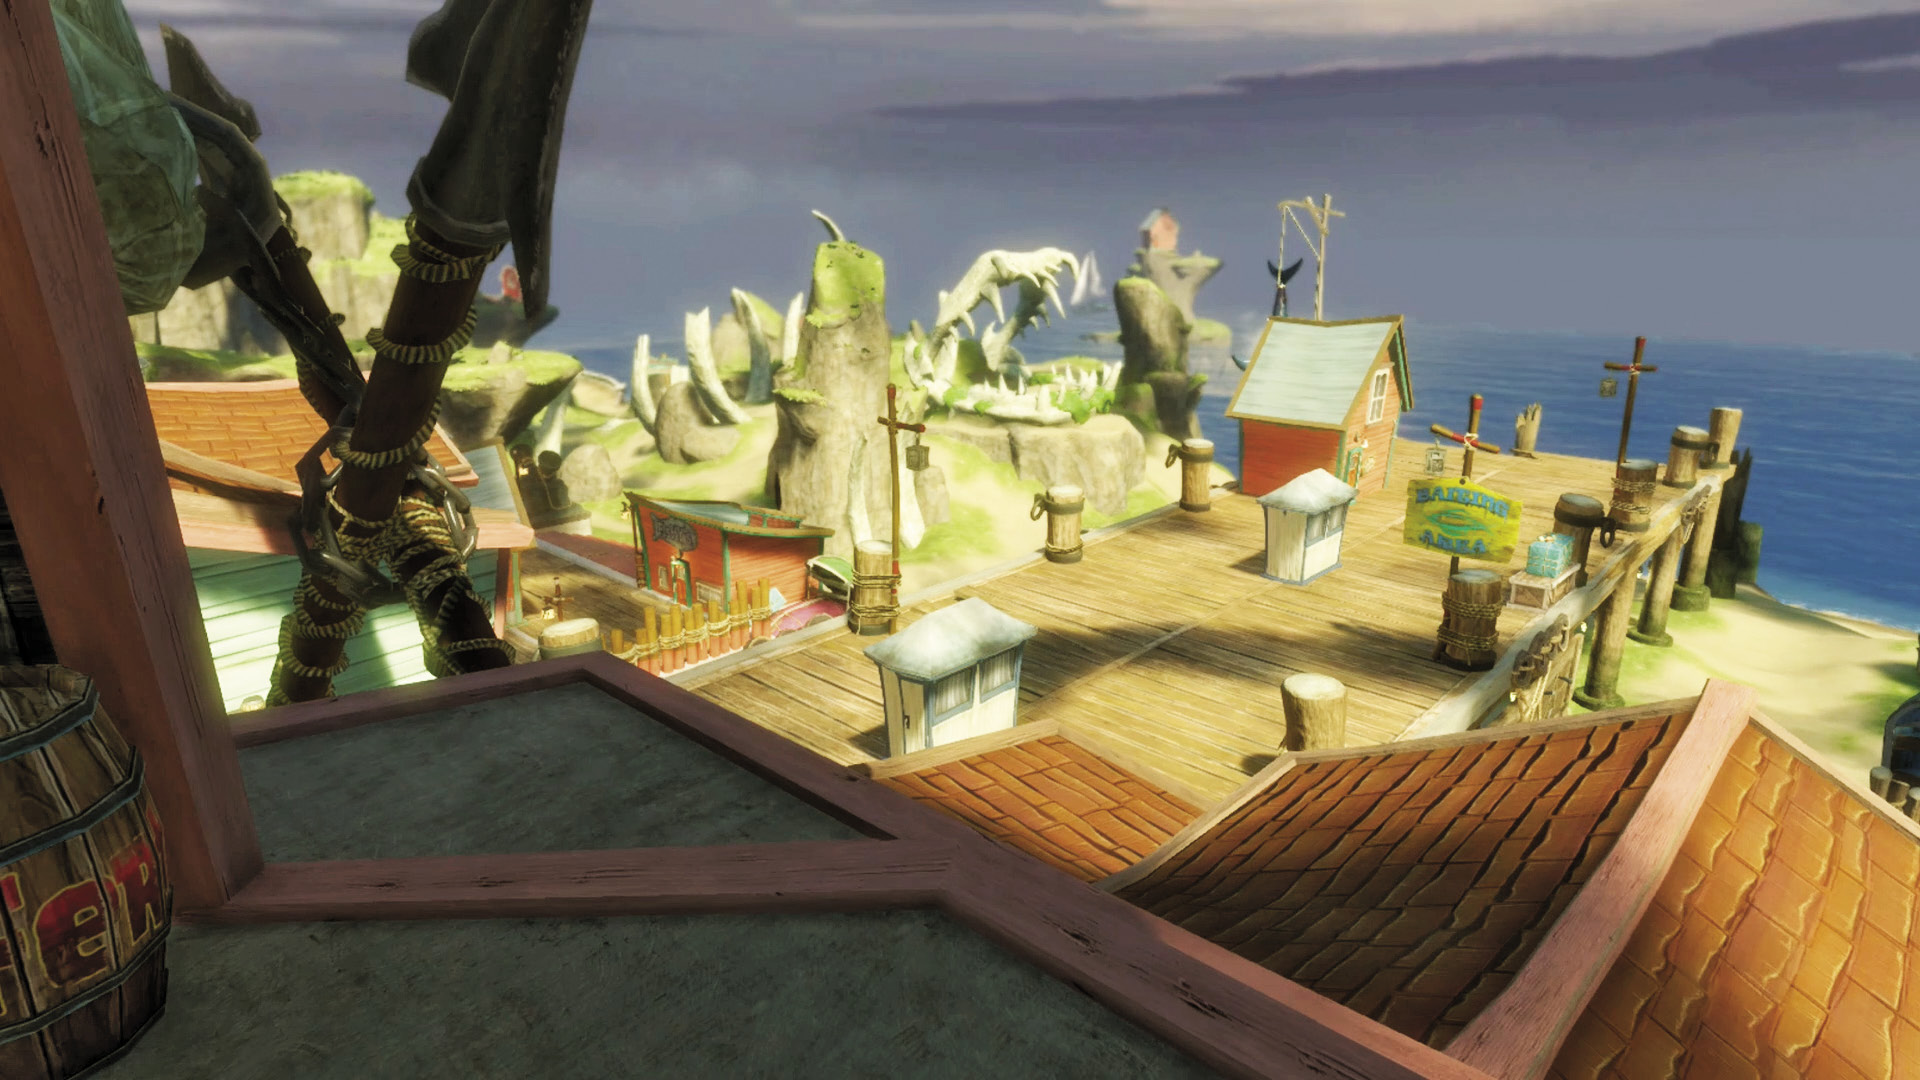
[6] Sitting north of the markets and high above the beach itself, the raised pier can make for a solid place to hole up for a small group of players. There’s enough cover to be safe from sniping attempts from multiple directions, and the only direct approach is through the market district. This is a great shortcut to reach the markets from the beach, if you have high-jump abilities.
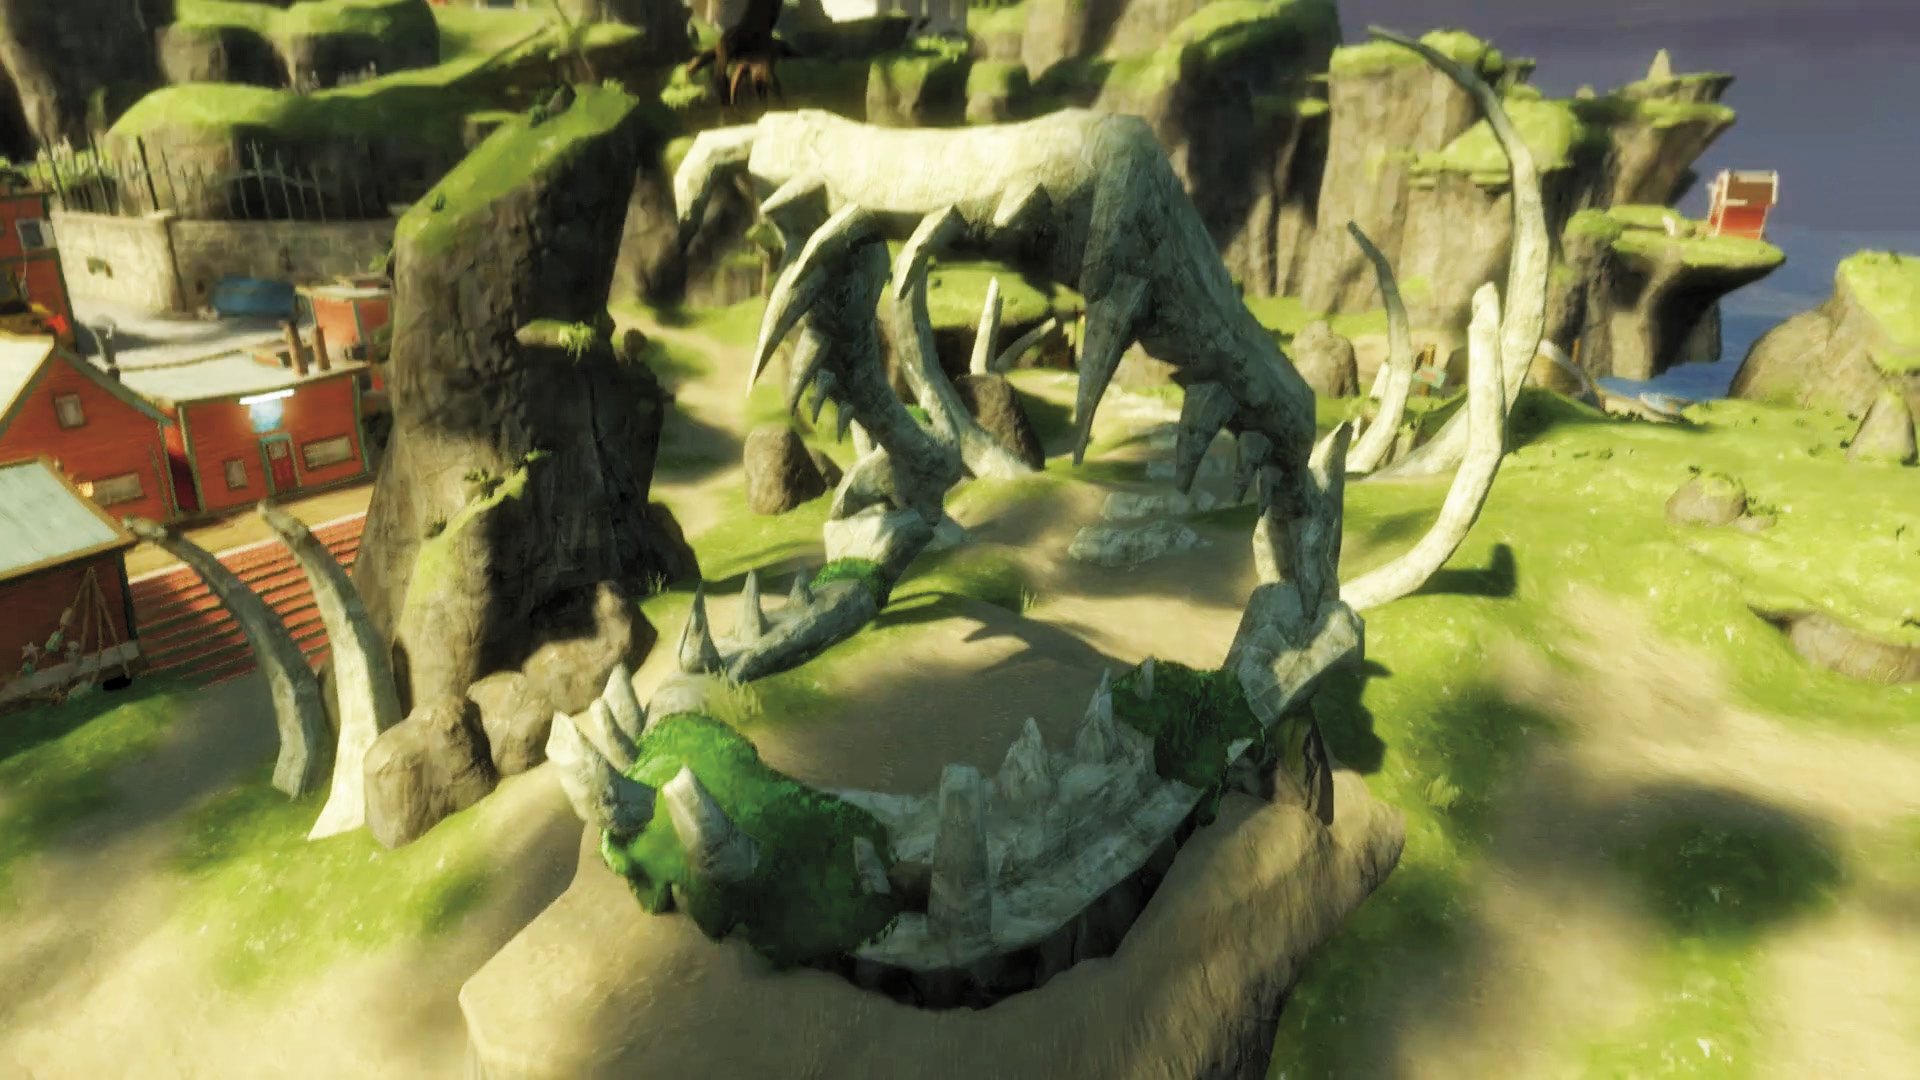
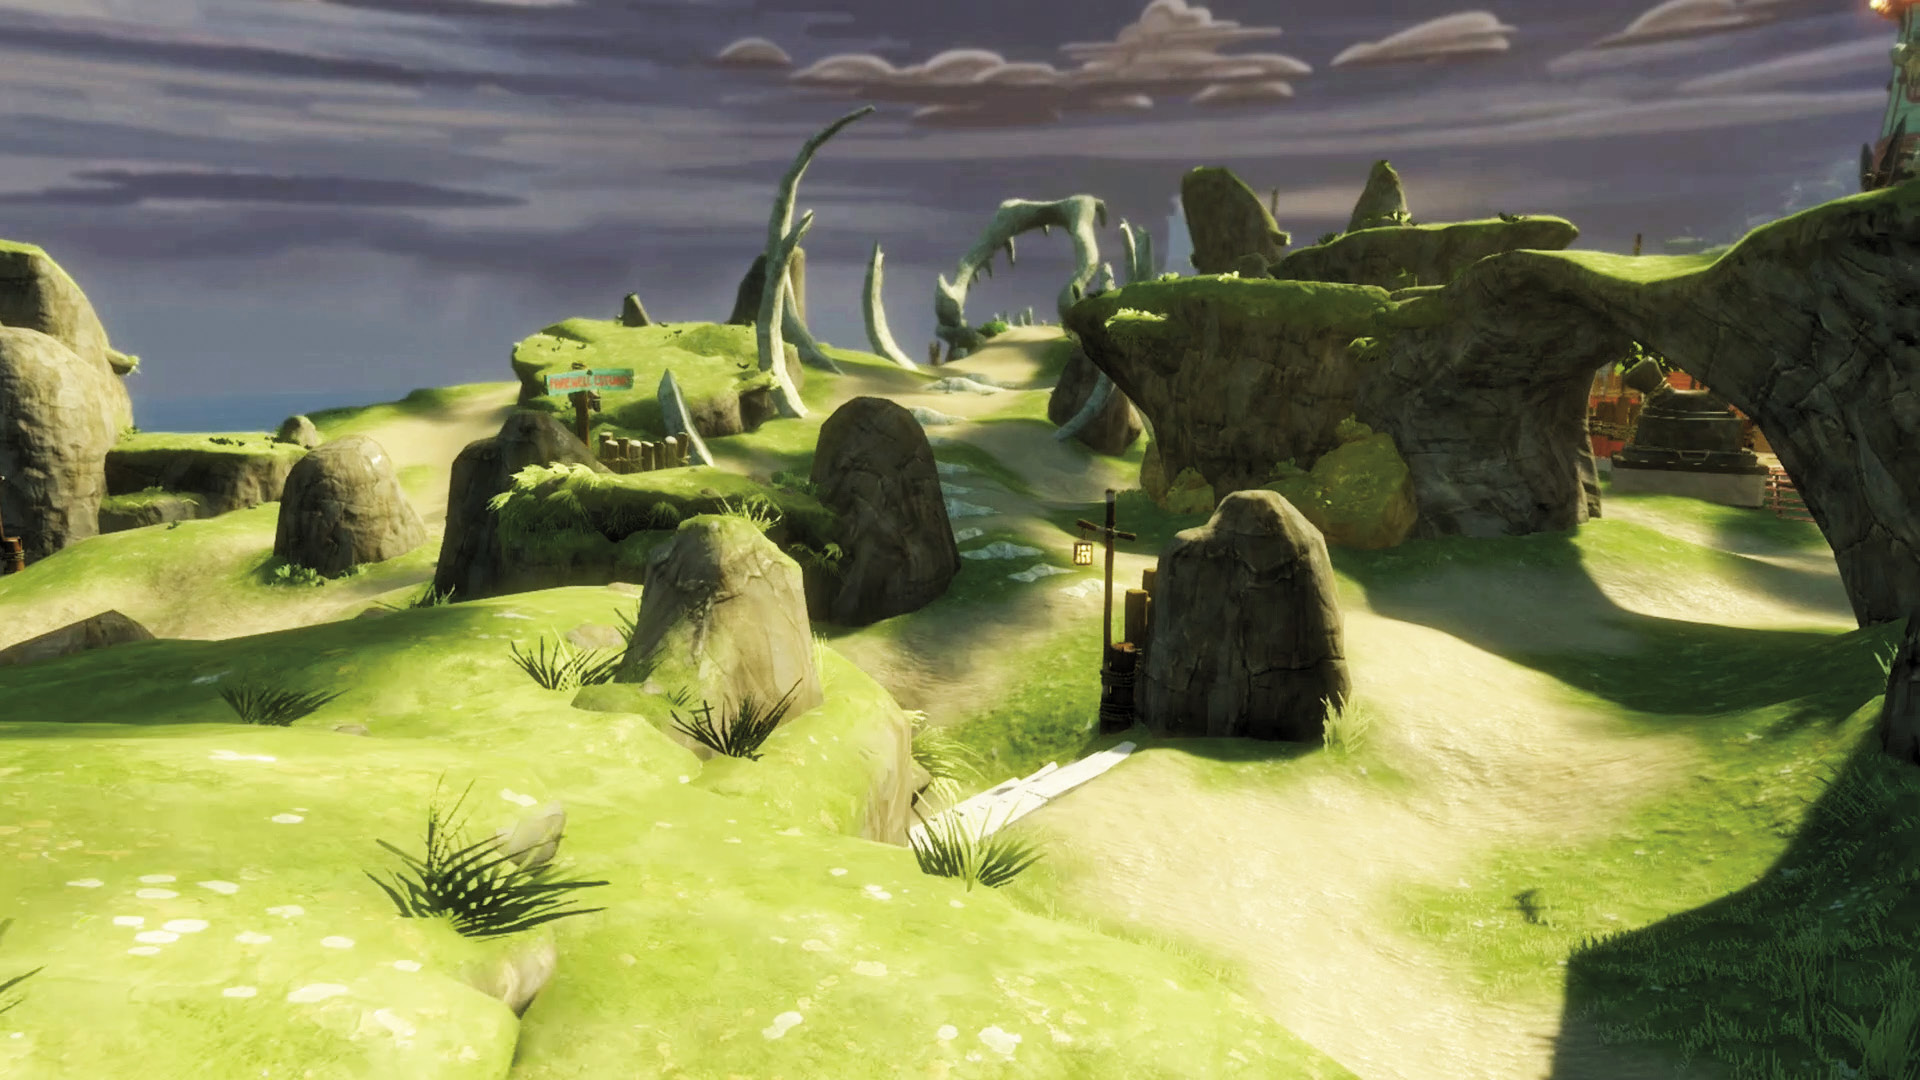
The Northern Beach
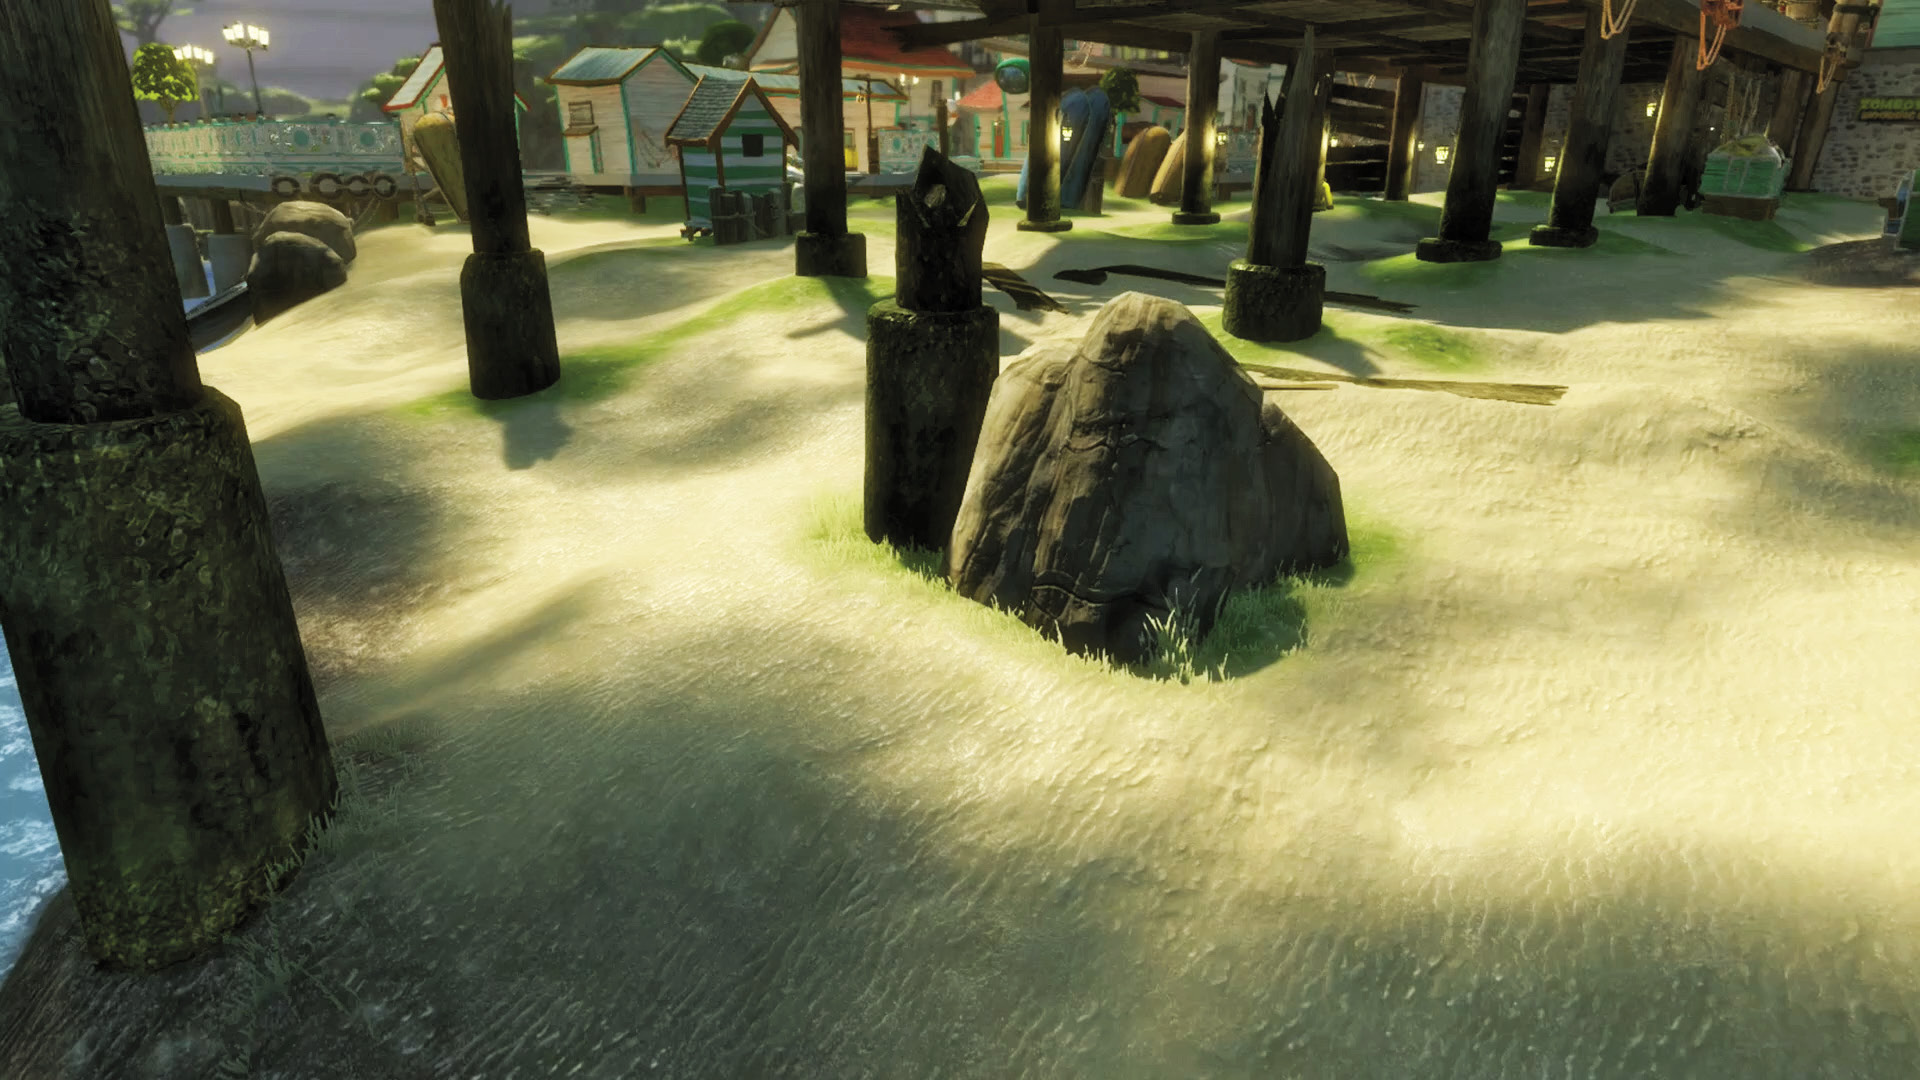
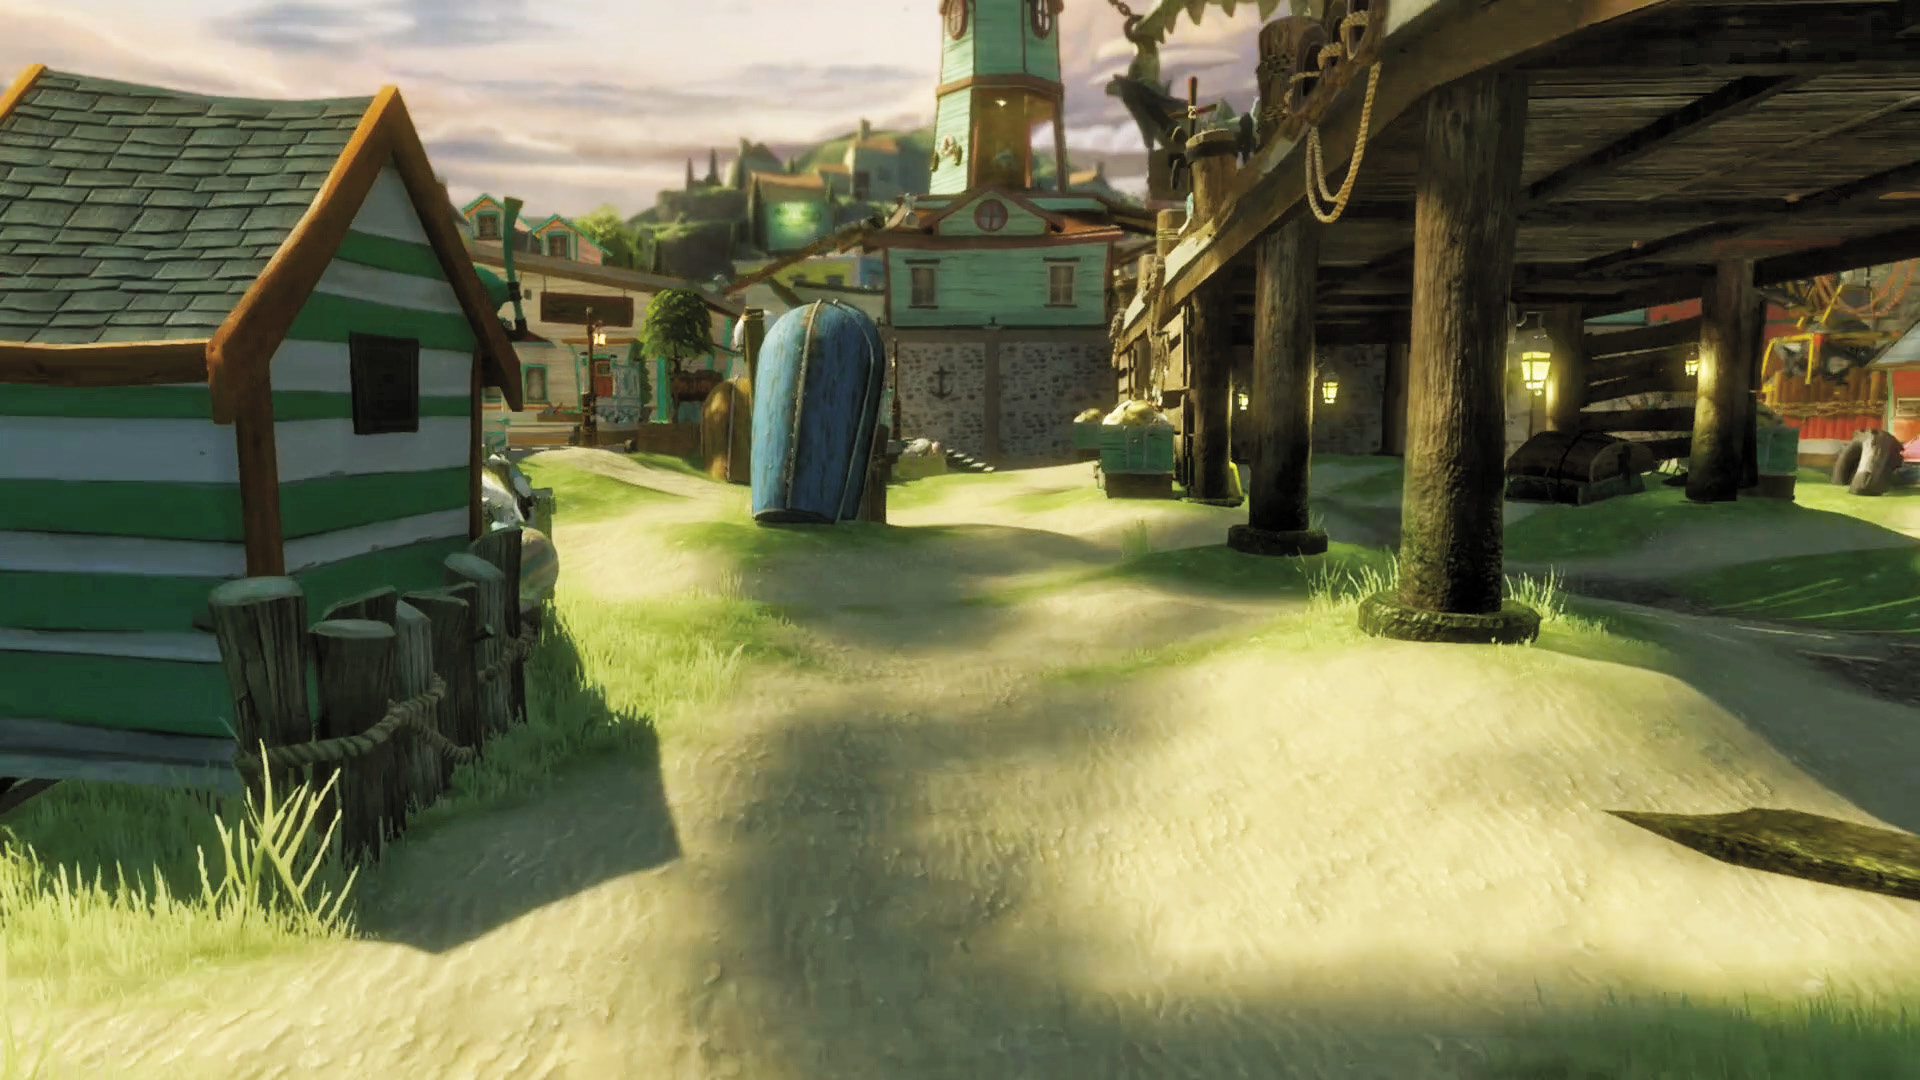
[7] The beach passes underneath the raised pier, and is vulnerable to attacks from higher elevations. However, the beach itself does provide many obstacles to use as cover, which can complicate battles across the whole beach.
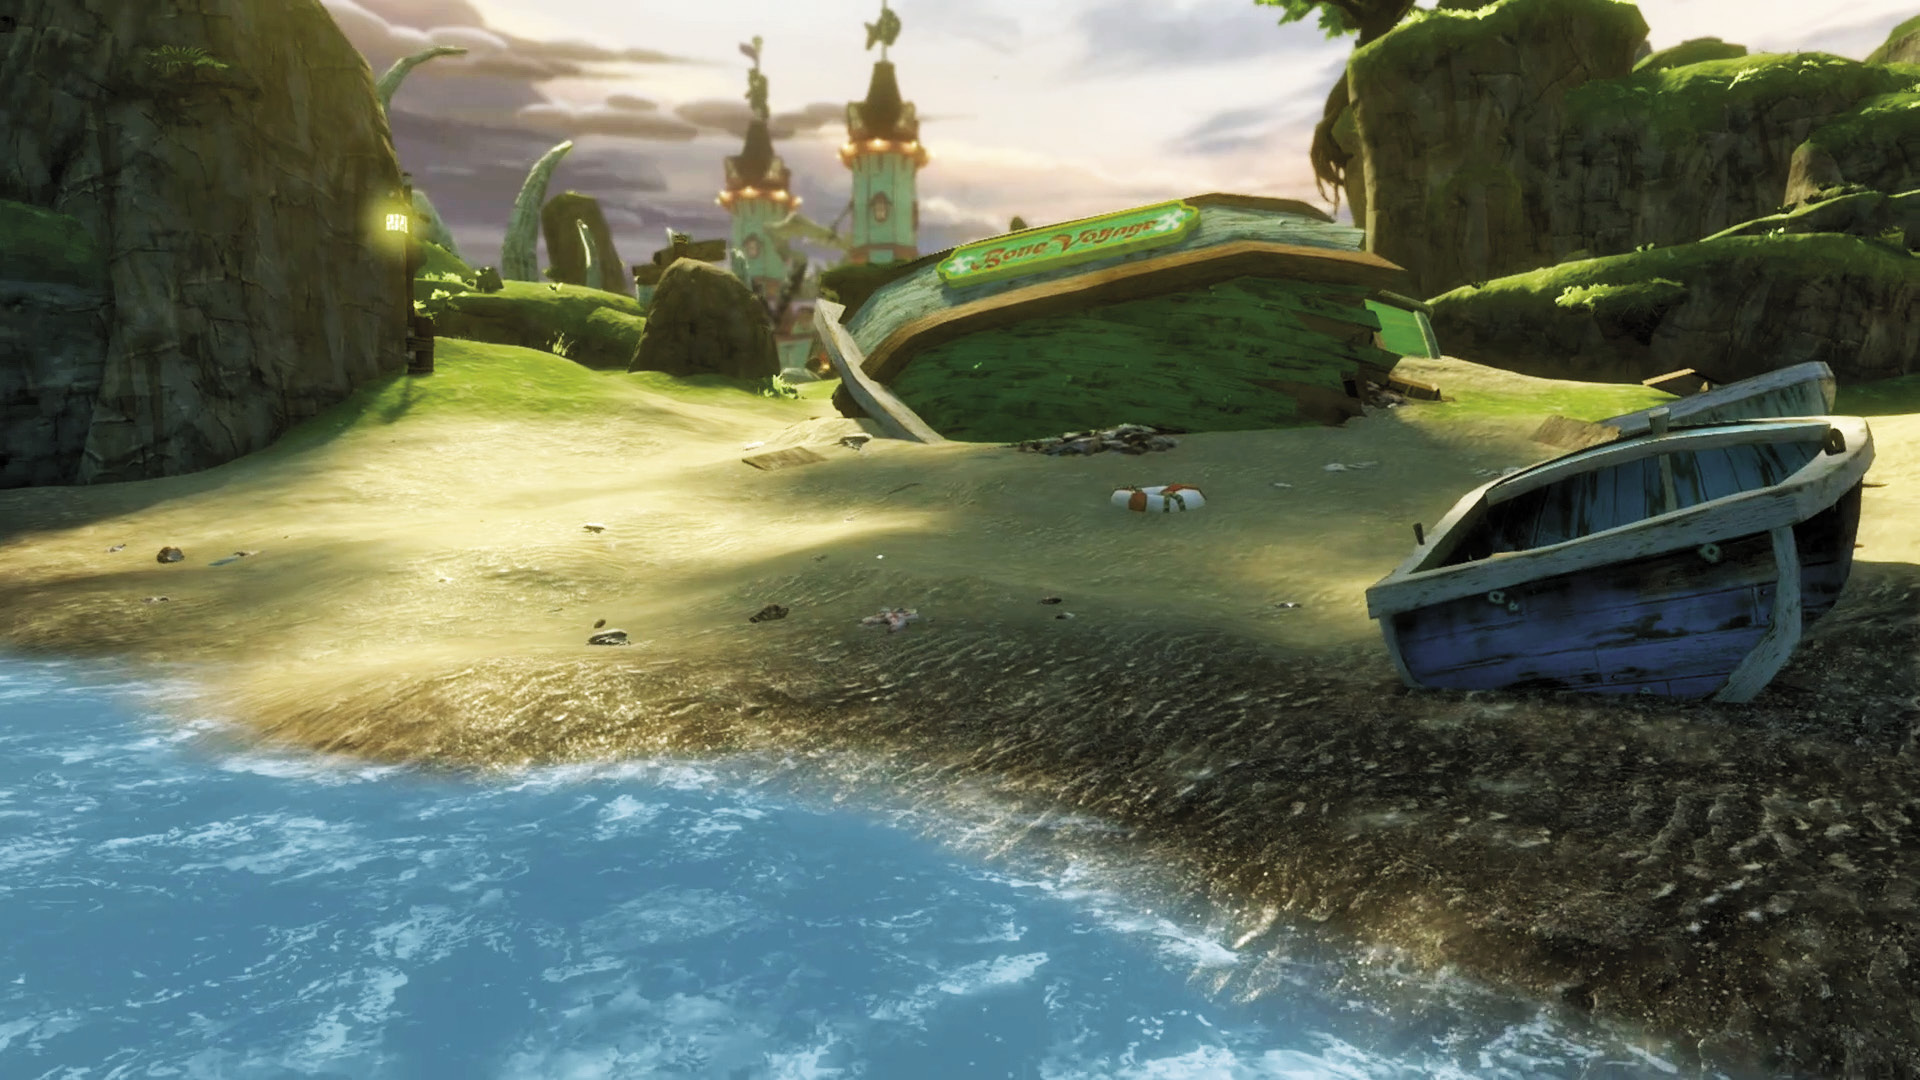
Eastern Dock
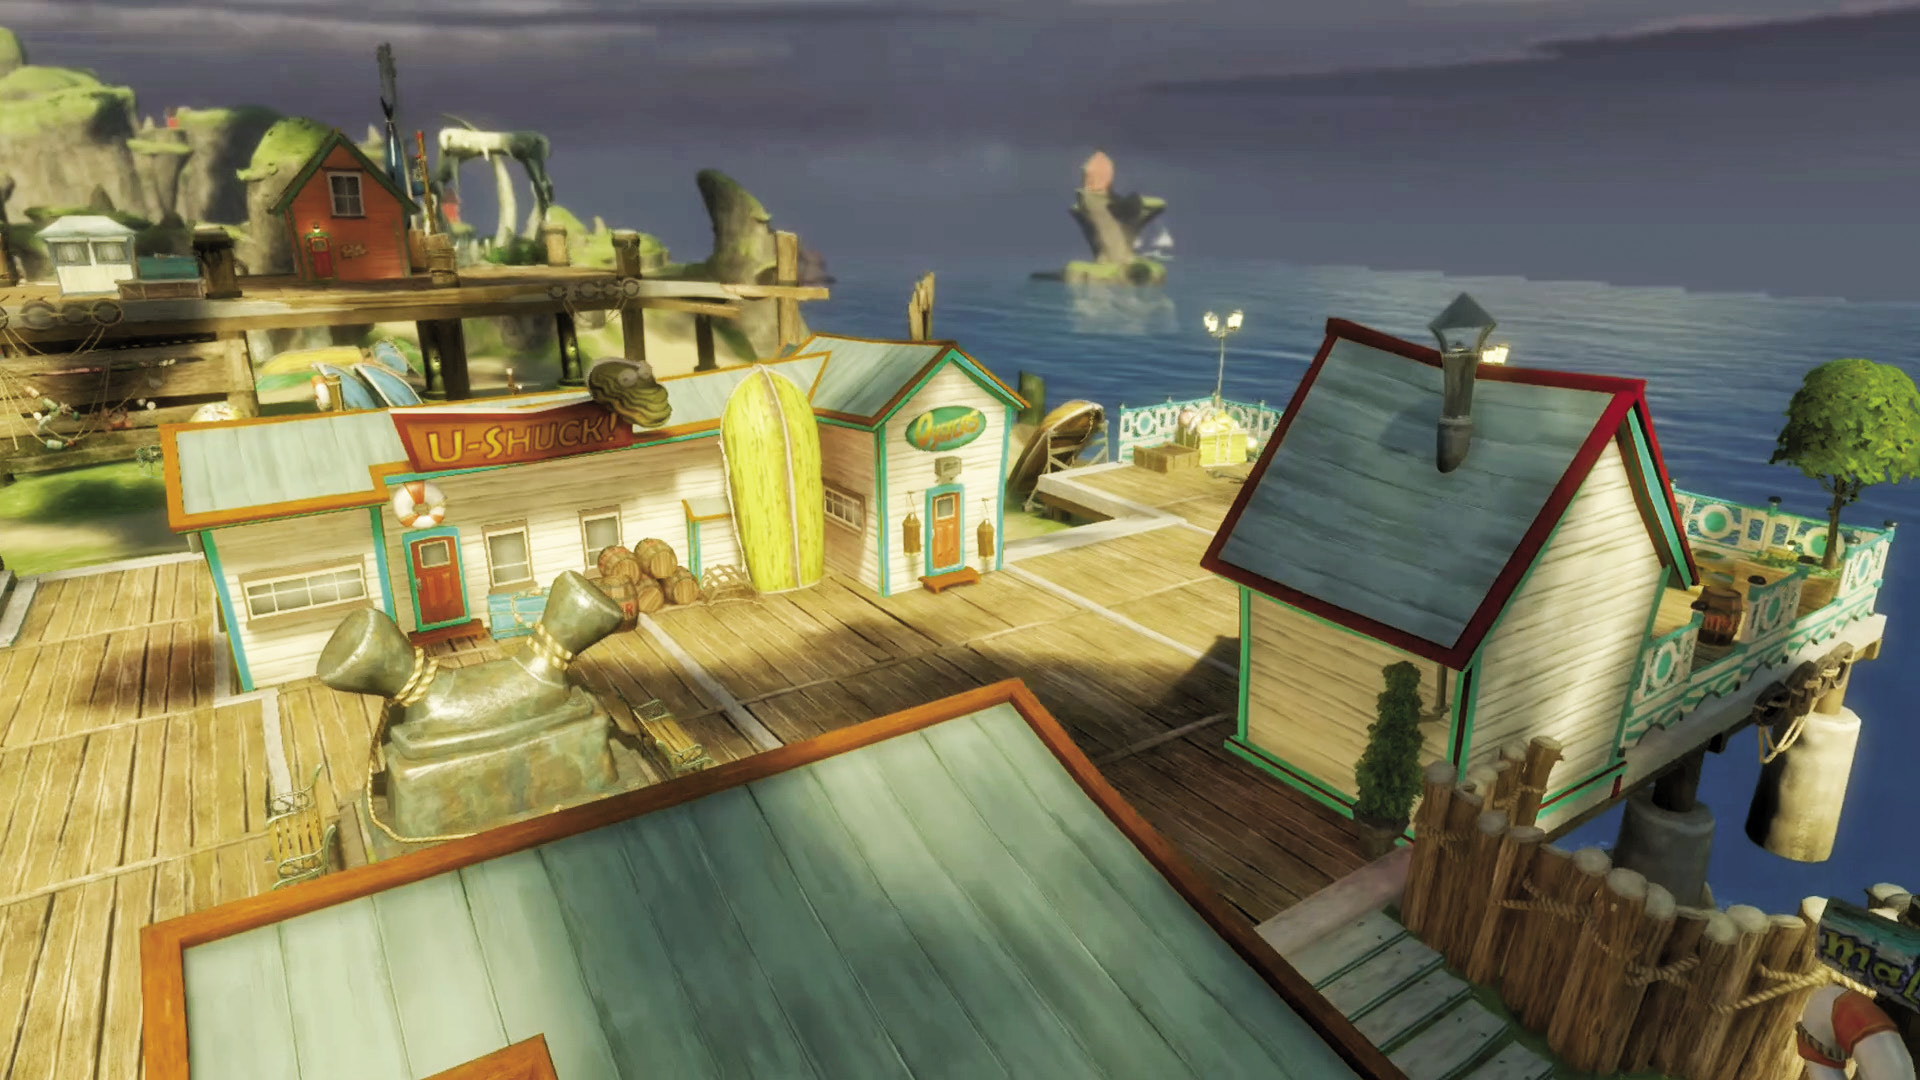
[8] Connected to the eastern side of the market district, this smaller dock sits directly between the northern beach and the eastern beach hut. A number of small structures on this dock can be used to defend from attacks coming from either direction. Watch your footing near the northern edge of the dock, as you can fall into deep water and be vanquished.
Eastern Beach Hut
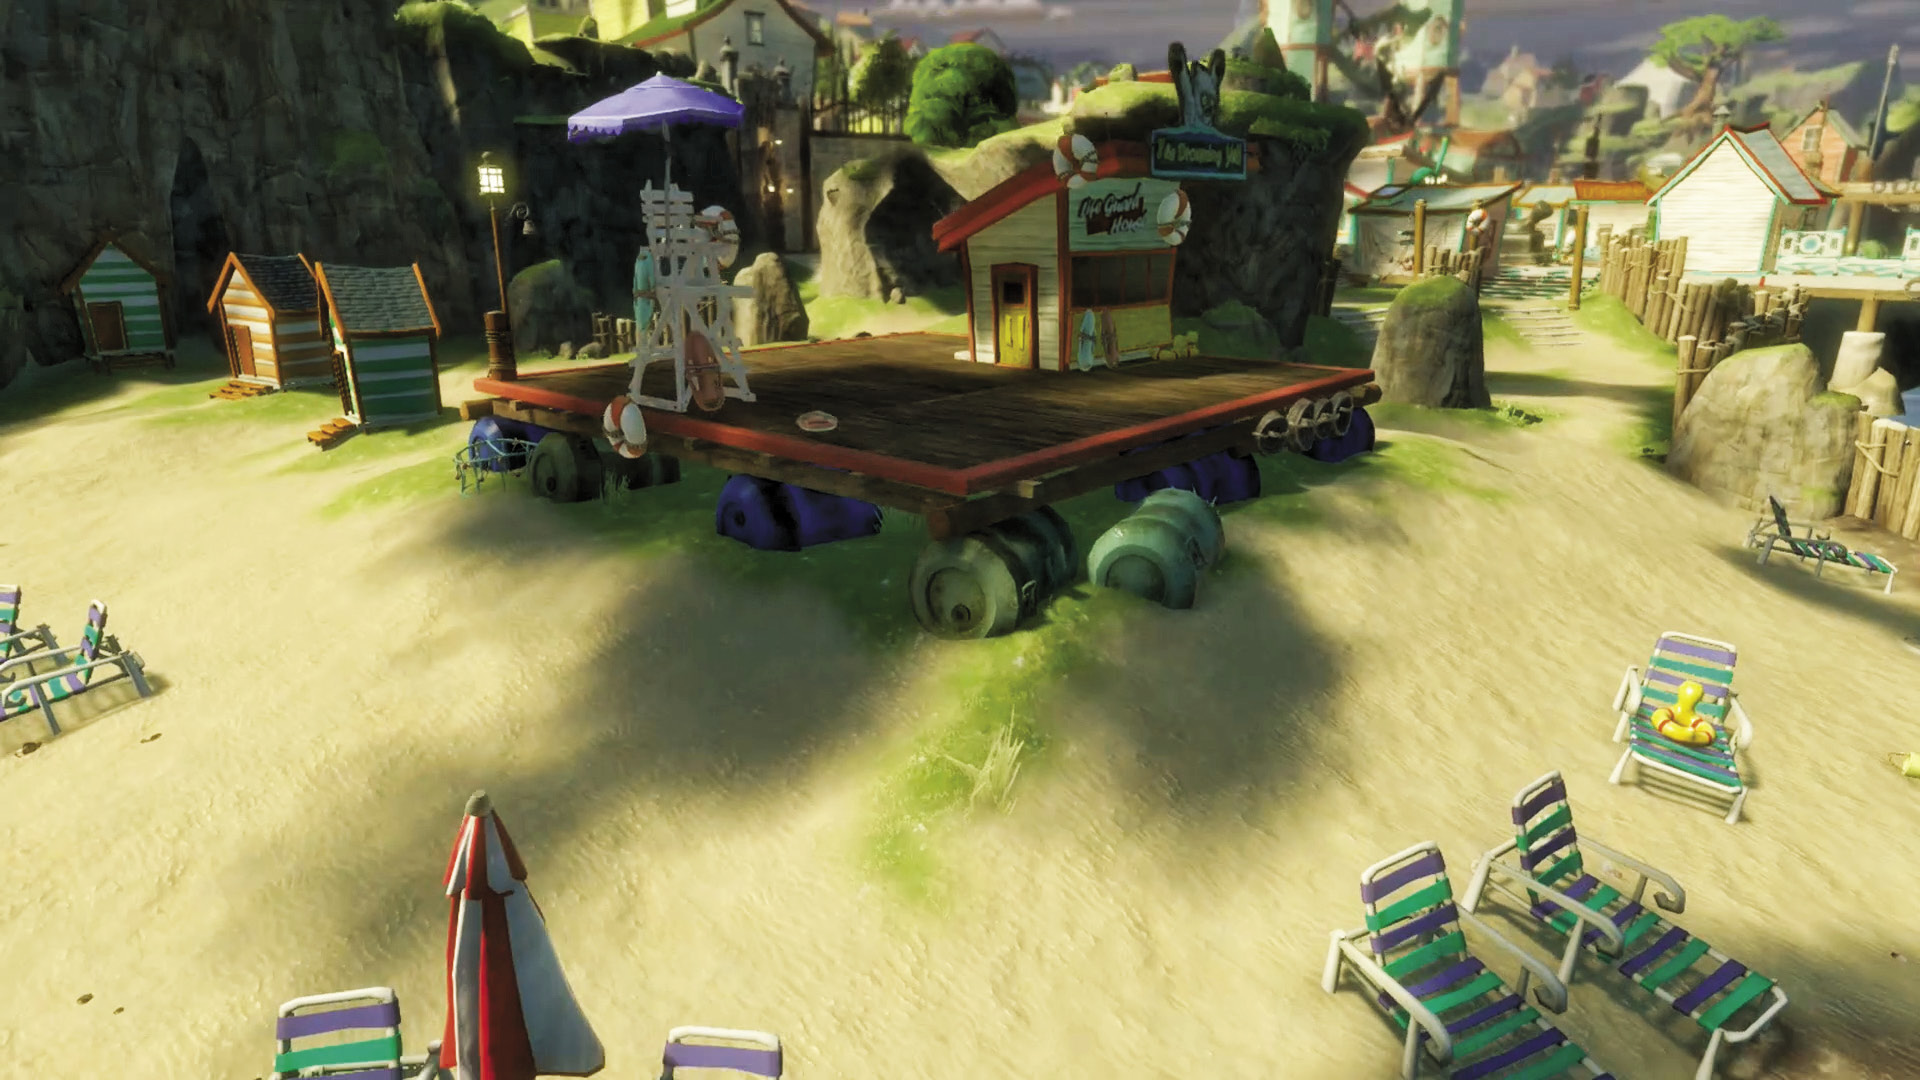
[9] This small hut is the central landmark of the secluded eastern shore. With your back to the sea, the only way out will likely be through your attackers. However, there are a number of routes that can be used to leave the eastern beach hut, leading to the eastern dock and the eastern side of the market district.
Bone Hills
[10] Named for the massive fish bones that arch ominously over the terrain, the hills to the west of the northern beach continue the cat-and-mouse theme of the map. There are a lot of ways to flank your enemies throughout this area, but of course this also means they can do the same to you. Going here alone when you know there are multiple enemies in the area is asking to get vanquished. If you’re trying to make a stand at the Bone Hills, watch out for players approaching from the market district [11], as they have a lot of cover to conceal their approach.
The Wreck
[12] A shipwreck stands at the center of this small beach. Similar to the eastern beach hut, your back is against the wall if you’re fighting here, and your only way out will be through the enemy, if it comes down to it. You’ll want to push toward higher ground as soon as you can, as the wreck here doesn’t provide the best cover against attackers from the Bone Hills.